Accordion Pocket Photo Album
When the year ends, my daughter will be 10 years old. The photos I have taken of her are too numerous to count. Most of them are managed in data format, and I was hoping to be able to easily look back at the vast number of photos taken over the past 10 years at any time. In today’s convenient world, there are many options for organizing your photos, such as outsourcing the binding of albums. But I just wanted to have a small album that I could look back on her growth at any time.
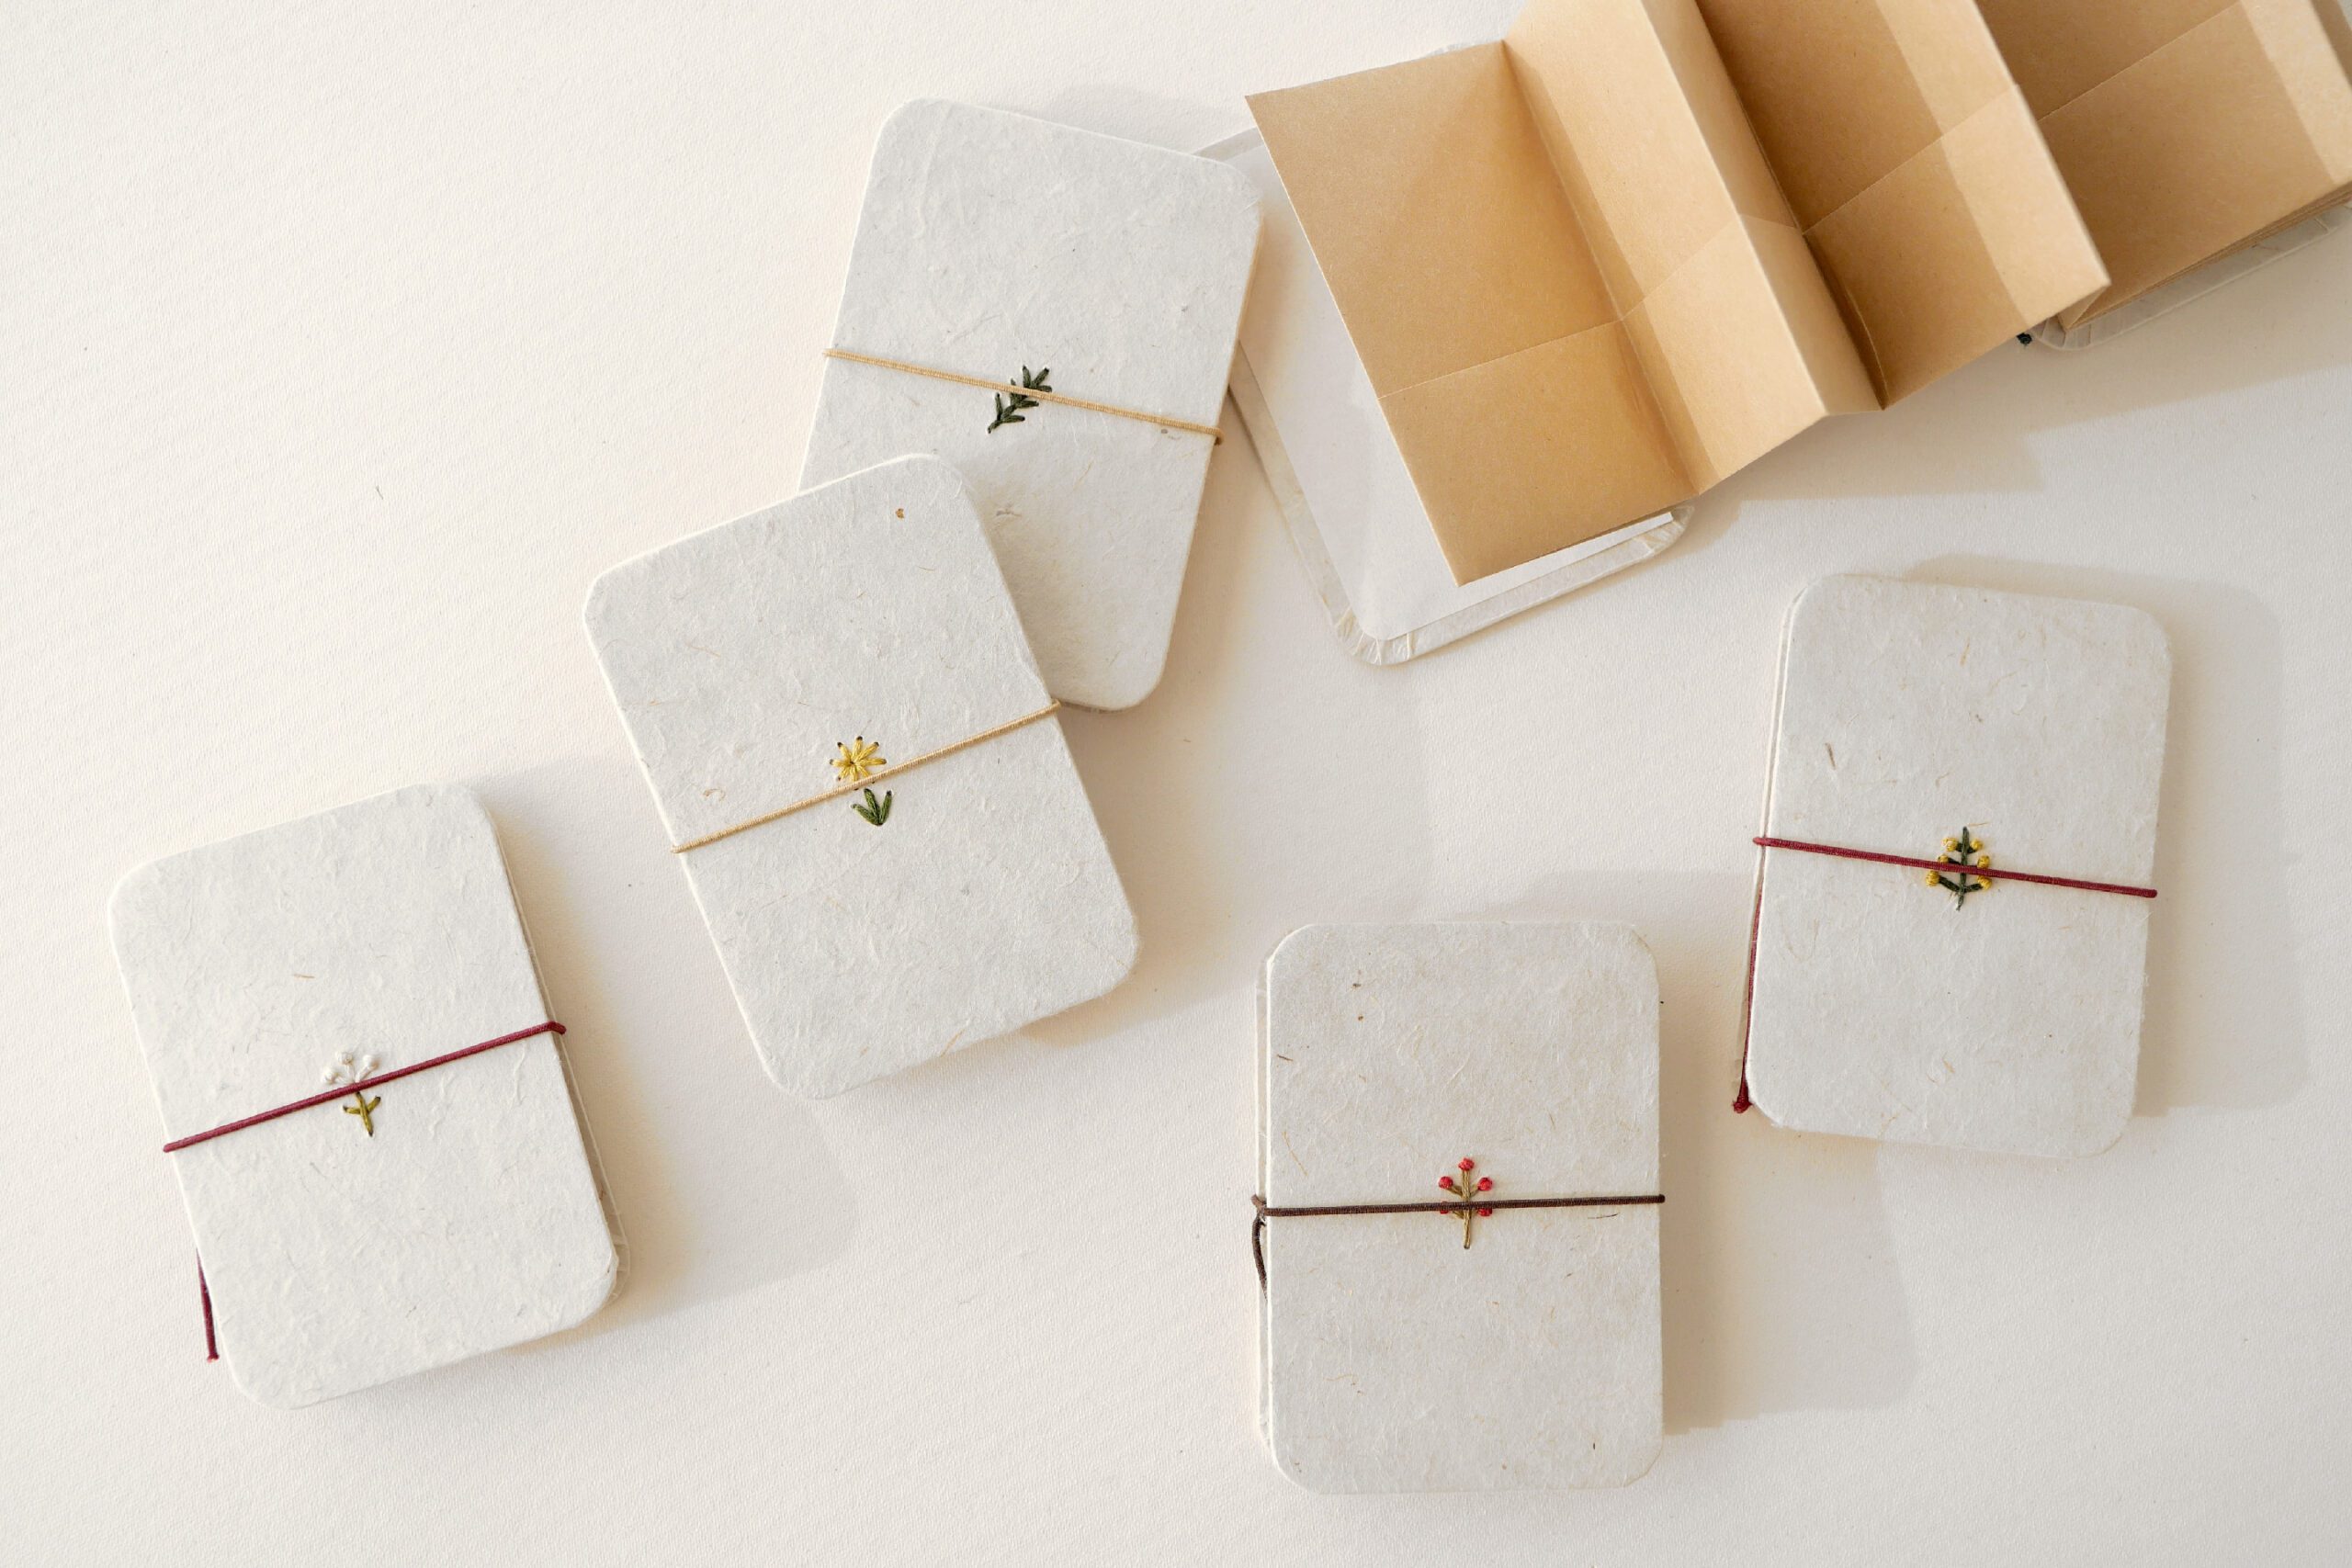
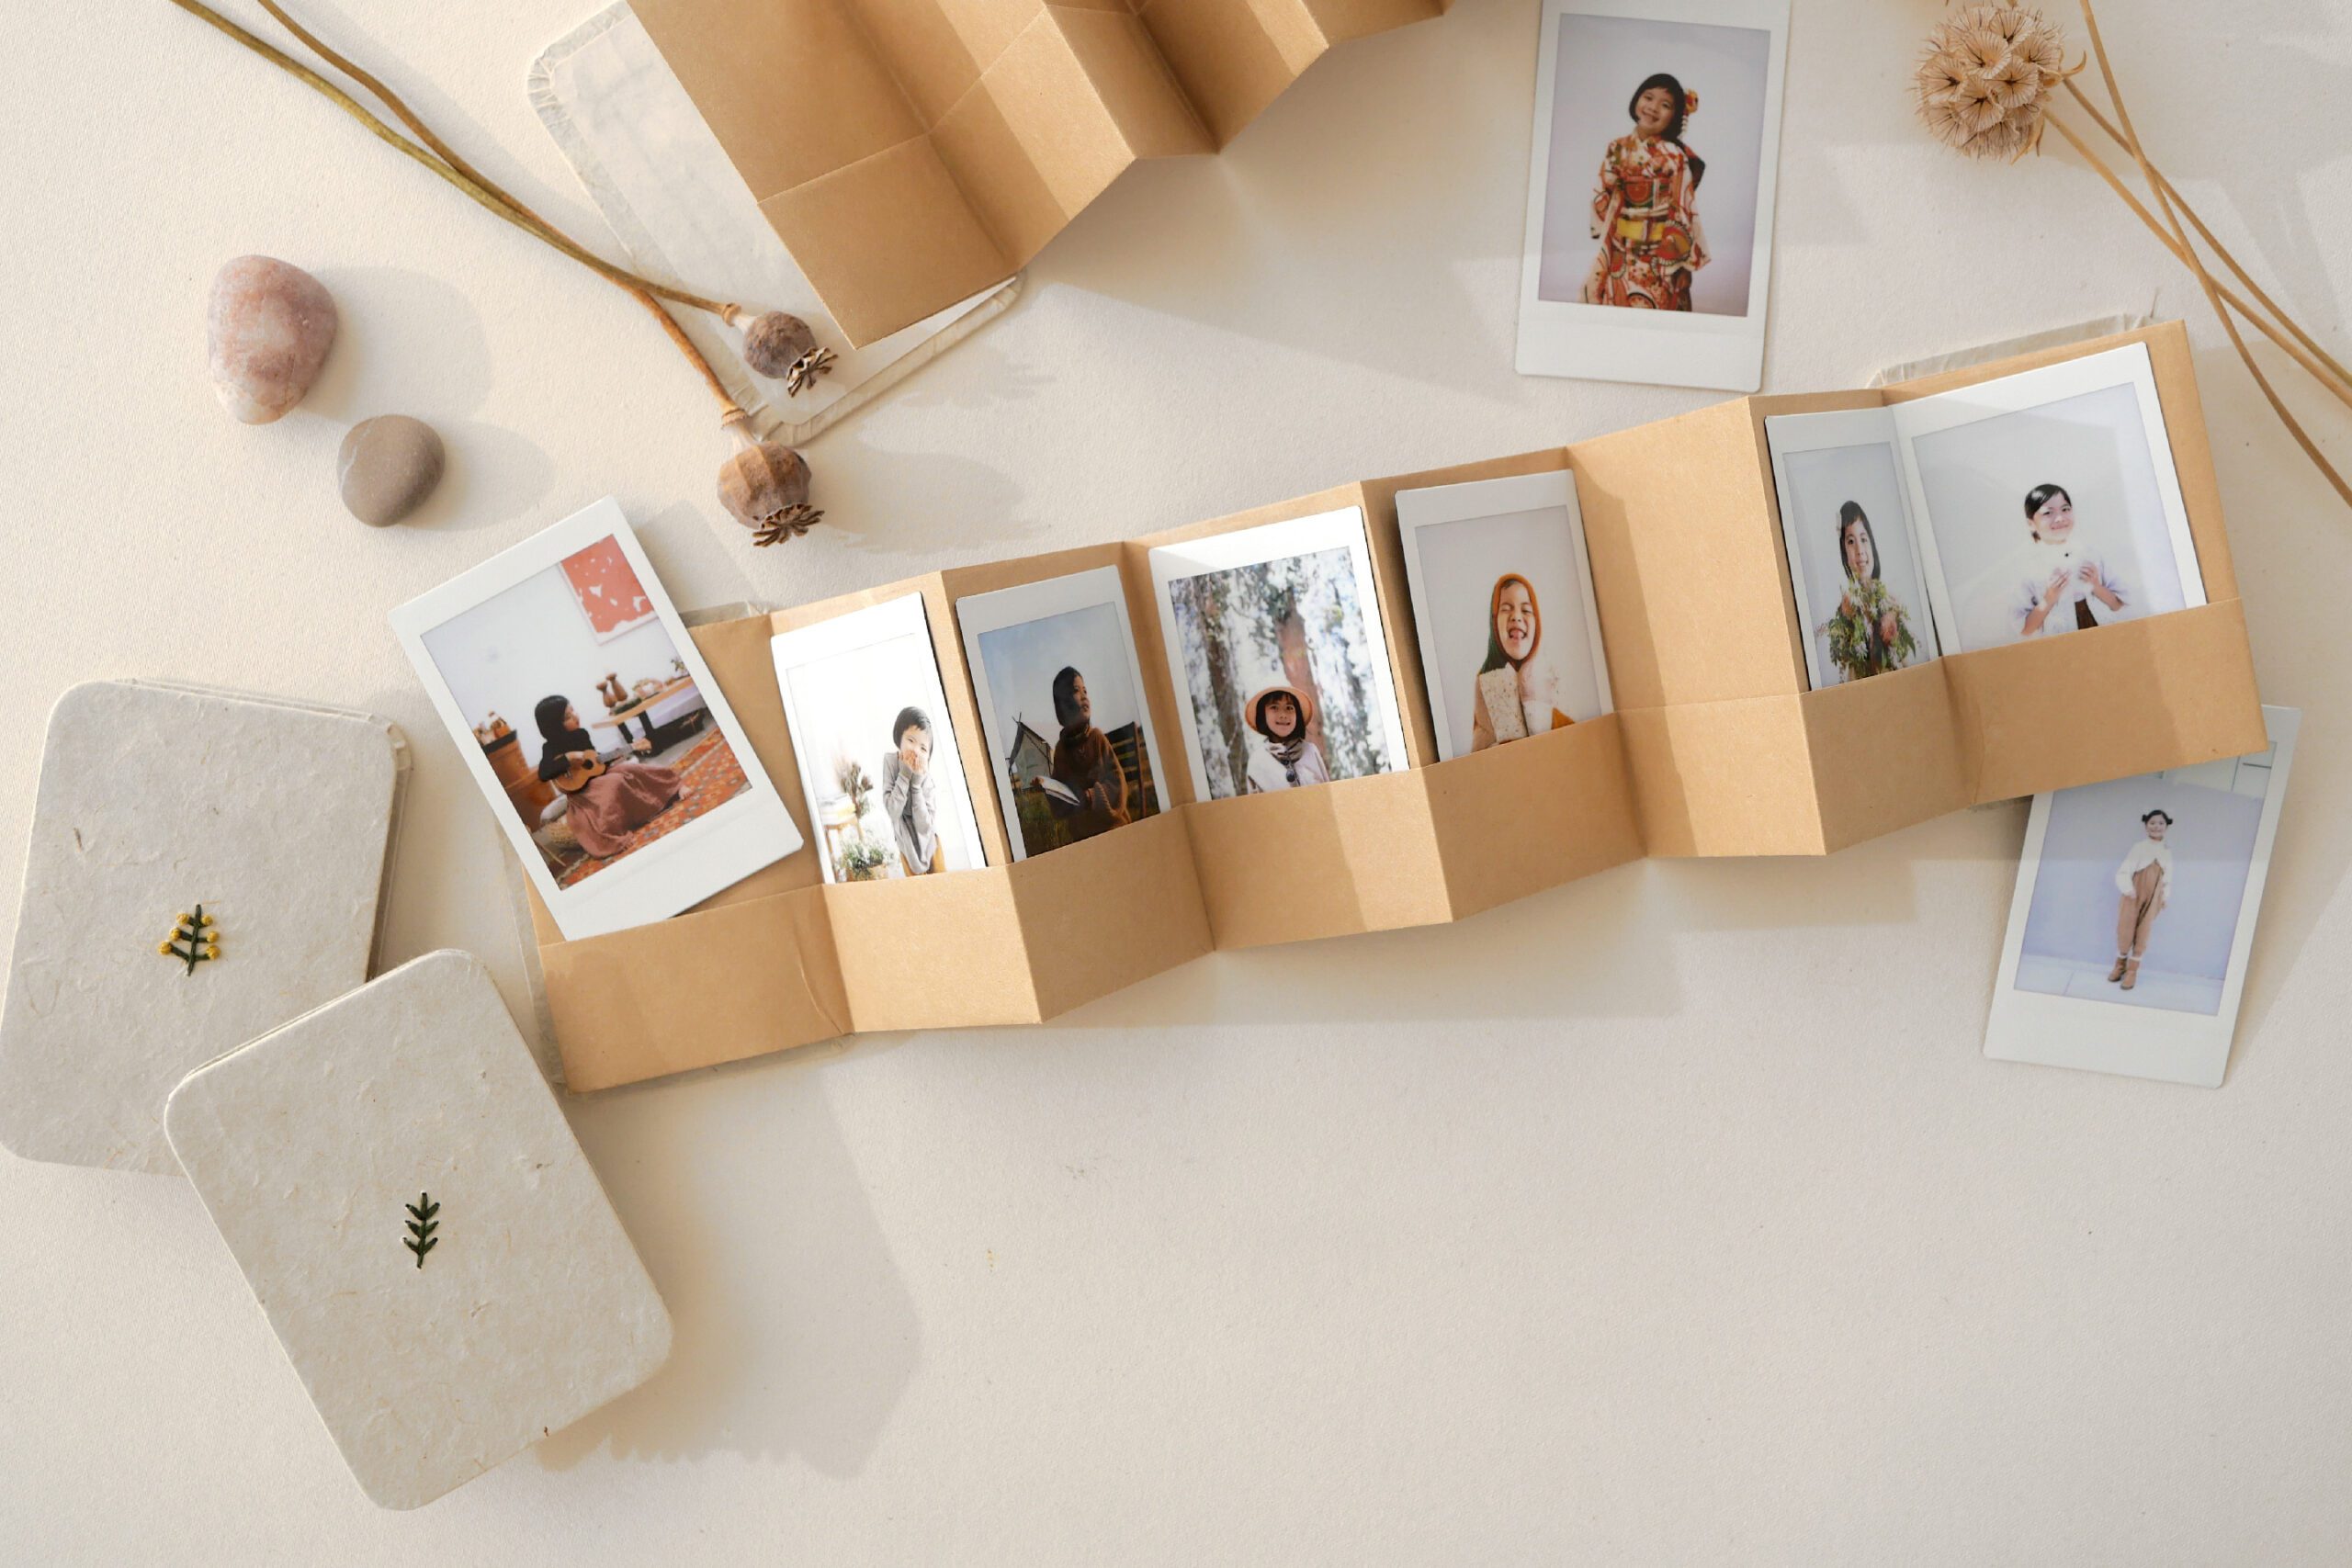
I adapted the Fallen Leaves Pocket Journal I had made in the past to create an album to hold the photos. I folded the paper into a size that would fit a Instant films, and it became a small pocket album that holds 14 photos. It brought back vivid memories of those good old days, and I was able to create a lovely album just for us. The only drawback was that I could only choose 14 photos. So I decided to make several copies of this little album, depending on the theme. I think it would be a great gift to give to family and friends, or as a small gift to share memories with them.
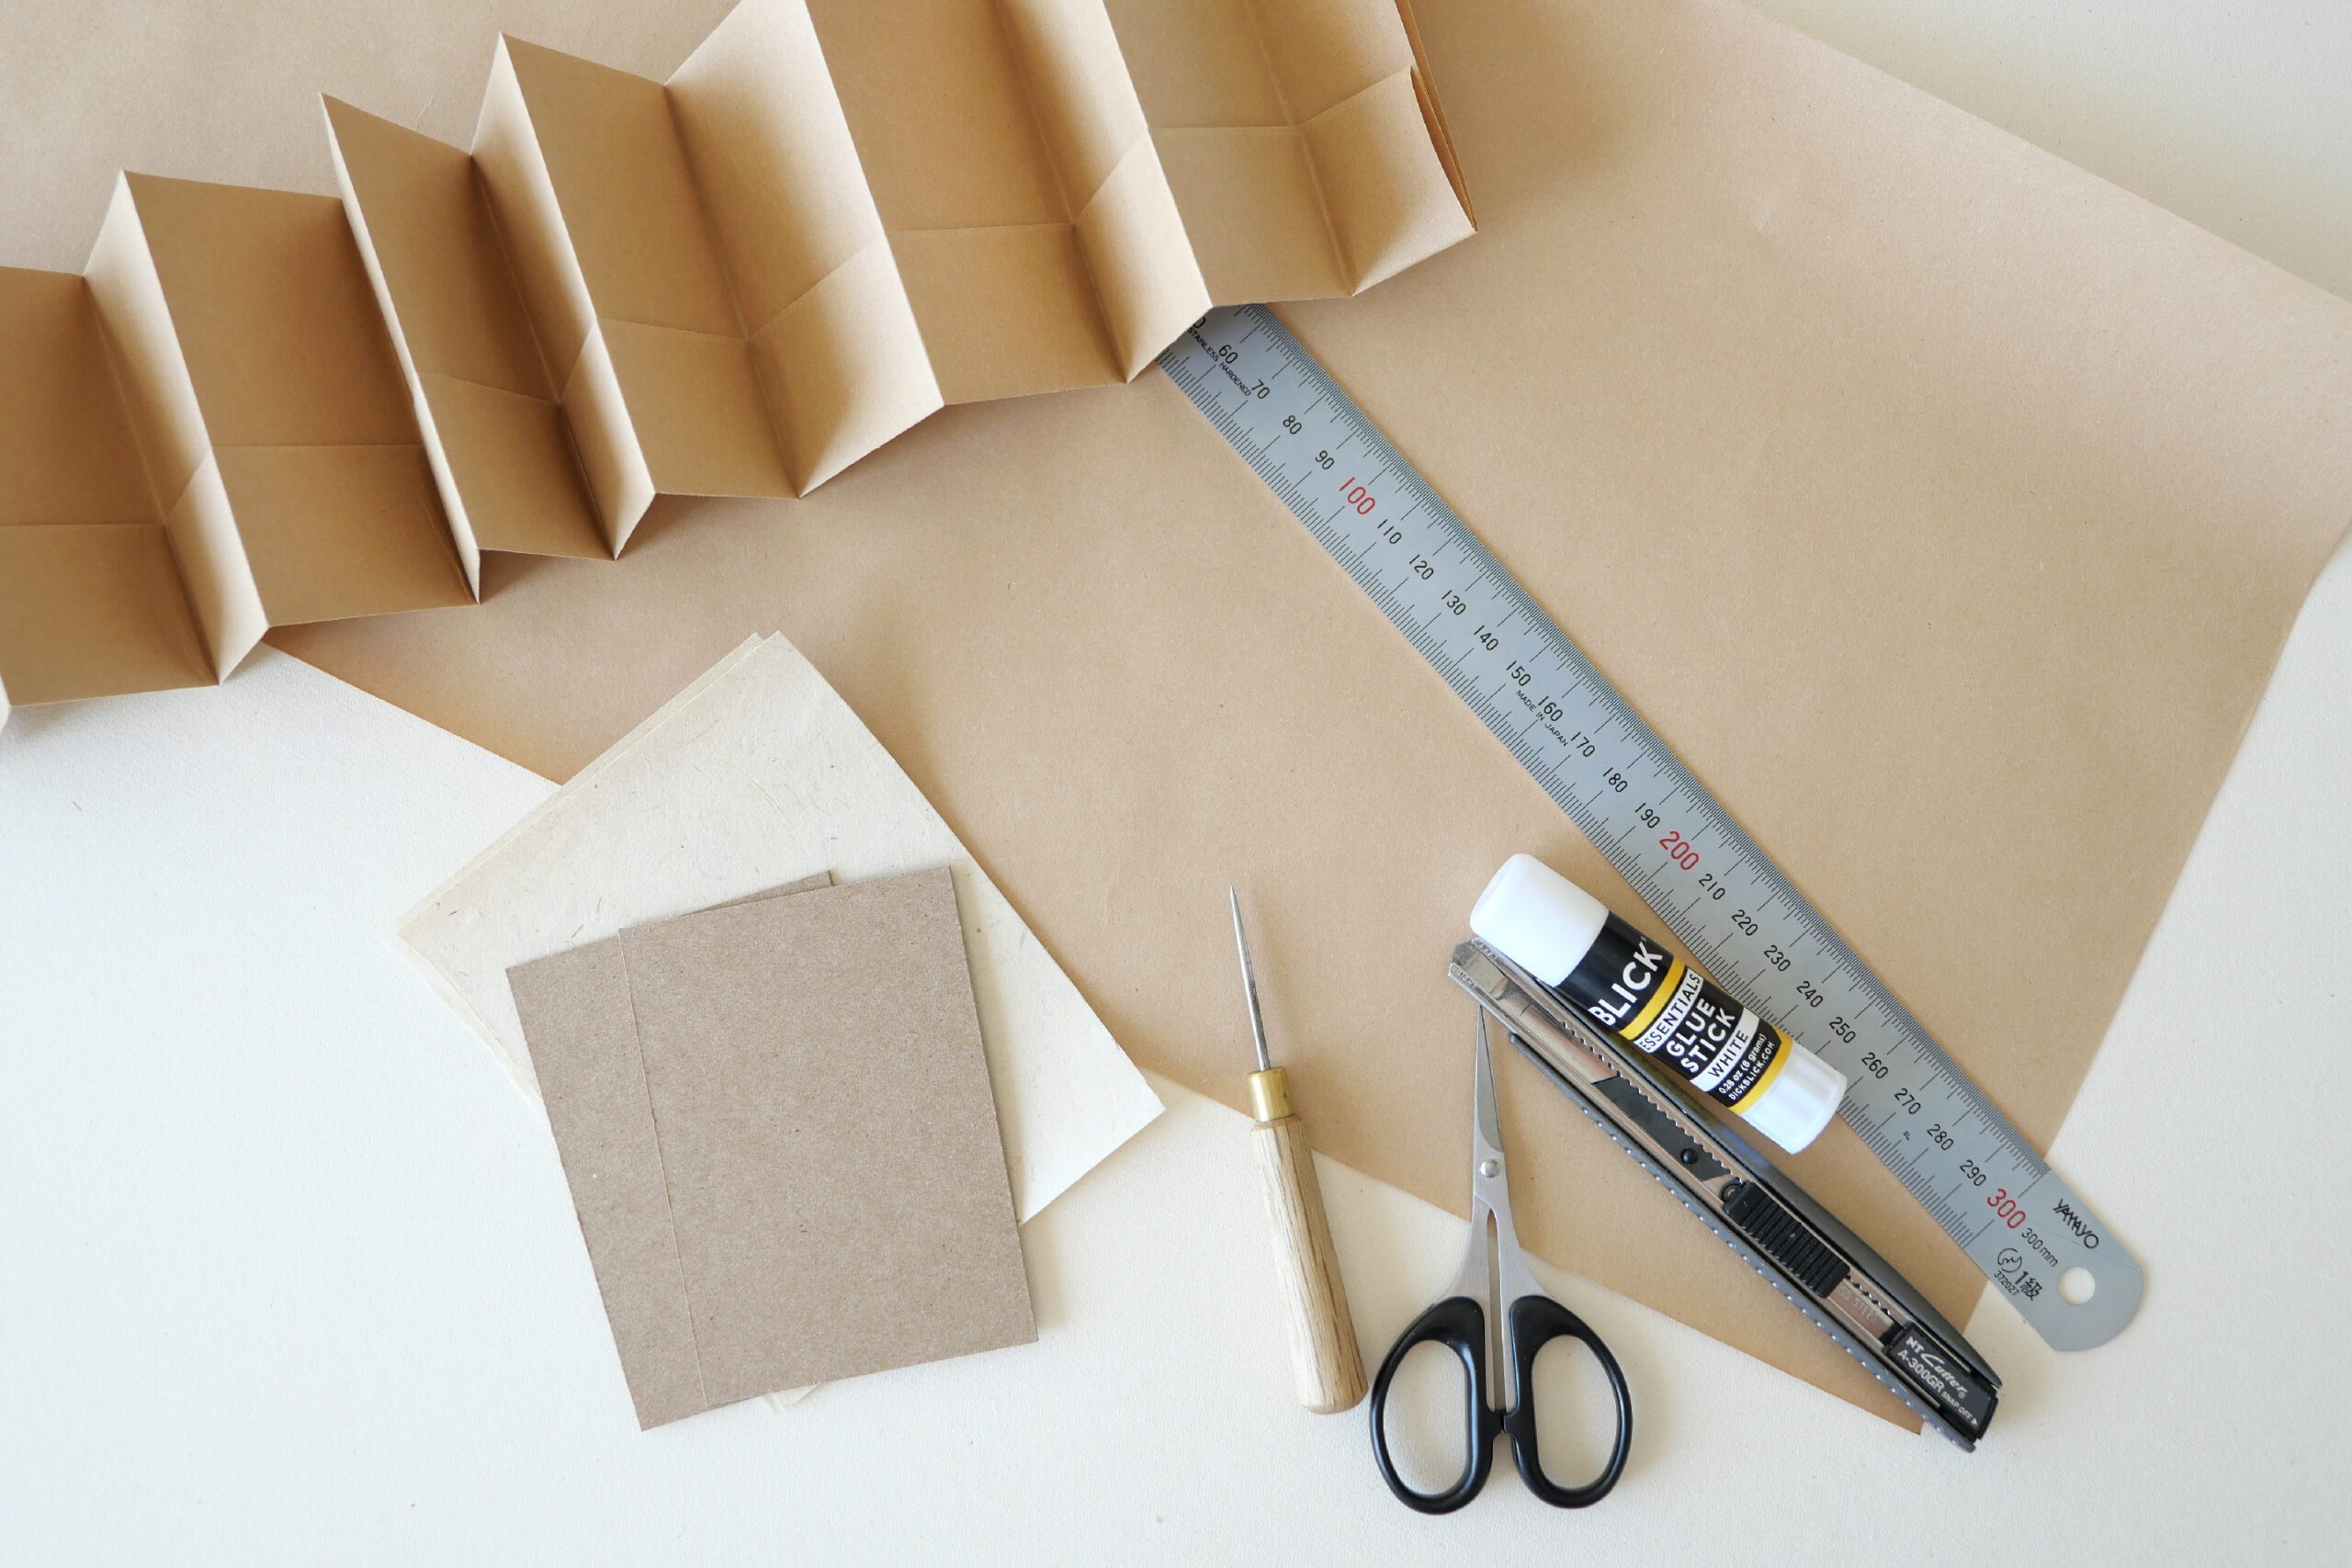
Materials
– Kraft paper*.
– Card board that serves as the cover
– Paper to wrap the cover
– Elastic band
– Glue
– Scissors
– Cutter
– Hole punch or awl
*This time, a 3 ft. long piece of kraft paper made 14 pockets to hold Instant film. You can change the size and the number of pockets to hold your photos as you wish. Kraft paper is a firm paper quality and good for holding photos. If you want a clearer view of the photos inside, you can use tracing paper.
*For detailed instructions, please see Fallen Leaves Pocket Journal.
Instructions for making
Step 1. Fold the Pocket
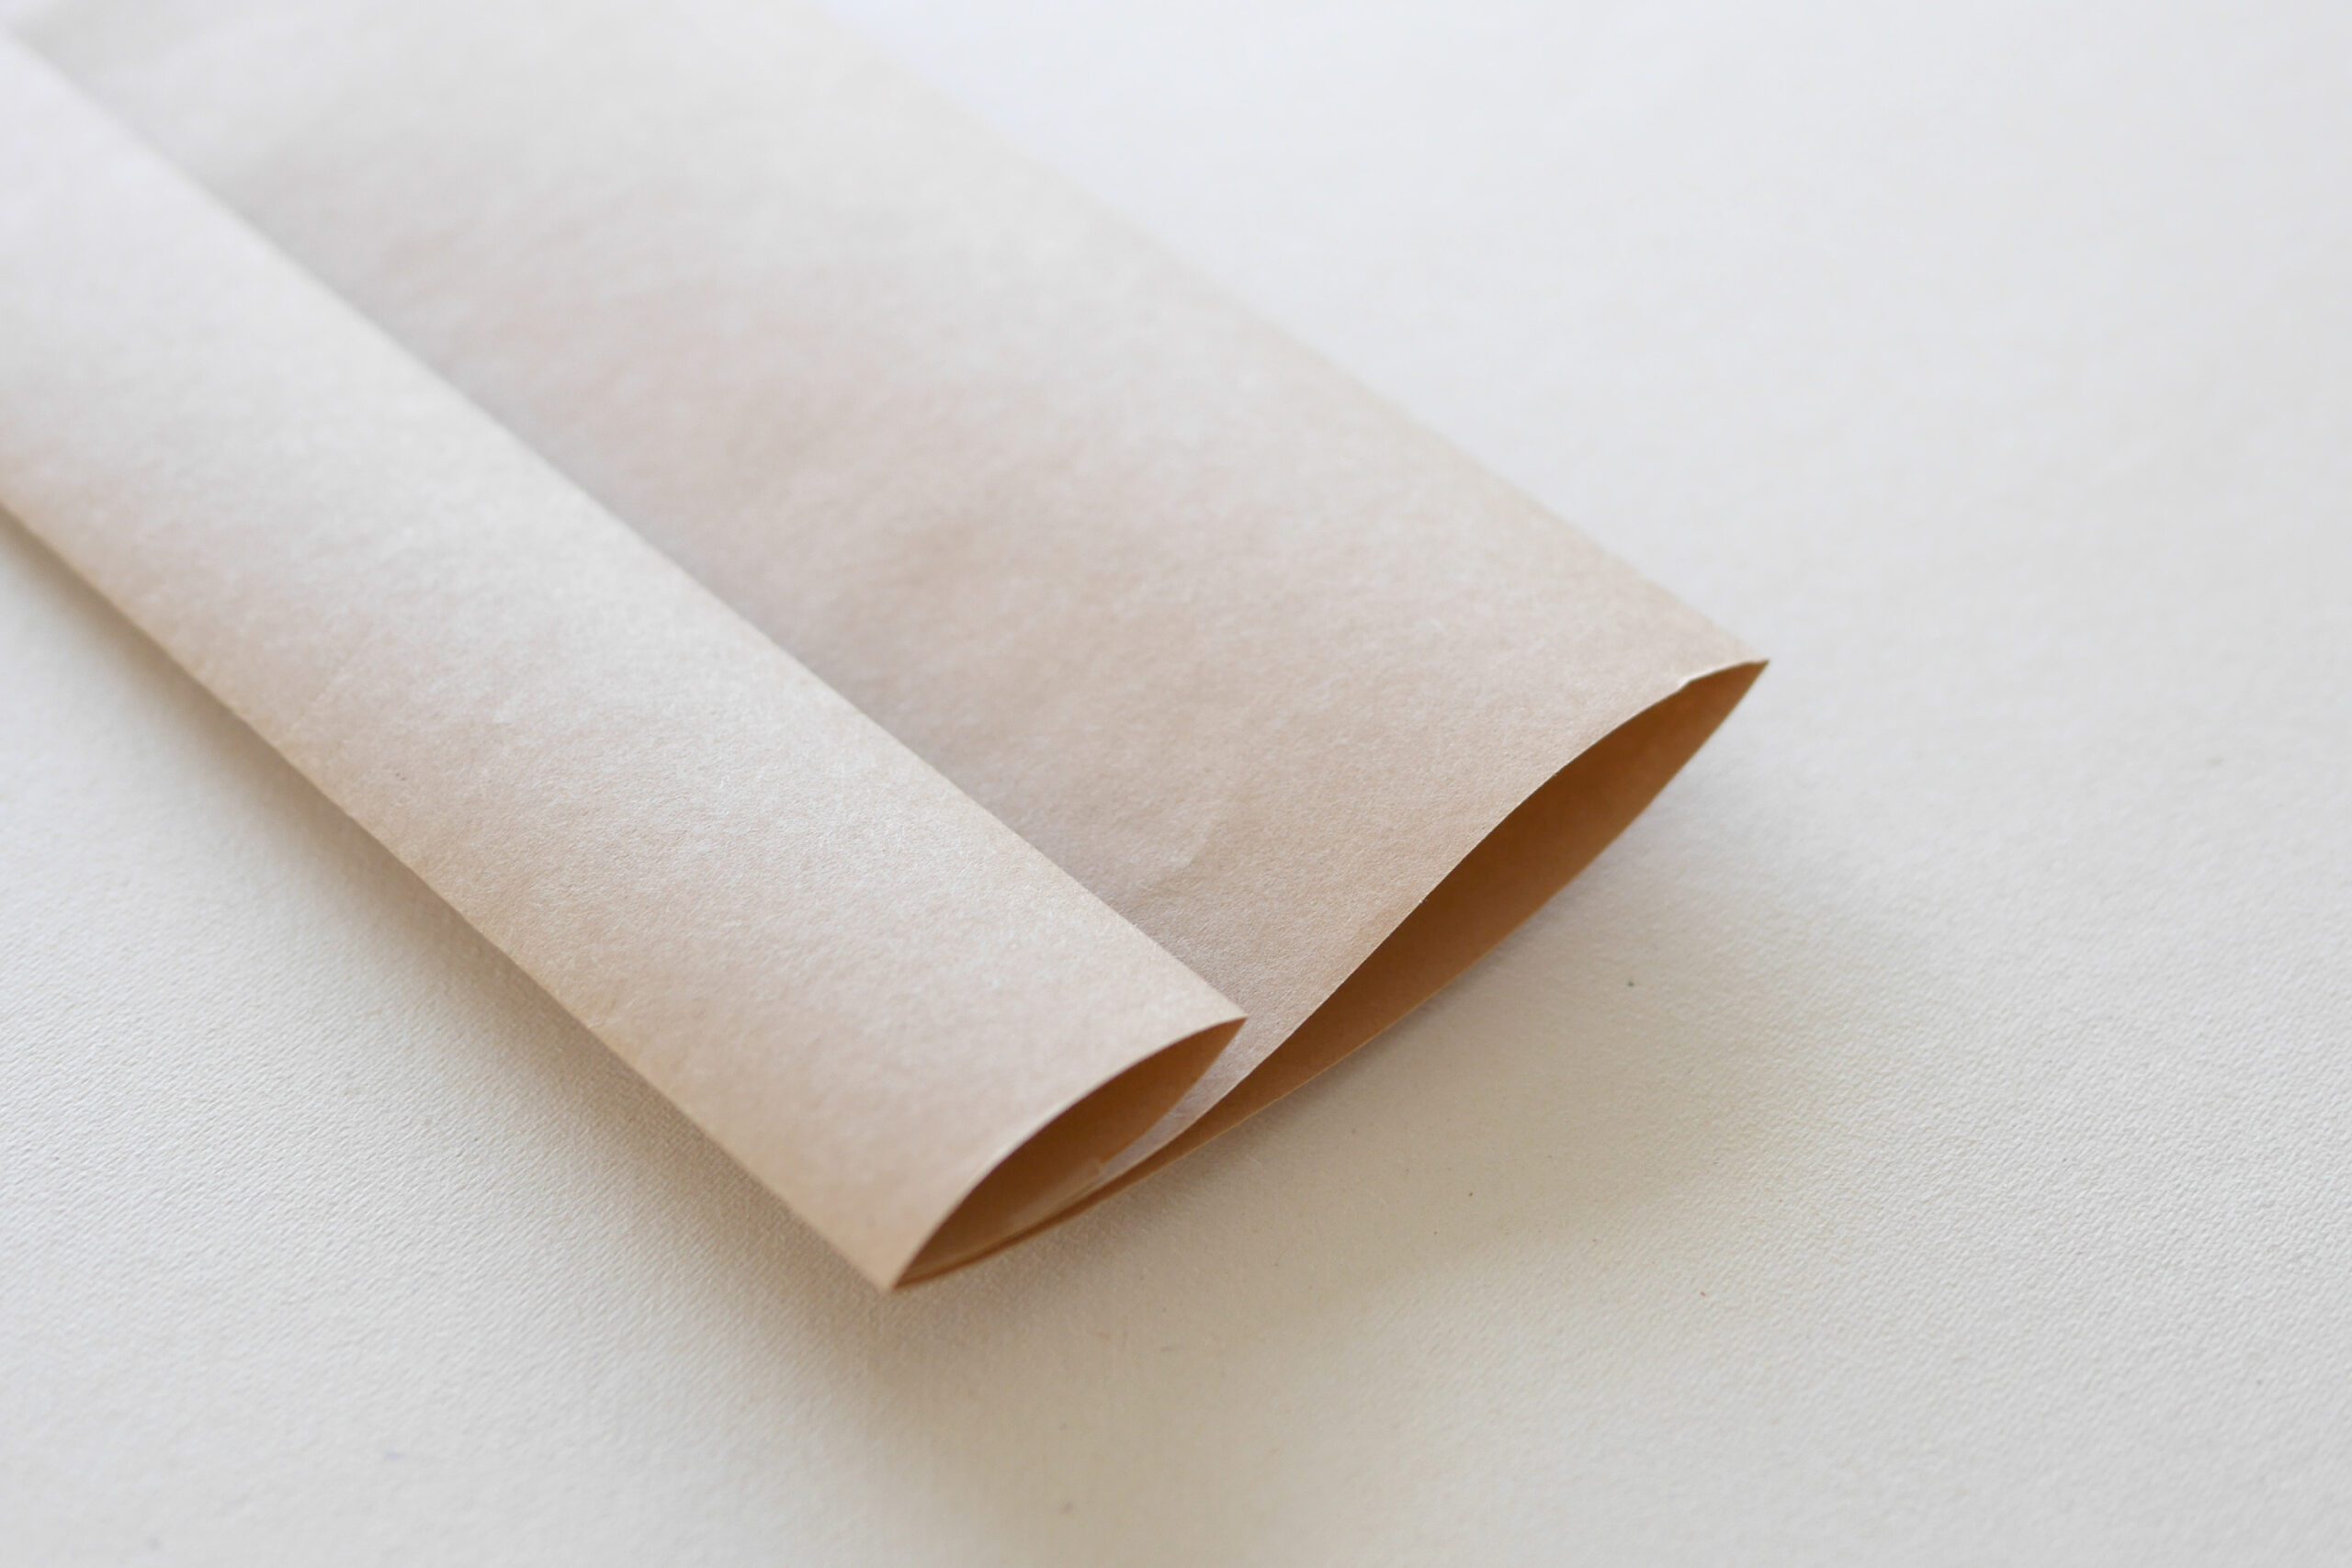
Fold the kraft paper according to the size of the photo you wish to use. In this case, each page is 90 x 60 mm to accommodate a Instant film (86 x 54 mm). The depth of the slit in the pocket is 35mm.
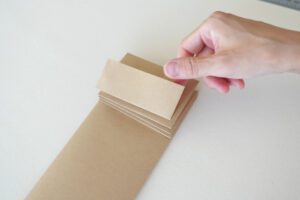
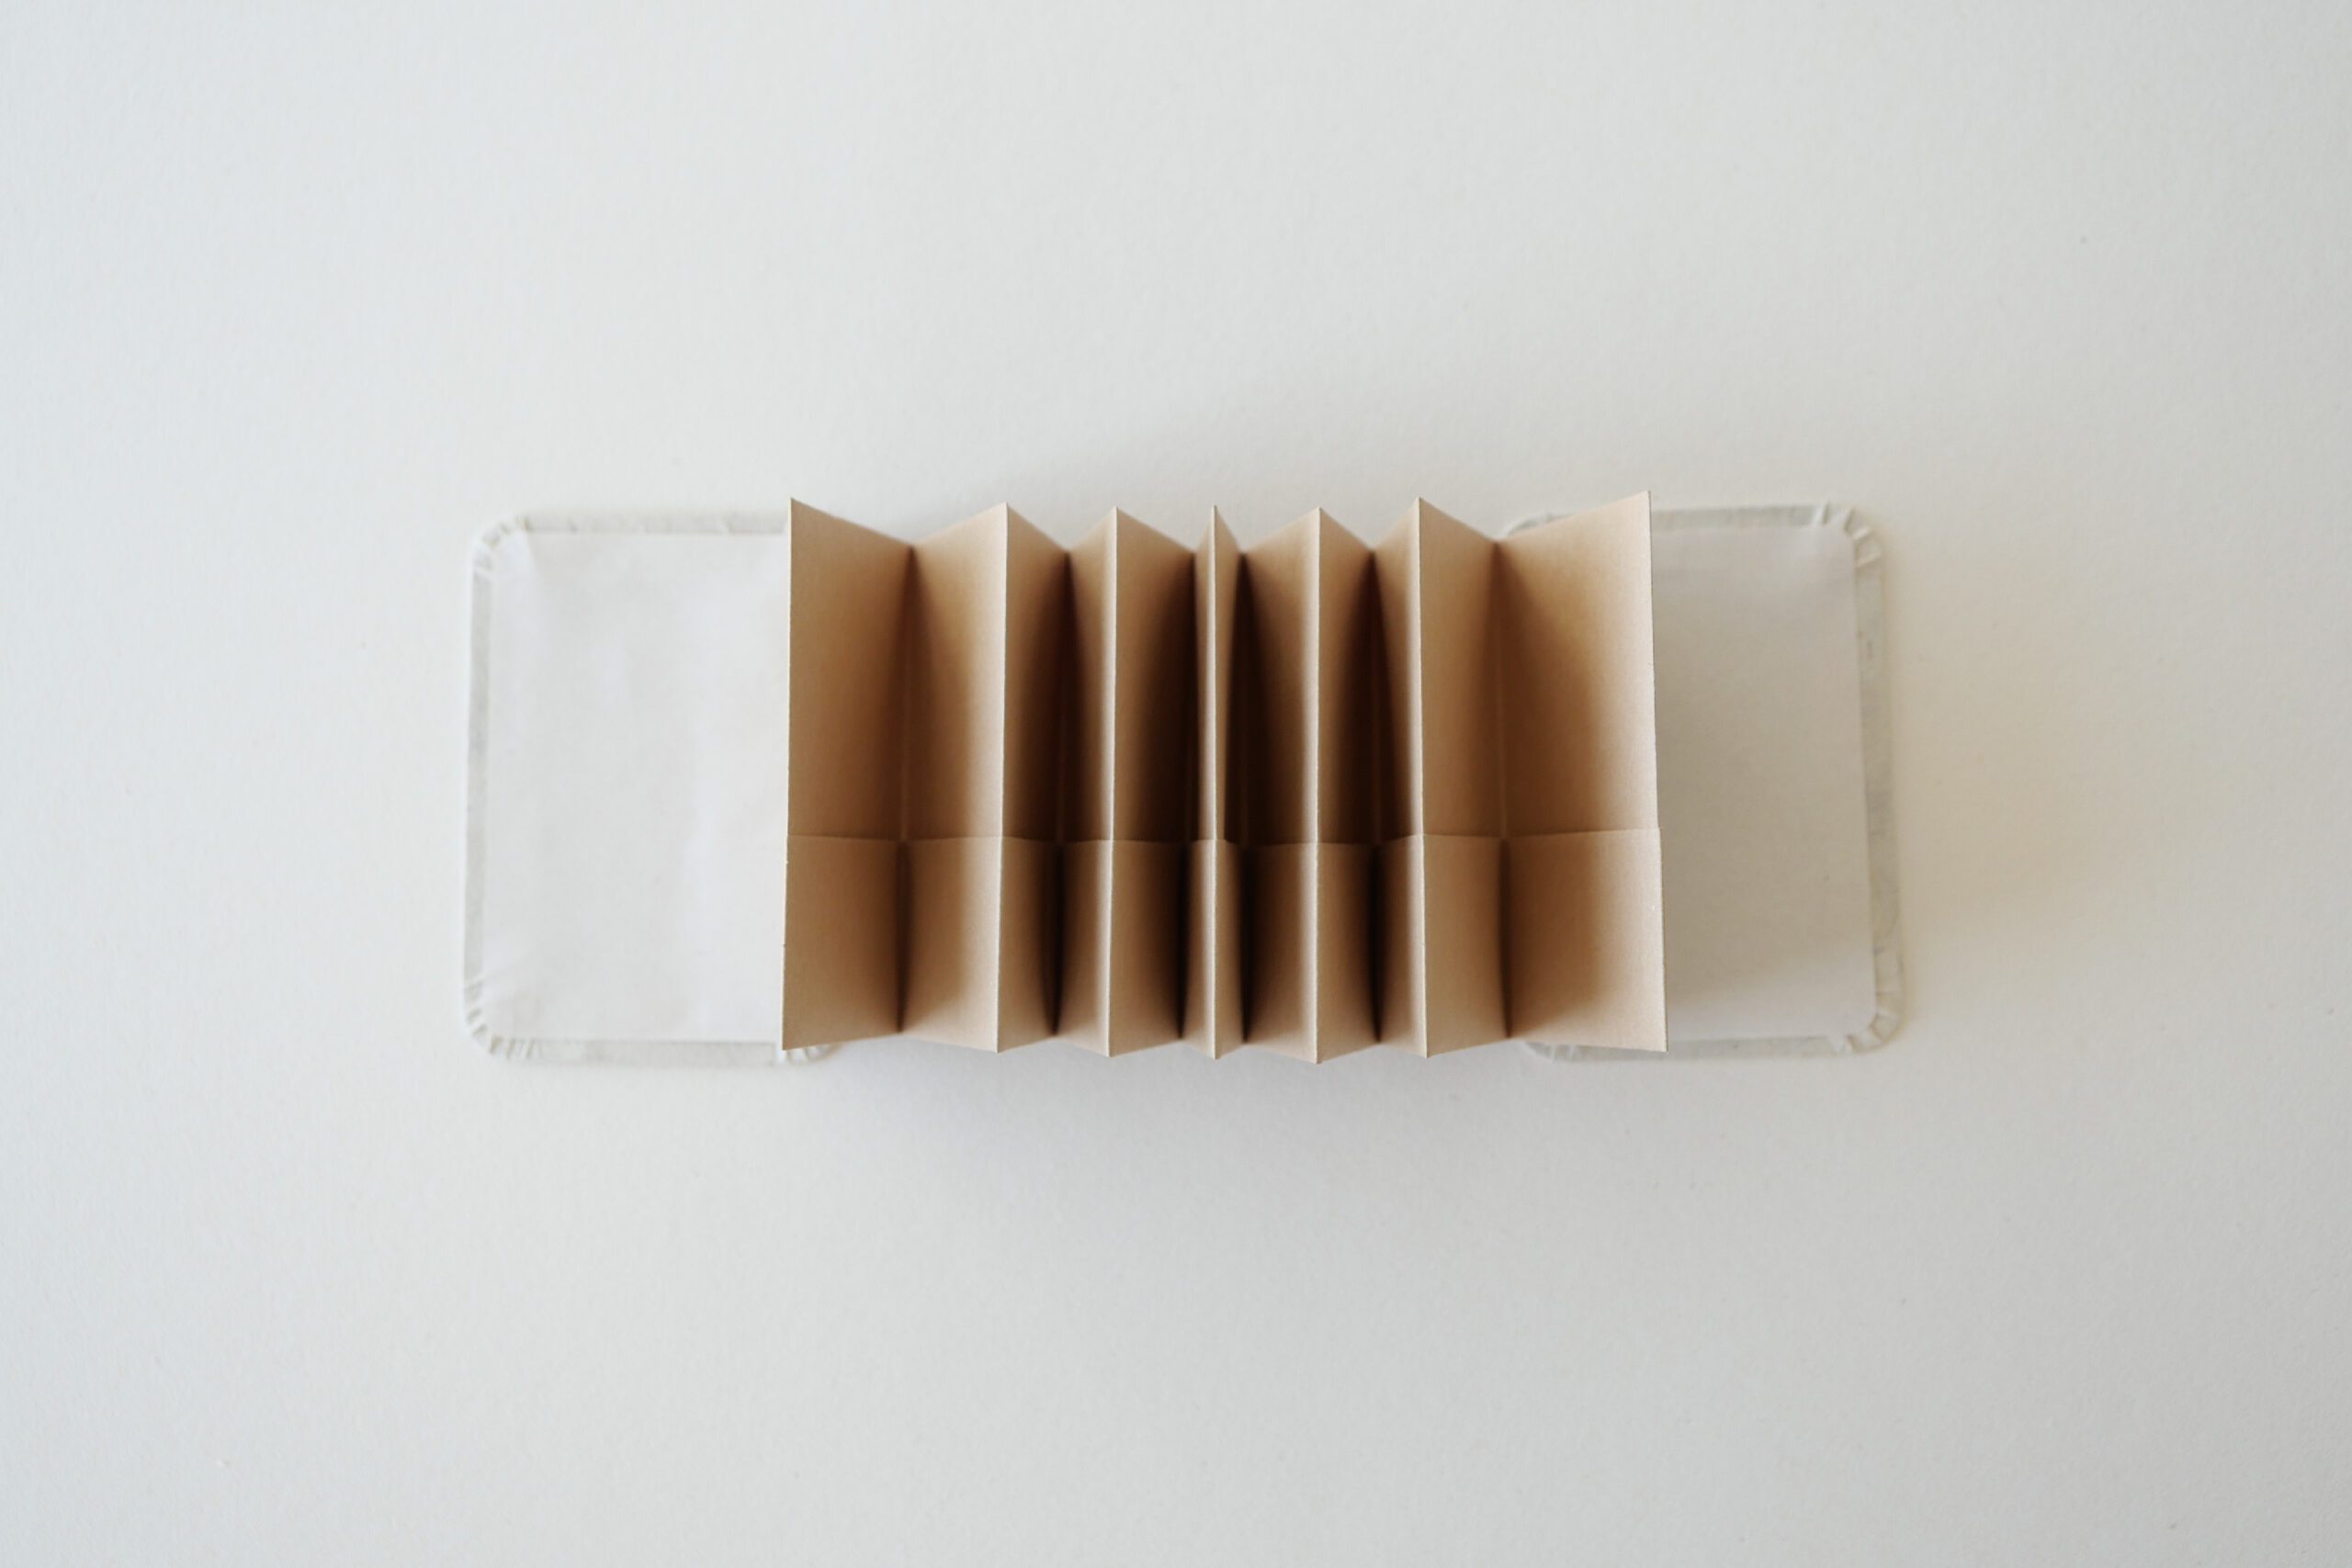
Use 250 mm of 3 ft. long kraft paper; fold it against 250 mm, 90 mm from the top and 35 mm from the bottom. Then fold where the top and bottom papers overlap to complete the slit. Folding in this way makes all the edges baggy and creates a more durable pocket.
Step 2. Fold to Accordion Style
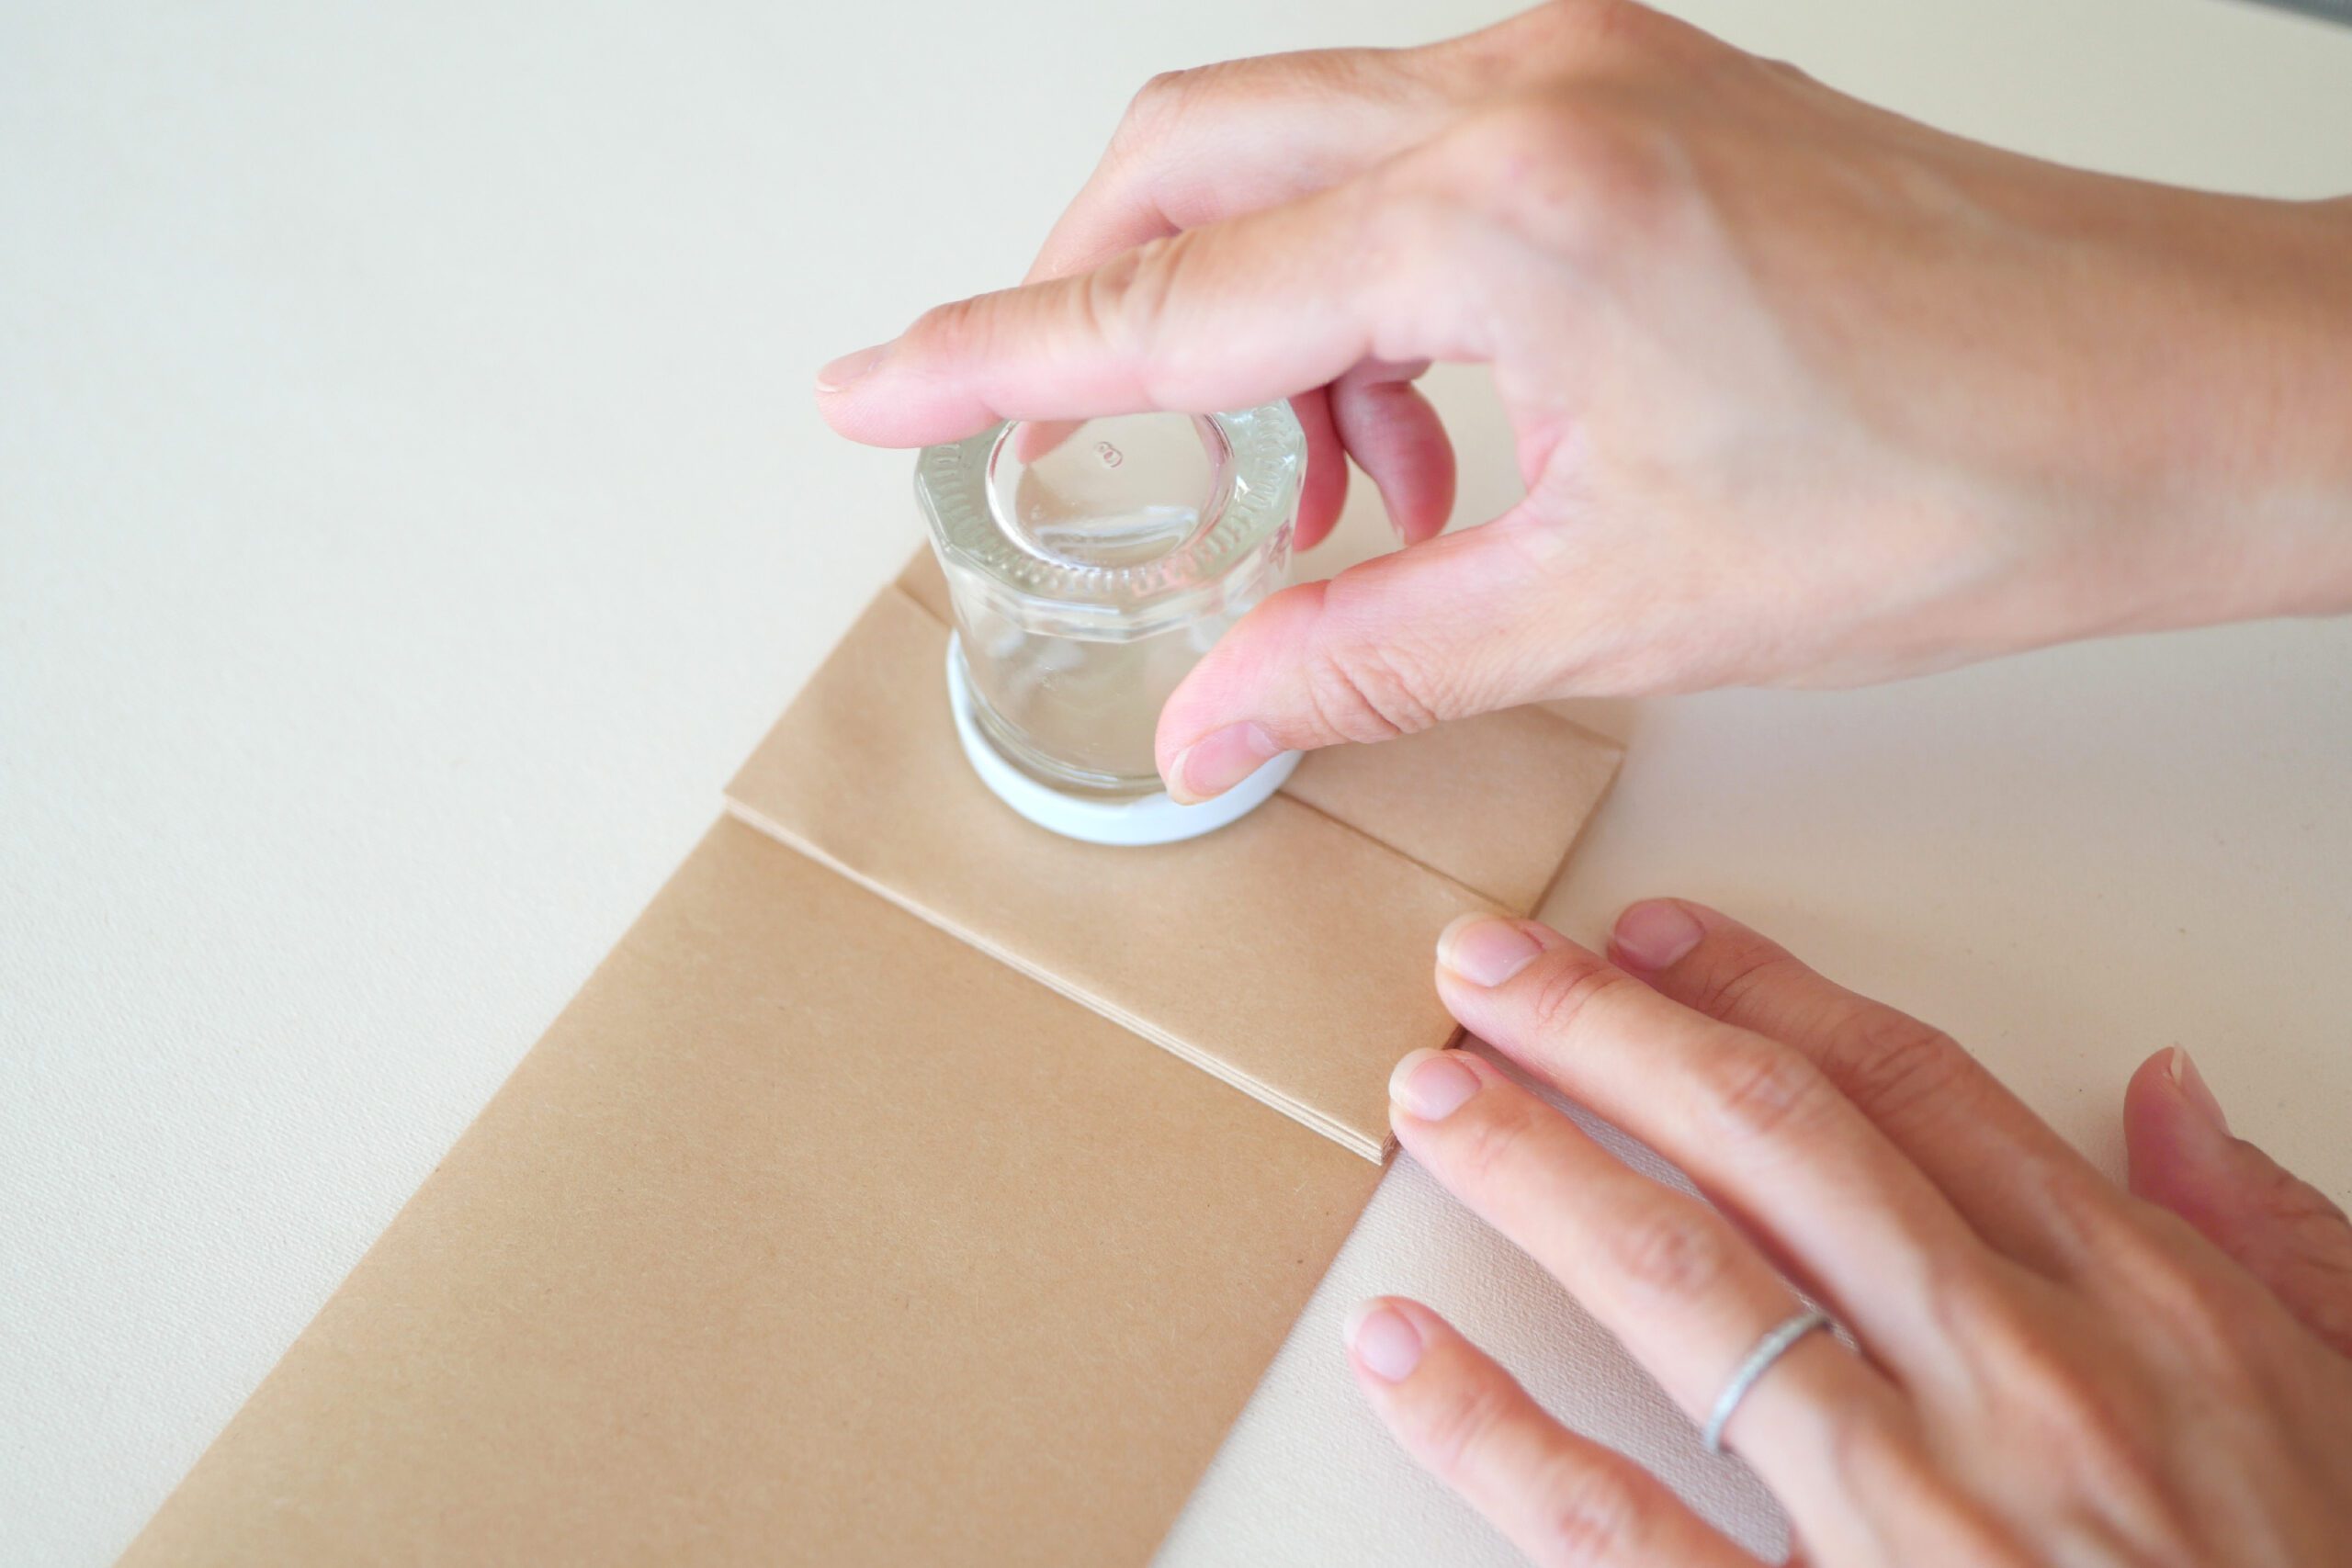
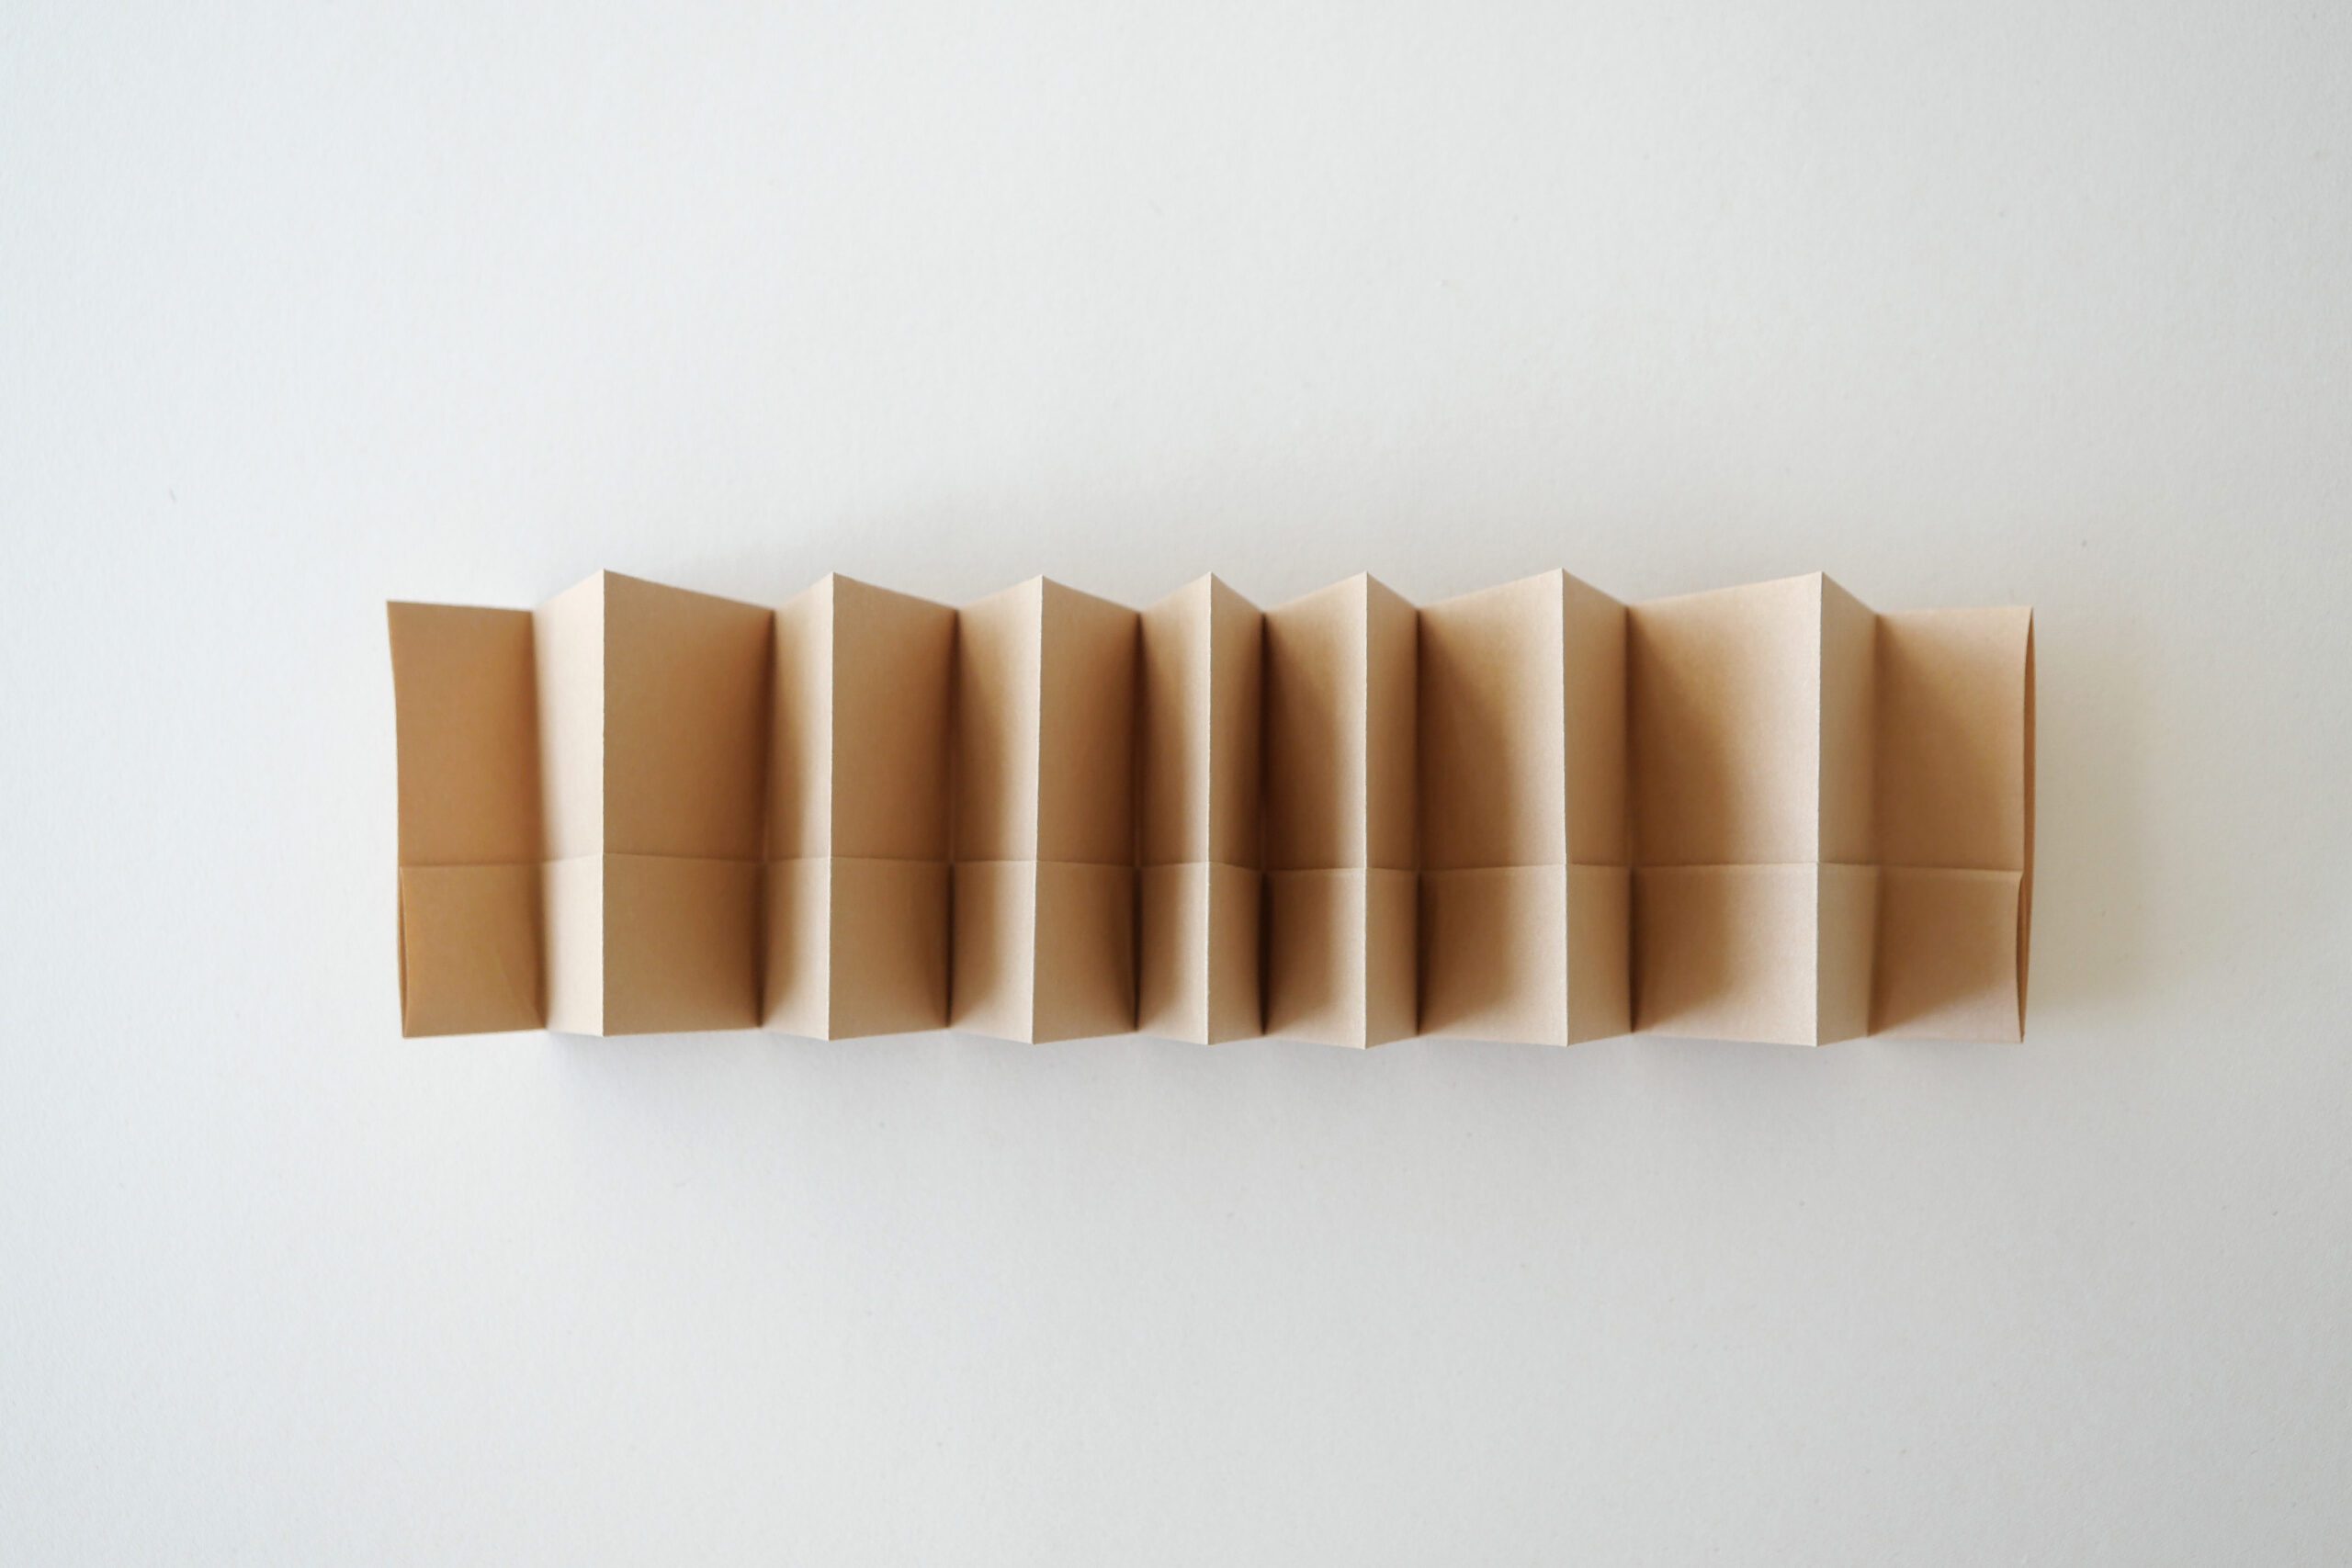
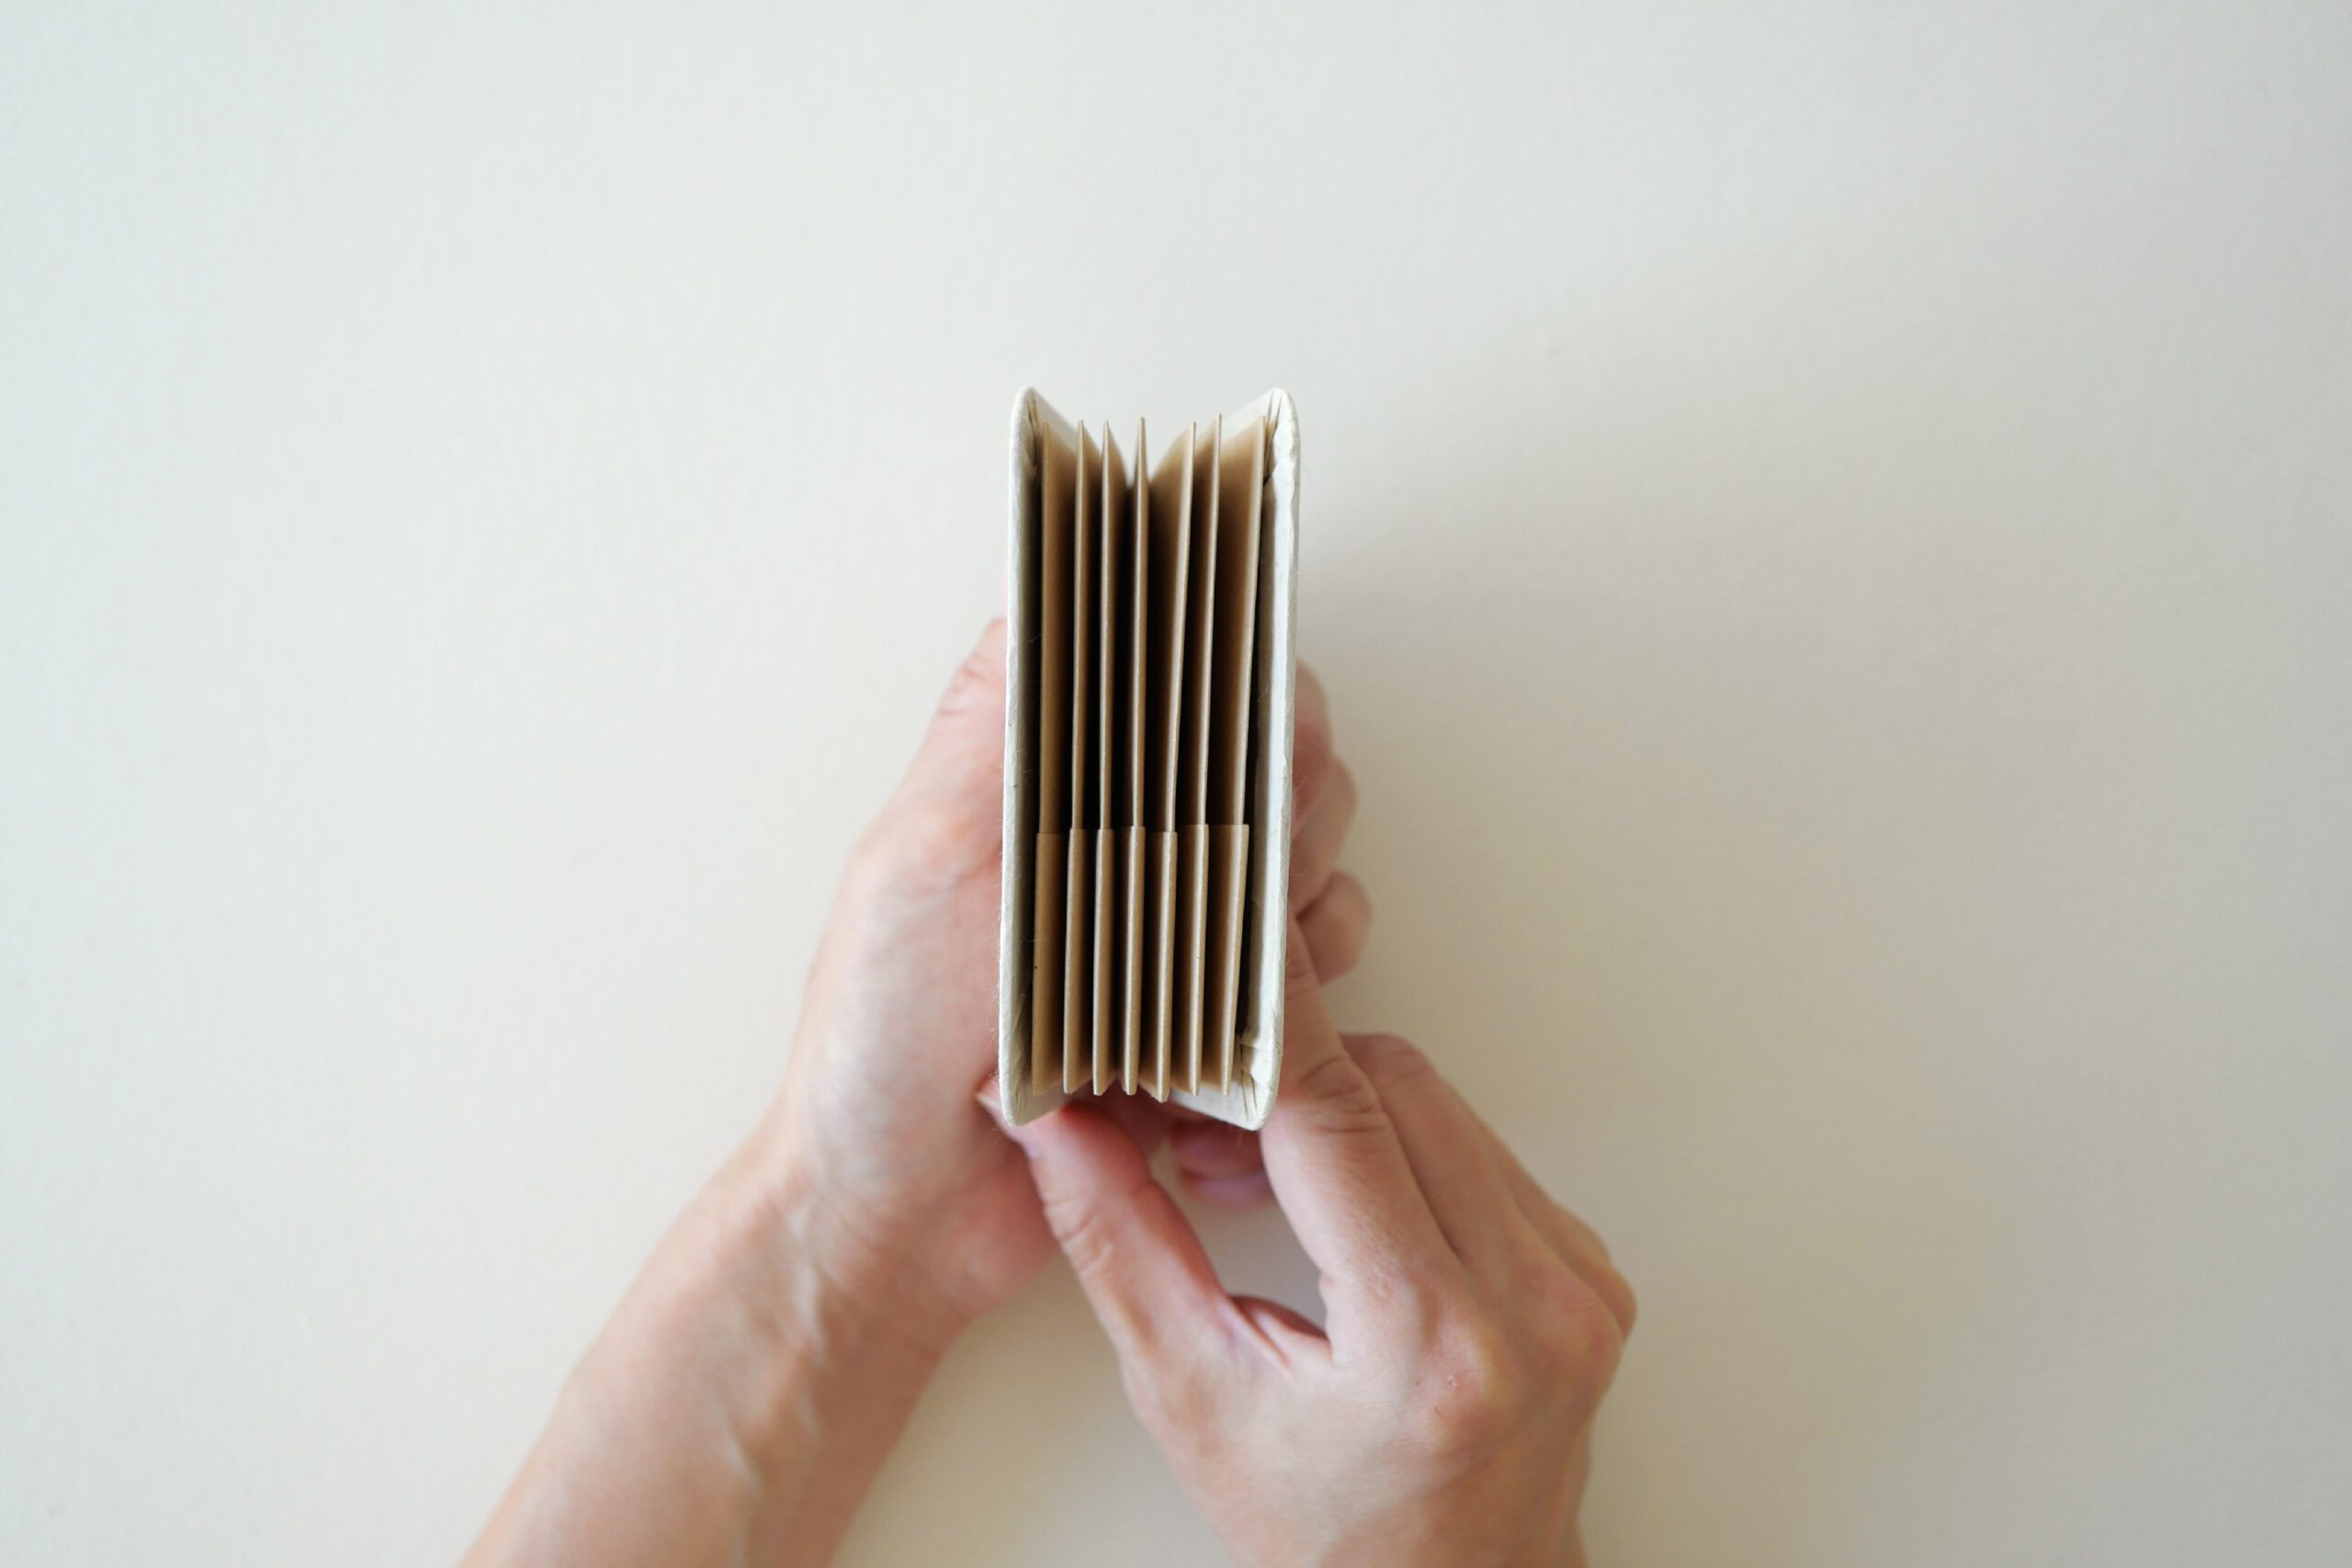
Initially fold it in half. Then fold an accordion style each side alternately into a 60 mm. This method is only recommended; folding alternately from the center will reduce the final misalignment, rather than folding from the edges. The important part of this pocket is to fold the creases tightly. The first tip for a tight fold is to fold it while holding a steel ruler against it. The ruler will serve as a guide and make it easier to fold. The second tip is to use a small empty bottle. Instead of pressing down on the folded part with your hand, slide the jar over the folded part to make a tighter fold.
Step 3. Make the Cover
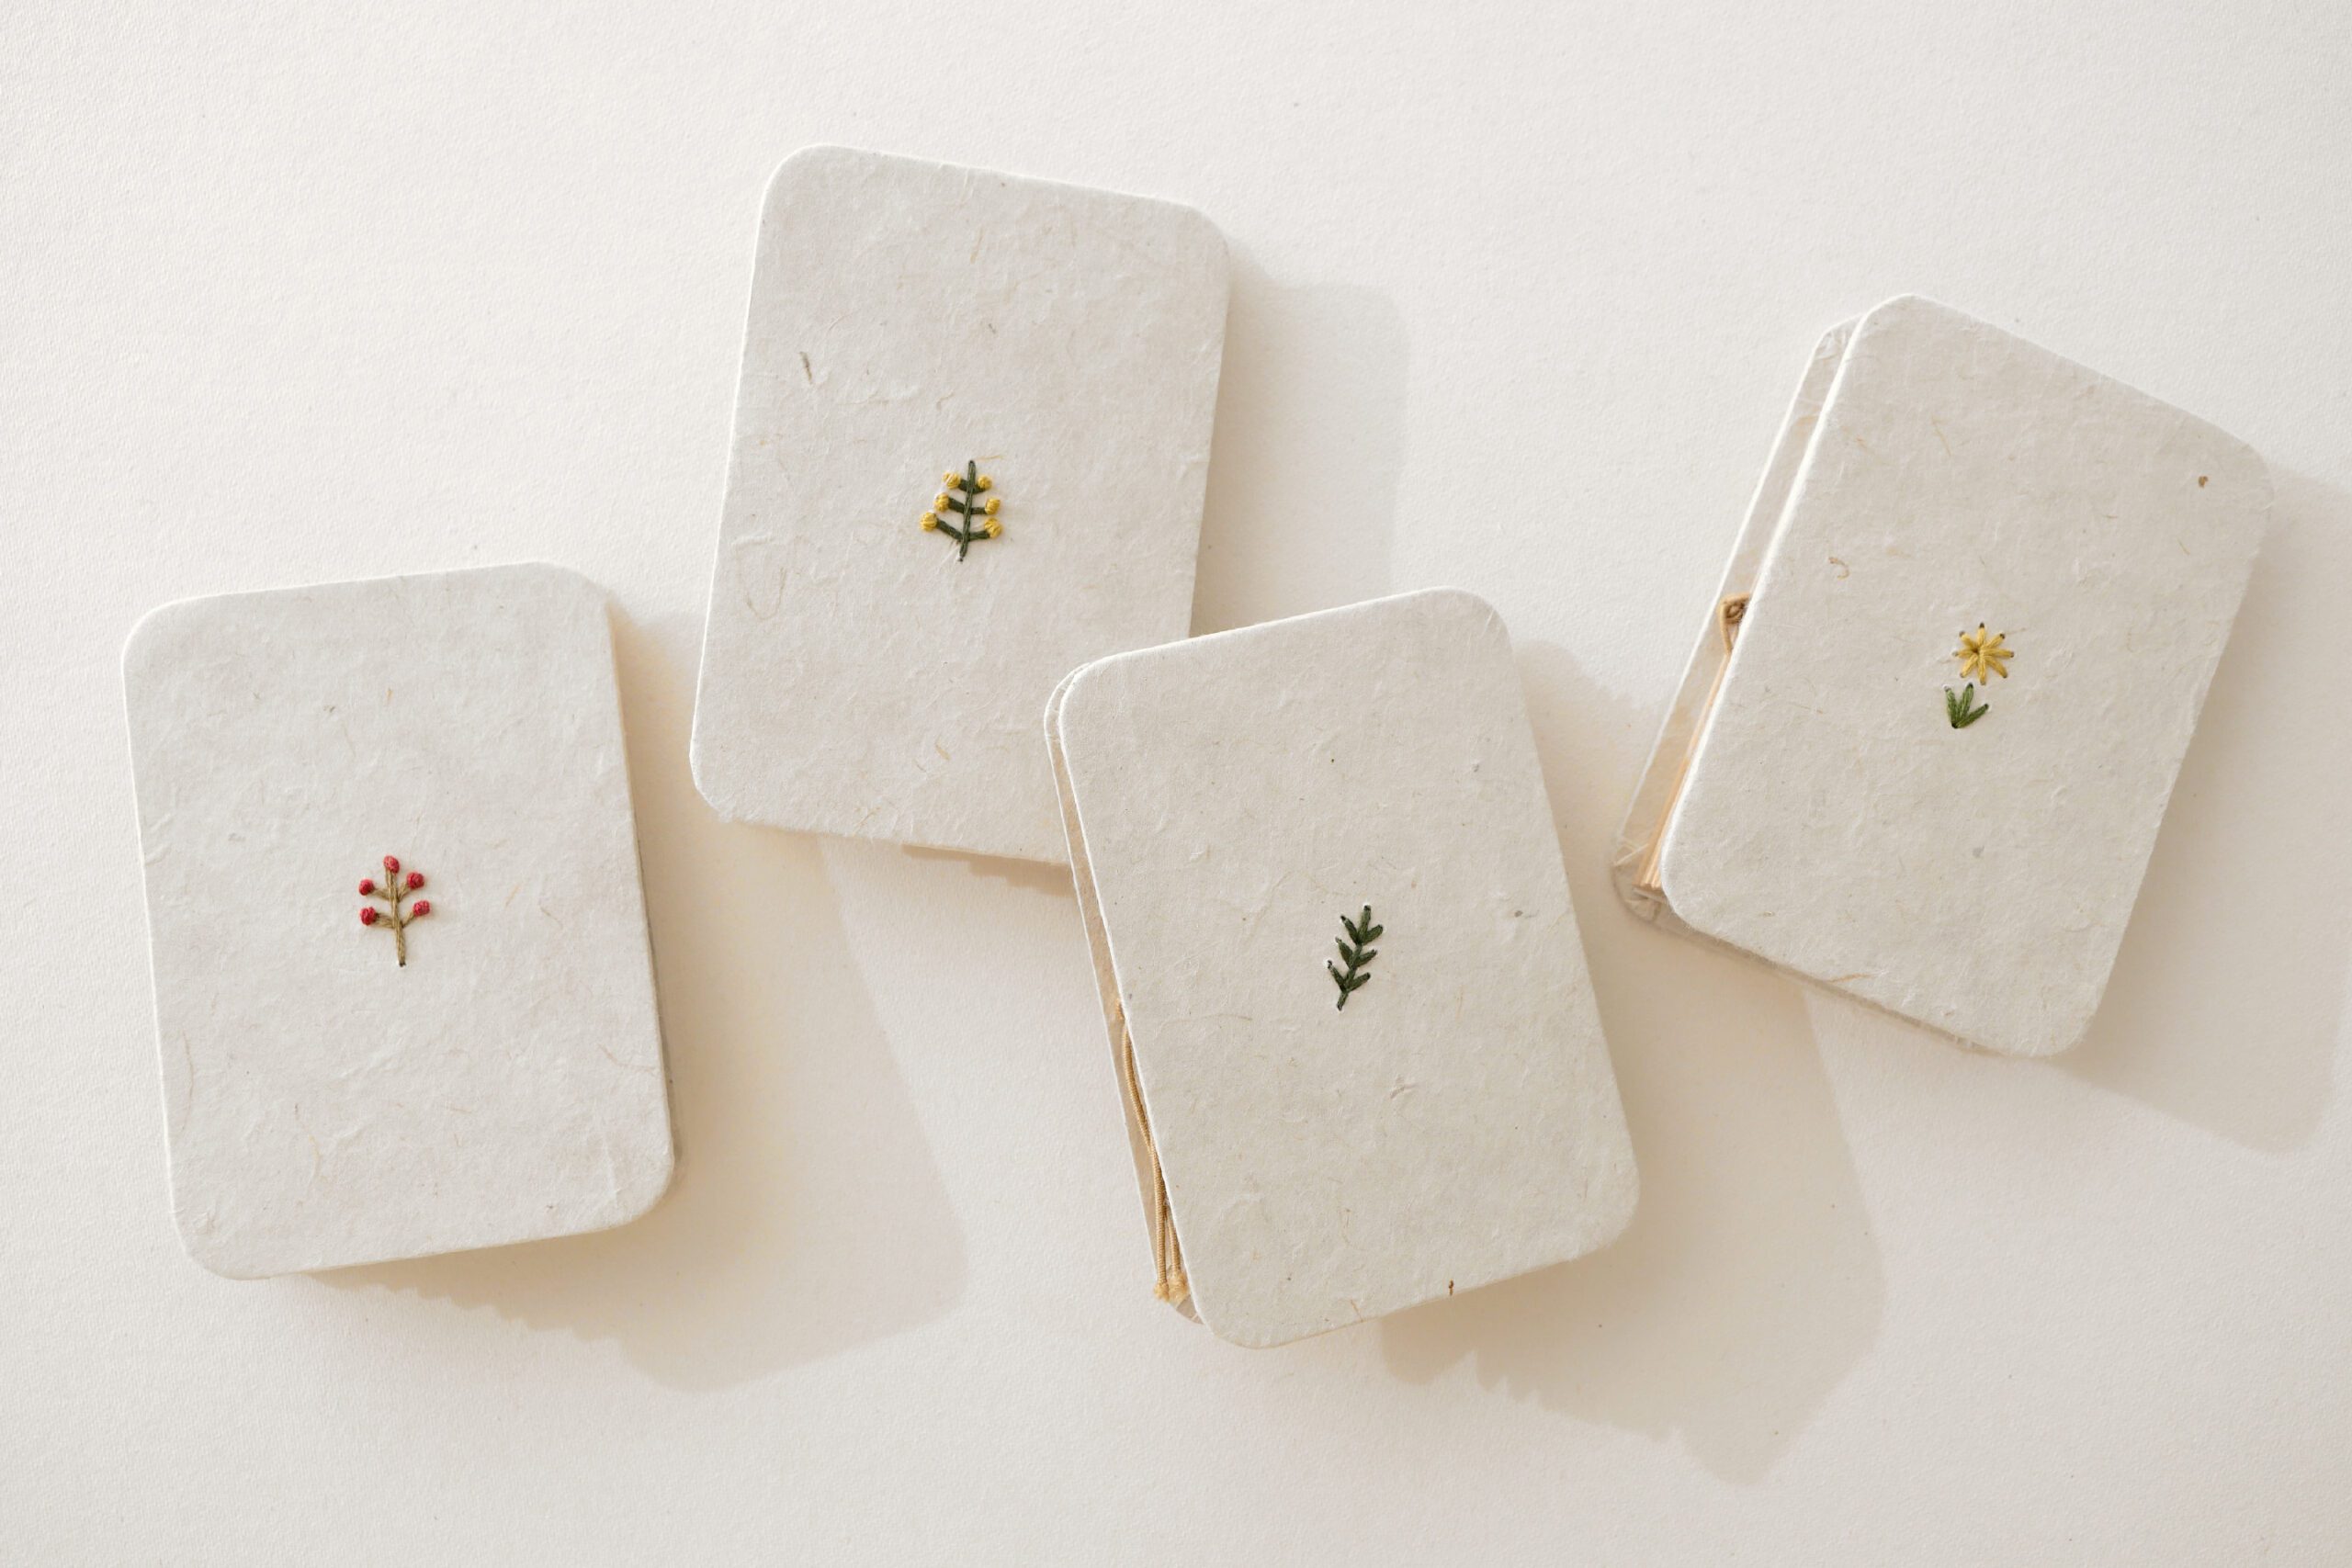
Cut the card board for the cover into 100 x 70 mm pieces. Prepare two sheets, one for the front and one for the back.
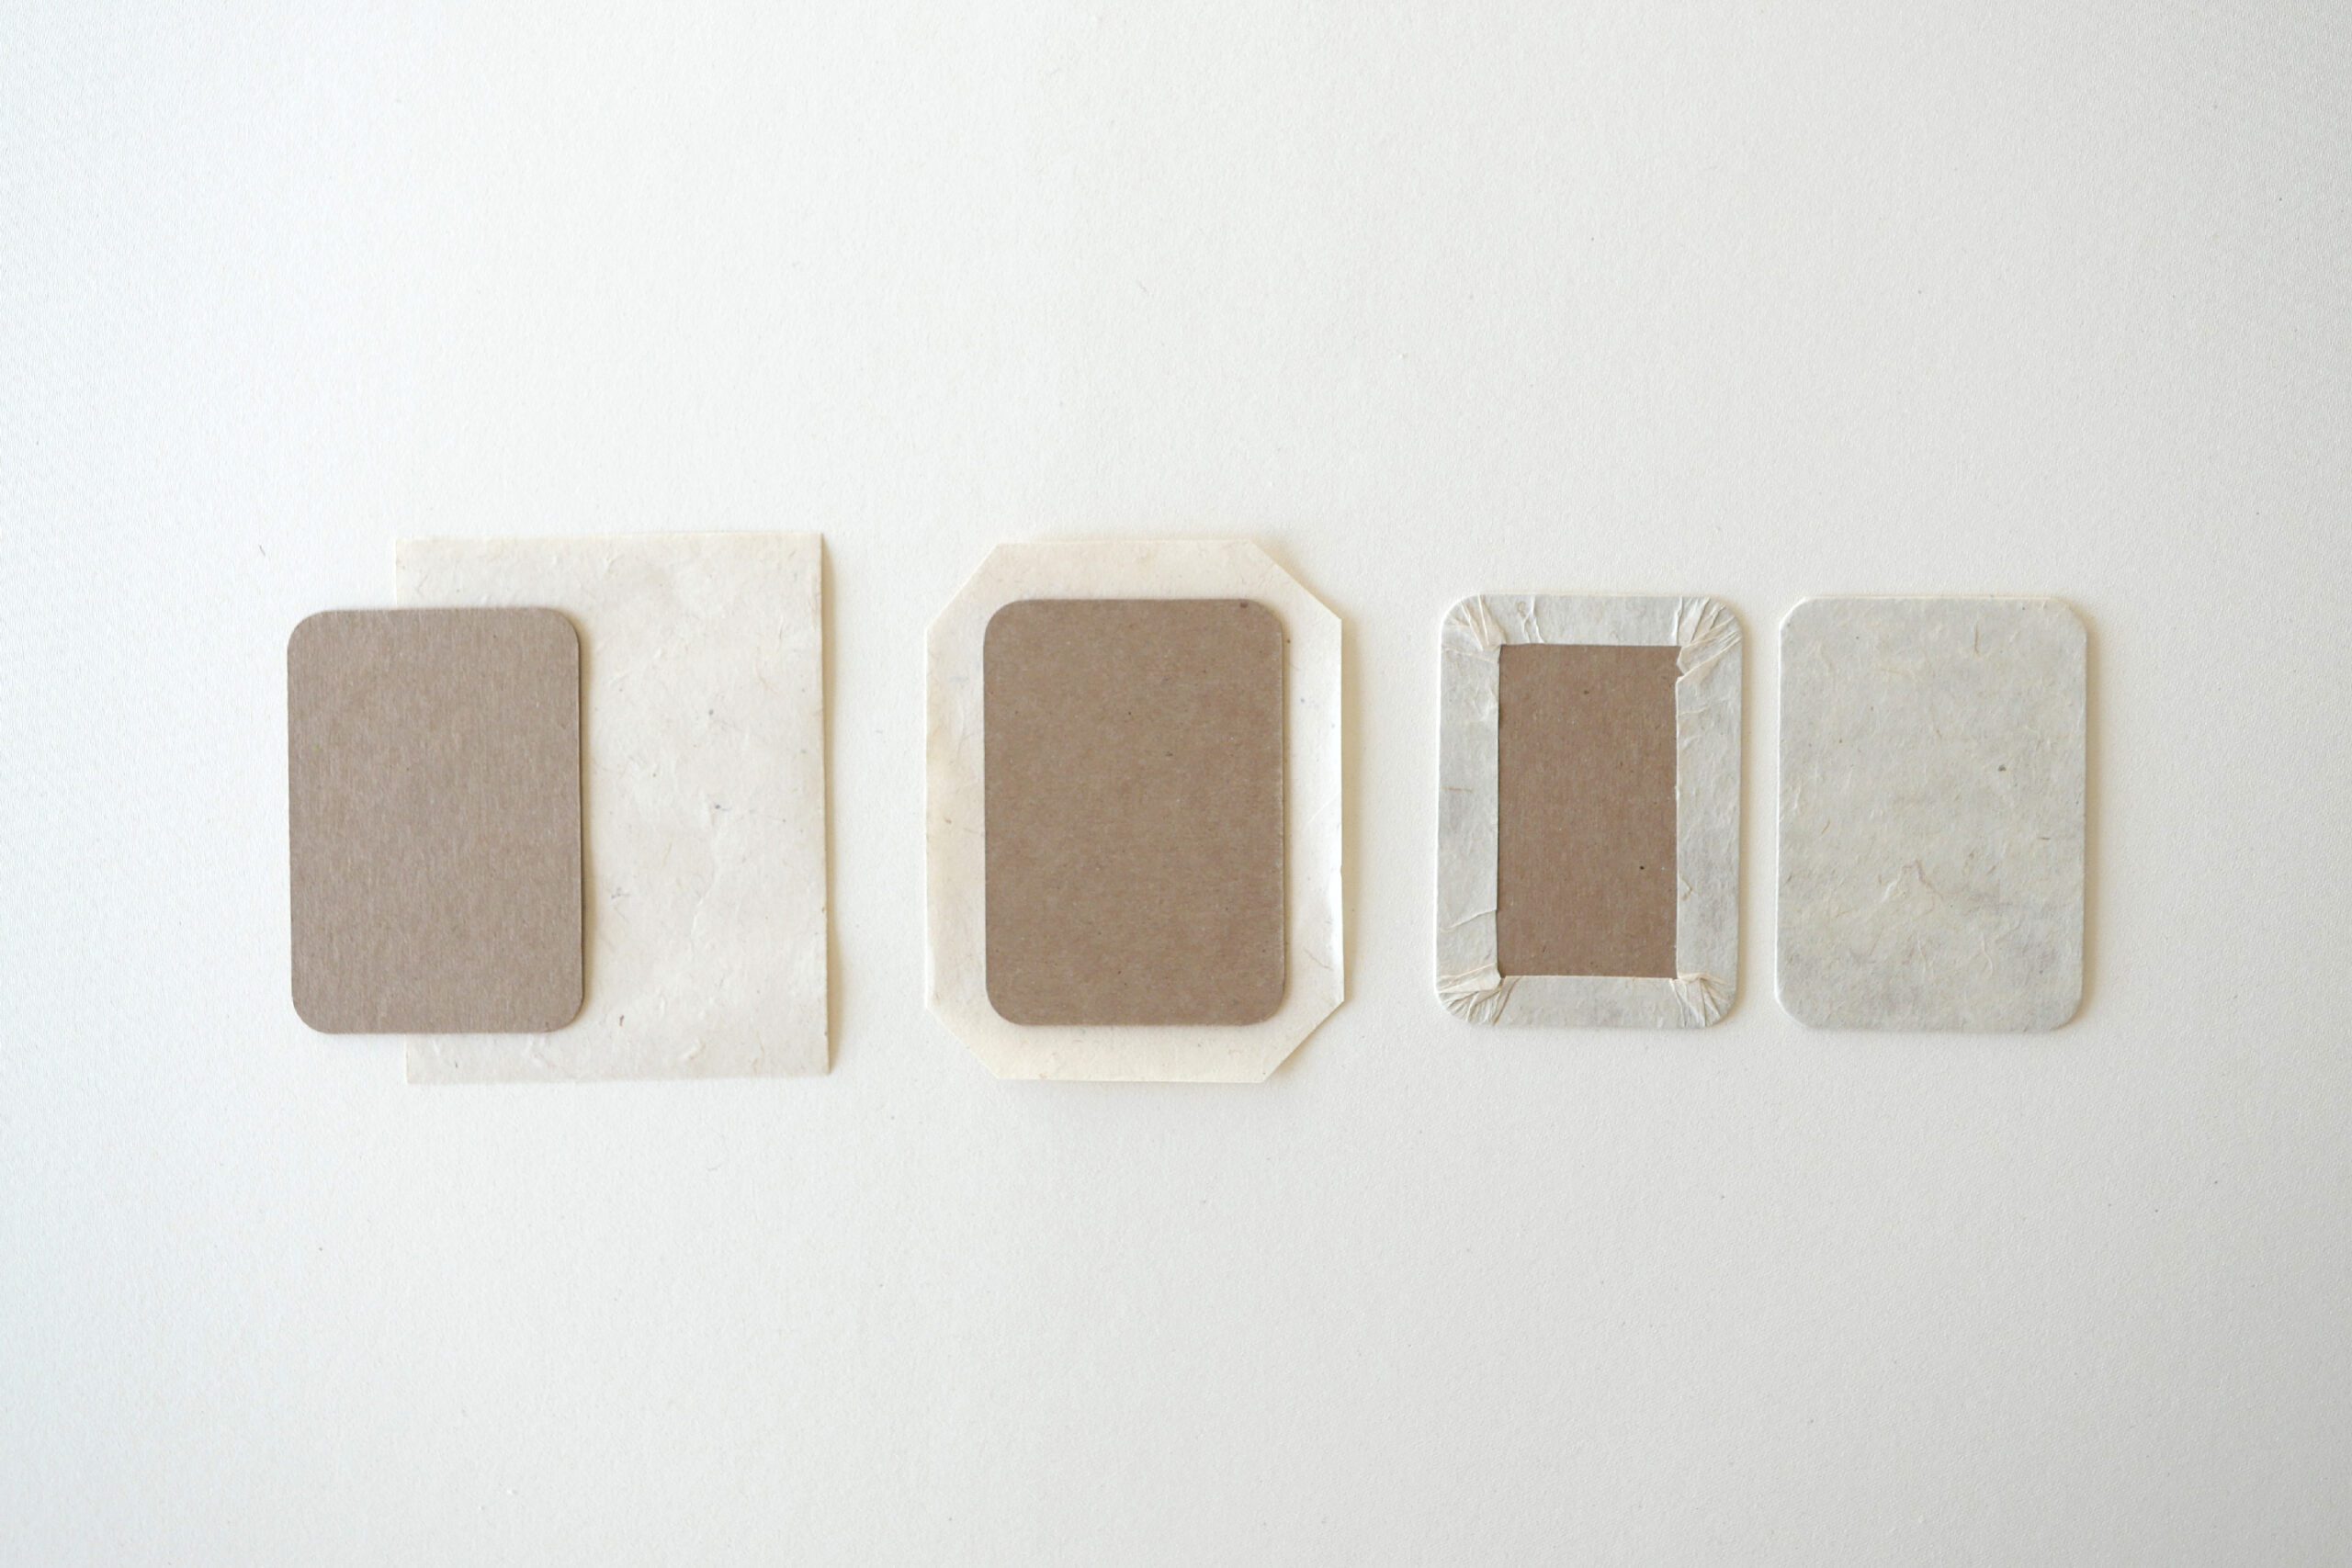
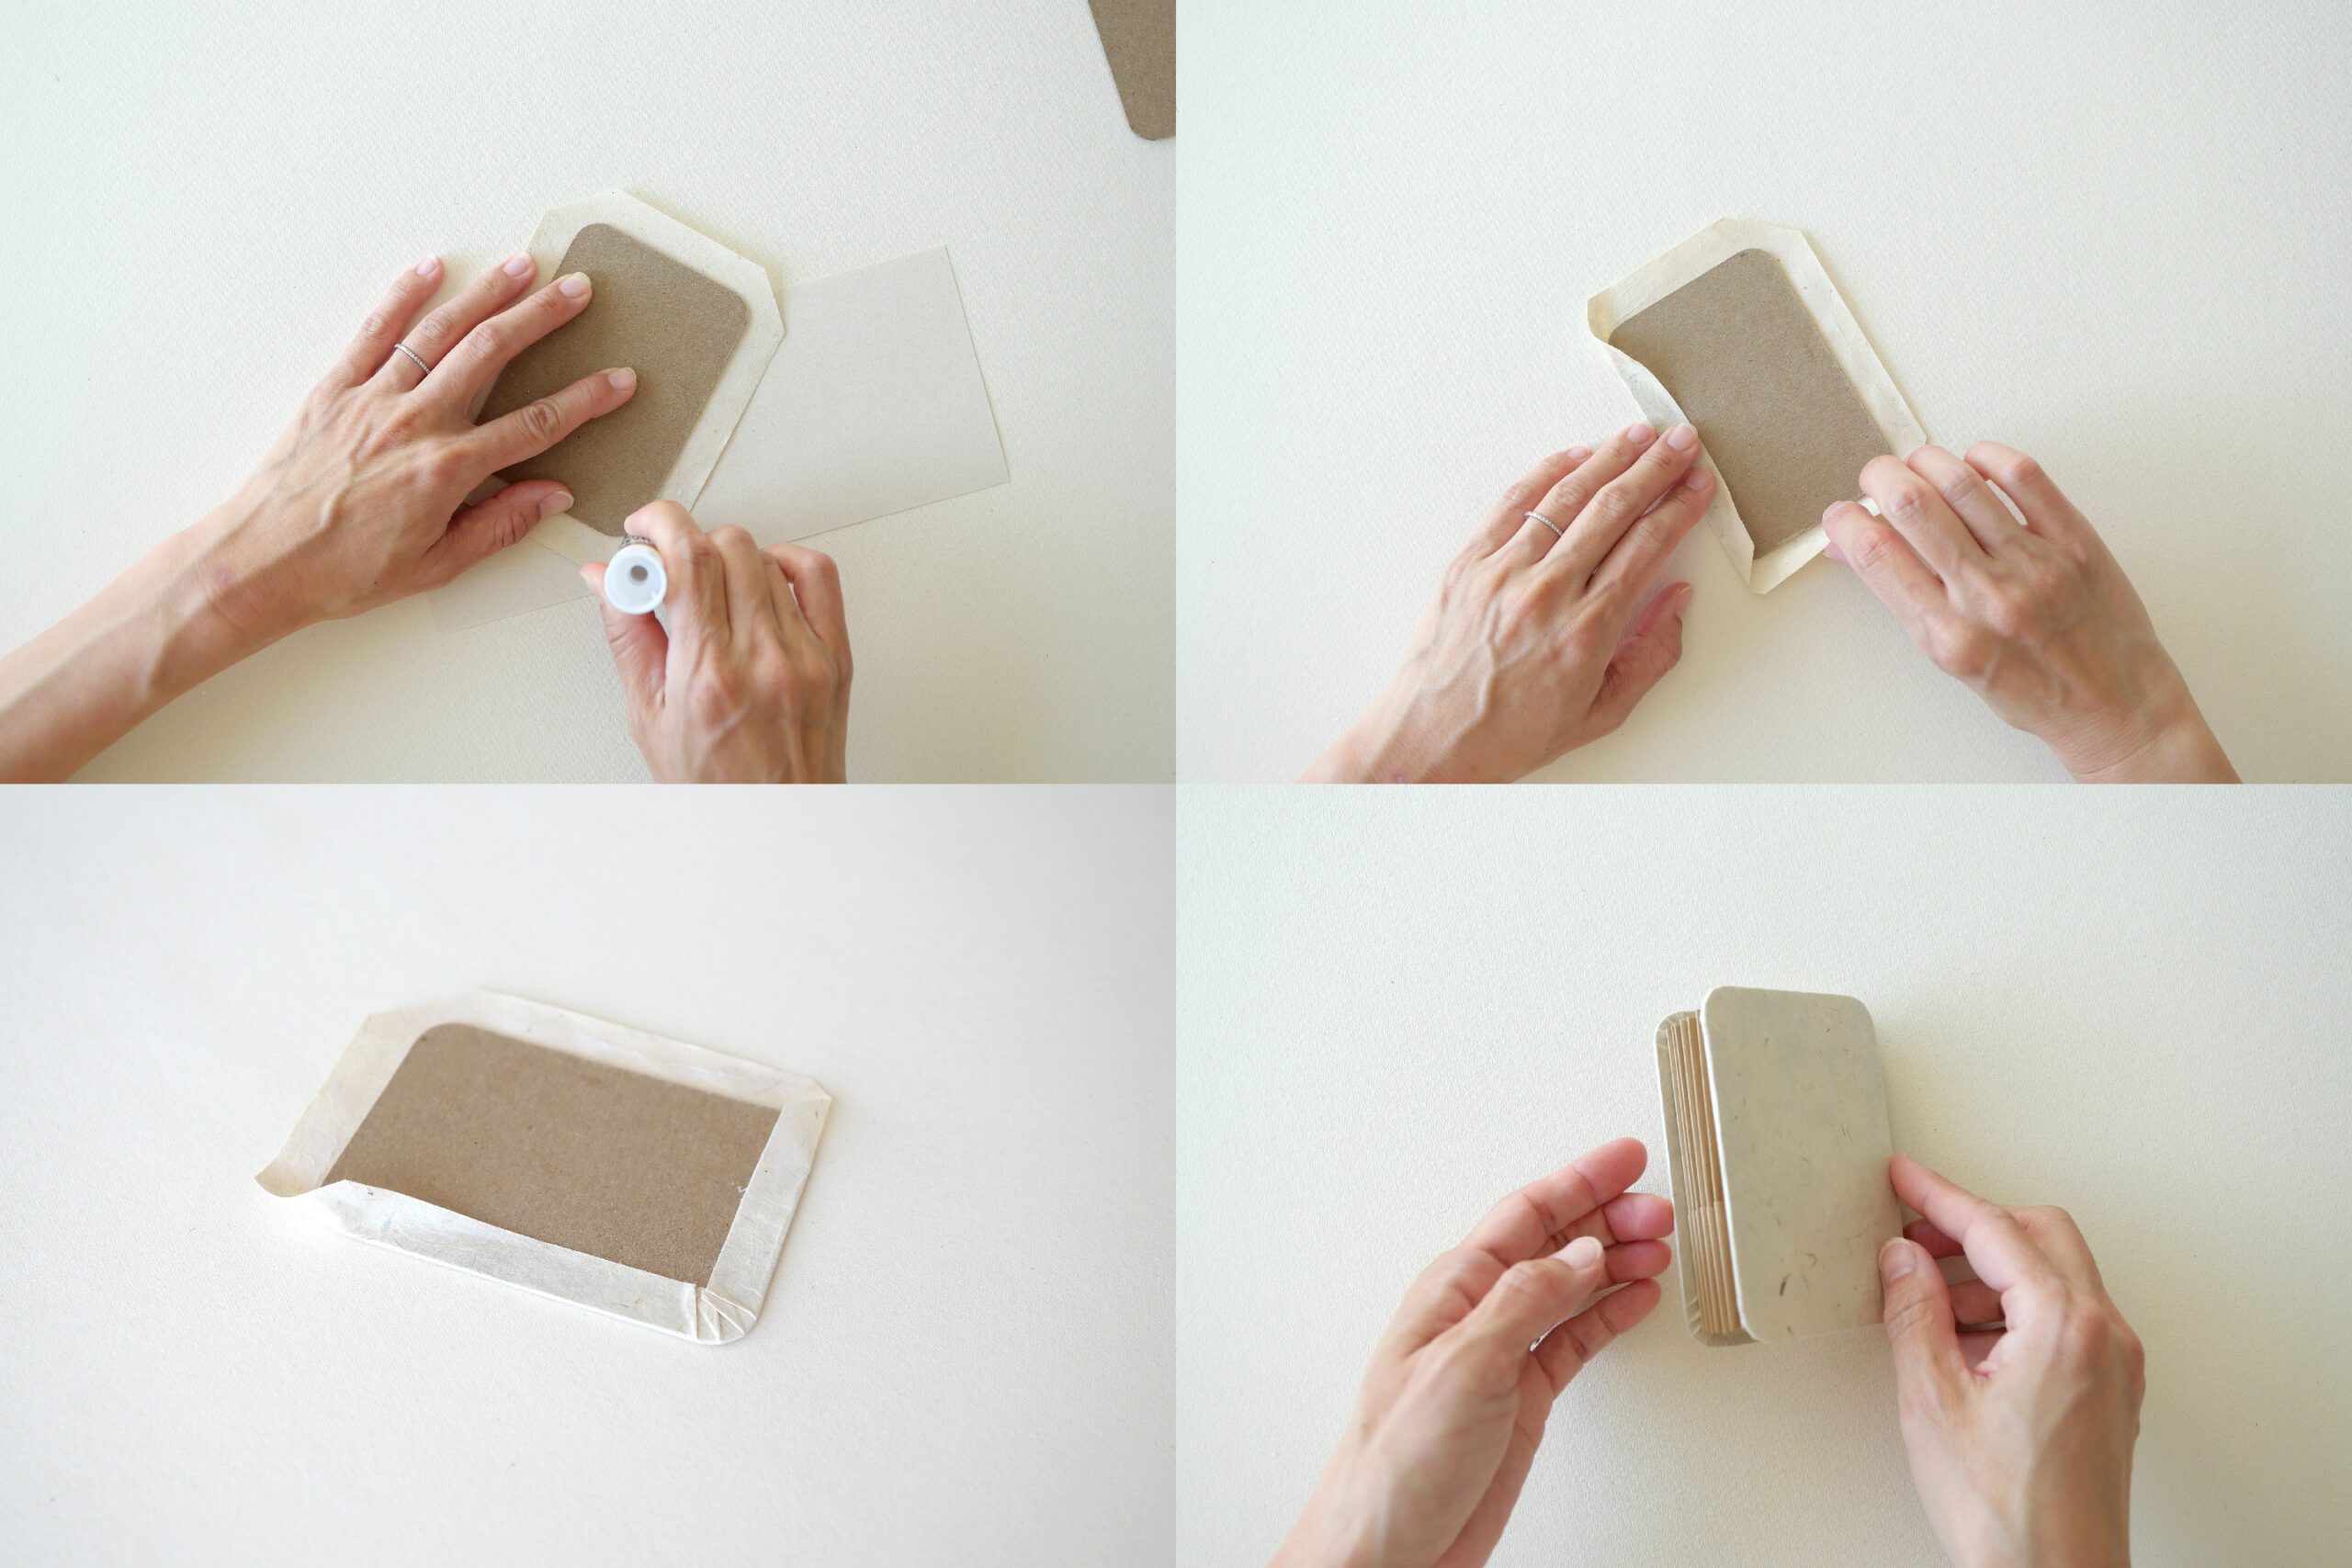
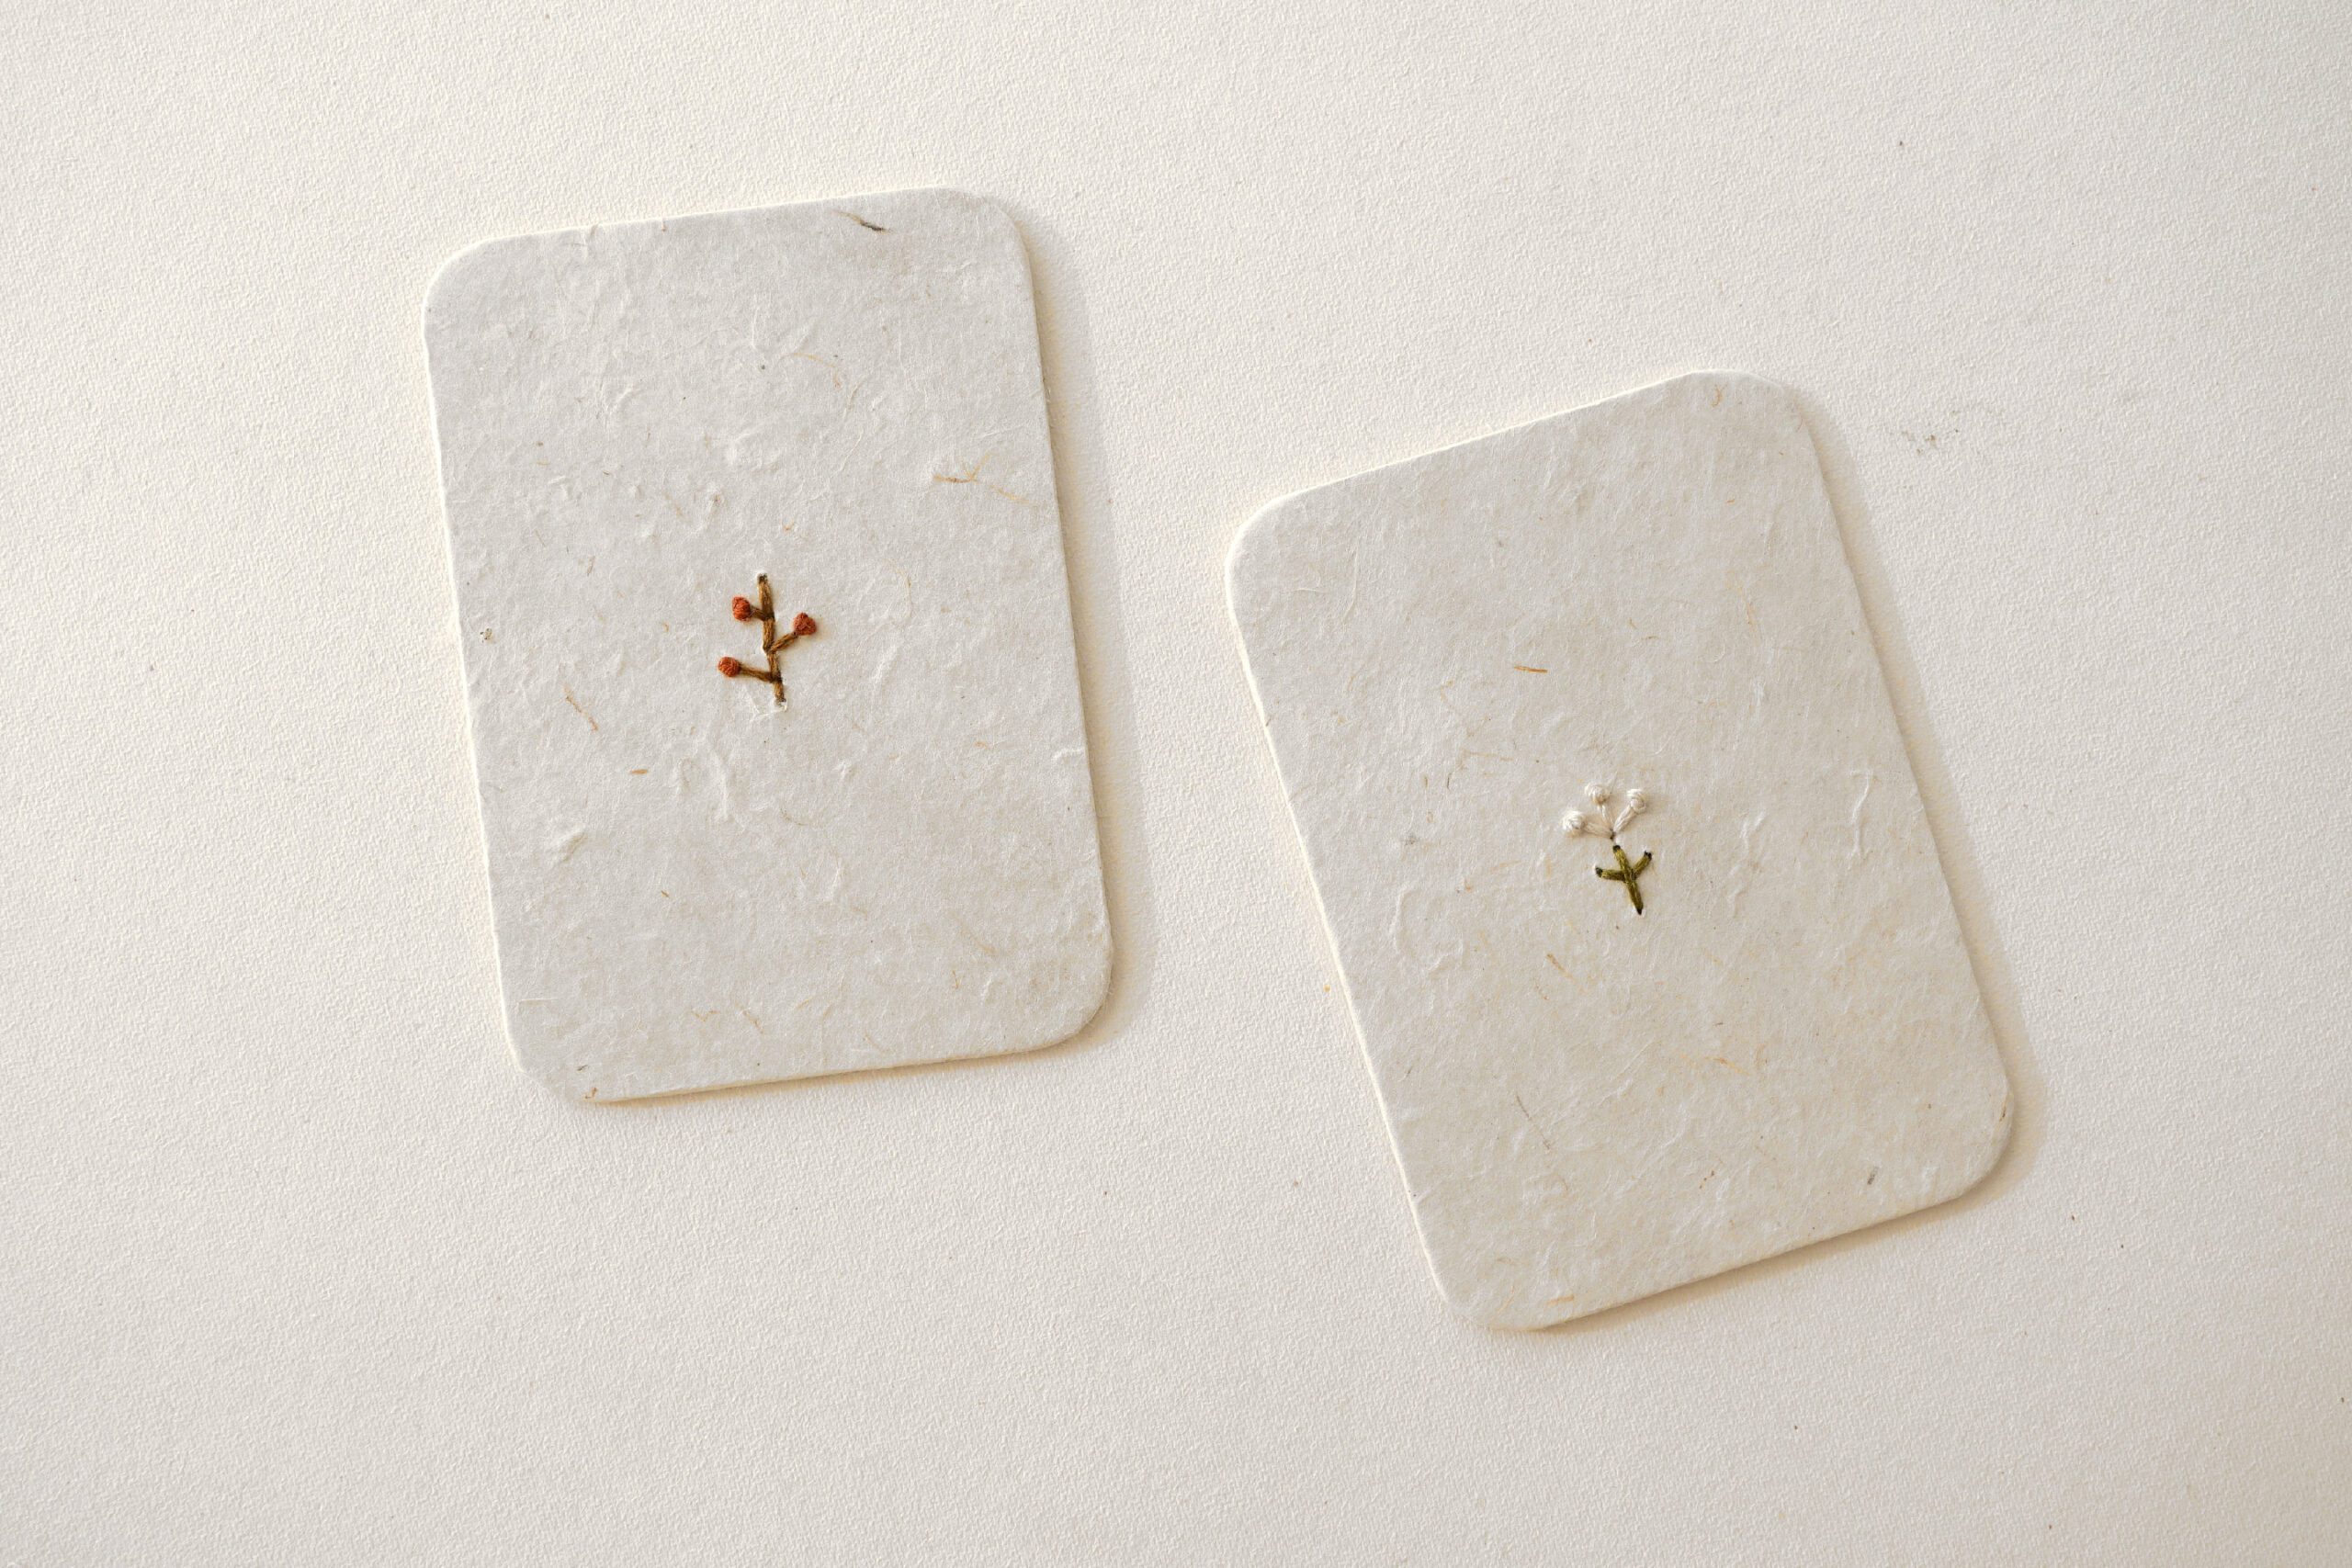
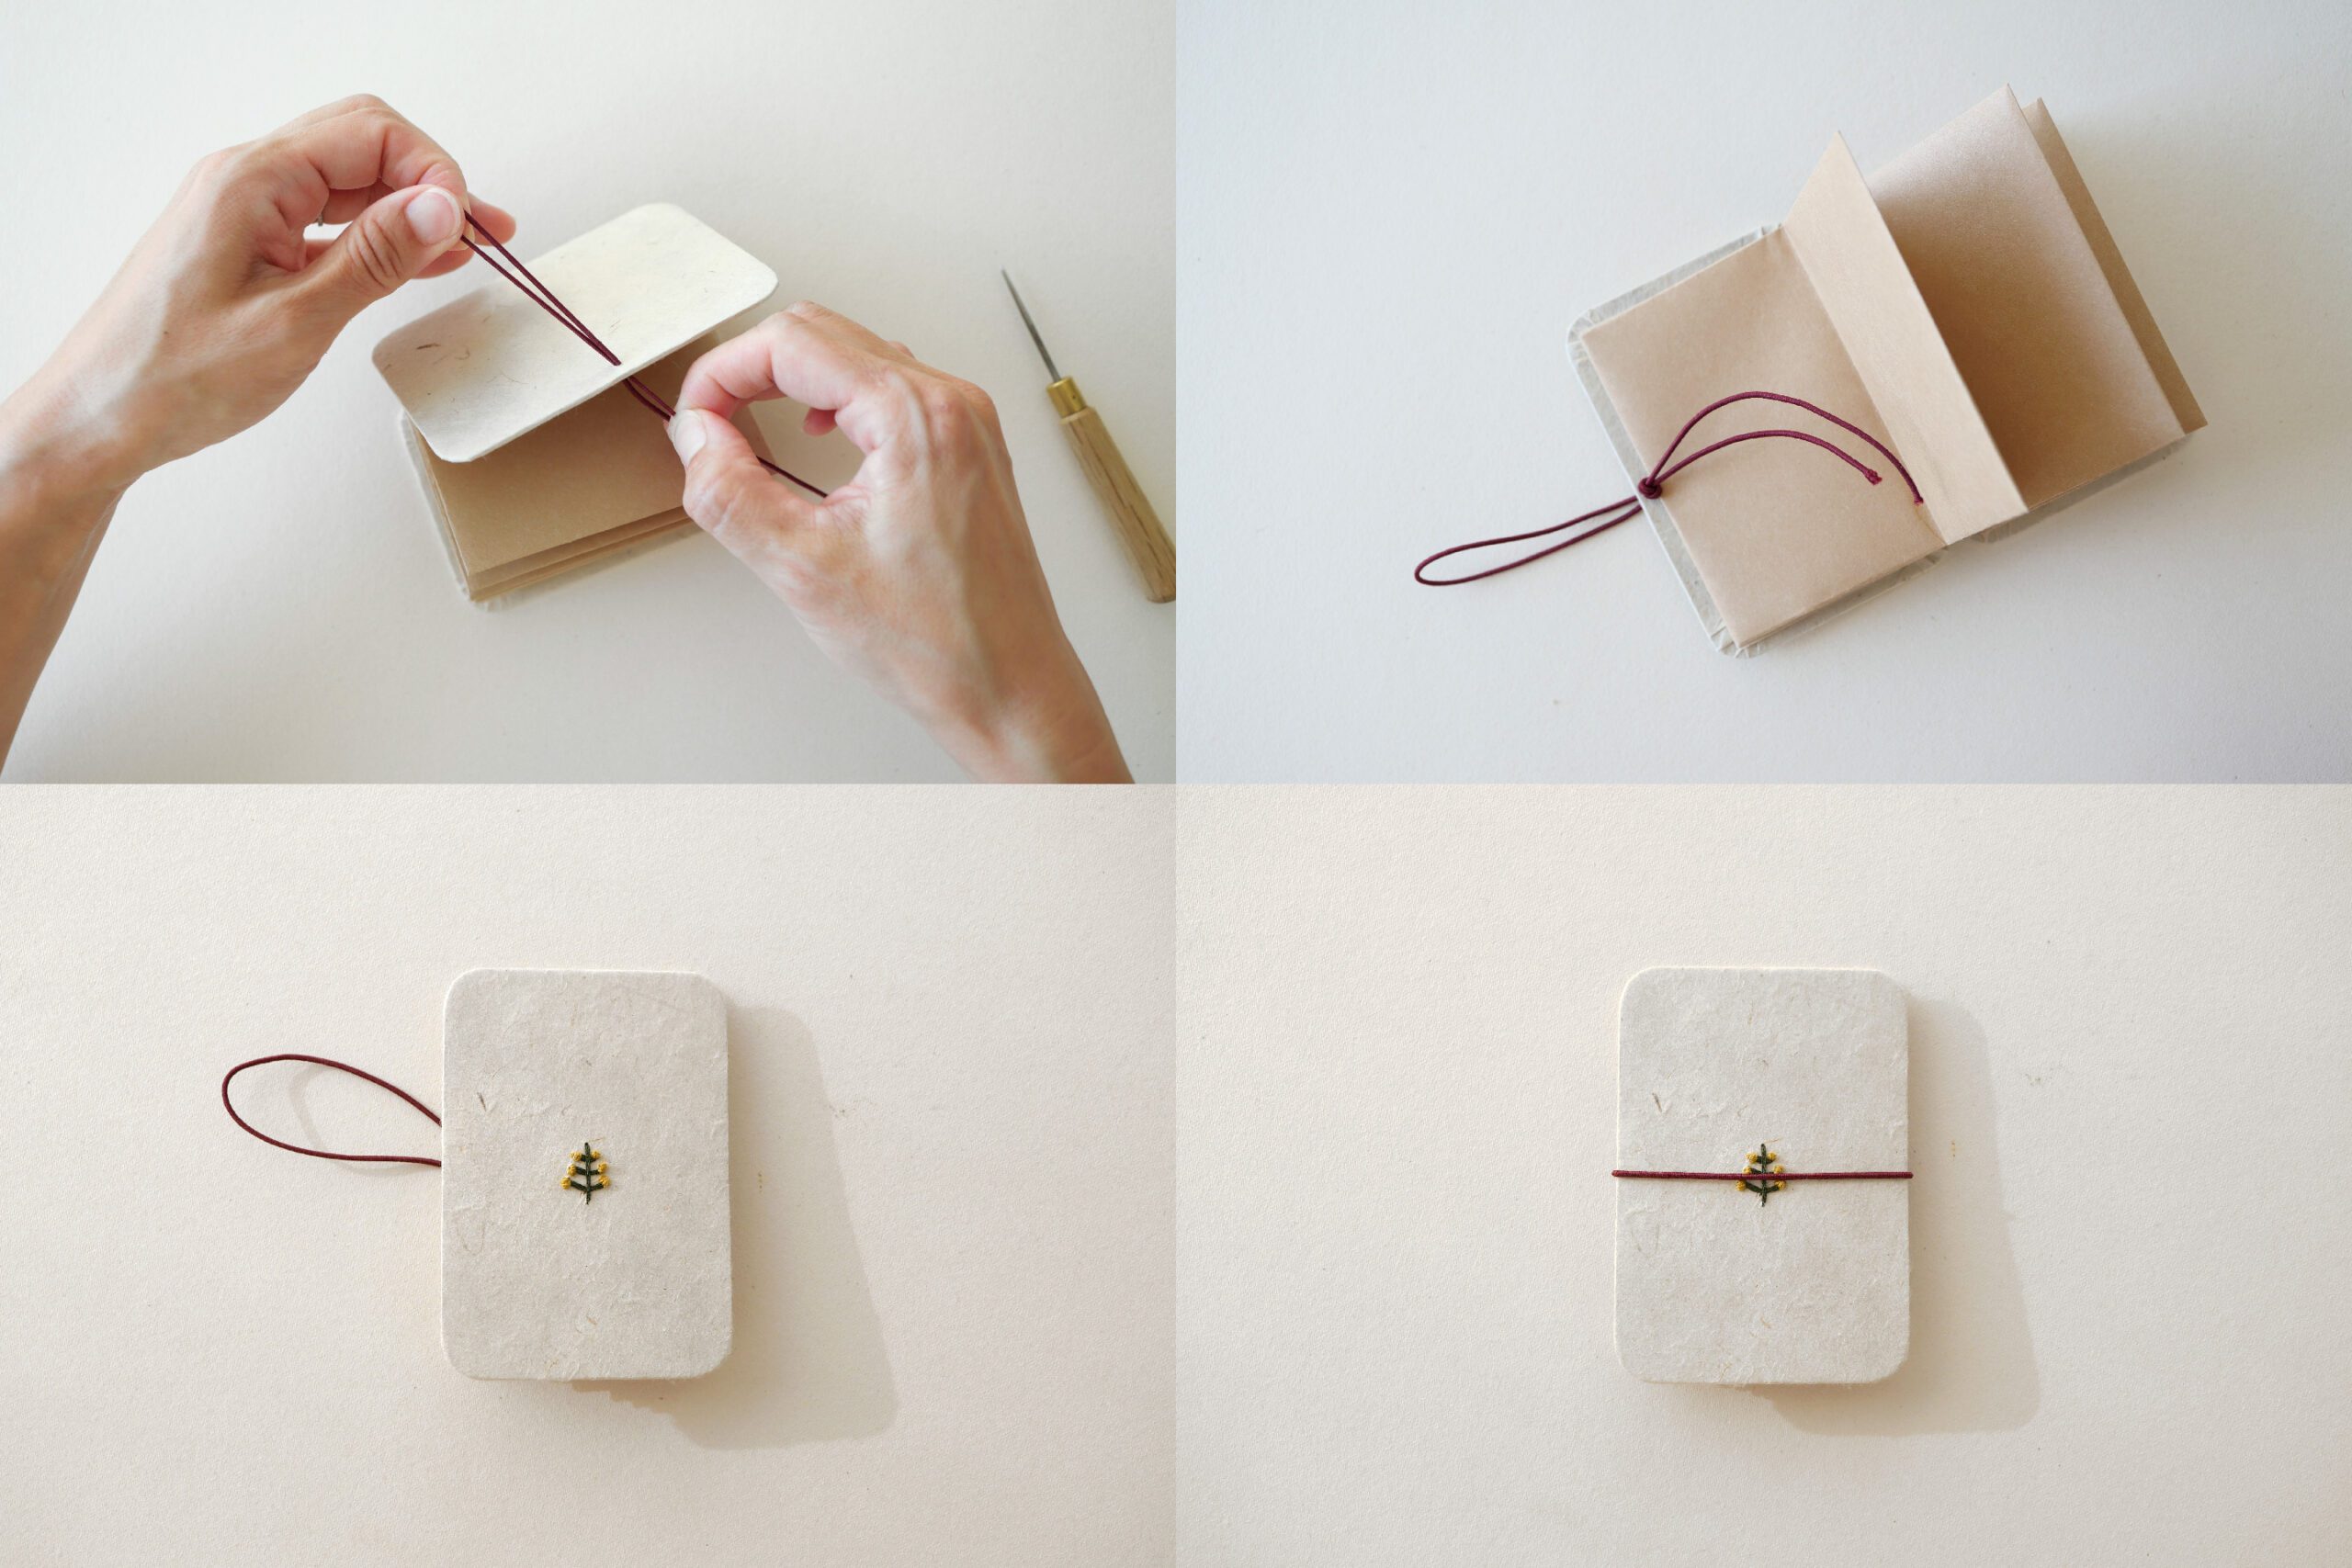
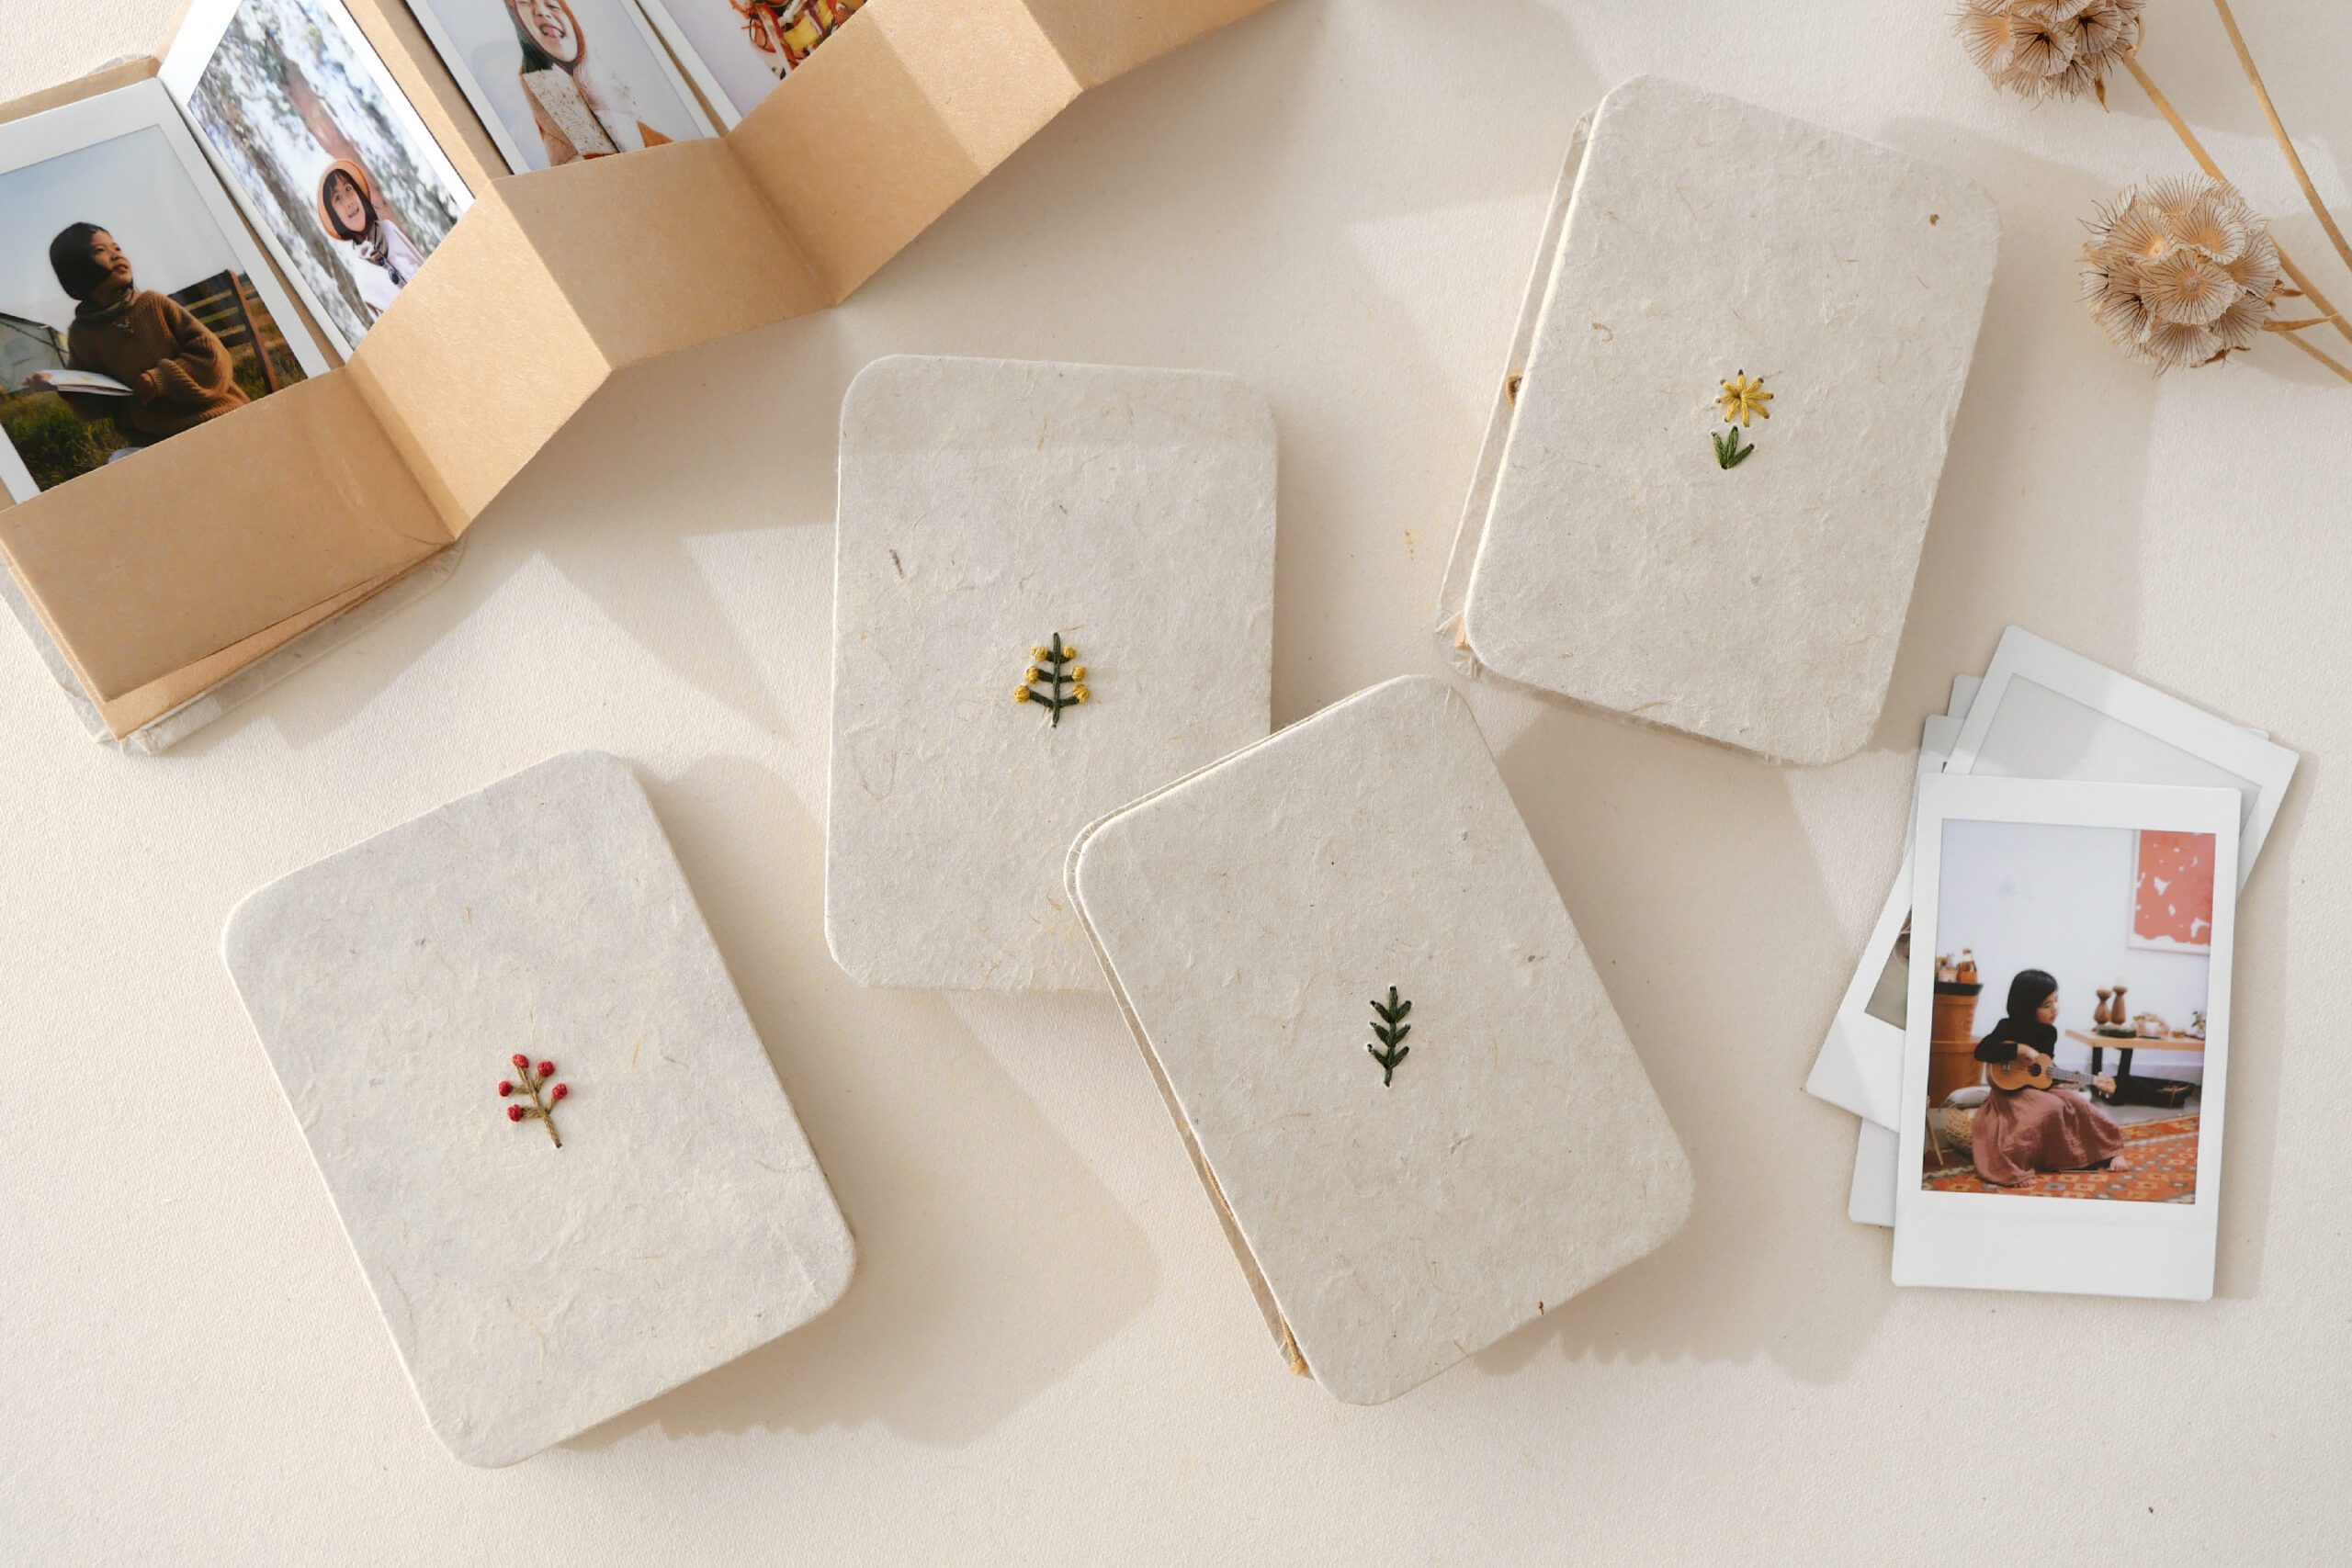
The cover is free. You can use your favorite cardboard as is, or you can wrap the card board with a piece of finishing paper like I did. You can also draw pictures or messages on the cover, or paste pressed flowers or other items to make a nice arrangement. I tried to embroider a small plant on the cover.
Step 4. Attach the Cover
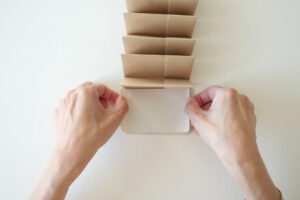
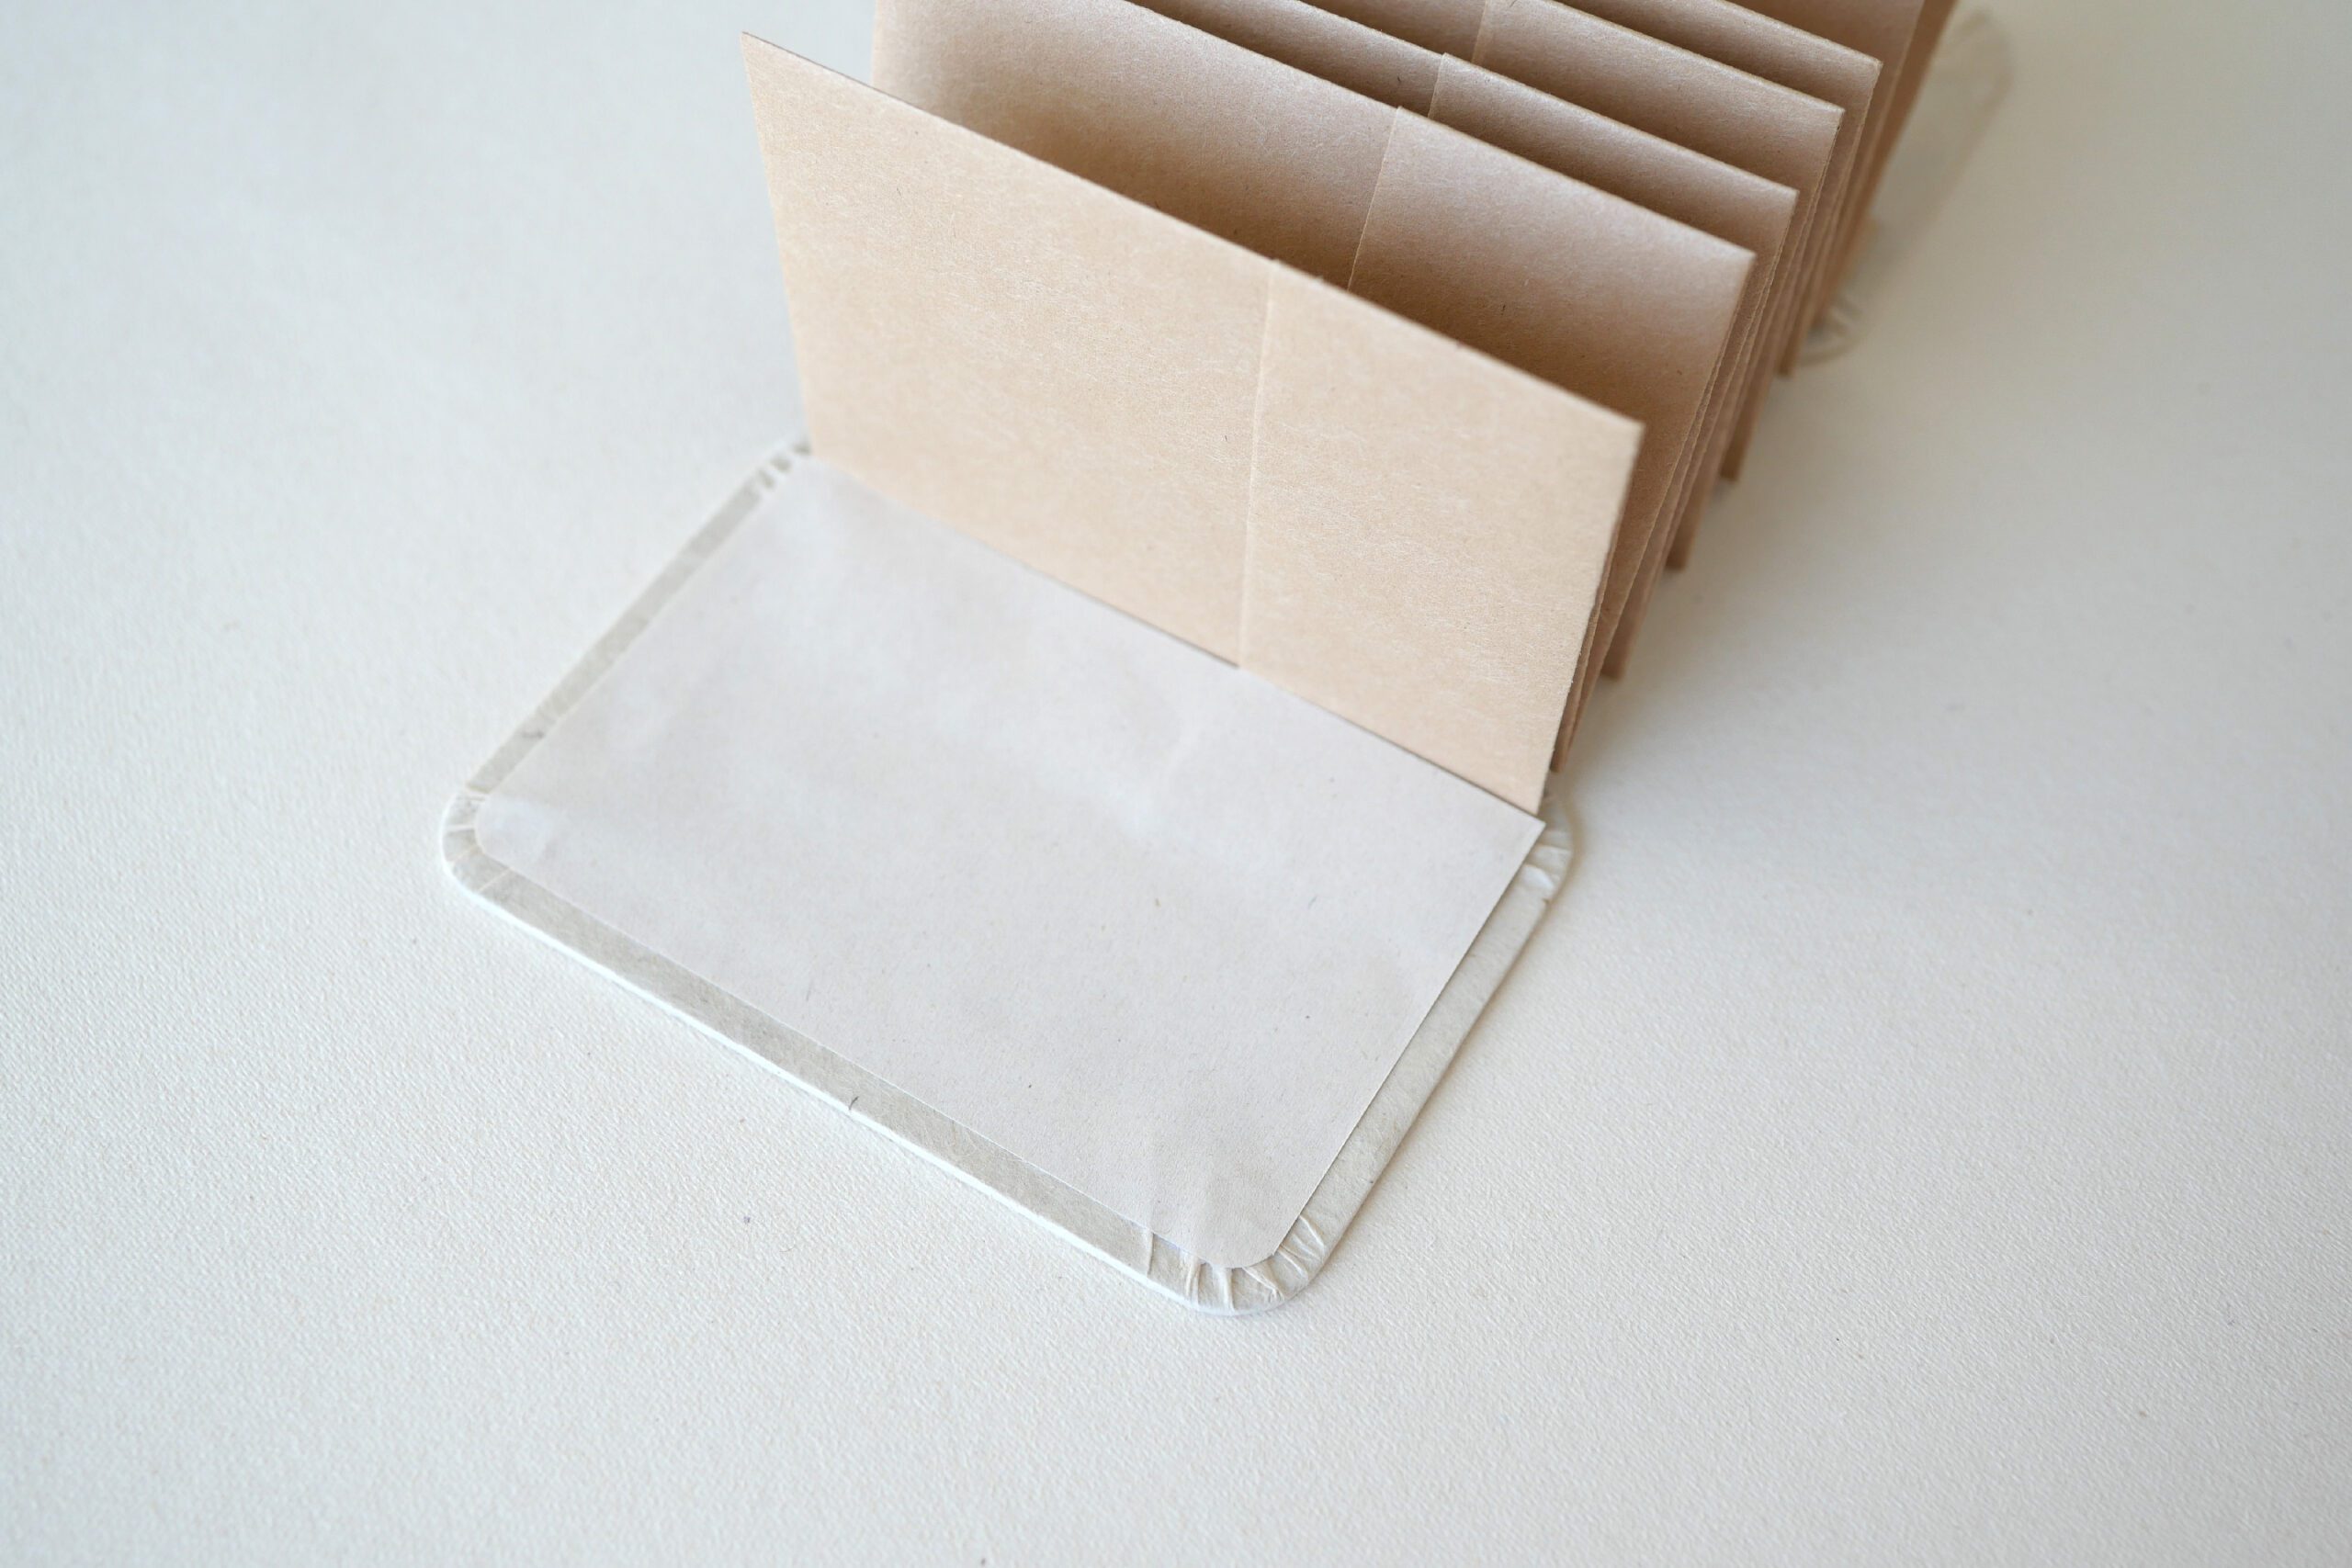
The cover is attached to the body of the pocket. The back side of the cover is also covered with thin paper for a beautiful finish.
Step 5. Put on Elastic Band
On the left side of the back cover, drill a small hole for the elastic band. Be careful about the size of the hole, because if it is too large, the elastic band will slip through. Thread the elastic band through the hole and tie the end into a single knot.
Put in the Photos of Your Memories
Place a photo of a memory in each pocket. It would be nice to write a message on each pocket as a gift. A little album full of memories is now complete!
Accordion Pocket Photo Album
年が明けると娘は10歳になります。これまで撮った彼女の写真は数えきれないほど。そのほとんどはデータで管理していて、この10年間の膨大な写真をいつでも気軽に見返すことができたらと思っていました。いまは便利な世の中ですので、アルバムの製本を外注したりと、写真を整理する選択肢はたくさんあります。そんな大きなものでもなく、私はただ、いつでも彼女の成長を見返せる小さなアルバムを手元に置いておきたかったのです。
以前作ったFallen Leaves Pocket Journalを応用して、写真を入れるためのアルバムをつくりました。インスタントフィルムが入る大きさにポケットを折ったら、14枚の写真が入る小さなアルバムになりました。懐かしいあの頃の記憶も鮮明に蘇ってきて、私たちだけの愛おしいアルバムができました。ただ一つの難点は、たったの14枚に写真を絞ること!というわけで、この小さなアルバムはテーマに合わせて何冊もつくることになりました。家族や友人にプレゼントしたり、思い出をシェアする小さなギフトとしても素敵だと思います。


用意するもの
– クラフトペーパー*
– 表紙となるカードボード
– 表紙を包む紙
– ゴム
– 糊
– ハサミ
– カッター
– 穴あけパンチ または 千枚通し
*今回は、長さ3フィートのクラフトペーパーで、インスタントフィルムを入れる14個のポケットができました。大きさや、写真を入れるポケットの数は自由に変更できます。クラフトペーパーはしっかりとした紙質で、写真をホールドするのに適しています。中に入れた写真をよりクリアに見せたい場合は、トレーシングペーパーを使ってもいいでしょう。
*詳しい手順は、Fallen Leaves Pocket Journal を併せてご覧ください。
つくりかた
Step 1. ポケットを折る
使用したい写真のサイズに合わせてクラフトペーパーを折ります。今回はインスタントフィルム(86×54mm)を入れるために、各ページのサイズは90×60mmにしました。ポケットのスリットの深さは35mmです。
長さ3フィートのクラフトペーパーを250mm使います。250mmに対して、上から90mm、下から35mmの位置で折ります。次に上下の紙が重なった部分を折ればスリットの完成です。この方法で折ることで、すべての辺が袋状になって、より耐久性のあるポケットになります。

Step 2. 蛇腹に折る
初めに半分に折ります。そして、片方ずつ交互に60mmの蛇腹に折っていきます。この方法はあくまで推奨で、端から蛇腹に折っていくよりも、中心から交互に折っていくことで最終的なズレが軽減されます。このポケットの大切なところは、折り目をしっかりと折ることです。しっかり折るためのひとつめのヒントは、鉄製の定規を当てながら折ること。定規がガイドとして役立ちより折りやすくなります。そしてふたつめのヒントは、小さな空き瓶が役立ちます。折った部分を手で押さえる代わりに、瓶でスライドさせるように押さえるとよりしっかりとした折り目がつきます。


Step 3. 表紙をつくる
表紙用のカードボードを100×70mmの大きさに切ります。表用と裏用に2枚用意します。
表紙は自由です。好きな厚紙をそのまま使ってもいいし、写真のようにカードボードに仕上げの紙を包んでもいいでしょう。また表紙に絵やメッセージを描いたり、押し花などを貼って素敵にアレンジ可能です。私は表紙に植物の小さな刺繍を施してみました。


Step 4. 表紙を付ける
ポケットの本体に表紙を貼ります。表紙の裏側も美しく仕上げるために薄い紙を貼りました。


Step 5. ゴムを付ける
裏表紙の左側に、ゴムを通す小さな穴を開けます。あまり大きな穴にしてしまうと、ゴムが滑り落ちてしまうので、大きさには注意してください。ゴムを通して、端を片結びします。


思い出の写真を入れましょう
各ポケットに思い出の写真を入れましょう。ポケットにメッセージを書き込んでギフトにしたら素敵だとおもいます。思い出がぎっしりと詰まった小さなアルバムの完成です。


