Hand Stitched Holiday Card
Throughout the year, there are many occasions when we write cards to express our gratitude or to celebrate a birthday. On such occasions, we try to prepare simple greeting and then try to add our own touches to it to convey our feelings. My daughter loves to do crafts, write, and draw, so she is very comfortable being herself with handmade cards.
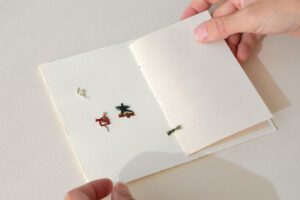
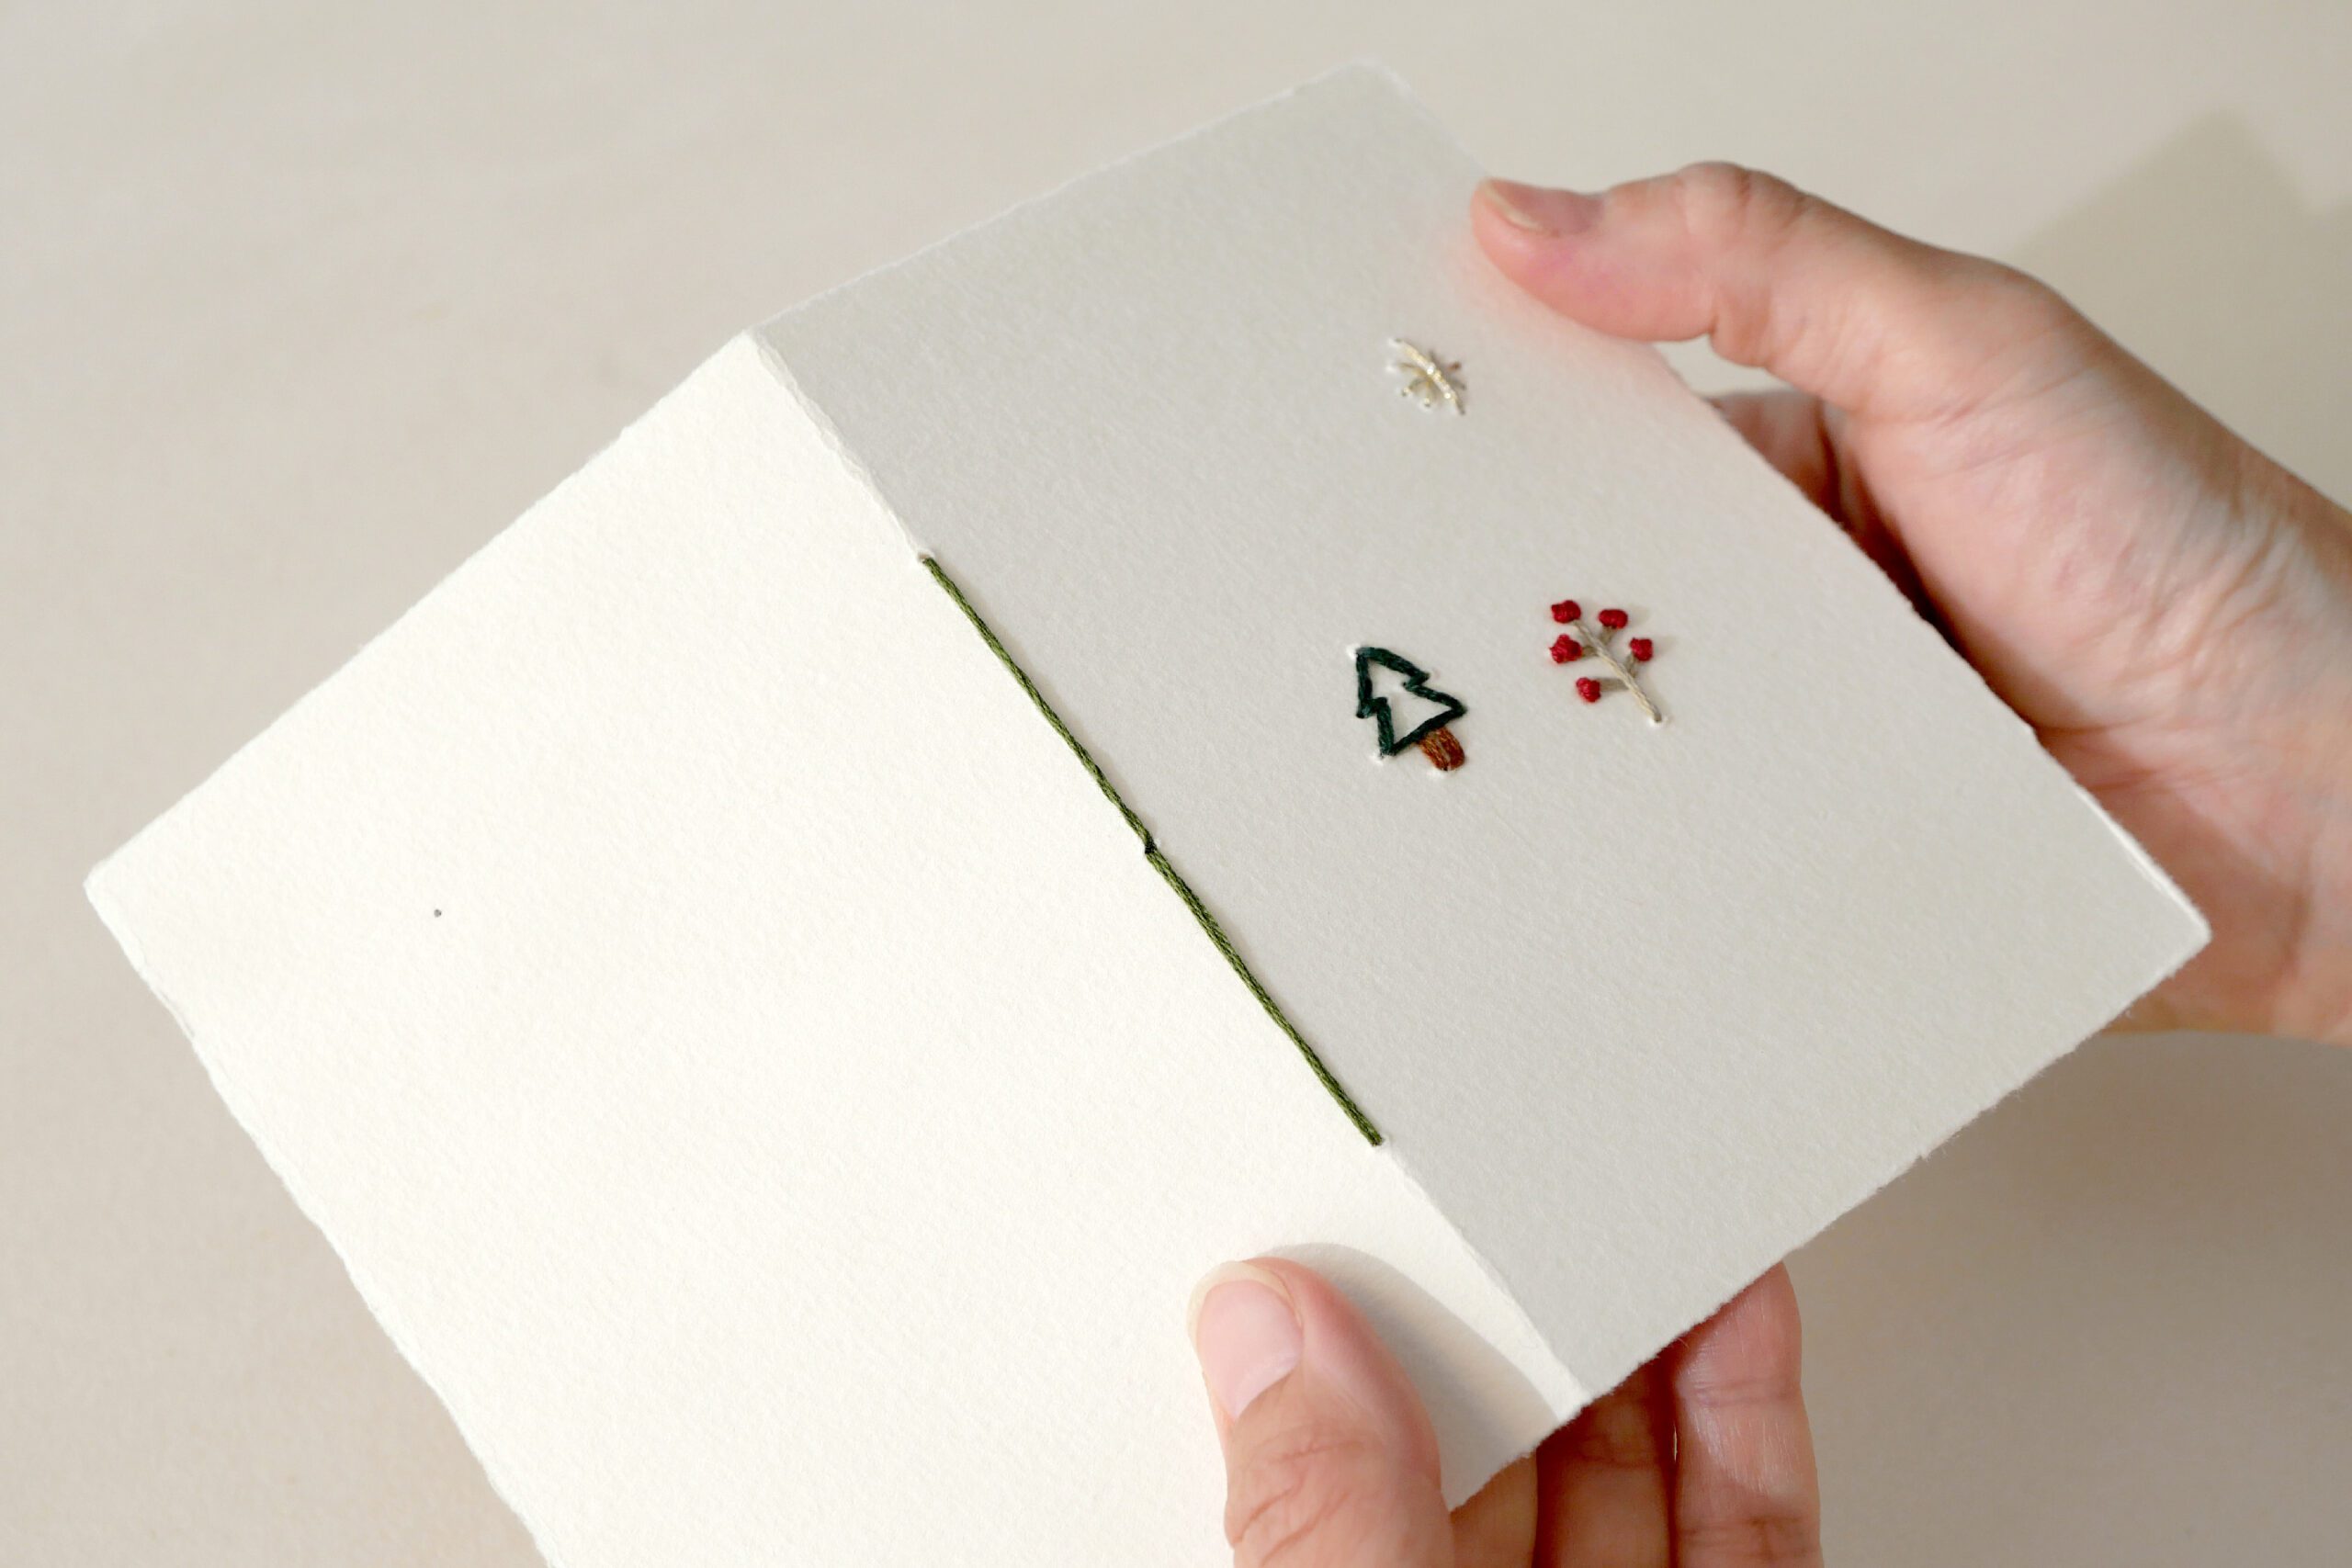
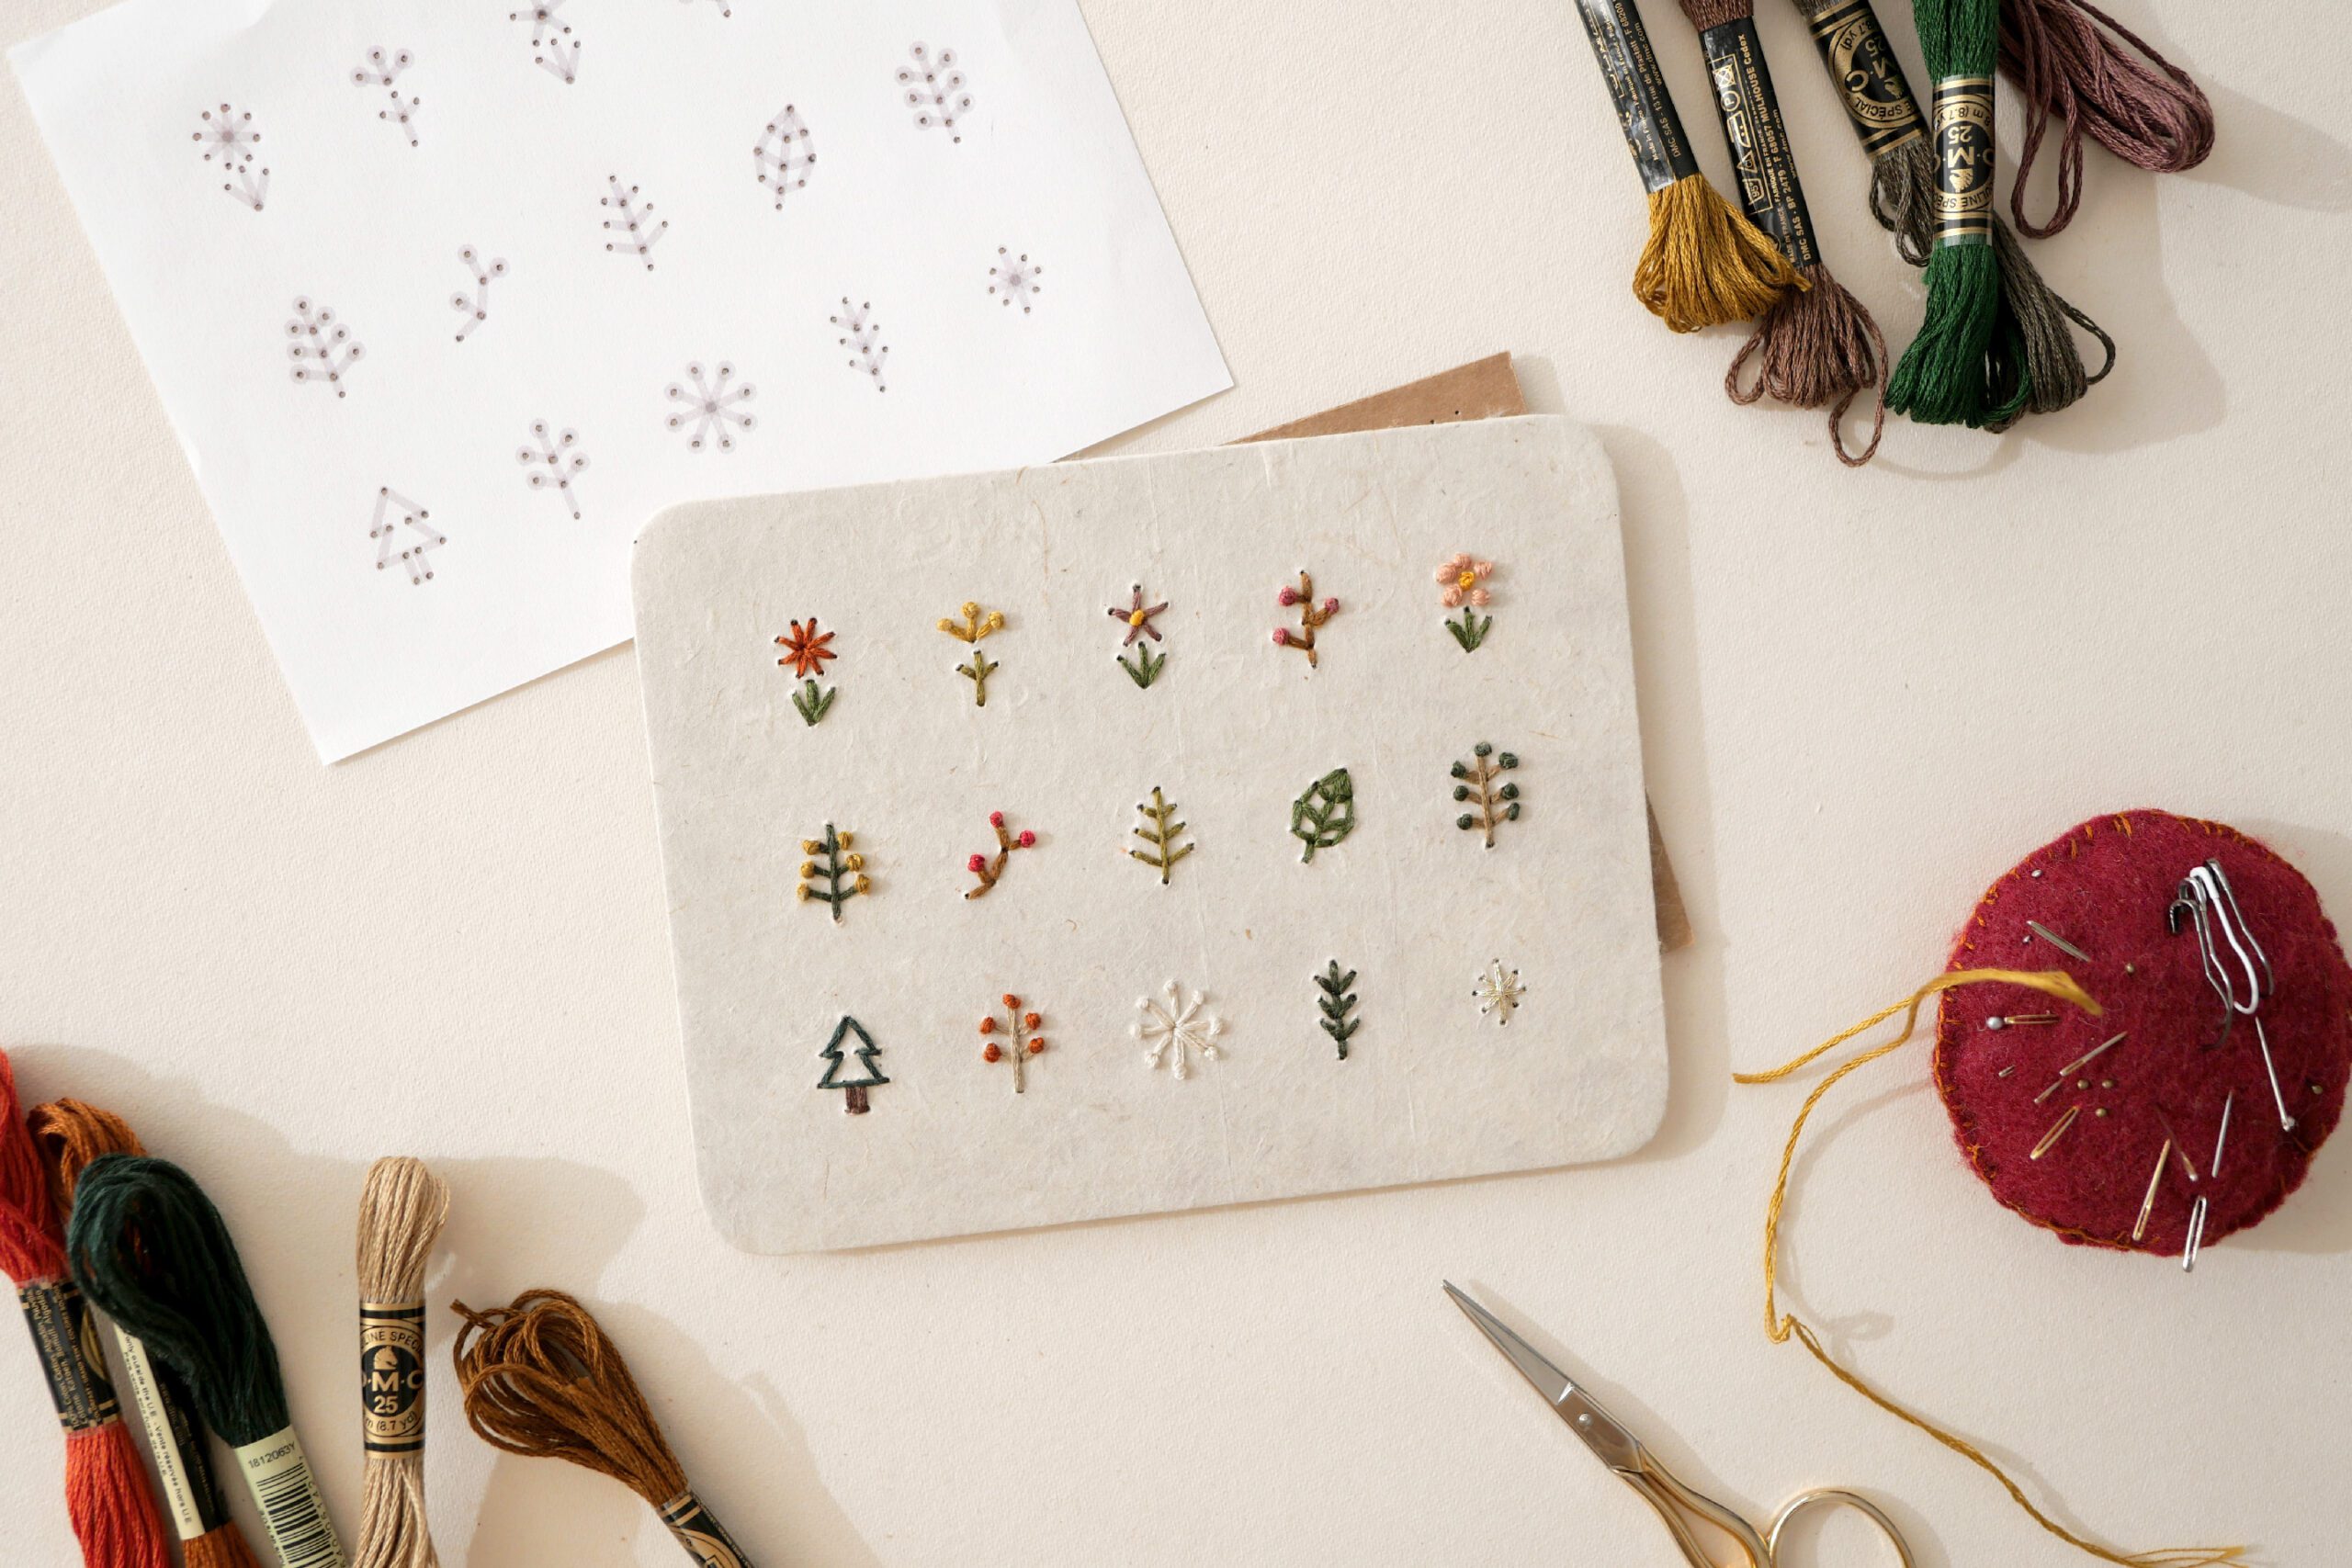
Our latest favorite is a hand-embroidered card. The only step is to insert the thread along the pre-punched holes. If you are particular about the finish and the process, you can plan and design the needle sequence as you wish. However, you can proceed as you wish, one stitch at a time, without worrying too much.
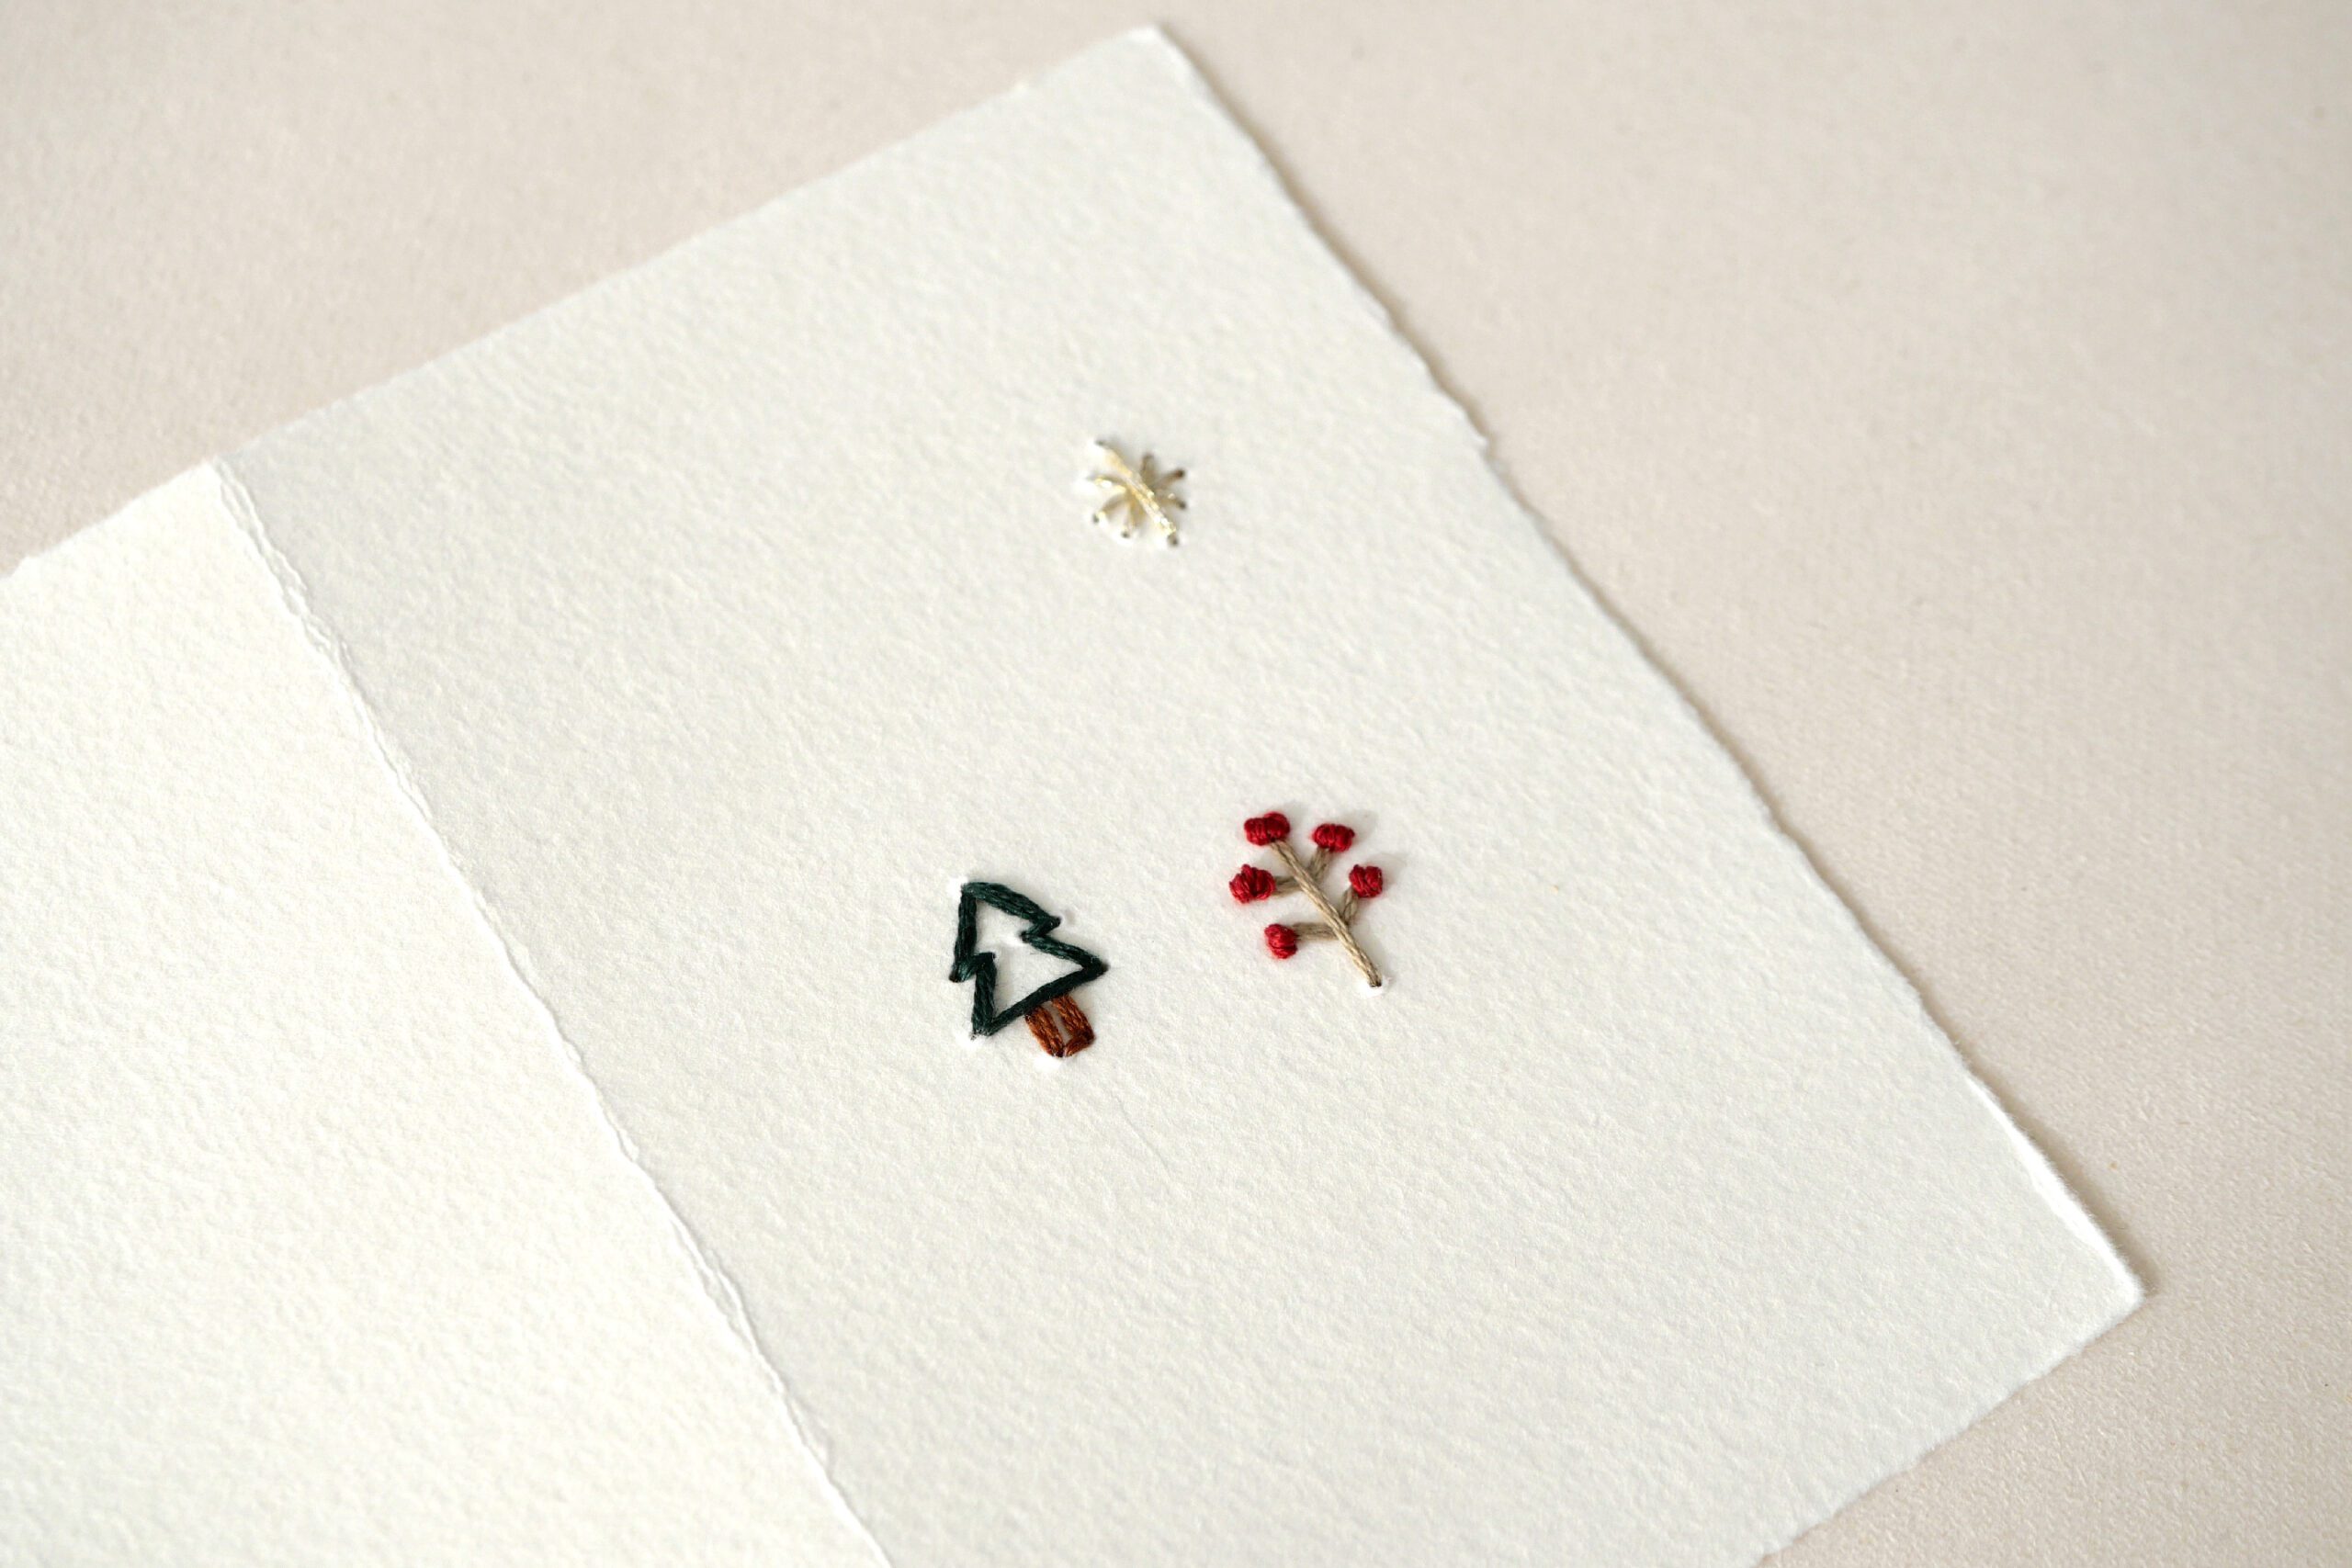
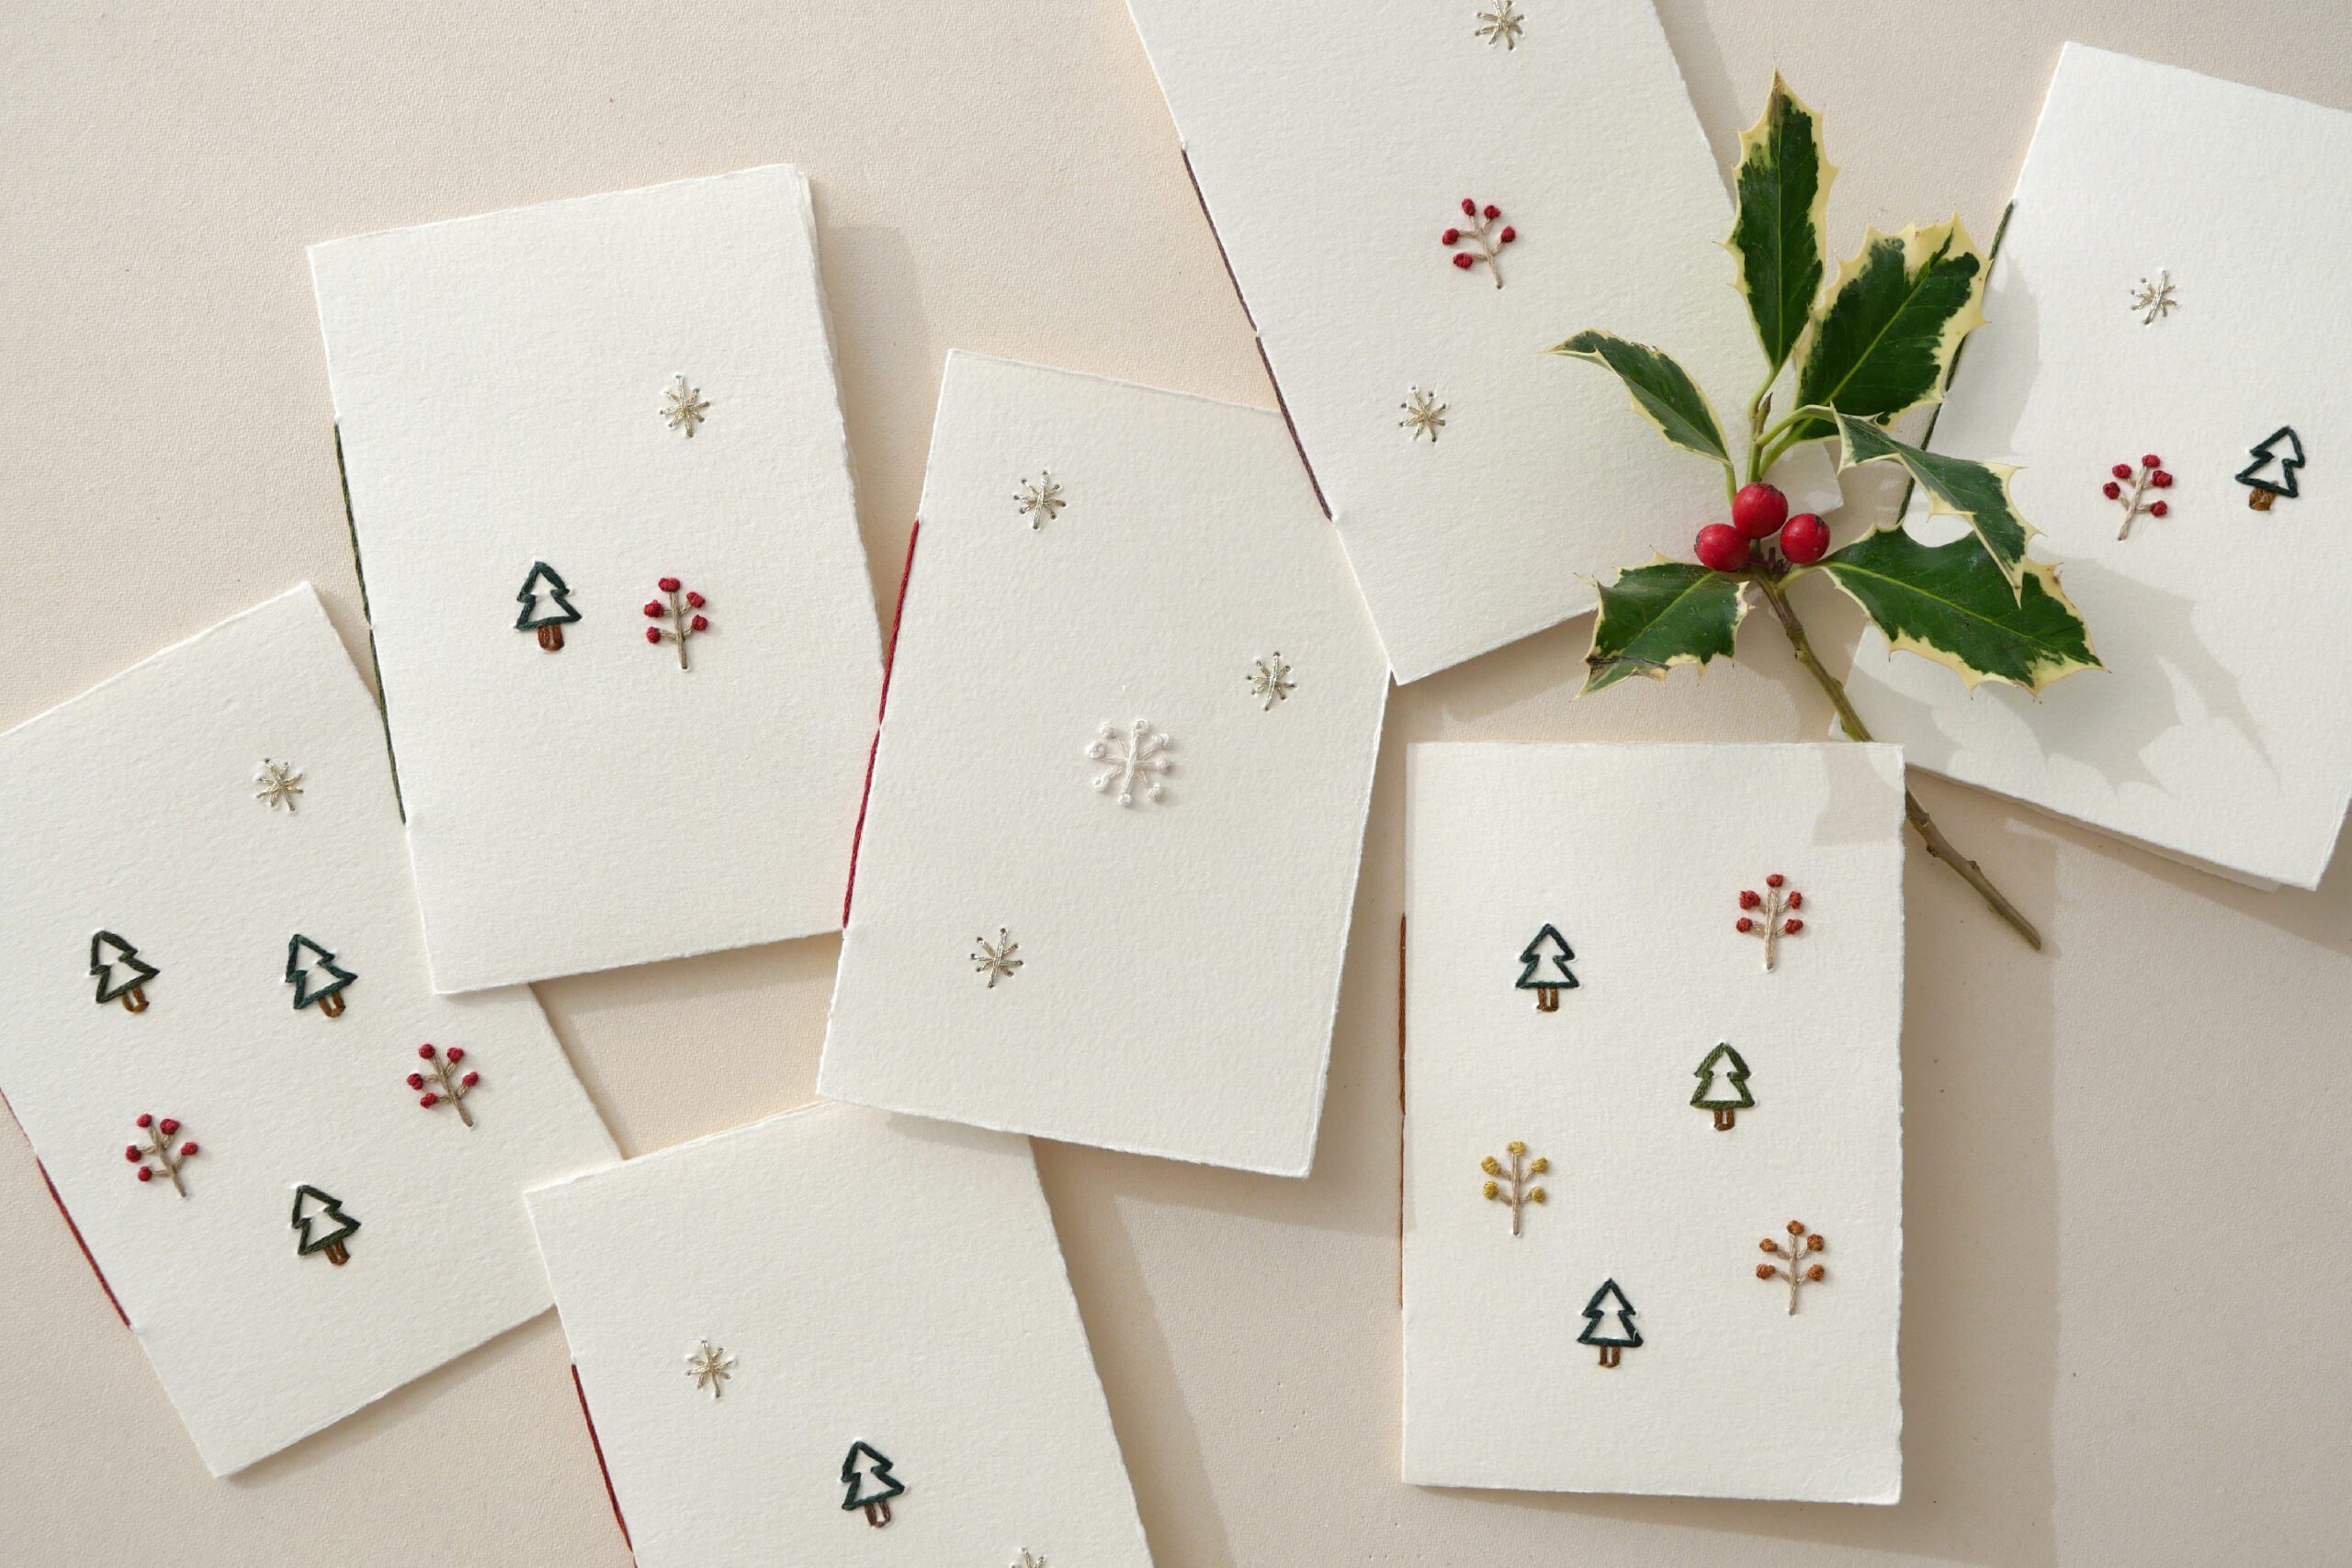
Holiday cards with Christmas trees and snowflakes in the design. This year we will give this hand embroidered card. In the spring, the motif is flowers, and in autumn is fallen leaves and nuts. It will be a standard handmade card from now on for us.
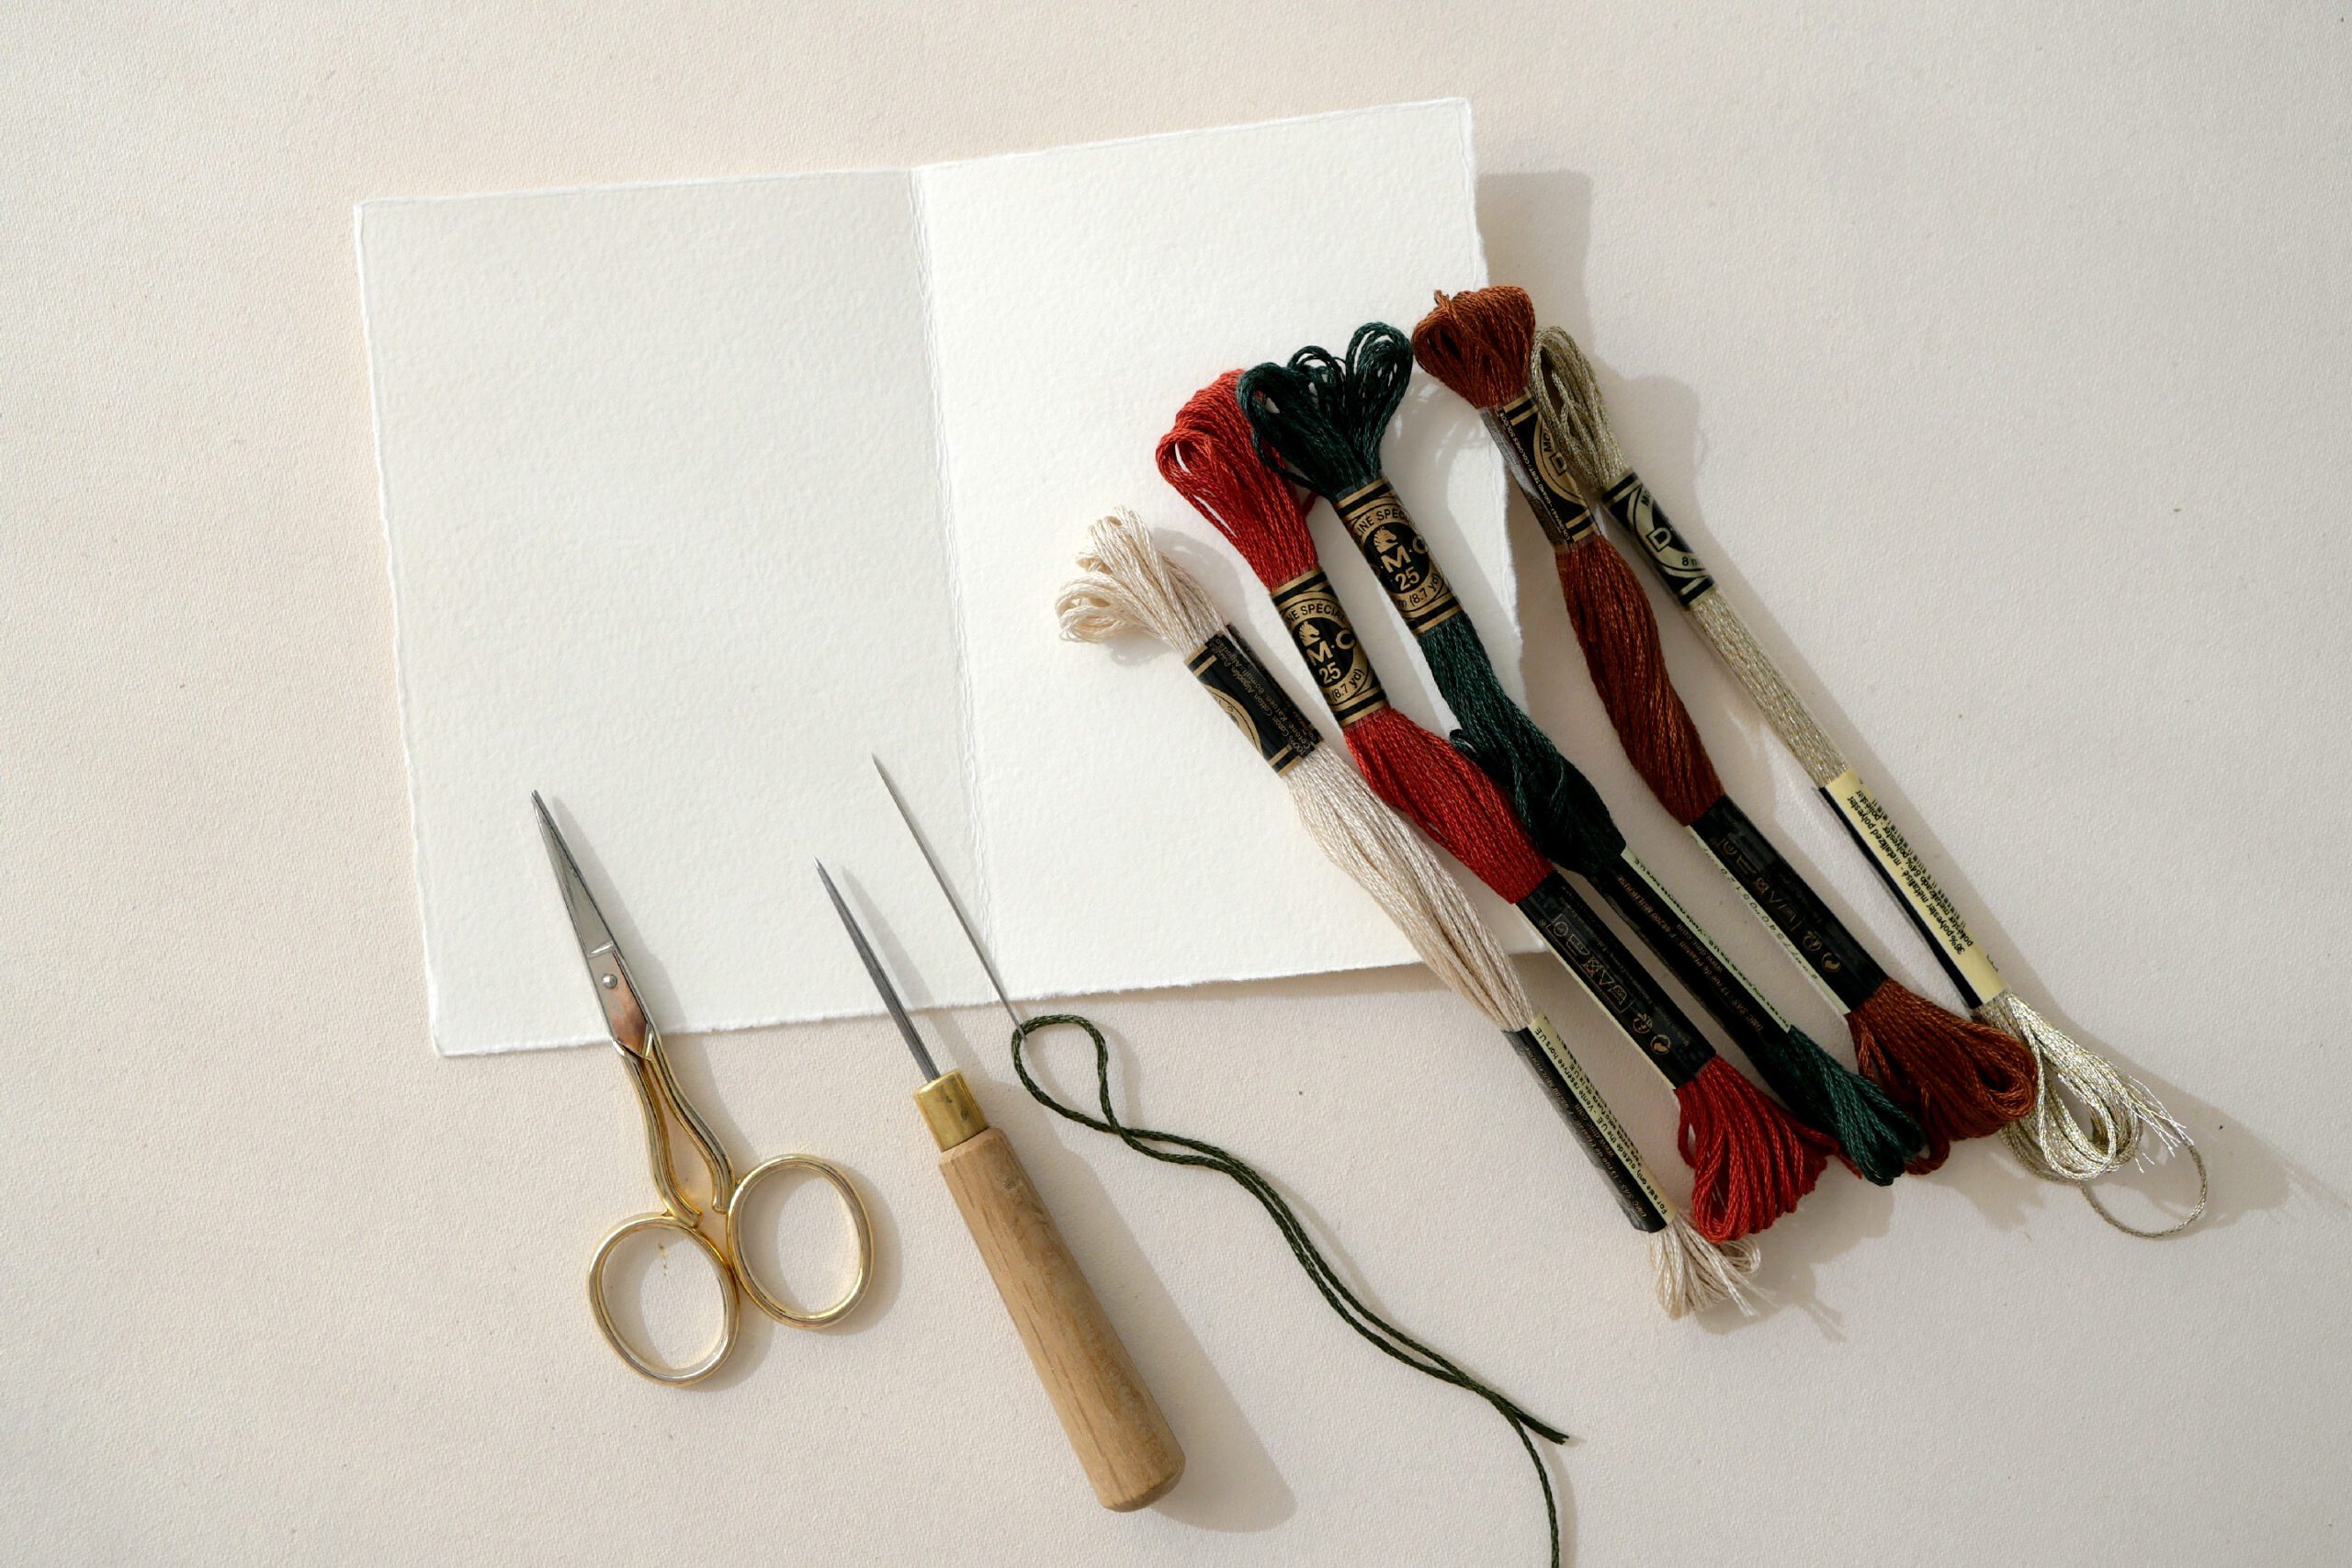
Materials
– Folded card
– Yarn *medium wool, embroidery thread, or other yarn of your choice
– Needle *match the thickness of the thread
– An awl to punch holes in the card
– Scissors
– Embroidery design template *If you need
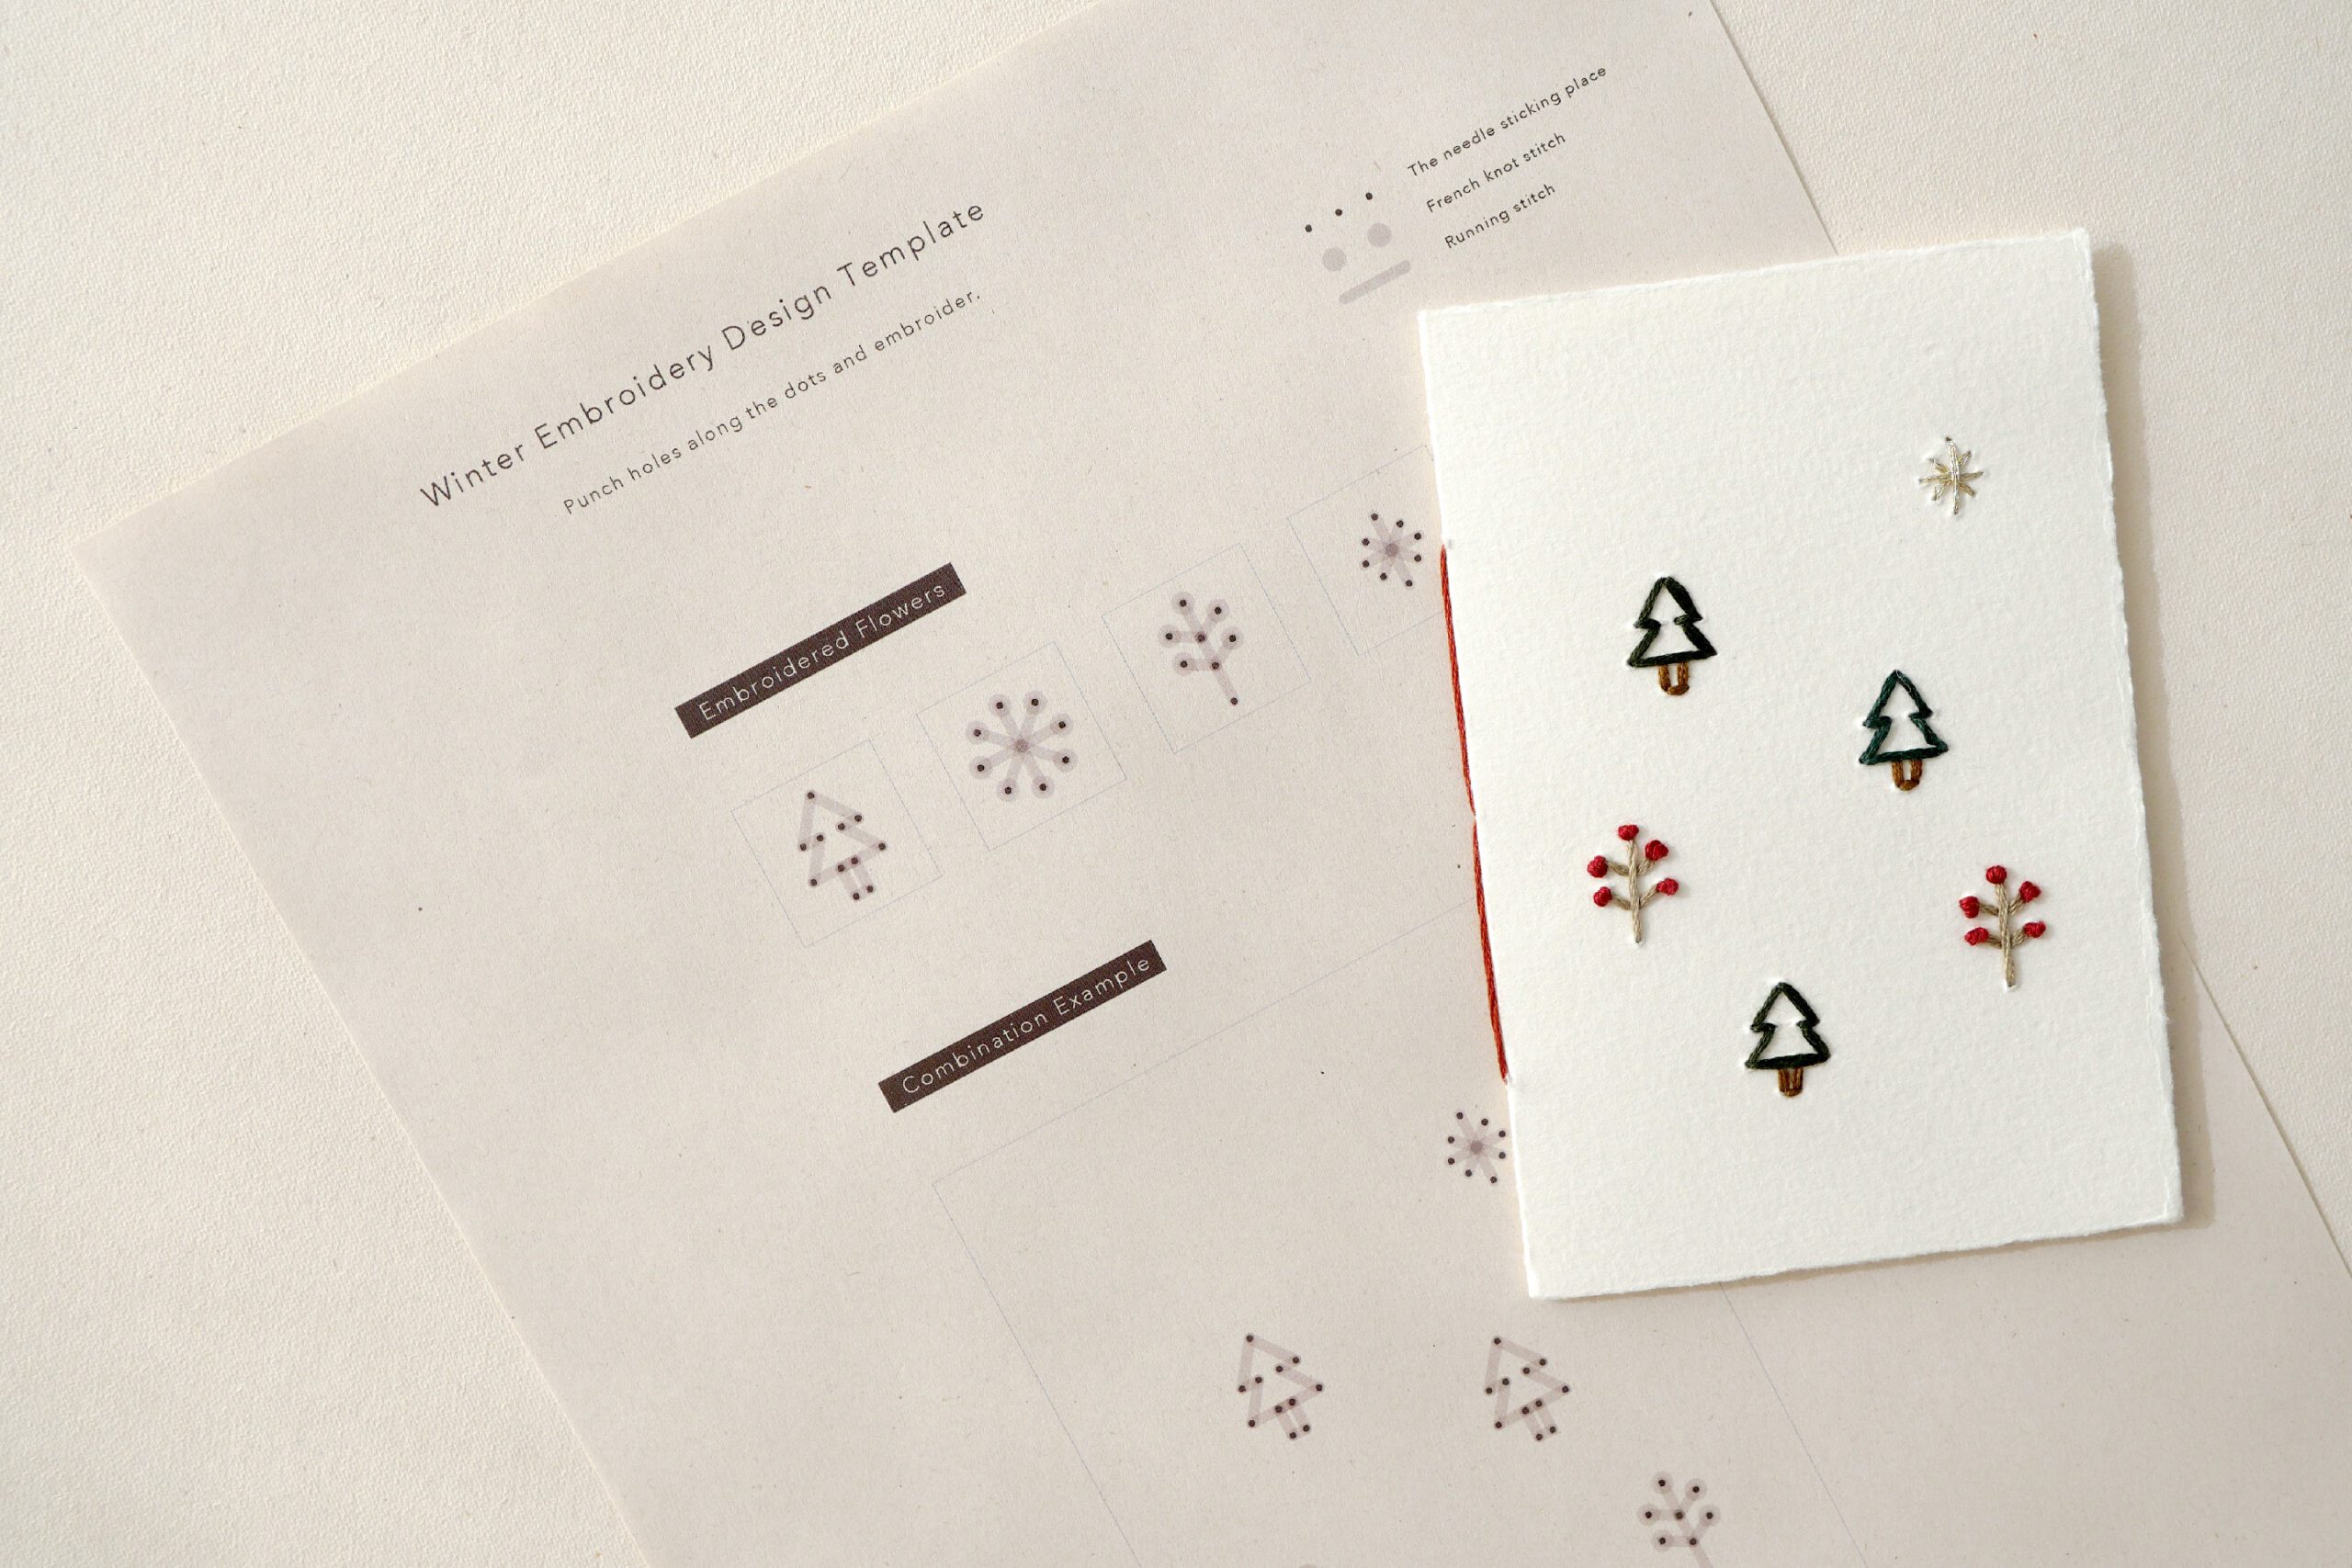
Here is the template for embroidery design. Please feel free to download and use it.
download the design templateAbout the Design Template
You can download and use the embroidery patterns I have created this project for winter motifs. The four designs I have prepared can be transformed into a variety types of designs by changing the color and placement of the yarns. The embroidery techniques used are the running stitch and French knot stitch.
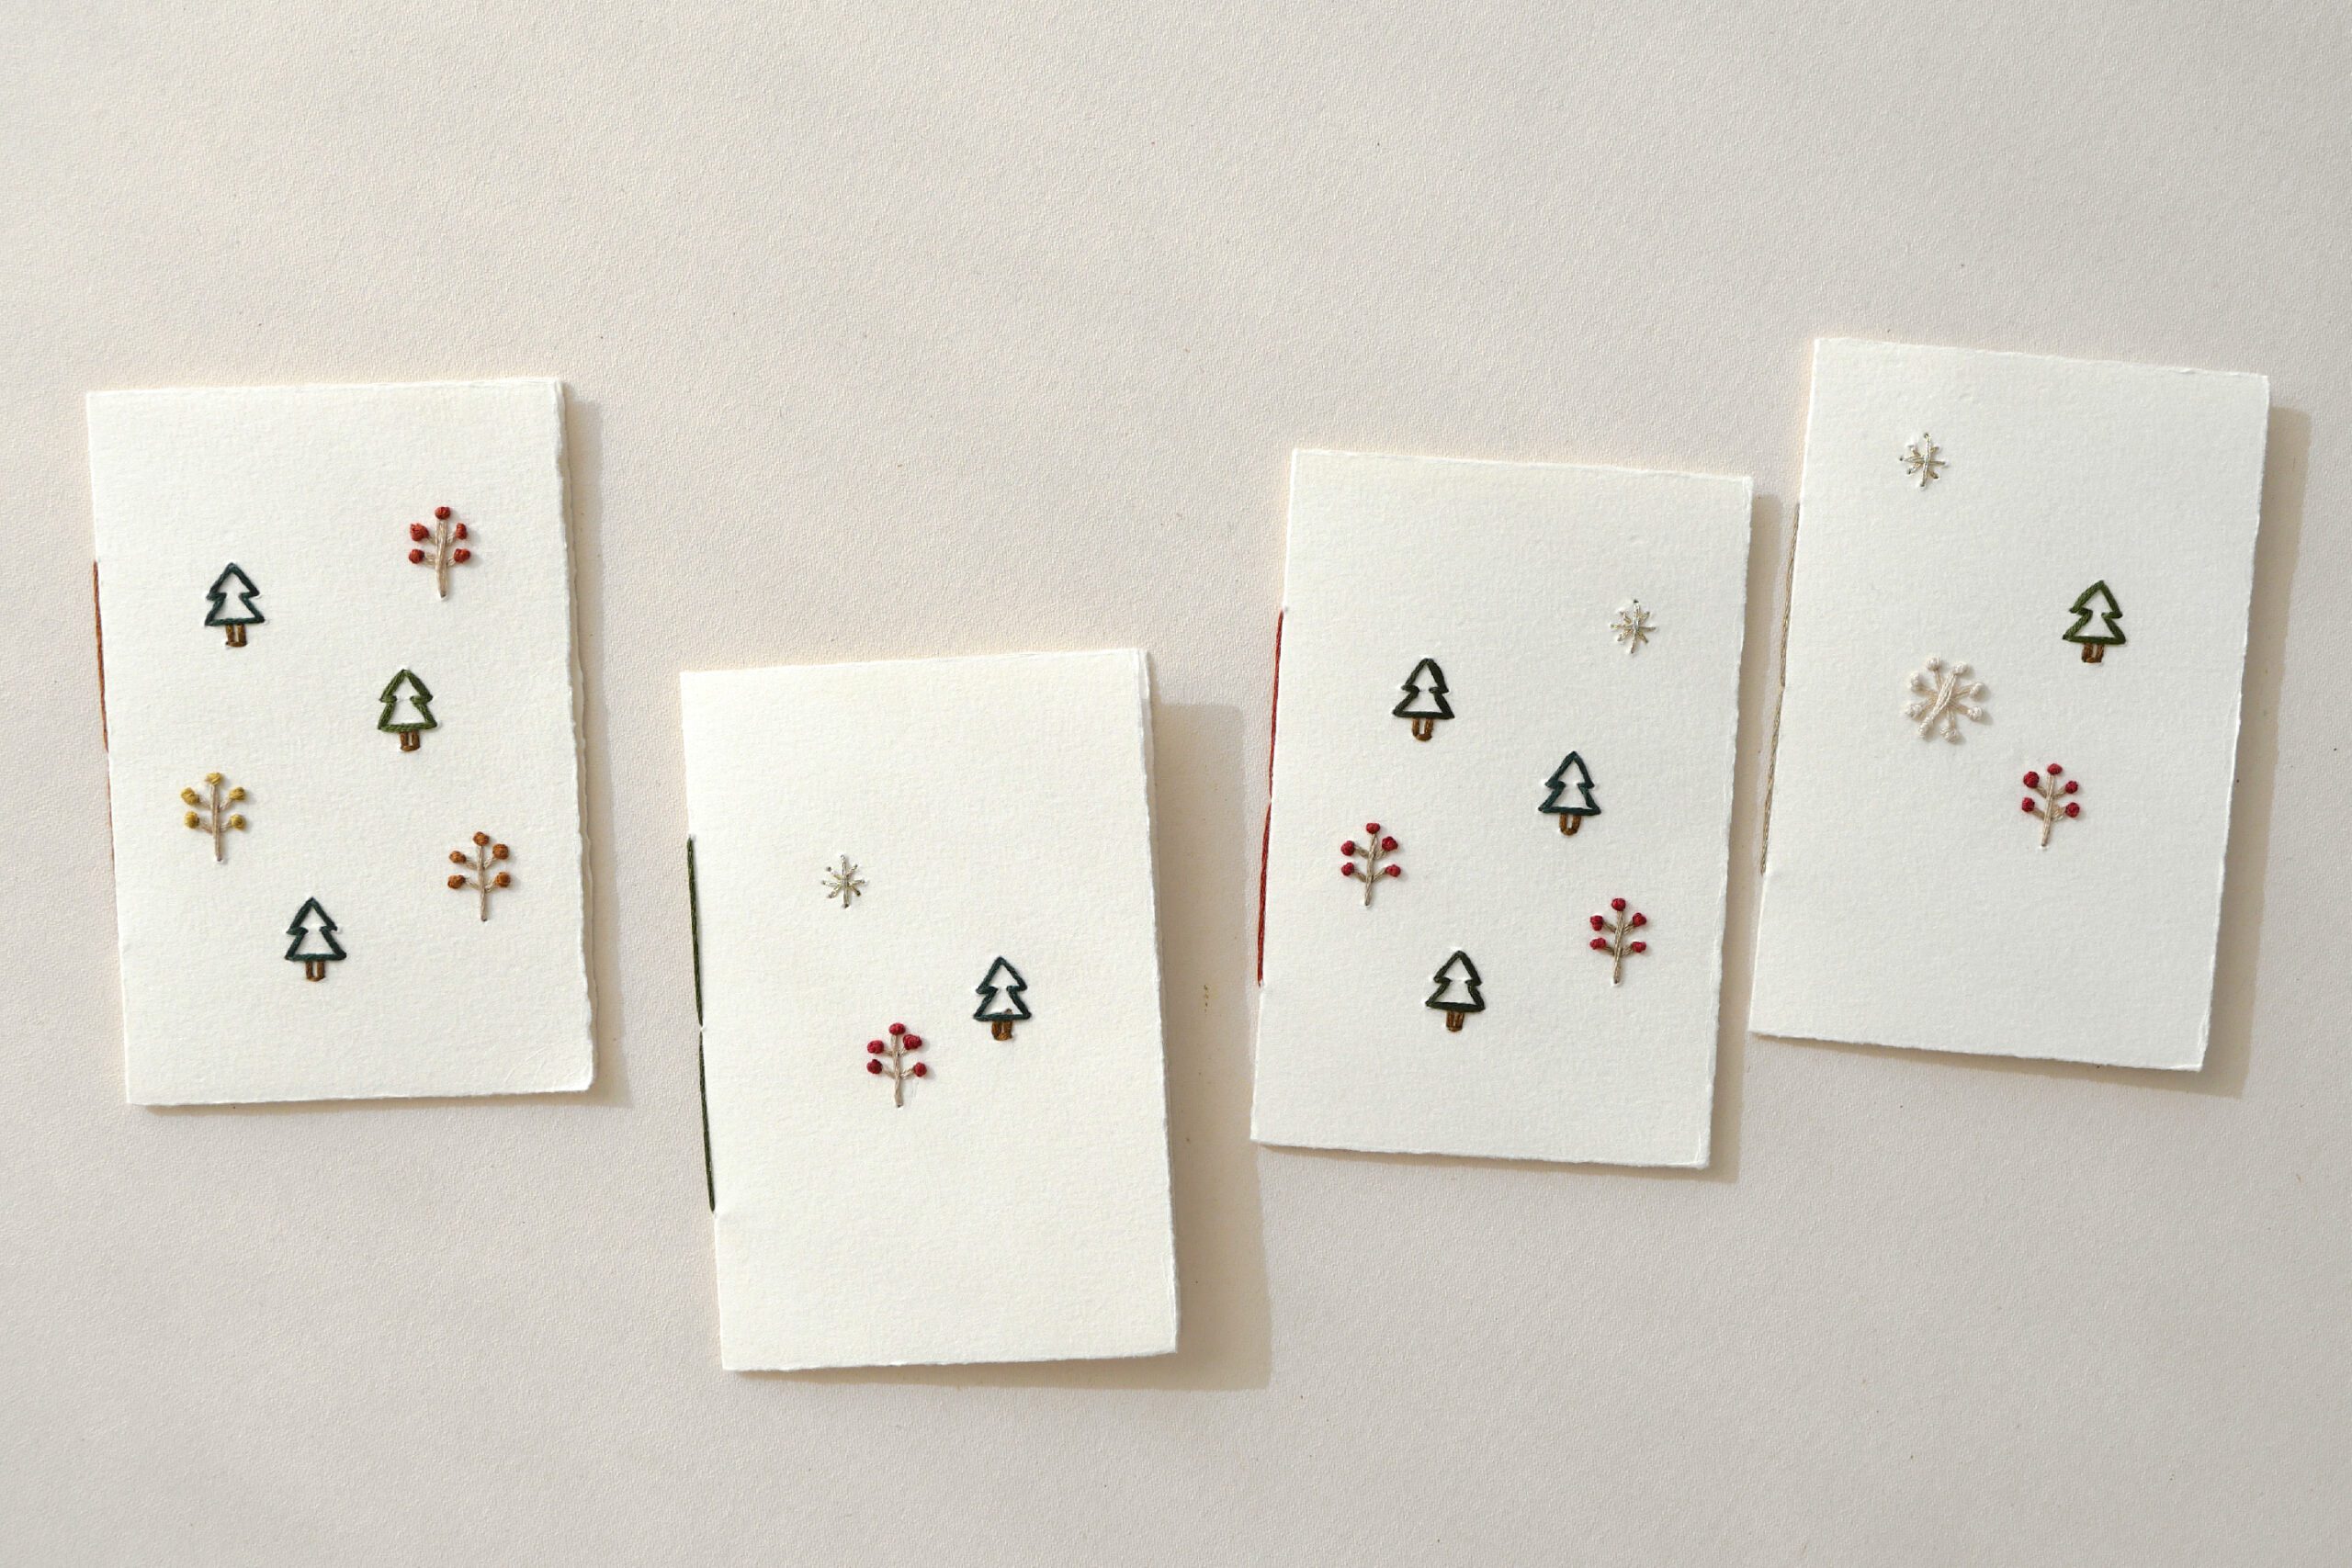
Only one embroidery in the center. A combination of several designs. This is a variation of a card I made with my daughter. In spring, it will be fun to try embroidery of flowers, people, cars, and other patterns.
Instructions for making
Step 1. Punch a Hole in a Card
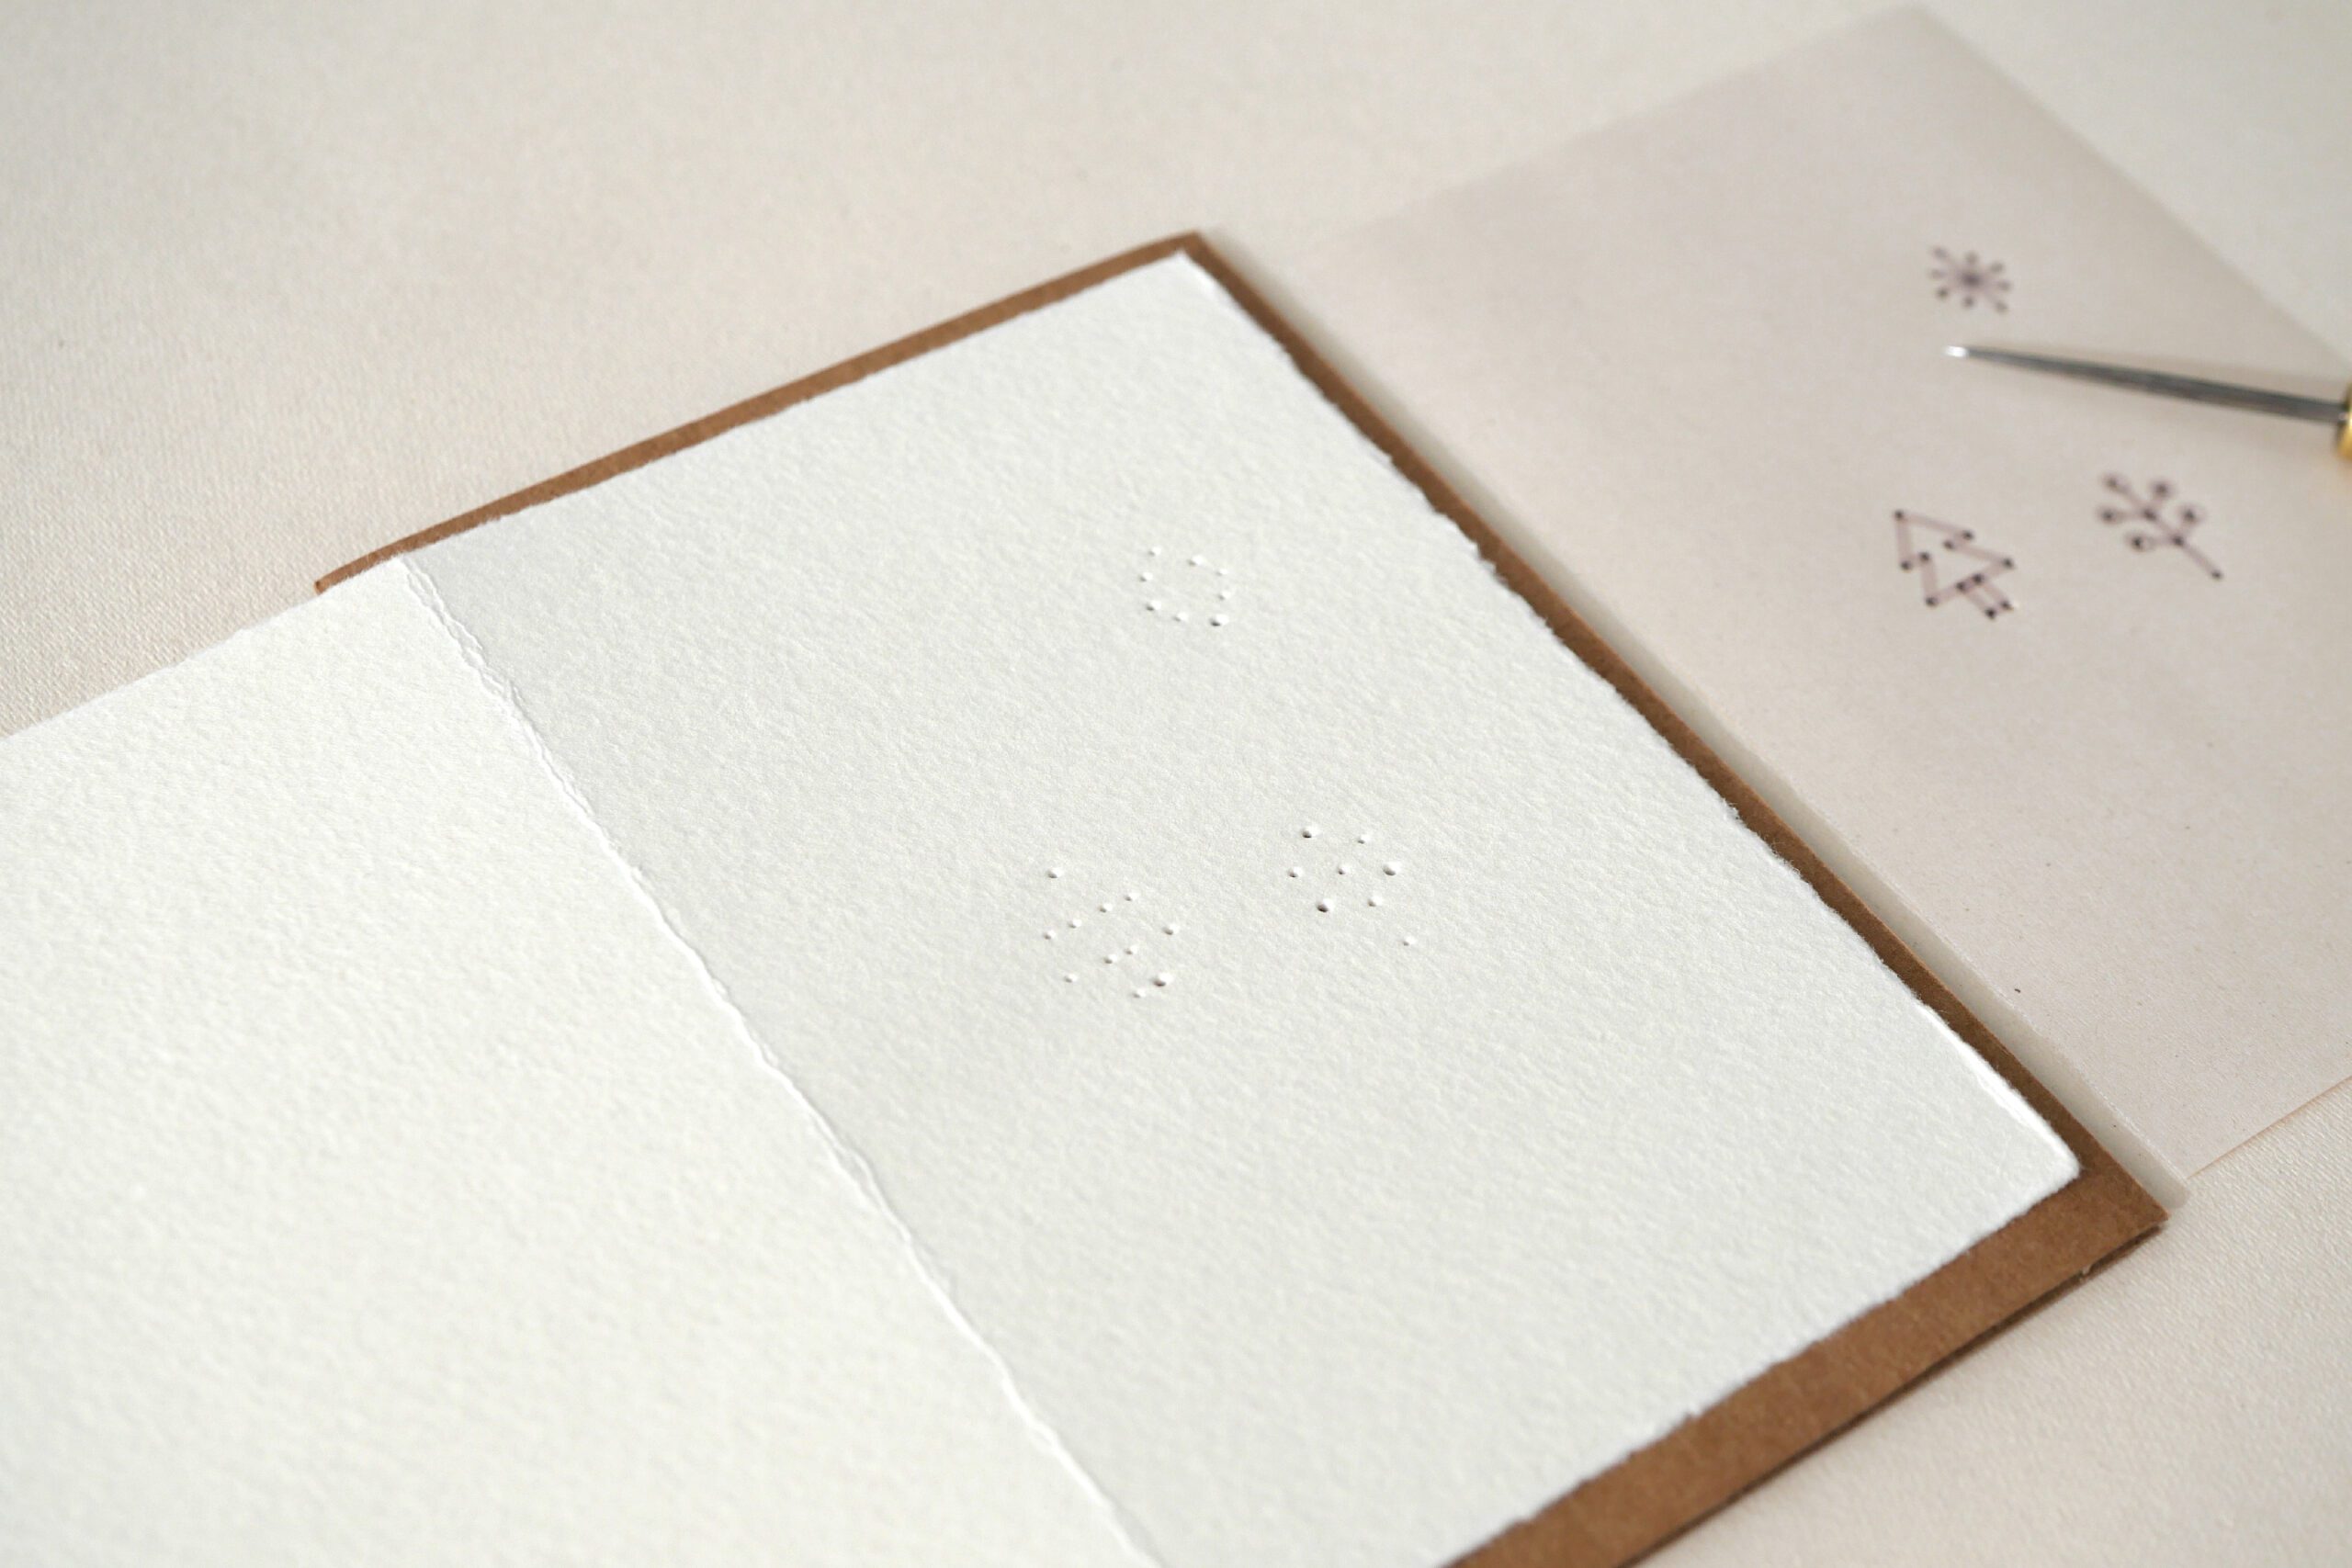
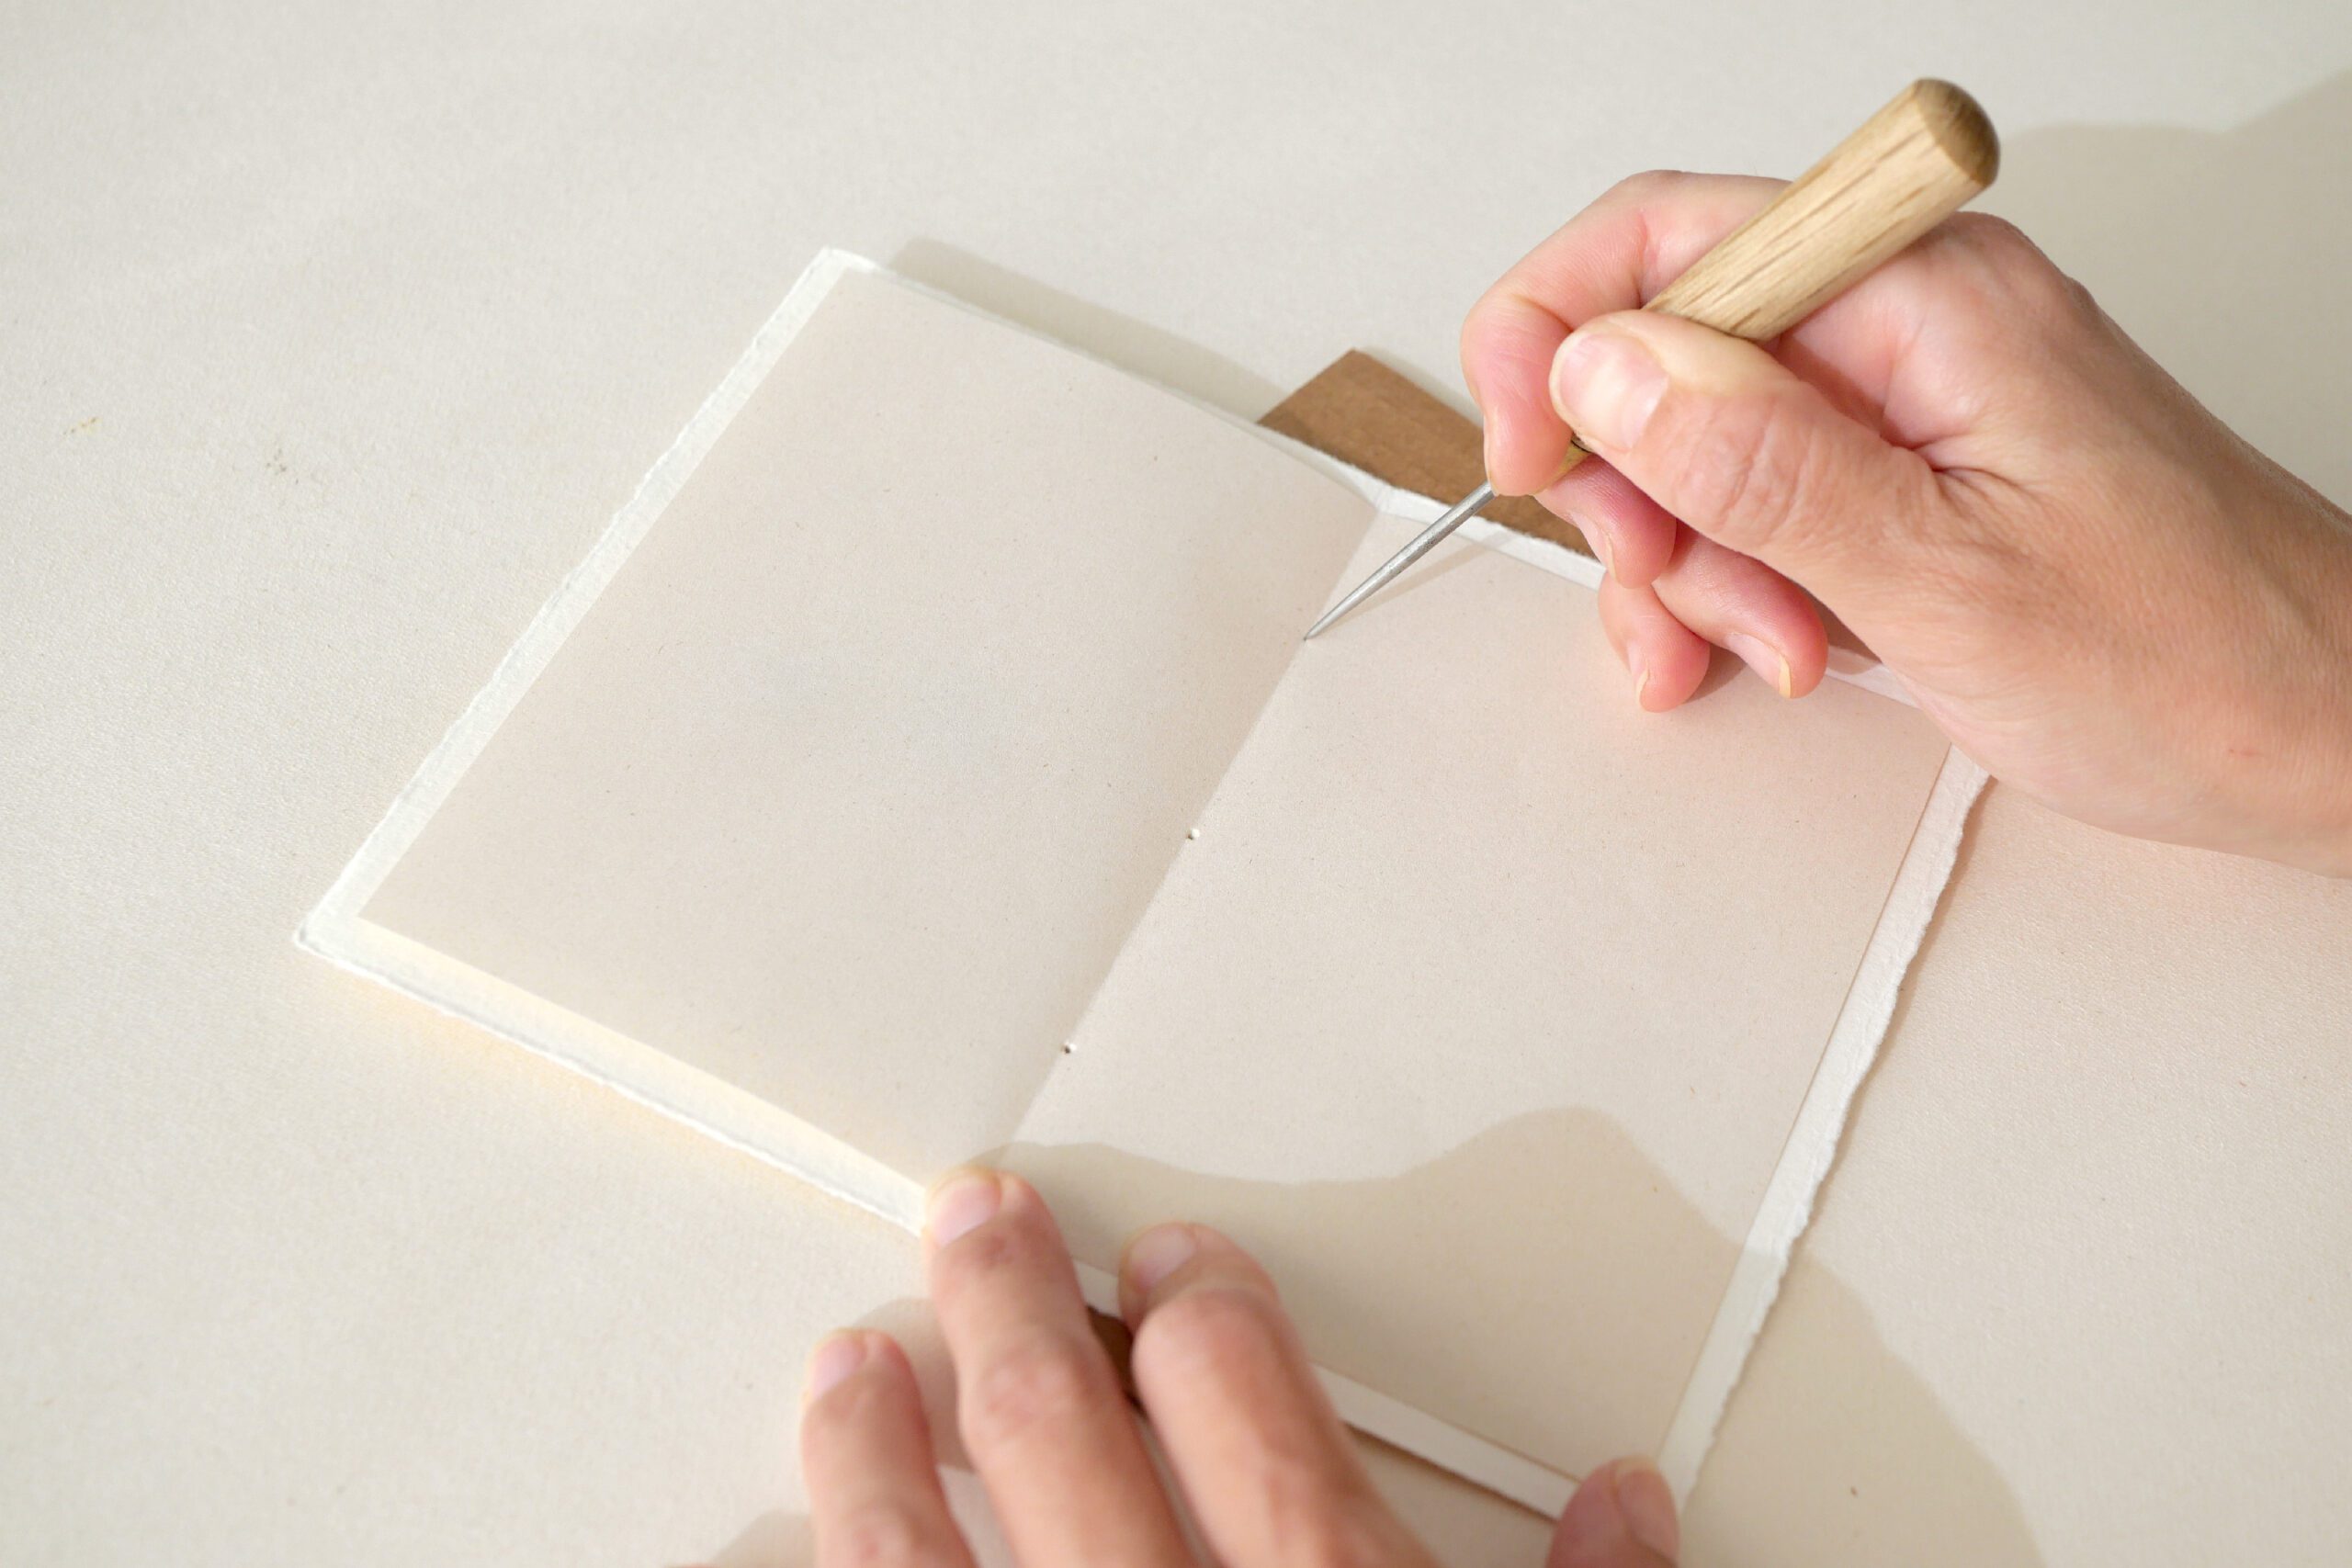
Place the design template on the card and tape it temporarily to prevent it from moving. Place a piece of cardboard to protect the desk and place the card on the top. Punch a hole through it with an awl along the design. The holes should be large enough to allow the needle to pass through.

Step 2. Running Stitch
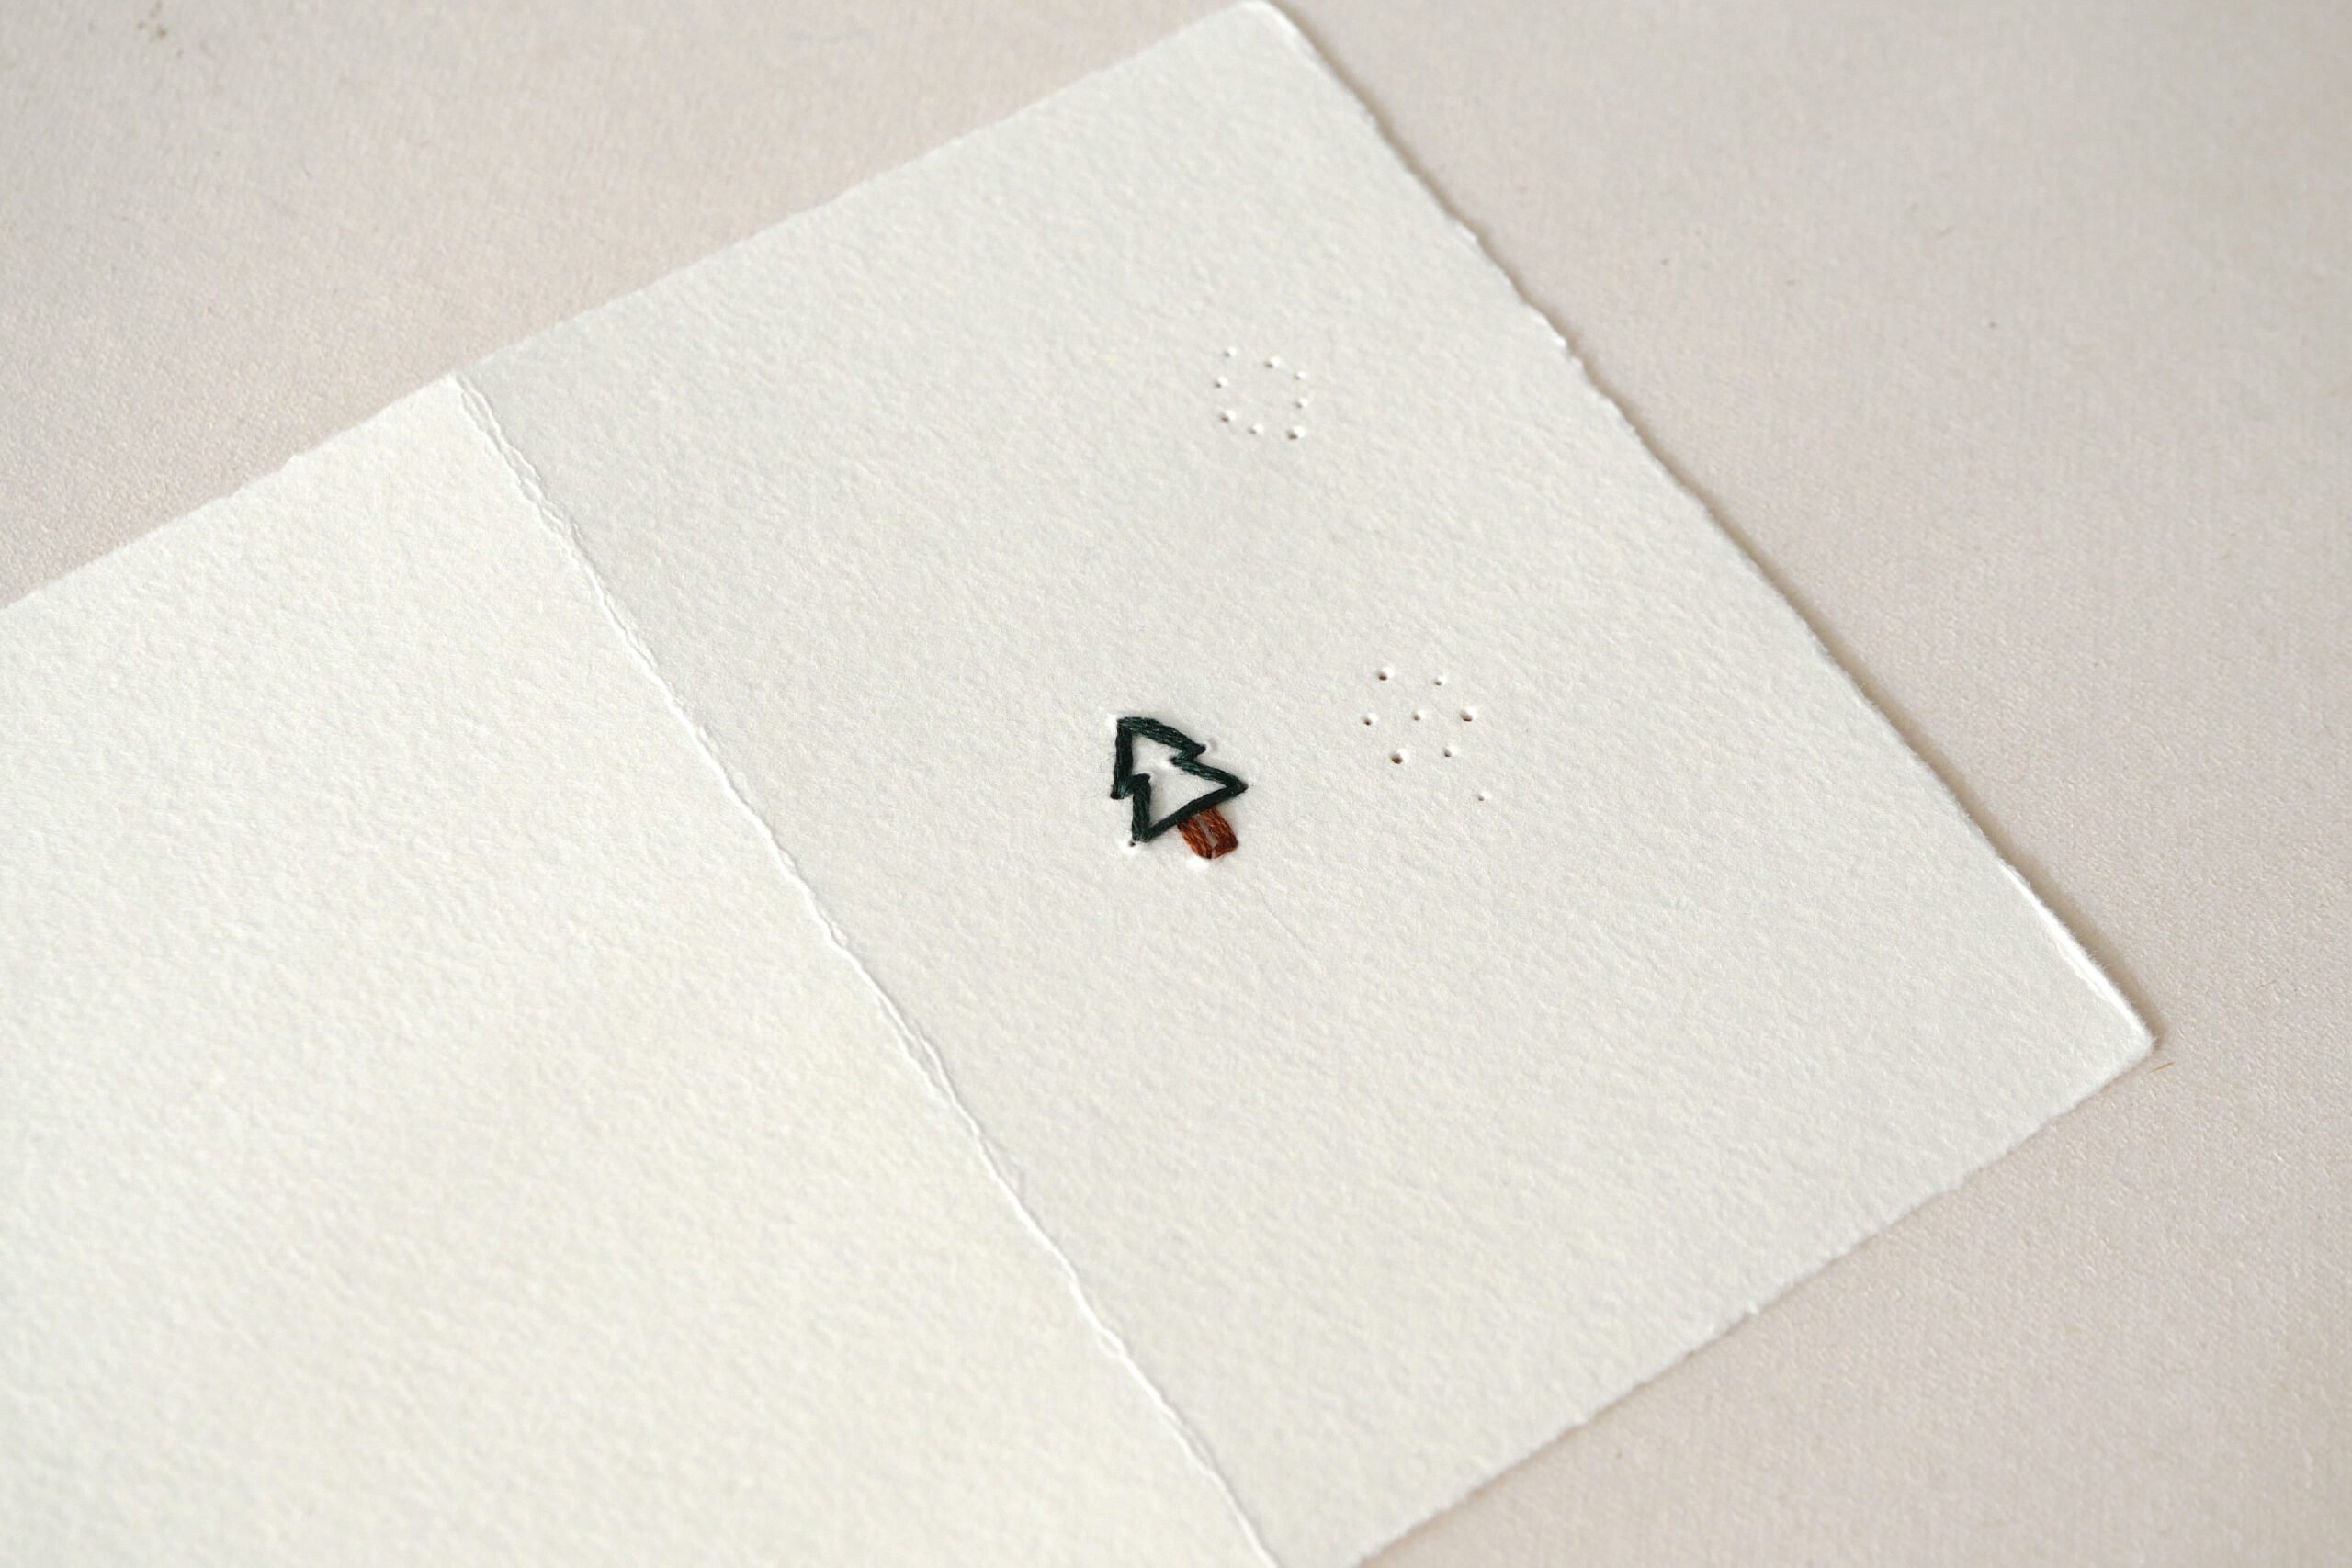
Running Stitch is a method of stabbing while alternating needles from the front and back of the paper. The needle is stitched from the back of the card, and the next hole is stitched from the front. Repeat this process. All straight lines are stitched with the running stitch.

Step 3. French Knot Stitch
The French knot stitch is an embroidery method for creating knots. Stick the needle through the back of the paper and wrap the thread around the needle twice. While tightening and insert the needle into the same hole where the needle was first inserted.
Insert Paper
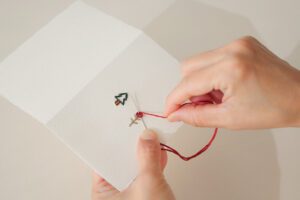
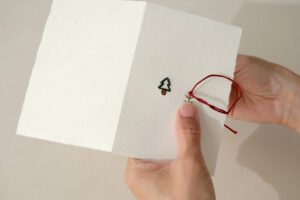
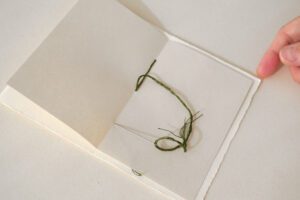
You can write the message directly on the card, but this is an option if you are worried about bumpy embroidery. Insert a sheet of paper inside and sew it in the center of the card. Yes, just like a saddle-stitched book.
The procedure is to punch three holes in the center. The needle is passed through the bottom back hole to the front and through the second hole. Then, through the third hole and back to the second hole.
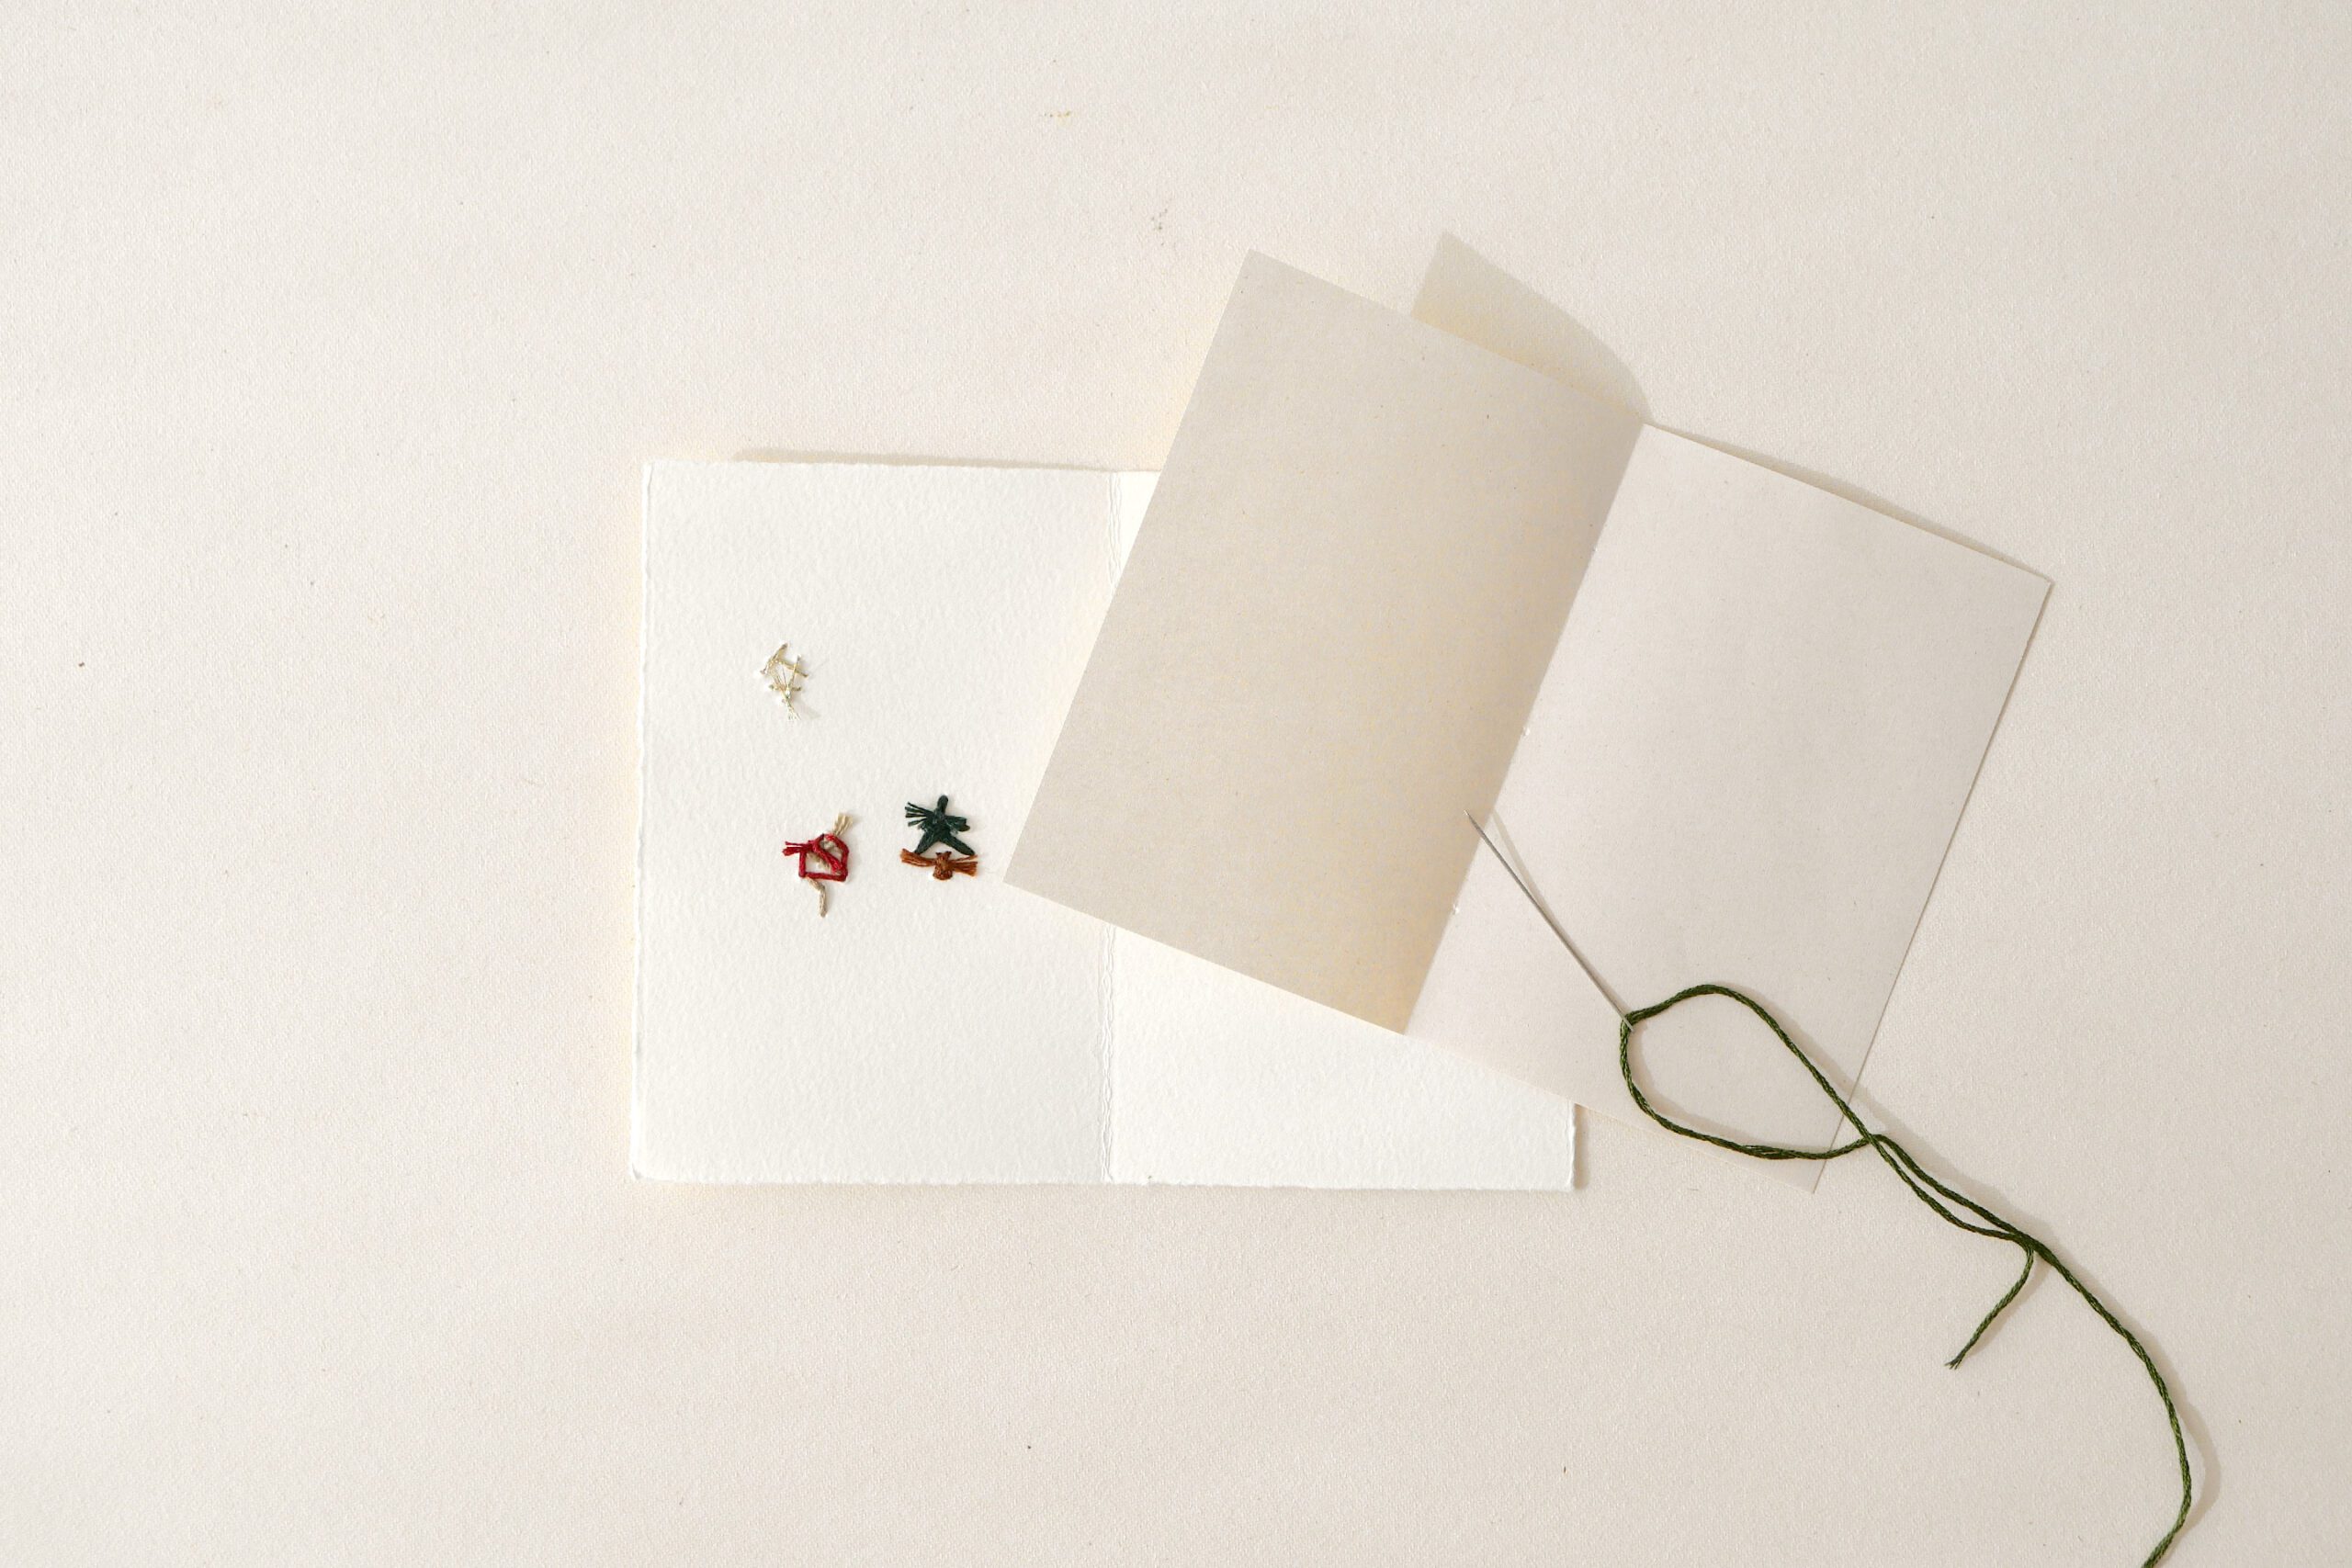
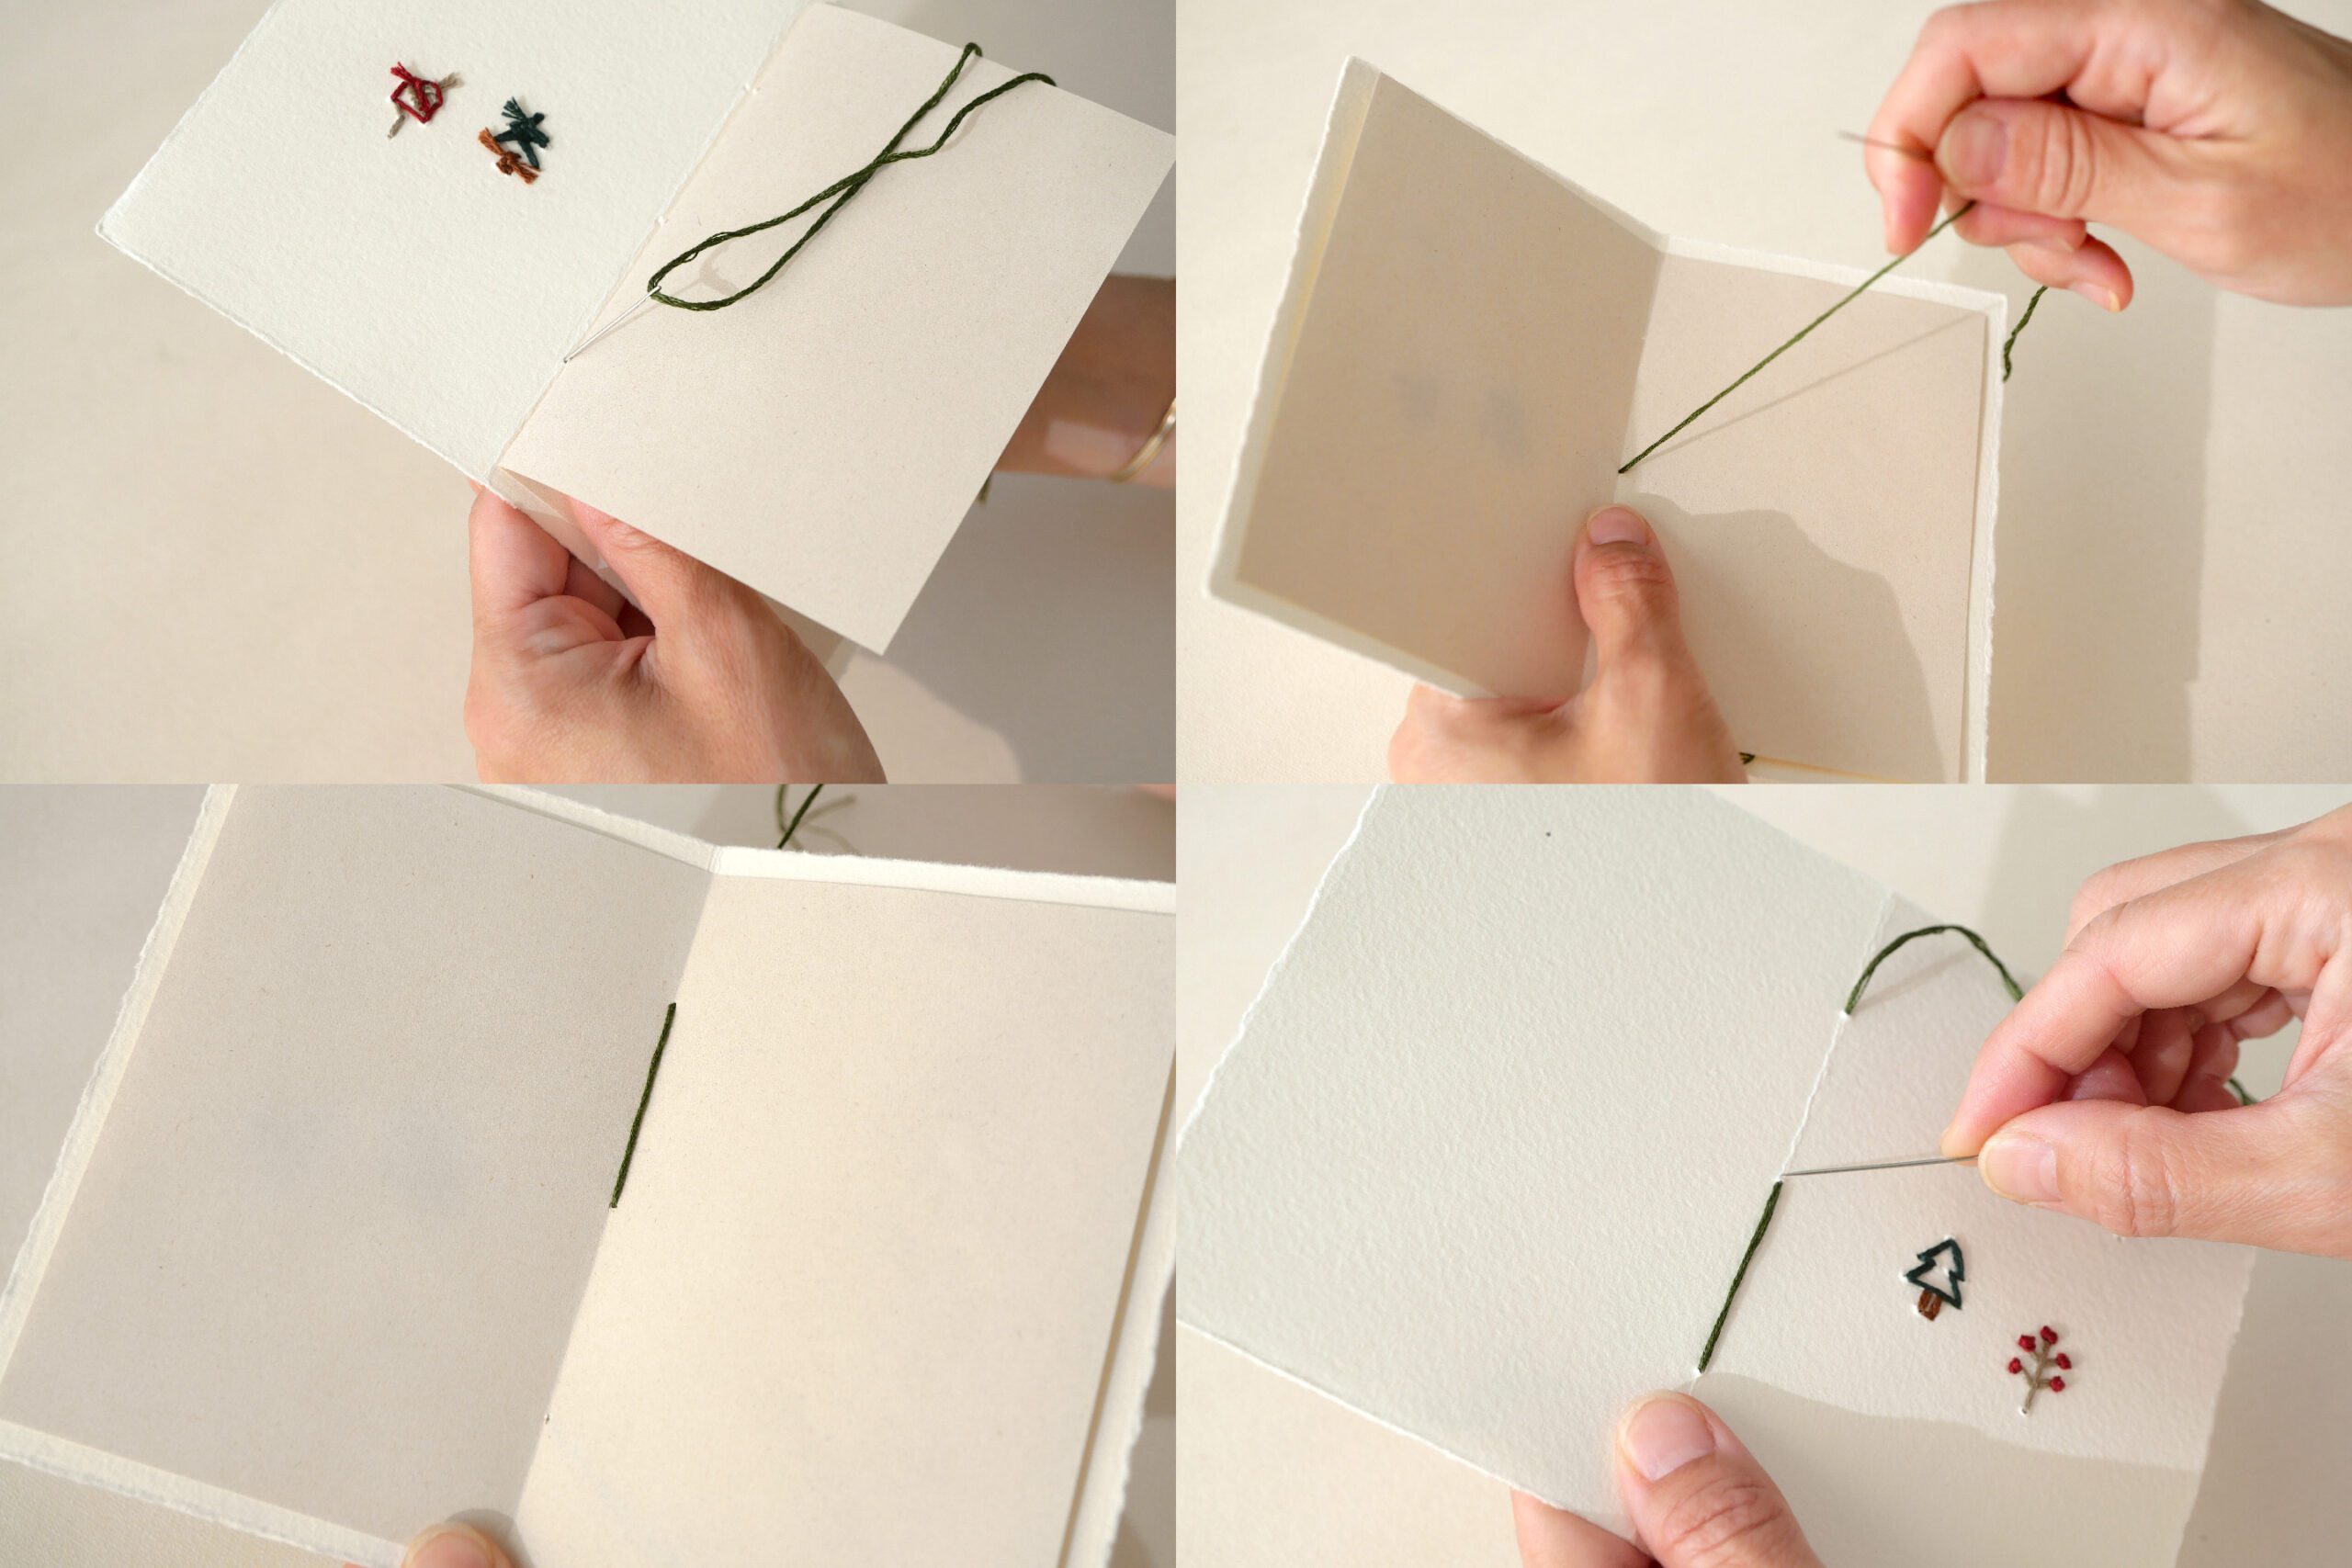
Finally, go back to the first hole and tie a knot. Sew in a figure eight pattern to complete a simple saddle-stitch binding.
Enjoy embroidery on paper
Embroidery on paper can be applied to a variety of situations. In my past projects, I have enjoyed embroidering the covers of the Accordion Pocket Photo Album and the Photo Advent Calendar. I am excited to change the patterns with the seasons, think about where to stitch the embroidery, and see what else I can do. Please look forward to sharing the pictured design with you soon.
Hand Stitched Holiday Card
一年を通して感謝の気持ちを伝えたり、誕生日のお祝いなど、カードを書く機会はたくさんあります。そういう時は私たちはできるだけまっさらなカードを用意して、そこに自分たちの手でなにかひとつ工夫して思いを伝えることを心がけています。娘は工作も字も絵も描くのが大好きなので、むしろ手づくりのカードの方が自分らしくいられて心地いいのです。
最近のお気に入りは手刺繍のカード。ステップはあらかじめ開けた穴に沿って糸を刺す、これだけなのです。仕上がりや工程にこだわるなら、どの順番で針を進めればいいのか一番スマートな順路を考えることもできます。とはいえあまり気にせずひと針ずつ思うように進めてもいいでしょう。
モミの木や雪の結晶を図案にしたホリデーカード。今年はこの手刺繍のカードを贈ろうと思います。春には花をモチーフに、秋には落ち葉や木の実をモチーフに。私たちにとってこれからの手づくりのカードの定番として活躍してくれそうです。

用意するもの
– 二つ折りのカード
– 糸 *中程度のウールや、刺繍糸などお好みのもの
– 針 *糸の太さに合わせる
– カードに穴を開けるための千枚通し
– ハサミ
– 刺繍の図案 *以下からダウンロードできます
こちらが刺繍の図案です。ご自由にダウンロードしてお使いください。
download the design template図案のテンプレートについて
私たちが今回つくった冬をモチーフにした刺繍の図案をダウンロードしてお使いいだけます。ご用意した4つの図案は糸の色や配置を変えればいろいろなデザインに変化するでしょう。刺繍のテクニックは、ランニングステッチとフレンチノットステッチです。
中央に一つだけの刺繍。いくつかの図案を組み合わせたもの。娘とつくったカードのバリエーションです。春になれば花の刺繍にしたり、人や車などの図案に挑戦しても楽しそうですね。


つくりかた
Step 1. カードに穴をあける
図案のテンプレートをカードに配置して動かないようにテープで仮止めします。机を保護するための段ボールを敷いて、その上にカードを置きます。図案に沿って千枚通して穴を開ける。穴の大きさは、針が通るほどの大きさにしてください。


Step 2. ランニングスティッチ
ランニングスティッチは、紙の表と裏から交互に針を出しながら刺す方法です。カードの裏から針を刺して、表から次の穴に針を刺します。これを繰り返します。まっすぐな線は全てランニングスティッチで刺しています。


Step 3. フレンチノットステッチ
フレンチノットステッチは結び目をつくる刺繍の方法です。紙の裏から針を刺して、針に糸を2回巻きます。針に巻いた糸をしっかりと引き締めながら、最初に針を出した同じ穴に針を入れます。


中紙を入れる
直接カードにメッセージを書いてもいいのですが、刺繍のでこぼこが気になるときのオプションです。中に紙を一枚はさみ、カードの中央で縫い止めます。そう、中綴じの本のように。
手順は、中央に3つの穴をあけます。一番下の裏穴から針を表へ通し二番目の穴へ。そして三番目の穴を通って、また二番目の穴へ。


最後に一番目の穴へ戻って結びます。八の字を書くように縫い進めれば、簡易的な中綴じのできあがりです。


紙への刺繍を楽しむ
紙に刺繍することは、さまざまな場面で応用可能です。私のこれまでのプロジェクトでも、Accordion Pocket Photo Albumや、Photo Advent Calendarの表紙に刺繍を施して楽しみました。季節によってパターンを変えたり、刺繍を刺す場所を考えたり、また他にも何かできそうだとワクワクした気持ちでいます。近々写真の図案をシェアしようと思っていますので、楽しみにお待ち下さい。


