Photo Advent Calendar
The holiday season is upon us. It’s time to get the advent calendar ready.
On the other side of the exciting mood, every year I wonder what I should prepare. My daughter is almost 10 years old, and it is time for to outgrow little toys. I wanted to welcome each day with memories rather than material things. That reminded me of the Accordion Pocket Photo Album I introduced last post. I decided to make this pocket album as this year’s advent calendar, giving one photo a day.
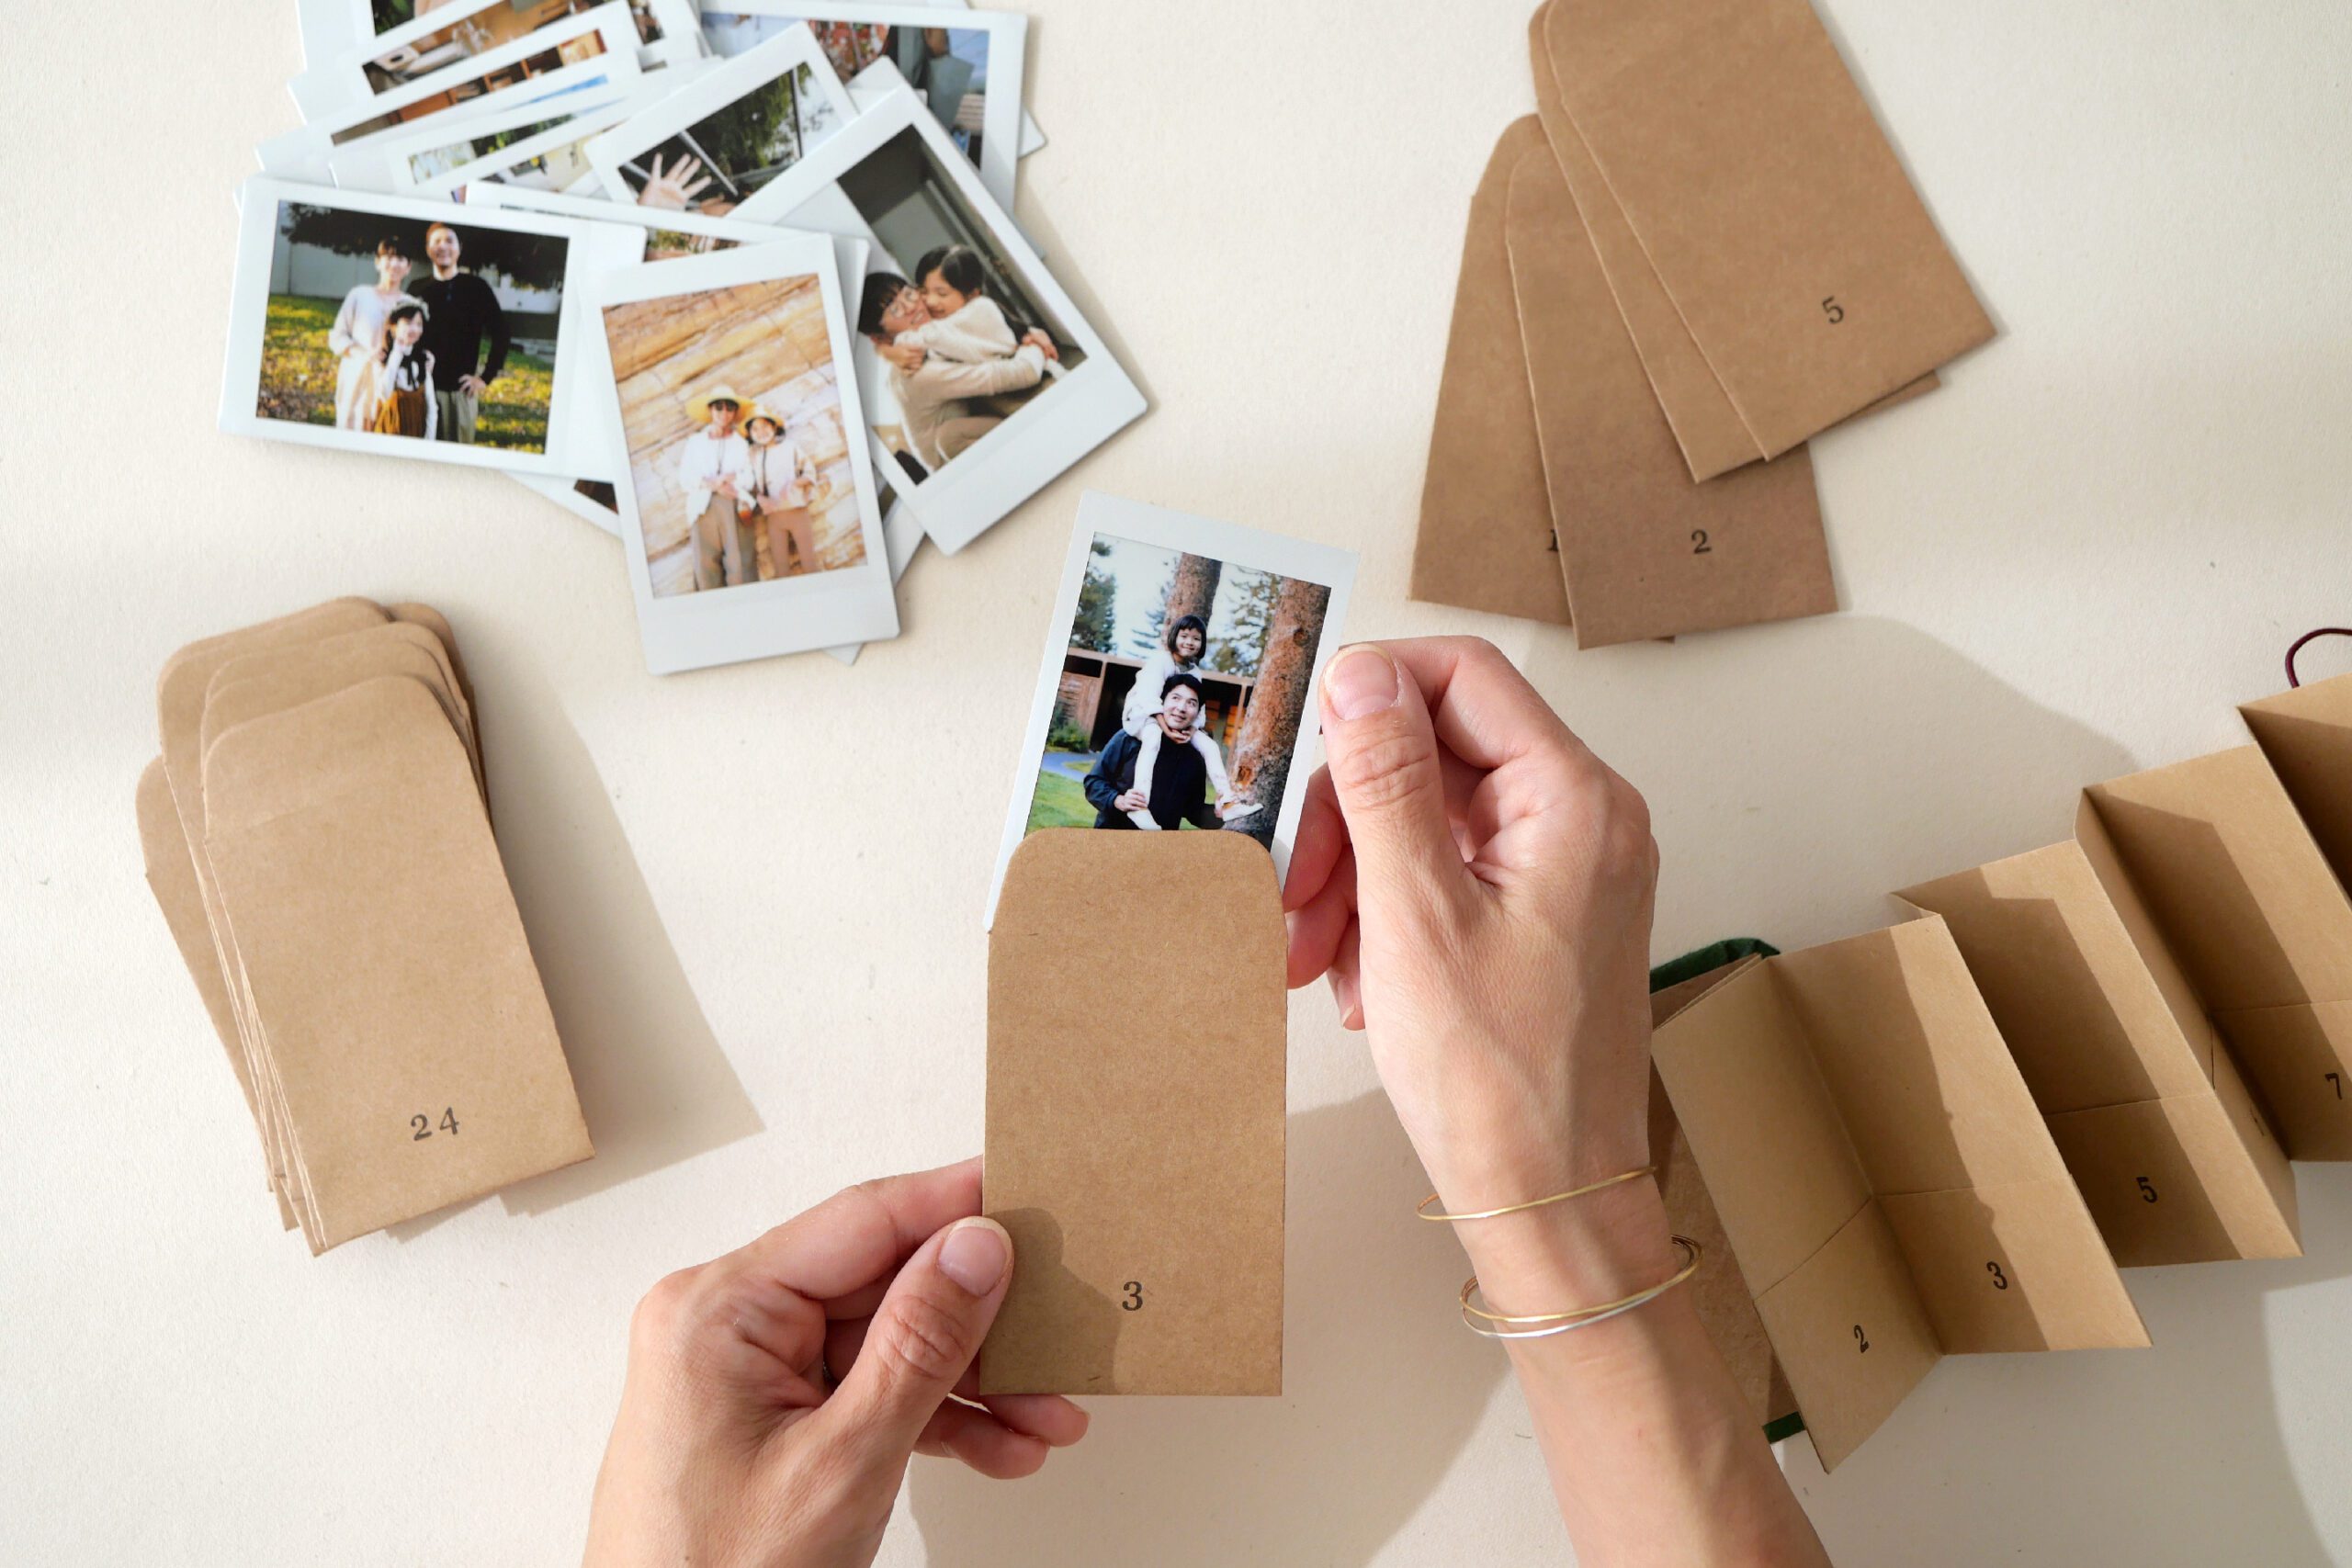
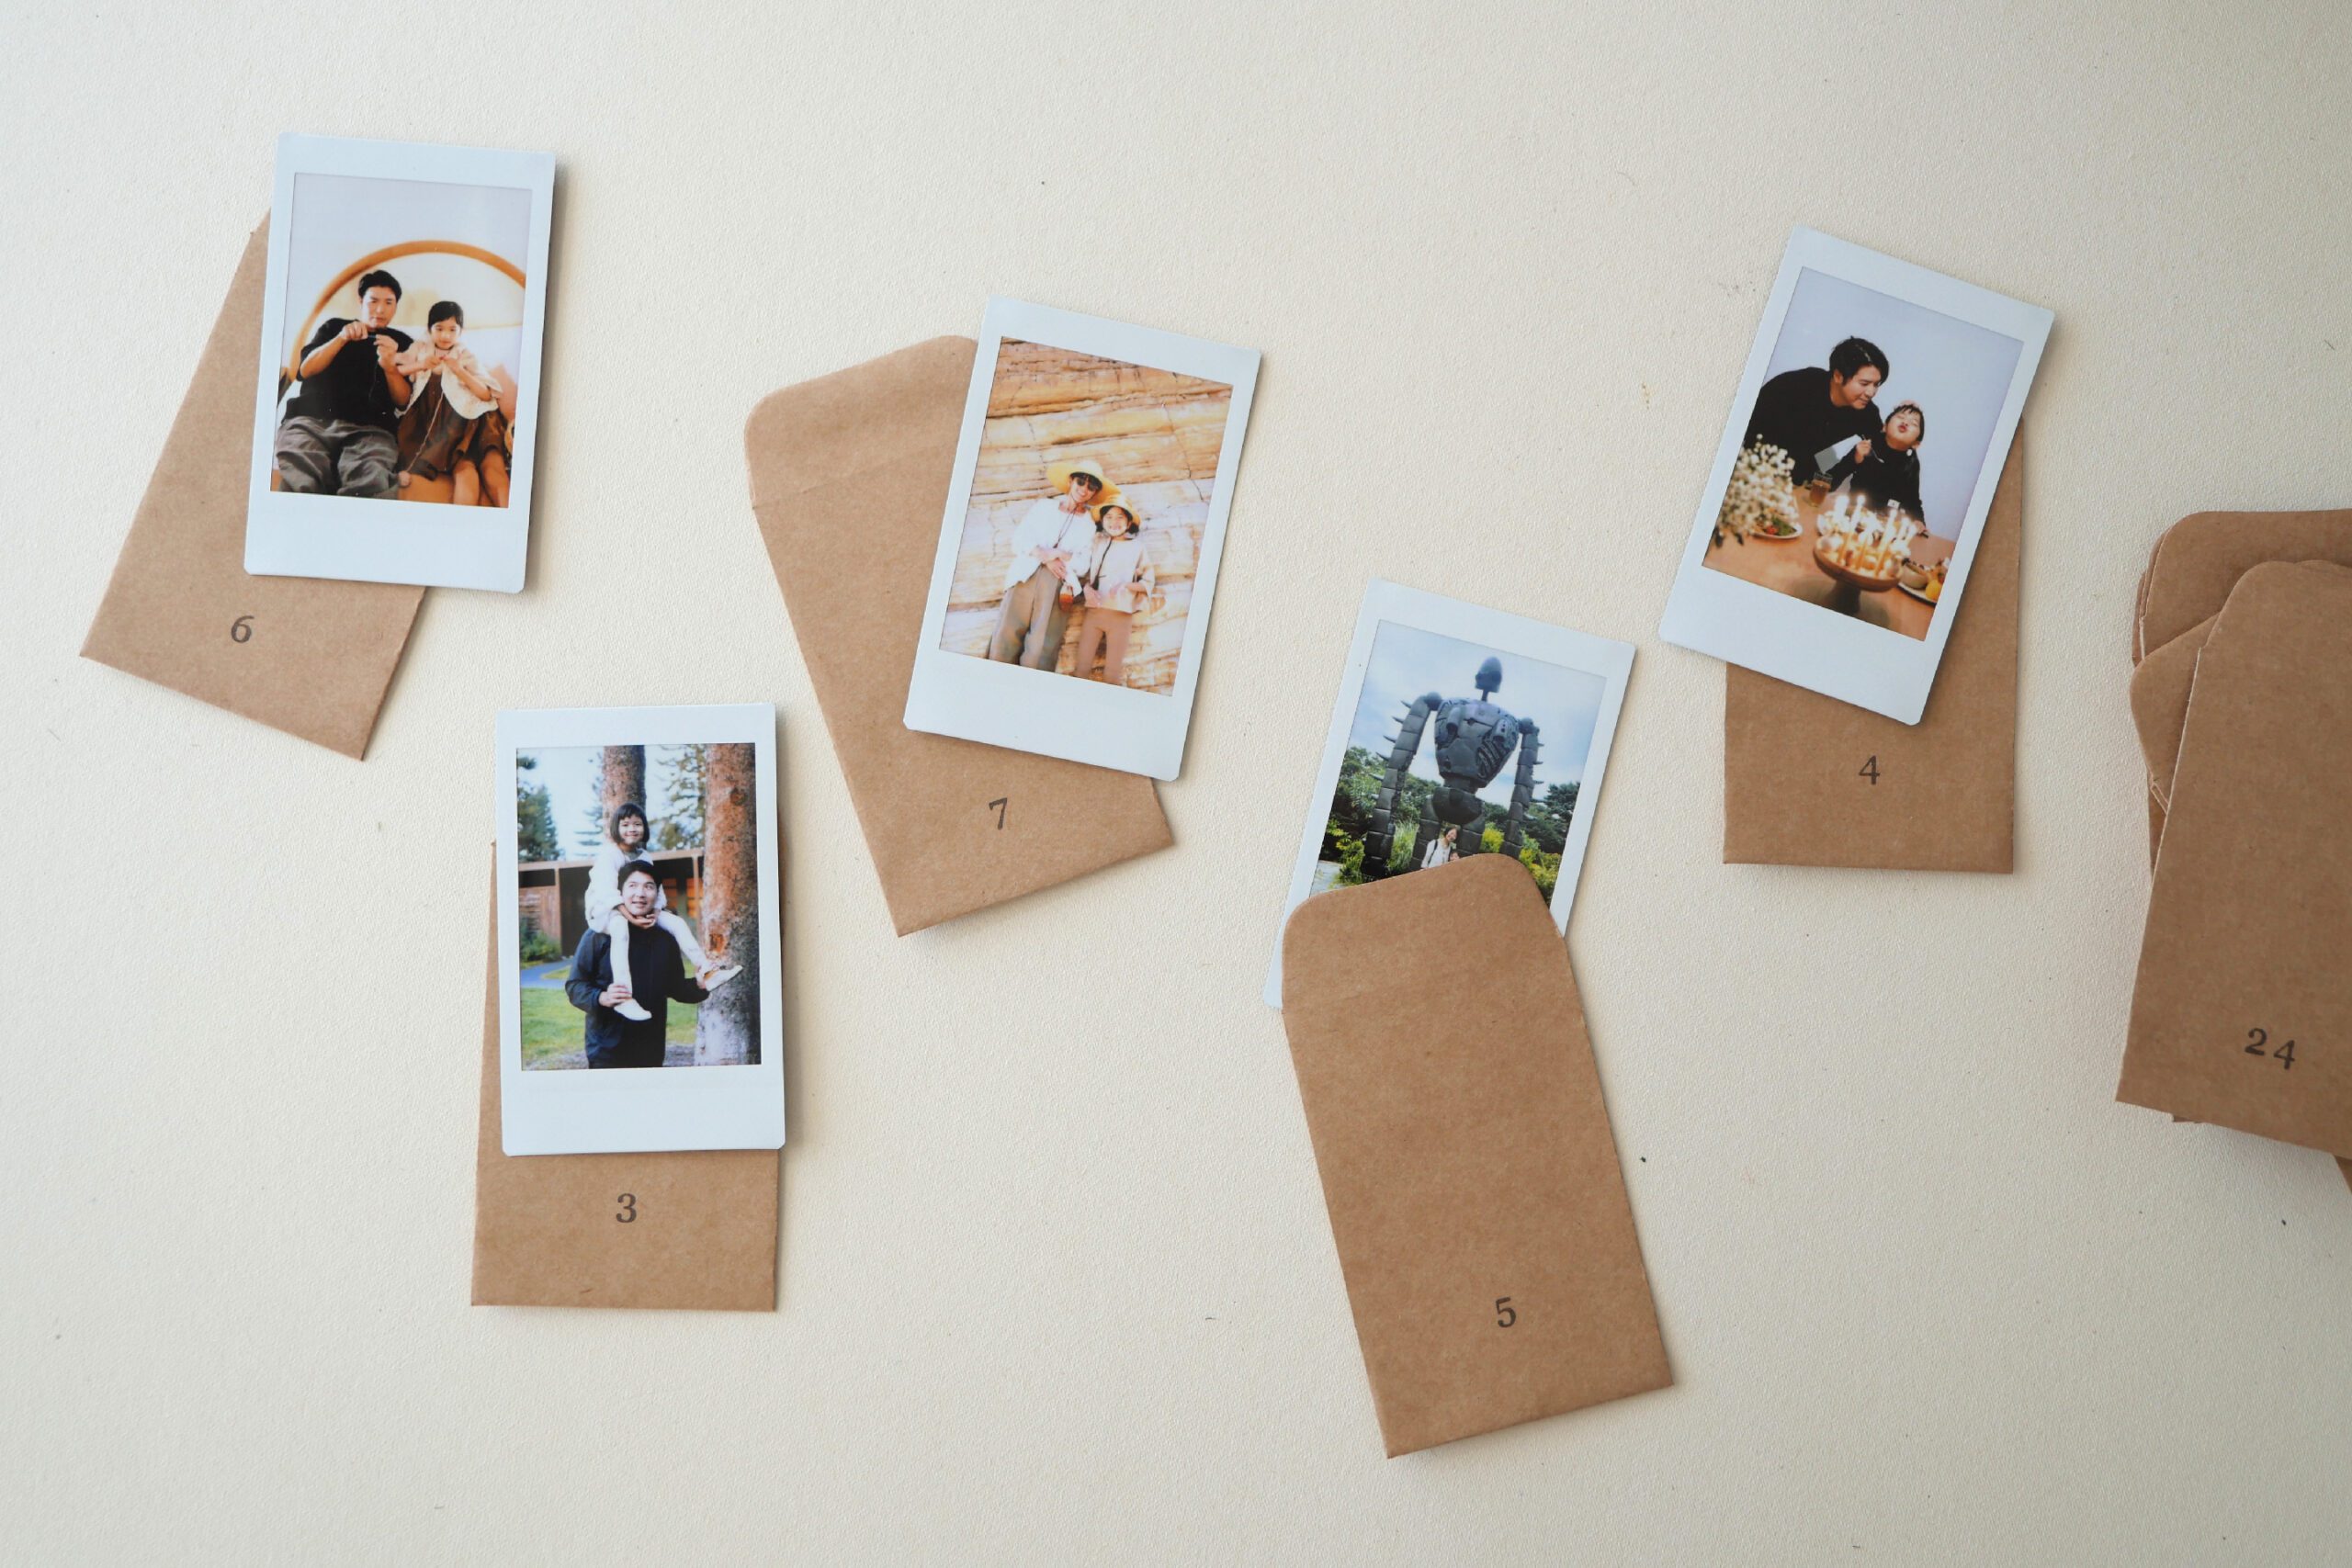
Put 24 photos of memories with family and friends into small envelopes and number them. Each day she open one photo and place it in one of the pocket album. Then on the 24th day, she will have a complete album full of memories.
This is an advent calendar to look back on the year. We hope you all have a wonderful holiday season.
Materials
– 24 Photos
– 24 Envelopes
– Kraft paper*
– Card board that serves as the cover
– Paper to wrap the cover *Option
– Elastic band
– Glue
– Scissors
– Cutter
– Hole punch or awl
*Kraft paper is a firm paper quality and good for holding photos. If you want a clearer view of the photos inside, you can use tracing paper.
Instructions for making
Step 1. Make a Pocket Album
Details on how to make a pocket album can be found in the past post Accordion Pocket Photo Album.
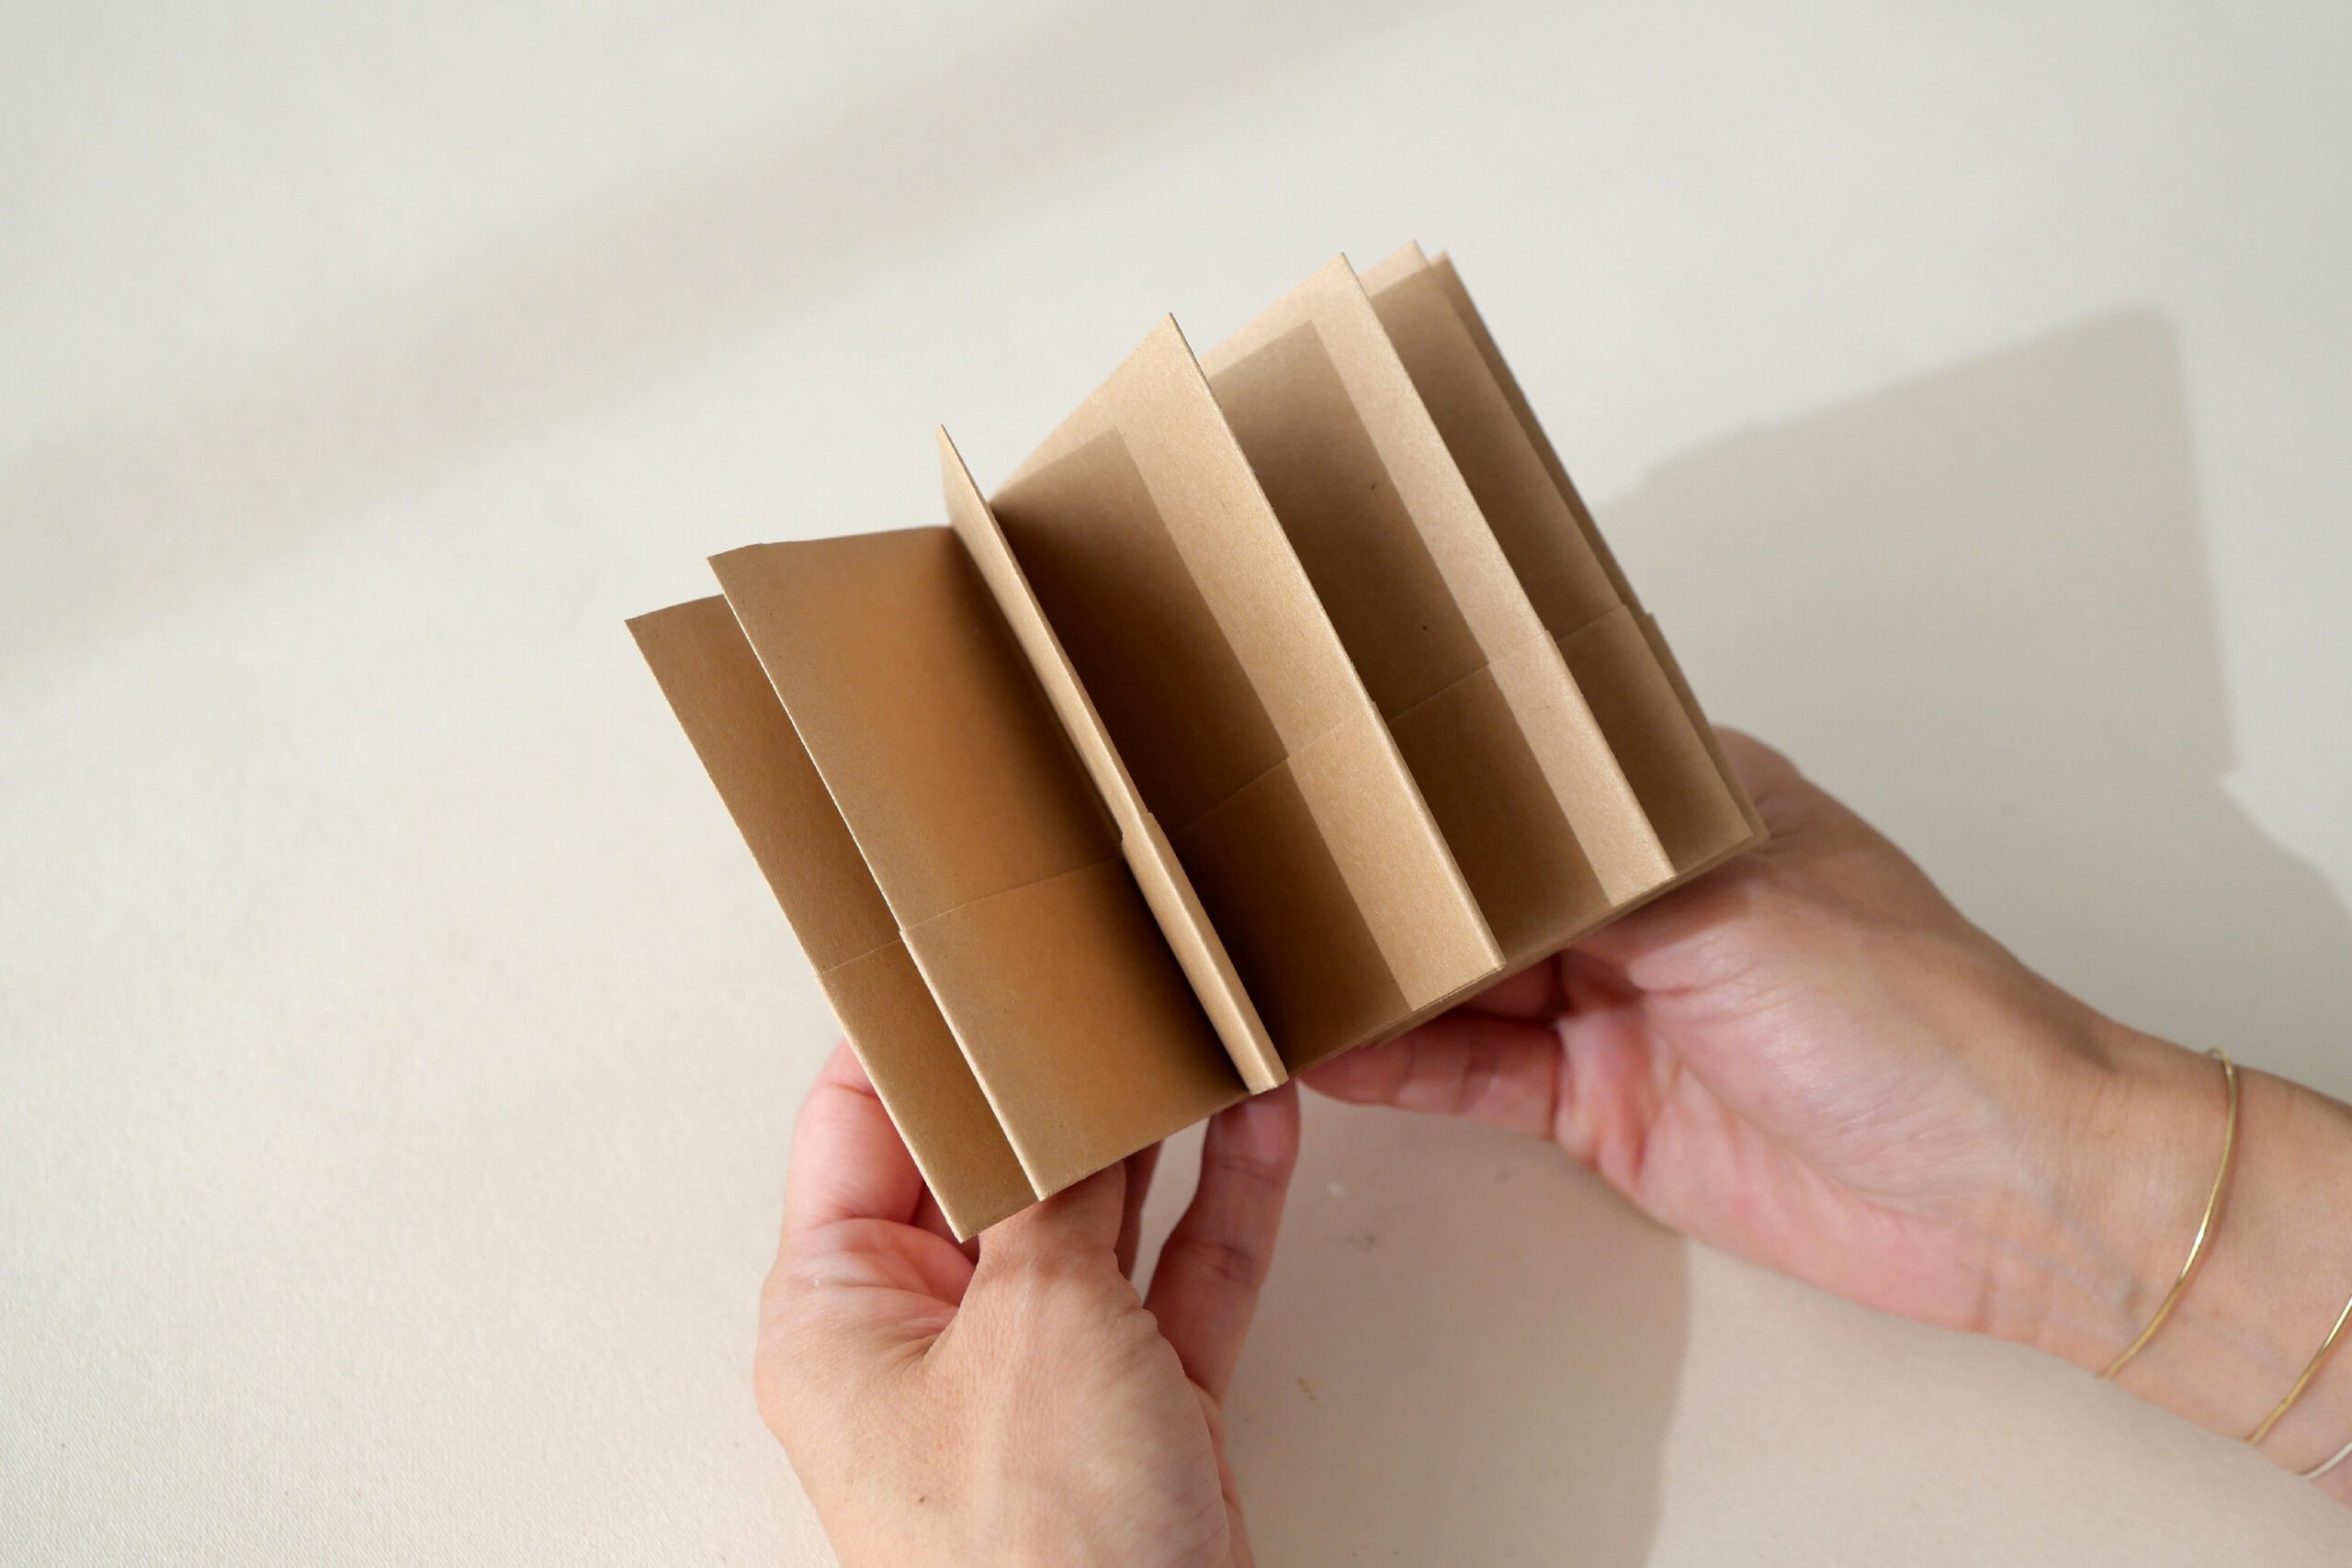
To make a 24-pocket album, 12 pockets were used on the front and 12 on the back, for a total of 24 pockets. The finished size of each page is 90 x 60mm and the depth of the pocket slit is 35 mm. Use 320mm of 3-foot-long kraft paper.
First fold the paper in half horizontally, then double fold the paper at 35mm from the bottom to make a pocket.
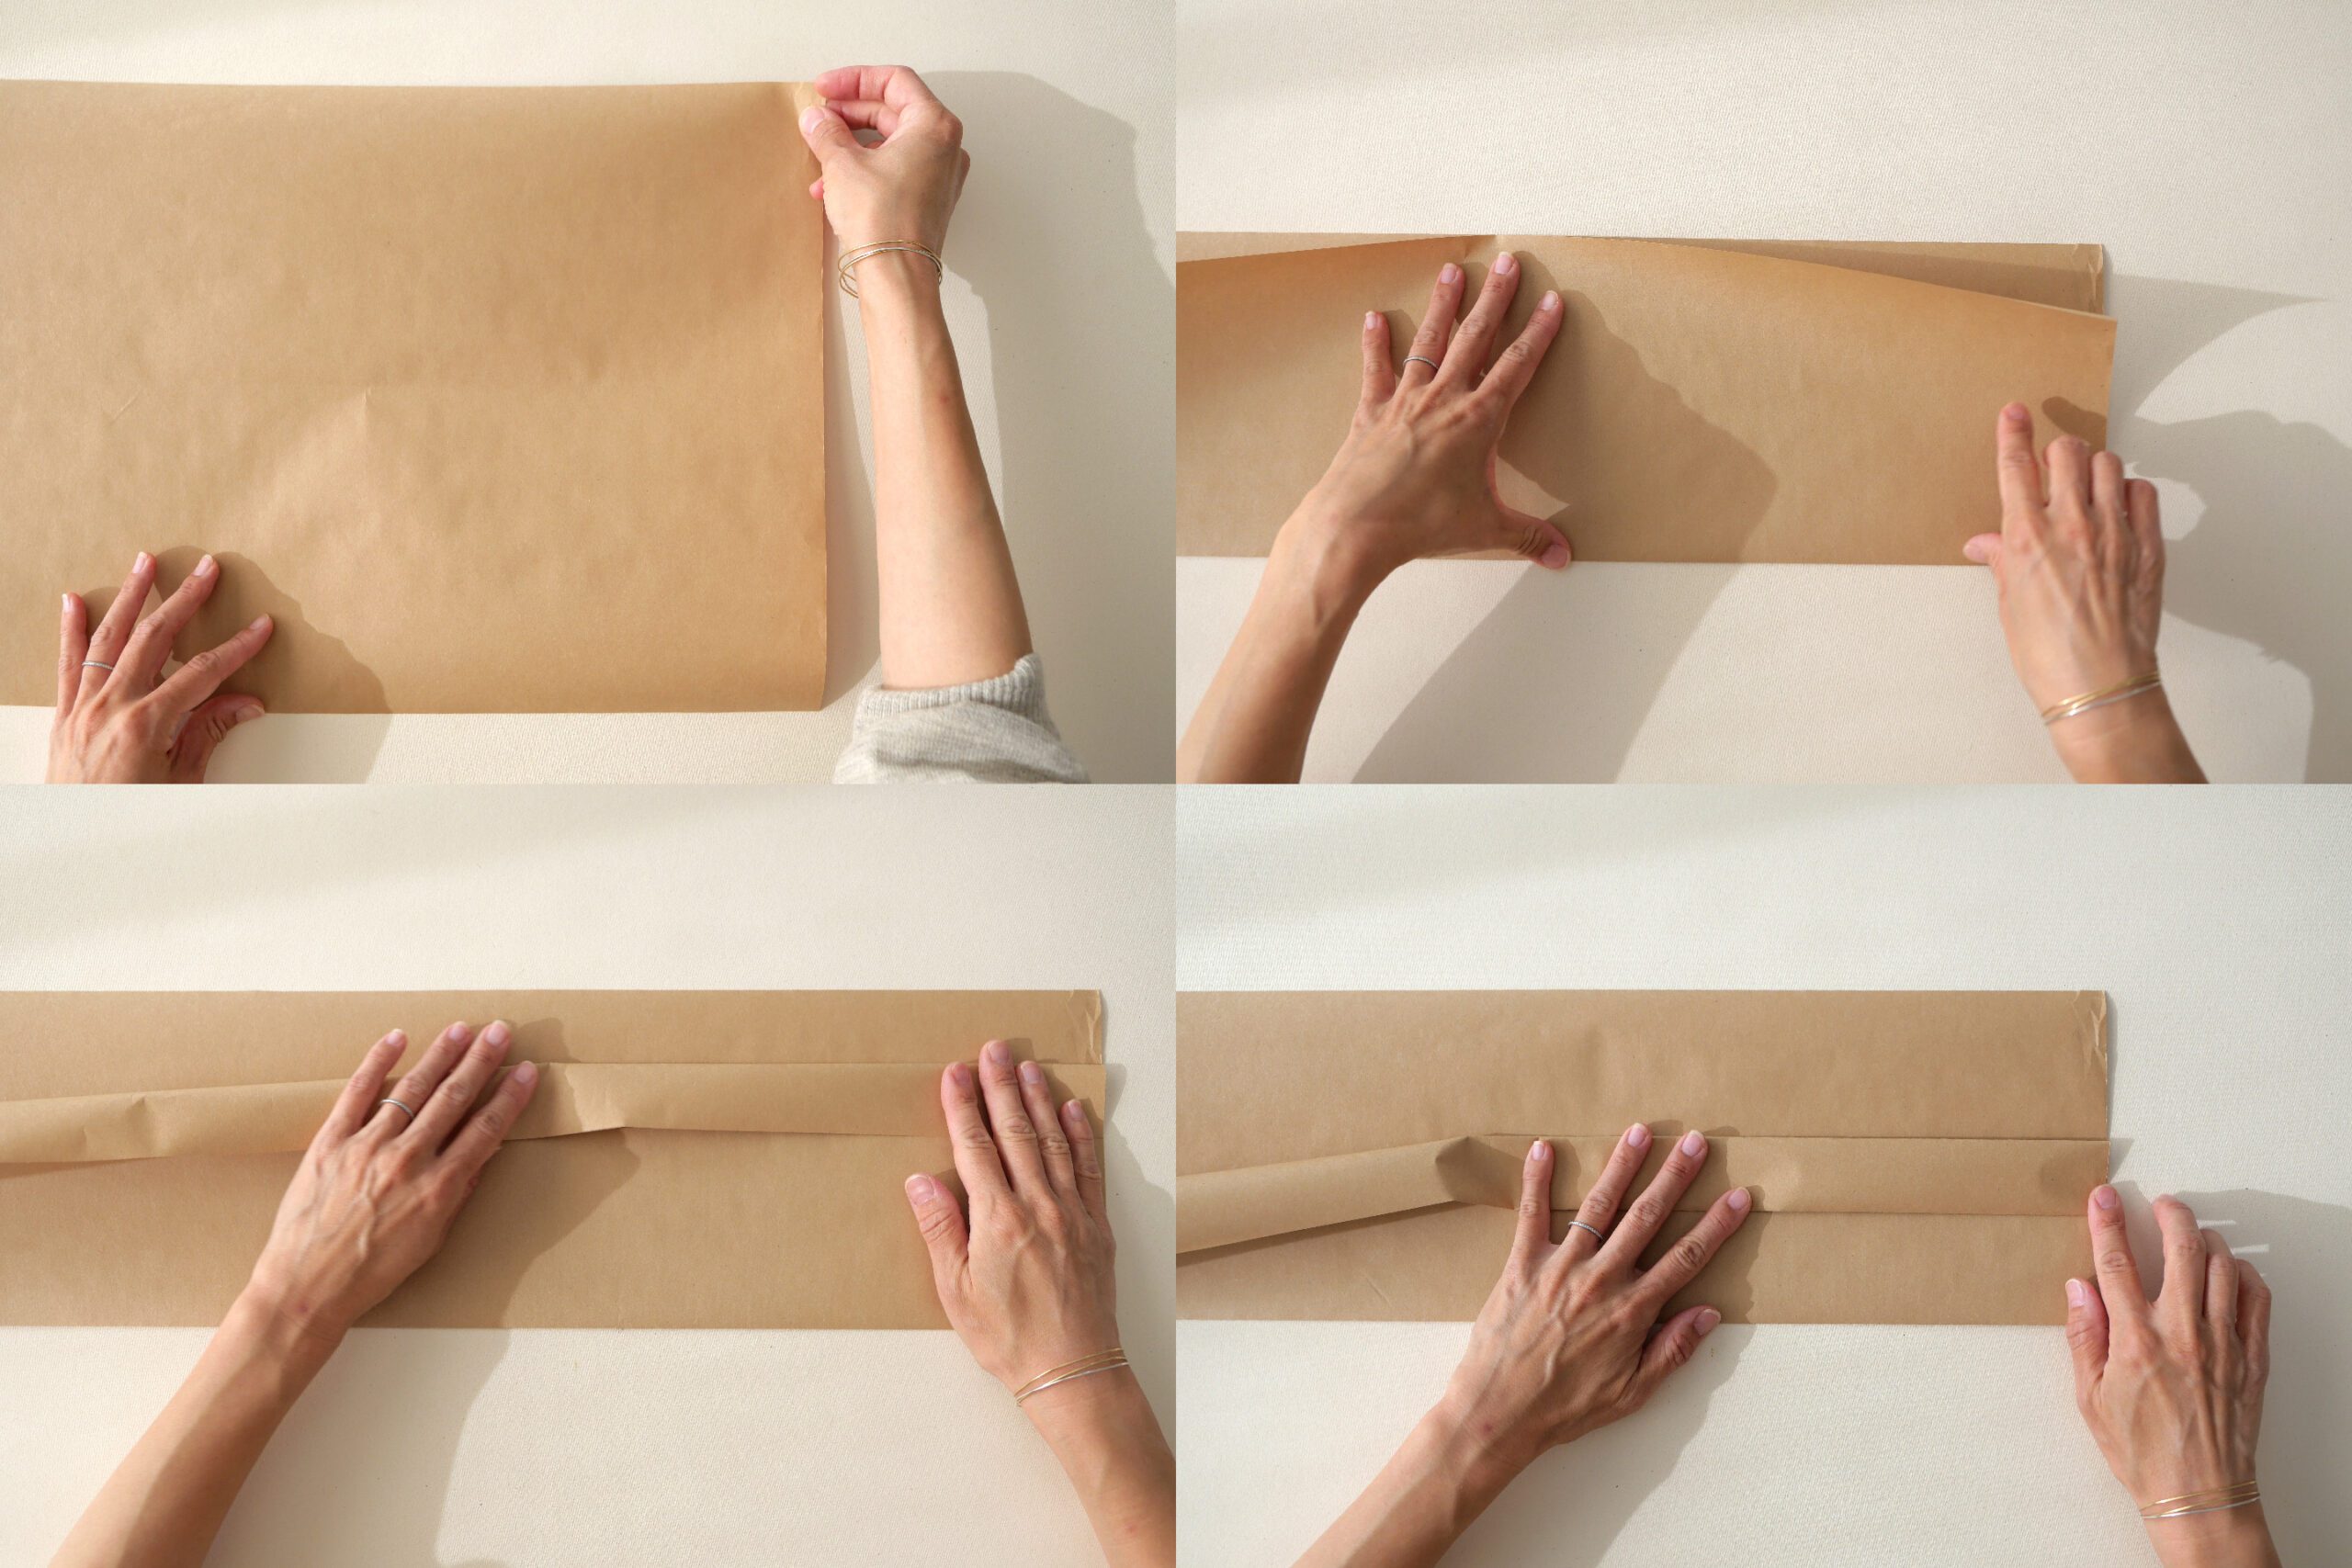
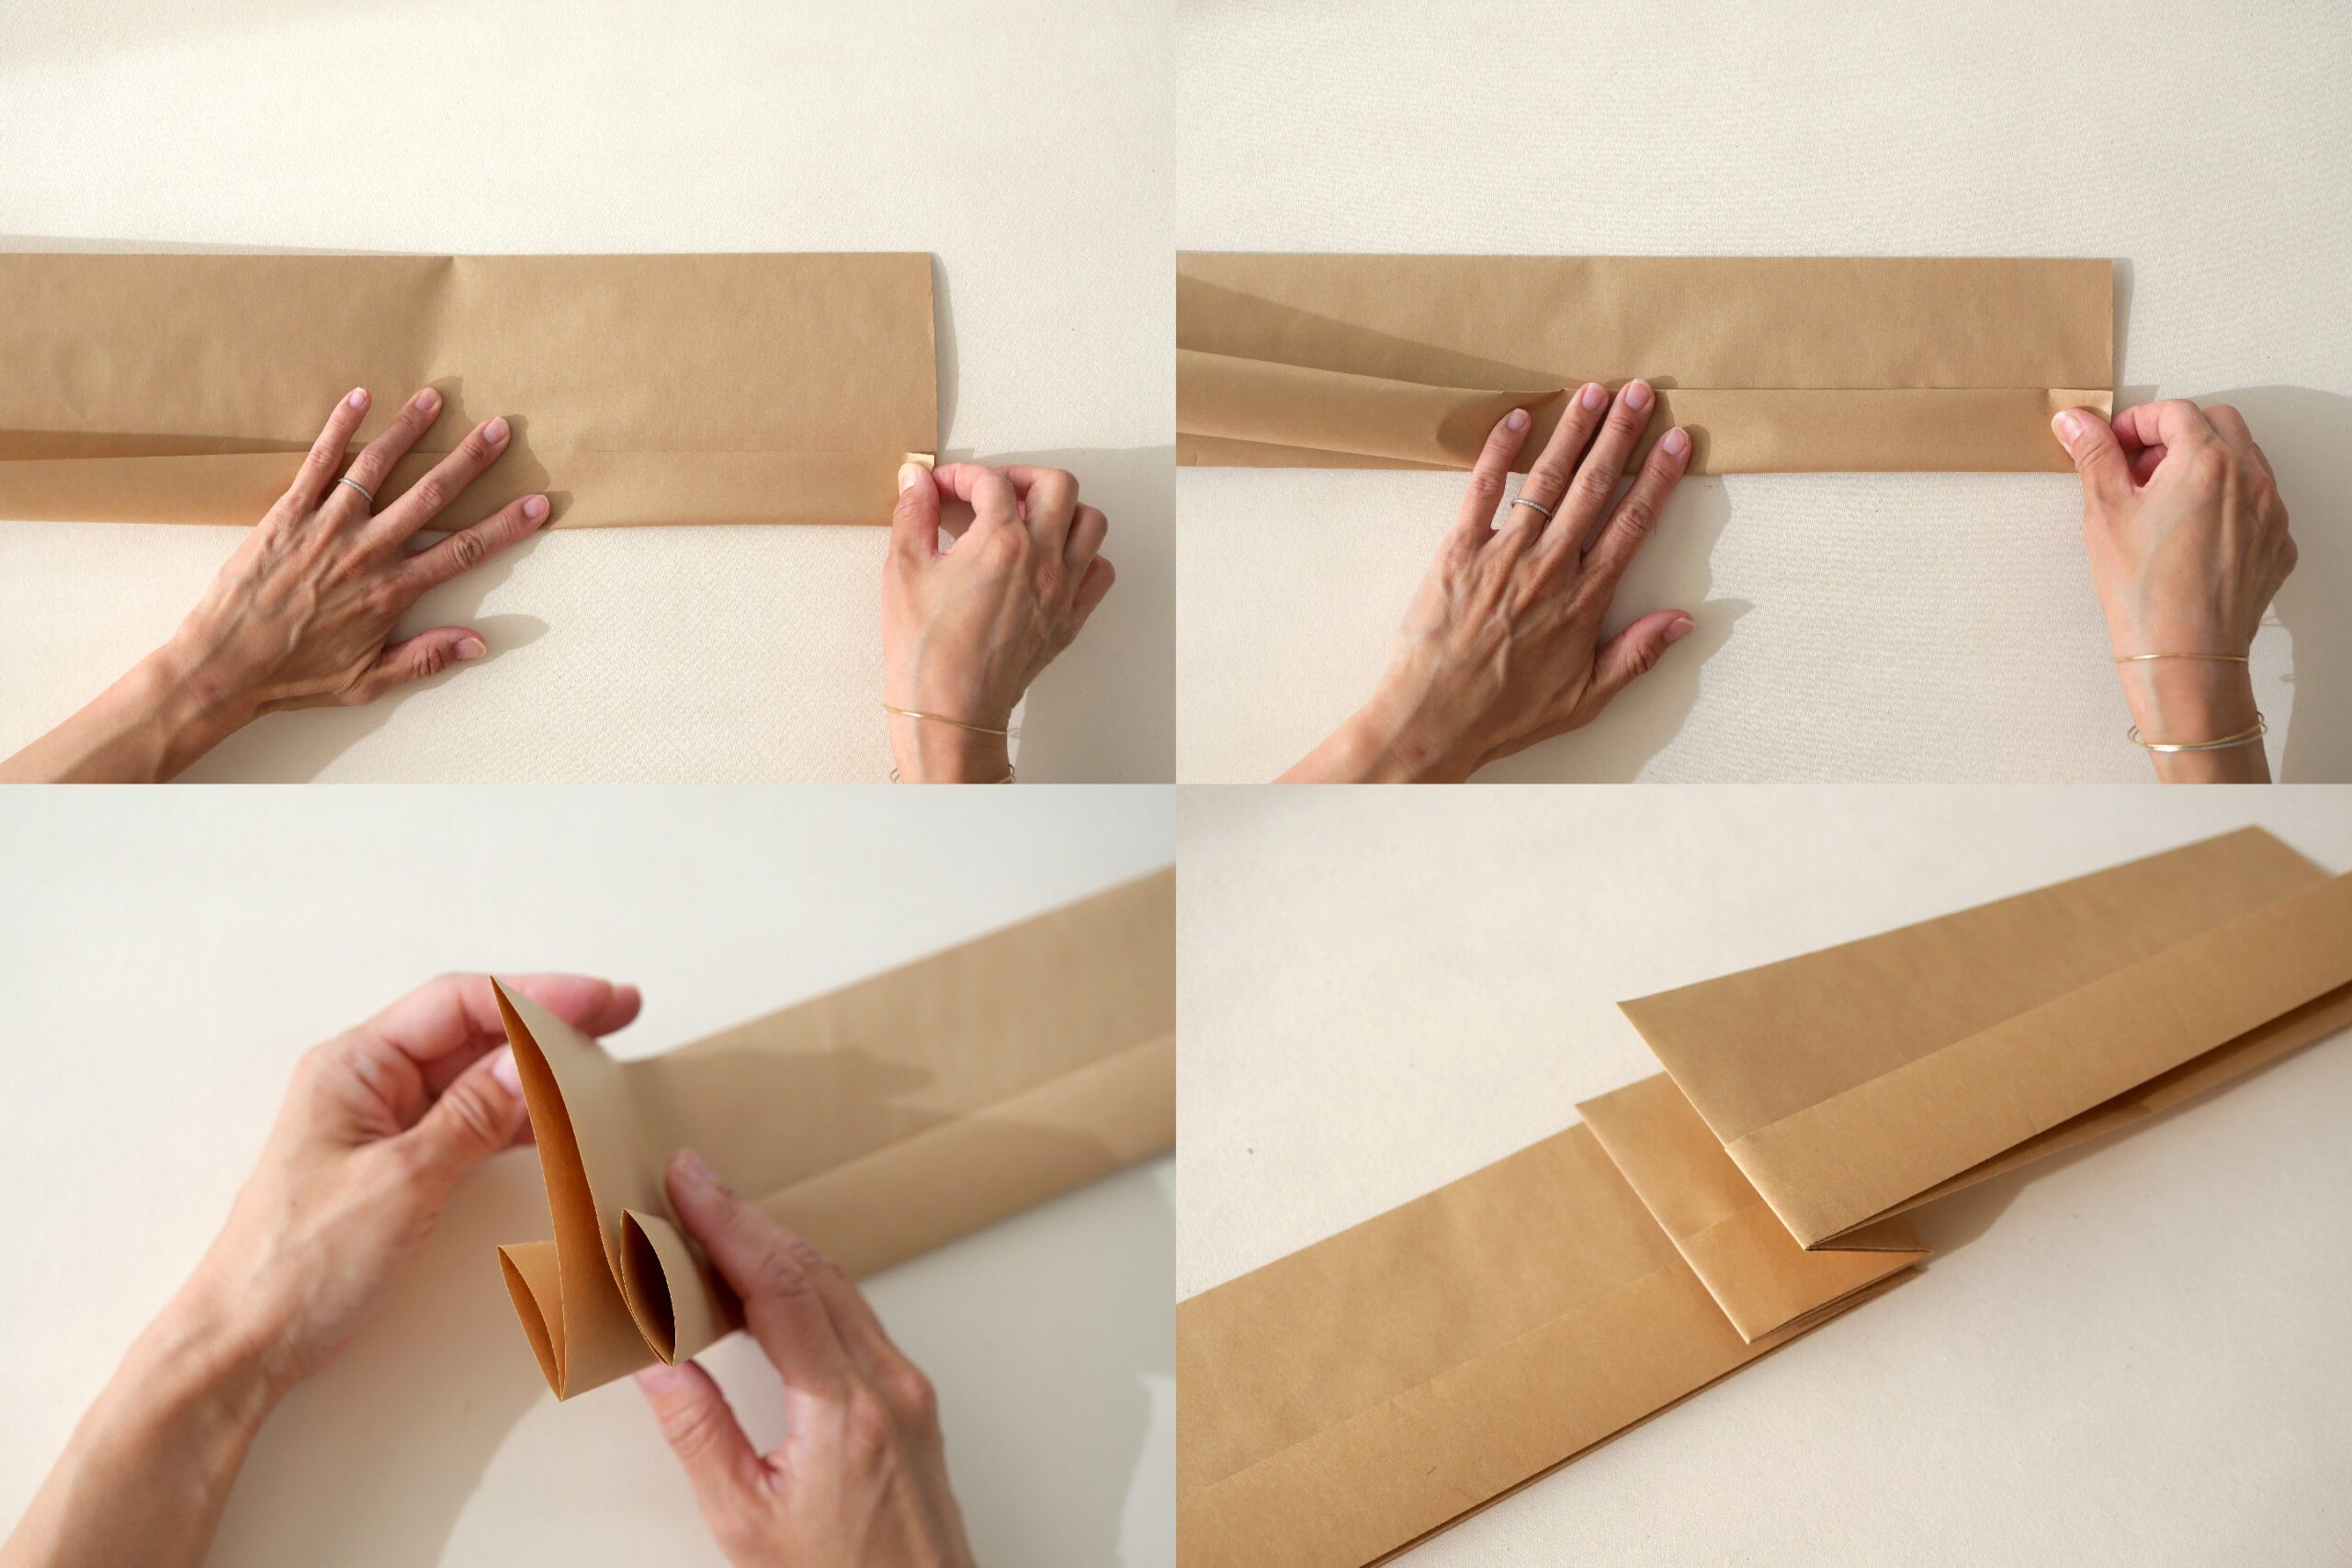
Fold the back side the same way. Folding this way makes all the edges baggy and creates a more durable pocket.
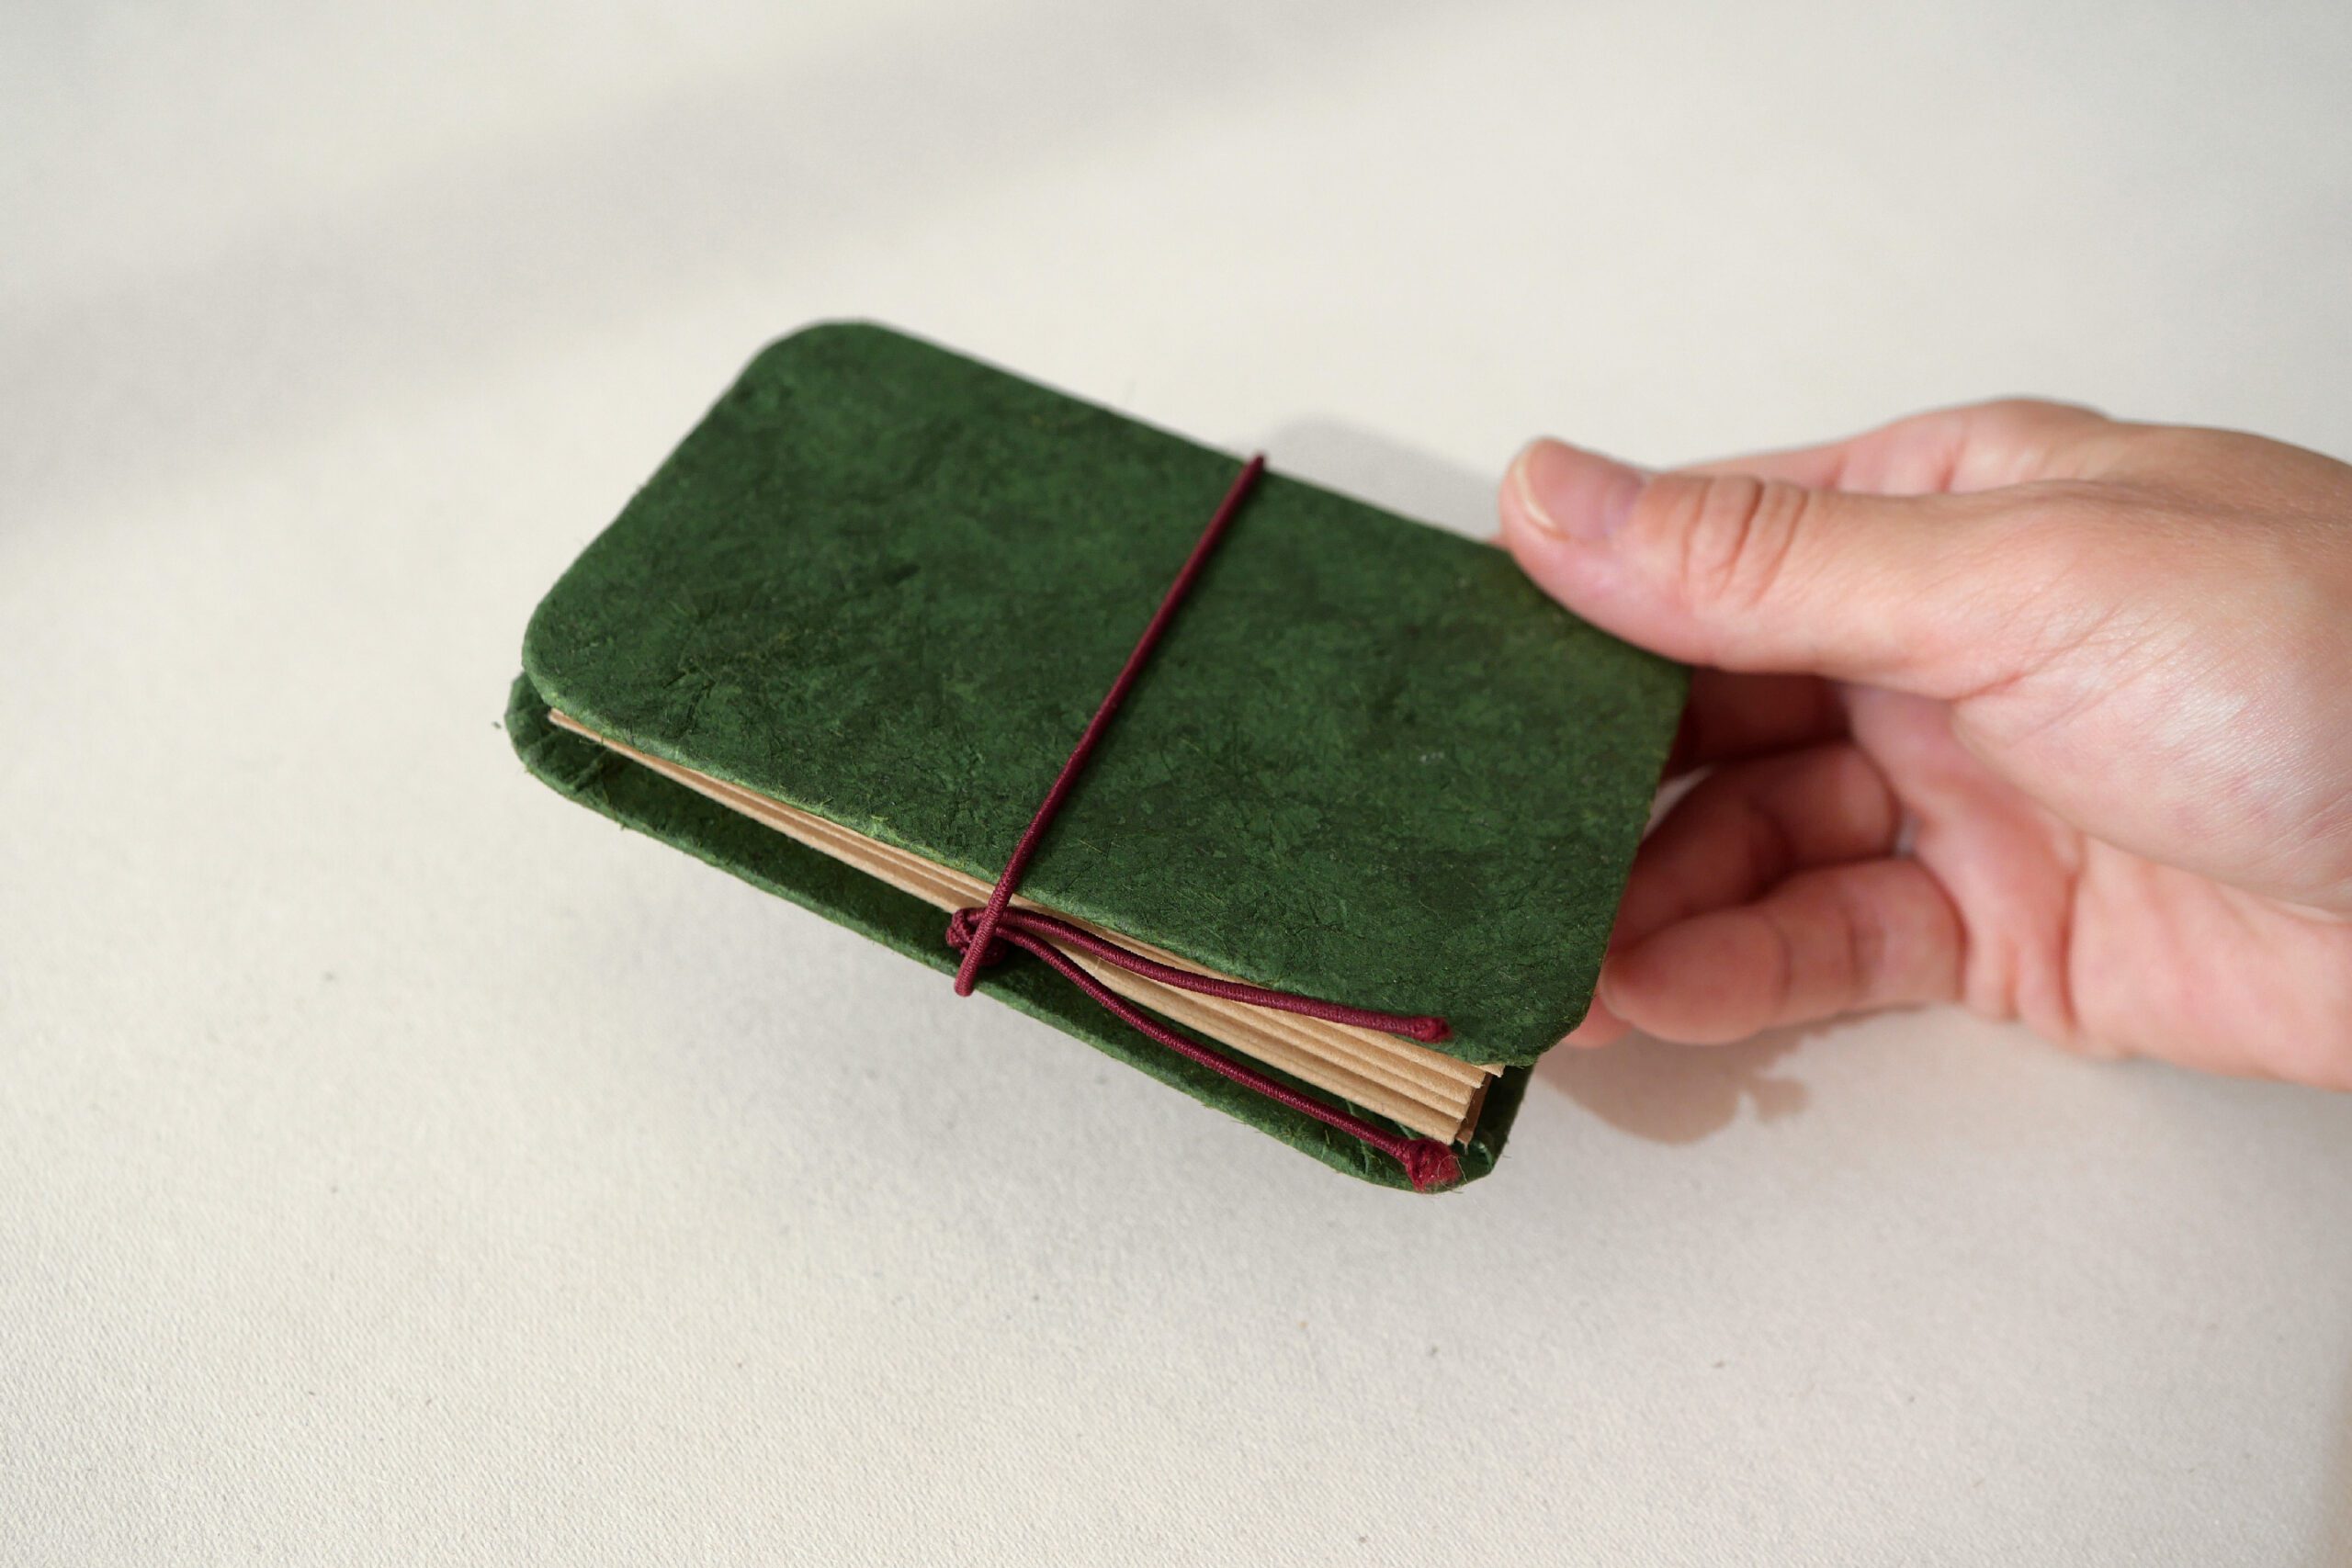
Next, fold each page into a bellows to make 24 pockets. Glue the cover together, and apply the elastic. You can find detailed instructions in this post.
Step 2. Write the Numbers
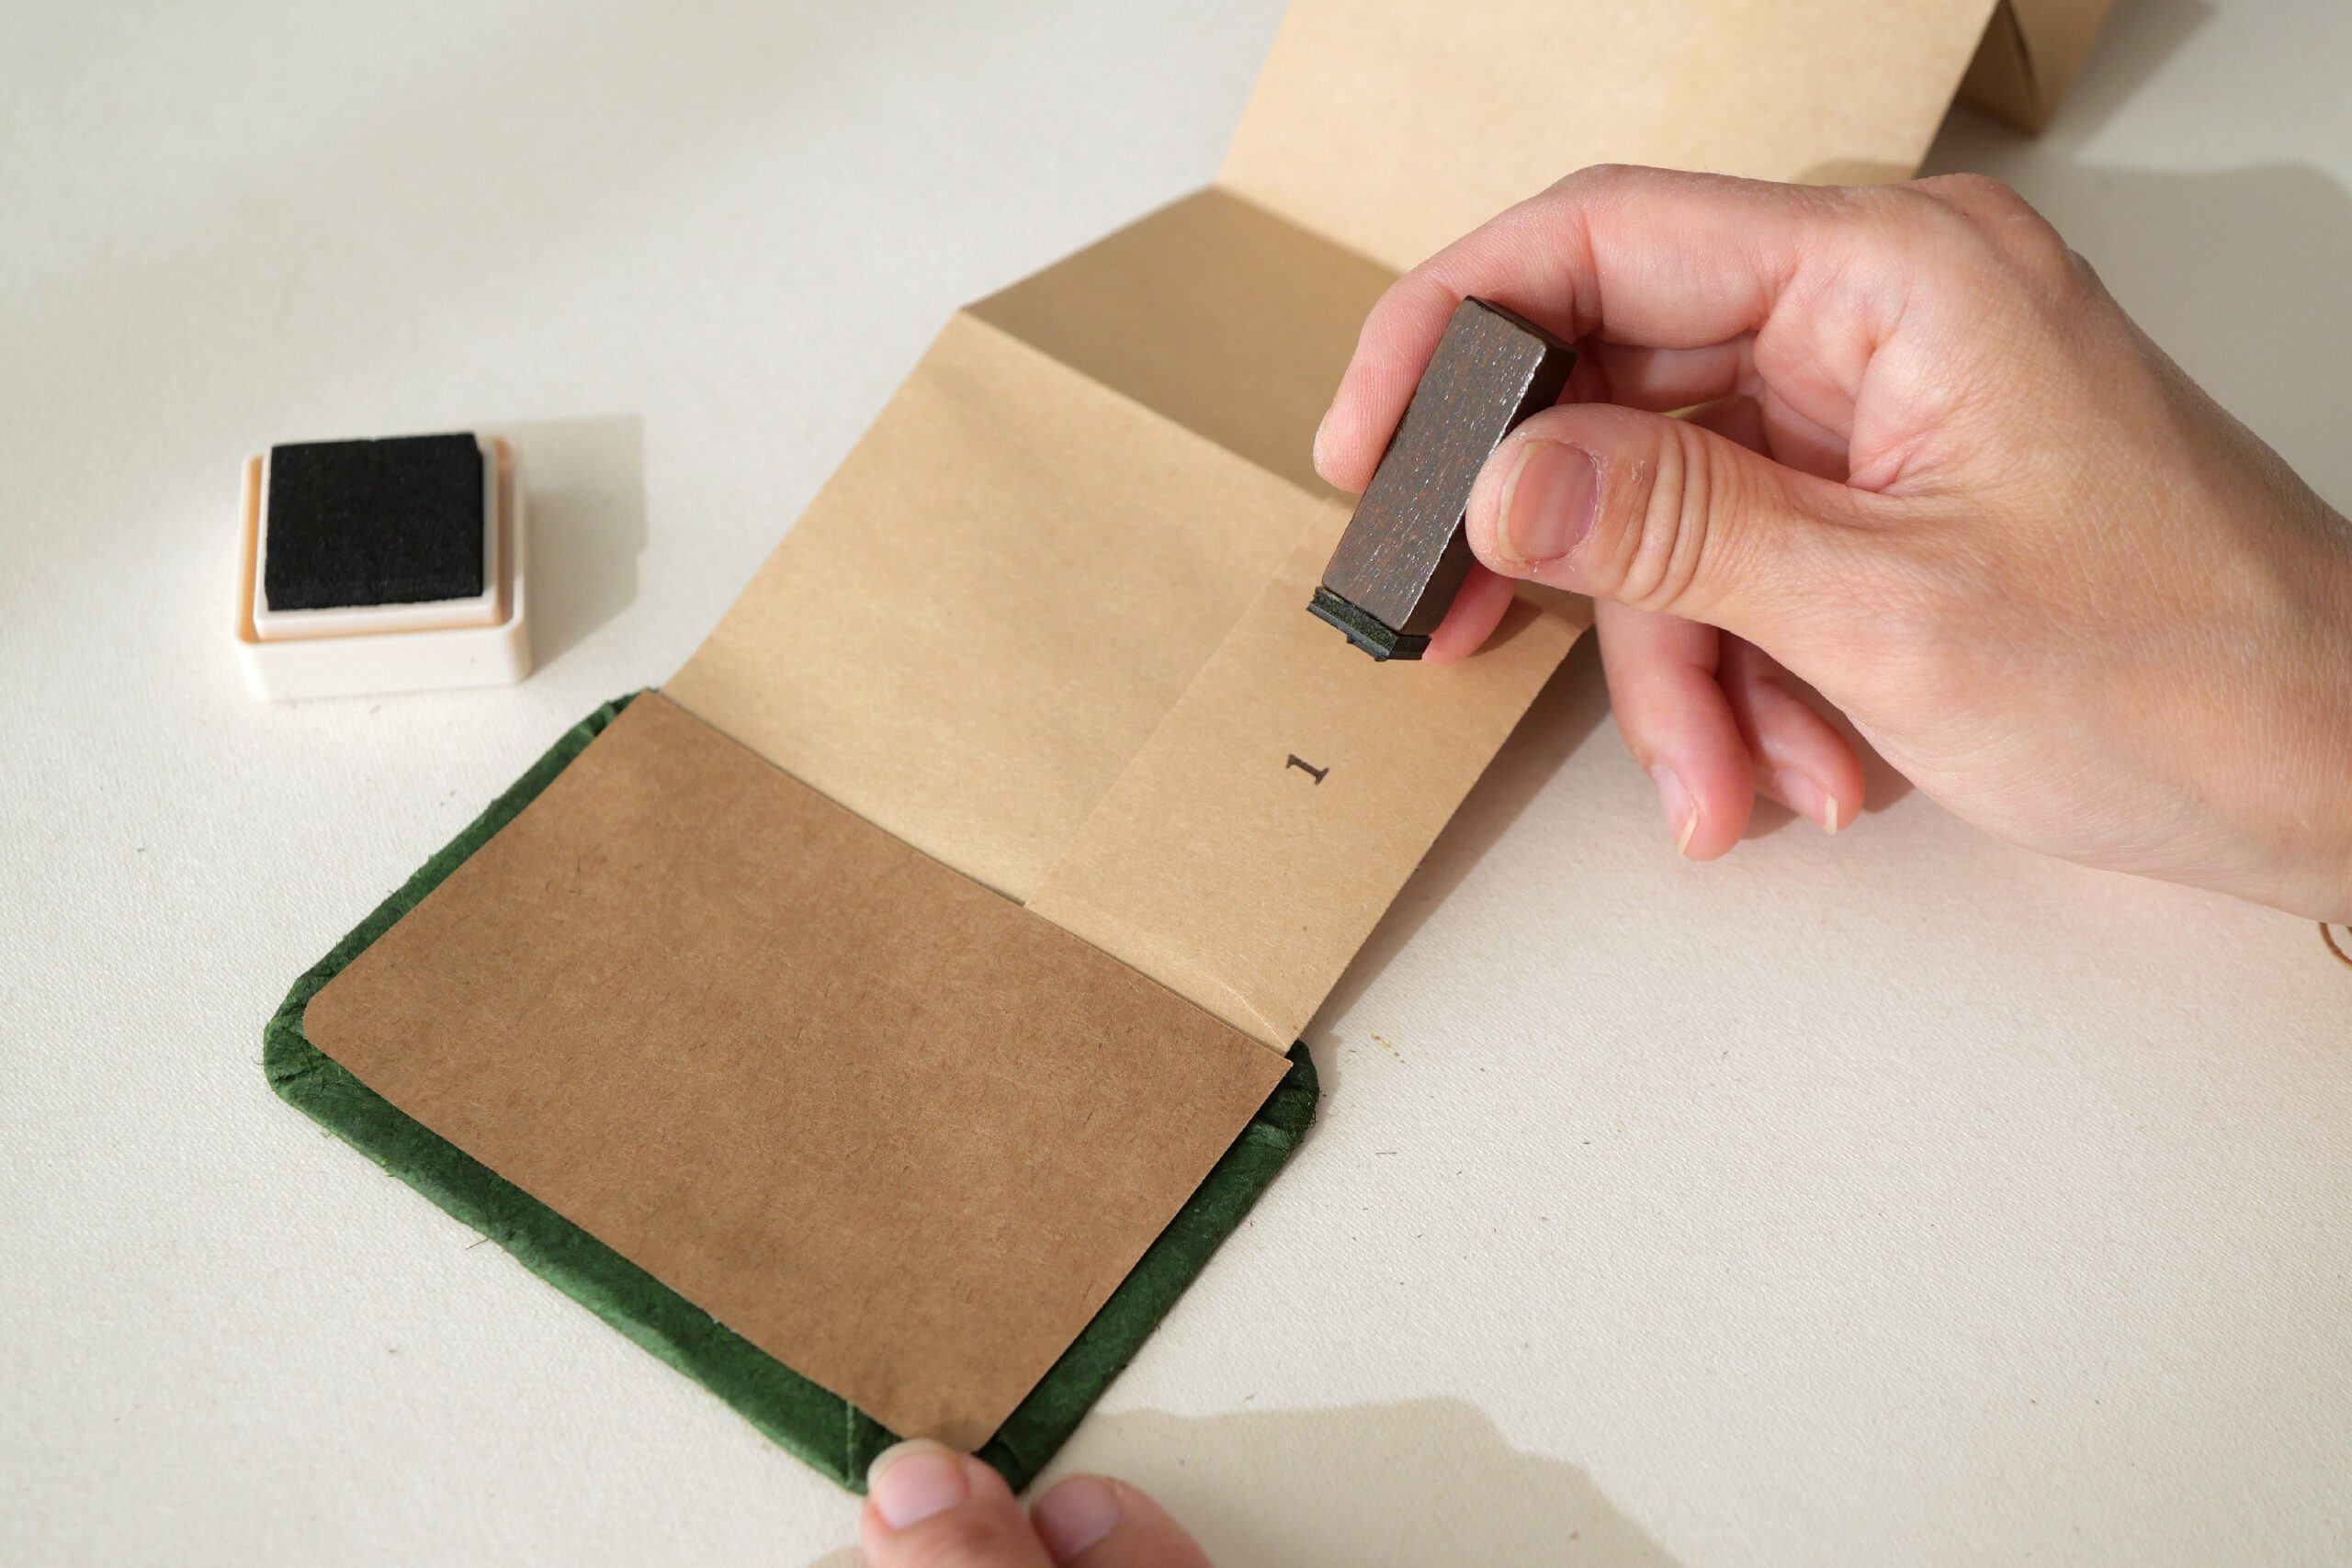
Write the numbers from 1 to 24 on the pocket album. I stamped the numbers.
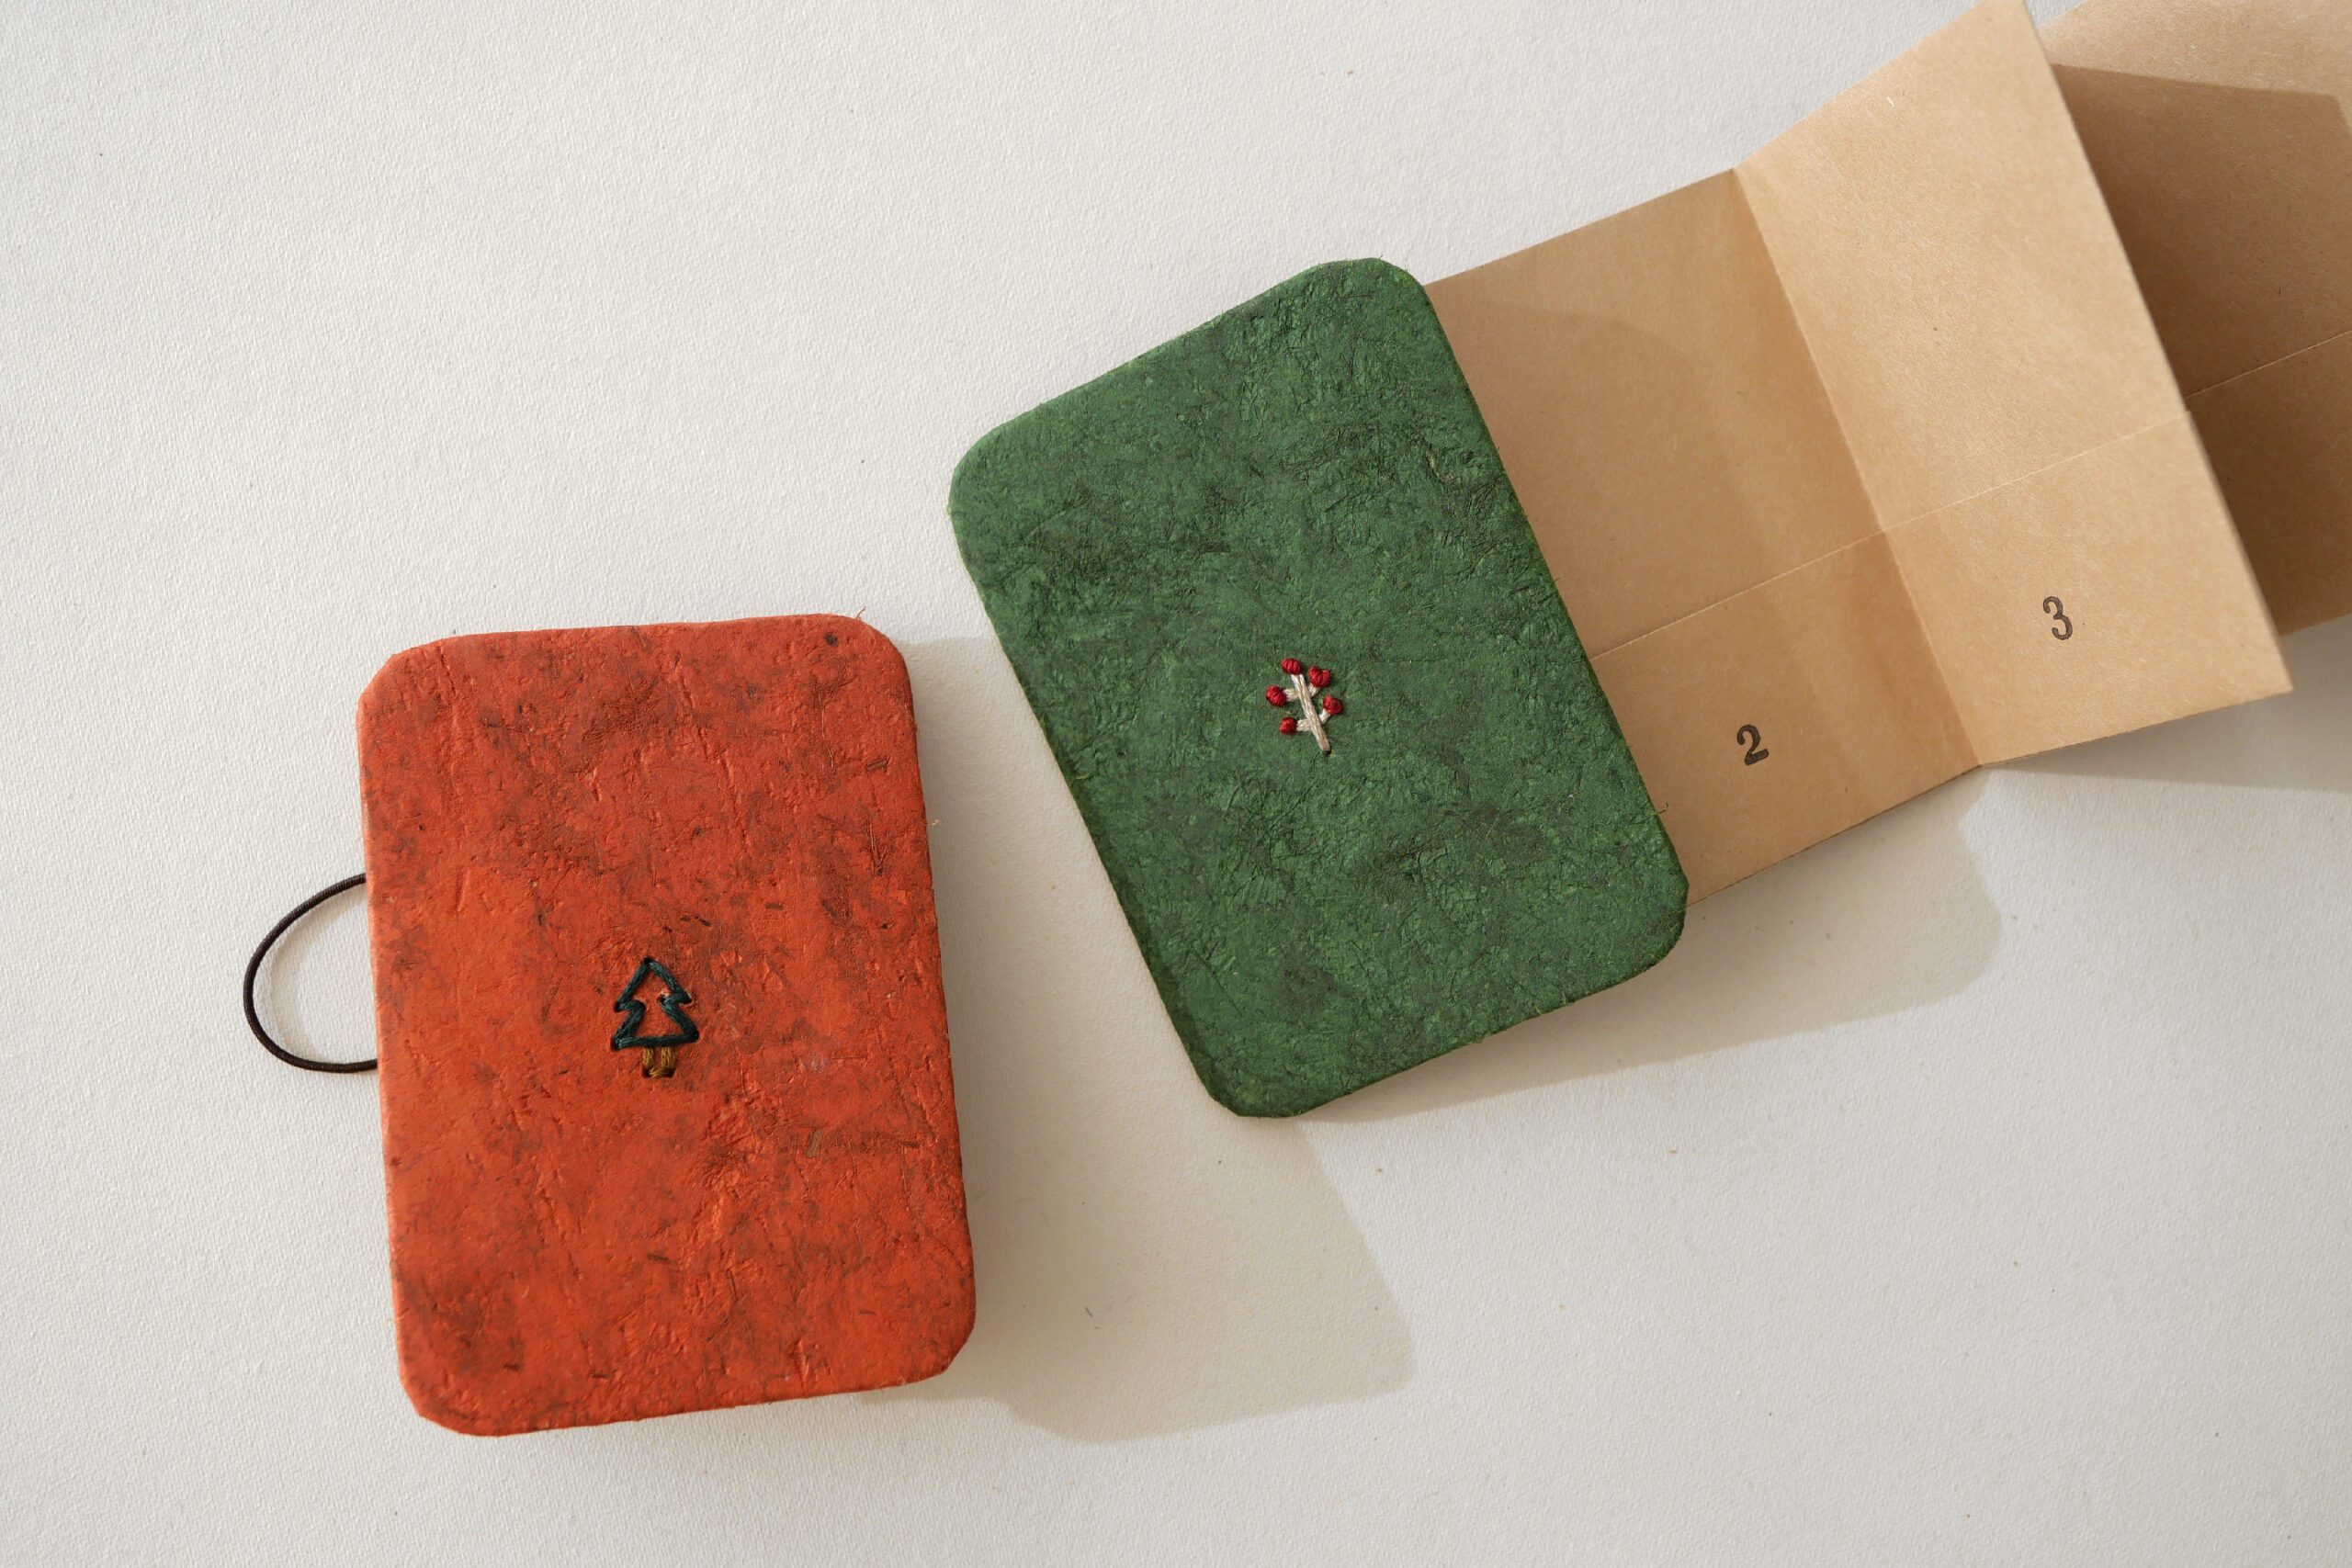
The pocket album is now complete. If you want to do something a little more… You can decorate the cover as you wish, sticking greens, decorations, and so on.
I have embroidered a small embroidery on the cover and prepare two colors, red and green. I’ll let my daughter choose which one she prefers.
Step 3. Prepare Envelopes
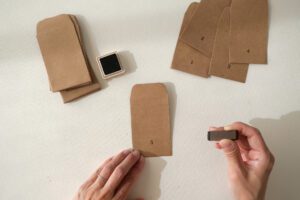
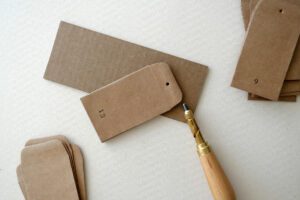
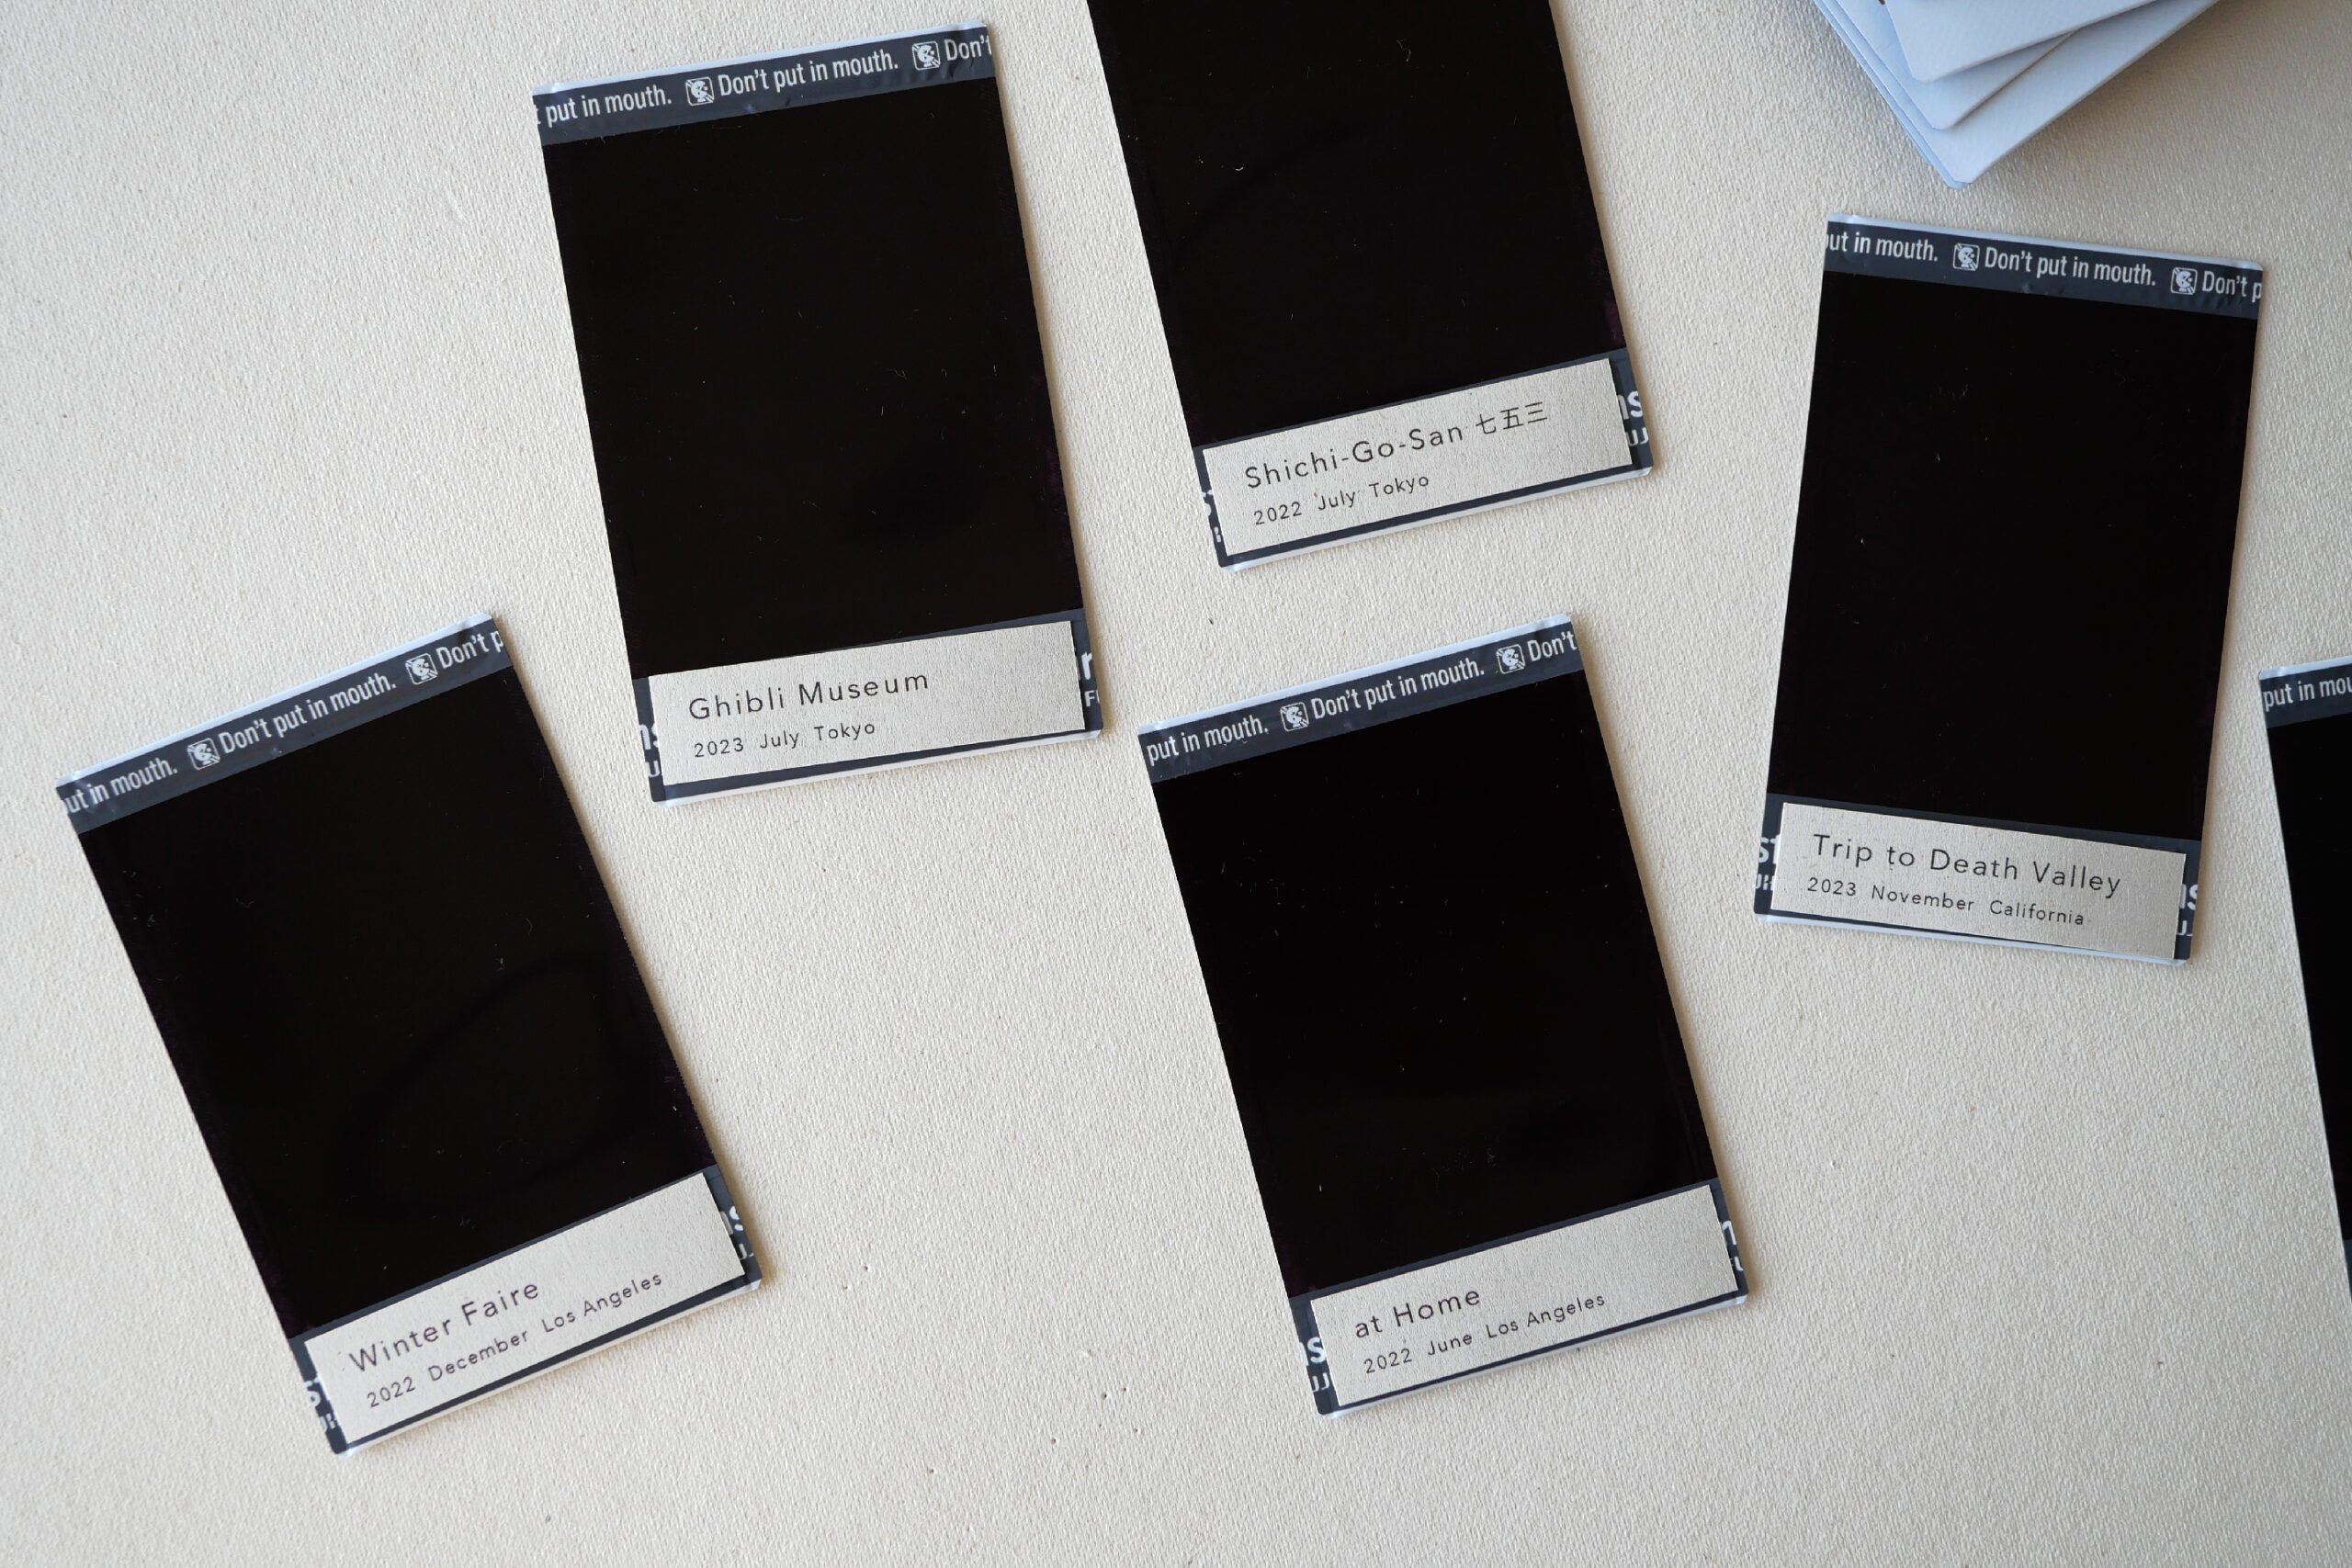
Write the numbers 1 through 24 on the envelope and punch a hole in the top of the that. Then insert the photos. On the back of the photo, I left a note as to when and where the photo was taken.
Step 4. Putting Together Envelopes
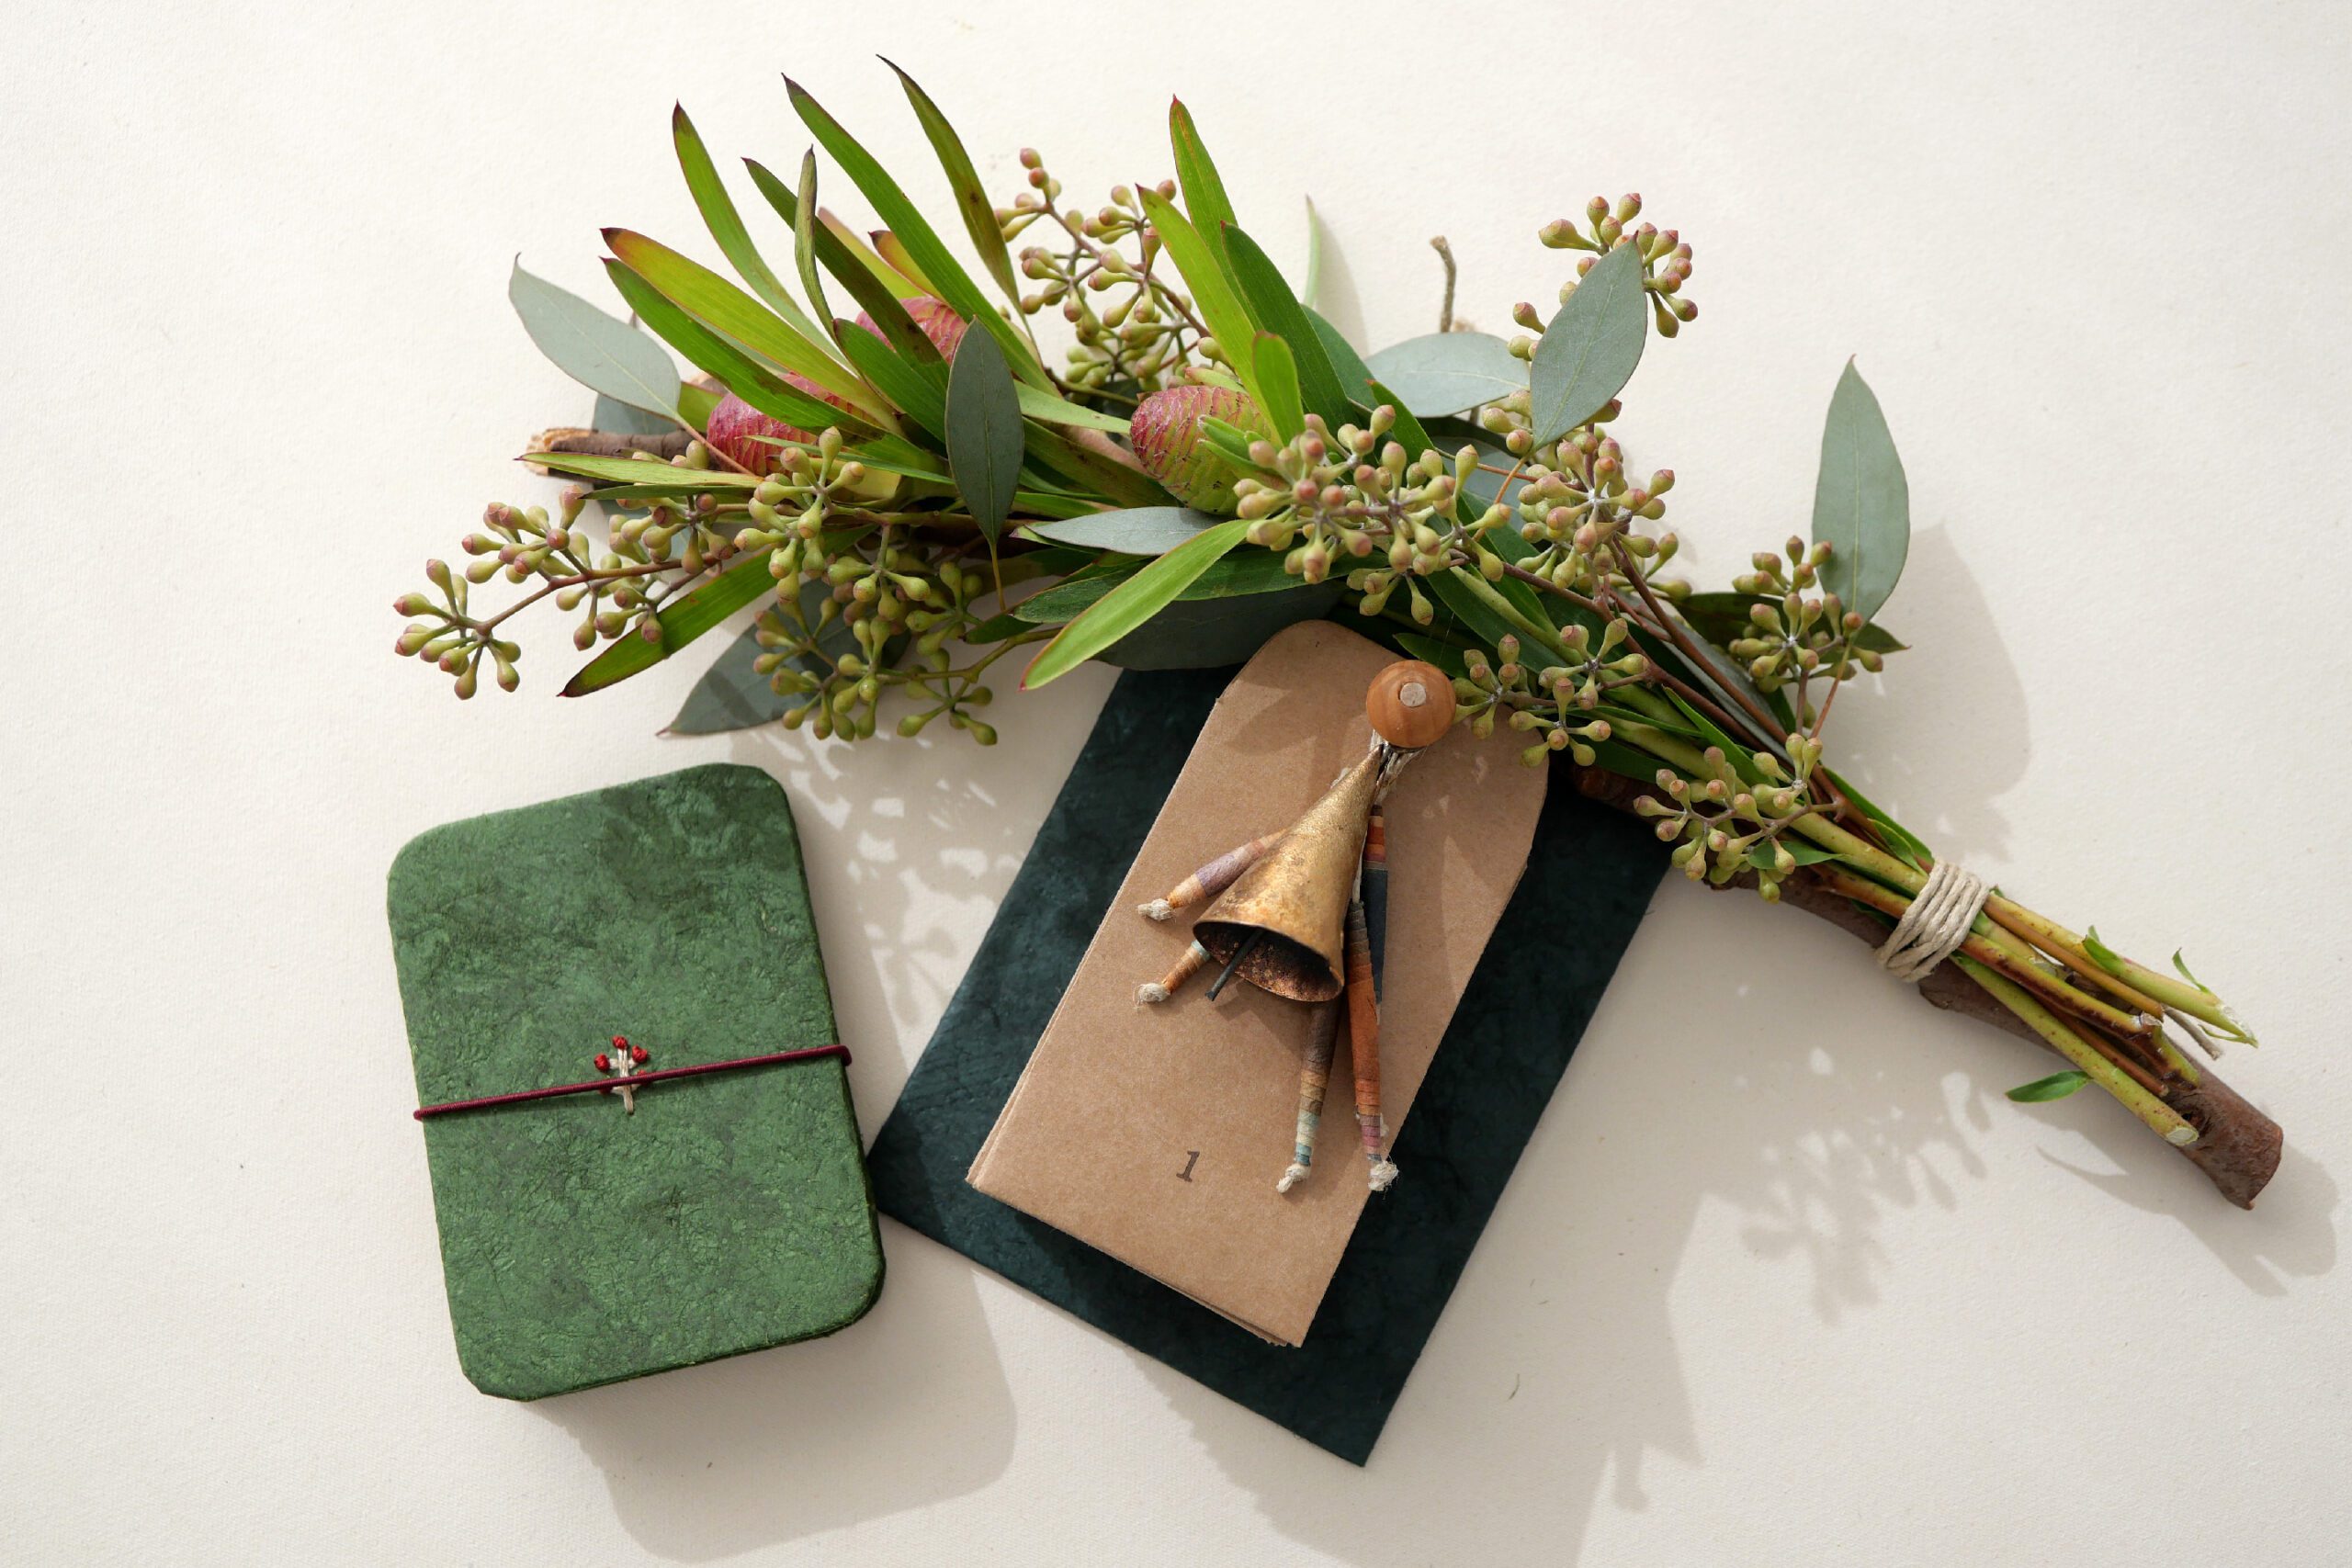
Bundle the envelopes with thread. This style pulls and tears off one envelope each day. You can hang them as they are, or you can decorate them with greenery for a more holiday look.
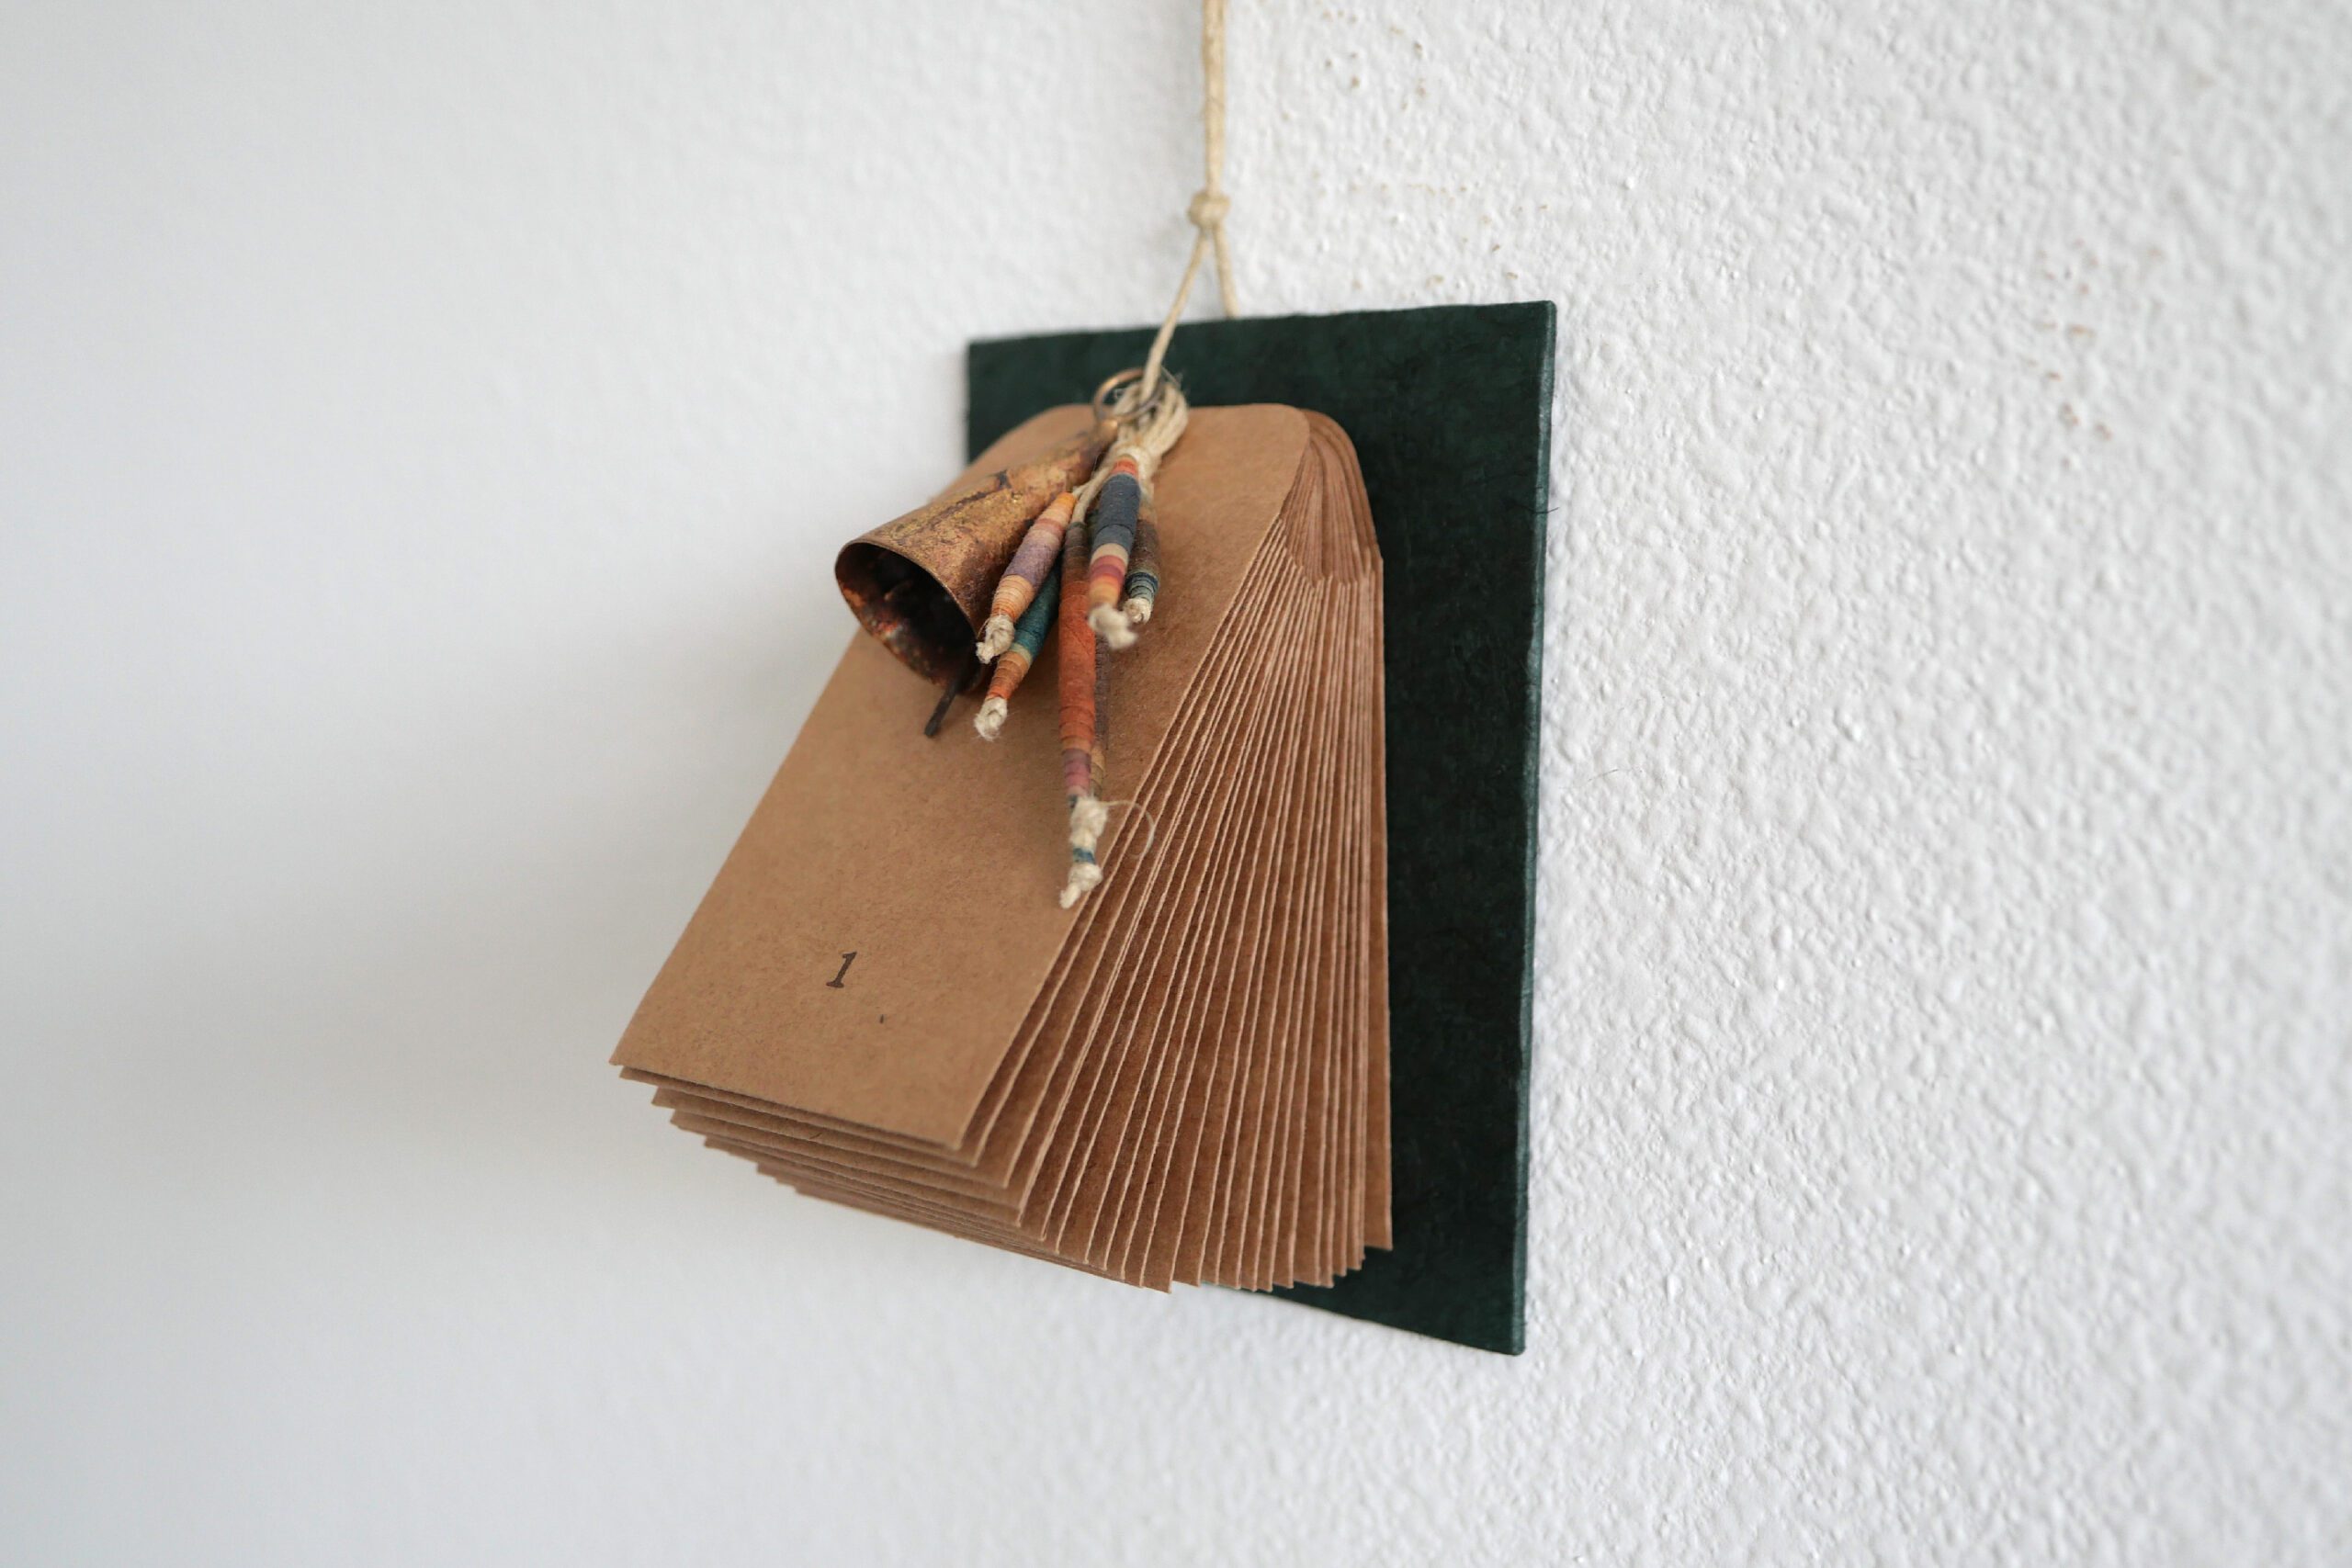
I used a wooden stick as a support and some greenery for decoration. Add some bell and charm and done.
Now, the morning of December 1st is finally upon us. I look forward to looking back on memories with my family.
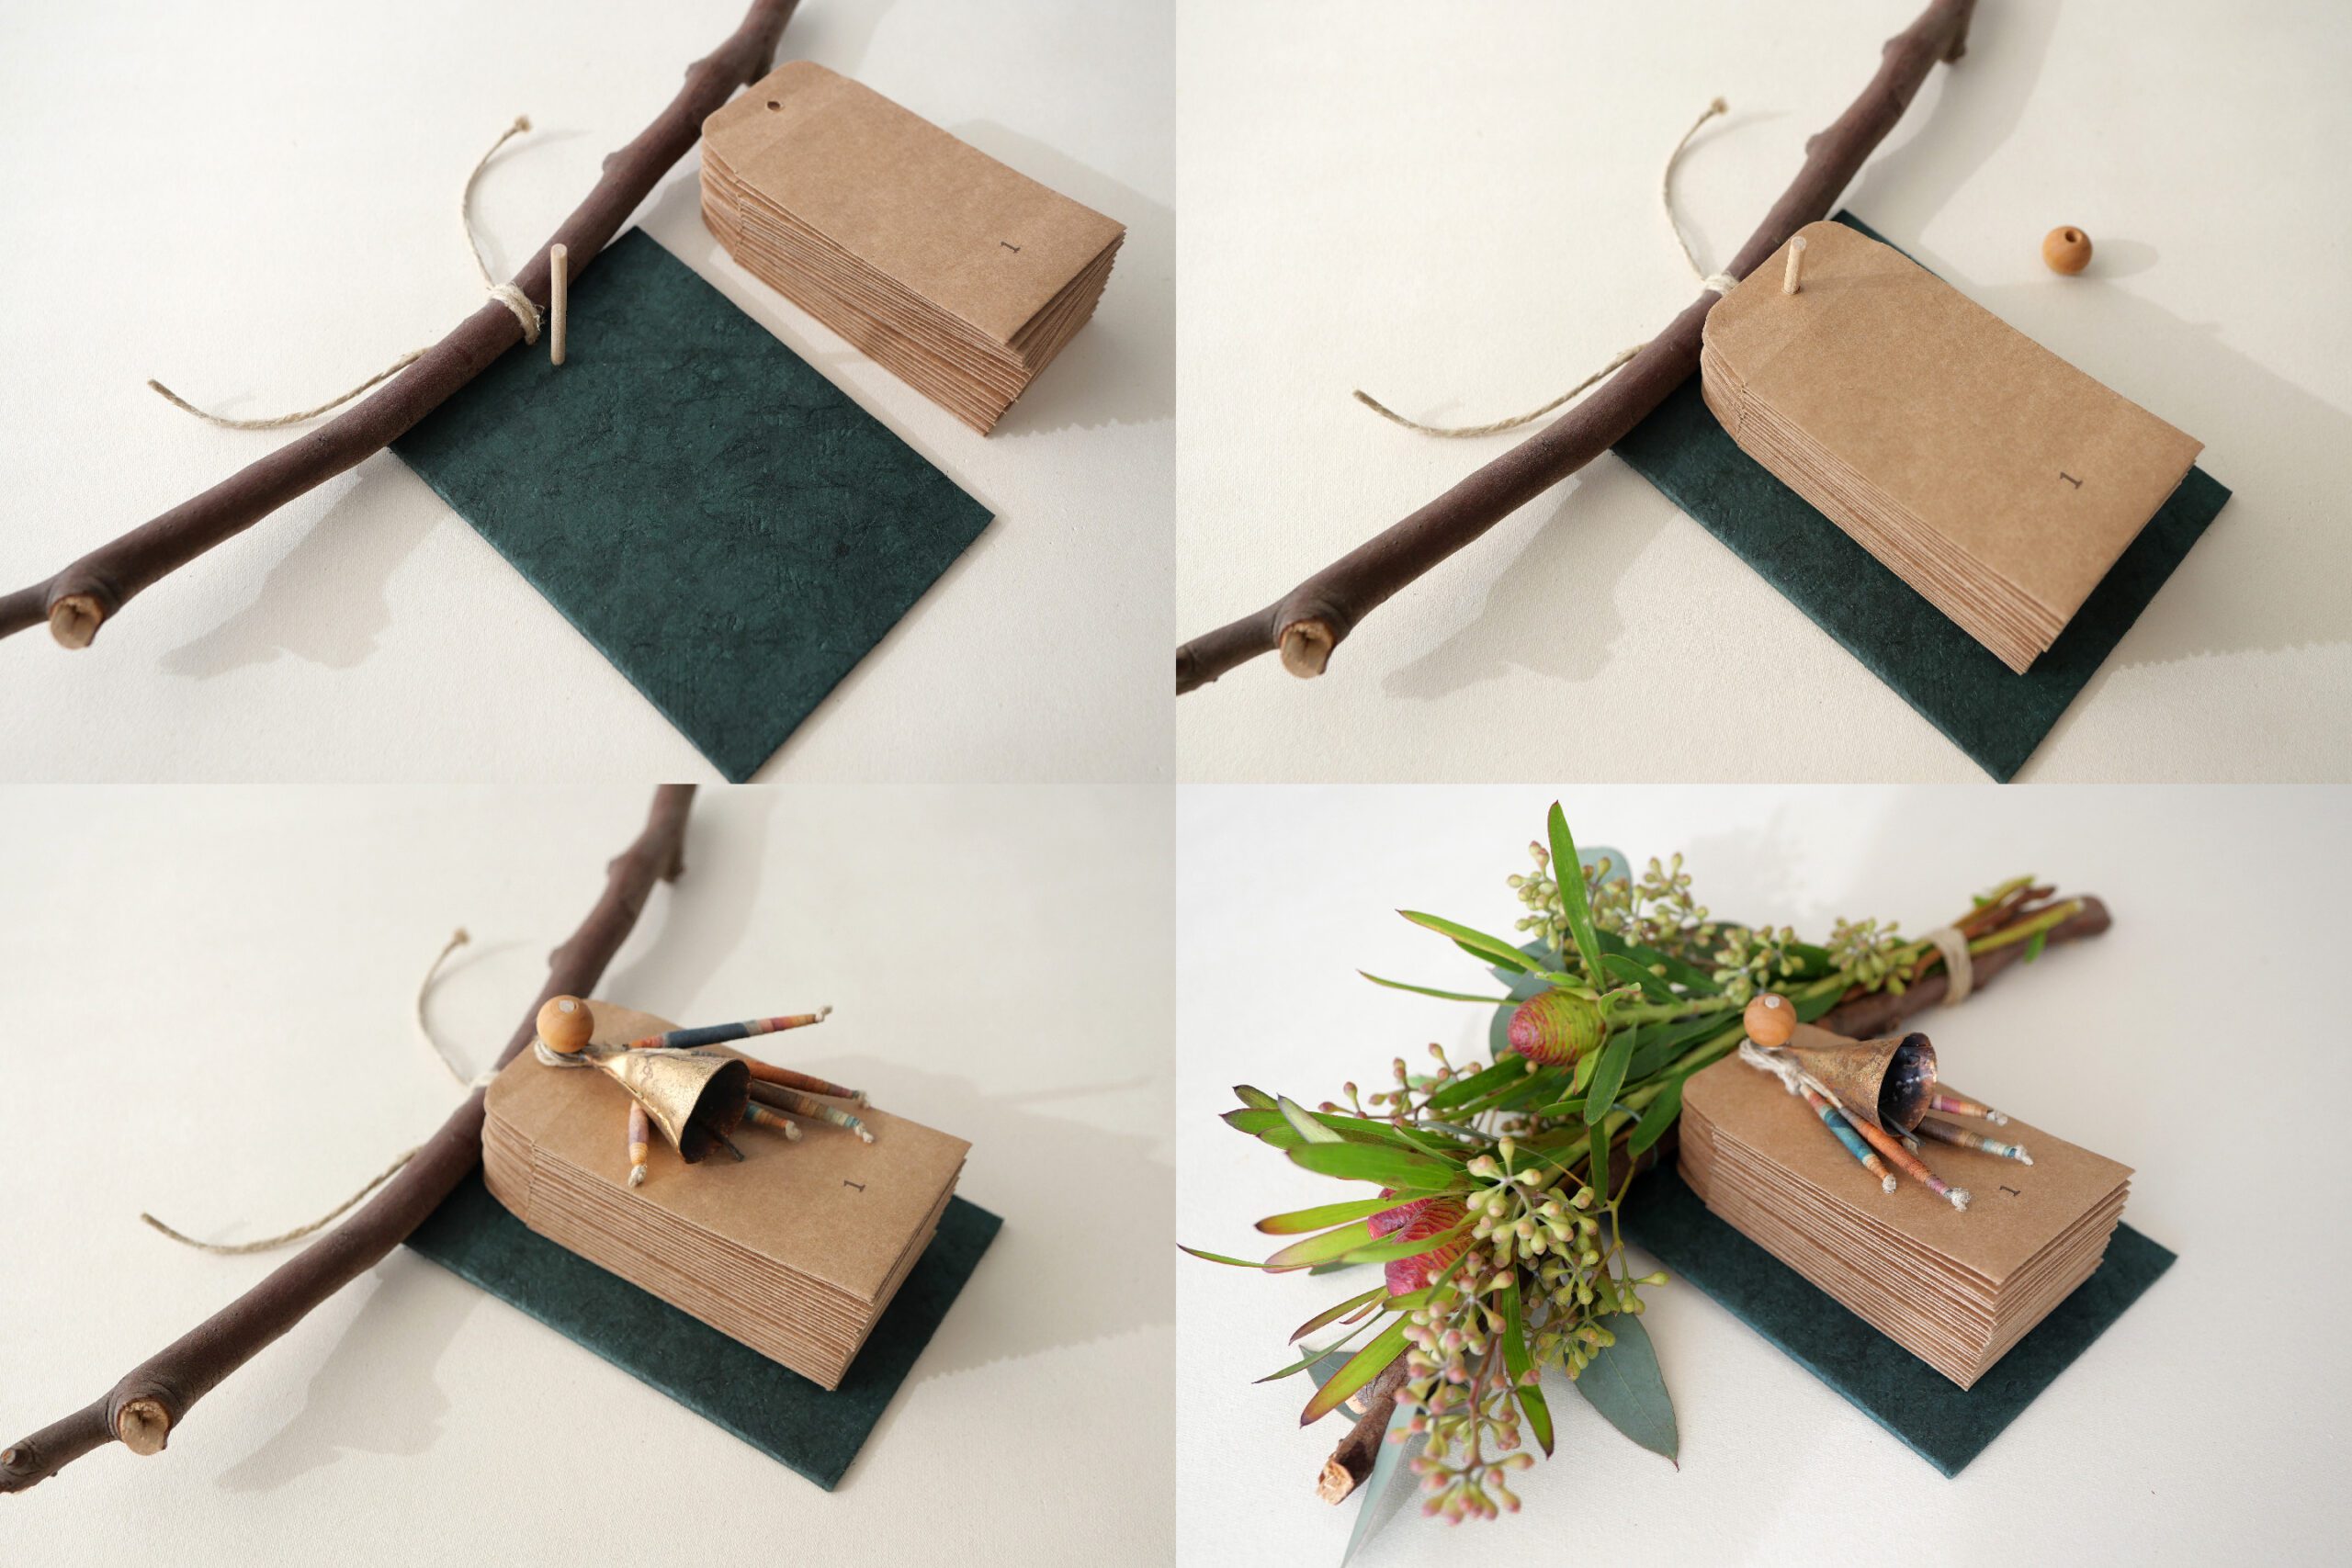
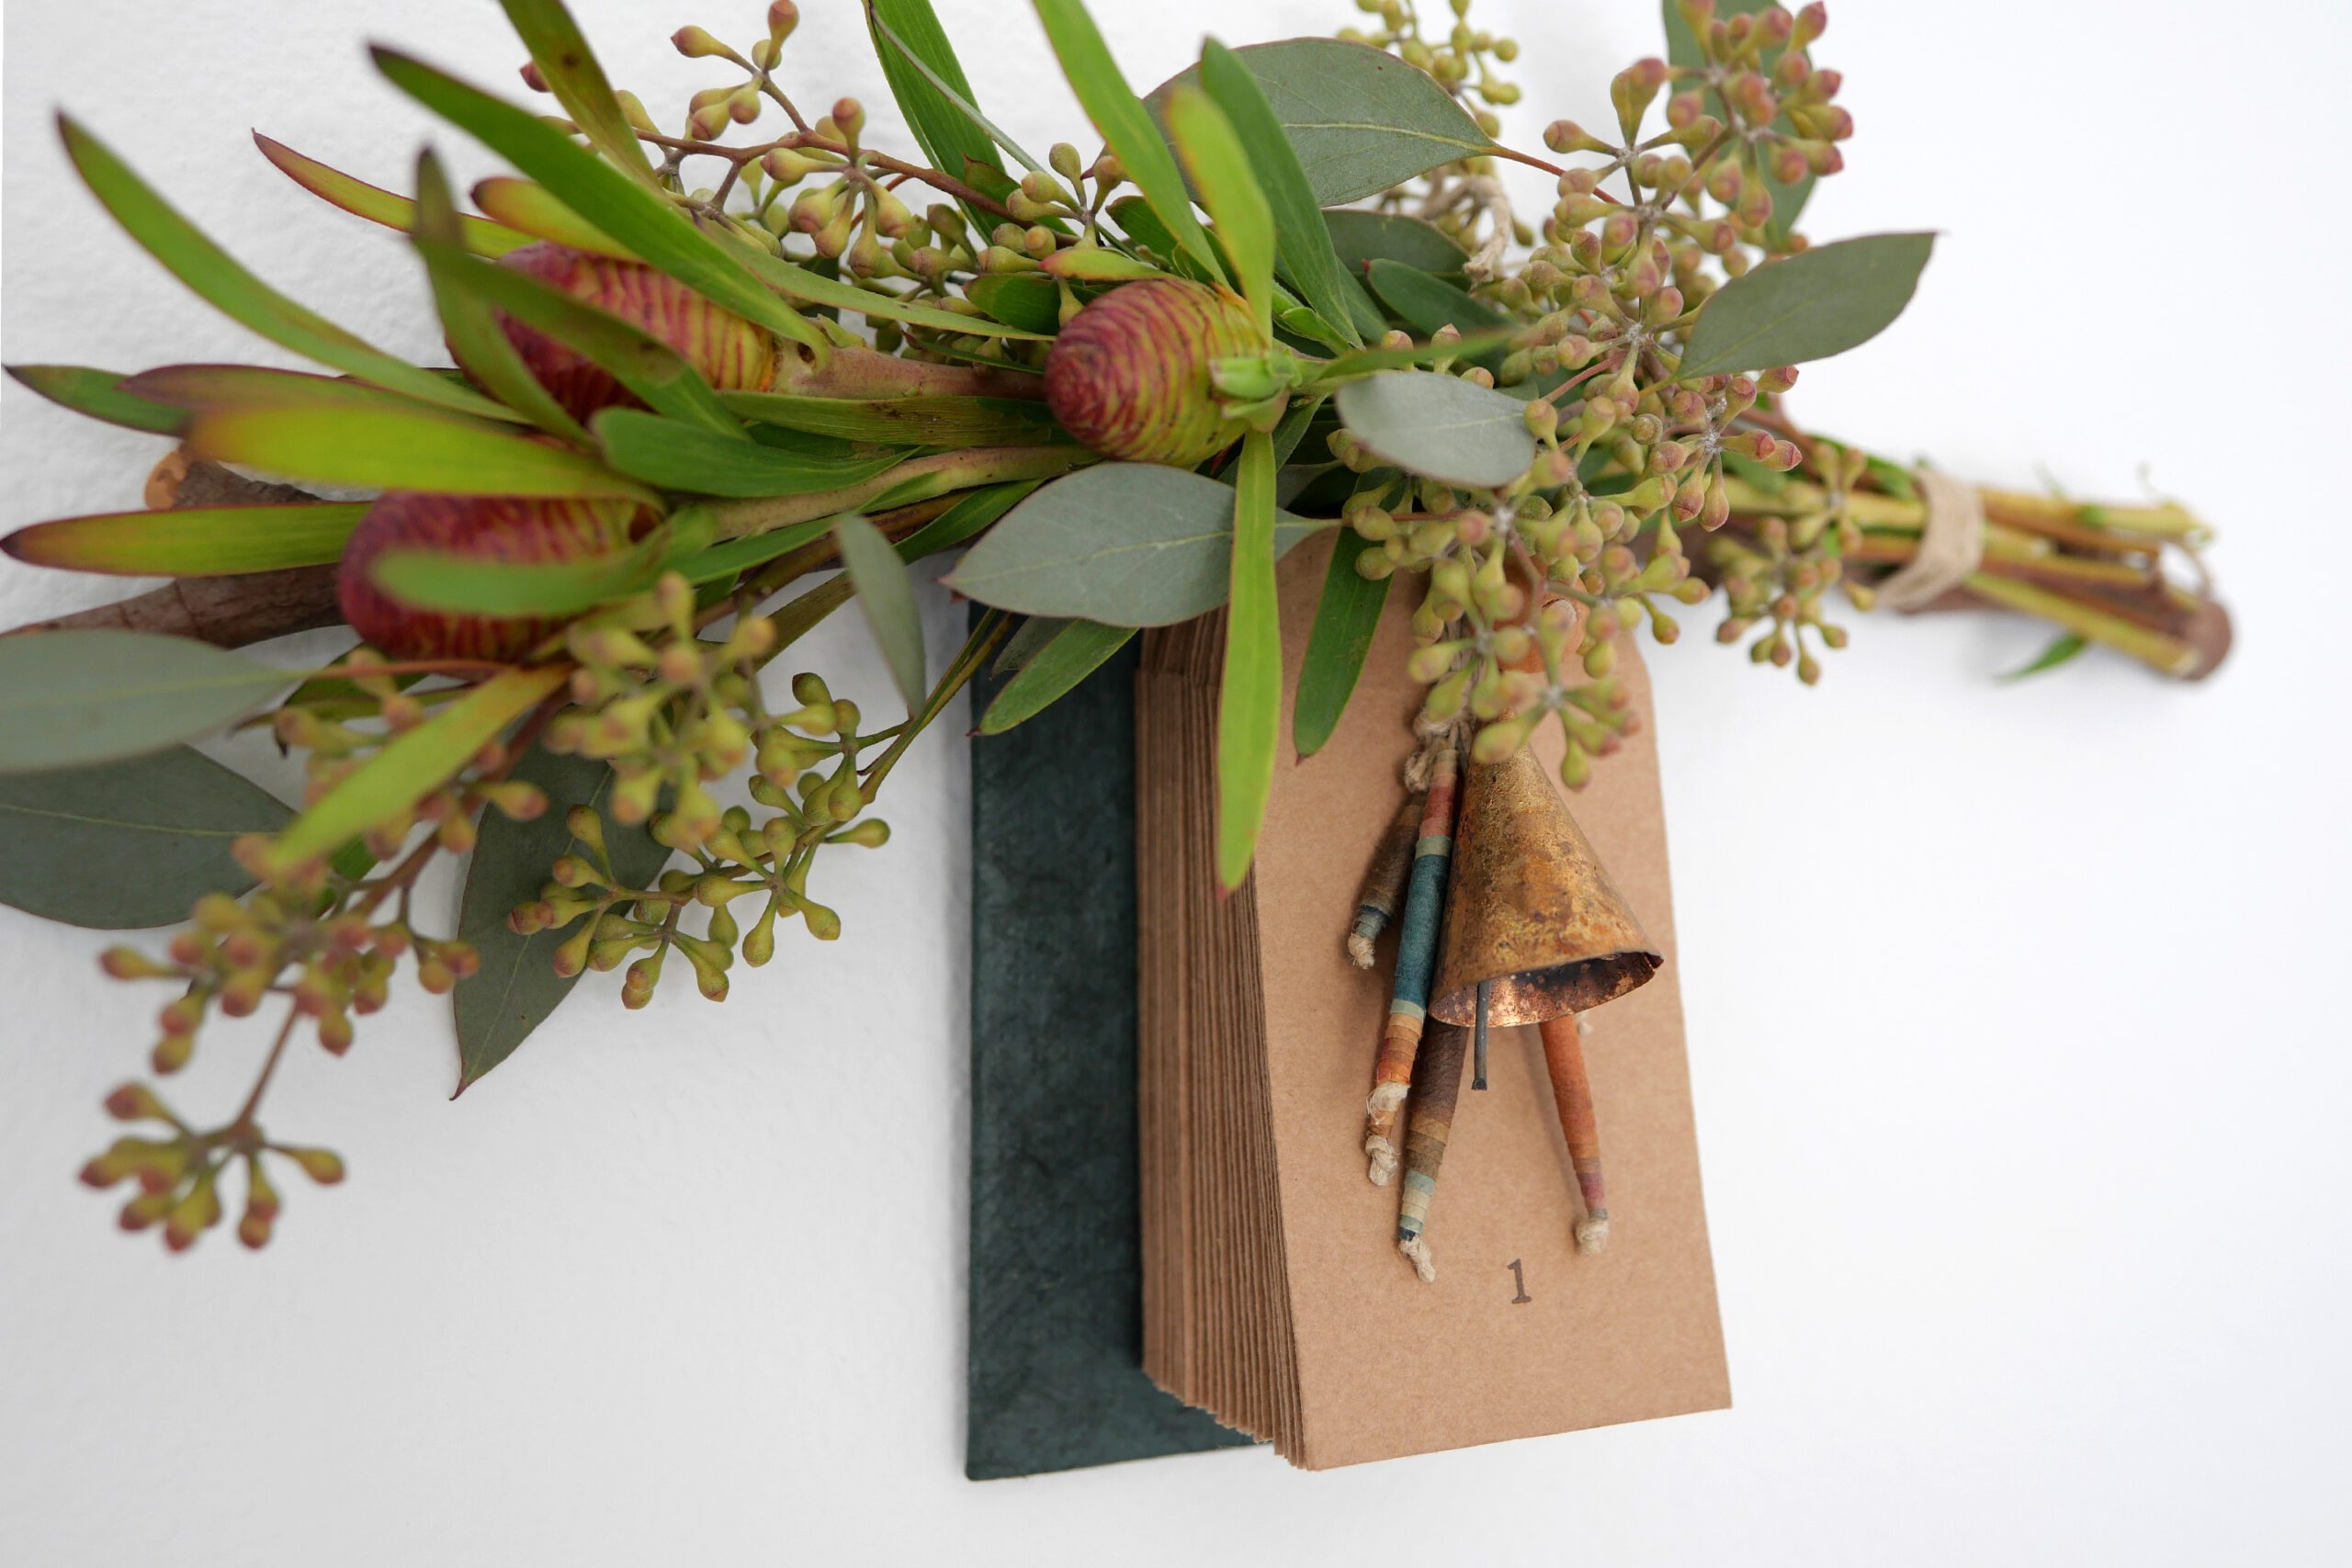
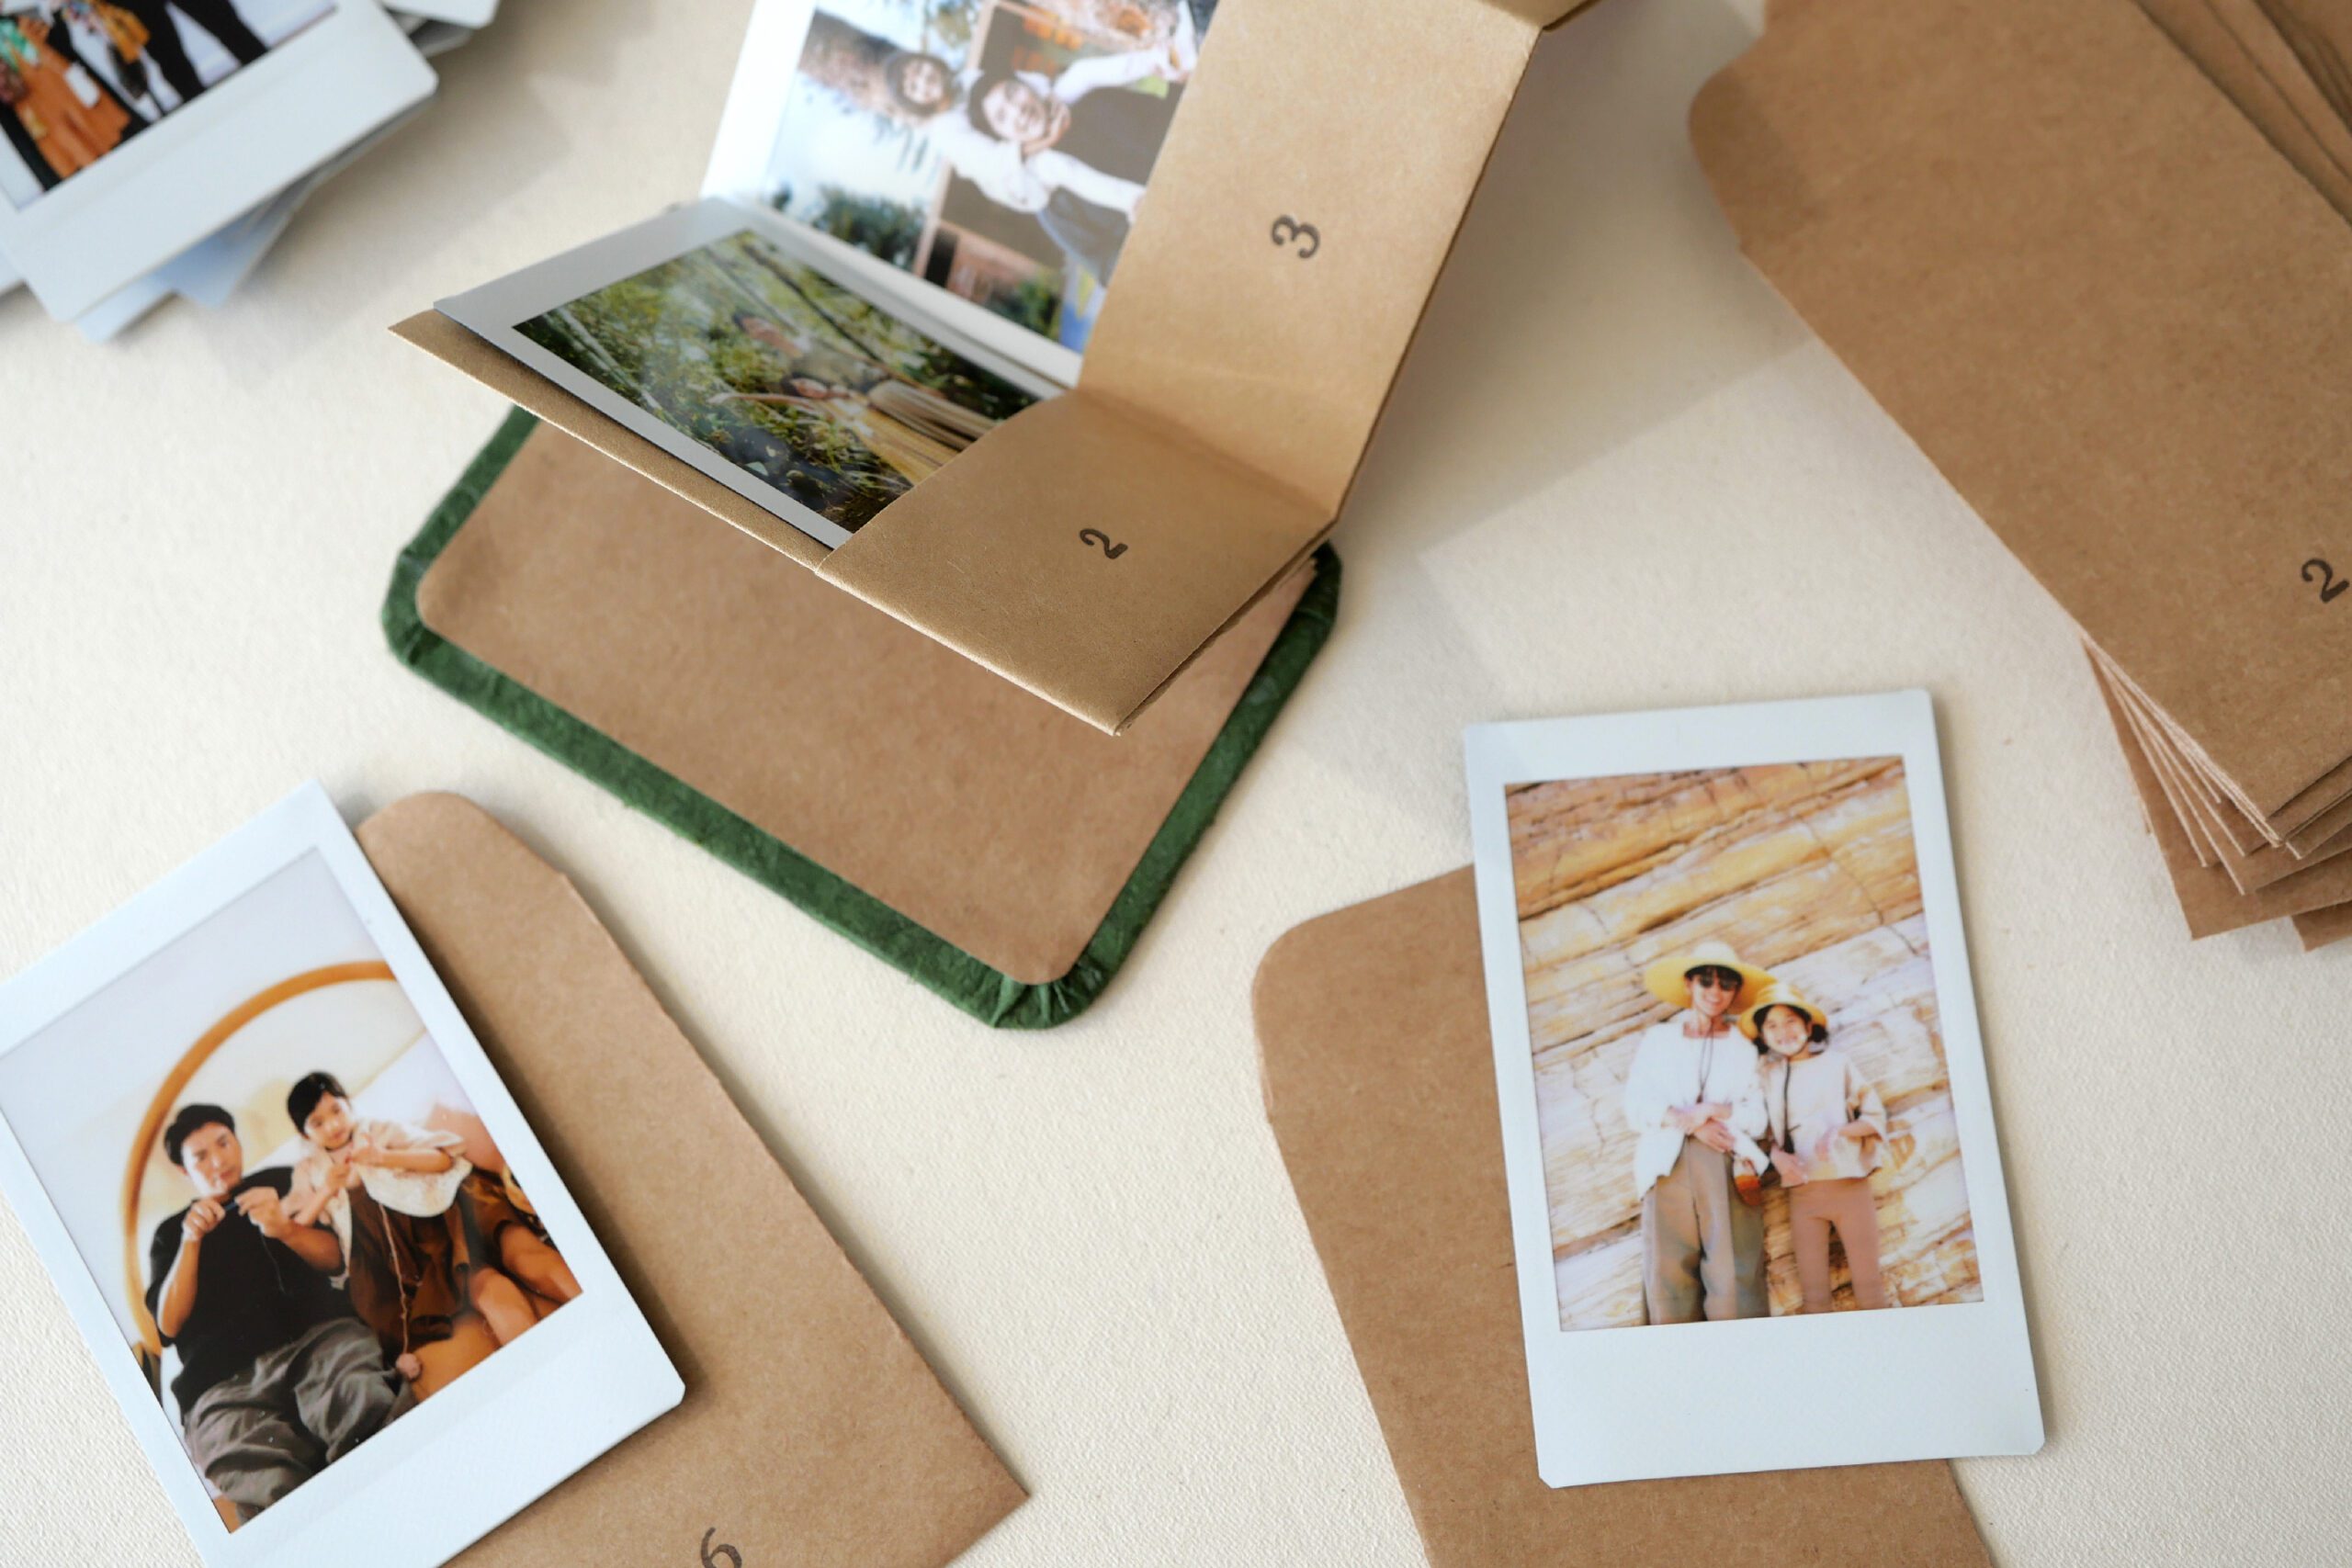
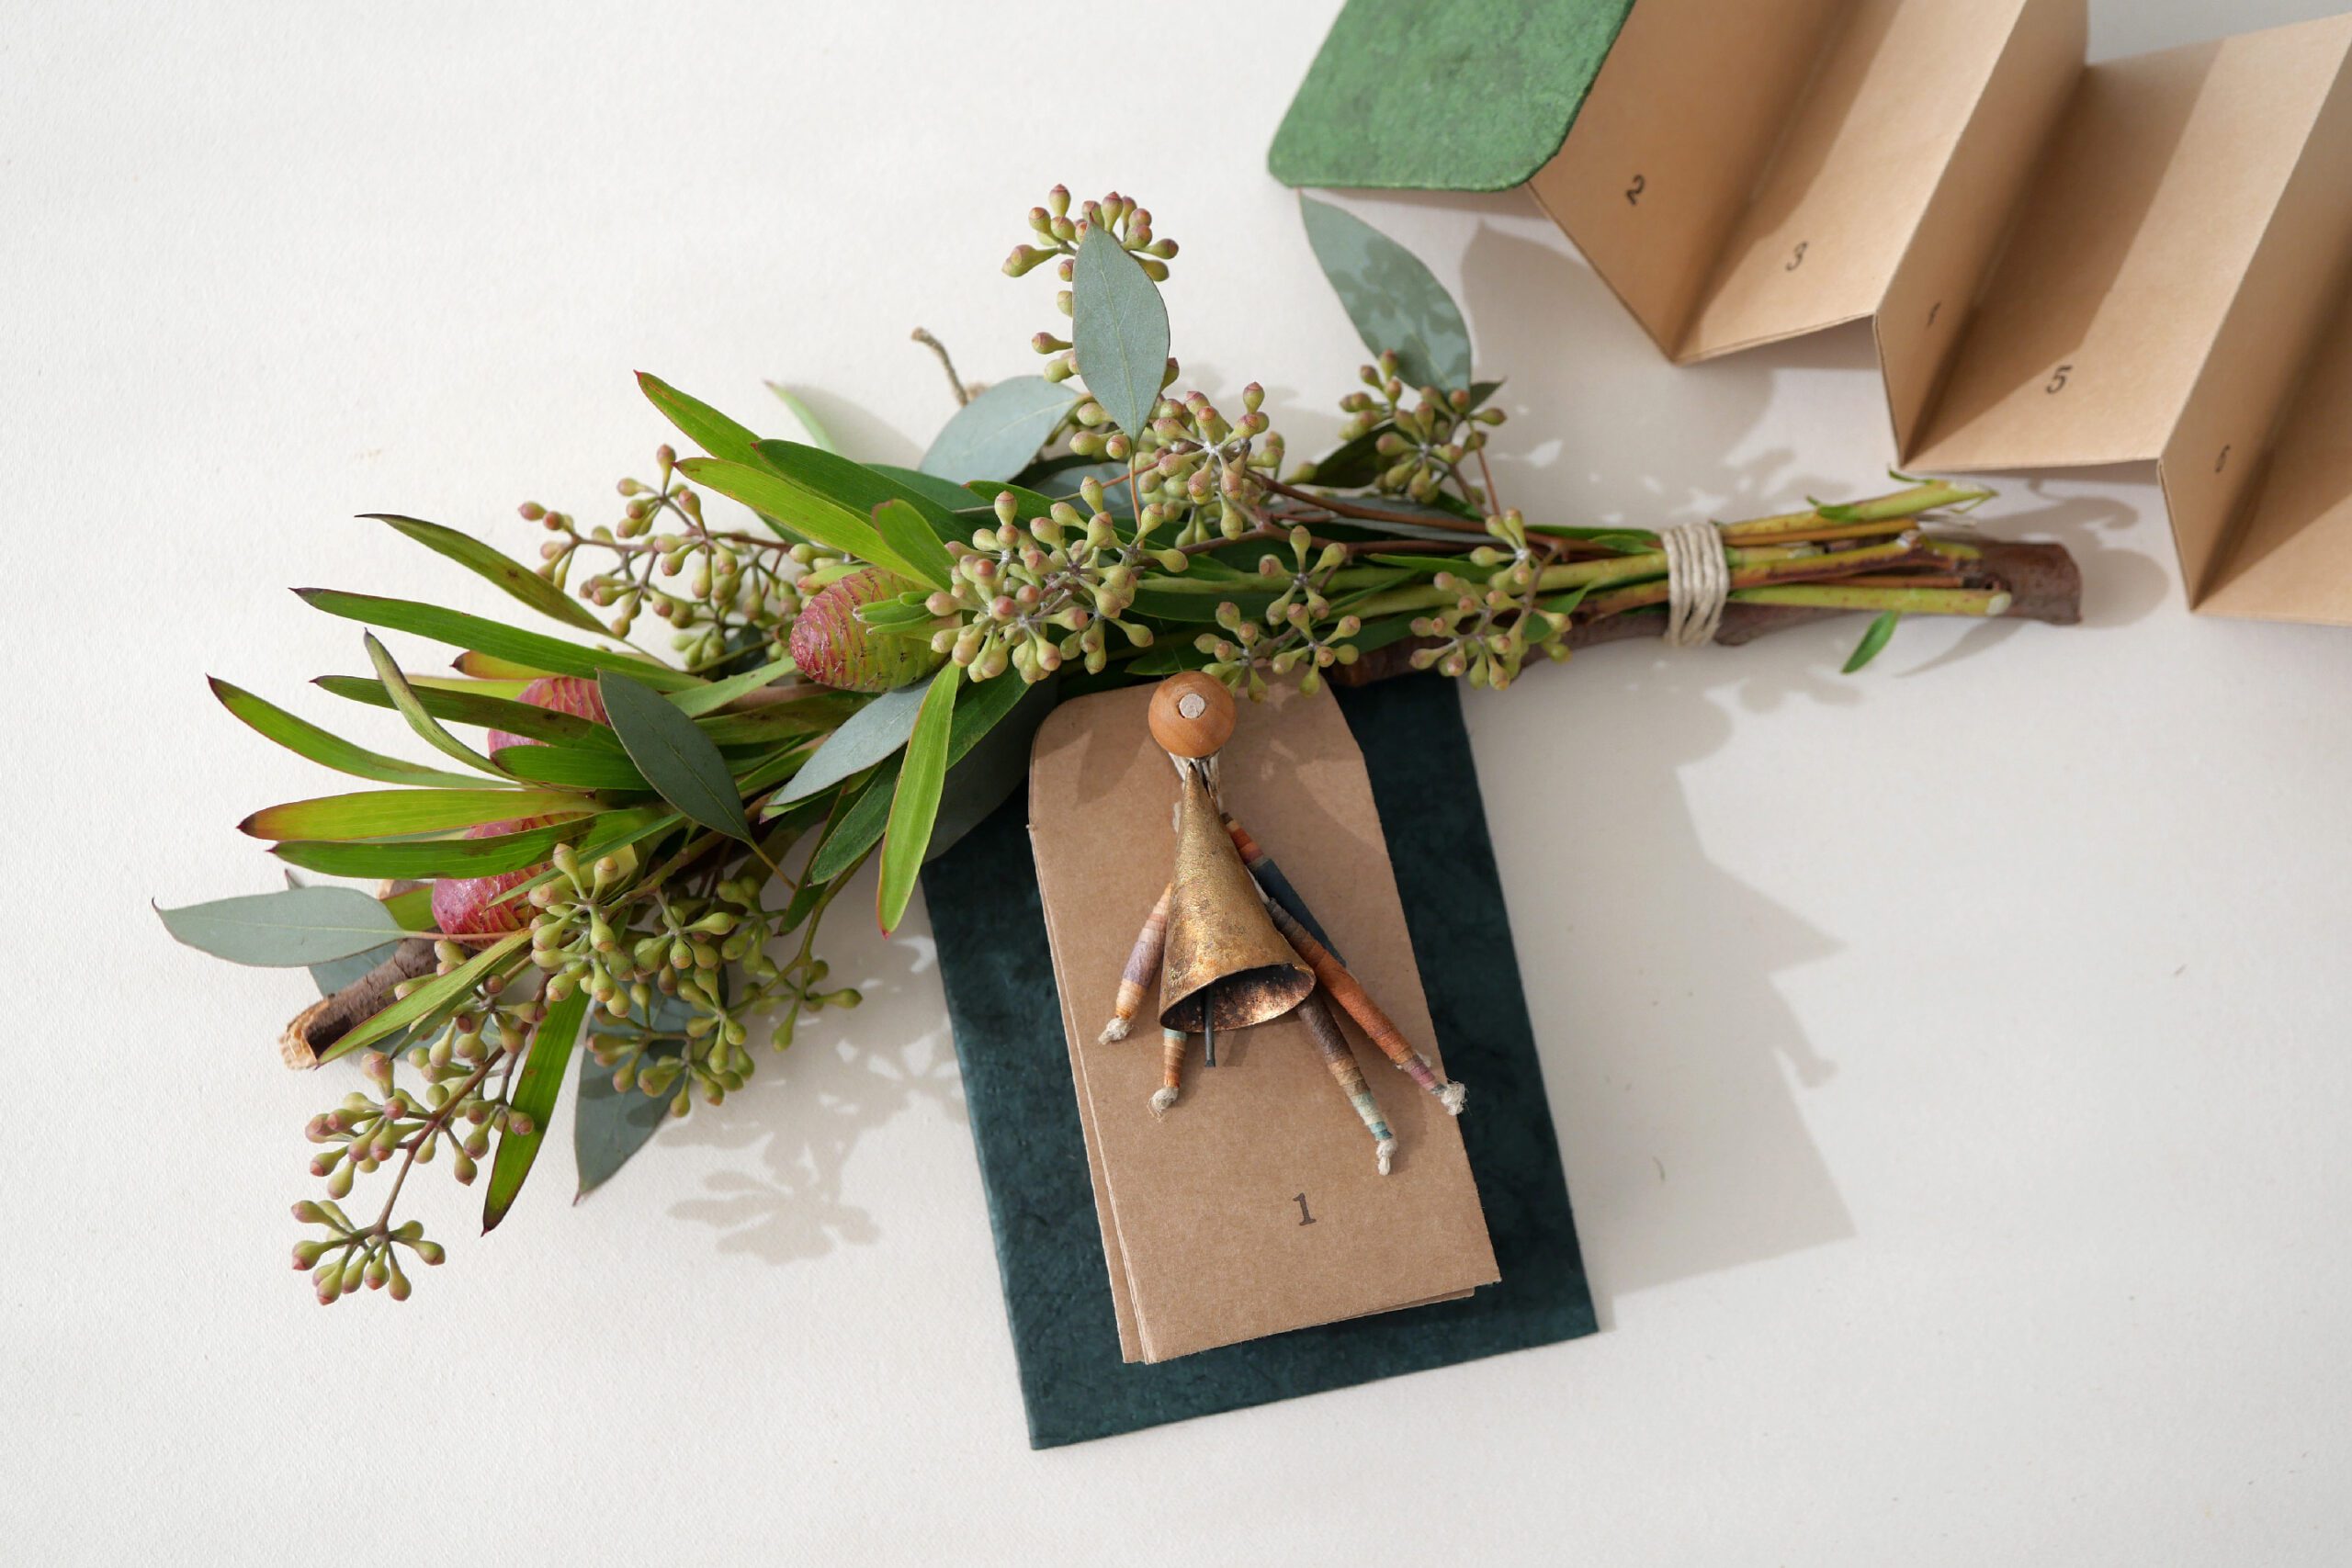
Photo Advent Calendar
ホリデーシーズンがやってきました。アドベントカレンダーの準備をするときです。
わくわくとした気分の裏側で、私は毎年何を用意しようかと頭を捻ります。娘はもうすぐ10歳、そろそろ小さなおもちゃは卒業するとき。物質的なものではなく、思い出で毎日を迎えられたらと考えていました。そこで思い出したのが前回紹介したAccordion Pocket Photo Album。このアルバムを今年のアドベントカレンダーとして、1日1枚の写真を贈ることにしました。
家族や友人との思い出の写真を24枚、小さな封筒に入れてナンバリングします。そして毎日一枚ずつ開けていき、ポケットアルバムに収めていく。そして24日目には、思い出がたくさん詰まった一冊のアルバムが完成するのです。
一年を振り返るアドベントカレンダー。みなさまも素敵なホリデーシーズンをお過ごしください。


用意するもの
– 24枚の写真
– 24枚の封筒
– クラフトペーパー*
– 表紙となるカードボード
– 表紙を包む紙* オプションです
– ゴム
– 糊
– ハサミ
– カッター
– 穴あけパンチ または 千枚通し
*クラフトペーパーはしっかりとした紙質で、写真をホールドするのに適しています。中に入れた写真をよりクリアに見せたい場合は、トレーシングペーパーを使ってもいいでしょう。
つくりかた
Step 1. ポケットアルバムをつくる
ポケットアルバムの作り方の詳細は、Accordion Pocket Photo Albumの記事にあります。
今回は24個のポケットアルバムにするために、表に12ポケット、裏に12ポケット、併せて24個のポケットになるようにしました。各ページの仕上がりサイズは90×60mm、ポケットのスリットの深さは35mmです。長さ3フィートのクラフトペーパーを320mm使います。
まず横に半分に折り、下から35mmの位置で紙を二重に折りポケットを作ります。

裏も同じように折ります。この方法で折ることで、すべての辺が袋状になって、より耐久性のあるポケットになります。
次に、各ページを蛇腹に折っていき24個のポケットつくります。表紙を貼り合わせて、ゴムをかけます。こちらの記事に詳しい説明があります。


Step 2. 数字を書く
ポケットに1から24までの数字を書きます。私は数字のスタンプを押しました。

これでポケットアルバムは完成です。もう少し何かしたい……という方は、グリーンを貼り付けたり、デコレーションをしたり、あなたの思いのままに表紙を飾ってください。
私は表紙に小さな刺繍を施し、緑と赤の2種類を用意しました。どちらか好きな方を娘に選んでもらおうと思います。

Step 3. 封筒を用意する
封筒に1から24までの数字を書き、封筒の上部にパンチで穴をあけます。そして写真を入れます。写真の裏には、いつどこで撮った写真かメモを残しました。


Step 4. 封筒をまとめる
封筒を糸で束ます。毎日一枚封筒を引っ張ってちぎっていくスタイルです。そのまま吊るしてもいいし、グリーンで装飾したらよりホリデー感がアップしますね。

私は木の棒を支えに、いくつかのグリーンをデコレーションしました。ベルとチャームをつけて完成です。
さて、いよいよ12月1日の朝を迎えます。家族と一緒に思い出を振り返るのが楽しみです。


