Mini Heart Notebook
This notebook looks like a three-dimensional heart is popping out of the spine of the notebook. My daughter made this as a Valentine’s Day gift for her classmates. A postcard-sized paper as a cover and for inside is cut a letter-size paper into quarters. Then added three hearts to it. These were bound together with a sewing machine.
My daughter, who finally got her hands on a sewing machine on her 10th birthday , was eager to make something with it. After checking the operation with a piece of cloth, she started sewing a piece of paper with the sewing machine. I like her free thinking like that. She folded paper and sewed the edges to make an envelope, or embroidered a point on a card. She got a new machine and it was like a revolution had happened. She enjoys being creative (as always).
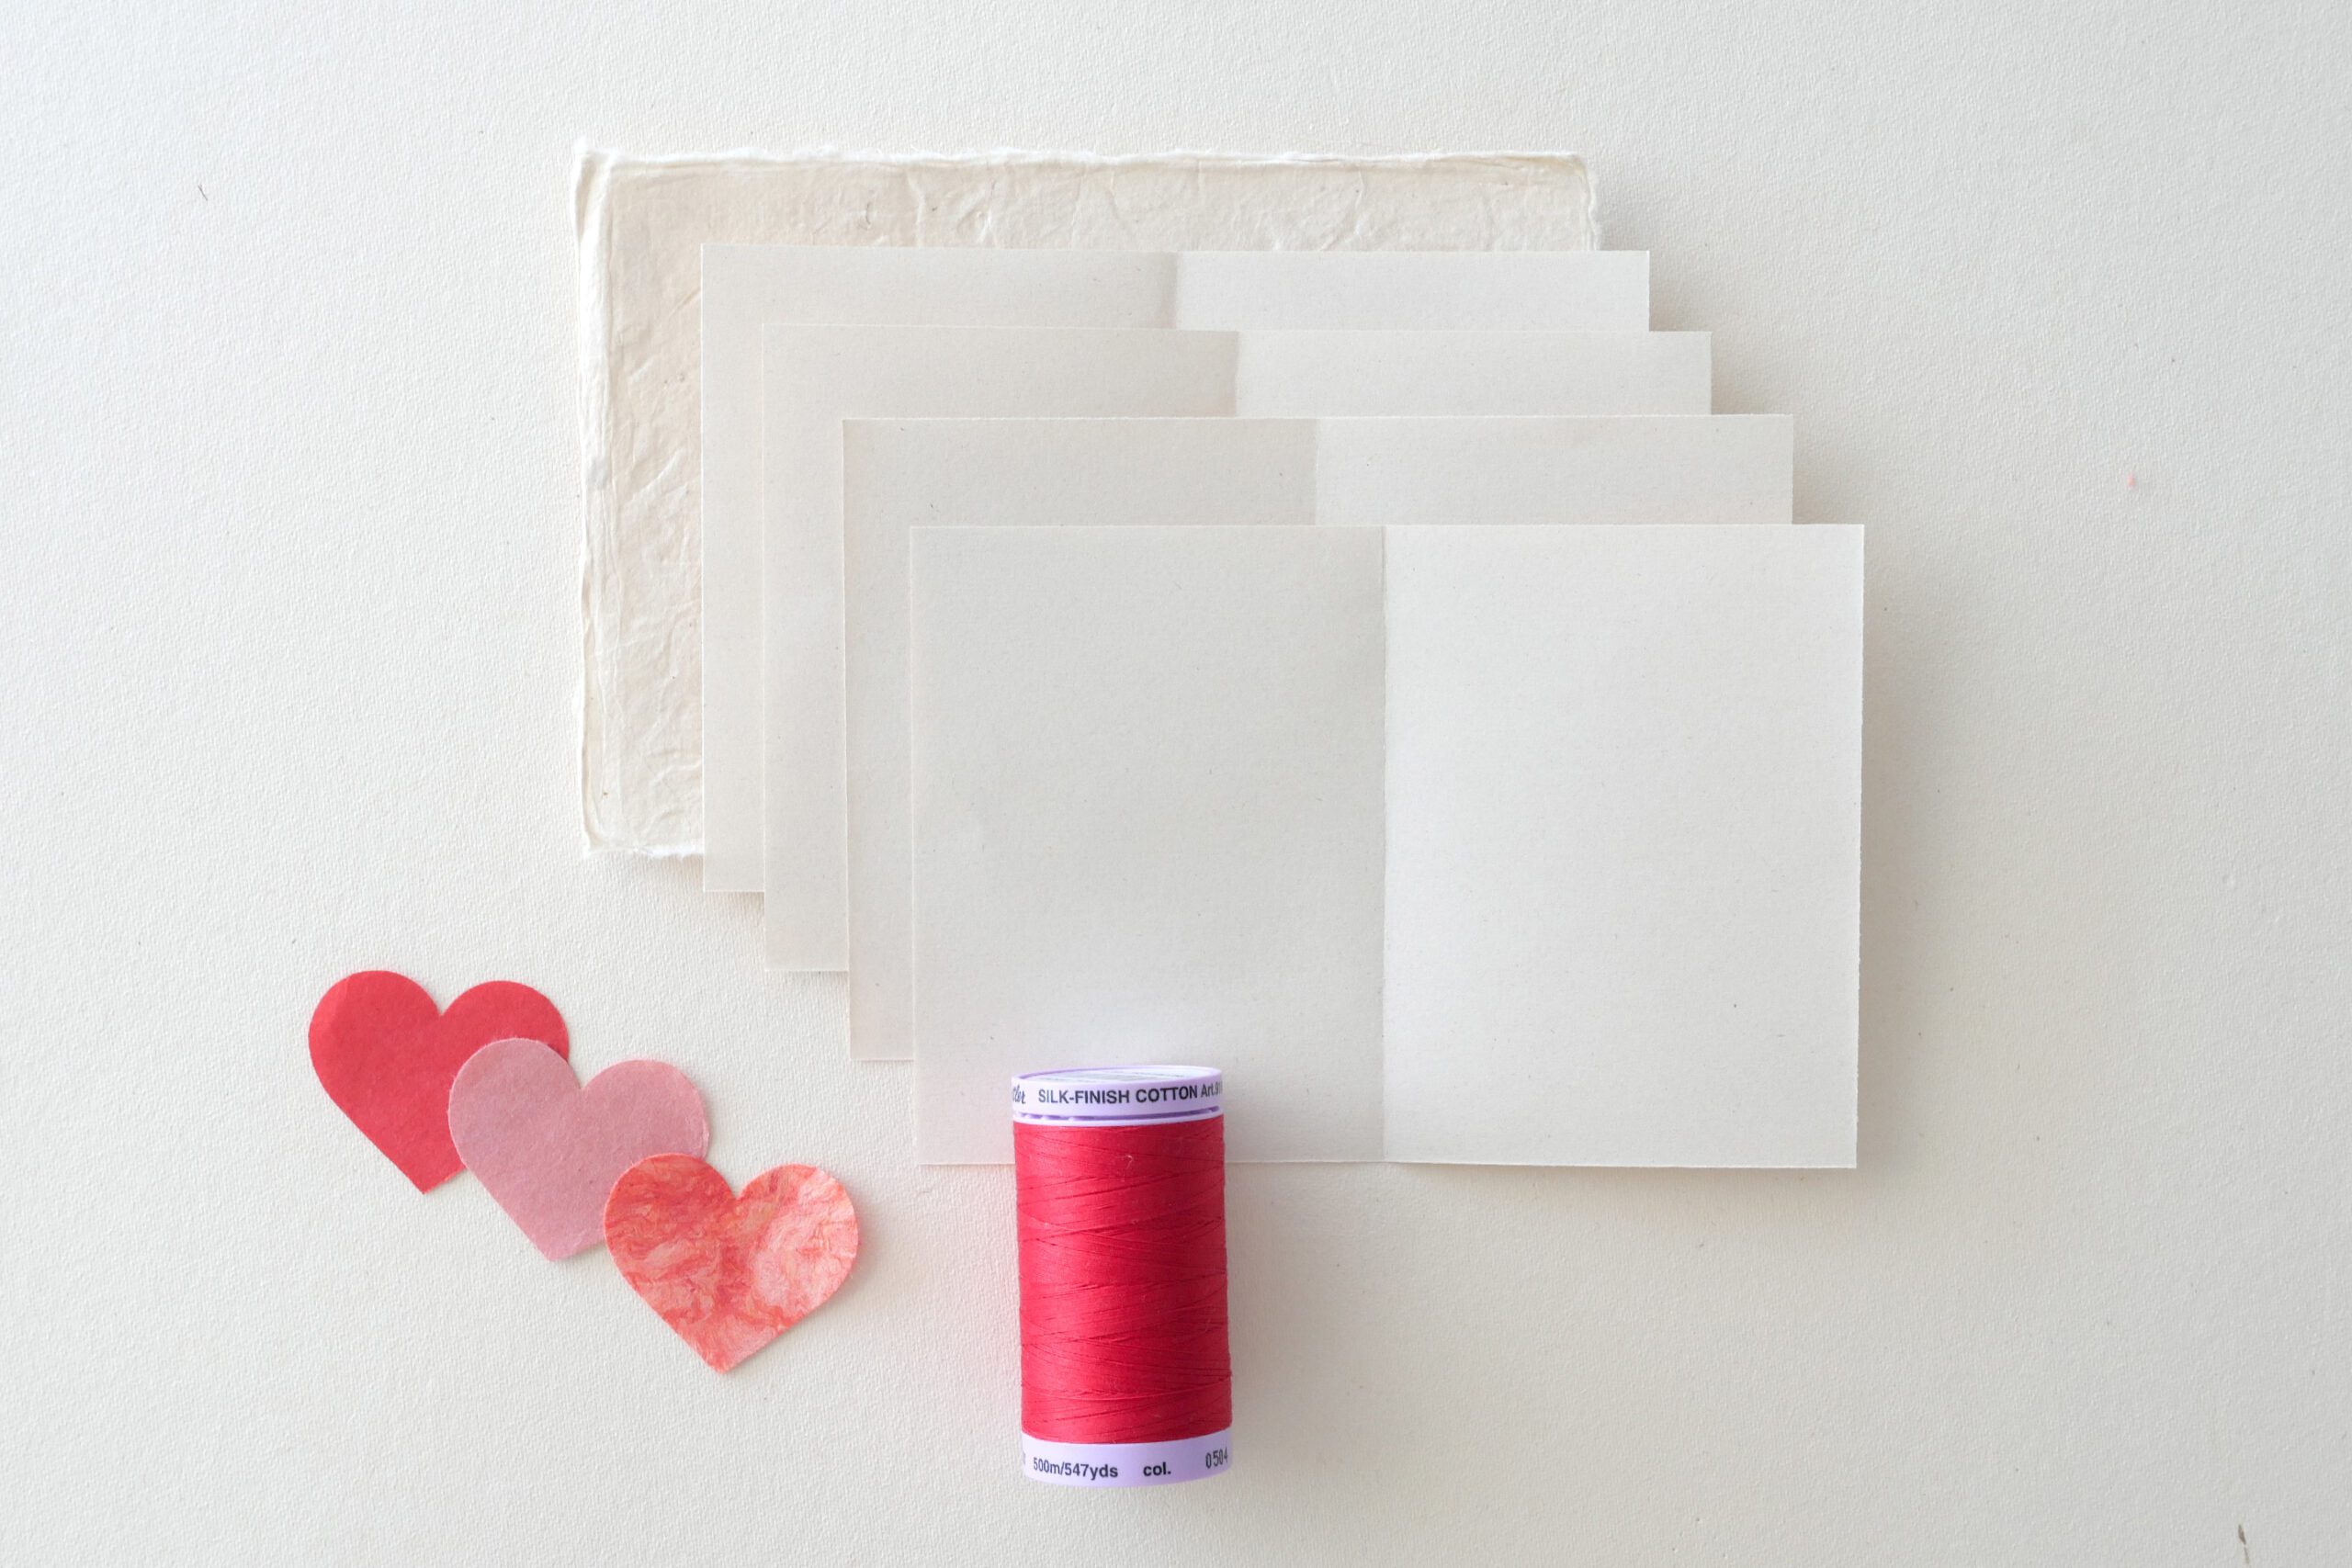
Materials
– Slightly thicker paper to serve as the cover
– Letter size paper
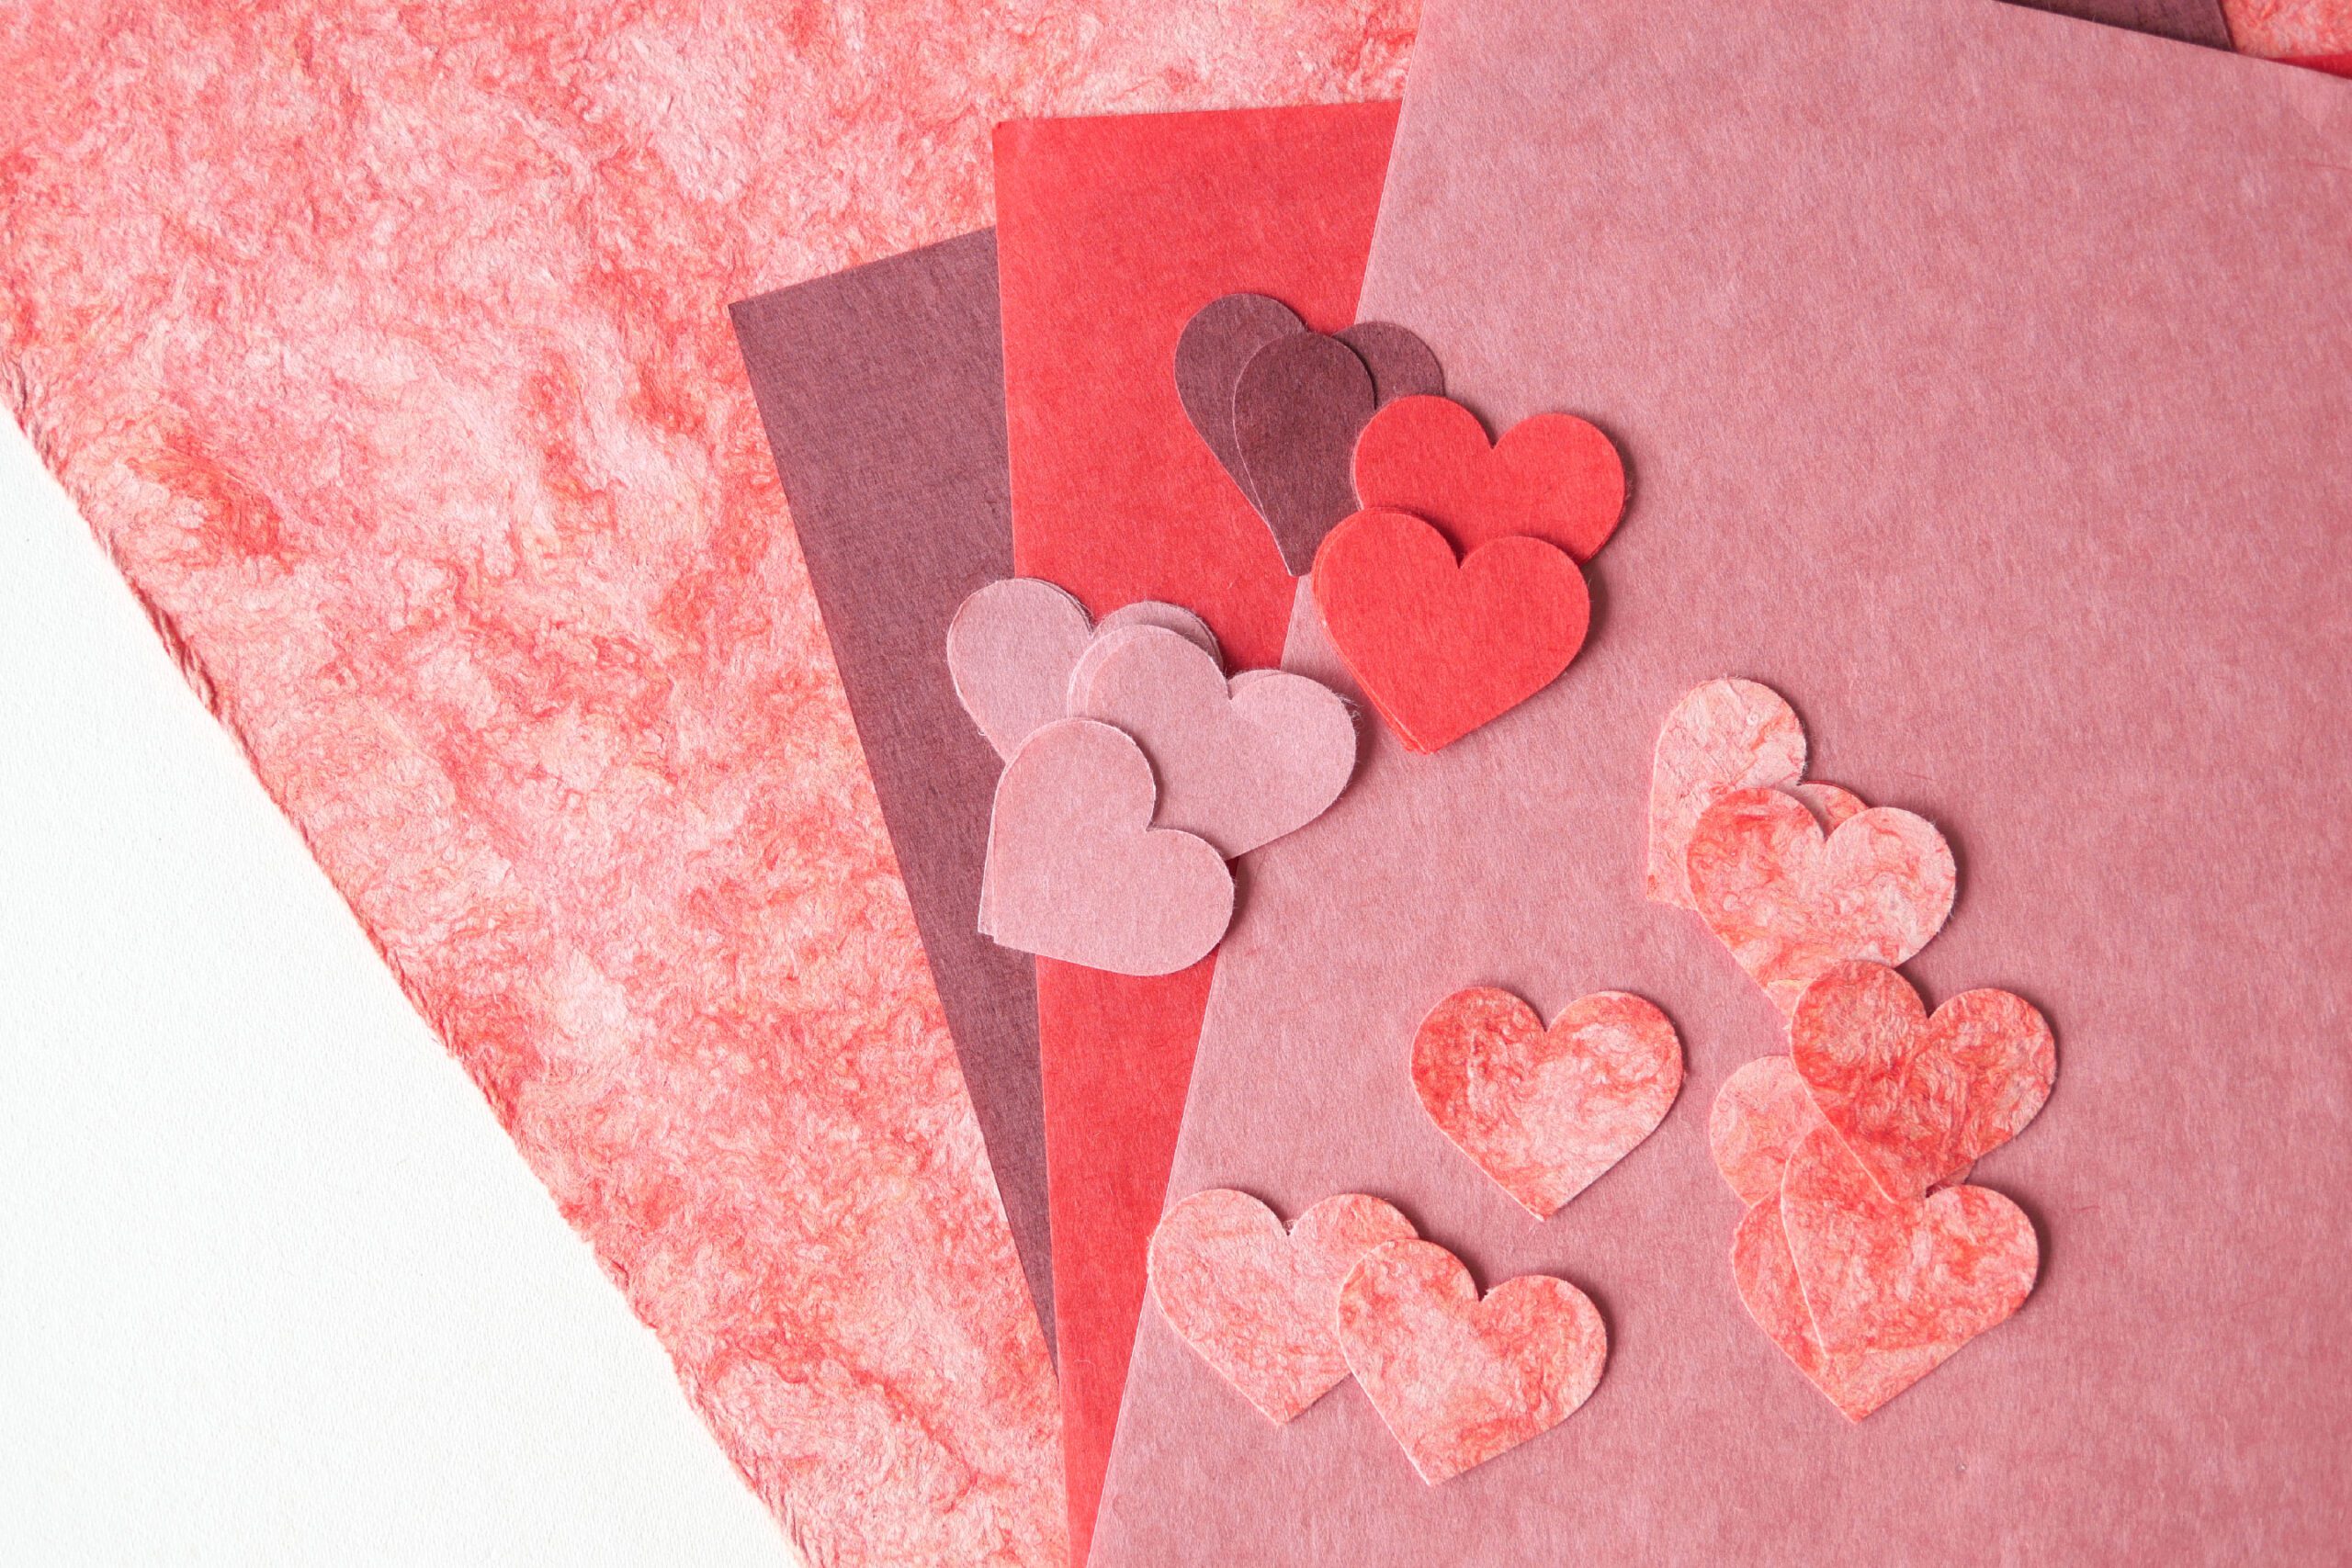
– Heart-shaped punch
– Red, pink, or other paper
– Sewing thread
Instructions for making
Step 1. Cut Out a Heart- Shape
Cut out a heart-shaped piece of paper. If you do not have a punch, you can use scissors to cut it. Prepare 3 sheets of the same color or different colors as you like.

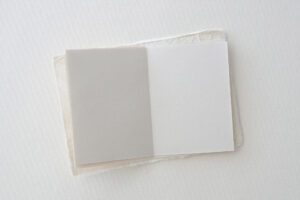
Step 2. Prepare the Paper
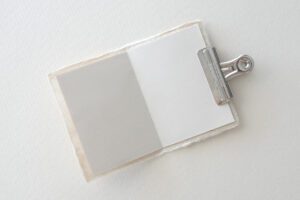
Fold the paper that will serve as the cover sheet in half. Cut letter-size paper into four equal pieces and fold in half to make the inside paper. Align the cover and middle papers in the center and secure with clips to prevent misalignment.
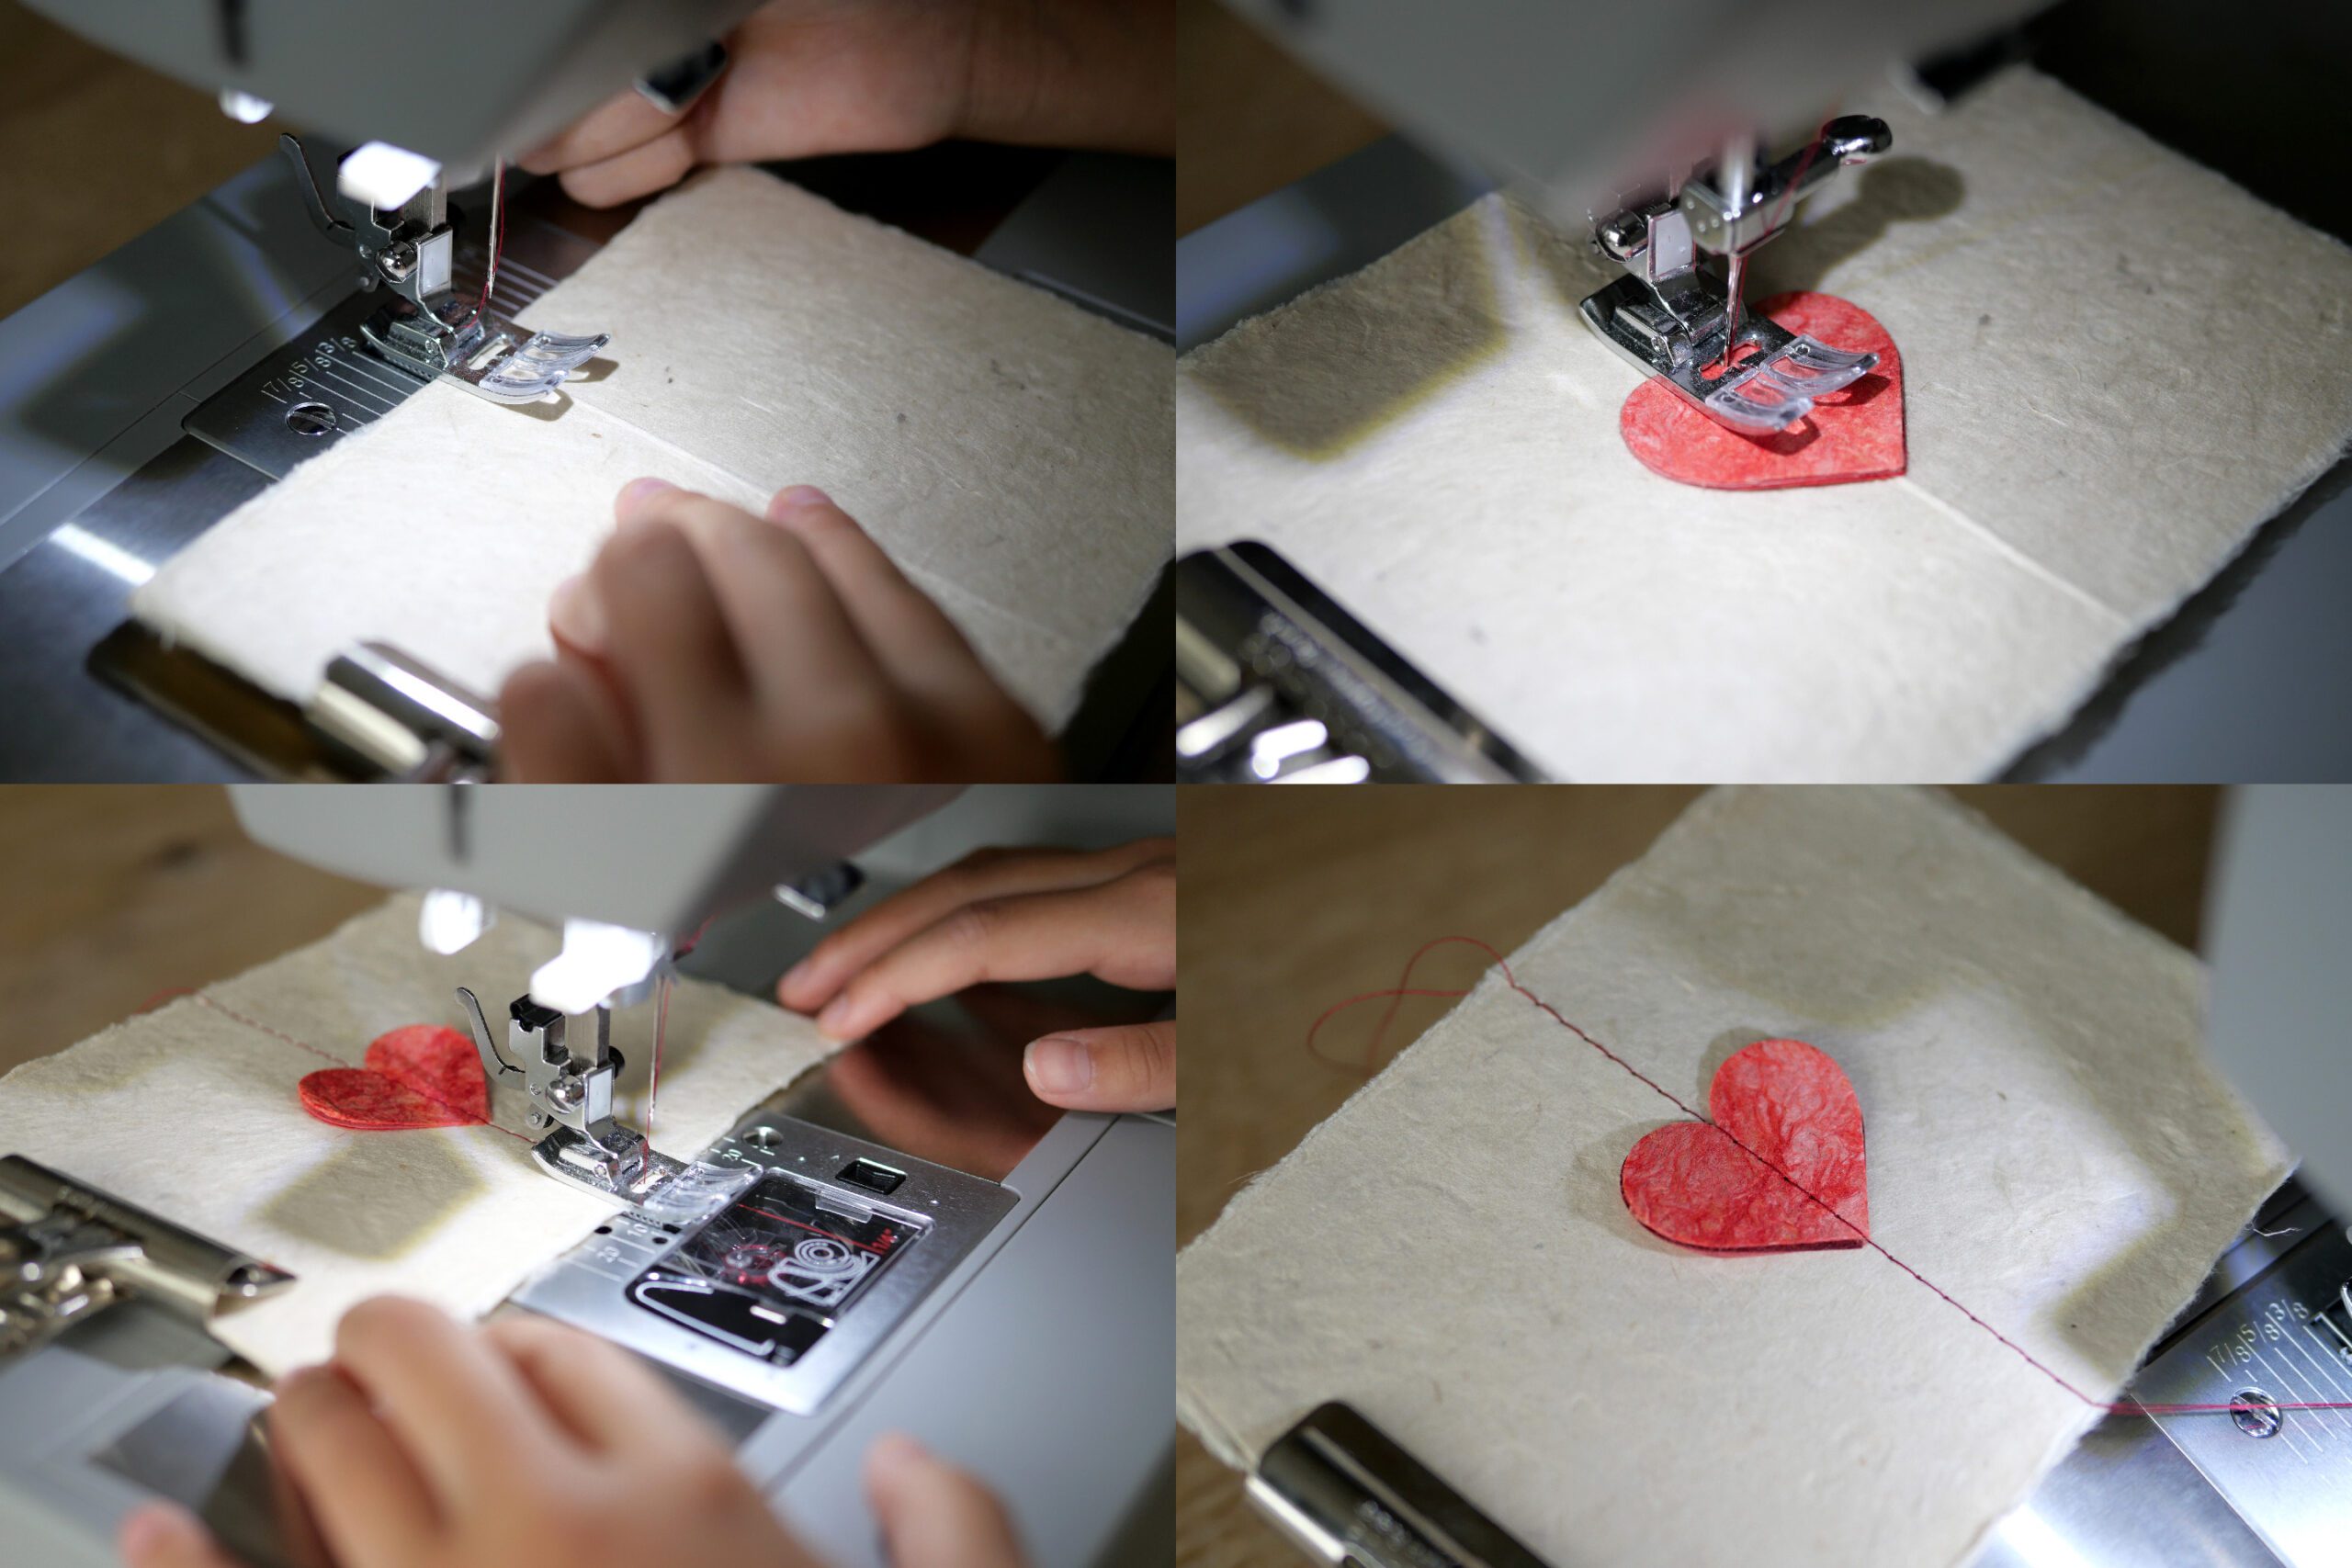
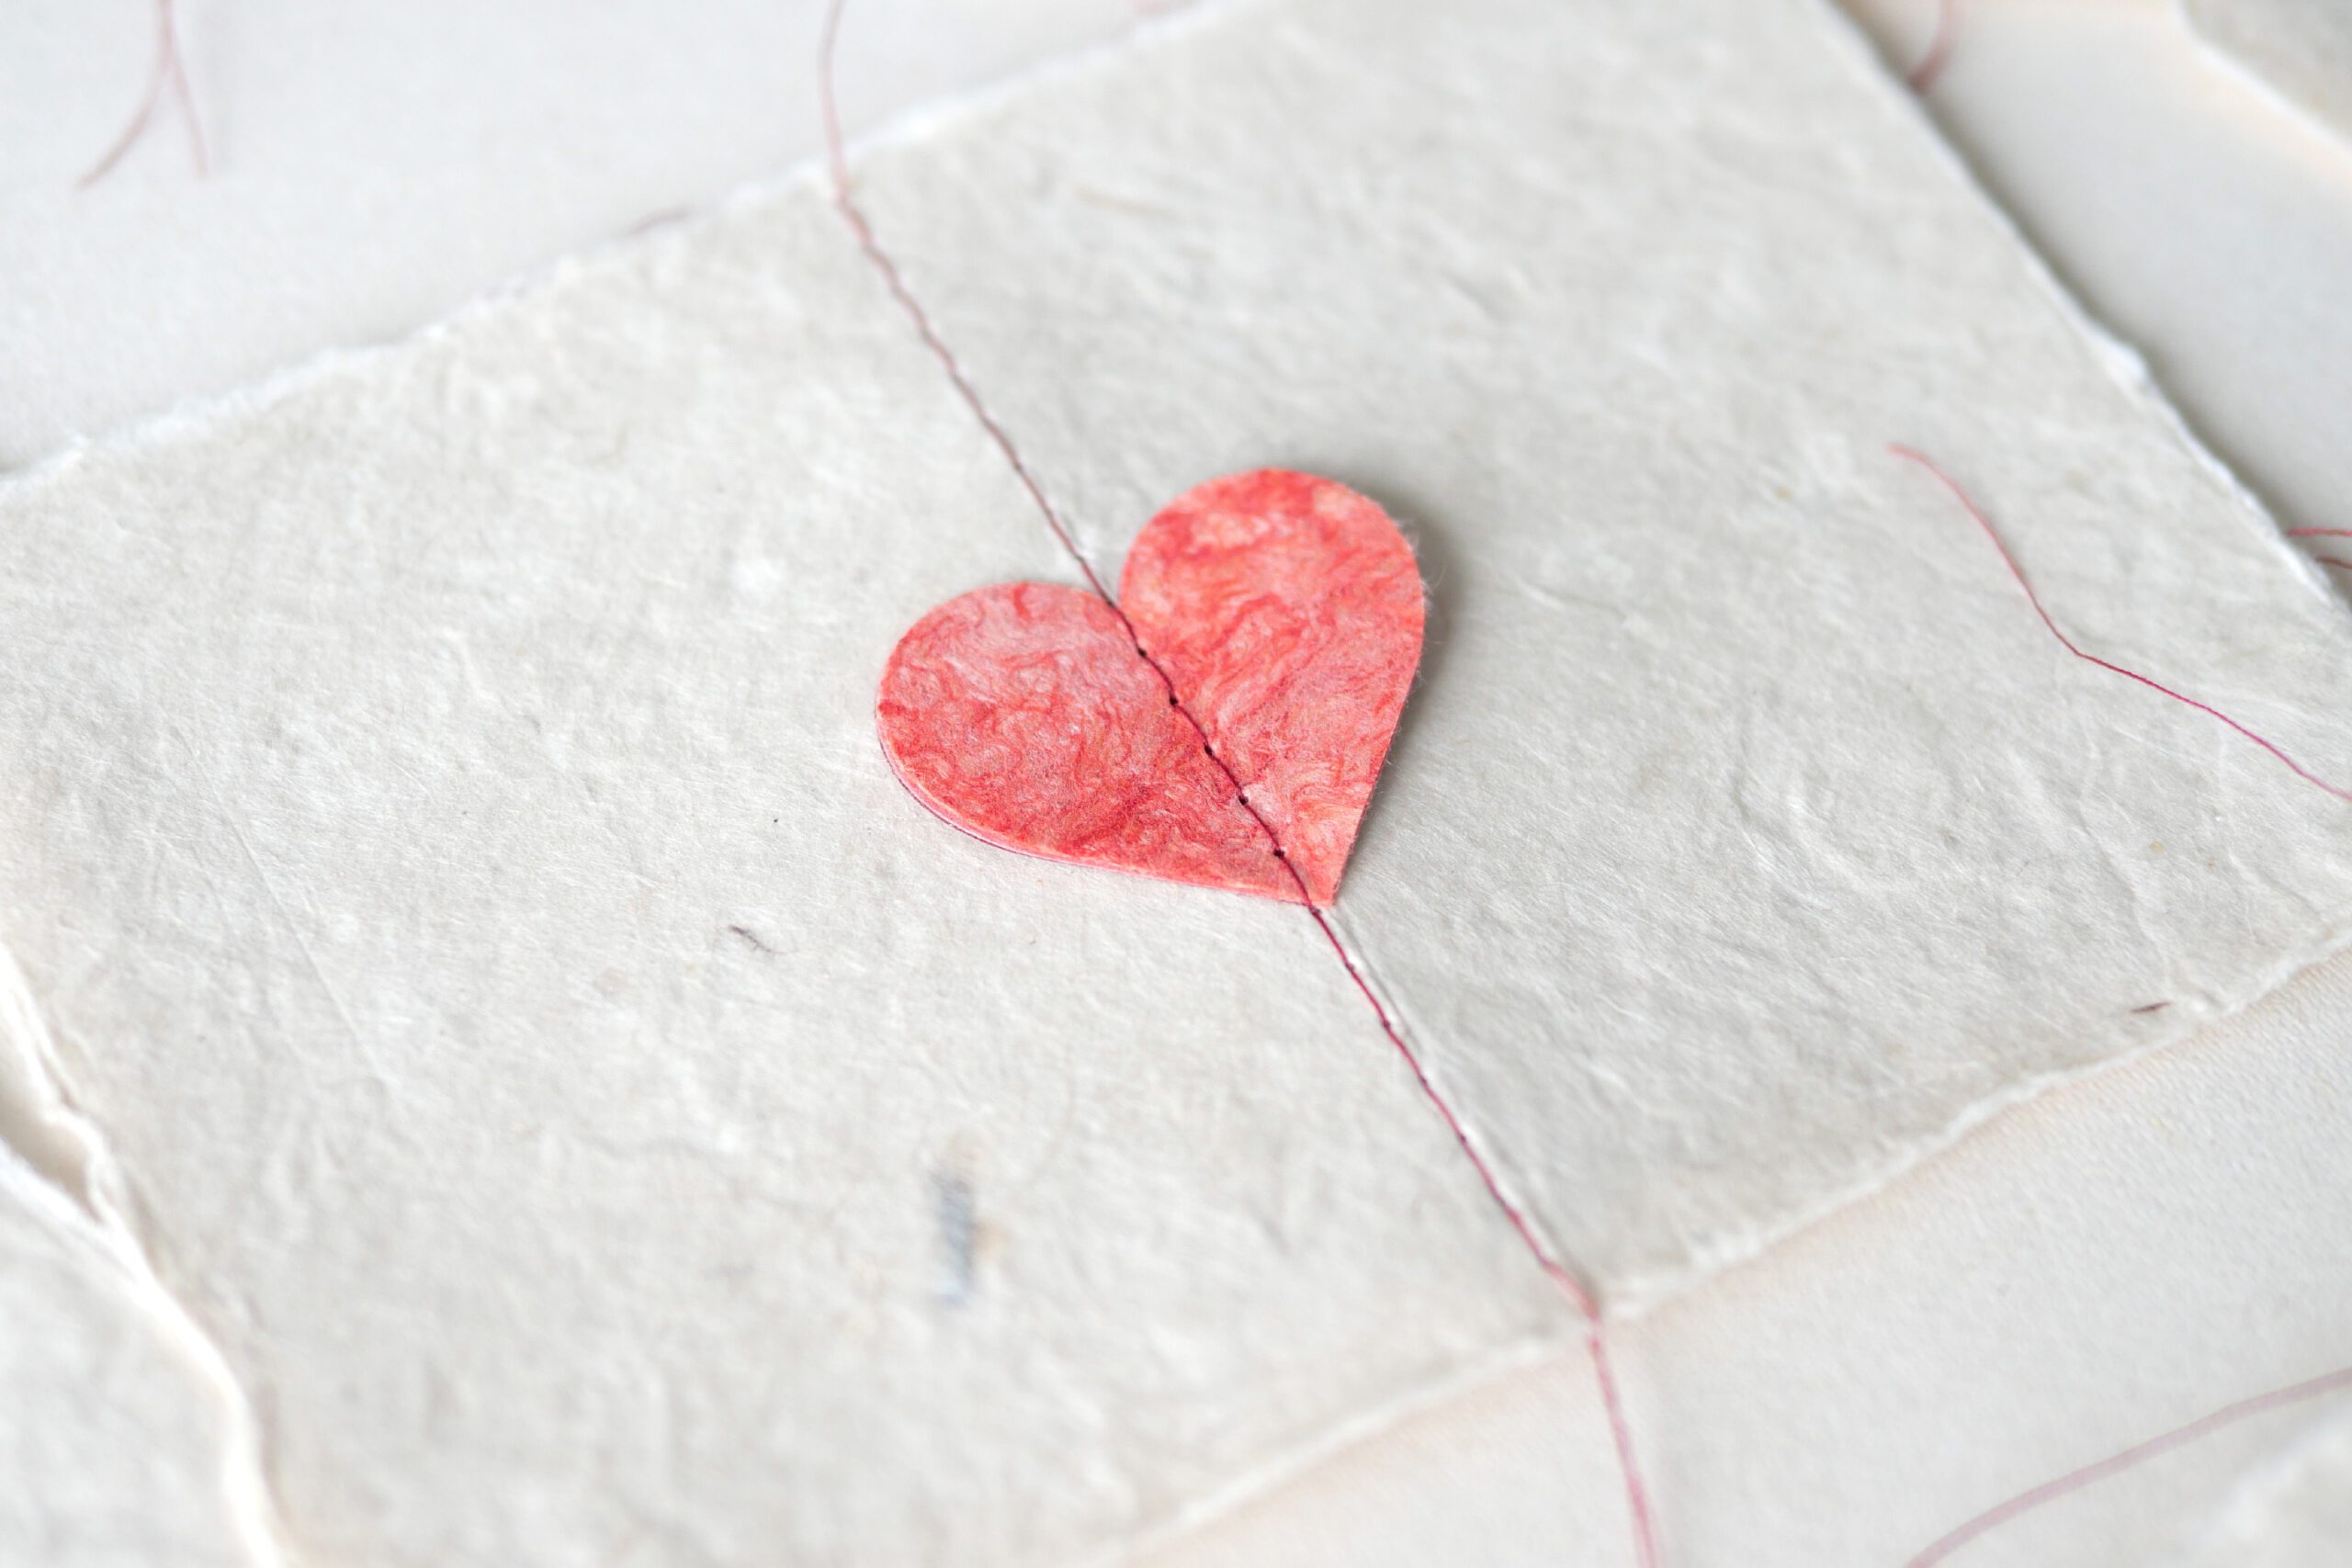
Step 3. Sew on a Sewing Machine
Turn the cover side out and sew along the center fold. After sewing a little before the half, insert three hearts and sew the rest together. We used the largest possible perforation pitch. Sew carefully and slowly, no rush. Cut the thread after sewing to the end.
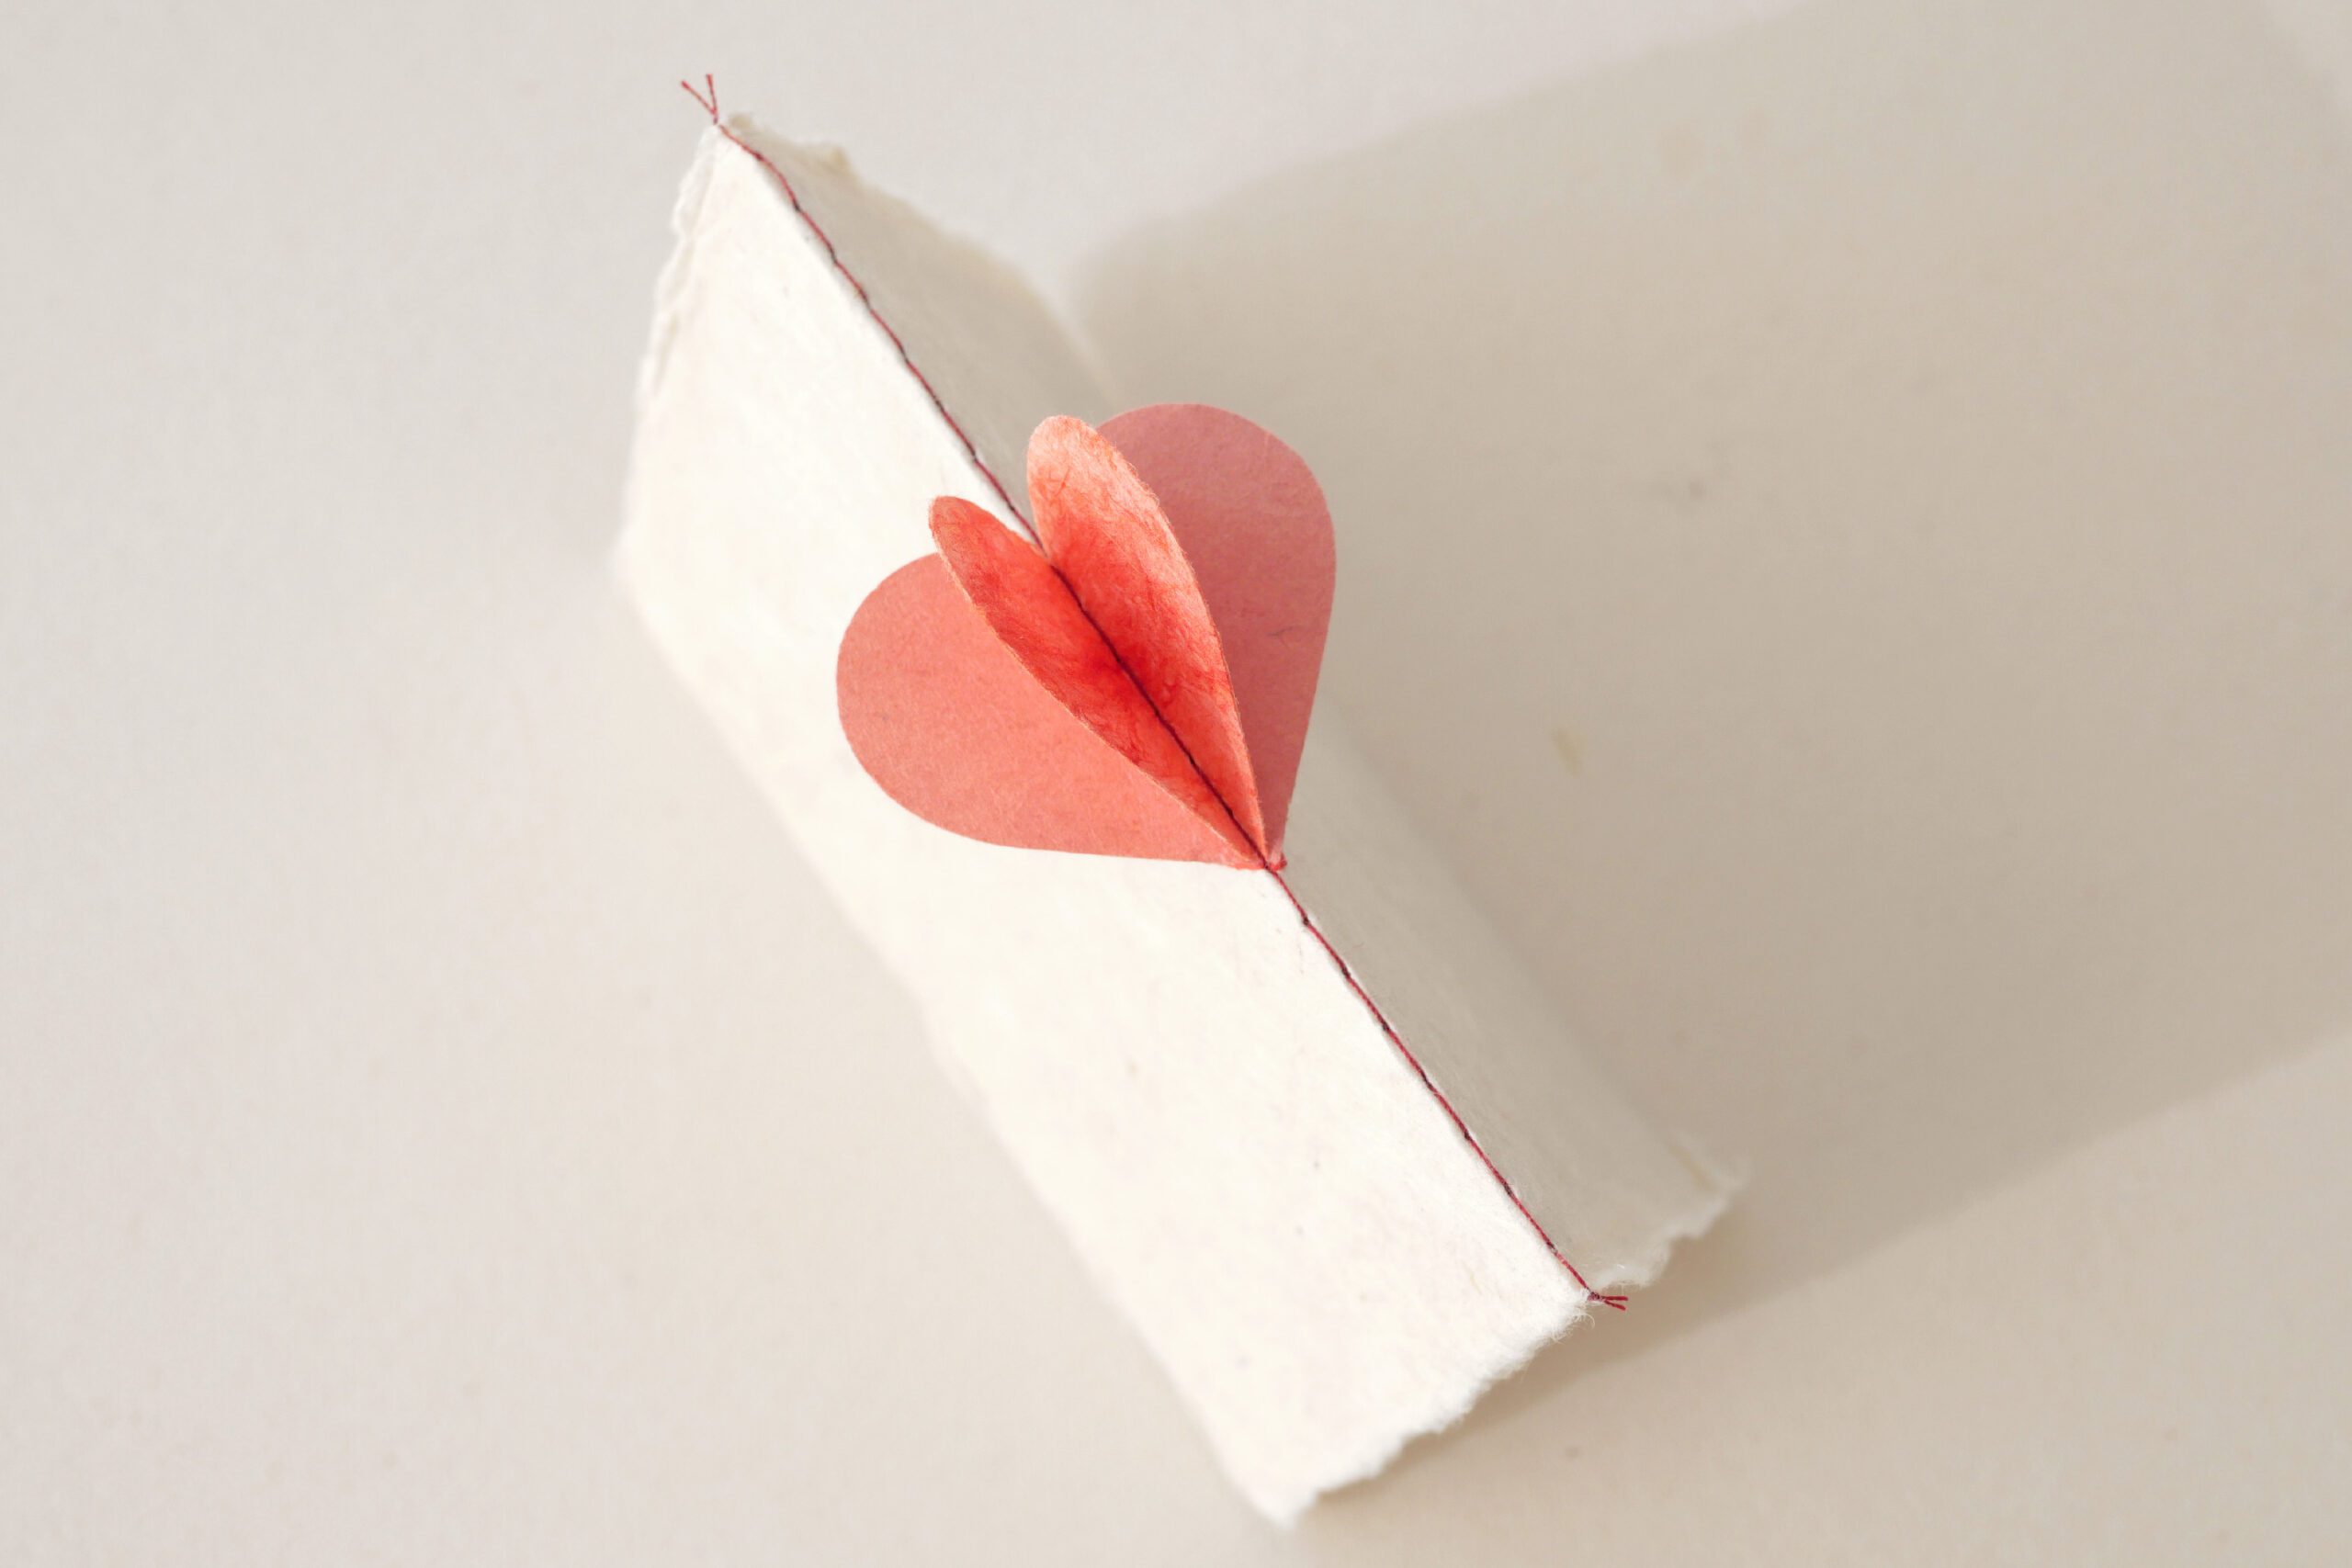
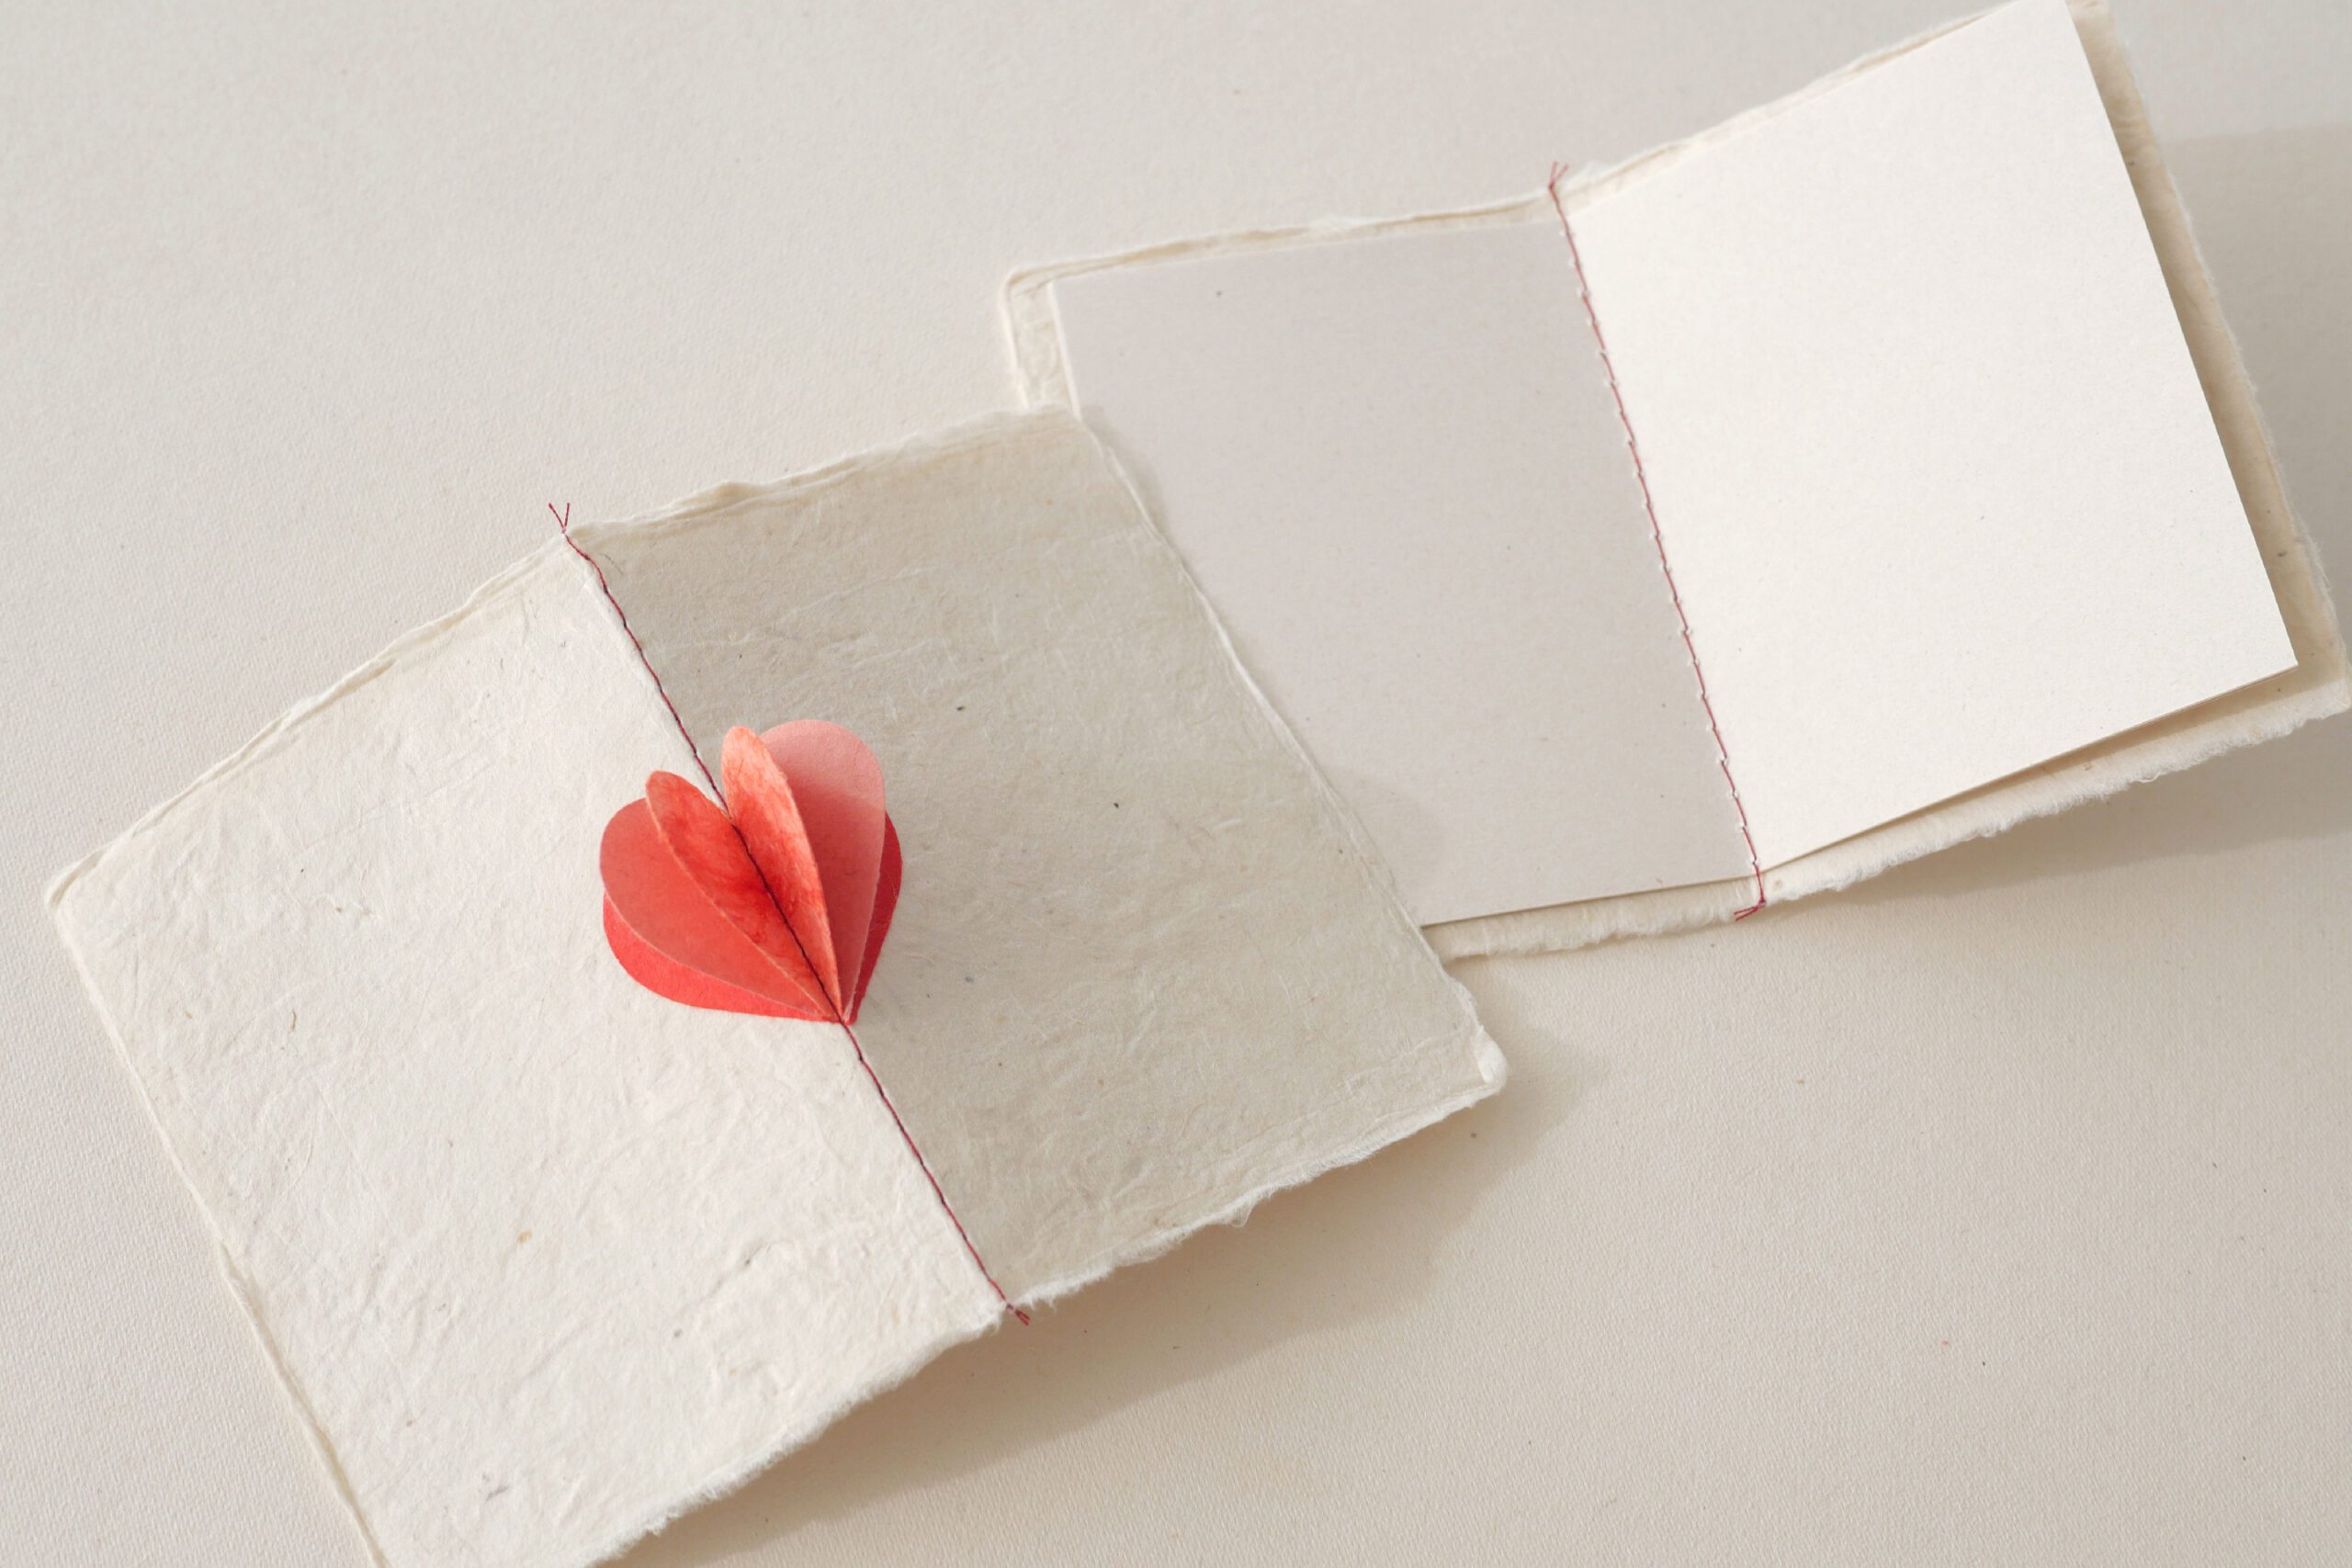
Step 4. Arrange One's Shape
Fold it in half along the perforations and you have a notebook. Glue the heart that touches the cover. Finish by shaping the remaining hearts into a three-dimensional shape.

Mini Heart Notebook
ノートの背から立体的なハートが飛び出しているようなノート。娘がクラスメイトへのバレンタインギフトにつくりました。ハガキサイズの紙を表紙にして、中はレターサイズの紙を4等分に切ったもの。それにハートを3つ。これらをミシンで一緒に綴じたのです。
10歳の誕生日に念願のミシンを手にした娘は、ミシンを使って何かつくりたくてしょうがないようです。ひととおり布で動作を確認した後は、紙をミシンで縫い始めました。私はそんな彼女の自由な発想が好きです。紙を折って端を縫い封筒のようなものをつくったり、カードにワンポイントの刺繍を施したり。娘は新しい機械を手に入れて革命が起きた様子。クリエイティブな発想を楽しんでいます。
用意するもの
– 表紙となる少し厚手の紙
– レターサイズの紙
– ハート型のパンチ
– 赤やピンクなどの紙
– 縫い糸
つくりかた
Step 1. 紙をハート型に切る
ハート型に紙を抜きます。型がない場合はハサミを使って切ってもいいでしょう。色は同じでも、変えてもお好きなように、3枚用意します。
Step 2. 紙を用意する
表紙となる紙を半分に折る。レターサイズの紙を4等分に切り半分に折って中面の紙にします。表紙と中面の紙を中央で合わせて、ズレないようにクリップで固定します。
Step 3. ミシンで縫う
表紙の面を表にして、中心の折れ目に沿ってミシンで縫います。半分より少し手前まで縫ったら、ハートを3枚を差し込み残りを一緒に縫います。私たちはミシン目のピッチをなるべく大きいものにしました。急がずゆっくりとしたスピードで、慎重に縫います。最後まで縫ったら糸を切ります。
Step 4. 形を整える
ミシン目に沿って半分に折ったらノートになりました。表紙に接するハートを糊で貼ります。残りのハートの形を立体に整えたら完成です。