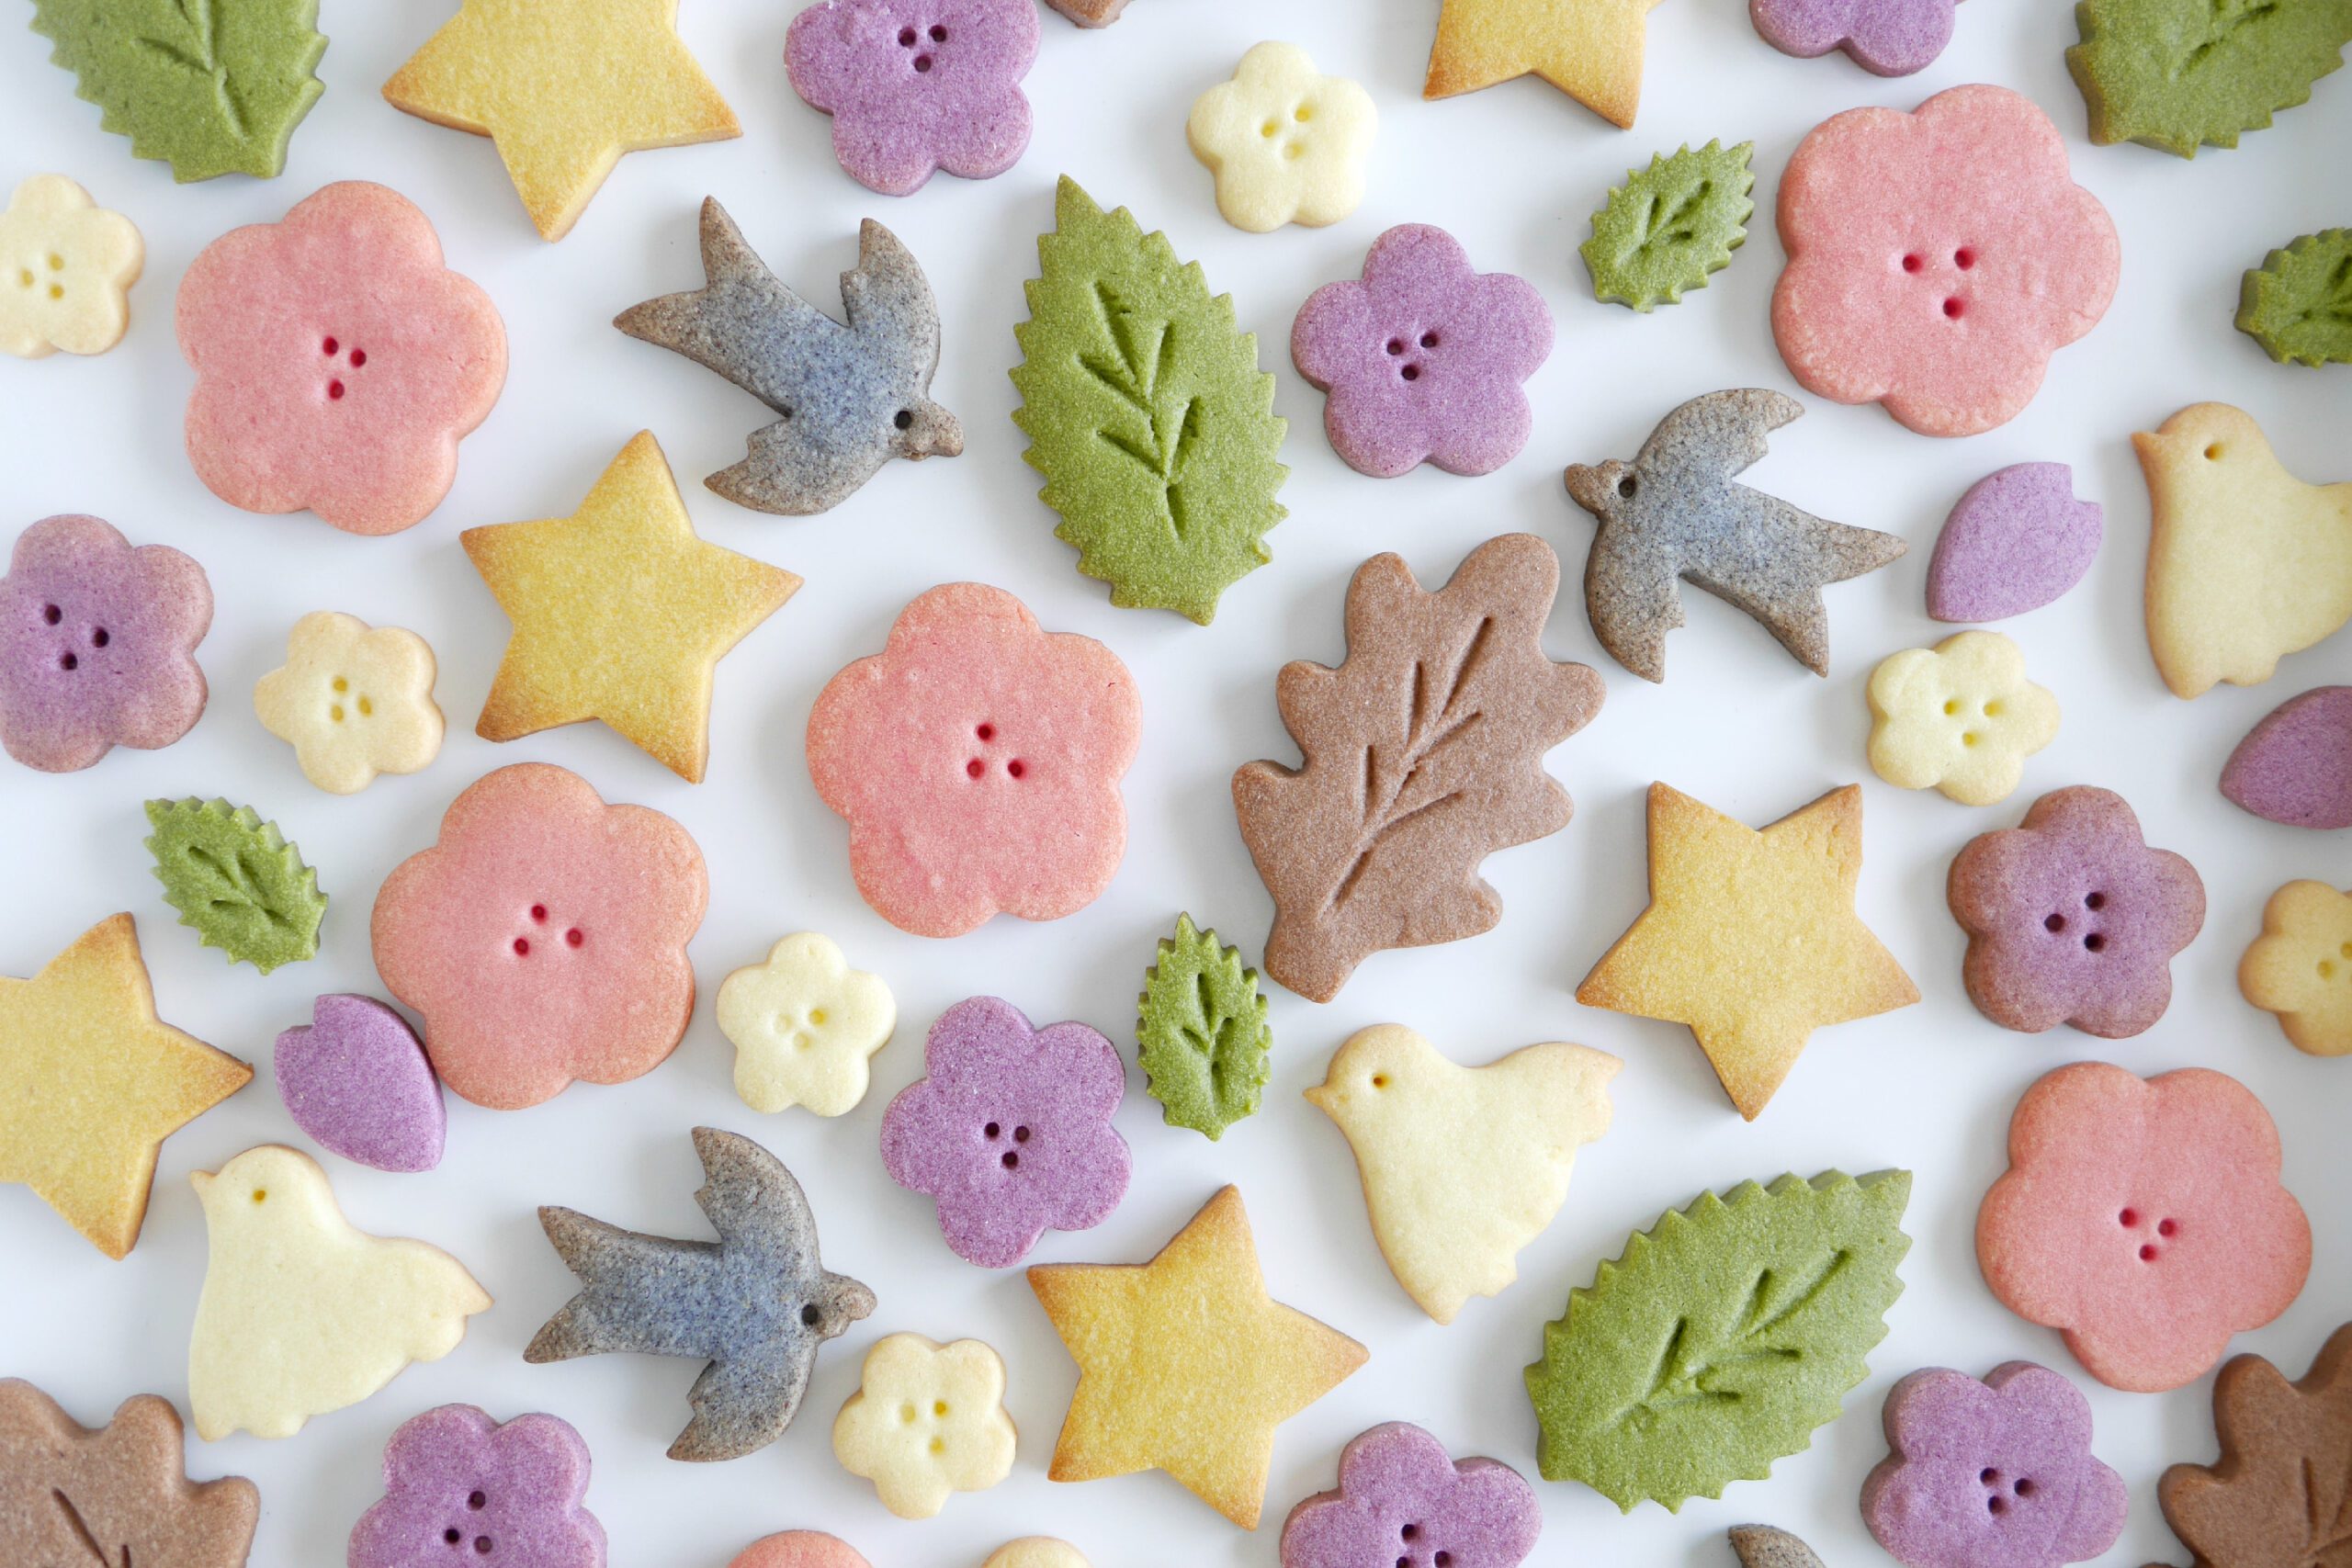
Cut-Out Spring Cookies
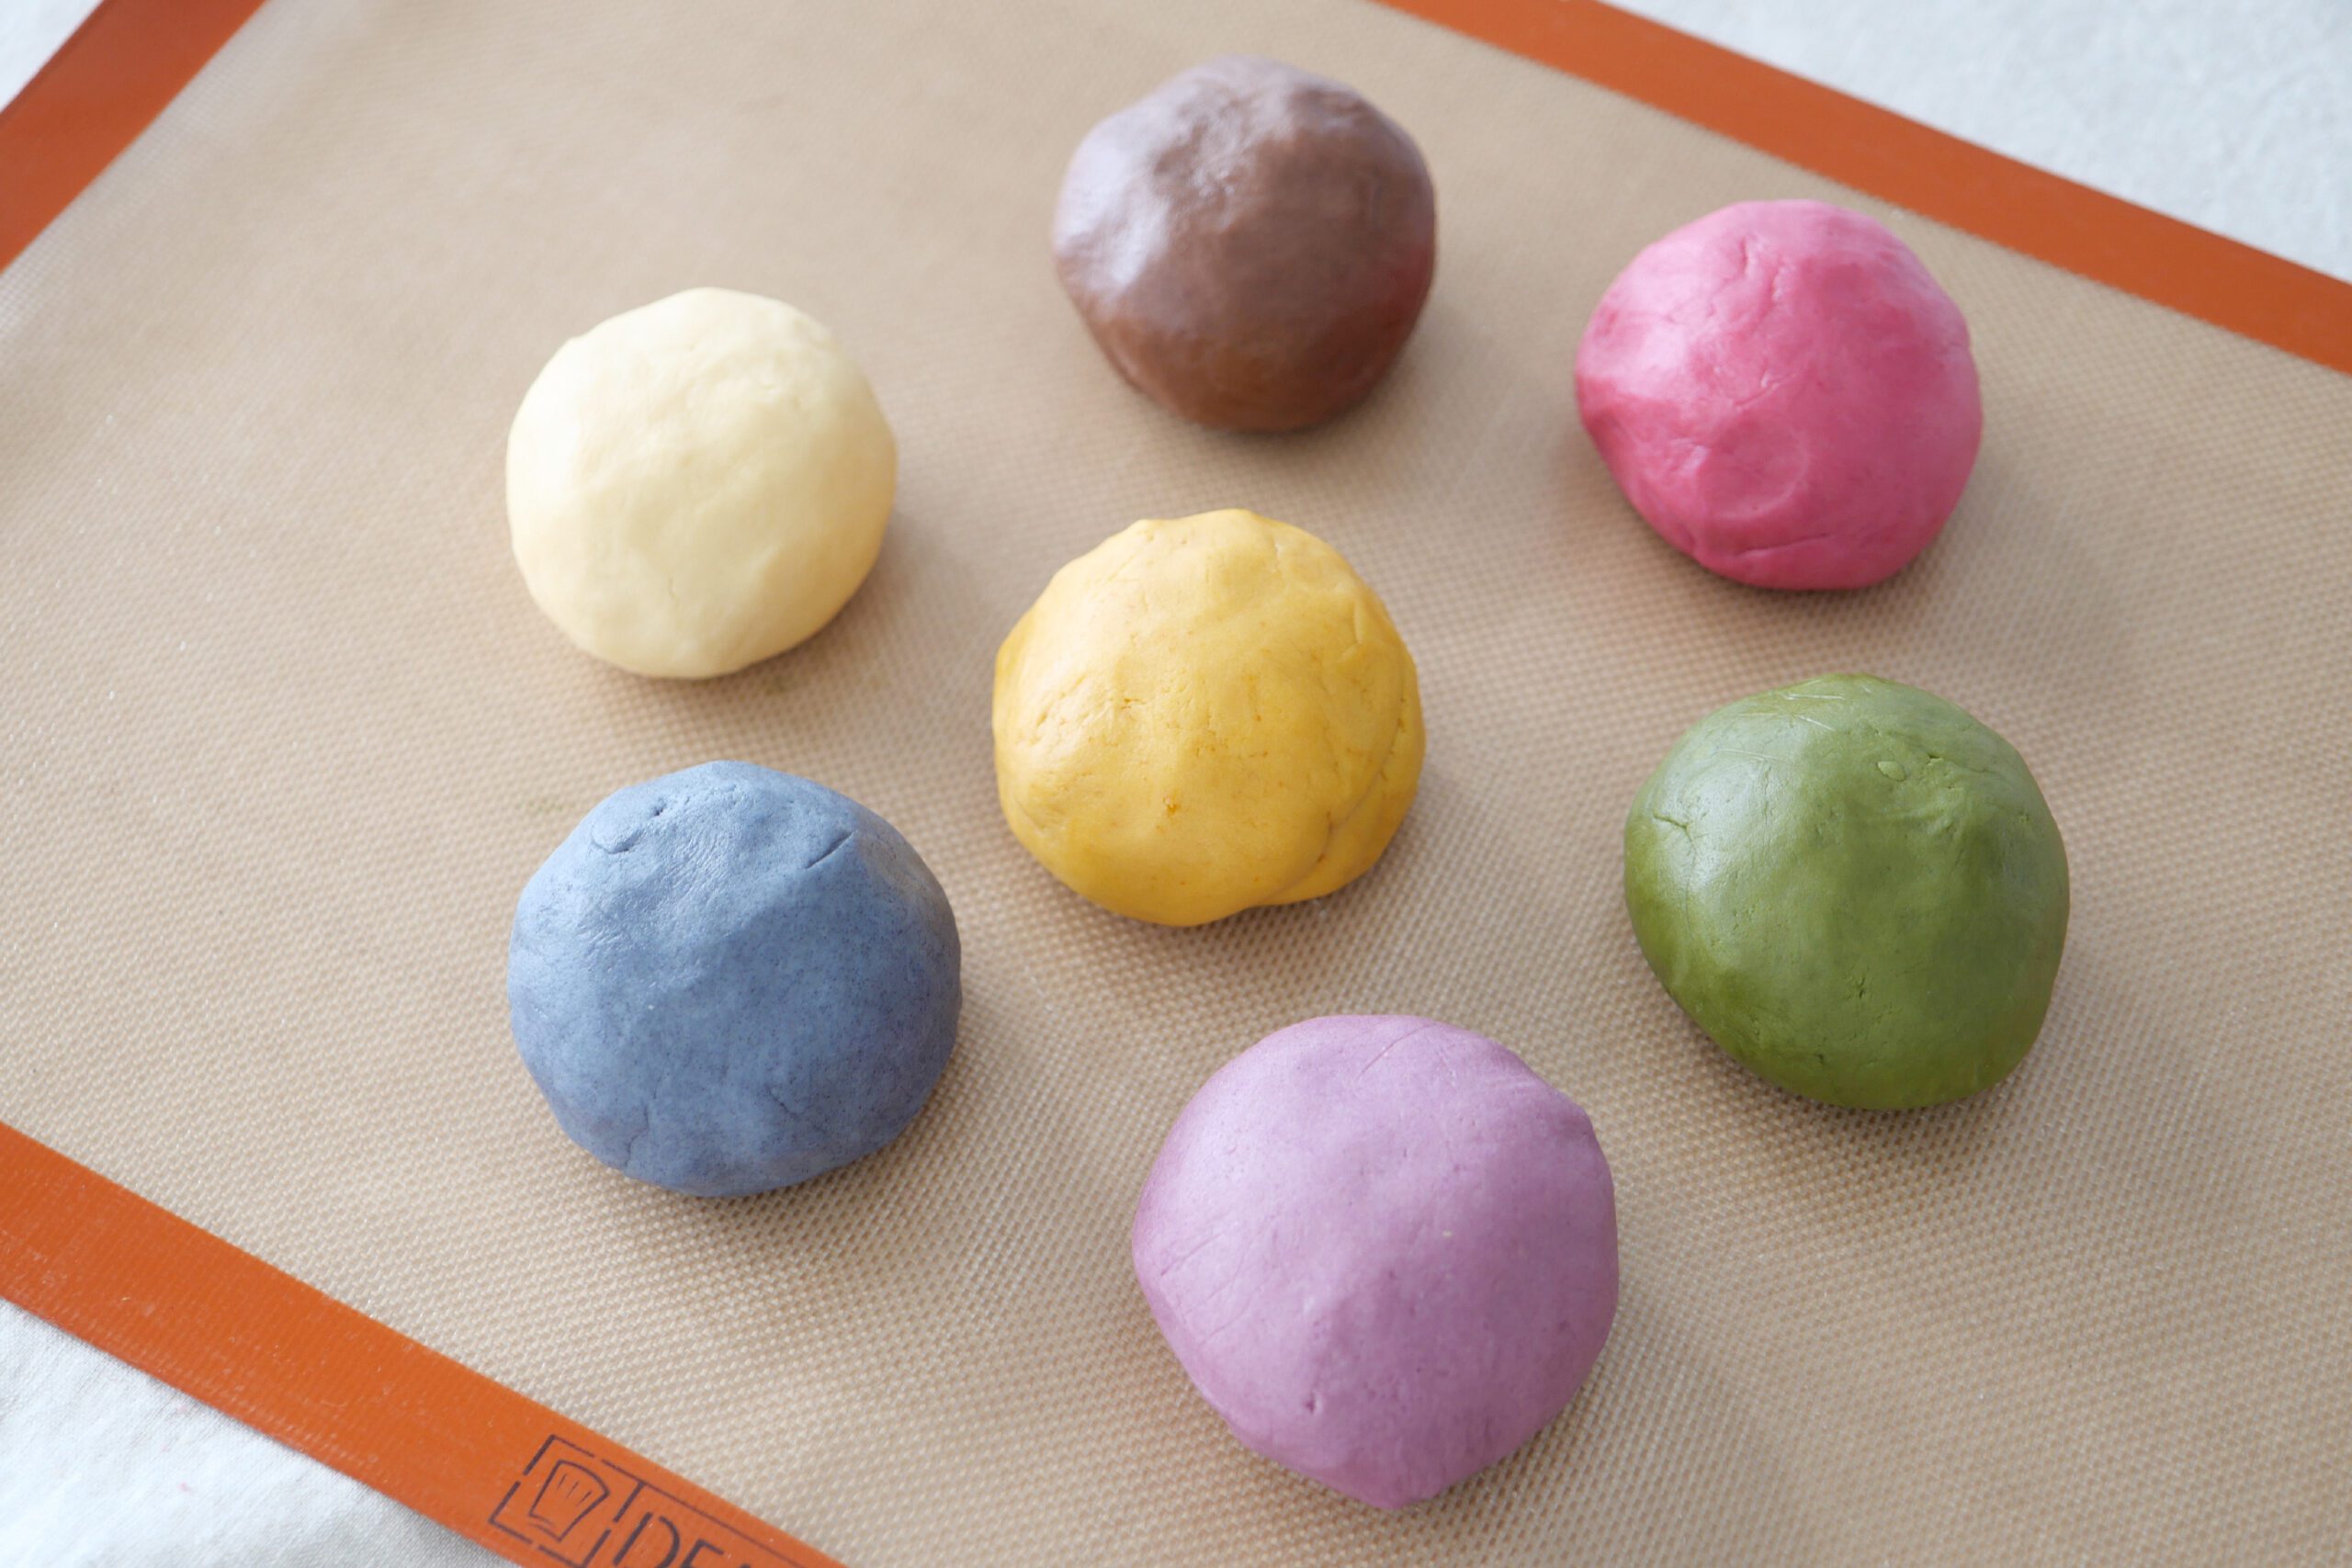
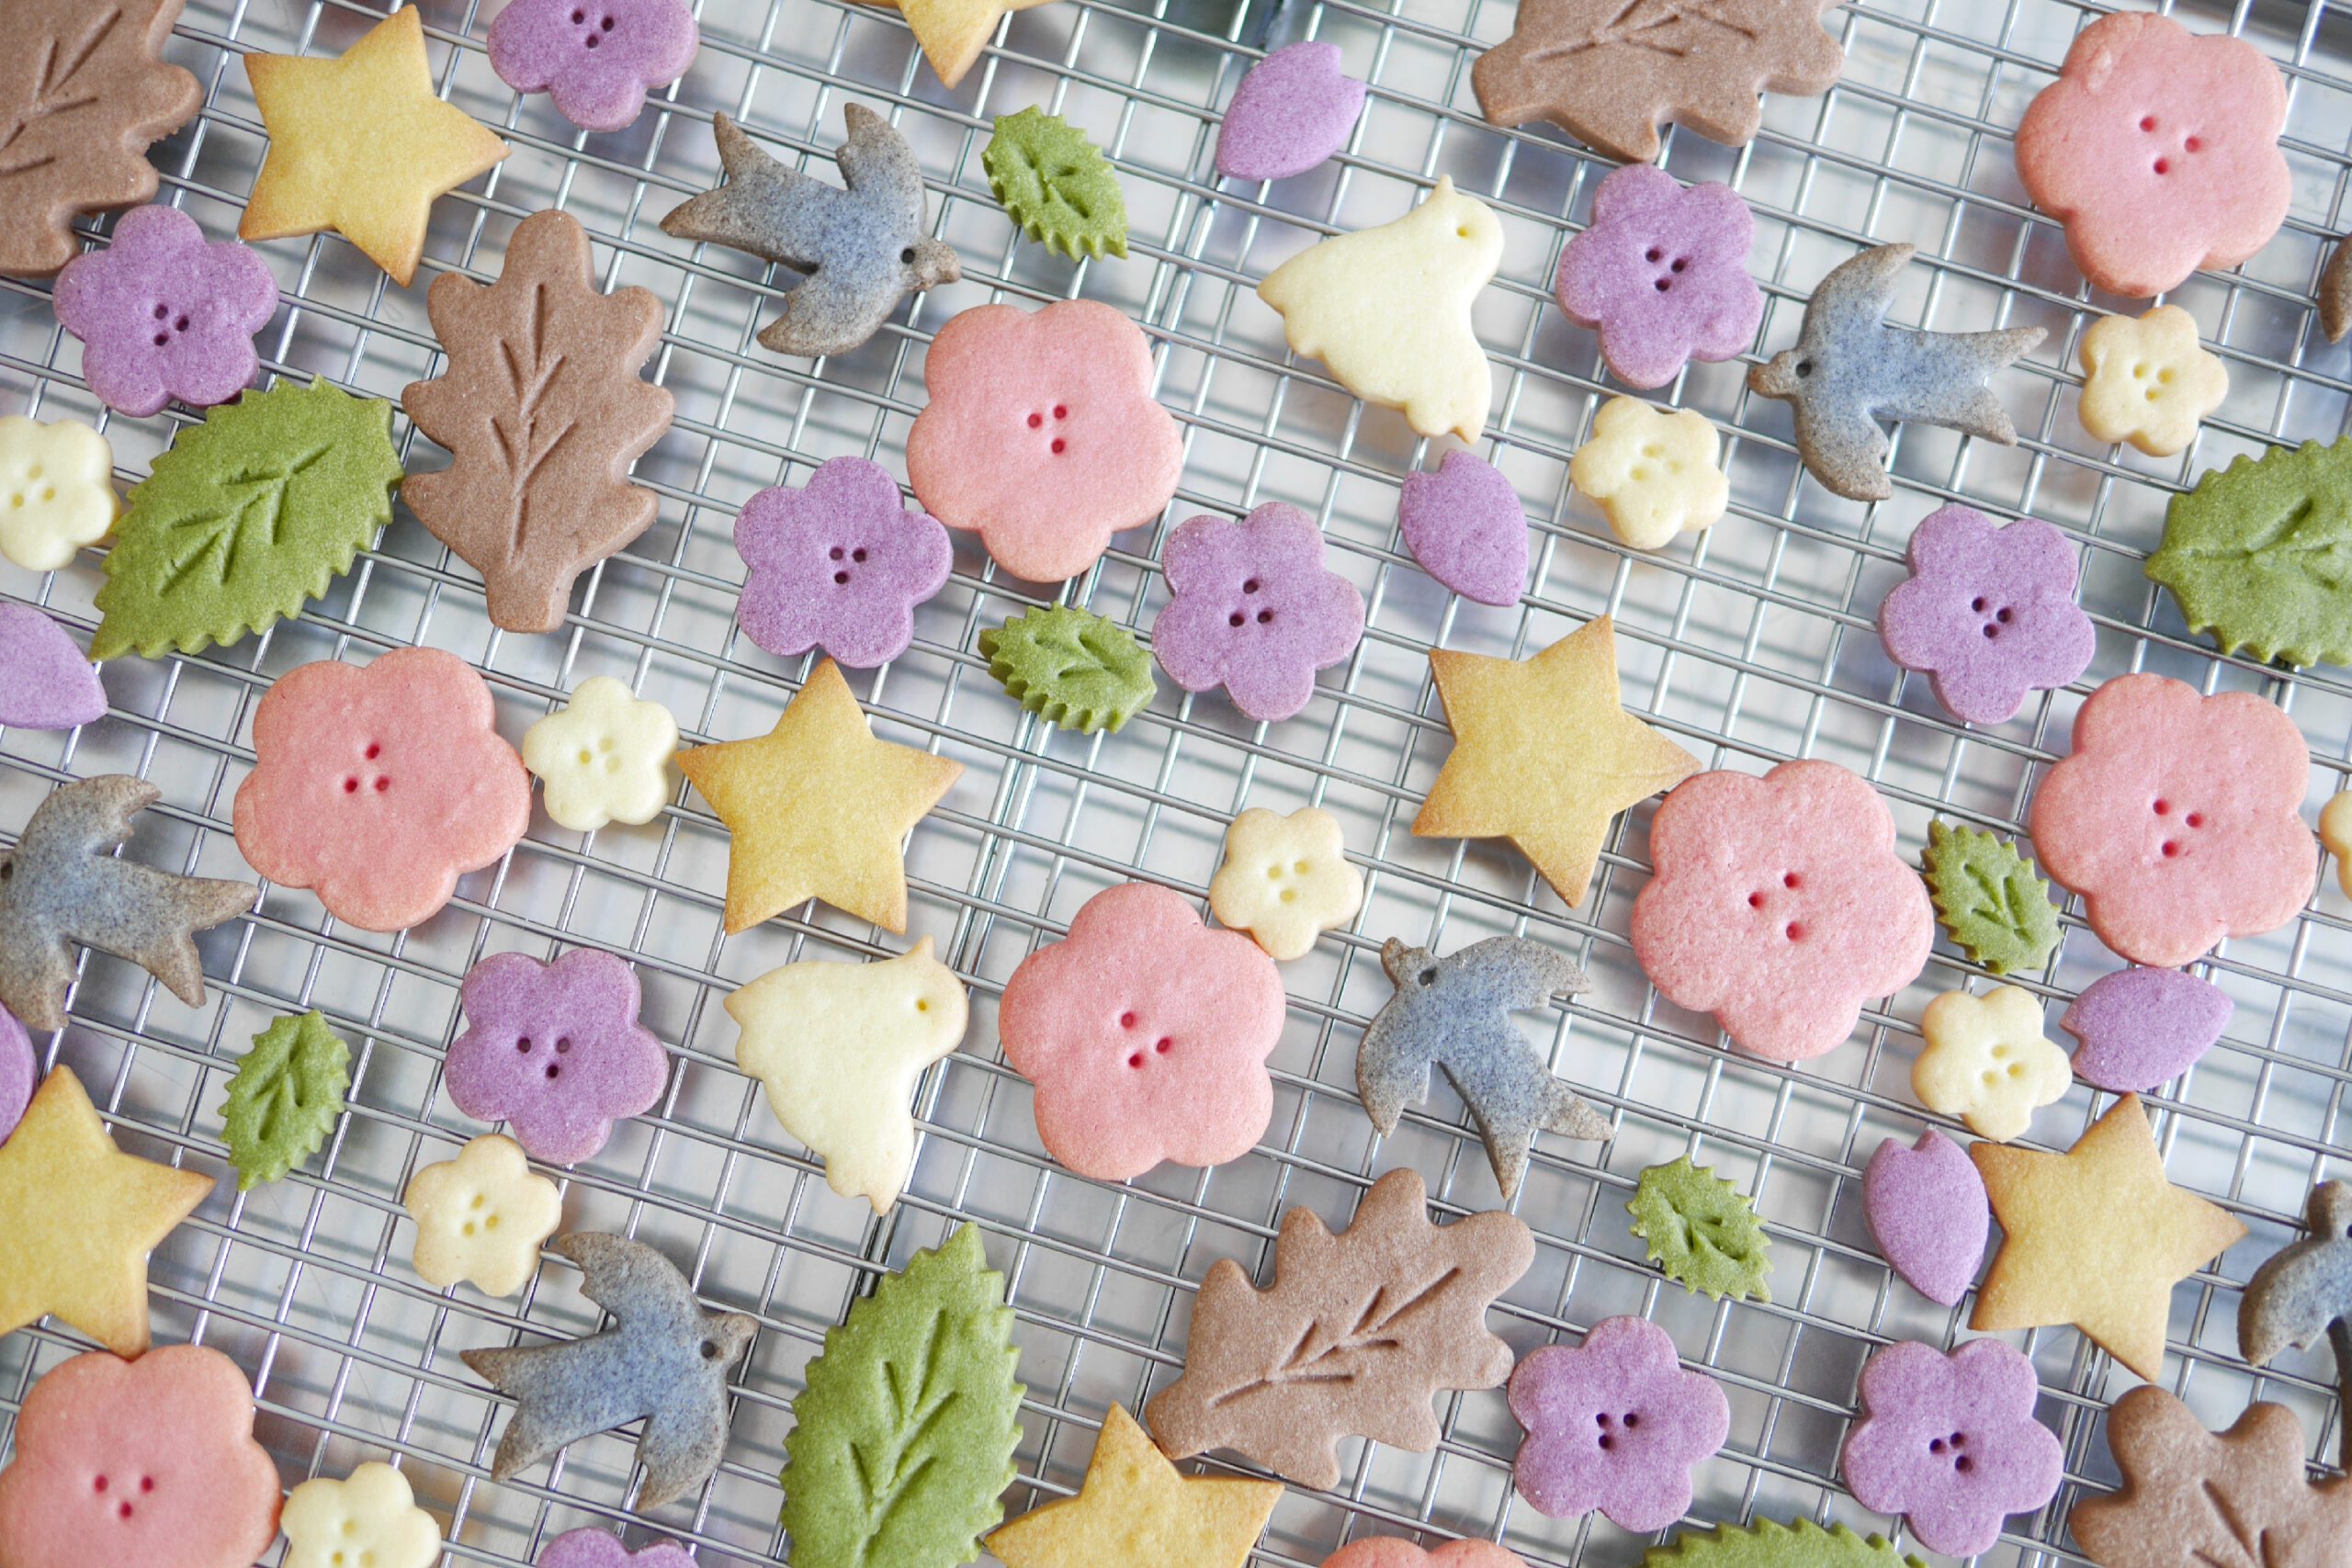
Various shapes, various colors. These spring-like die-cut cookies have become a staple in our home. Matcha, cocoa, purple sweet potato, beet, pumpkin, butterfly pea, simple tasting dough is colored with all natural ingredients, hollowed out into various shapes and baked.
I bake every year from January through spring, and it became a regular winter to spring cookie. For my daughter, whose birthday falls around this time of year, the cookies are a way to welcome spring after a long winter. They are small bites and are gorgeous to the eye with different flavors, colors and shapes. These cookies as an annual, to give for classmates at her birthday celebration in the class. It will be lighten the spirits that spring is just around the corner. Or good for potlucks at various events throughout the year by changing the cookie cutters and colors,
I don’t usually use refined white sugar in our home, but when making these cookies, I’m not too strict and enjoying it.
These cookies are a fun way to enjoy the arrival of spring. Here is the recipe for the dough.
Materials
Easy-to-make quantities (about 40 pcs. / 3cm cookie cutter)
– 240g Flour
– 100g Powdered sugar
– 80g Butter
– 1 Egg
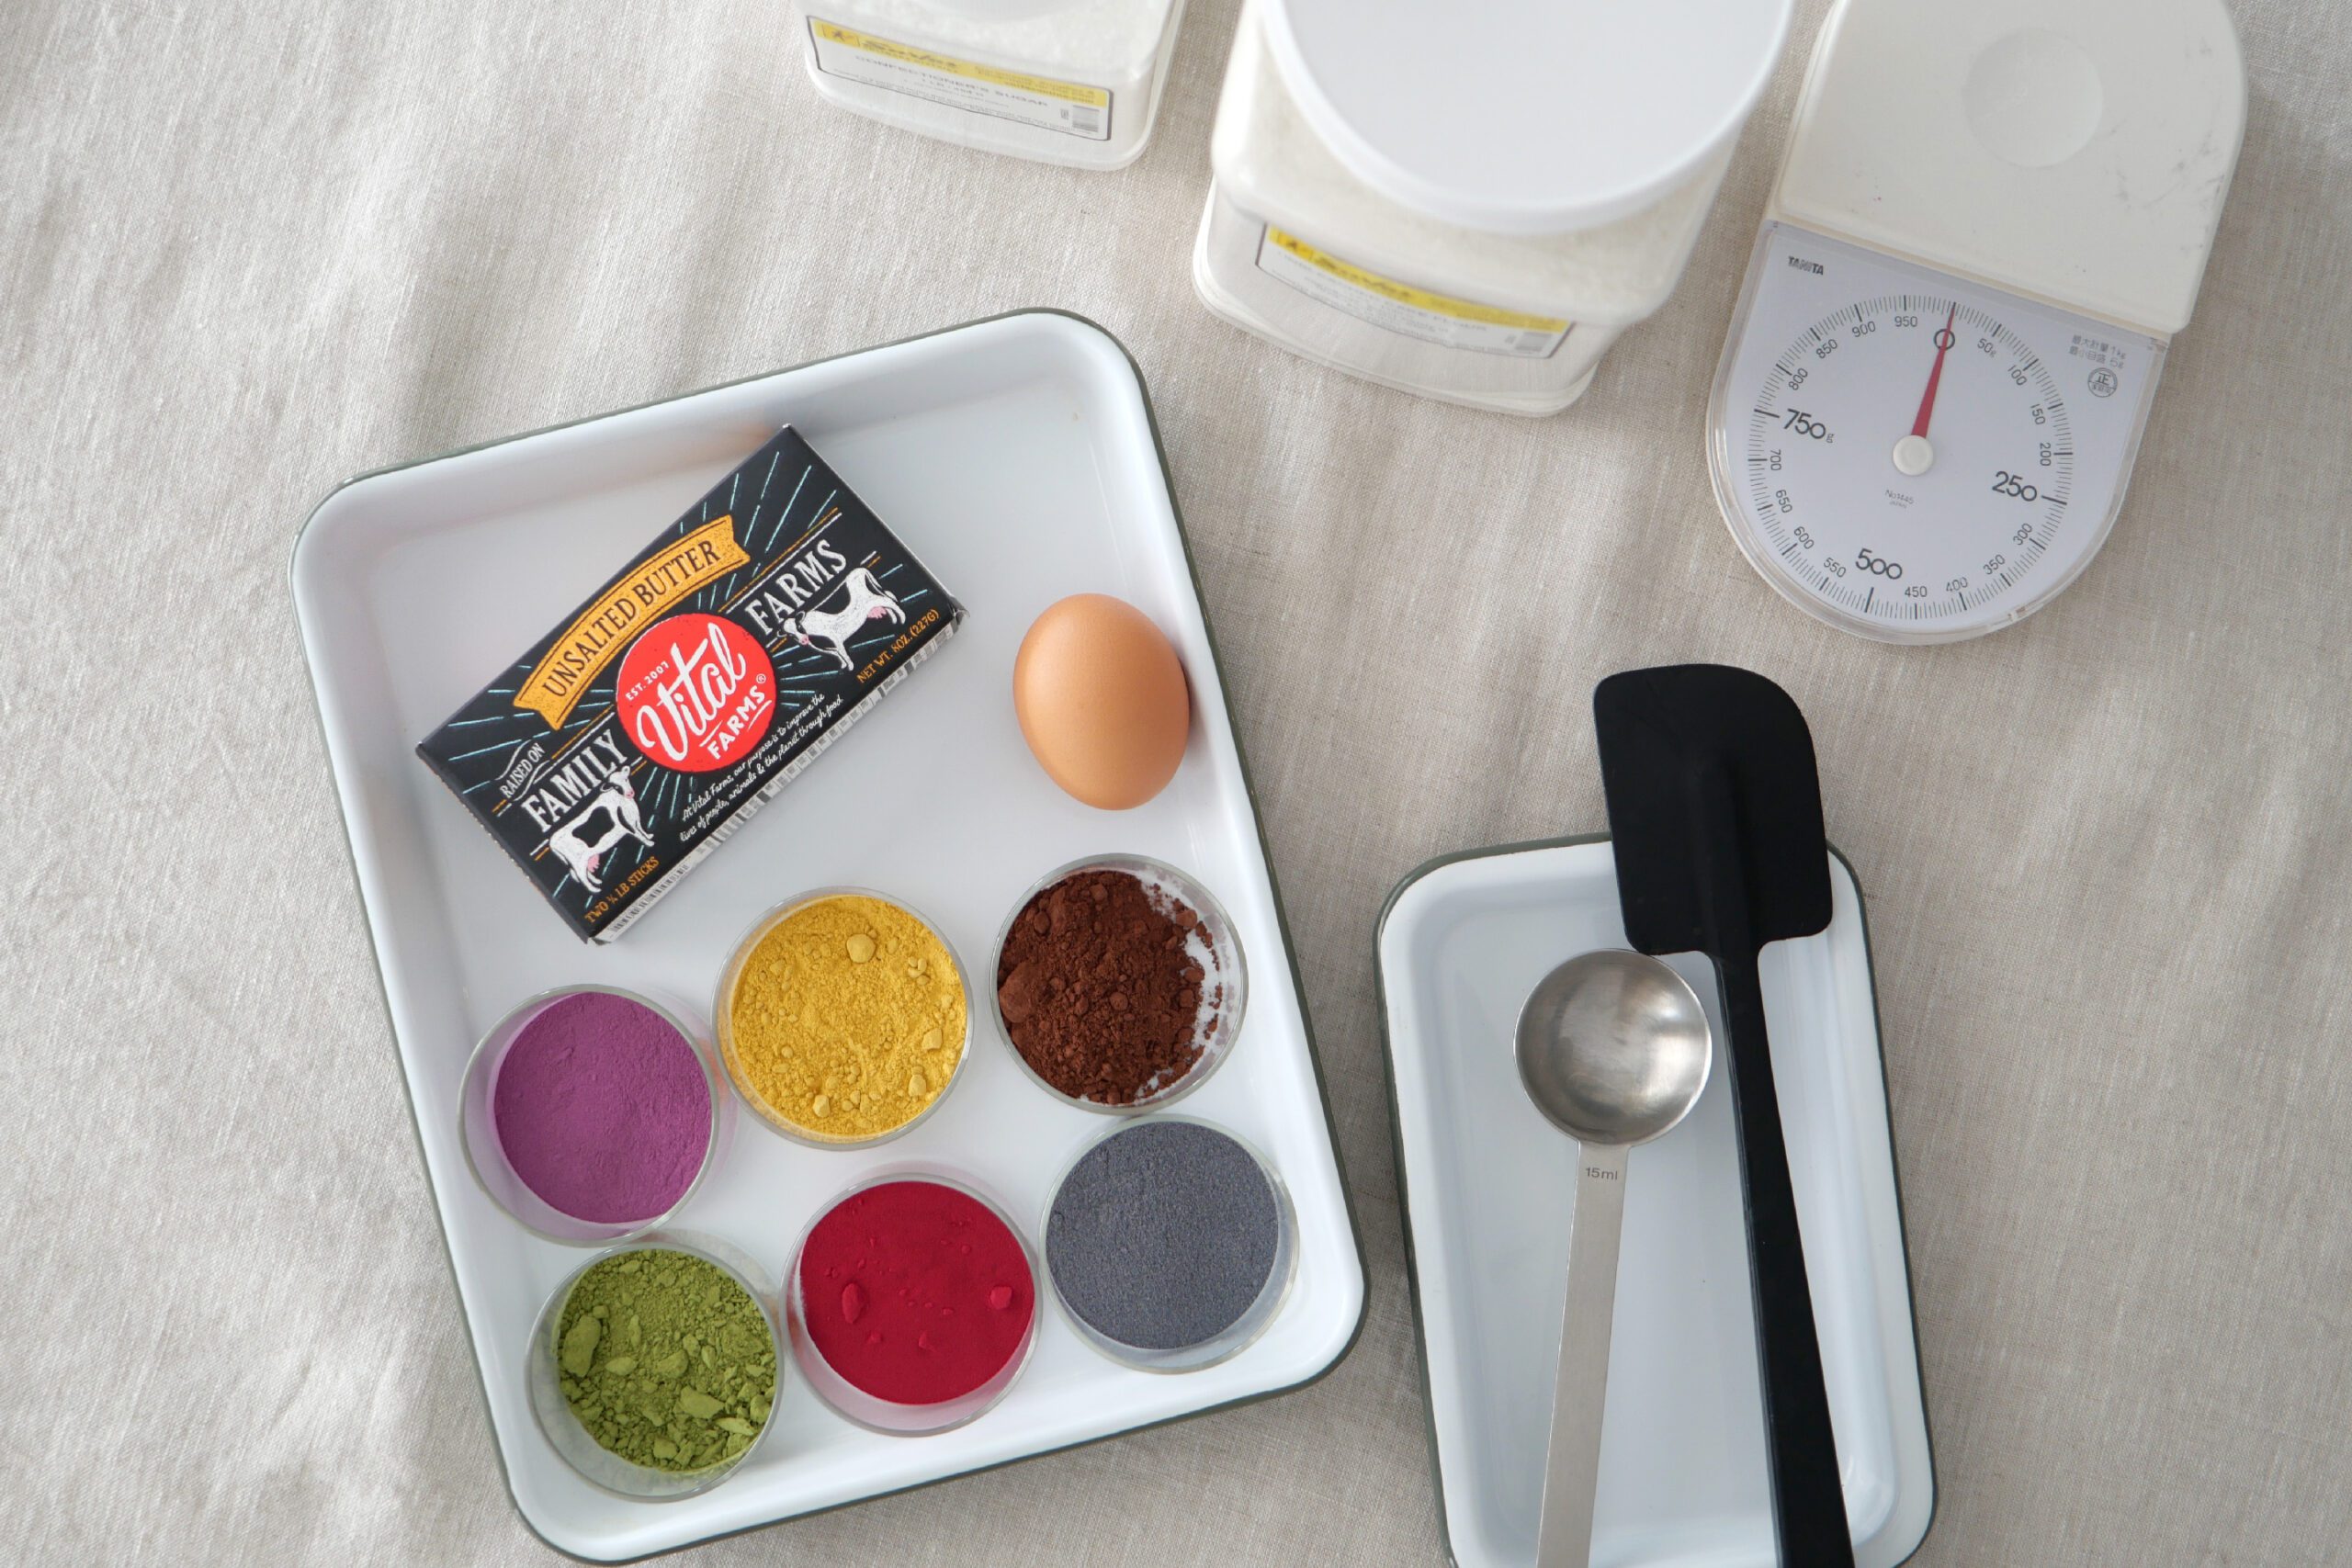
For coloring: 3-5g for all
– Matcha powder
– Cocoa powder
– Purple sweet potato powder
– Beet powder
– Pumpkin powder
– Butterfly pea powder
*This time I made 3.5 times the amount as much to make 7 colors of cookies! So many!
About 150 pcs. / 3cm cookie cutter
– 815g Flour, 340g Powdered sugar, 270g Butter, 3.5 Eggs
– 8-10g Powder of each color
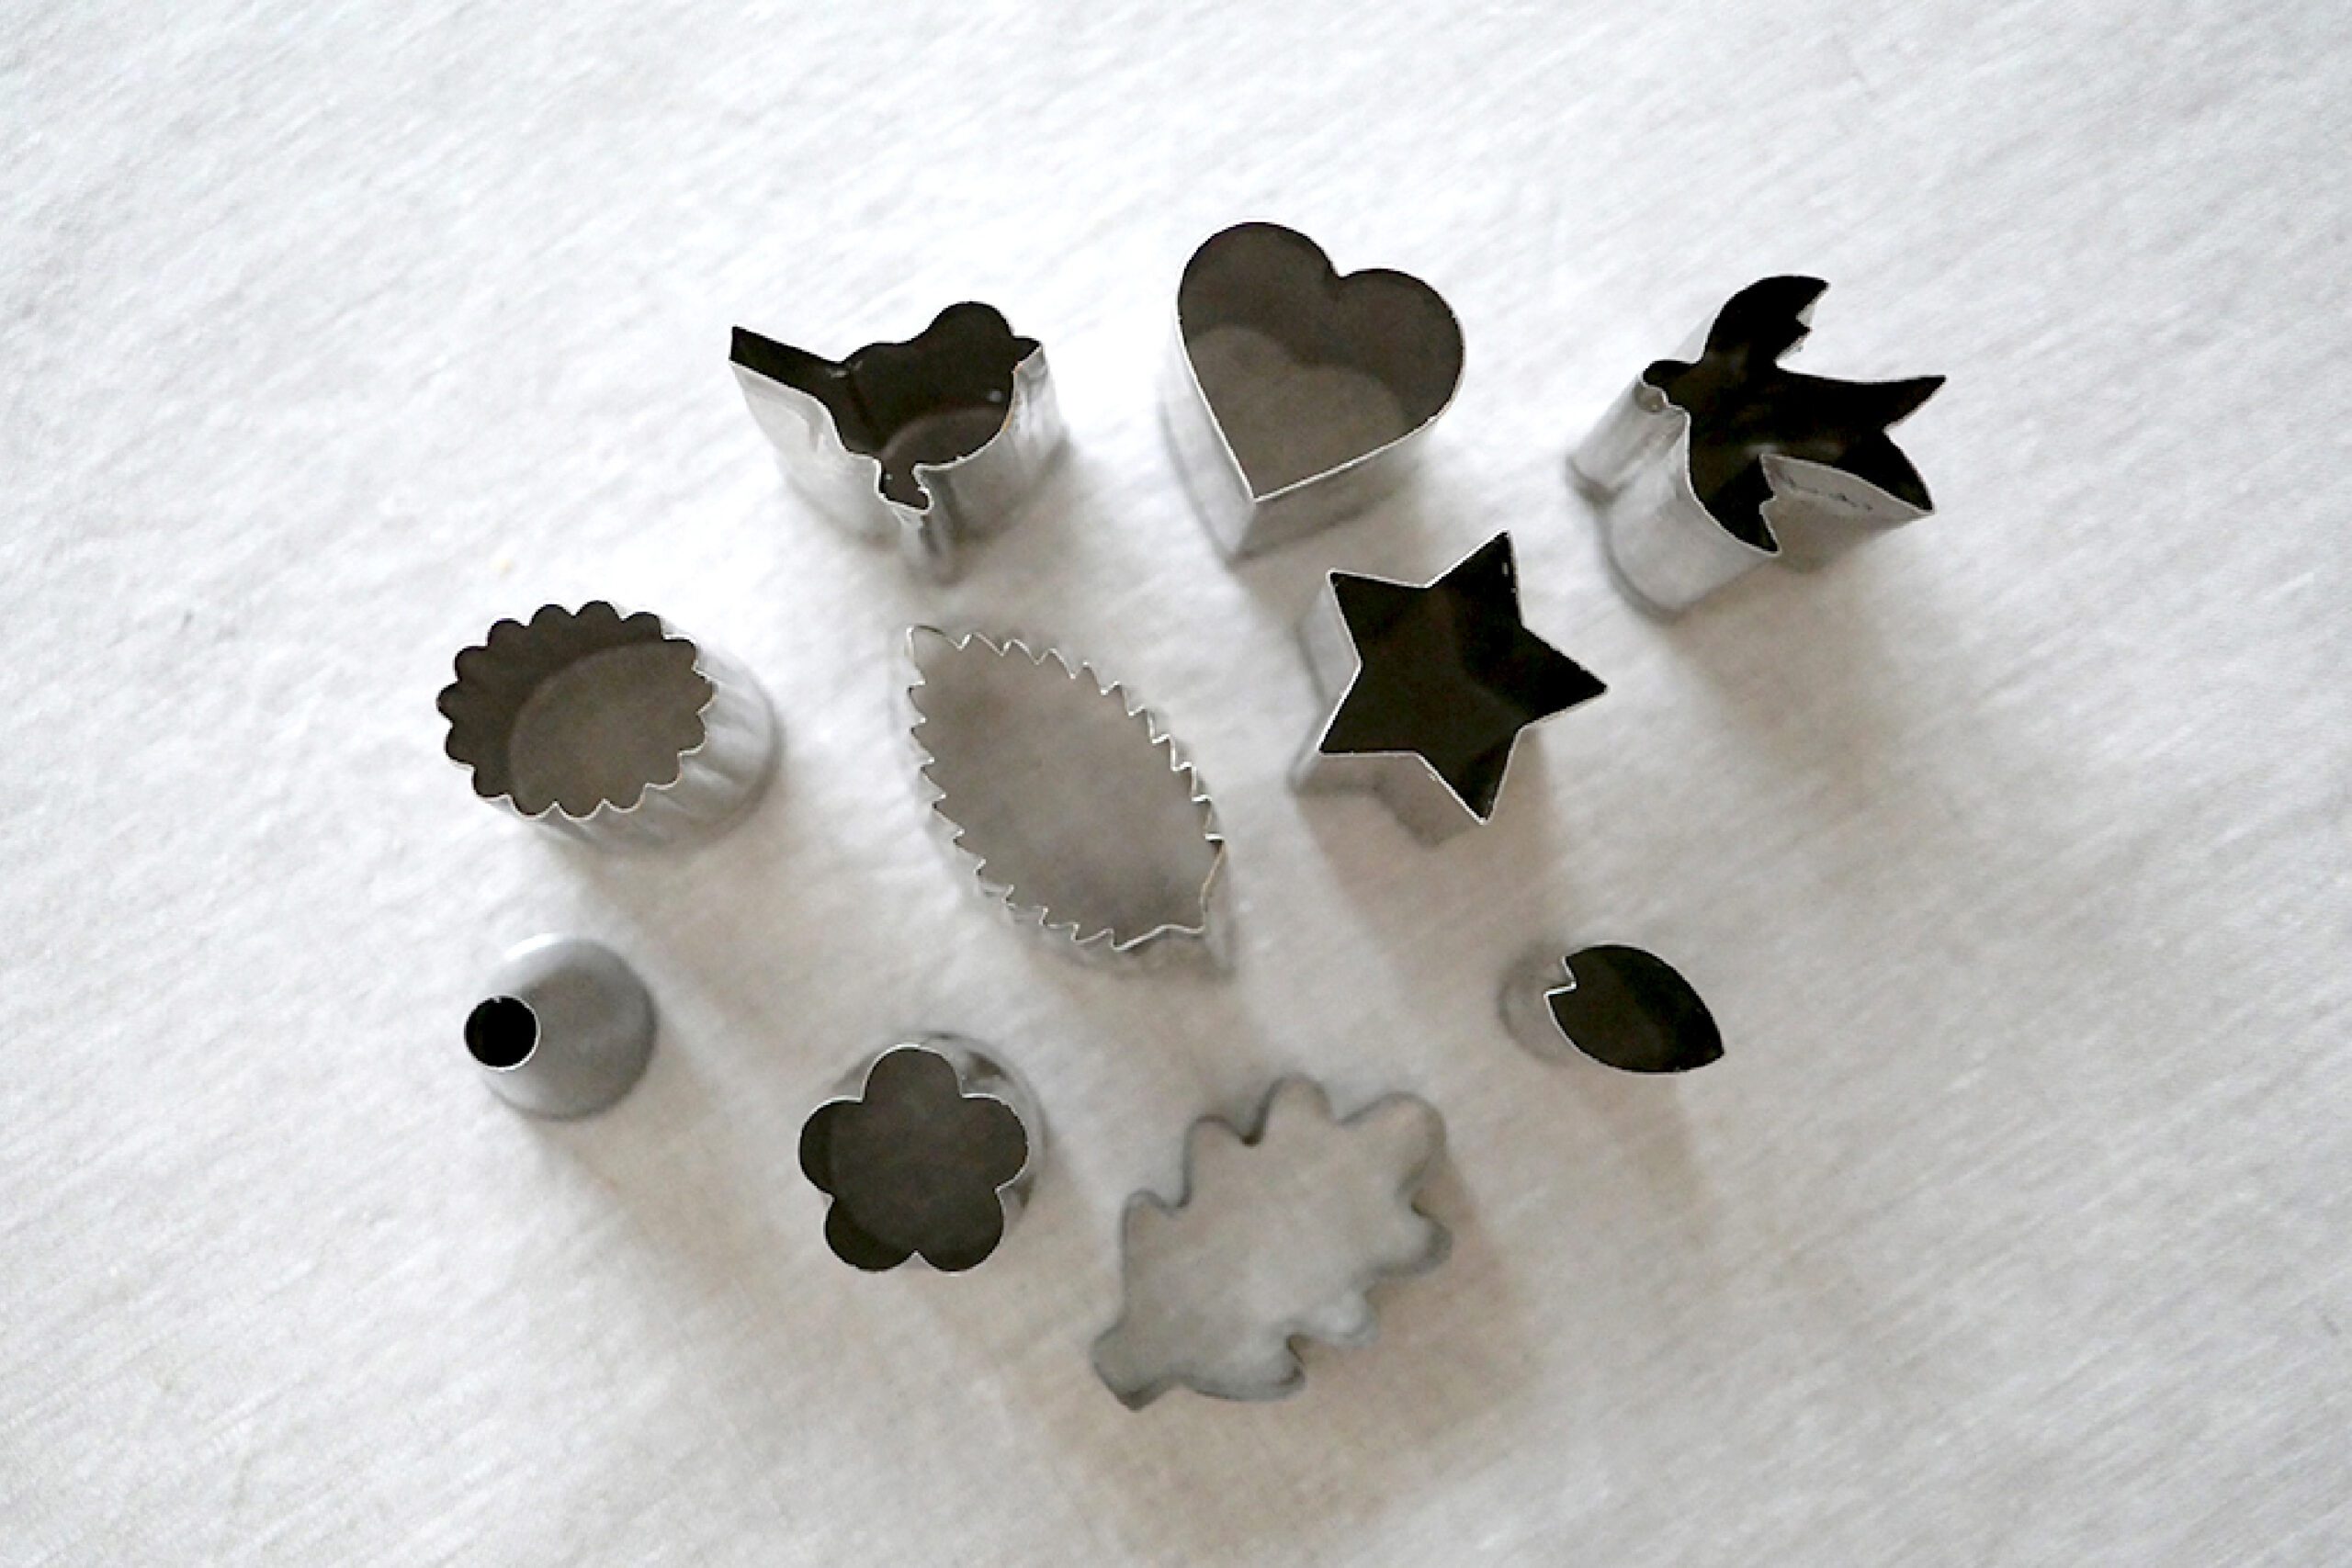
About the Cookie Cutters
The cookie cutter used in this project was handmade by Japanese artisans. The precision and sharpness of the cut is something that we can be proud to show the world as being Made in Japan. They are not inexpensive, but I have been collecting them little by little because I consider them to be a part of my life. Only the oak leaf cutter is from this product bought in the US. Other items were purchased at Aritsugu in Kyoto and Hitachiya in Tsukiji. In LA, they are available at Hitachiya USA.
Instructions for making
Step 1. Mix the Base Dough
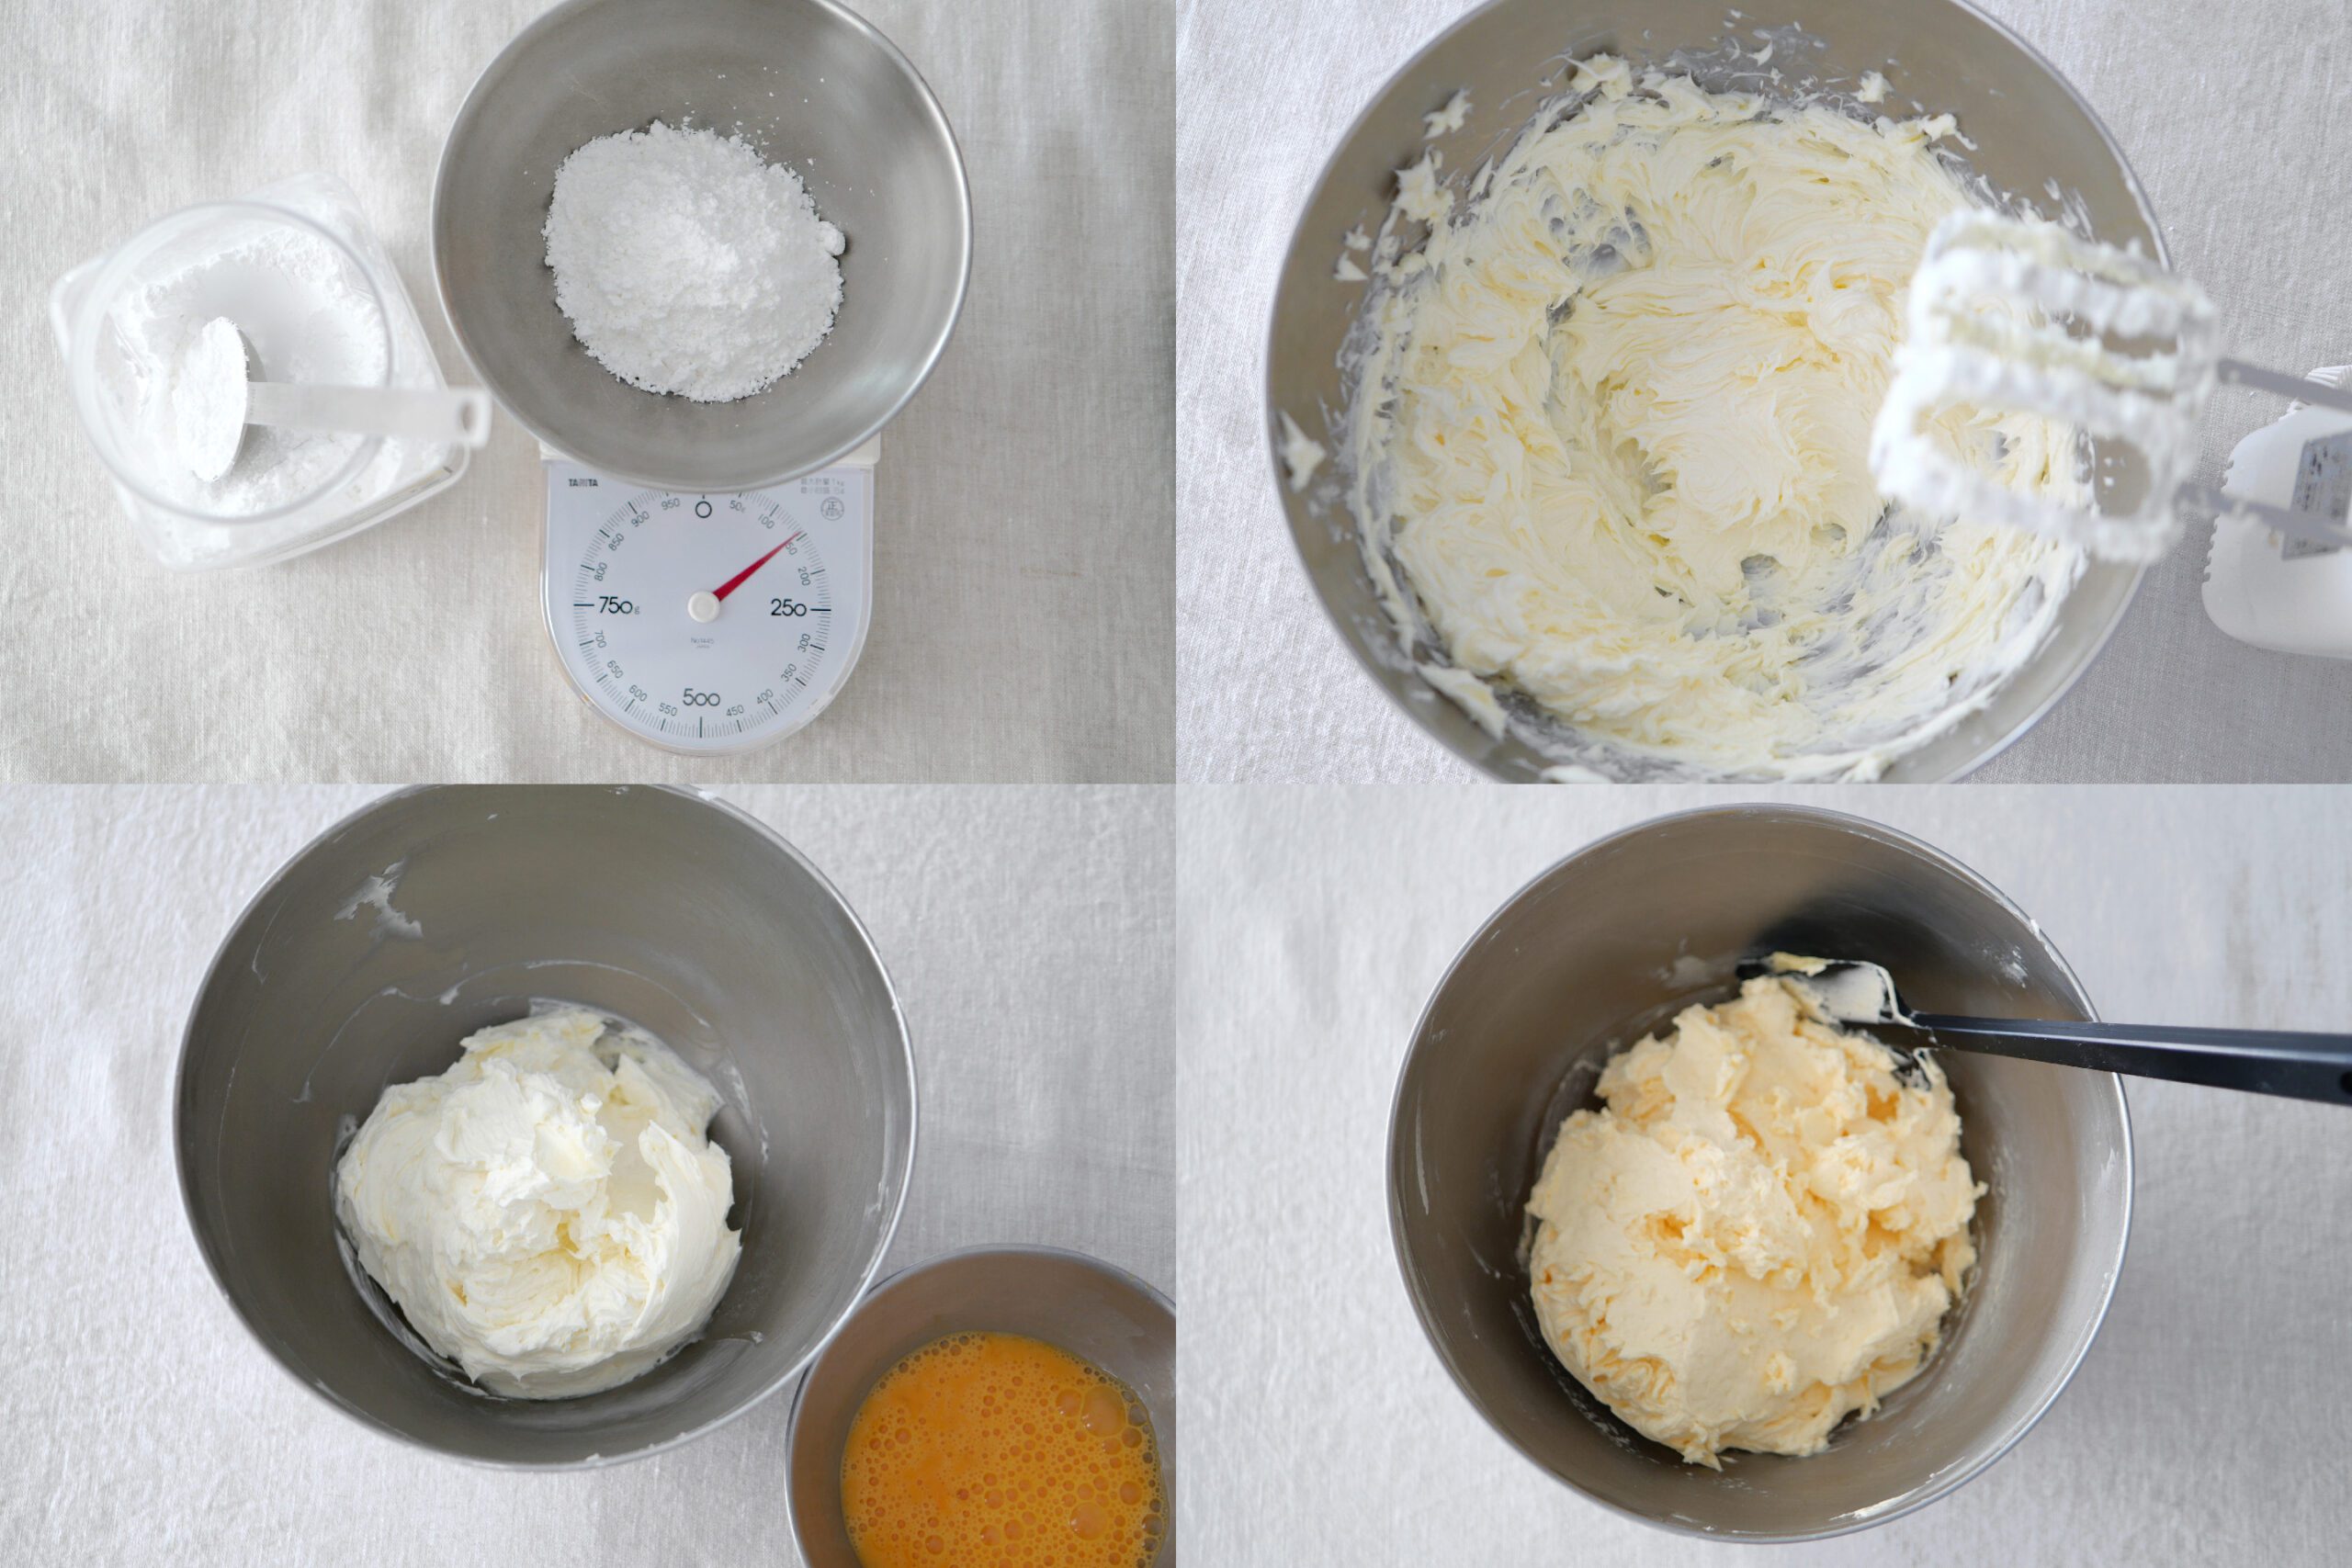
Remove butter from the refrigerator and allow it to come to room temperature. Place in a bowl and let sit in a warm place indoors for 1 hour.
Beat the softened butter with a whisk until well combined. Next, add the sugar and mix. At this point, the mixture will be white and creamy in the bowl. Add the beaten eggs in small amounts, about 3 times. When fully incorporated, the mixture should be lumpy. The base dough is ready.
*About the sugar, Confectioners sugar with fine particles is recommended. It blends easily into the dough and bakes beautifully.
Step 2. Divide the Dough
Weigh out the dough in Step 1. Then divide evenly into the number of colors you want to make.
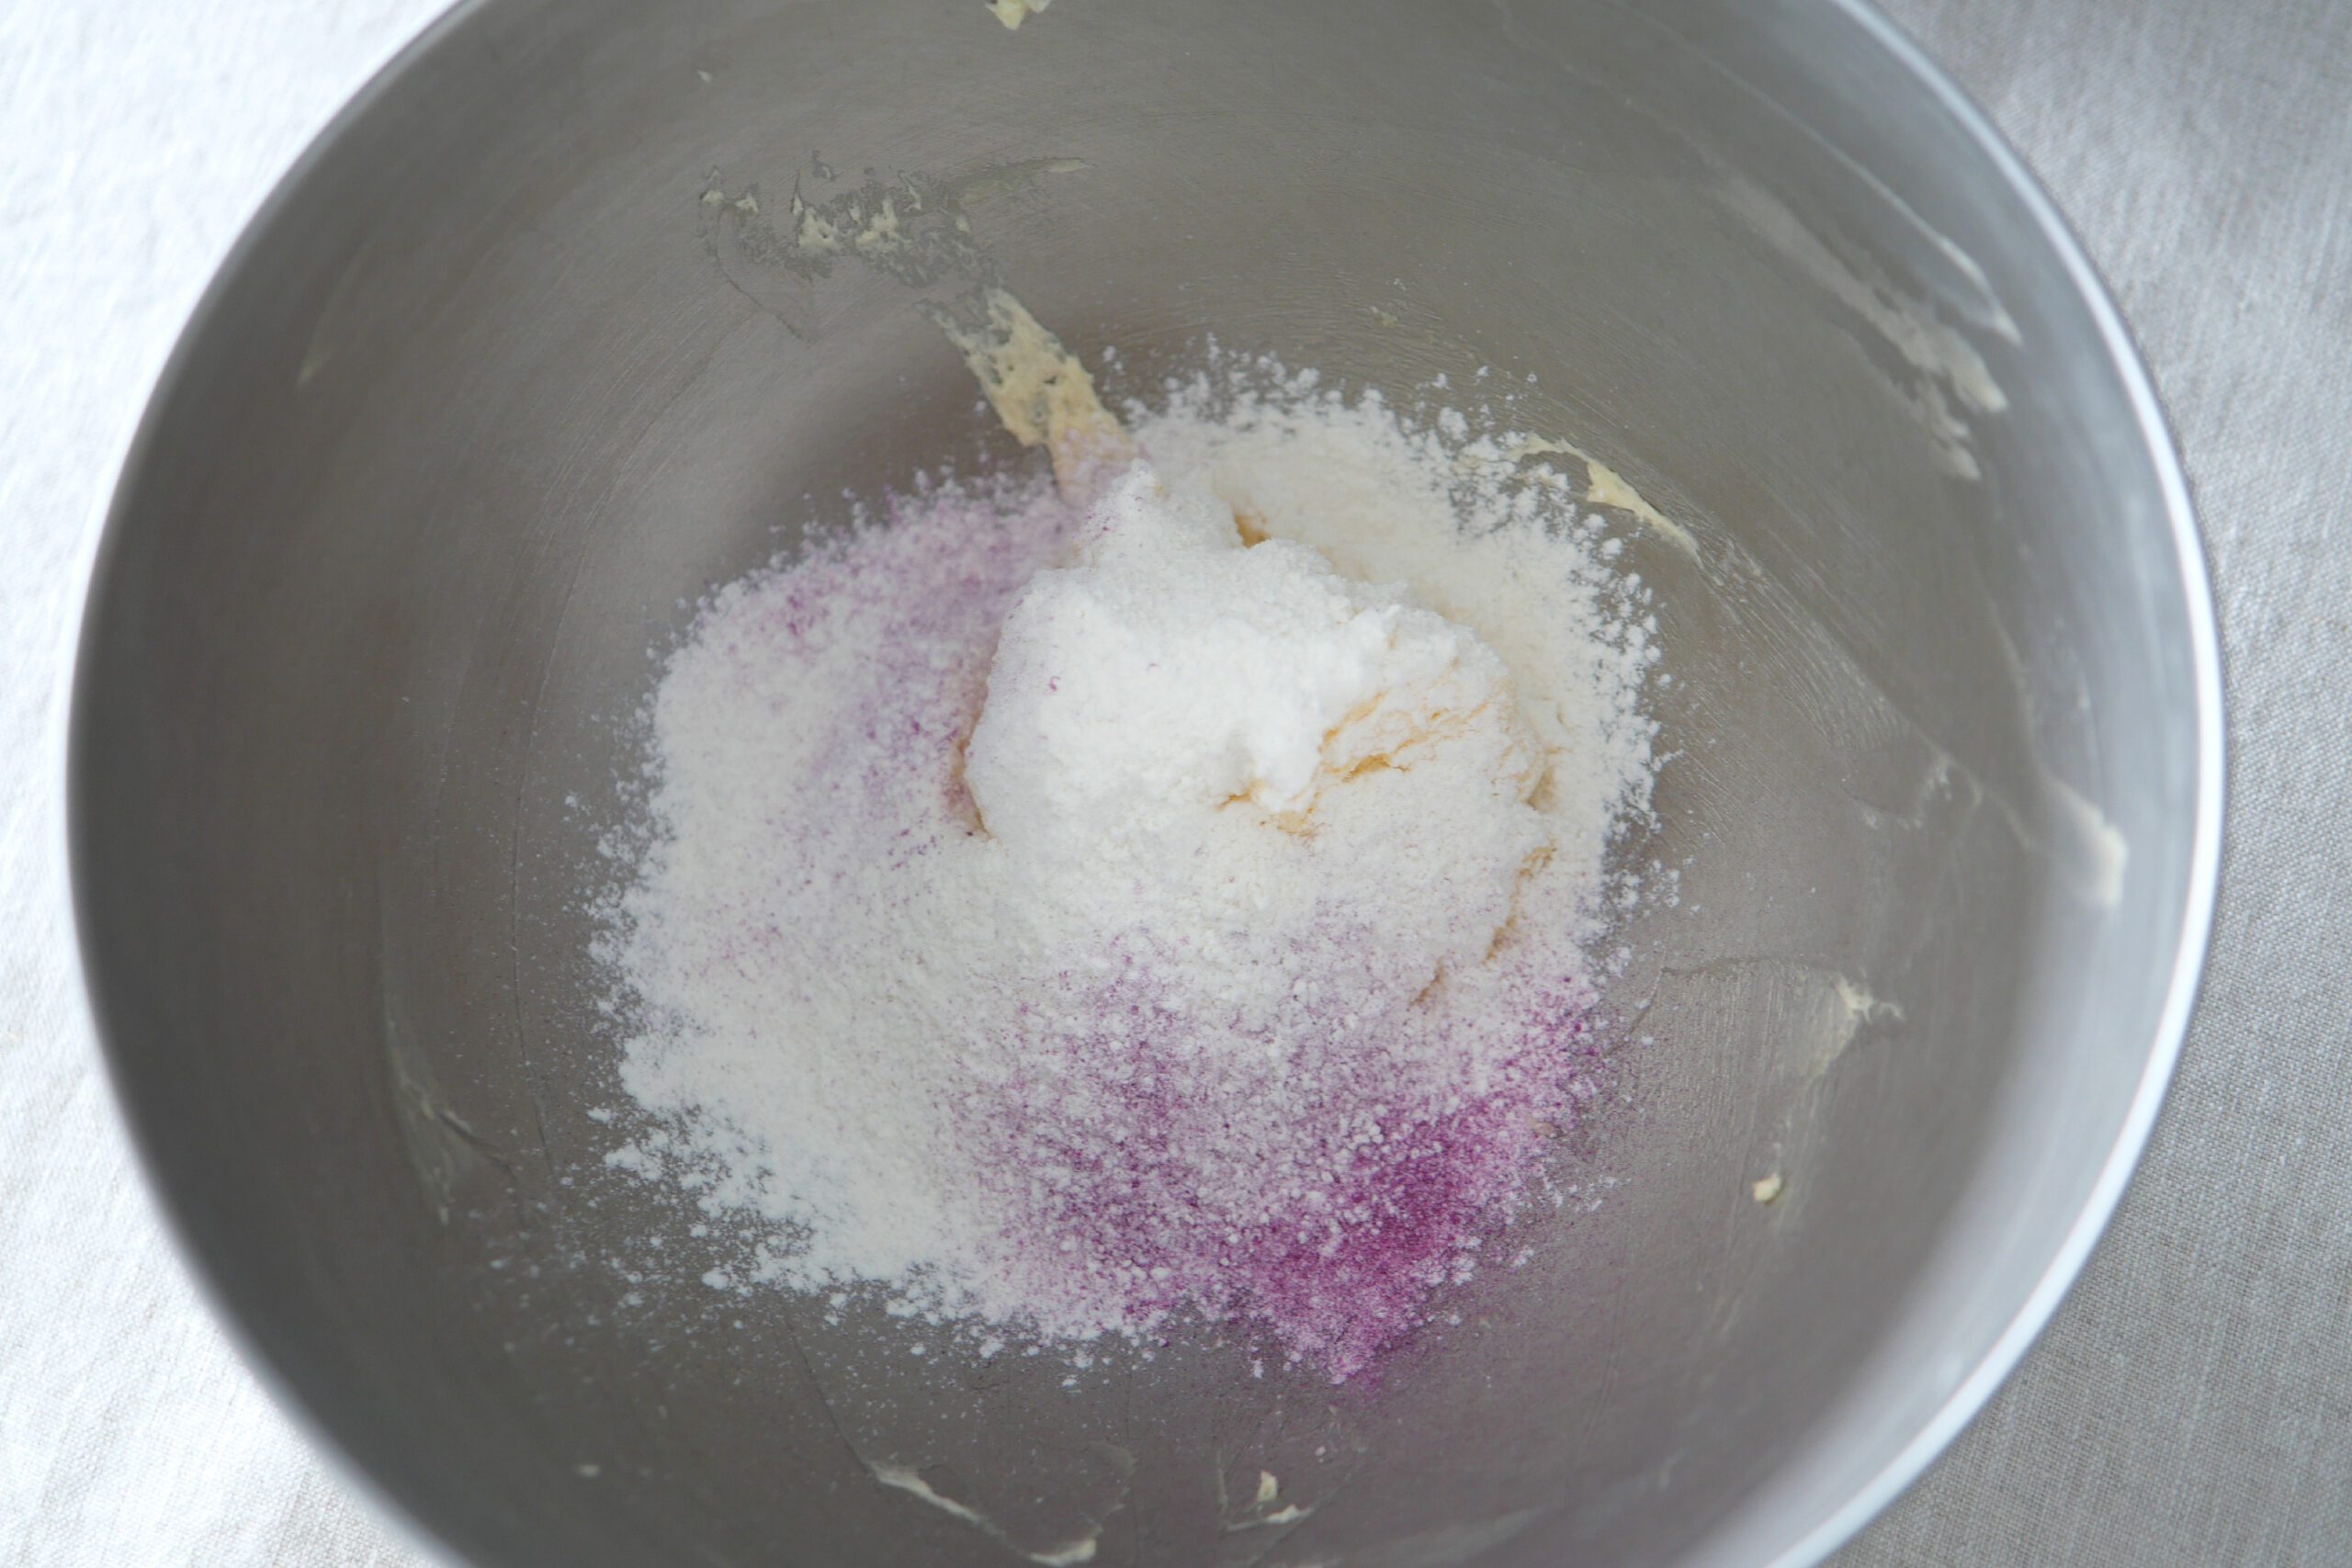
Add 1.2 times the amount of flour to the weight of each dough. If you want to add color, add the powder for each color along with the flour.
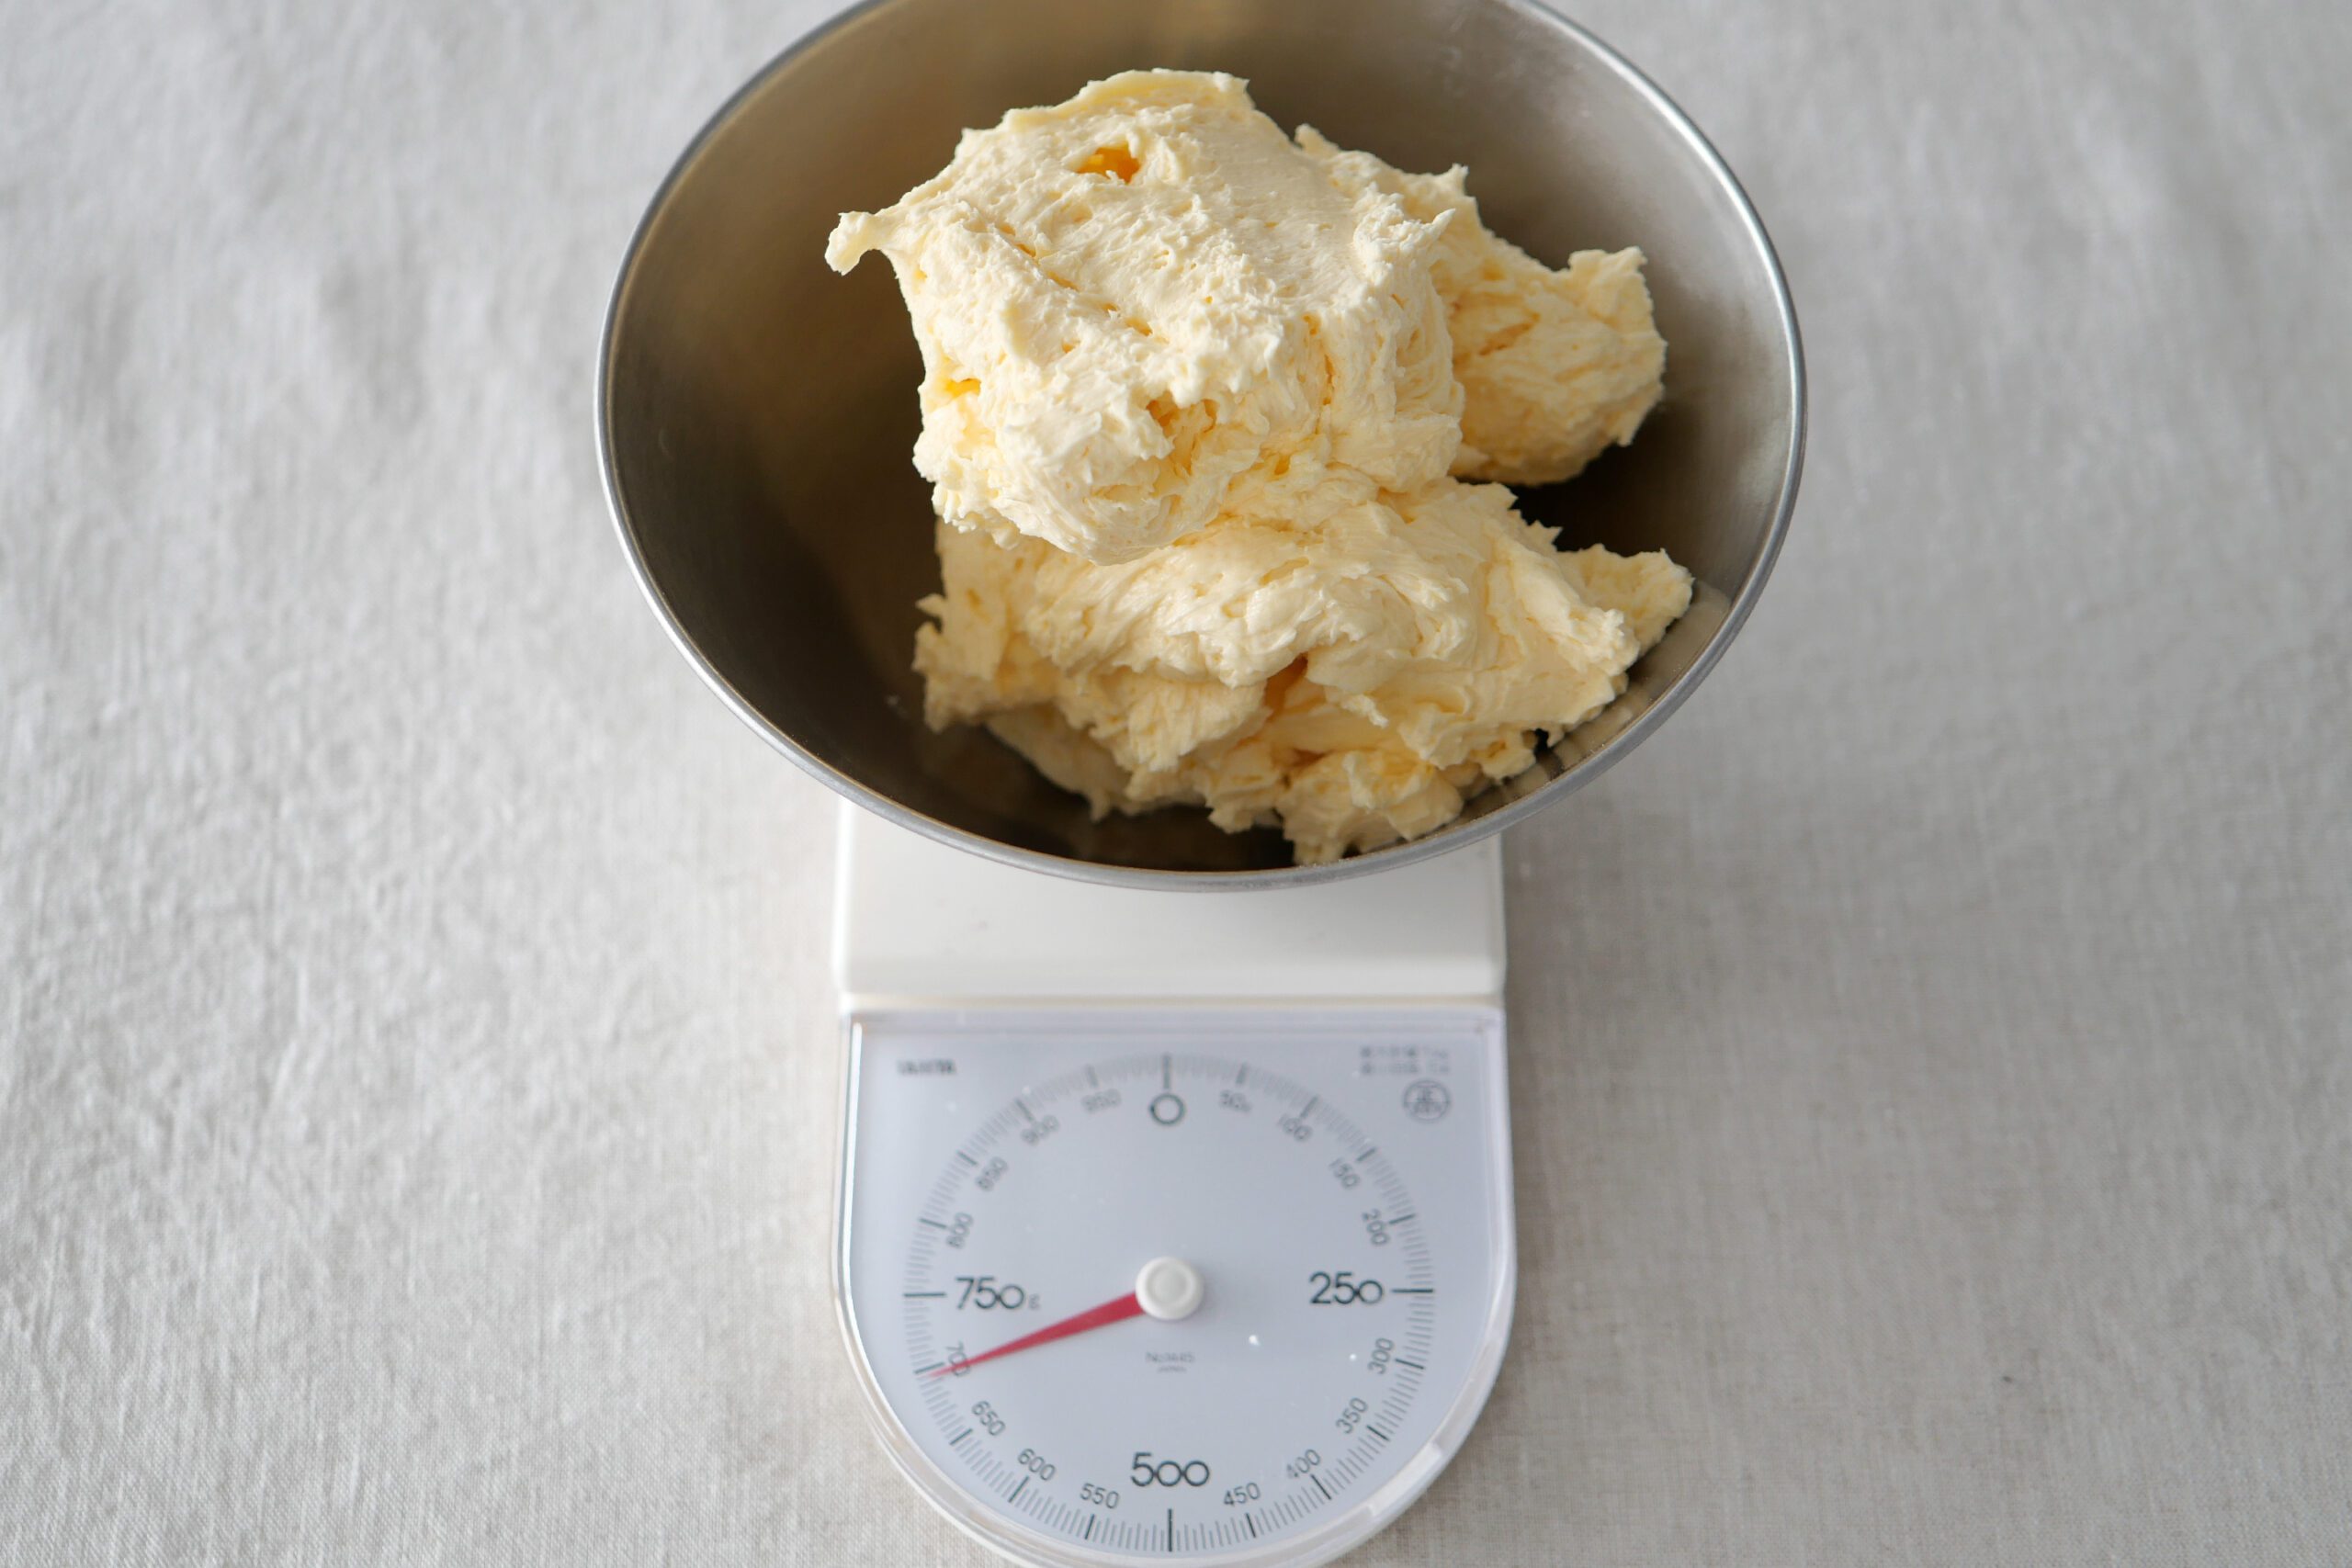
This time, 700g of dough was produced and 7 colors of dough were made. First, put 100g of the dough source into a bowl and add 1.2 times as much flour (120 g) while mixing with a spatula to cut the dough and finally bring it together. Be careful not to knead too much when mixing.
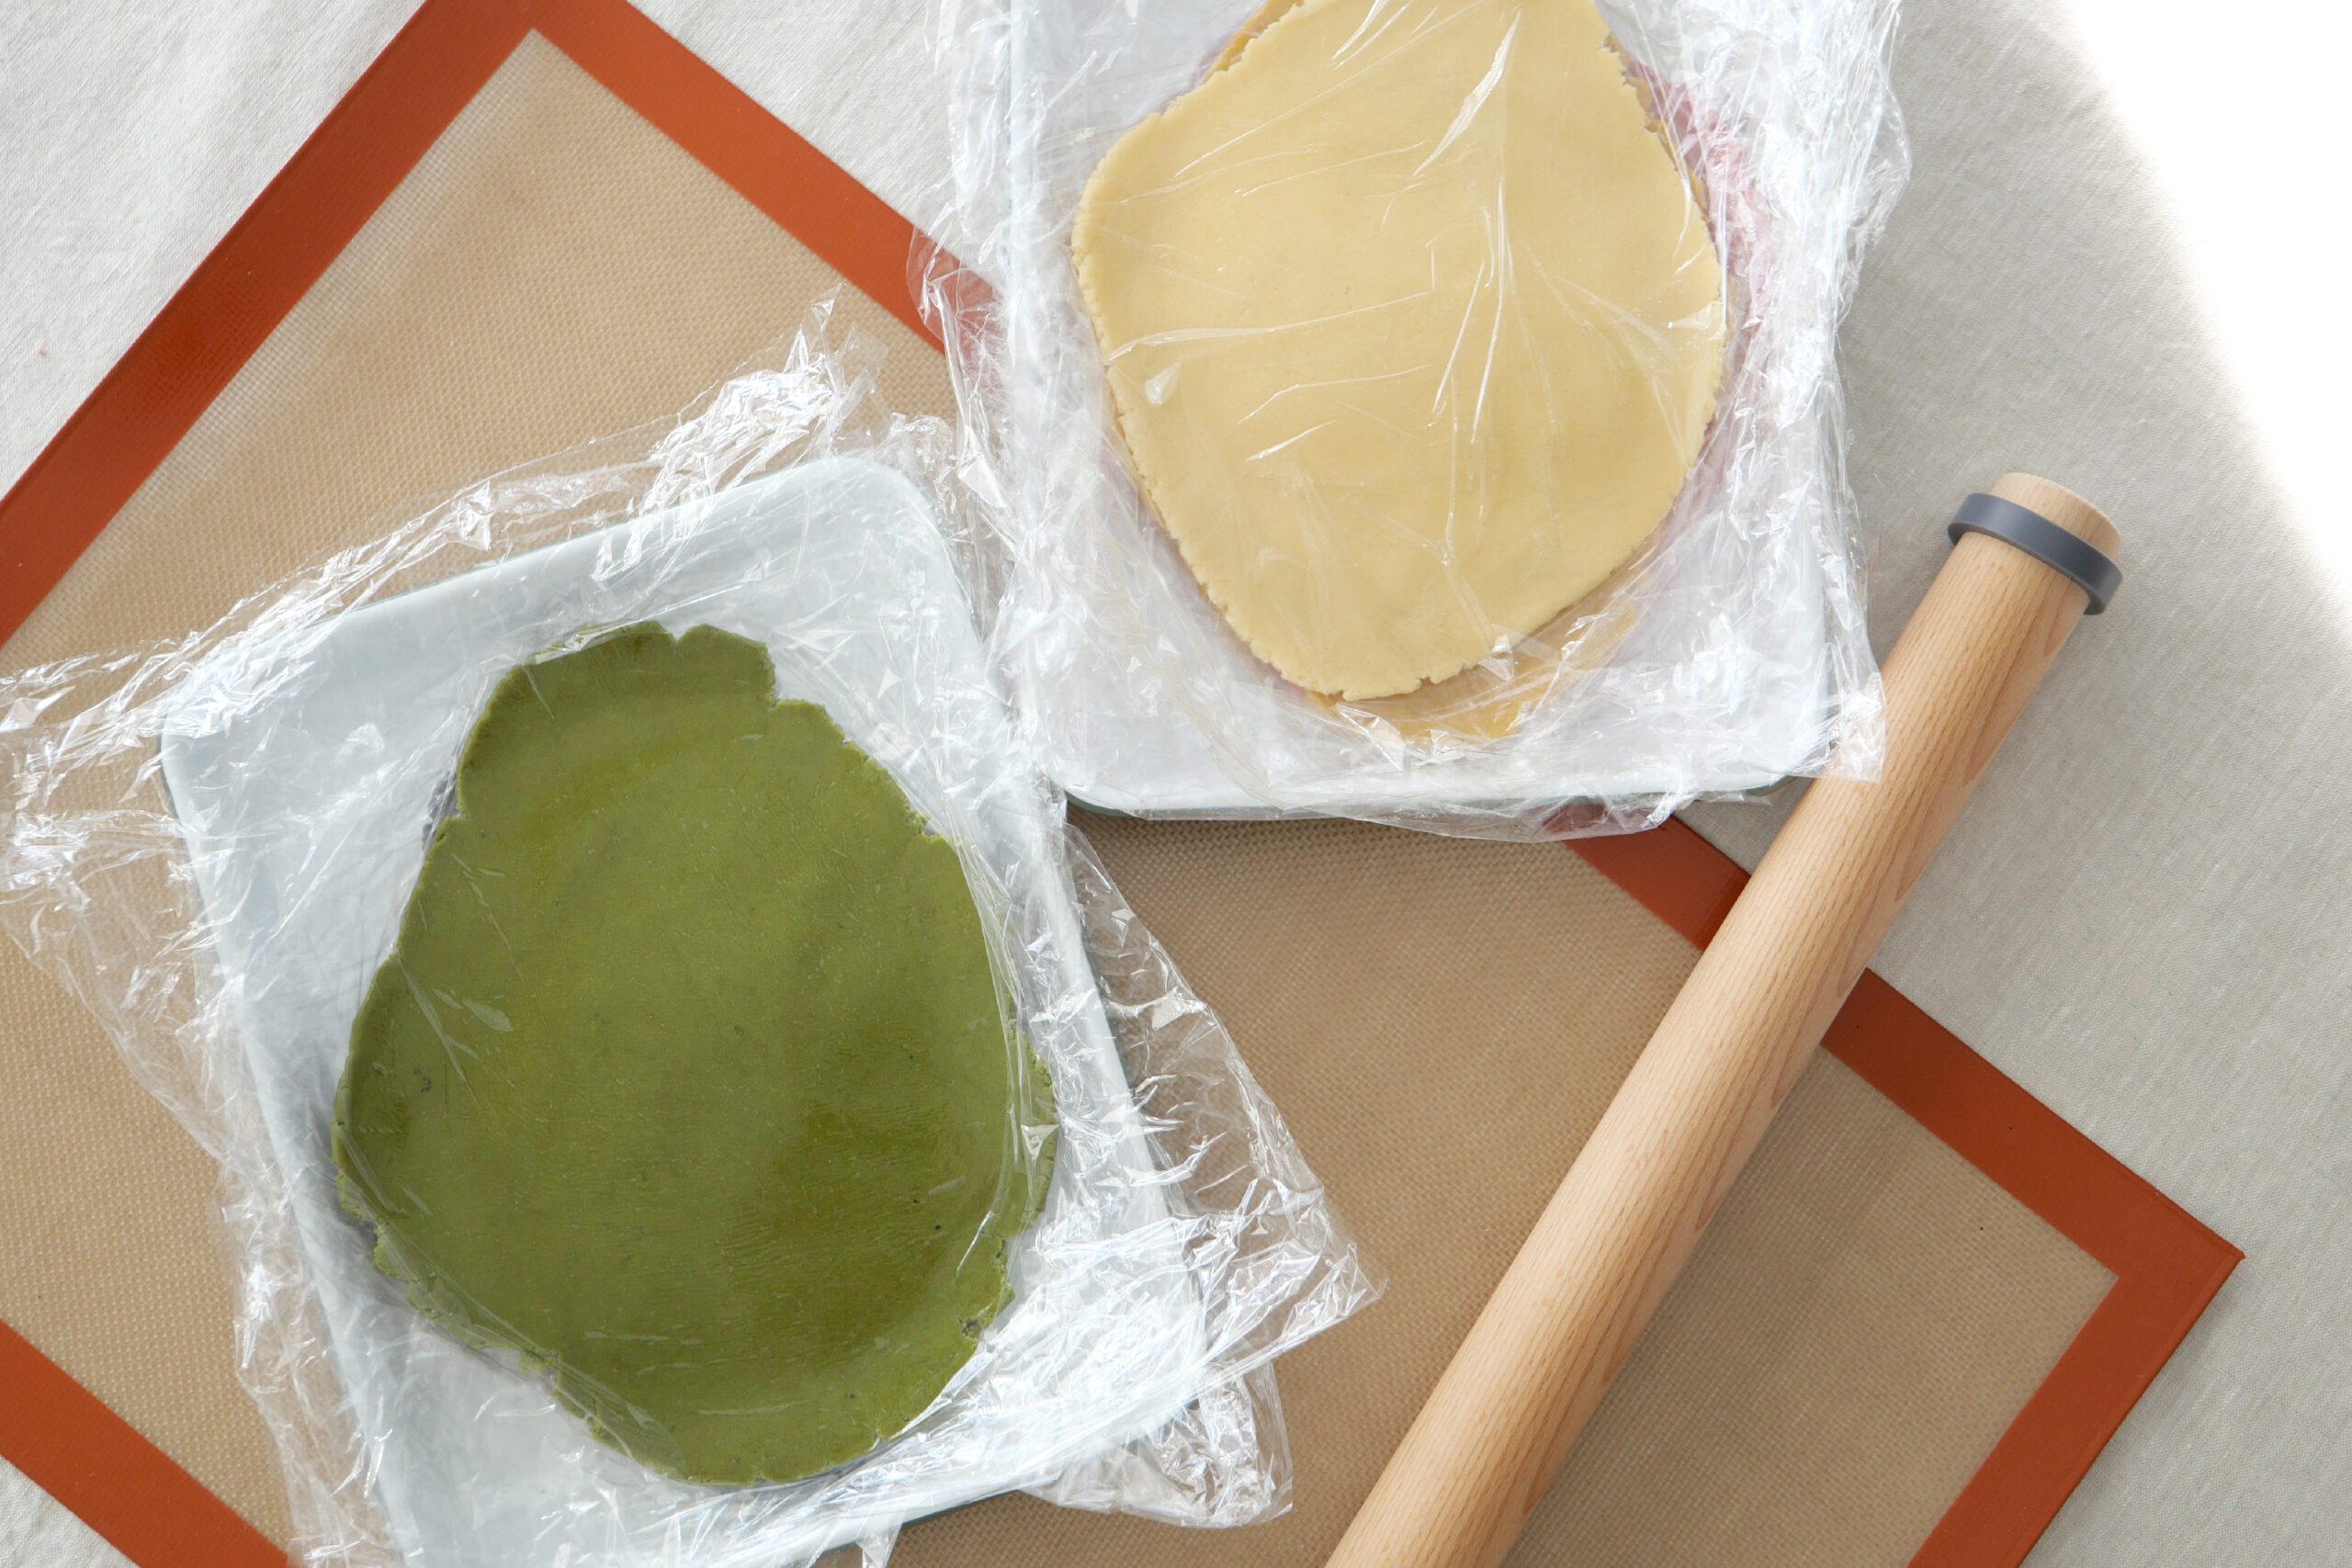
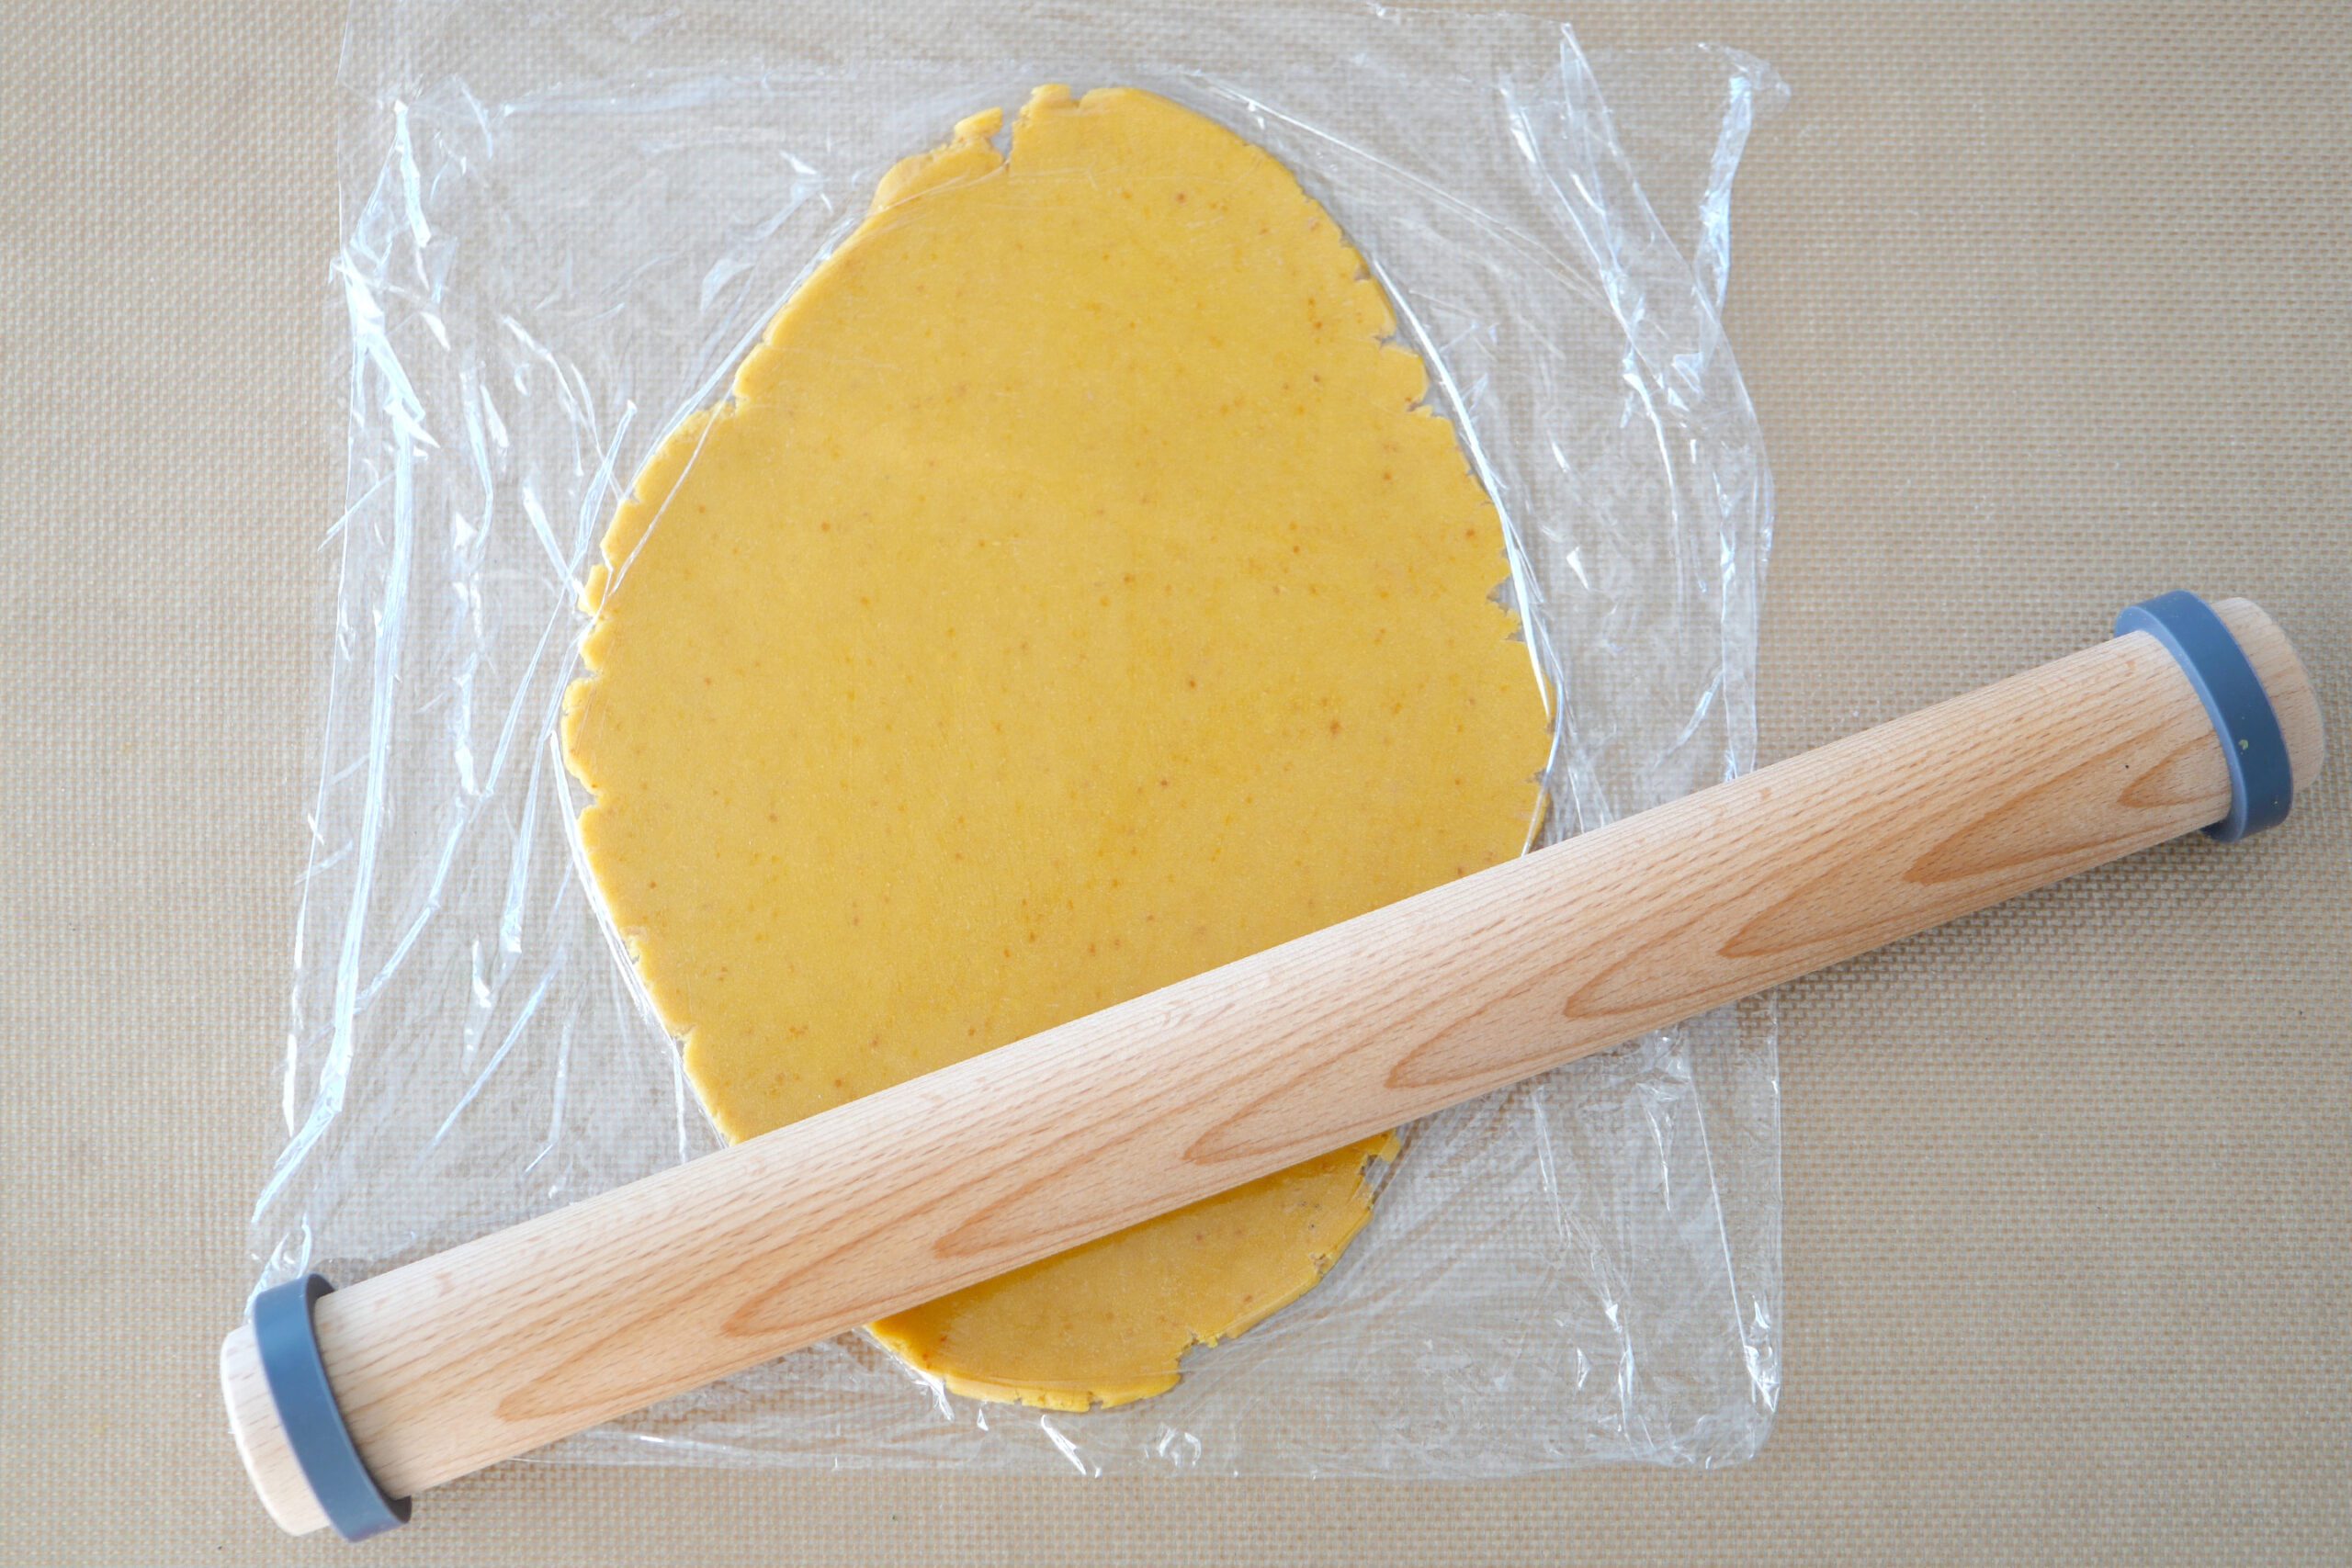
Cover with plastic wrap and roll out the dough with a rolling pin to a thickness of 5mm, and let rest in the refrigerator for 30minutes to 1 hour.
For the other 6 colors, mix the flour and color powder in the same way, roll out the dough to a thickness of 5mm, and let it rest in the refrigerator.
Step 3. Cut Out the Cookies
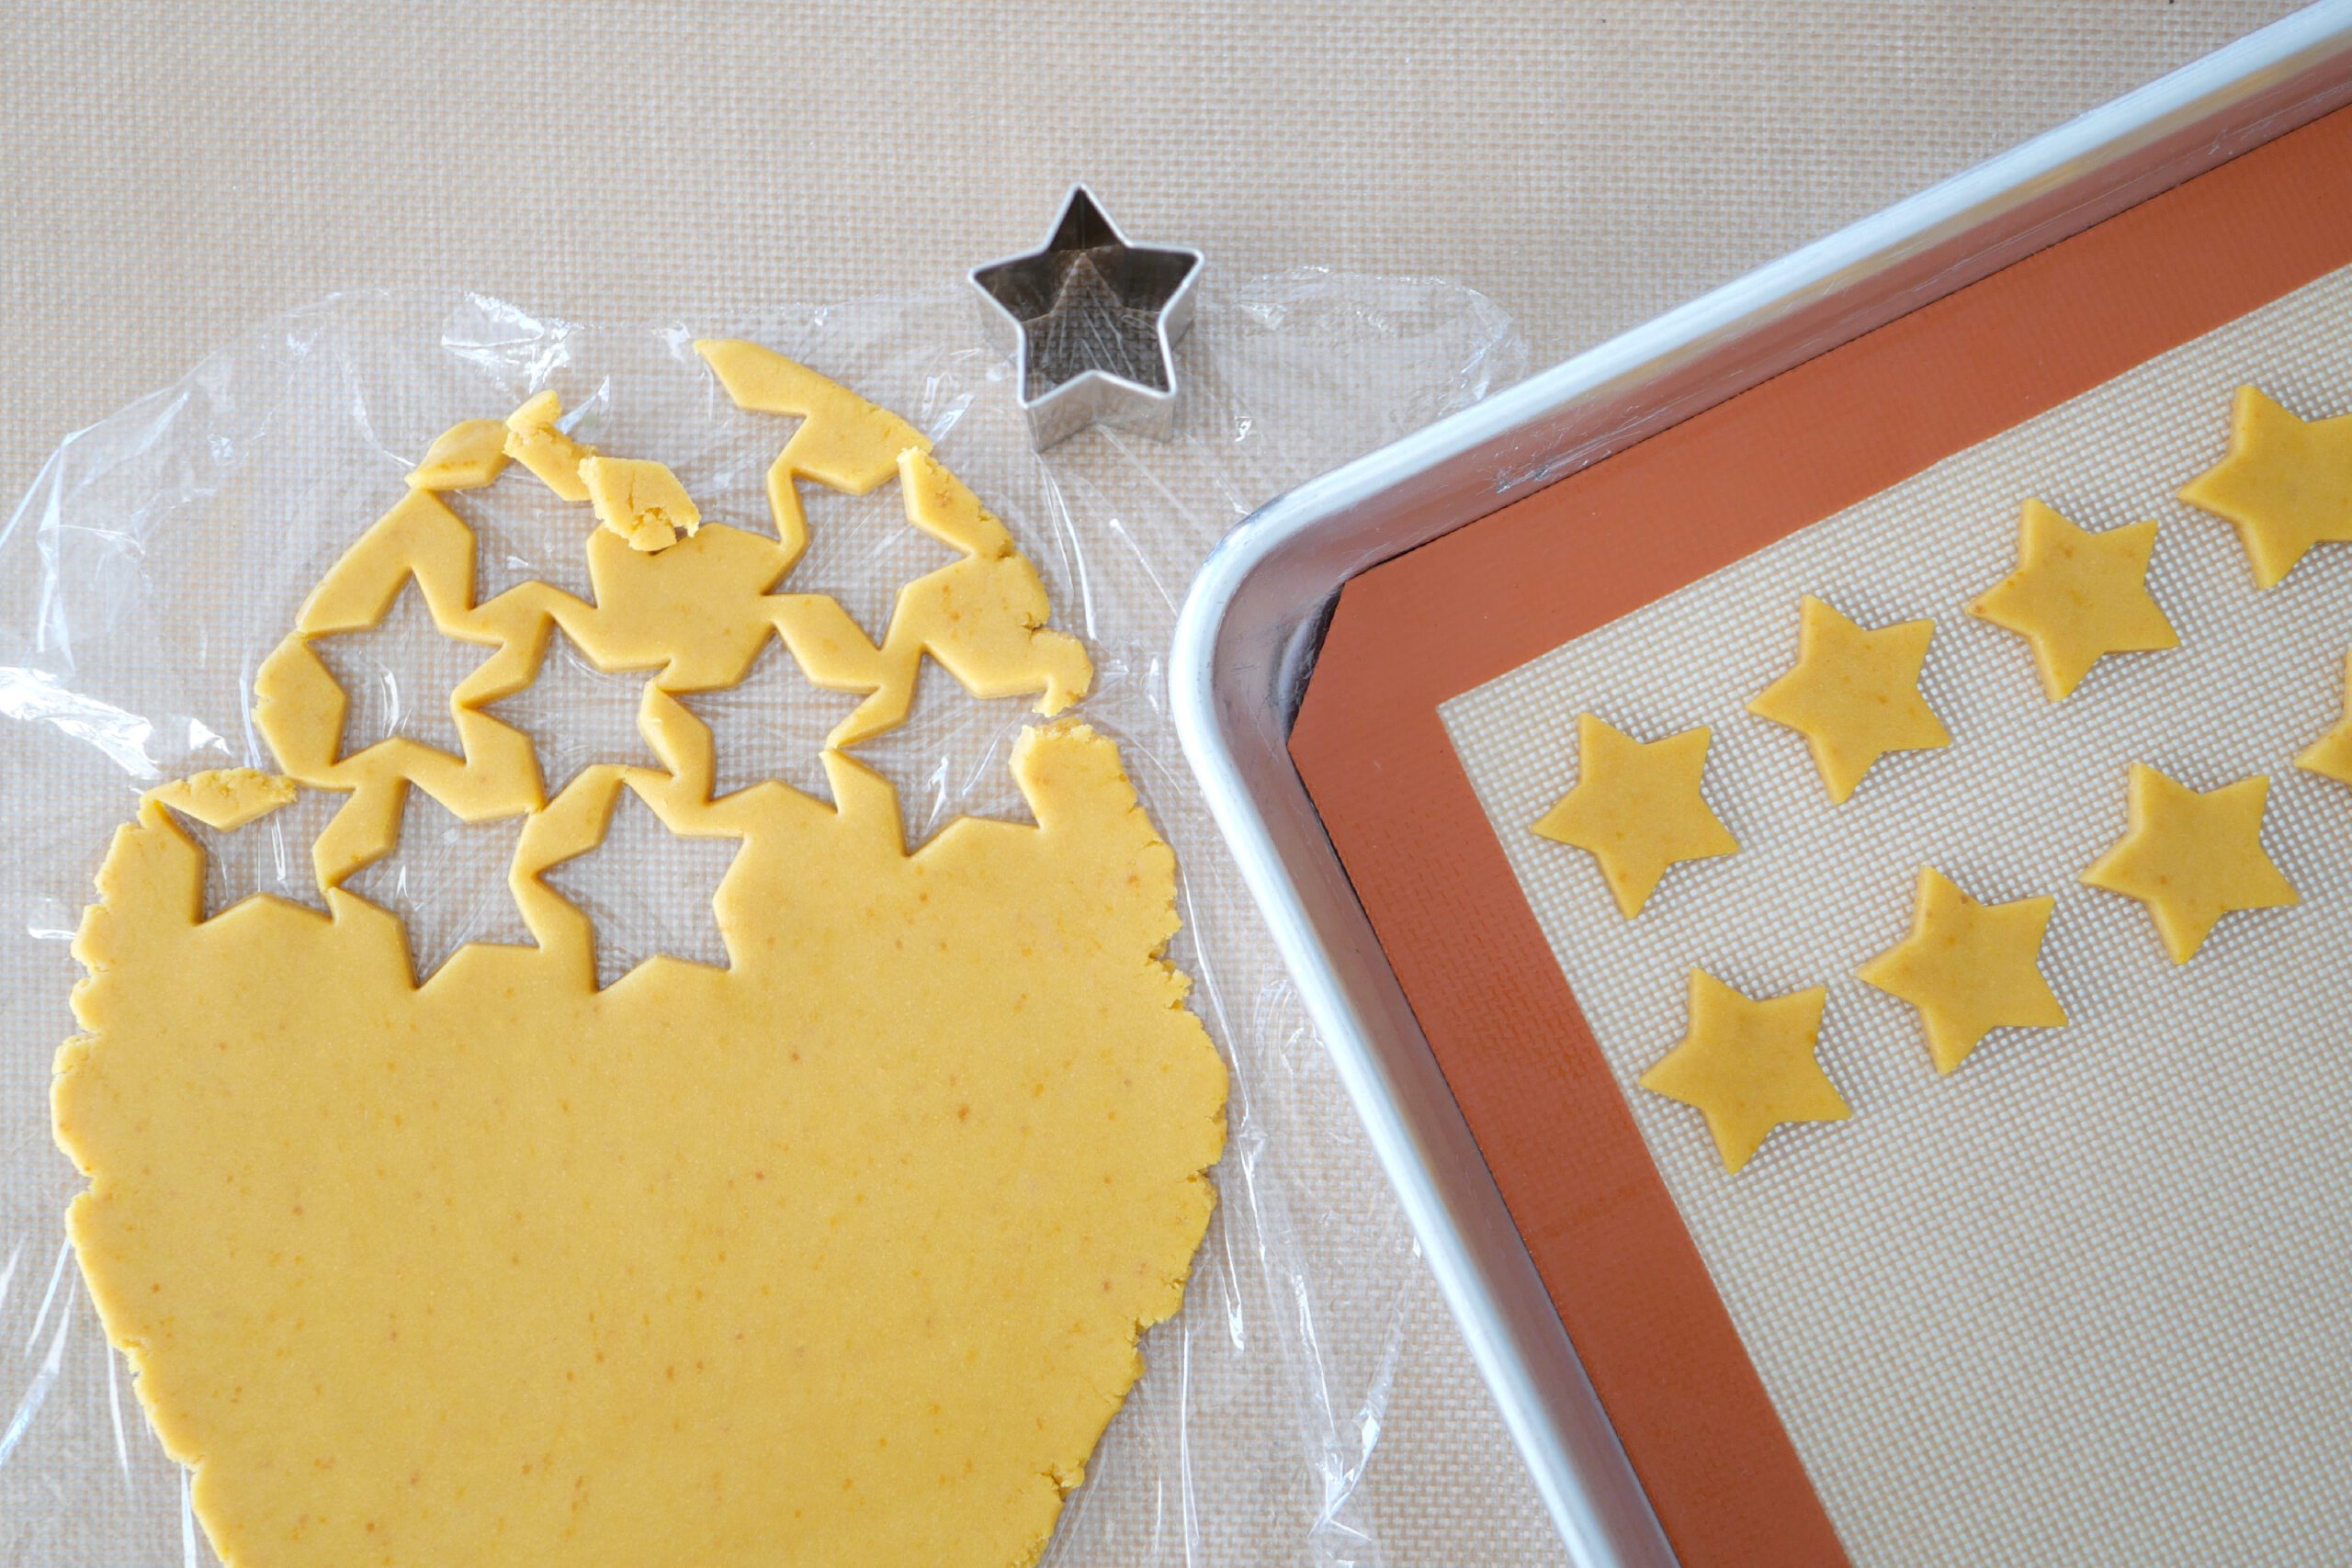
Remove the dough from the refrigerator, smooth it out again to a thickness of 5 mm, and cut out the cutter.
Place a baking sheet on a flat surface and arrange the dough cutouts on the sheet. The dough will expand slightly as it bakes, so be sure to space them out so they don’t stick together.
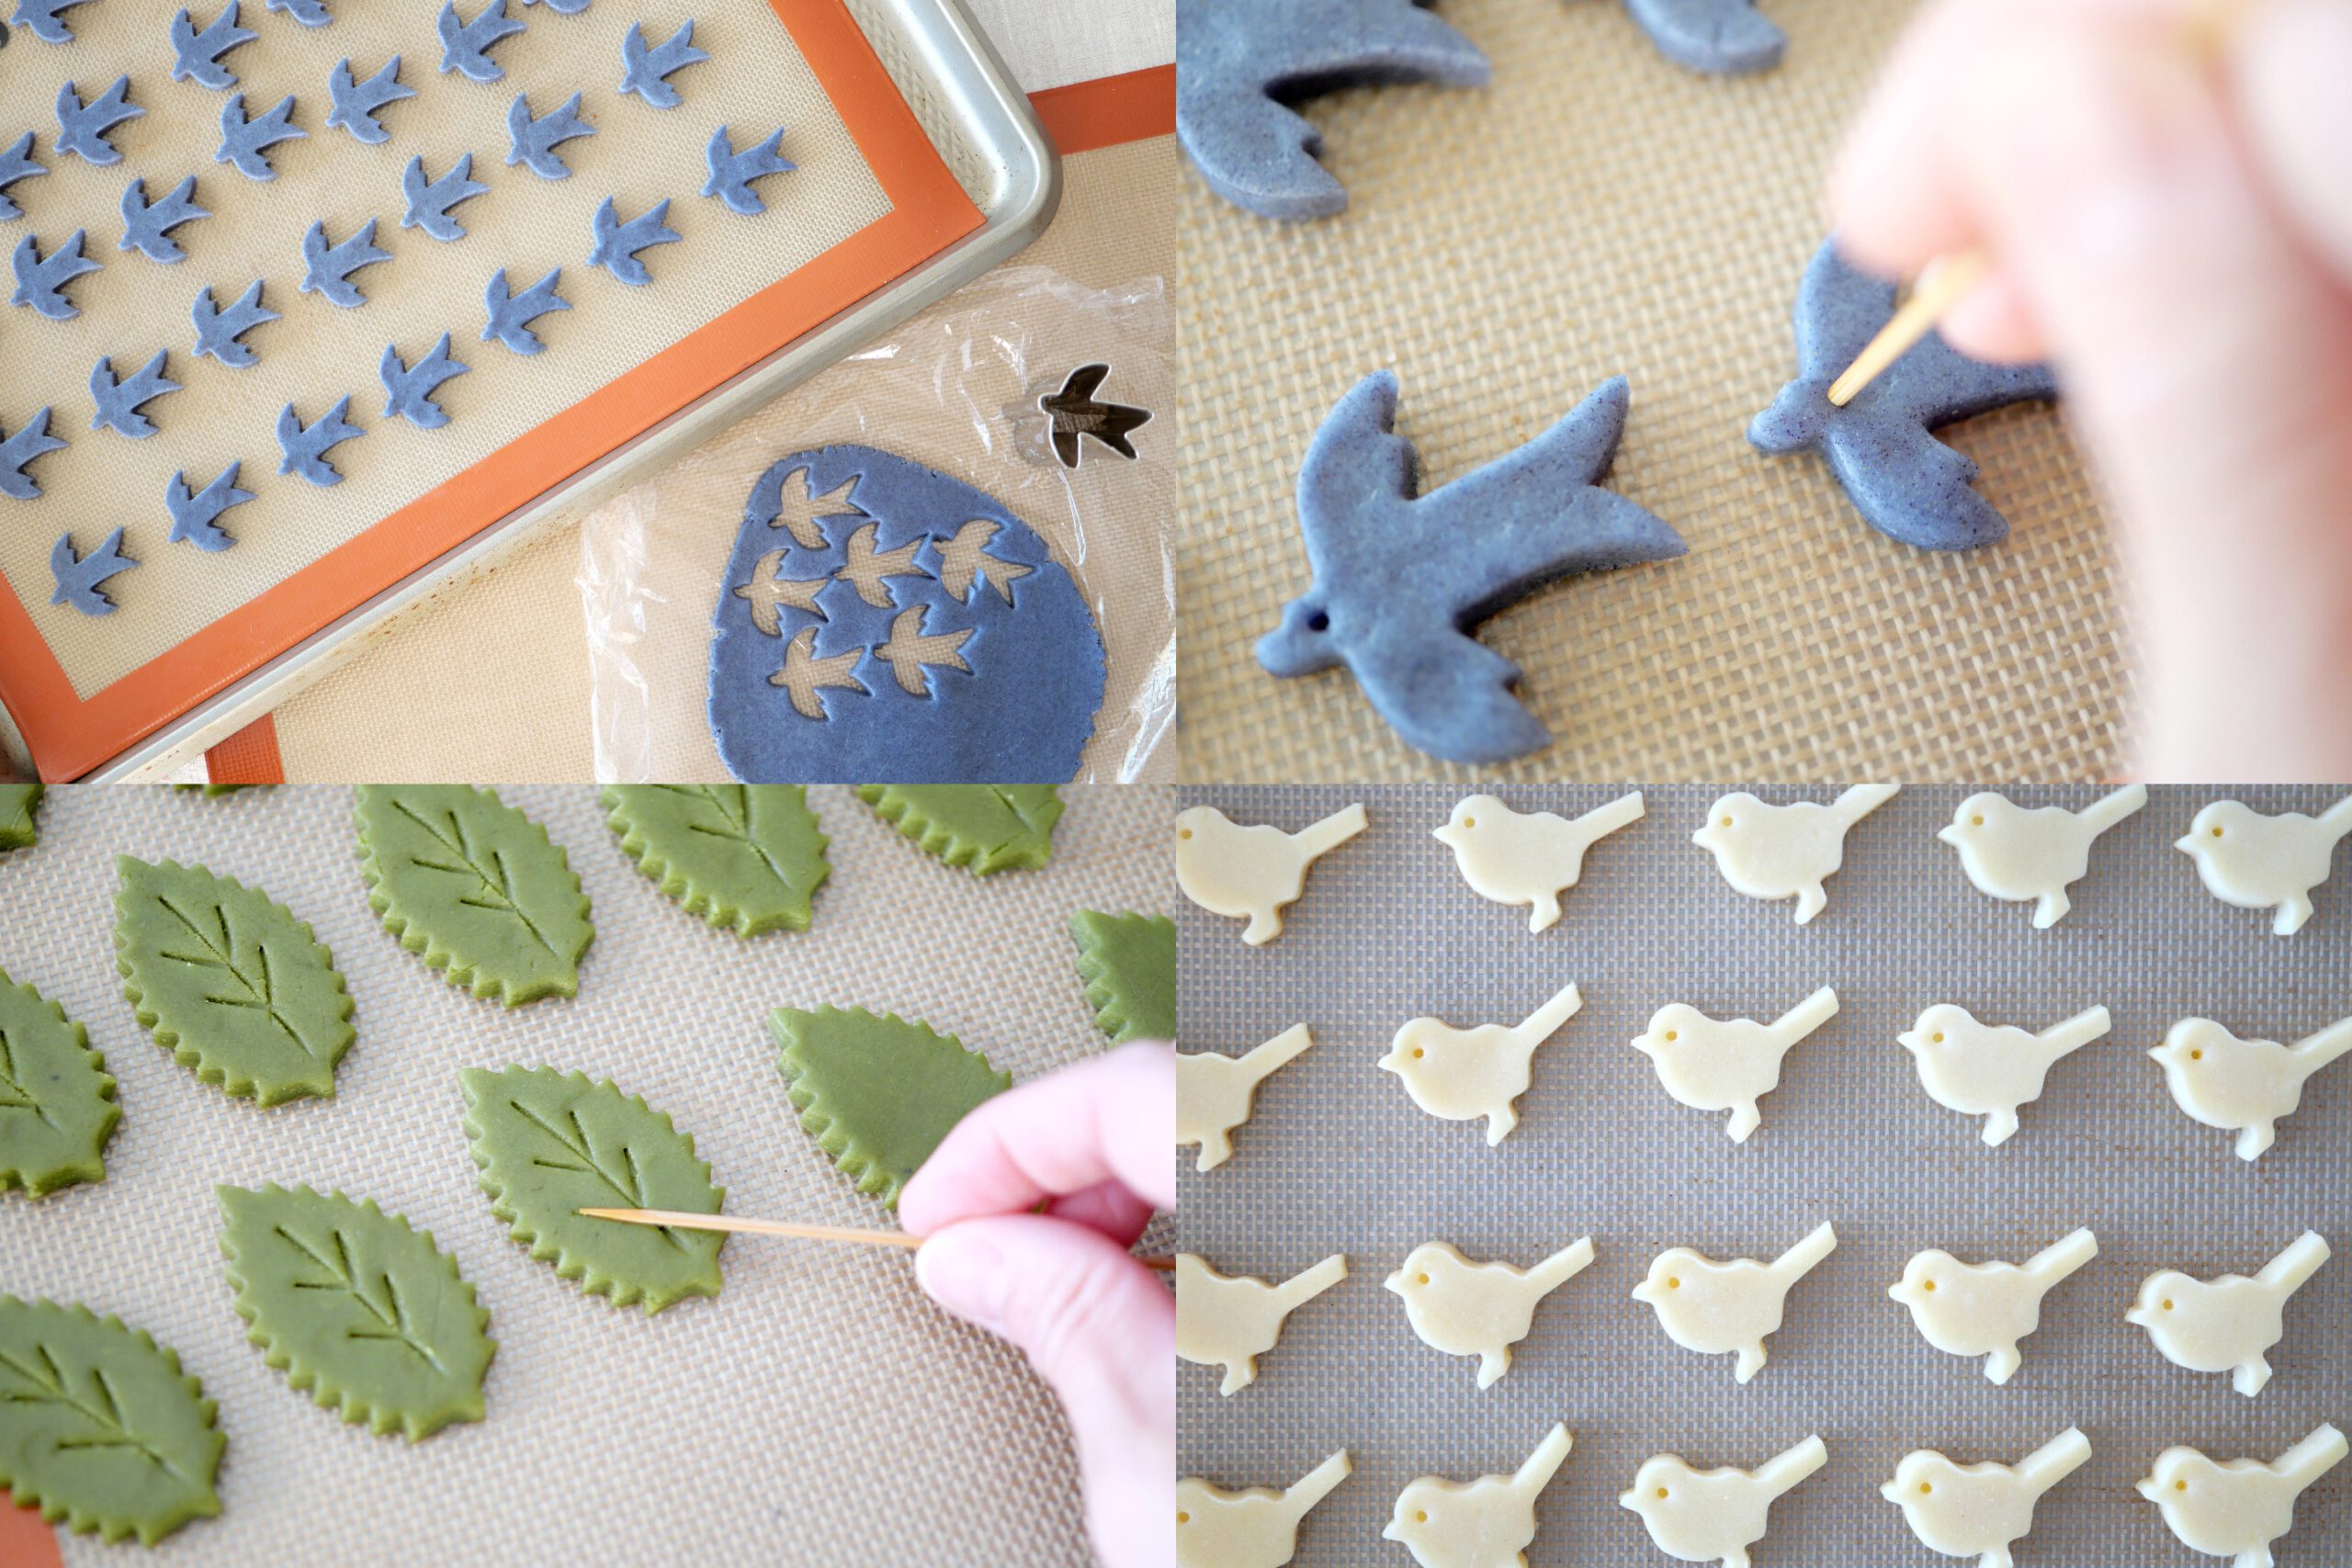
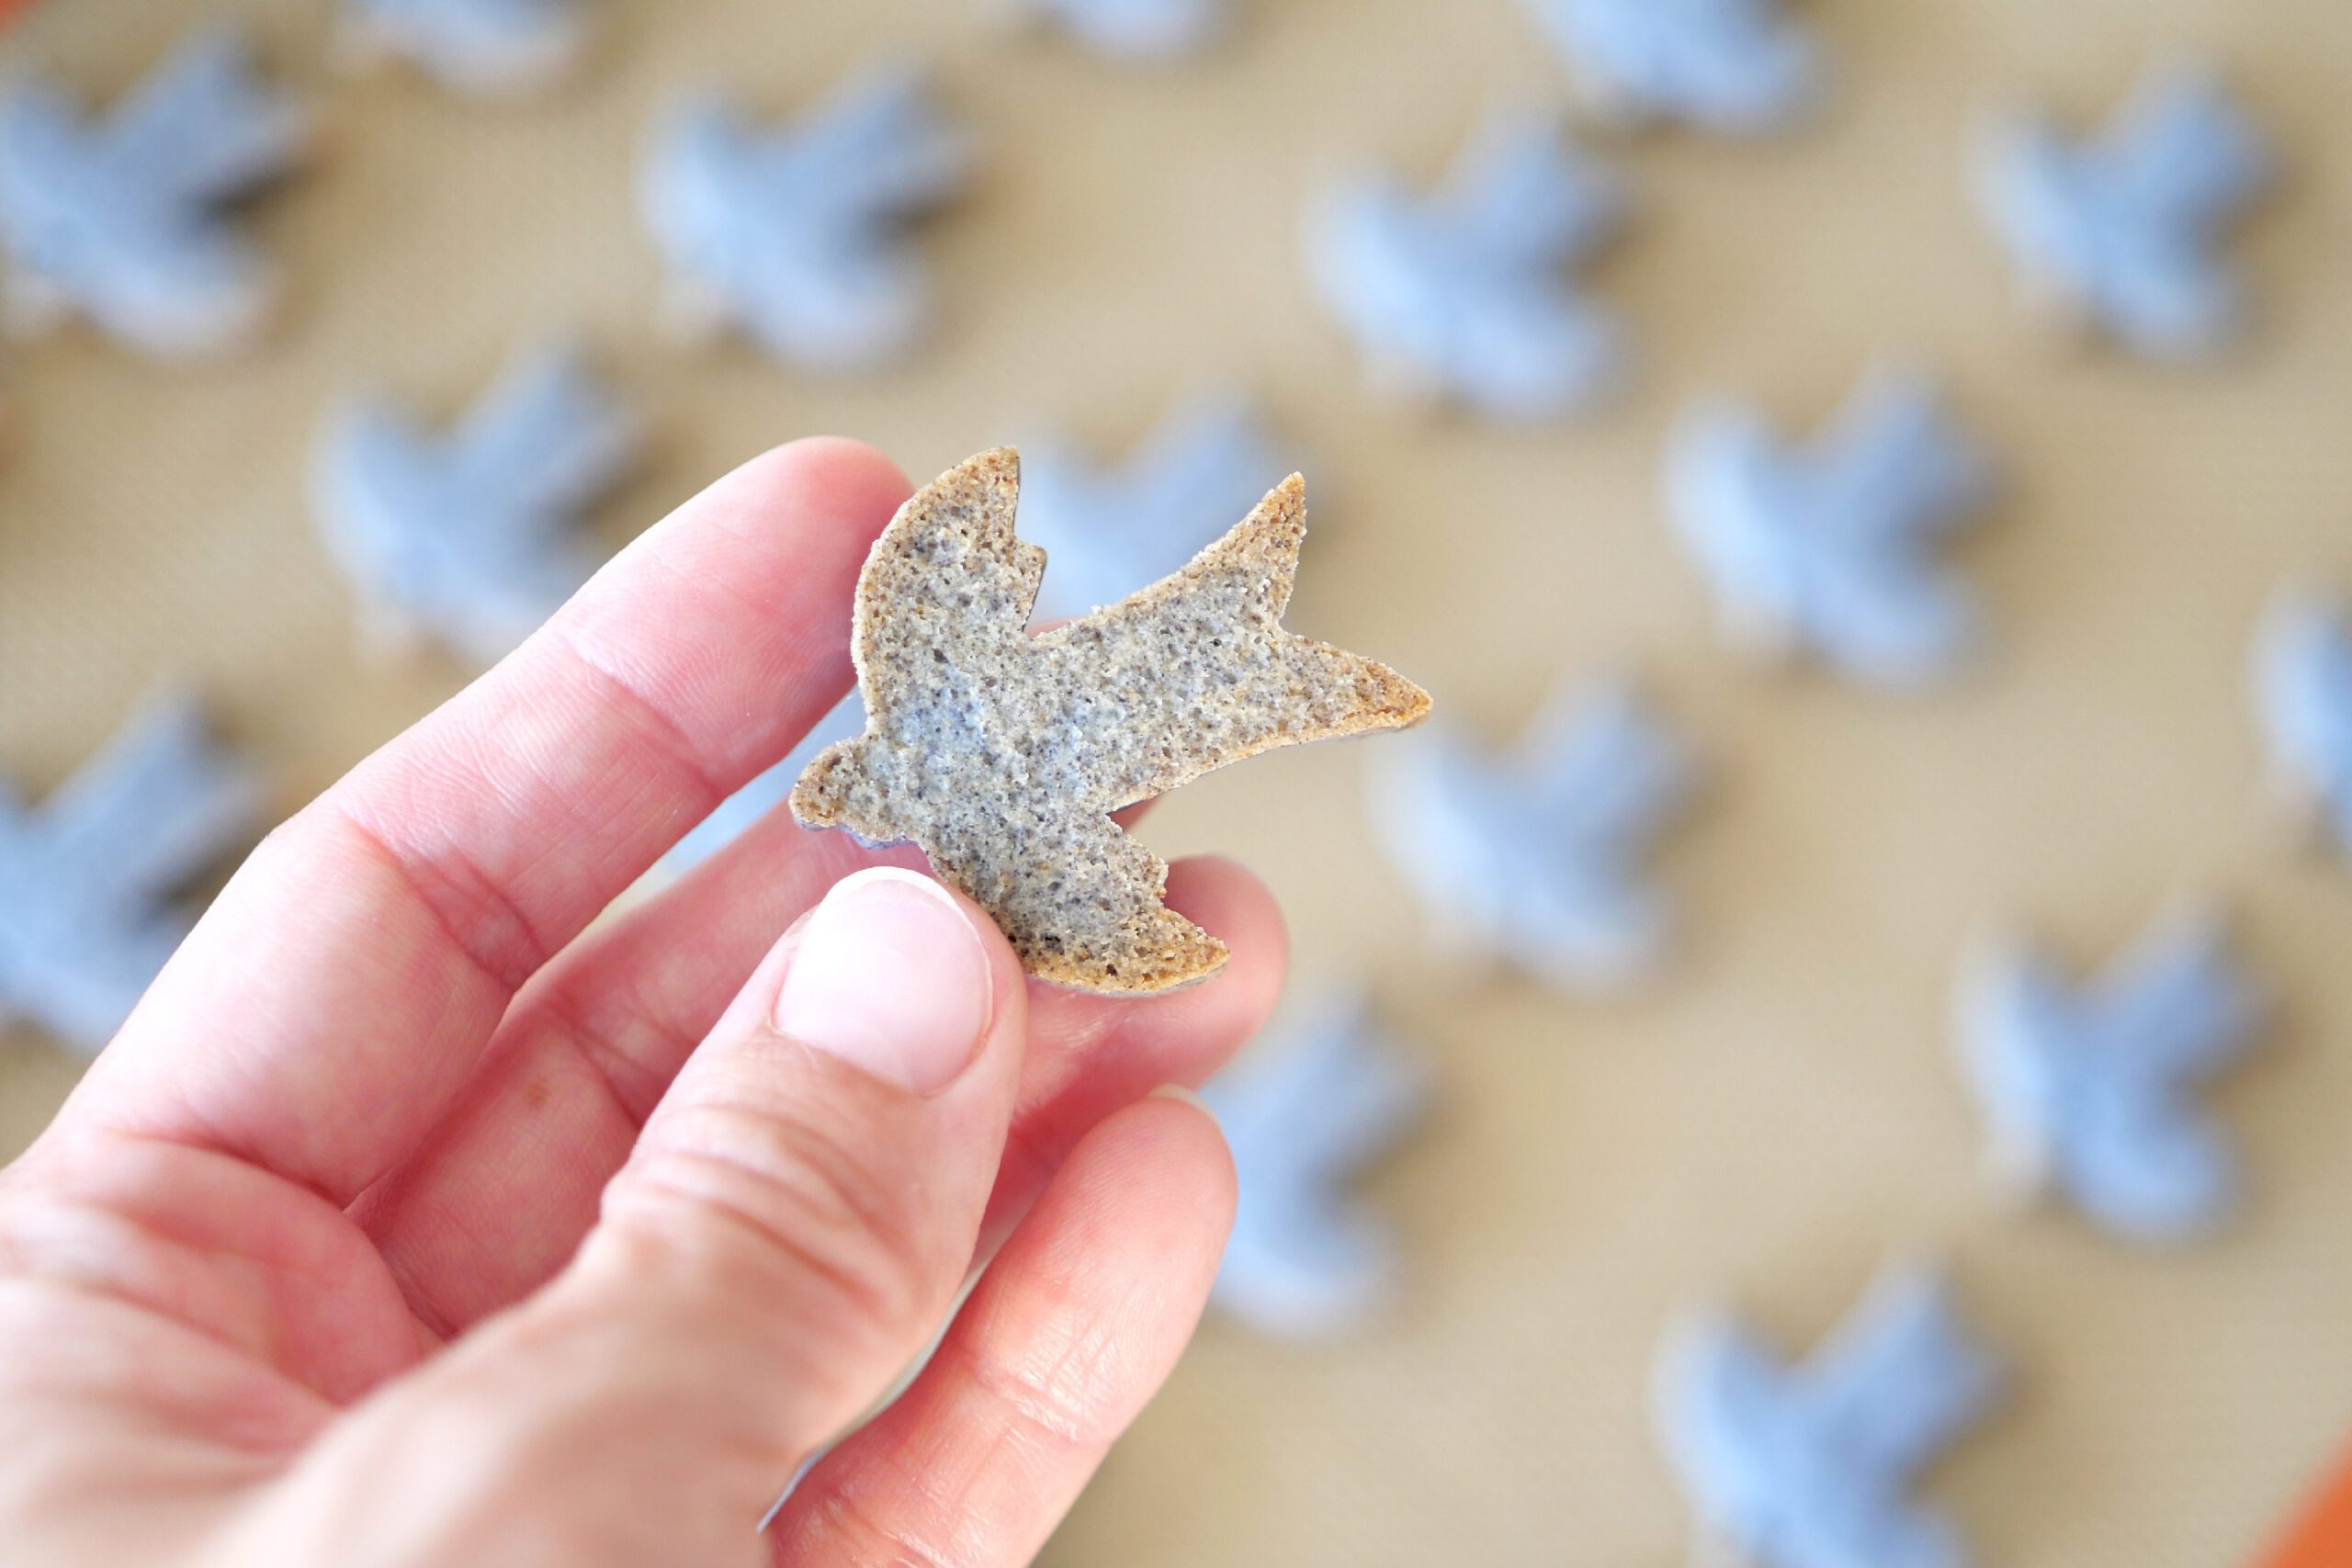
Use a skewer to make the birds’ eyes and the plant patterns. The non-pointed end of the skewer is used to draw the birds’ eyes, and the pointed side is used to draw the veins on the leaves.
Step 4. Bake
Preheat the oven to 340°F and bake for 13 minutes. The cookies should be slightly browned around the edges and the underside should be browned as well. Baking time will vary depending on the size of the cookies and oven conditions. Watch carefully and adjust the baking time.
After baking, remove the cookies from the oven and leave them on the hot pan for a while to dry out in the residual heat. After that, place the cookies on a tray to cool down sufficiently.

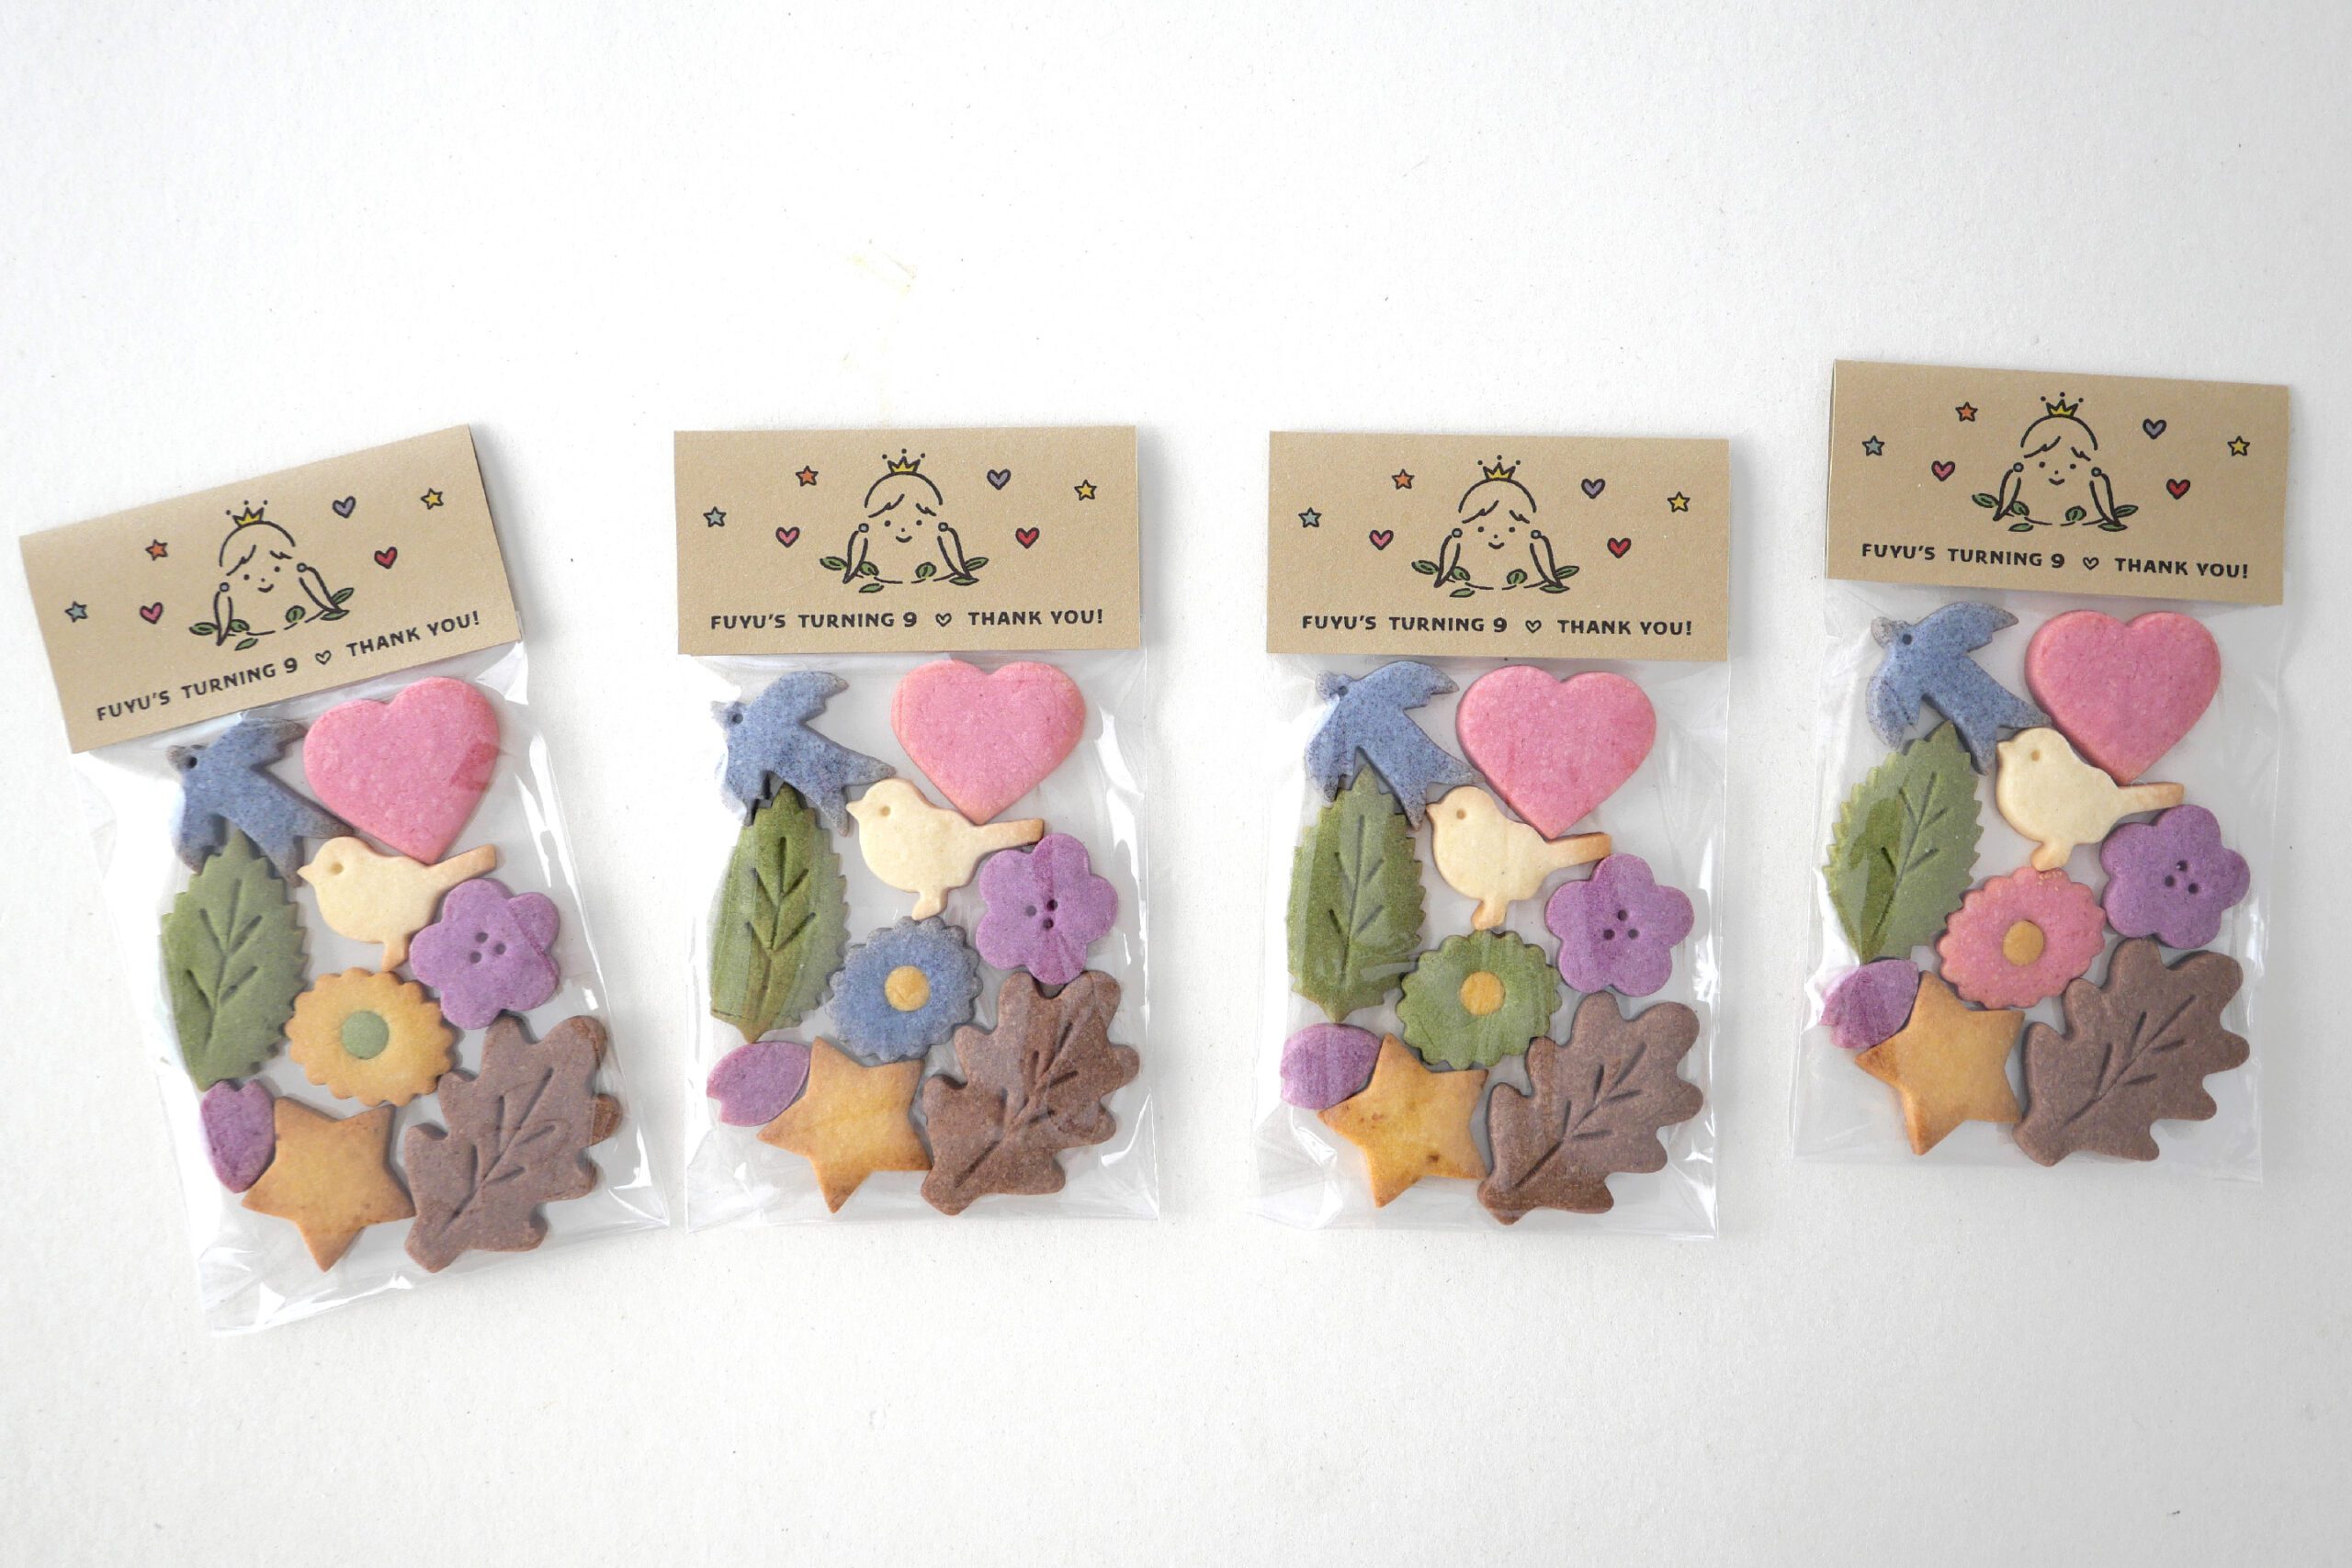
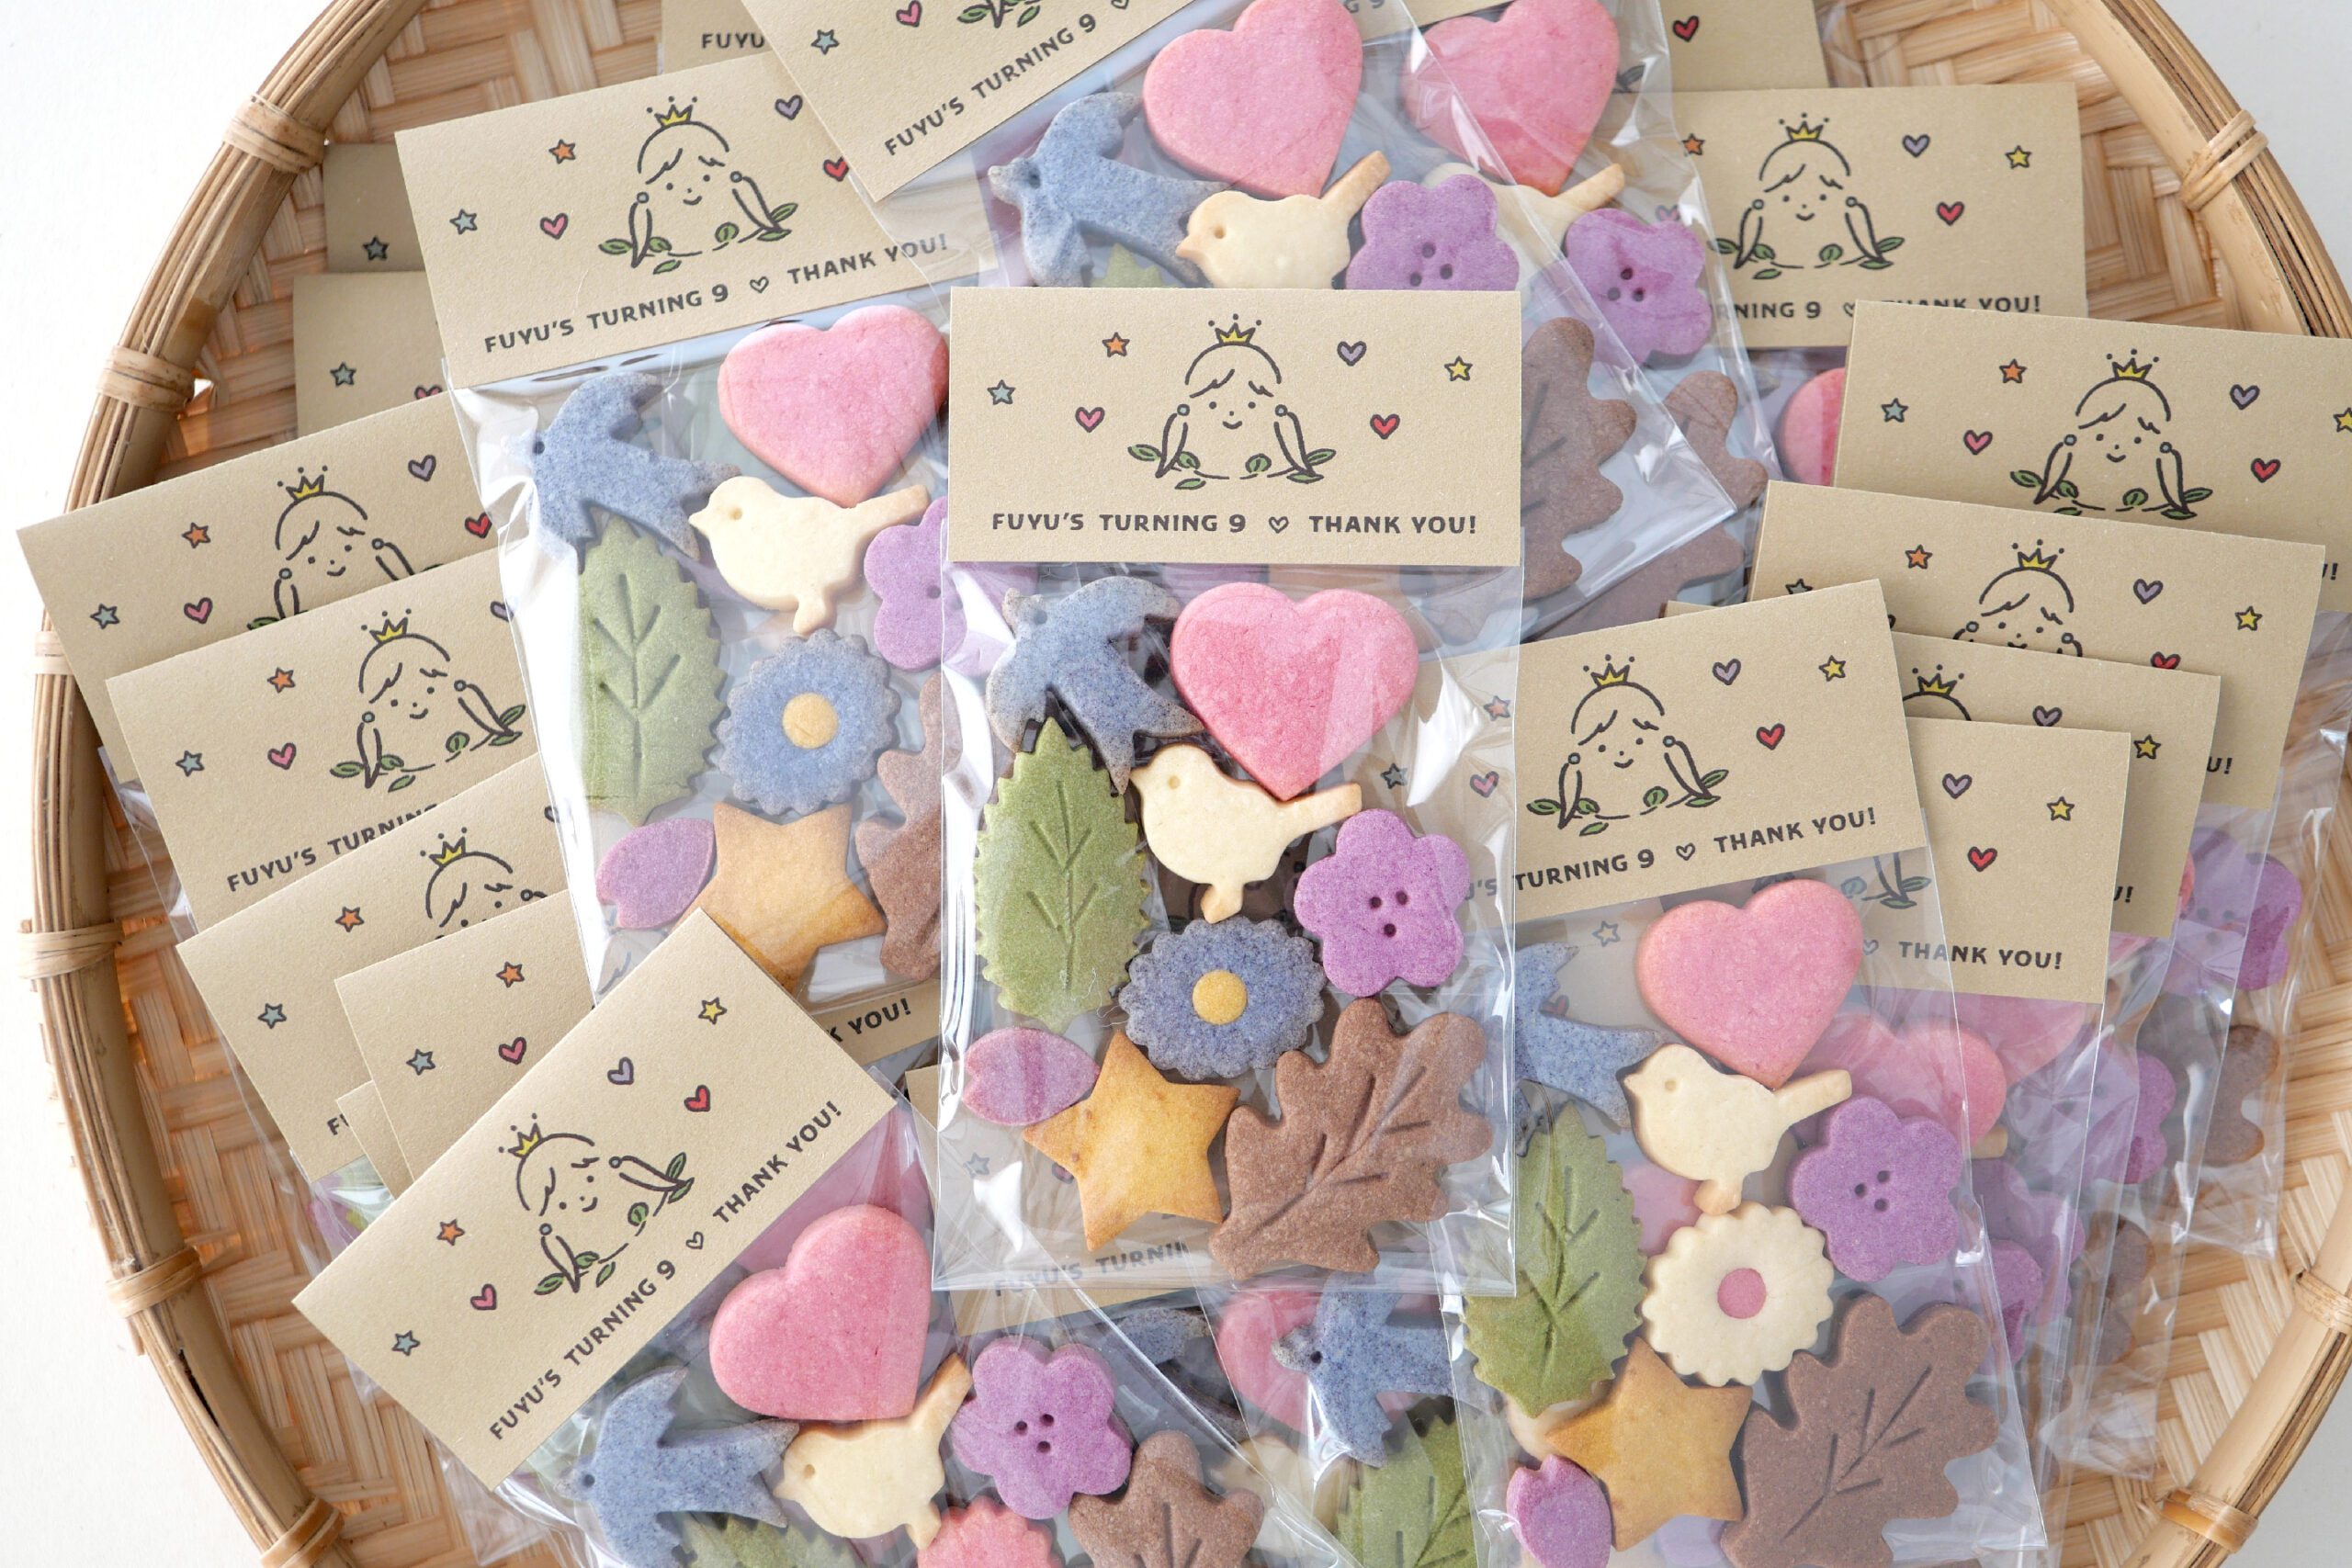
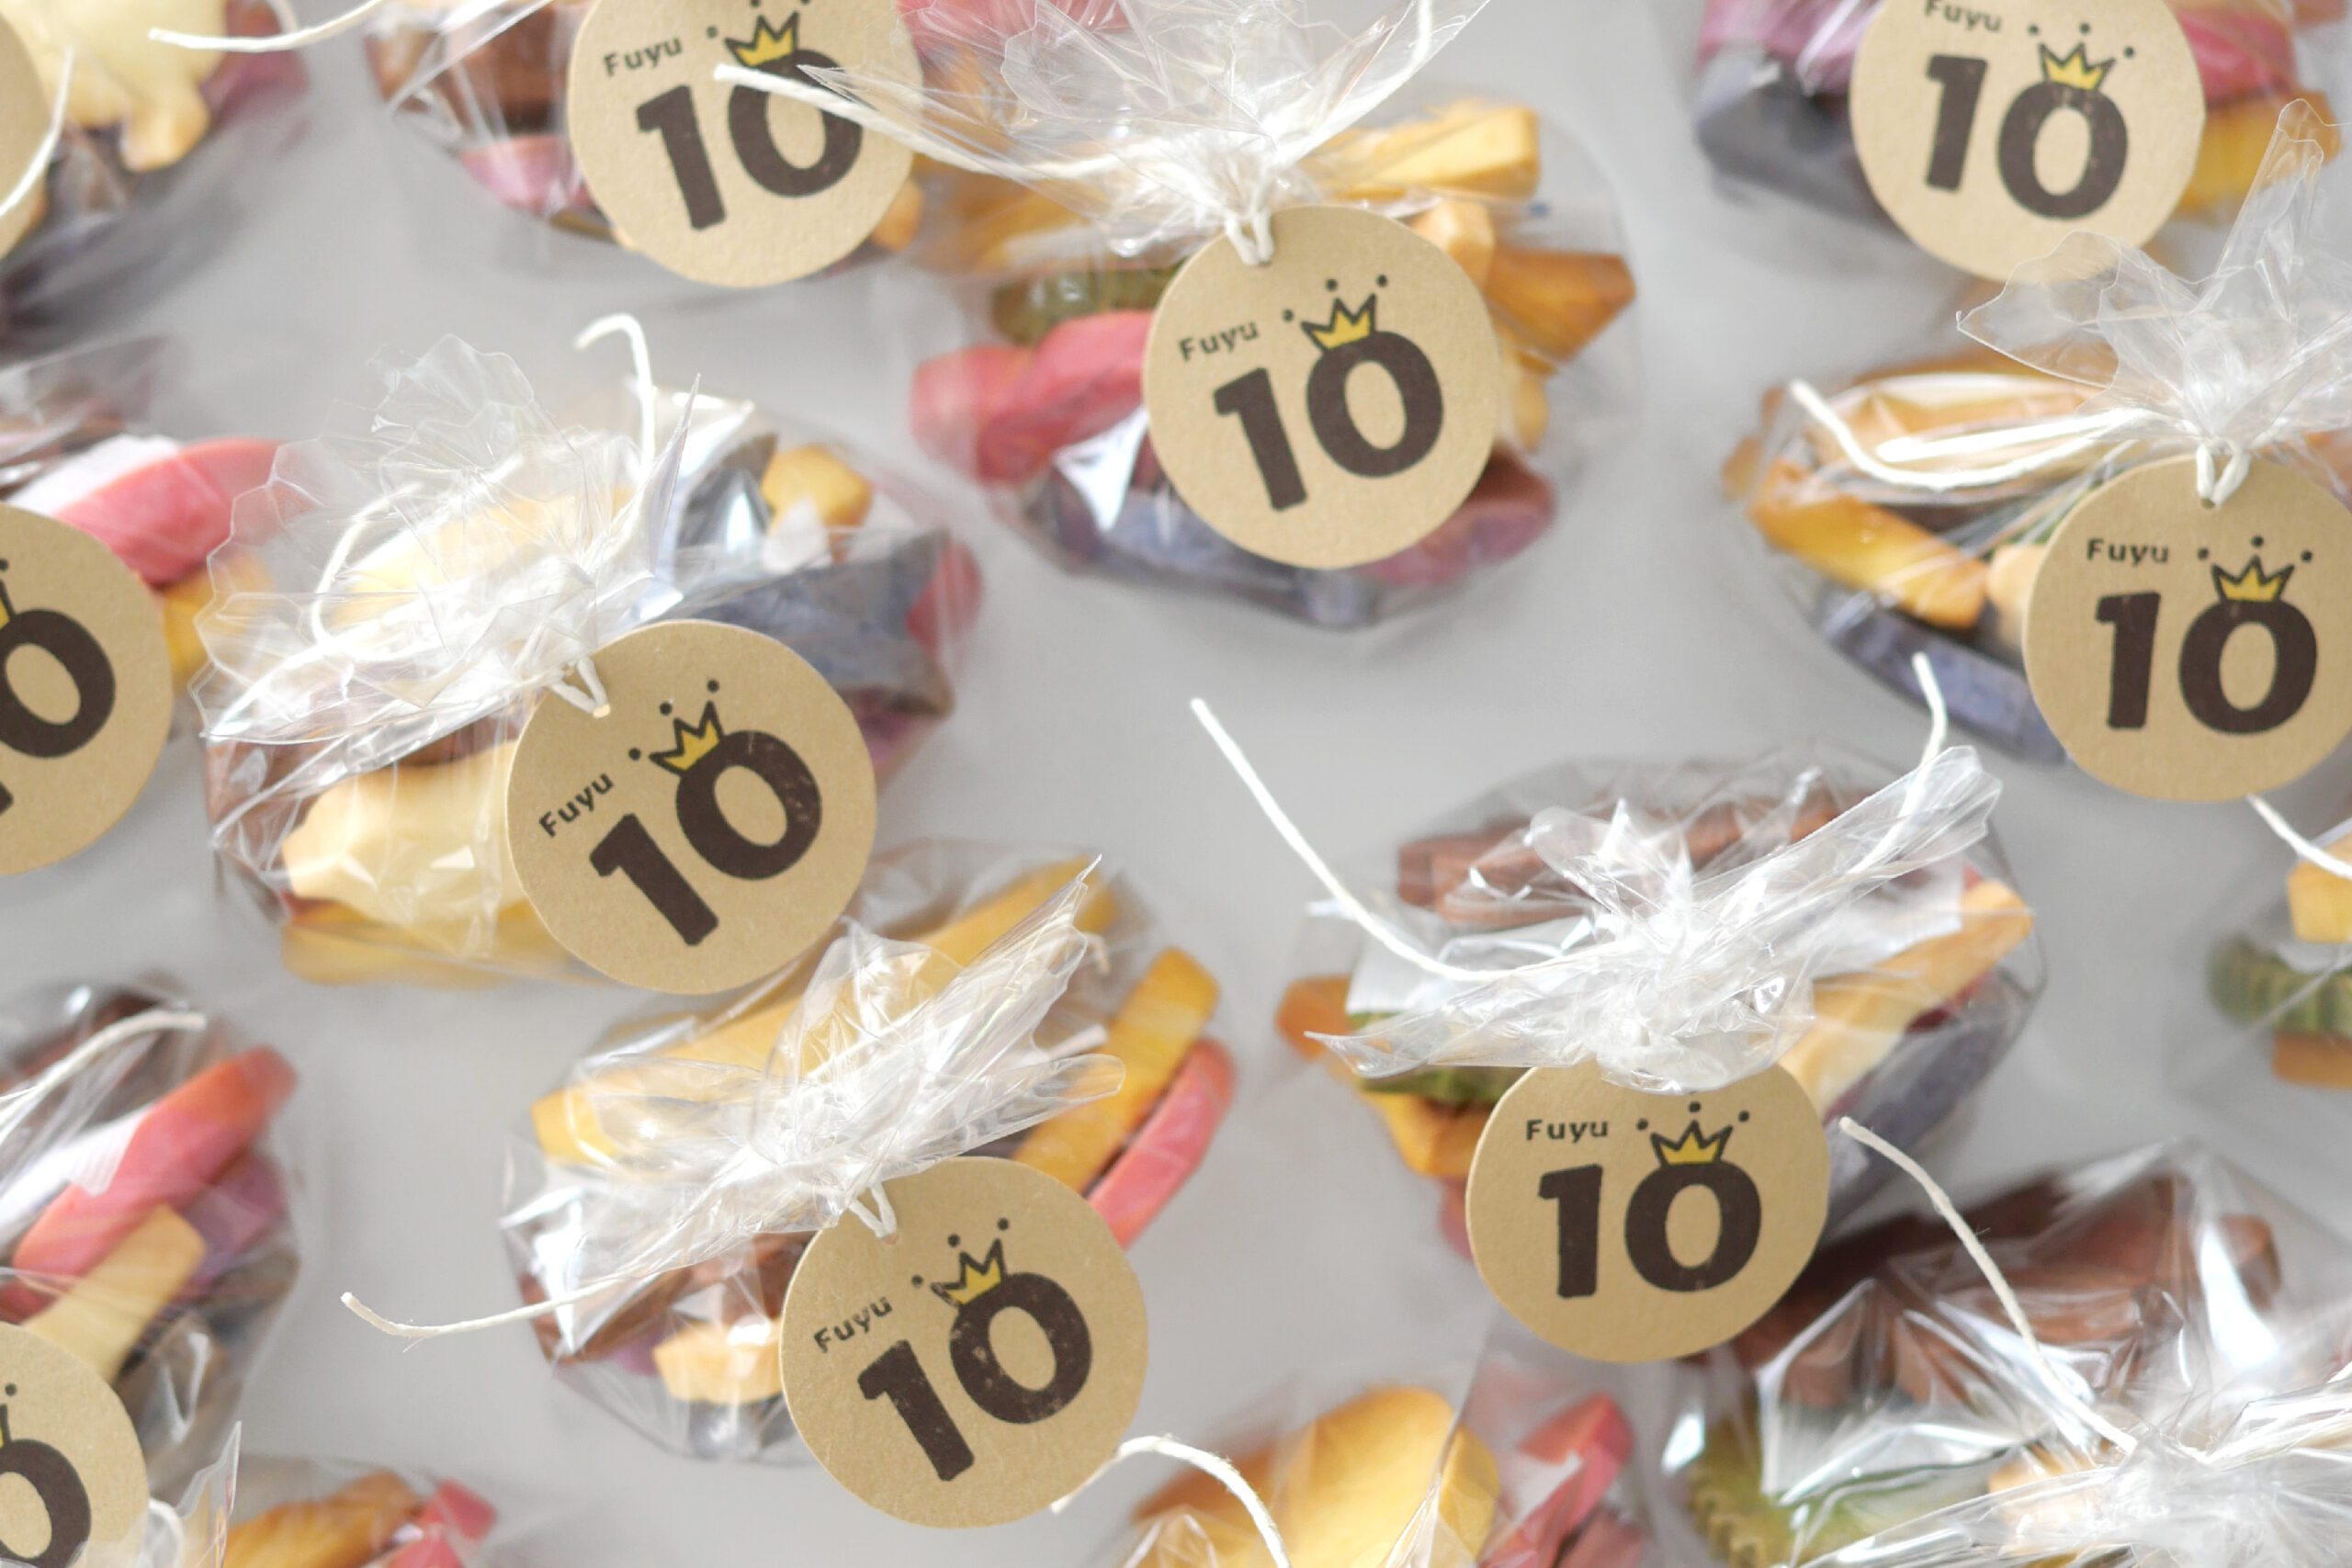
As a Birthday Cookie
These cookies work for my daughter’s birthday every year. I stuff them into a package with an illustration of her. The illustrations are updated every her current appearance. It is my secret pleasure to draw the illustrations and grow little by little as well.
For Various Occasions
We have also made potlucks for Halloween, Christmas, and many other occasions. Sometimes my daughter helps me and we even try my hand at icing. They are small, slightly sweet, and rustic cookies. Once you eat one, you can’t stop.
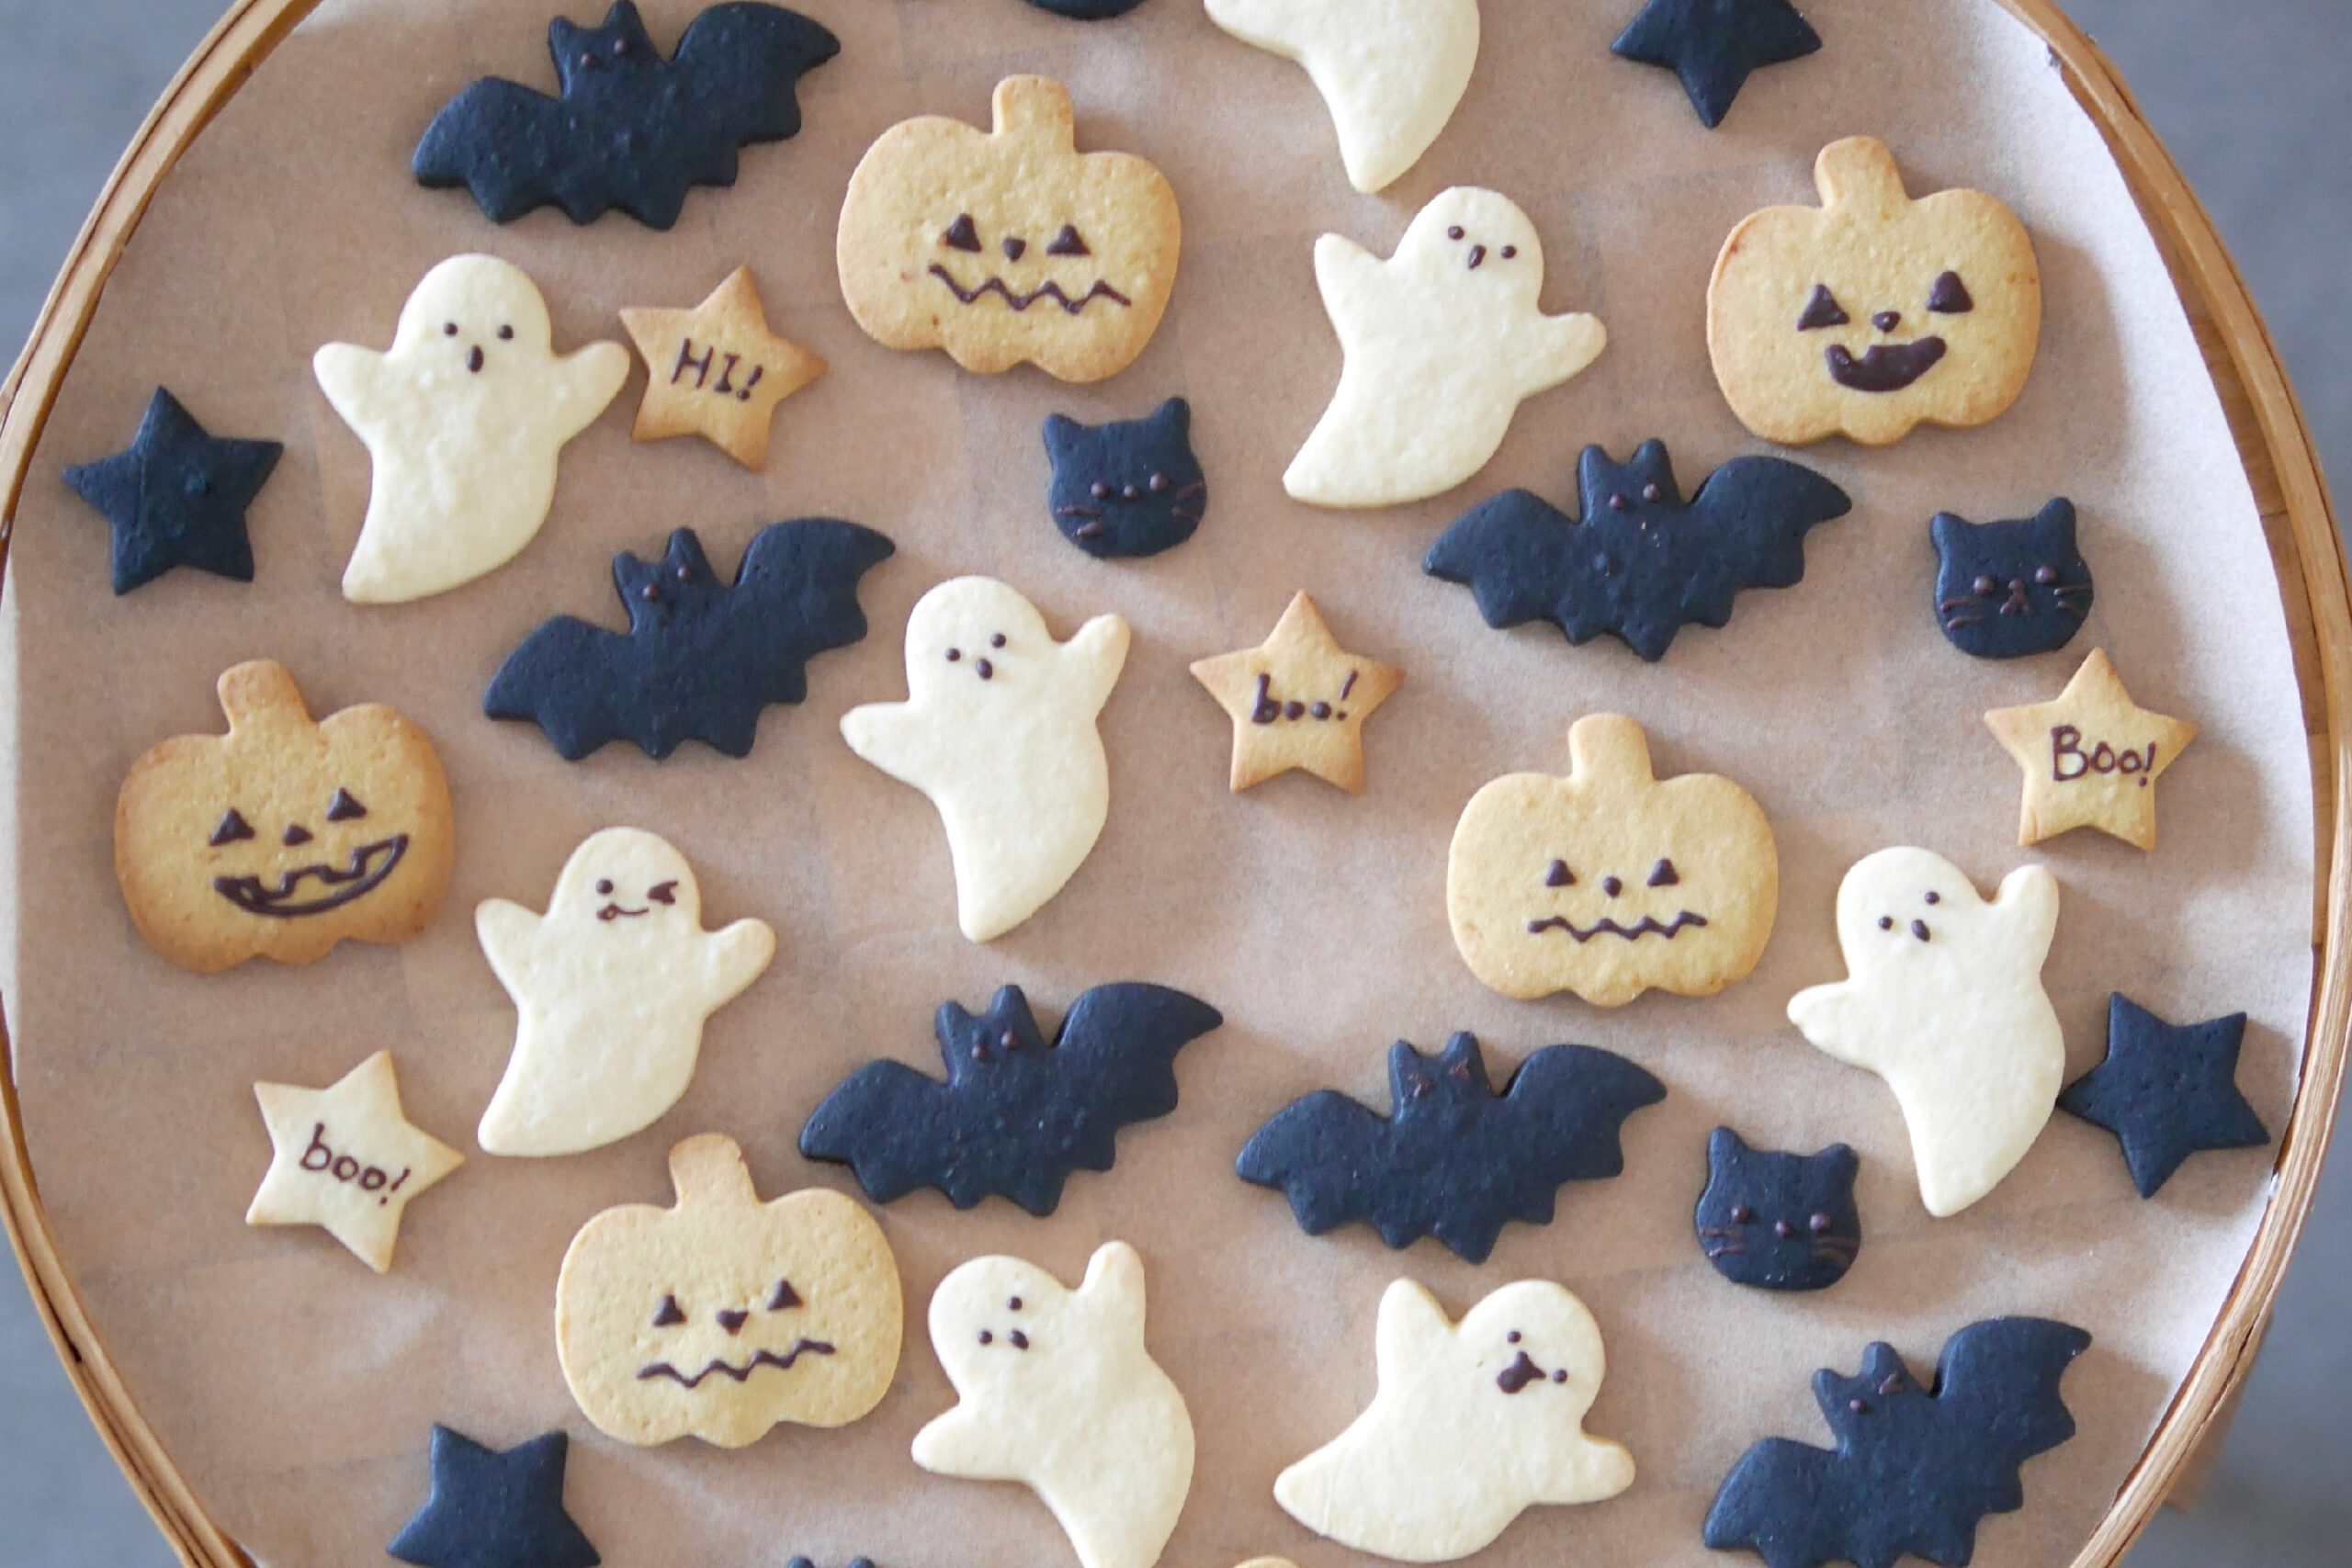
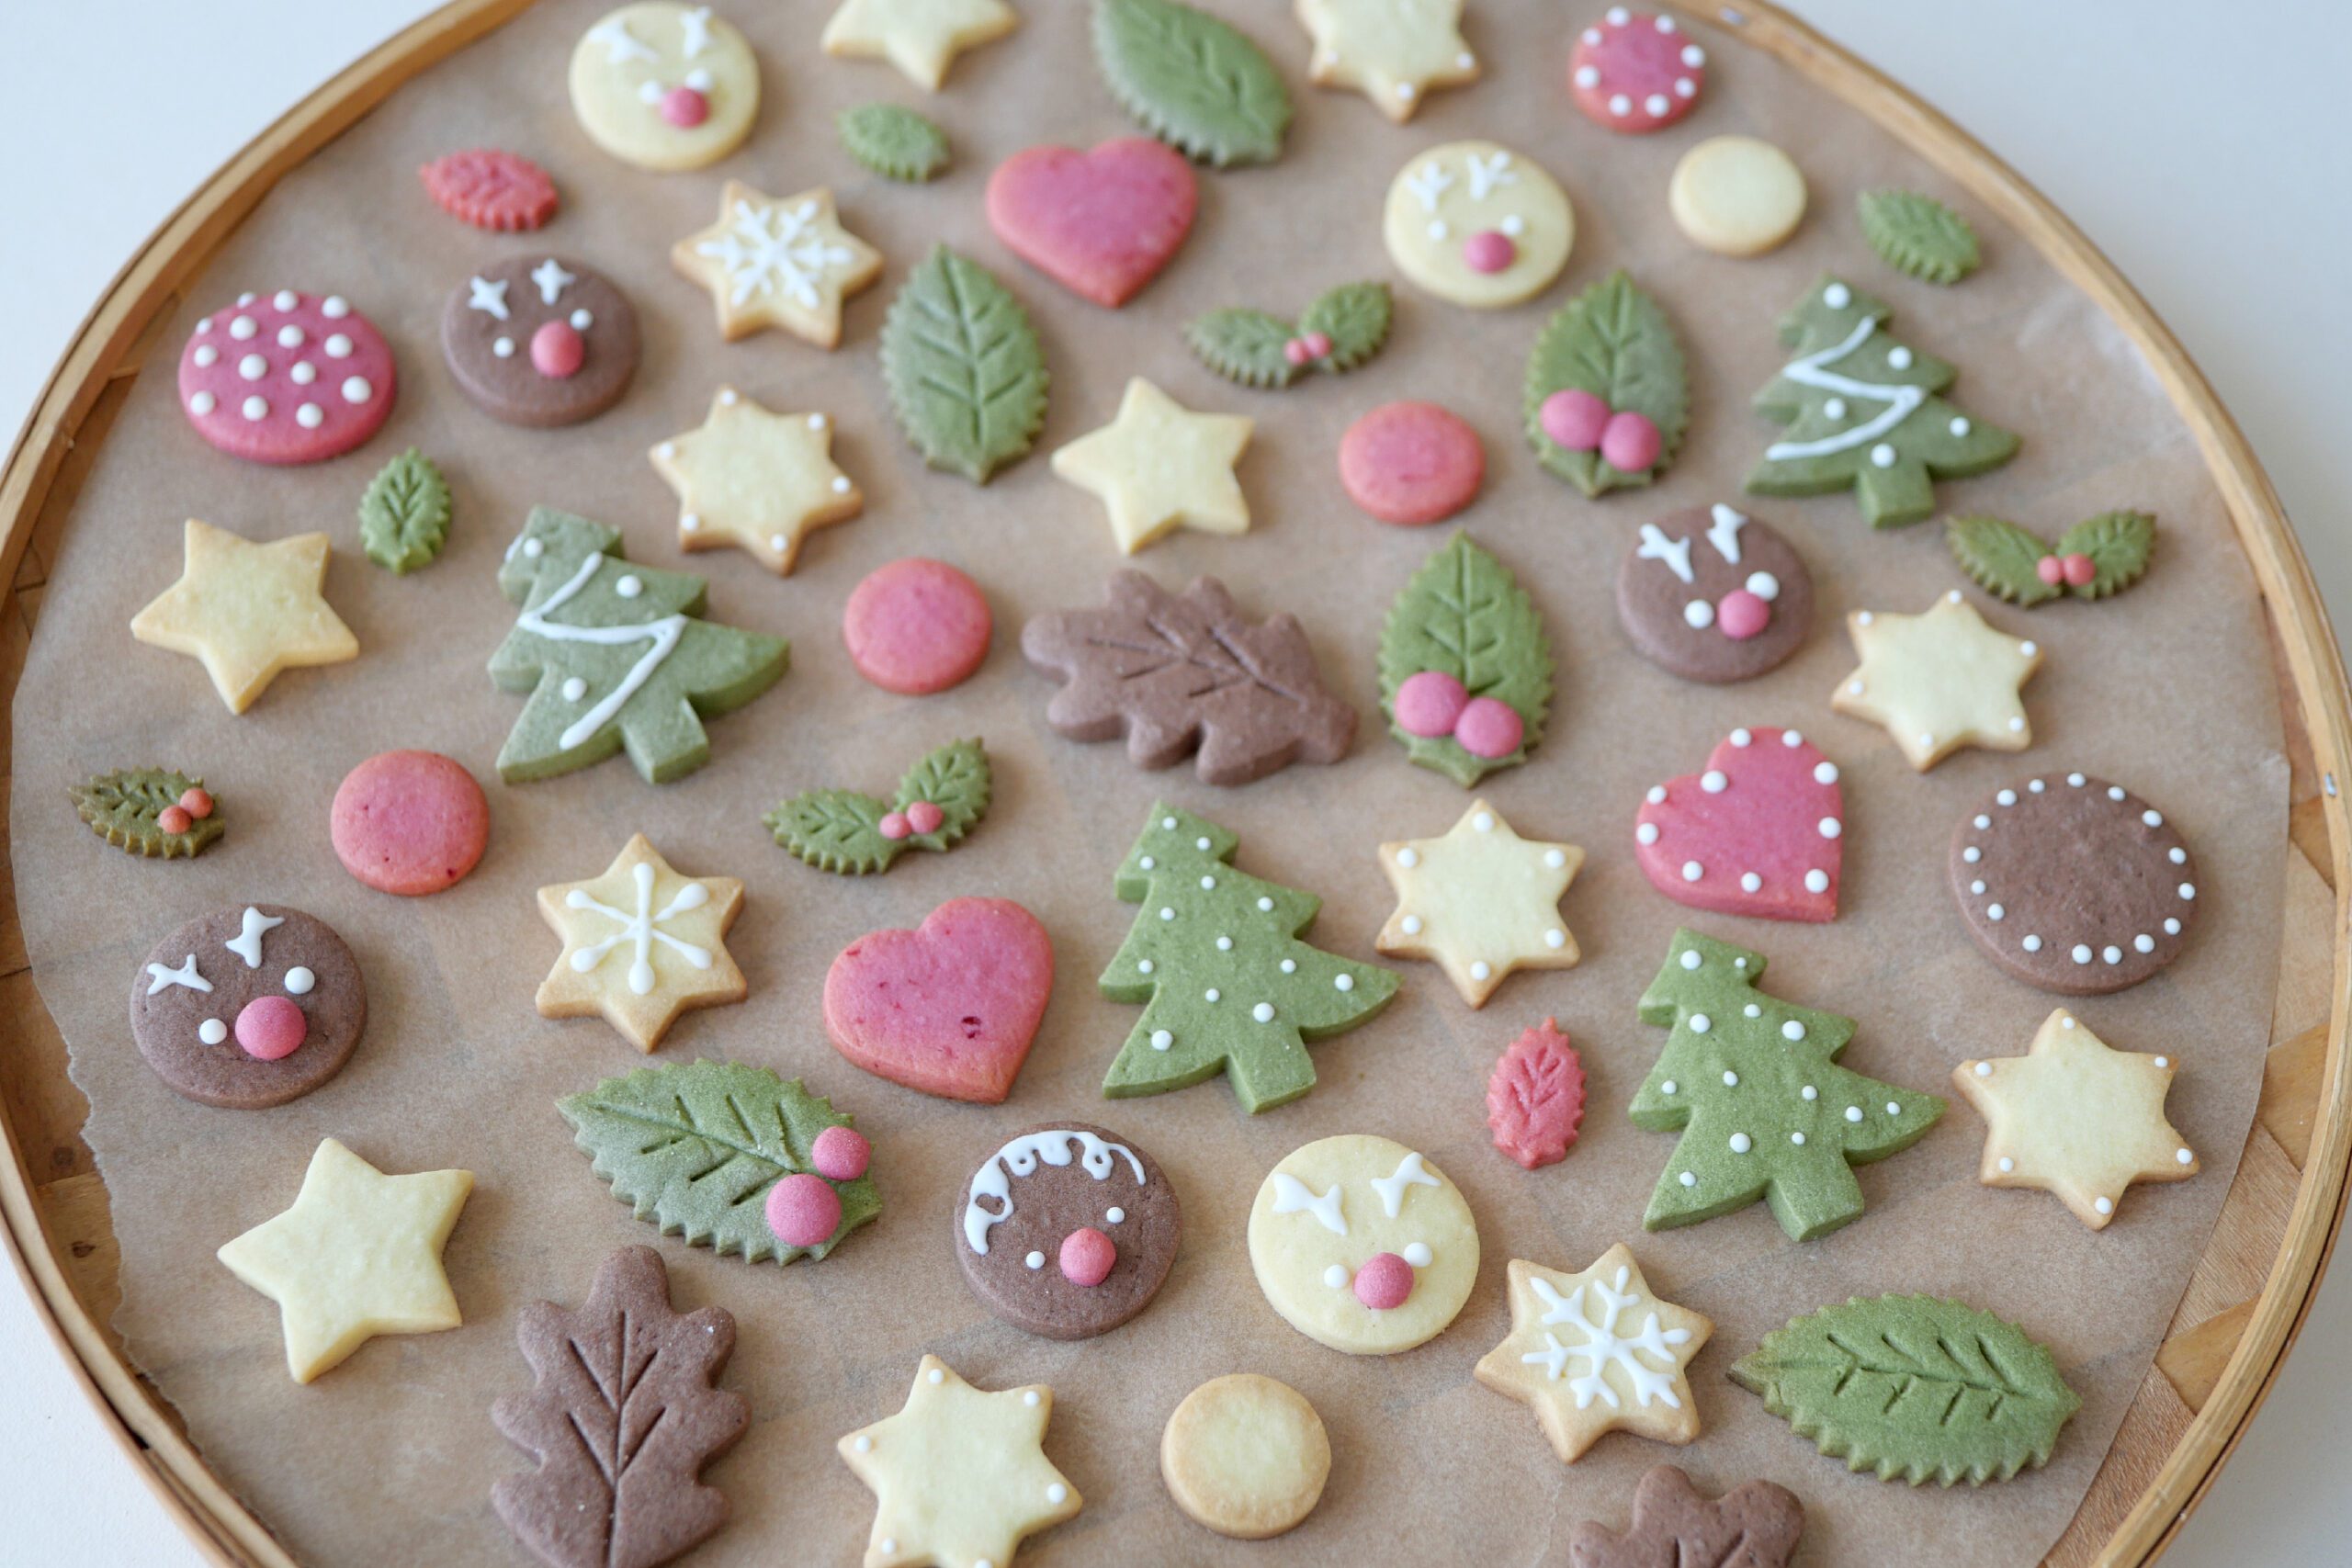
Halloween and Christmas cookies we made.
For Halloween, my daughter drew a face with chocolate. The black is amazing squid ink powder.
For Christmas, we tried icing for the first time.
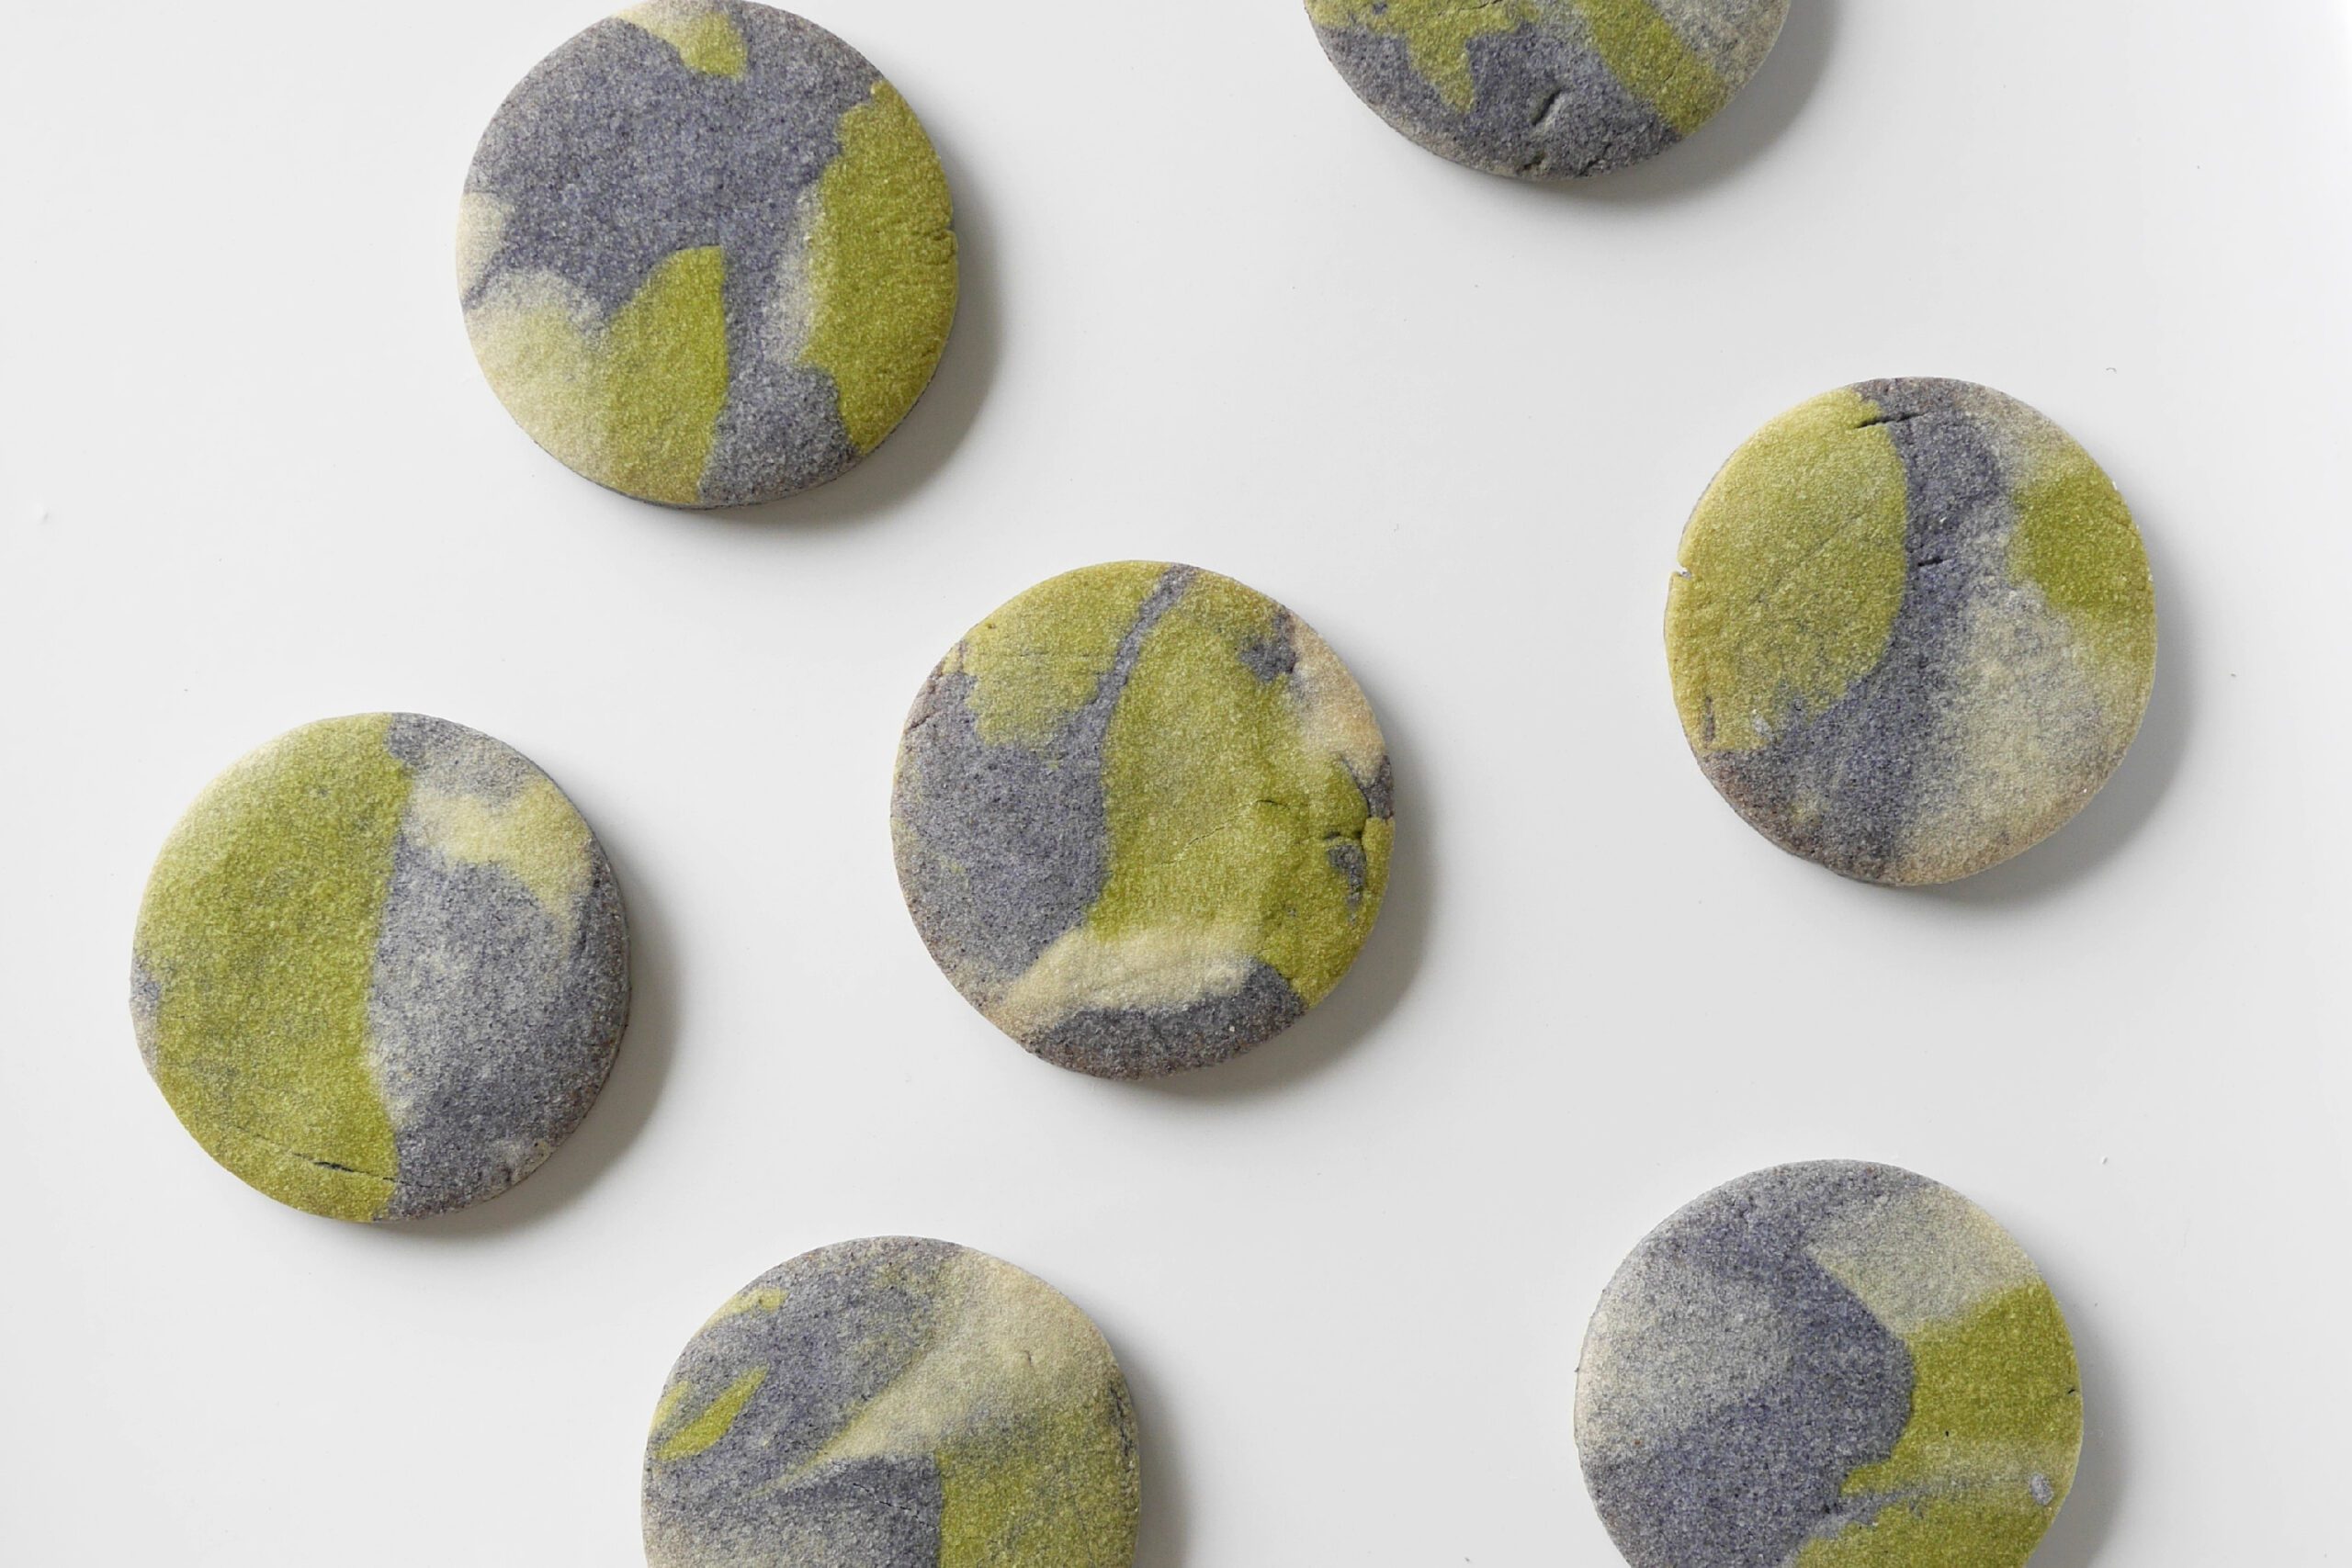
Cookies for Earth Day. Butterfly peas (blue), matcha (green) and plain dough were gently mixed together. When I cut out with a round cutter, became various expressions of the earth.
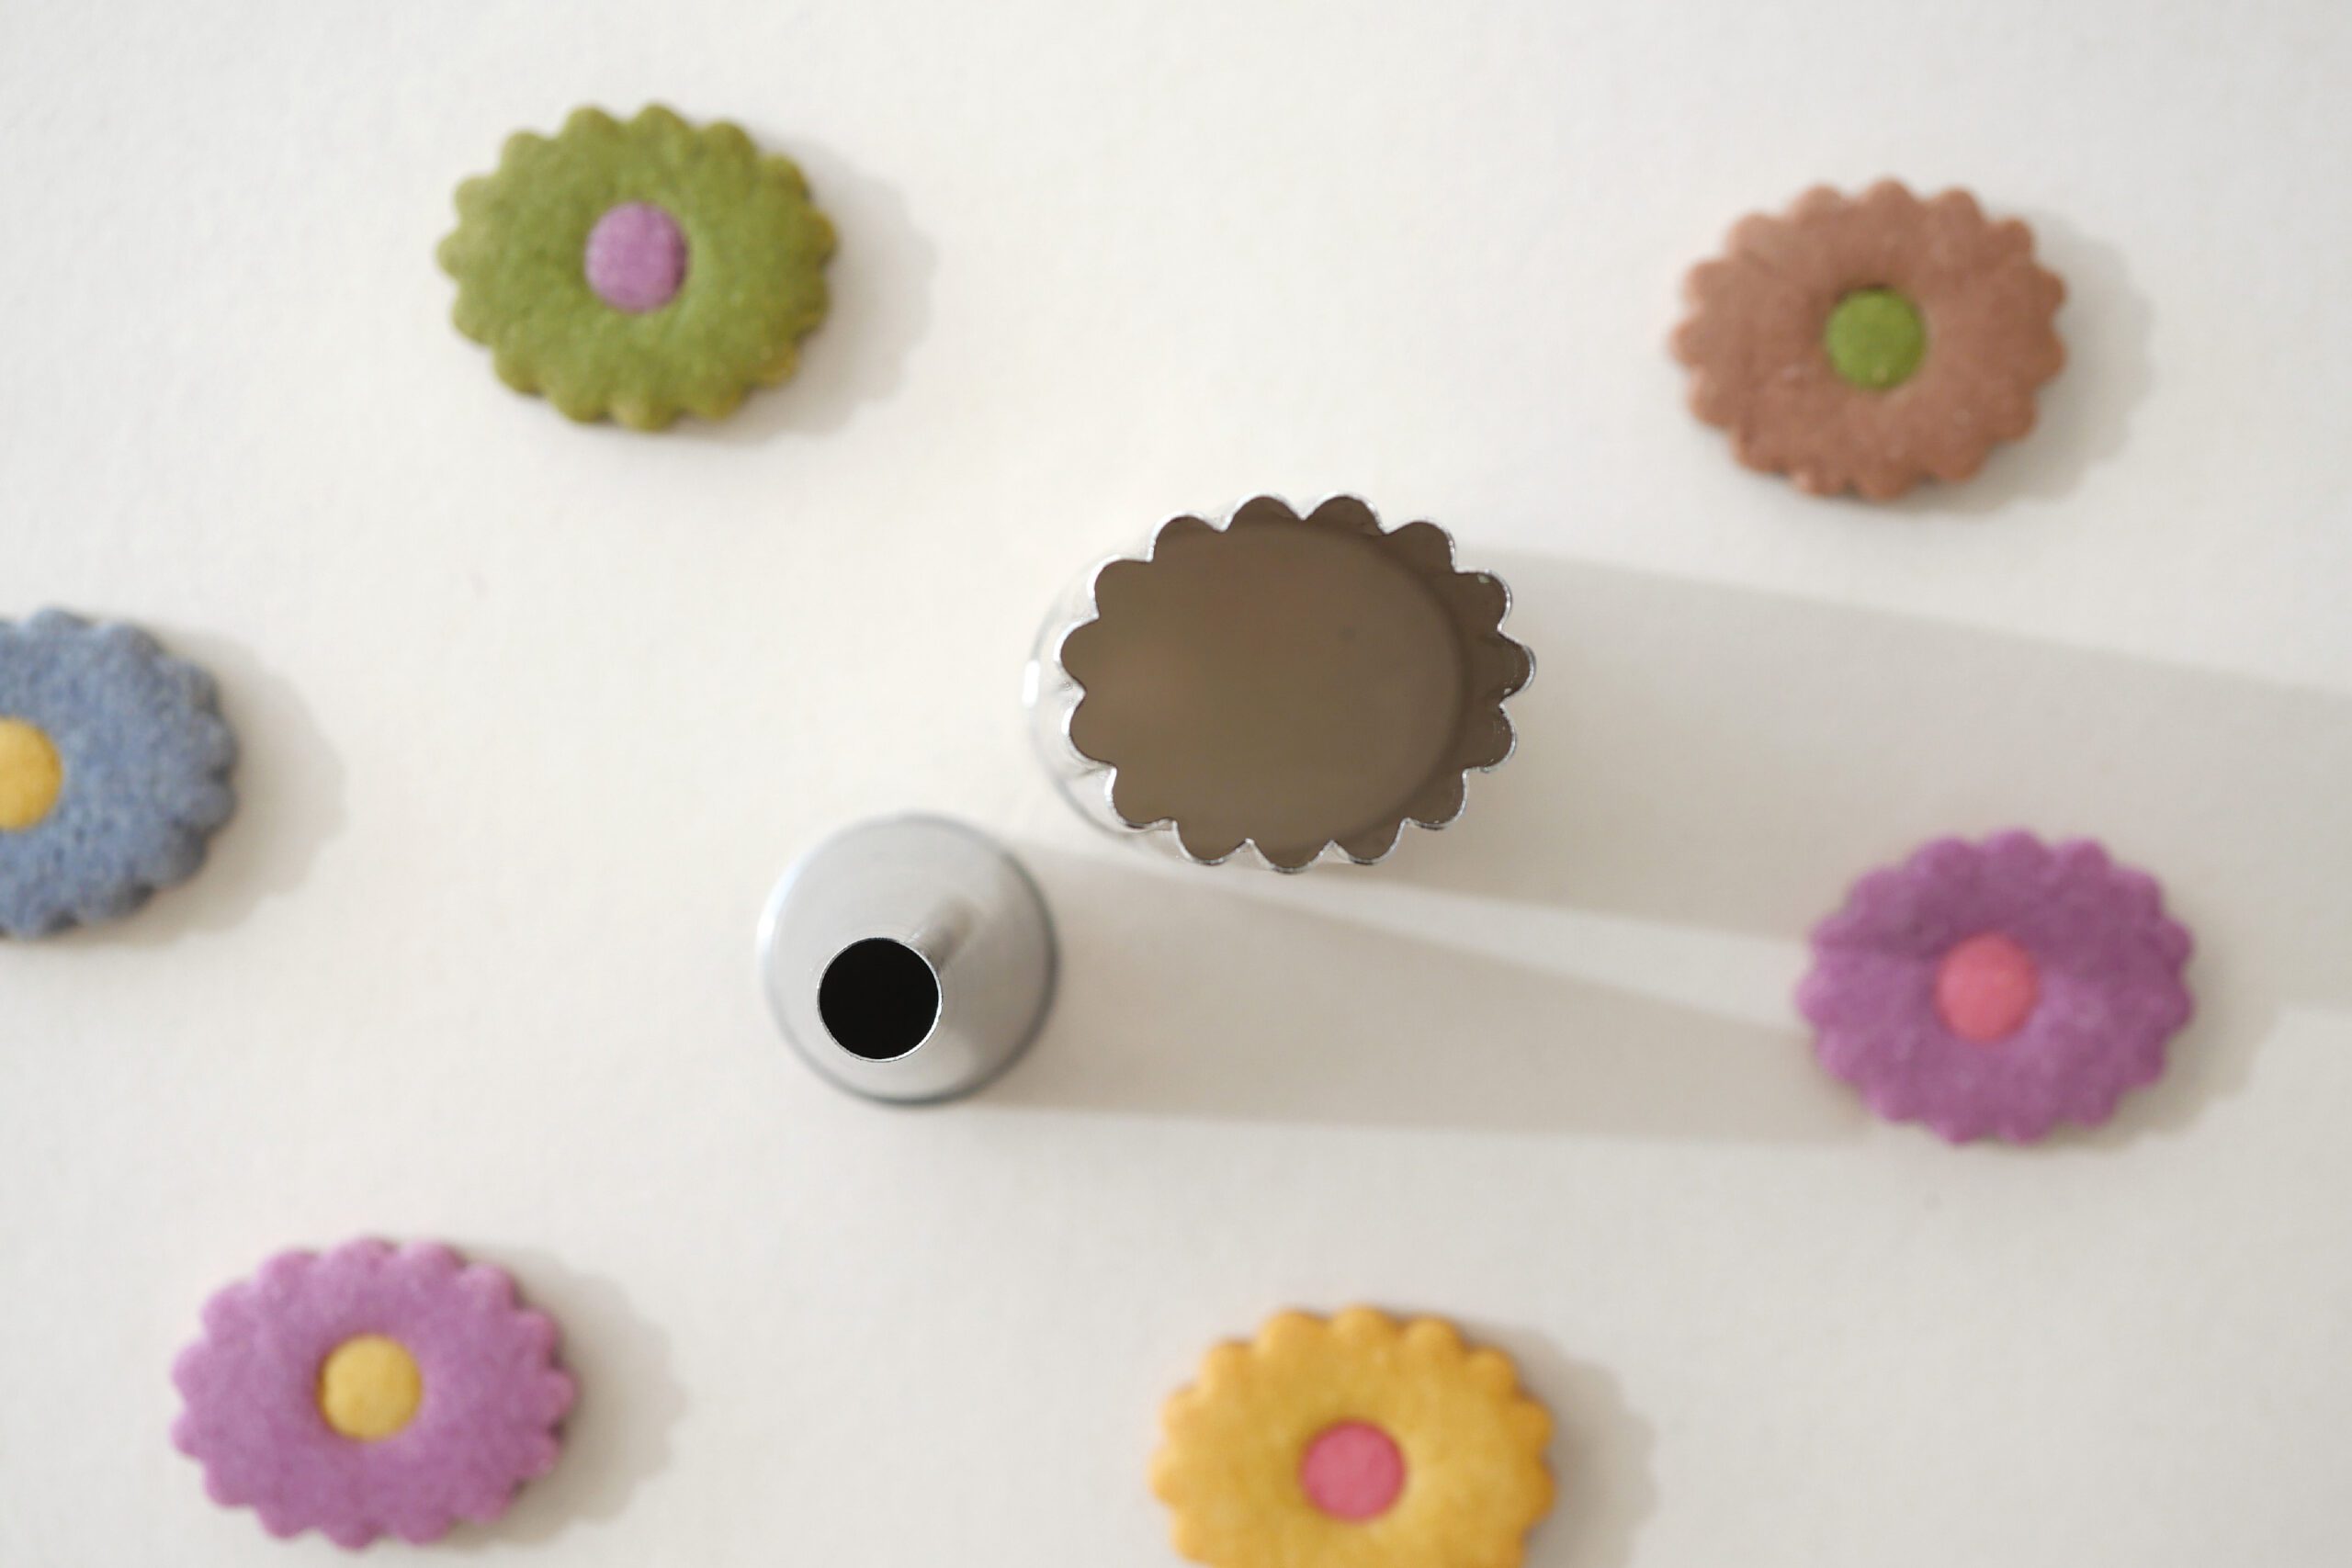

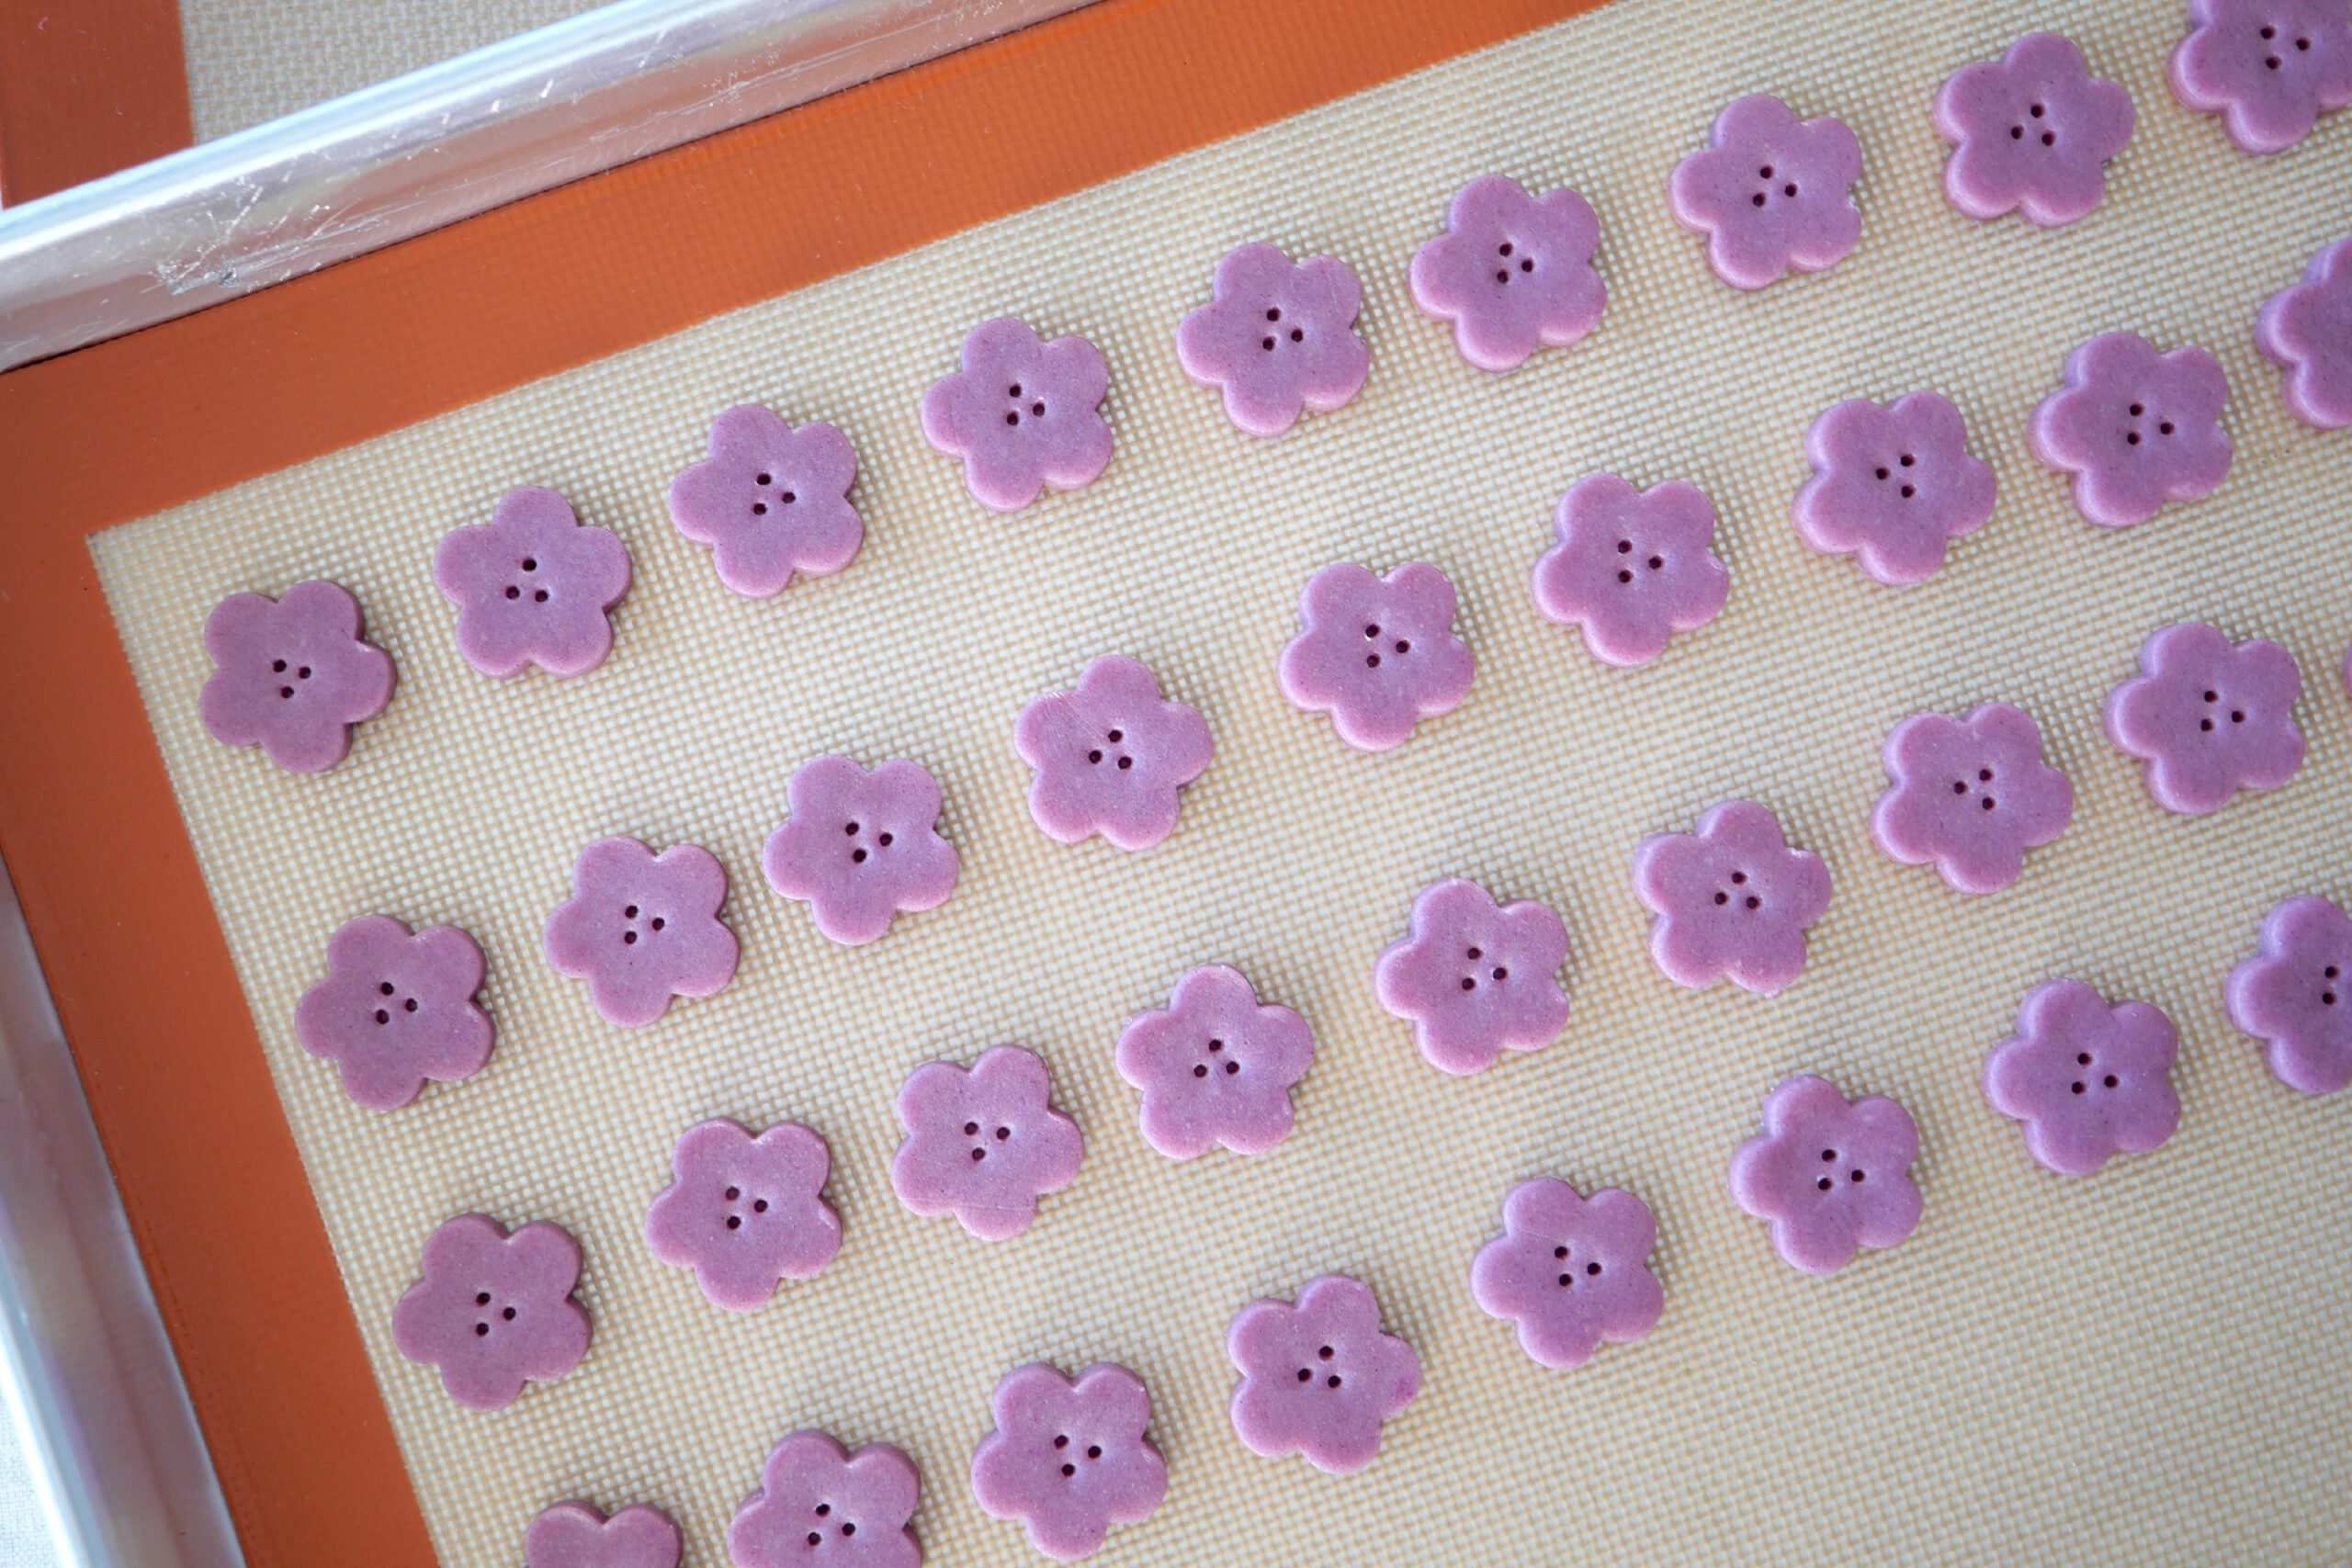
Flower cookies made with two type of cookie cutters. They are colorful and bite-sized.
This simple cookie dough can be used to make a variety of cookies depending on your ideas. I hope you enjoy them.
Cut-Out Spring Cookies
いろんな形、いろんな色。我が家の定番となっている春爛漫な型抜きクッキー。抹茶、ココア、紫芋、ビーツ、パンプキン、バタフライピー、シンプルな味わいの生地を自然の素材で色付けし、様々な形にくり抜いて焼き上げました。
私たちは、毎年1月から春にかけてこのクッキーを焼きます。この時期に誕生日を迎える娘に、また長い冬が終わり春を迎えるために、冬から春にかけて恒例のクッキーとなりました。小さな一口サイズで、味も色も形も違うので目にも華やかです。娘のクラスでのバースデーセレブレーションでは毎年恒例のクッキーとしてクラスメイトに配ります。春はすぐそこ、と気持ちが軽くなるようなクッキーです。クッキーの型や色を変えれば、一年を通していろいろなイベントのポットラックでも楽しめます。
普段、精製された白いお砂糖は使わない我が家ですが、このクッキーをつくる時はあまりストイックになりすぎず、色とりどりの発色を楽しんでいます。
春の訪れを楽しむクッキー。生地のレシピをご紹介します。
用意するもの
つくりやすい分量 (3cmのクッキー型 約40枚ほど )
– 小麦粉 240g
– 粉砂糖 100g
– バター 80g
– 卵 1つ
色をつける場合:全て3〜5gほど
– 抹茶パウダー
– ココアパウダー
– 紫芋パウダー
– ビーツパウダー
– パンプキンパウダー
– バタフライピーパウダー
*今回は7色のクッキーをつくるために3.5倍の量でつくりました。たくさん!
3cmクッキー型 約150個枚ほど
小麦粉:840g、粉砂糖:340g、バター:270g、卵:3.5個
各色のパウダー:8〜10g
About the Cookie Cutters
今回使用した型は、職人の手で作られたものです。その精巧さと、切れ味は、これぞ日本製だと世界に誇れるもの。決して値段は安くはないけれど、一生物だと思ってこれまでに少しずつ集めてきましした。オークの葉っぱの型はこちらの商品です。それ以外のものは京都の有次、築地の常陸屋で購入しました。LAではHITACHIYA USAで購入できます。
つくりかた
Step 1. ベースとなる生地を混ぜる
バターを冷蔵庫から出して室温に戻します。ボールに入れて、部屋の温かい場所に一時間ほど置いておくといいでしょう。
柔らかくなったバターを泡立て器でよく混ぜます。次に砂糖を入れよく混ぜます。この時ボールの中は白いクリーム状になっているでしょう。その後、しっかりとほぐした卵を3回ほどに分けて少量ずつ加えて混ぜていきます。しっかり混ぜるともったりしてきます。ベースとなるの生地の完成です。
*砂糖は粒子の細かい粉糖がおすすめです。生地に混ざりやすく焼いた時に綺麗に仕上がります。
Step 2. 生地を分ける
1の生地を計量します。そして作りたい色の数に均等に分けます。それぞれの生地の重さに対して、1.2倍の小麦粉を加えます。色をつける場合は各色のパウダーを小麦粉と一緒に加えます。
今回は700gの生地が出来上がり、7色の生地を作りました。まず、100gの生地の元をボールに入れ、1.2倍の小麦粉(120g)を振るいにかけながら加え、ヘラで切るように混ぜて、最後にひとまとめにします。混ぜる時に練り過ぎない様に注意してください。
ラップをして生地をめん棒で5mmの厚さに伸ばし、30分~1時間冷蔵庫で休ませます。
他の6色分も同様に小麦粉と各色のパウダーを混ぜ、5mmの厚さに伸ばして冷蔵庫で休ませます。
Step 3. 型抜きをする
冷蔵庫から出した生地をもう一度5mmの厚さにならし、型抜きします。
鉄板にオーブンシートを敷き、型抜きした生地を並べます。焼くと少し拡張するので、くっつかないように間隔を空けて並べてください。
鳥の目や、植物の模様は、串を使って彩ります。串の尖っていない方で、鳥の目を、葉っぱには串の尖っている方で葉脈を描きます
Step 4. 焼く
オーブンを170度に予熱し、13分ほど焼きます。焼き加減の目安は、周りにうっすら焼き色がつき、裏面にも焼き色が付いている状態です。クッキーの大きさにやオーブンの状態によって焼き時間は変わります。注意深く観察して、焼成時間を調節してください。
焼き上がったらオーブンから出し、しばらく鉄板の上において余熱で水分を飛ばします。その後トレイに置いて十分に冷まします。
誕生日クッキーとして
毎年娘の誕生日にはこのクッキーをが活躍しています。娘のイラストを描いたパッケージにぎっしりと詰めて。イラストは毎年その時の彼女の様子にアップデートしています。イラストが少しずつ成長していくのも私の密かな楽しみです。
さまざまなイベントに
ハロウィン、クリスマスなど、これまでいろんなポットラックの場でもつくってきました。ときには娘がお手伝いしてくれて、アイシングに挑戦したりも。小さくて、ほんのり甘い素朴なクッキー。ひとつ食べるとなかなか止まらないのです。
娘とつくったハロウィンとクリスマスのクッキー。
ハロウィンはチョコで顔を描きました。黒は驚きのイカ墨パウダーです。
クリスマスにはアイシングに初挑戦でした。
アースデイのためのクッキー。バタフライピー(青)と抹茶(緑)とプレーンの生地を、ひとまとめにやさしく混ぜました。丸型で抜いたらさまざまな地球の表情ができました。
2つの型を使ってつくった花のクッキー。カラフルな一口サイズです。
このシンプルな生地は、アイデア次第でいろんなクッキーができます。どうぞ楽しめますように。