Gnome in Treasure Bag
My daughter’s school holds a Winter Fair every December. It is an annual event held by the entire school, and parents prepare everything by hand, including a craft experience, bake store, craft store, etc. The last few years we have been unable to hold this event due to the pandemic, but this year we are finally resuming it.
One of the most exciting events for children is the Snow Fairy Market. It’s a dreamlike store that only children are allowed to enter. The magical space is filled with special items handmade by parents, and children get purchase holiday gifts with tokens. Adults are not allowed in the room. Children are not influenced by anything, and they choose their gifts with their own will. With their thoughts and feelings toward the recipient.
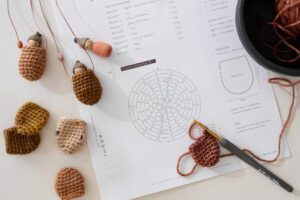
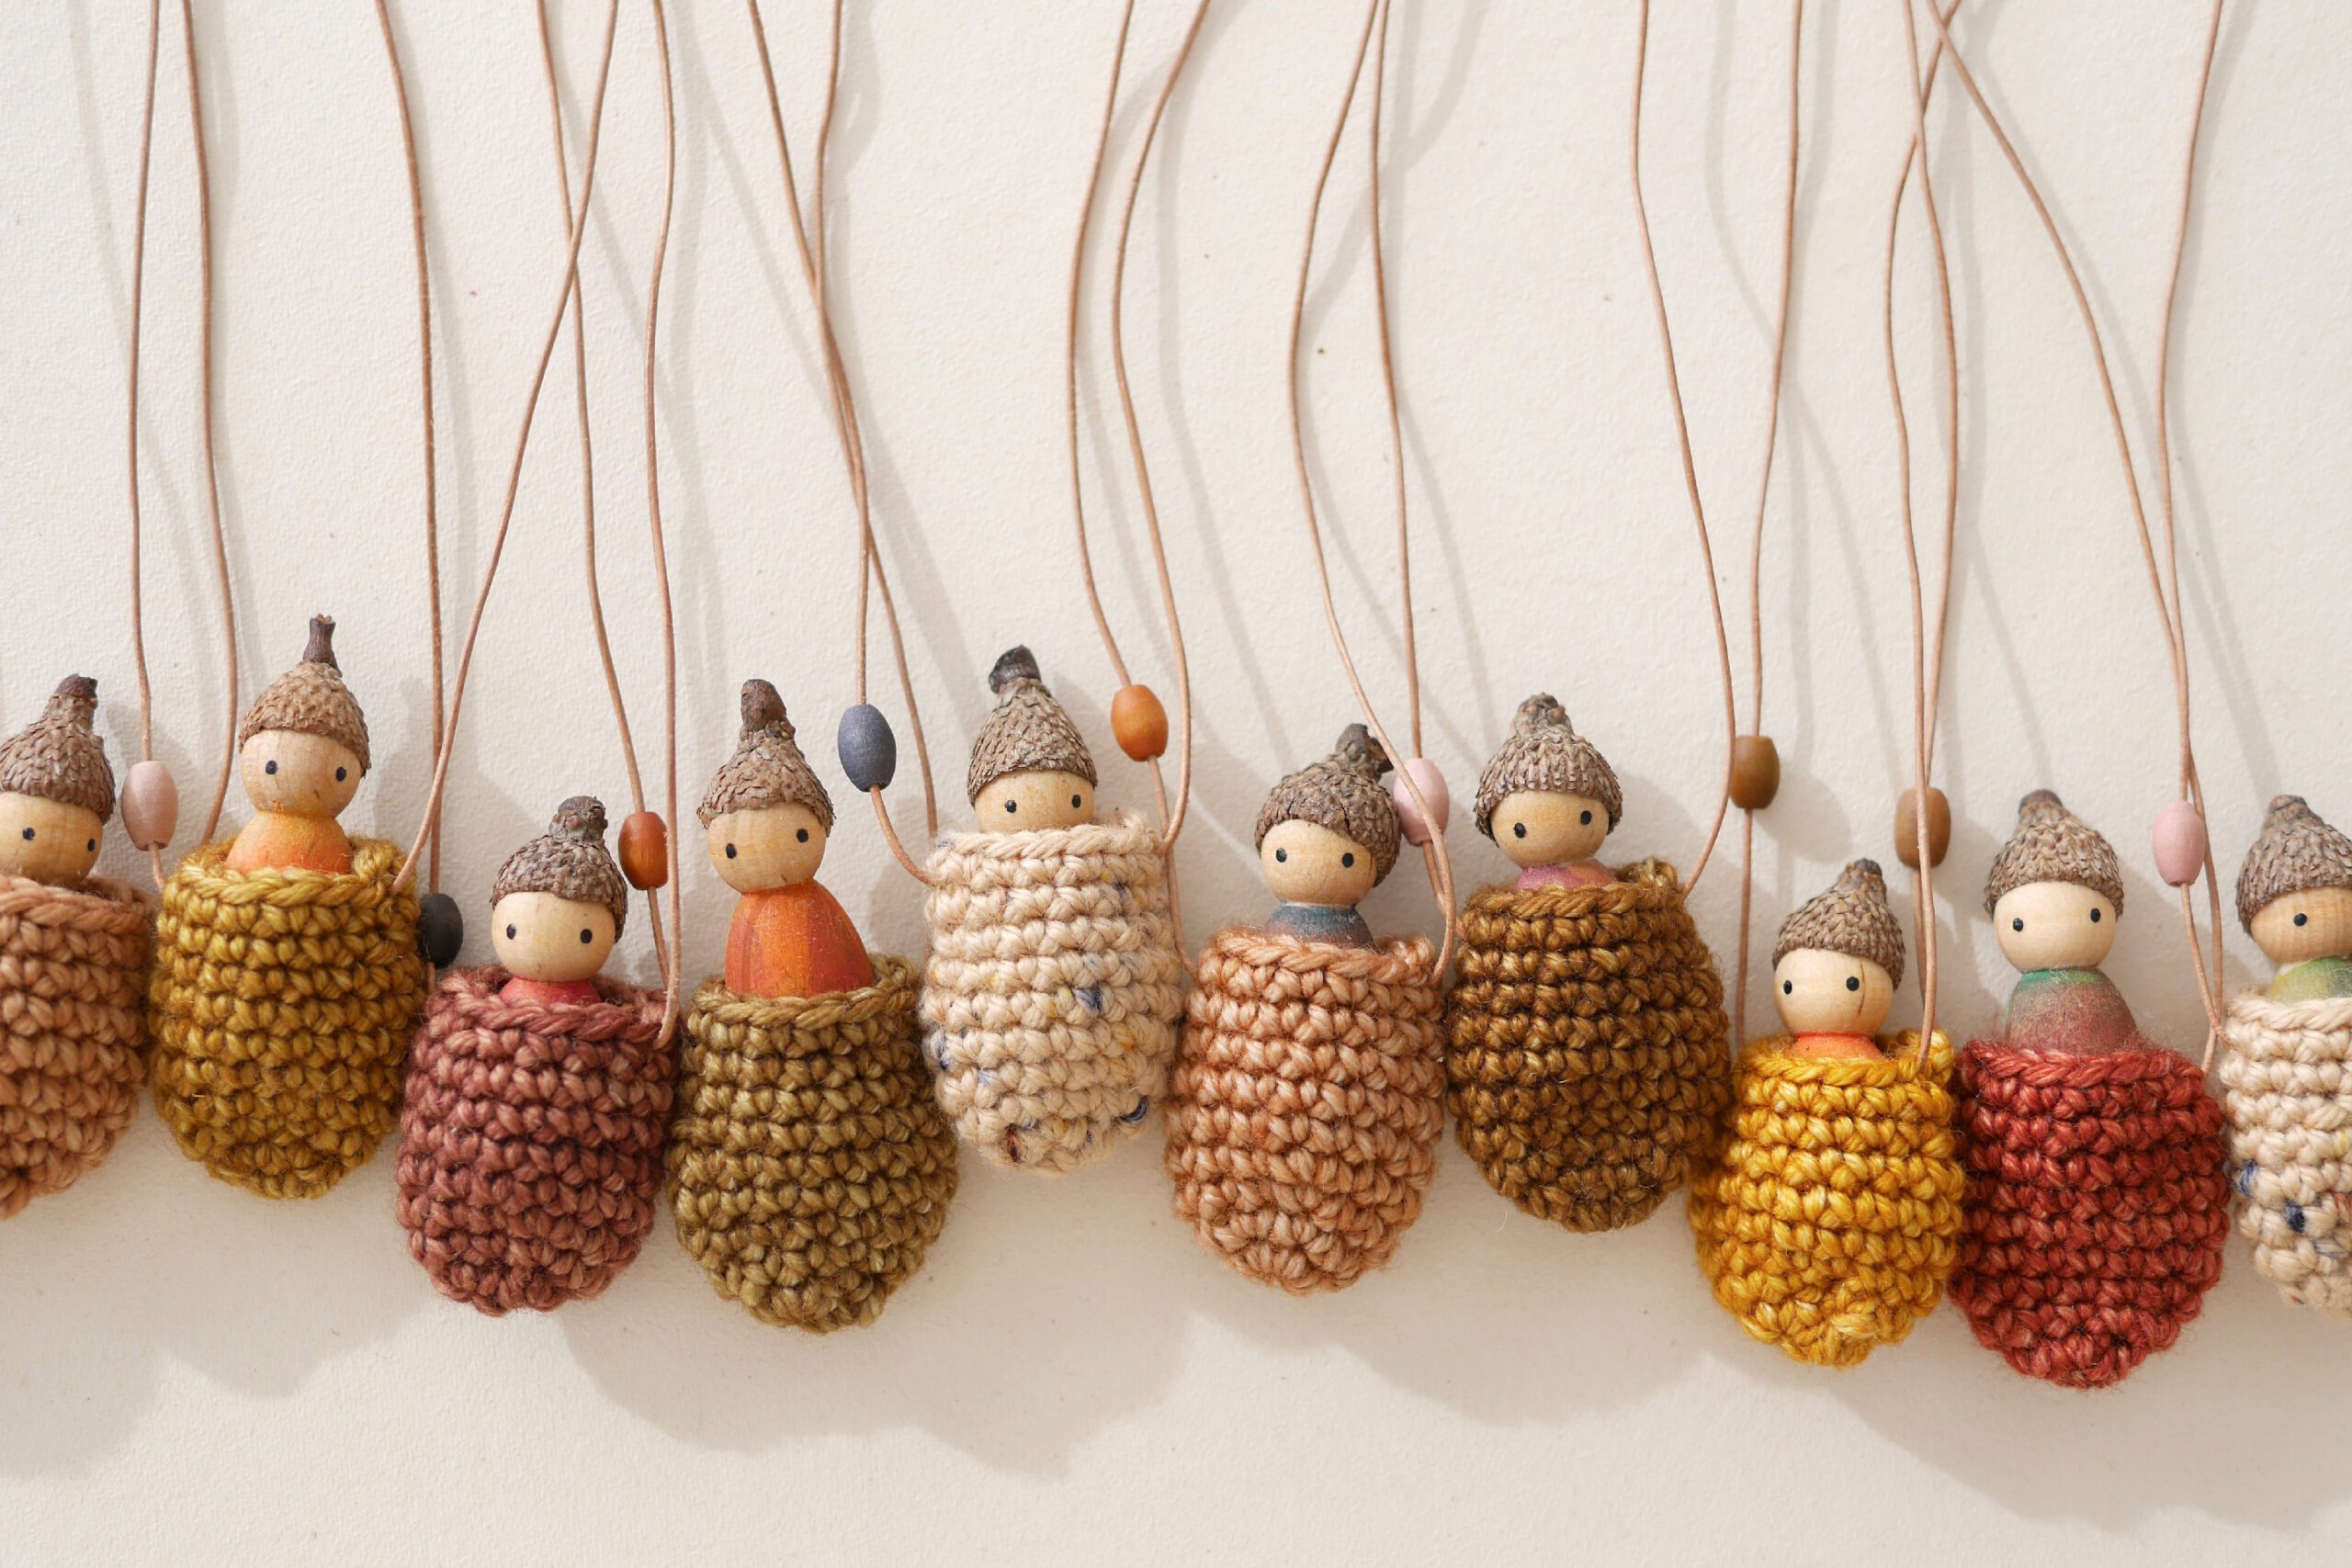
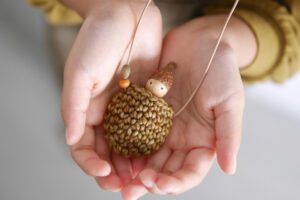
What I have prepared for this Snow Fairy Market this year is a necklace with an acorn gnome in a small bag. This bag which looks like a minnow, is knitted in crochet. The acorn cap is something I found on a walk sometime ago. The cap fits the peg doll’s tiny head just right. Who will this gnome go to? For children who believe in gnomes and faeries. May they be your little buddy.
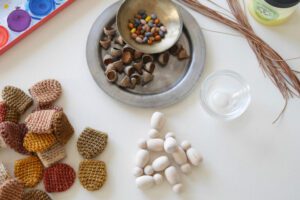
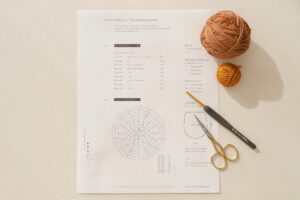
Materials
– Peg doll
– Acorn Cap *Do you have one that you found on your walk?
– Paints *I used watercolors this time
– Beeswax polish *to finish the watercolors
– Glue or glue gun
– Yarn *Felt fabric and thread if you are finishing with sewing
– Crocheting pattern *Download below
– String
Instructions for making
Step 1. Paint the Peg Dolls
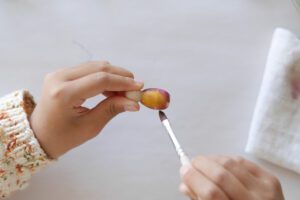
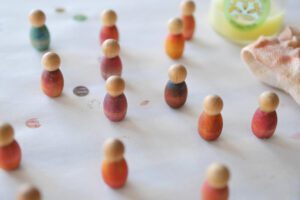
Paint the peg doll’s clothes in your favorite color and dry. When completely dry, apply beeswax polish as a finishing touch. This process is optional, but recommended as it will calm the texture of the wood after painting.
Step 2. Put an Acorn Cap on
The acorn cap is attached to the peg doll with glue. And the final touch is the eyes. I do not recommend using pens or watercolors, as they tend to bleed. The easiest way is to put acrylic paint on the tip of a toothpick and apply a dab it.


Step 3. Make a Bag
If crocheting, please refer to the free downloadable crocheting pattern. If sewing, overlap two pieces of felt fabric and blanket stitch the edges. Attach a string at the end and you are done.

Hat Variations
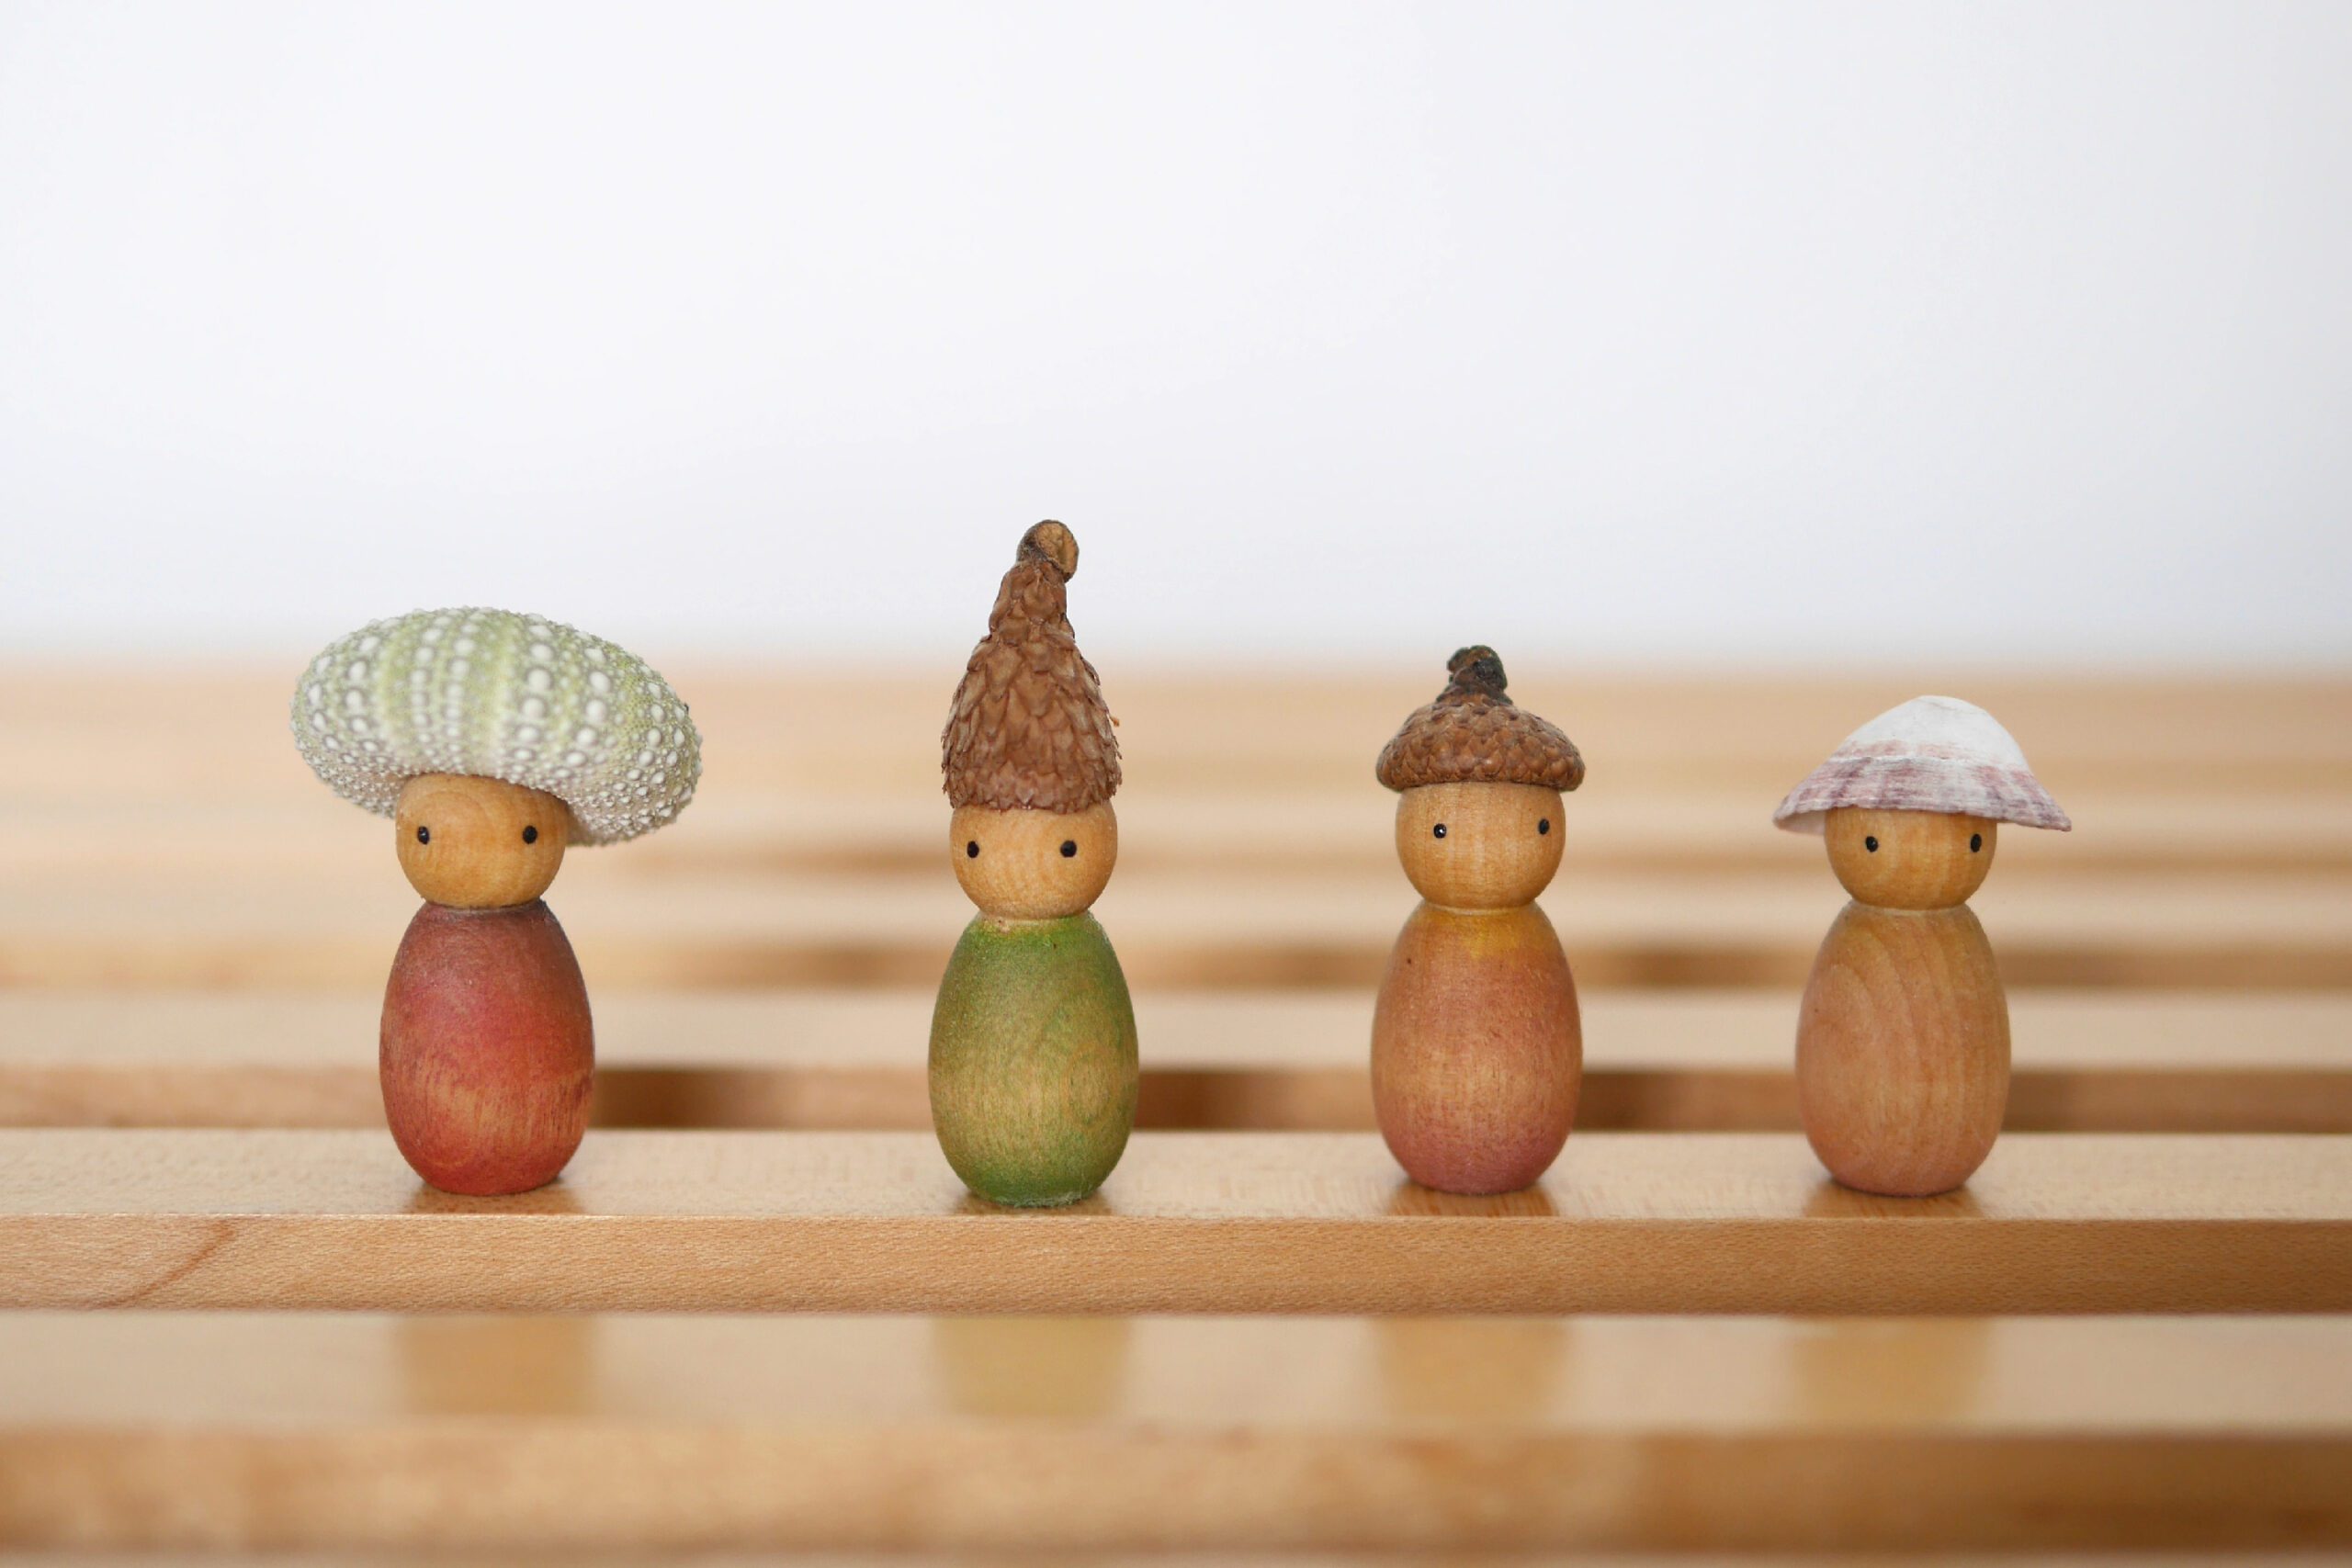
It is fun to change the hat on the gnome’s head to a shell or a nut as well. From the sea, mountains, and forests, various gnomes are here.
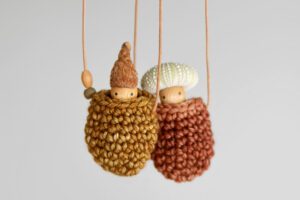
Gnome in Treasure Bag
娘の通う学校では、毎年12月にWinter Fairが開催されます。学校全体で行う年に一度のイベントで、クラフト体験や、ベイクショップ、クラフトショップなど全て保護者たちが手づくりで準備をします。ここ数年はパンデミックの影響で開催できませんでしたが、今年はついに再開です。
その中でも子どもたちの胸が躍るのが、Snow Fairy Market。そこは子どもだけが入れる夢のようなお店。まるで魔法に包まれたような空間には、保護者が手づくりした特別な品々が所狭しと並び、子どもがトークンと引き換えにホリデーギフトのお買物をします。大人は入室禁止です。何にも影響されず、自分の意思で、相手へ思いを込めてギフトを選ぶのです。
さて、私がこのSnow Fairy Marketのために用意したのは、小さな袋に入ったどんぐりノームのネックレス。まるでミノムシのようなこの袋はクロシェットで編みます。どんぐりキャップは、いつかの散歩で見つけたもの。ペグドールの小さな頭に程よくフィットしました。このノームはどんな子の元へいくのかな。ノームやフェアリーを信じる子どもたちへ。小さな相棒になりますように。


用意するもの
– ペグドール
– どんぐりのキャップ *散歩の時にみつけたのはお持ちですか?
– 絵の具 *今回は水彩絵の具を使いました
– 蜜蝋ワックス *水彩絵の具の仕上げに
– ボンド、もしくはグルーガン
– 毛糸 *裁縫で仕上げる場合は、フェルト生地と糸
– 袋の編み図 *下記よりダウンロードしてください
– 紐
つくりかた
Step 1. ペグドールをペイントする
絵の具でペグドールのお洋服を好きな色に塗り、乾燥させます。完全に乾いたら仕上げに蜜蝋ポリッシュを塗ります。この工程はオプションですが、着彩後の木の質感が落ち着くので、おすすめします。


Step 2. どんぐりキャップを被せる
ペグドールにボンドでどんぐりキャップを接着します。そして最後の仕上げは目。ペンや水彩だとにじみやすいのでおすすめしません。簡単なのは、楊枝の先にアクリル絵の具をつけて、ちょんちょんと付けます。


Step 3. 袋を編む
編む場合は、フリーダウンロードの編み図を参考にしてください。縫う場合はフェルト生地を2枚重ね合わせて端をブランケットスティッチします。最後に紐をつけたら完成です。


帽子のバリエーション
頭に乗せる帽子は、どんぐりの他に貝や木の実などに変えても楽しいですね。海、山、森から、いろんなノームがやってきました。


