Fallen Leaf Print
Summer has passed. We decided to take a short trip to the mountains over the weekend to feel the autumn season.
The forests, where the leaves have begun to change color, are full of nature’s treasures. Acorns and oak leaves, some leaves turning beautiful pinkish colors. Large pine cones were sending fluffy, feather-like seeds.
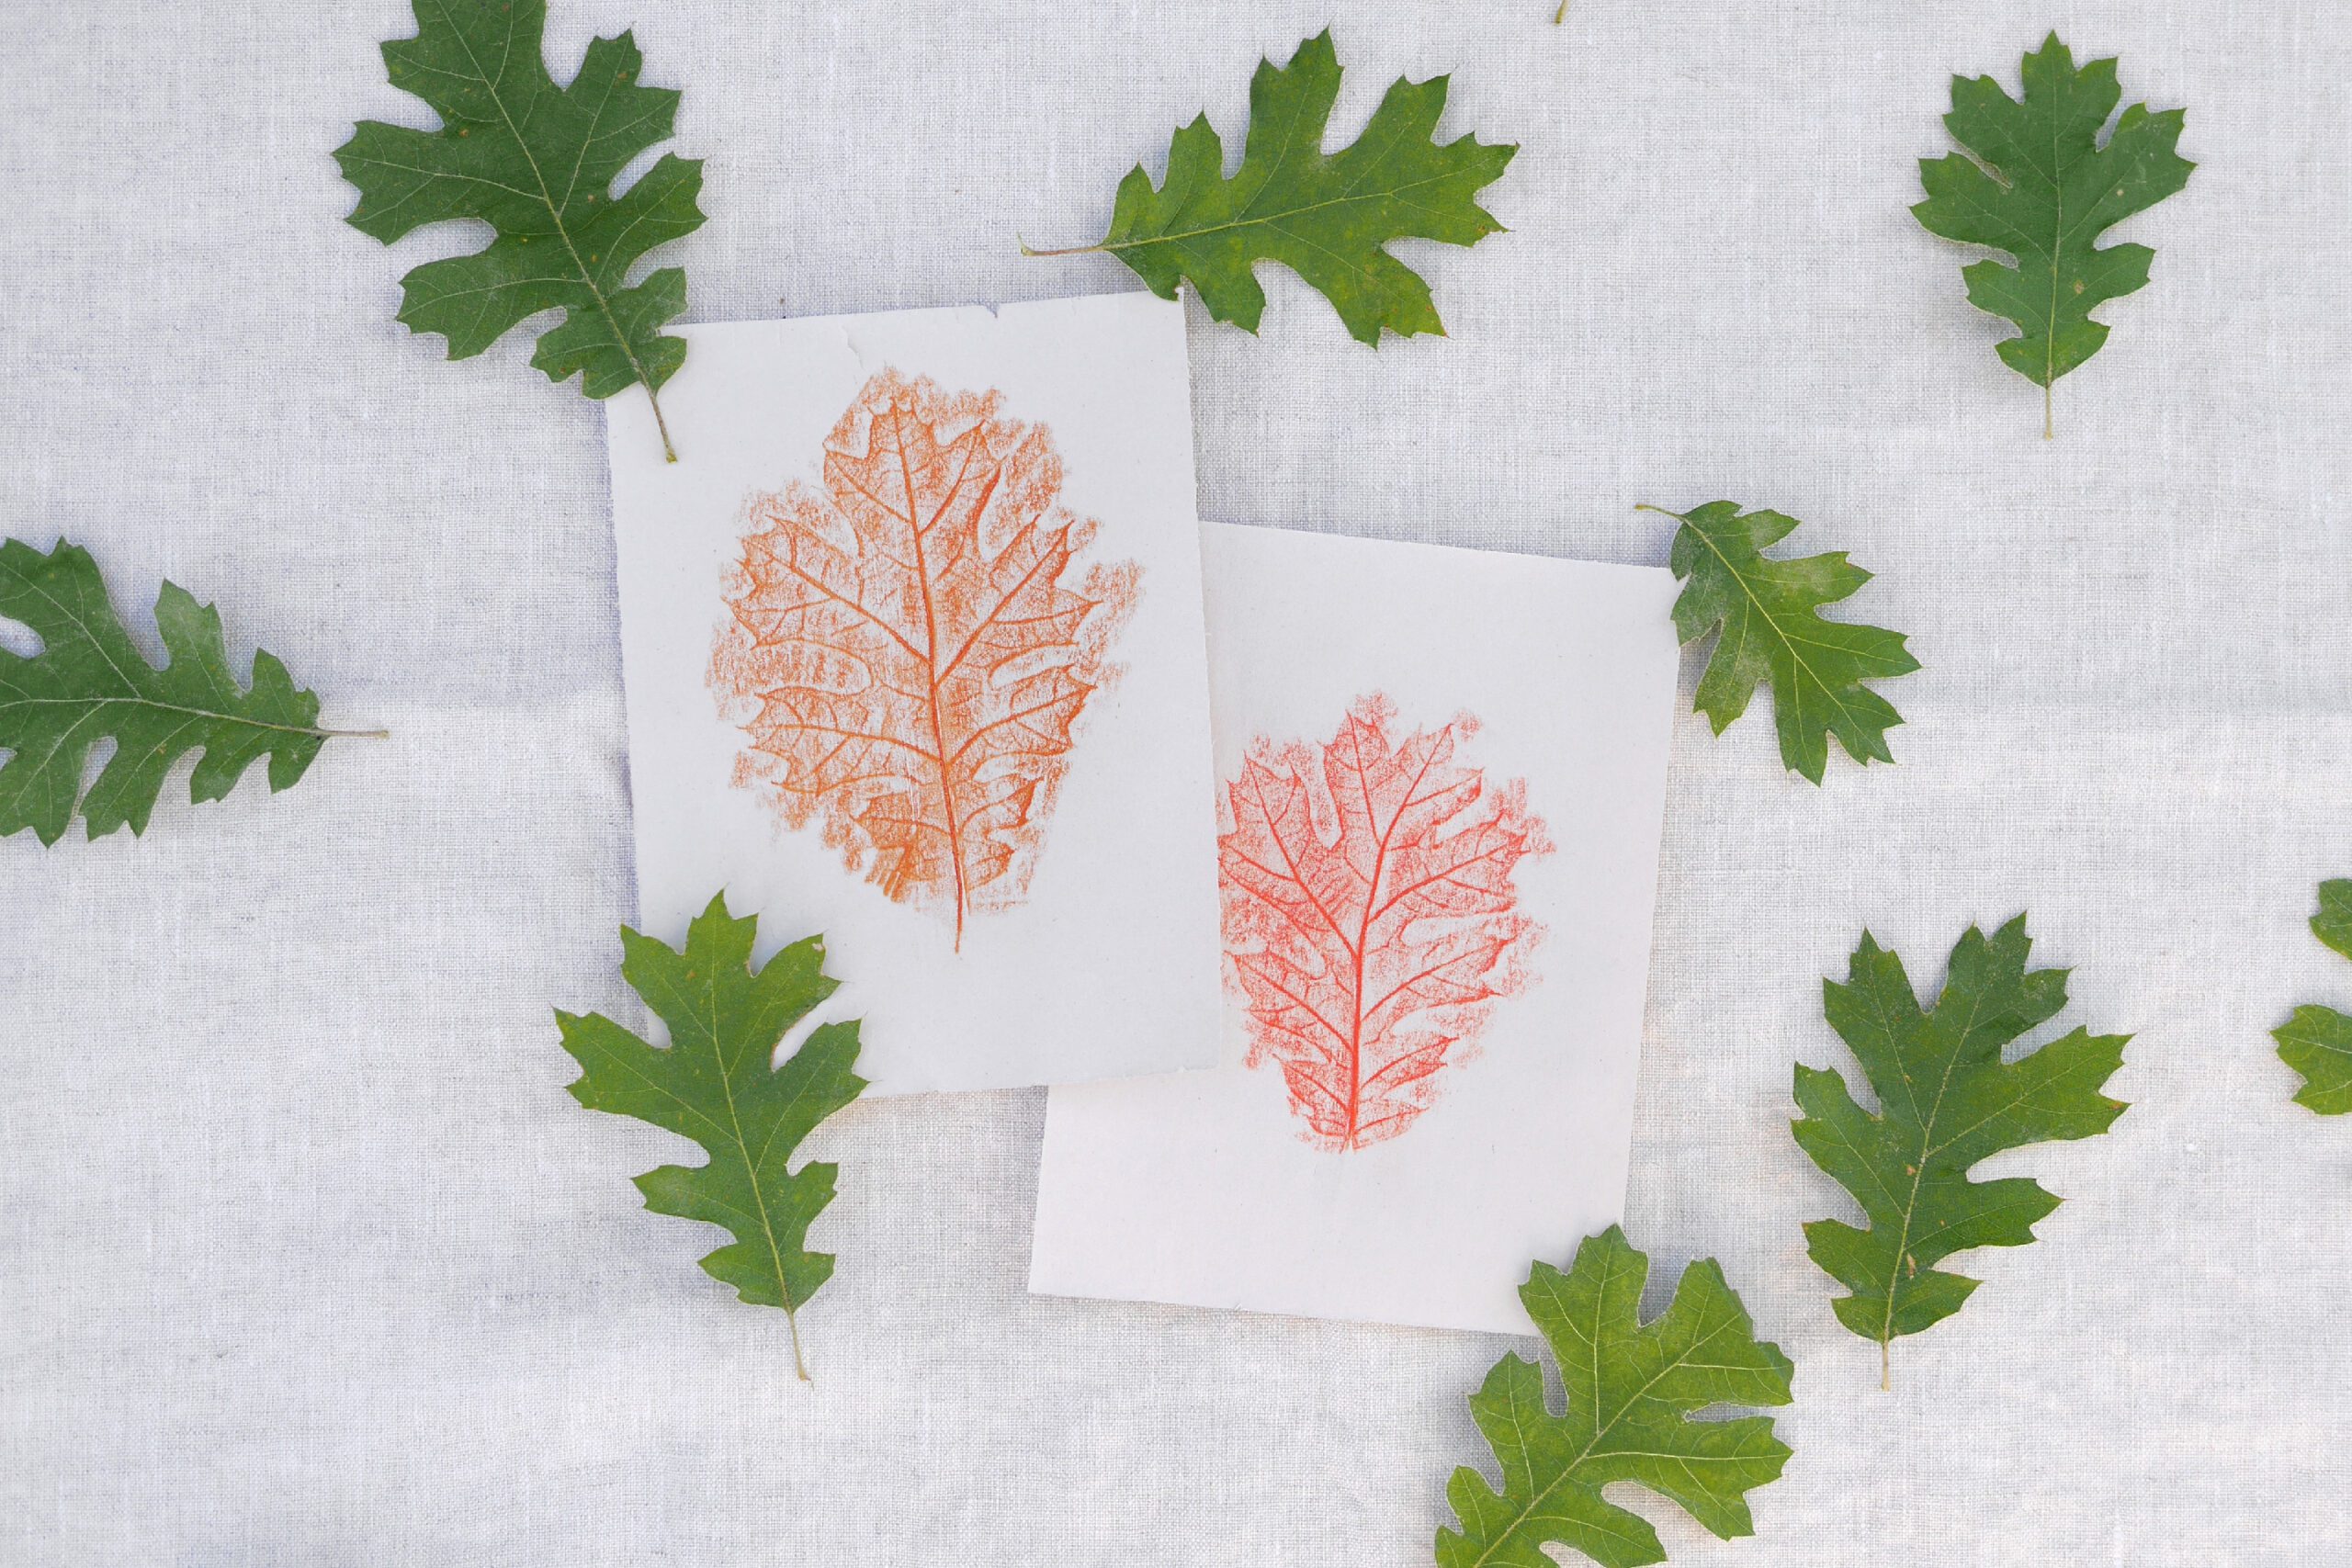
The beautiful leaves reminded me of a nostalgic nature’s play. Leaf print, where you copy the veins of a leaf onto a piece of paper. All you have to do is place the paper on the leaf and then rub it with a pencil. I used to play like this when I was little. In the forest, the park, or when camping. This is a great quick craft for autumn that you can do anytime in the nature.
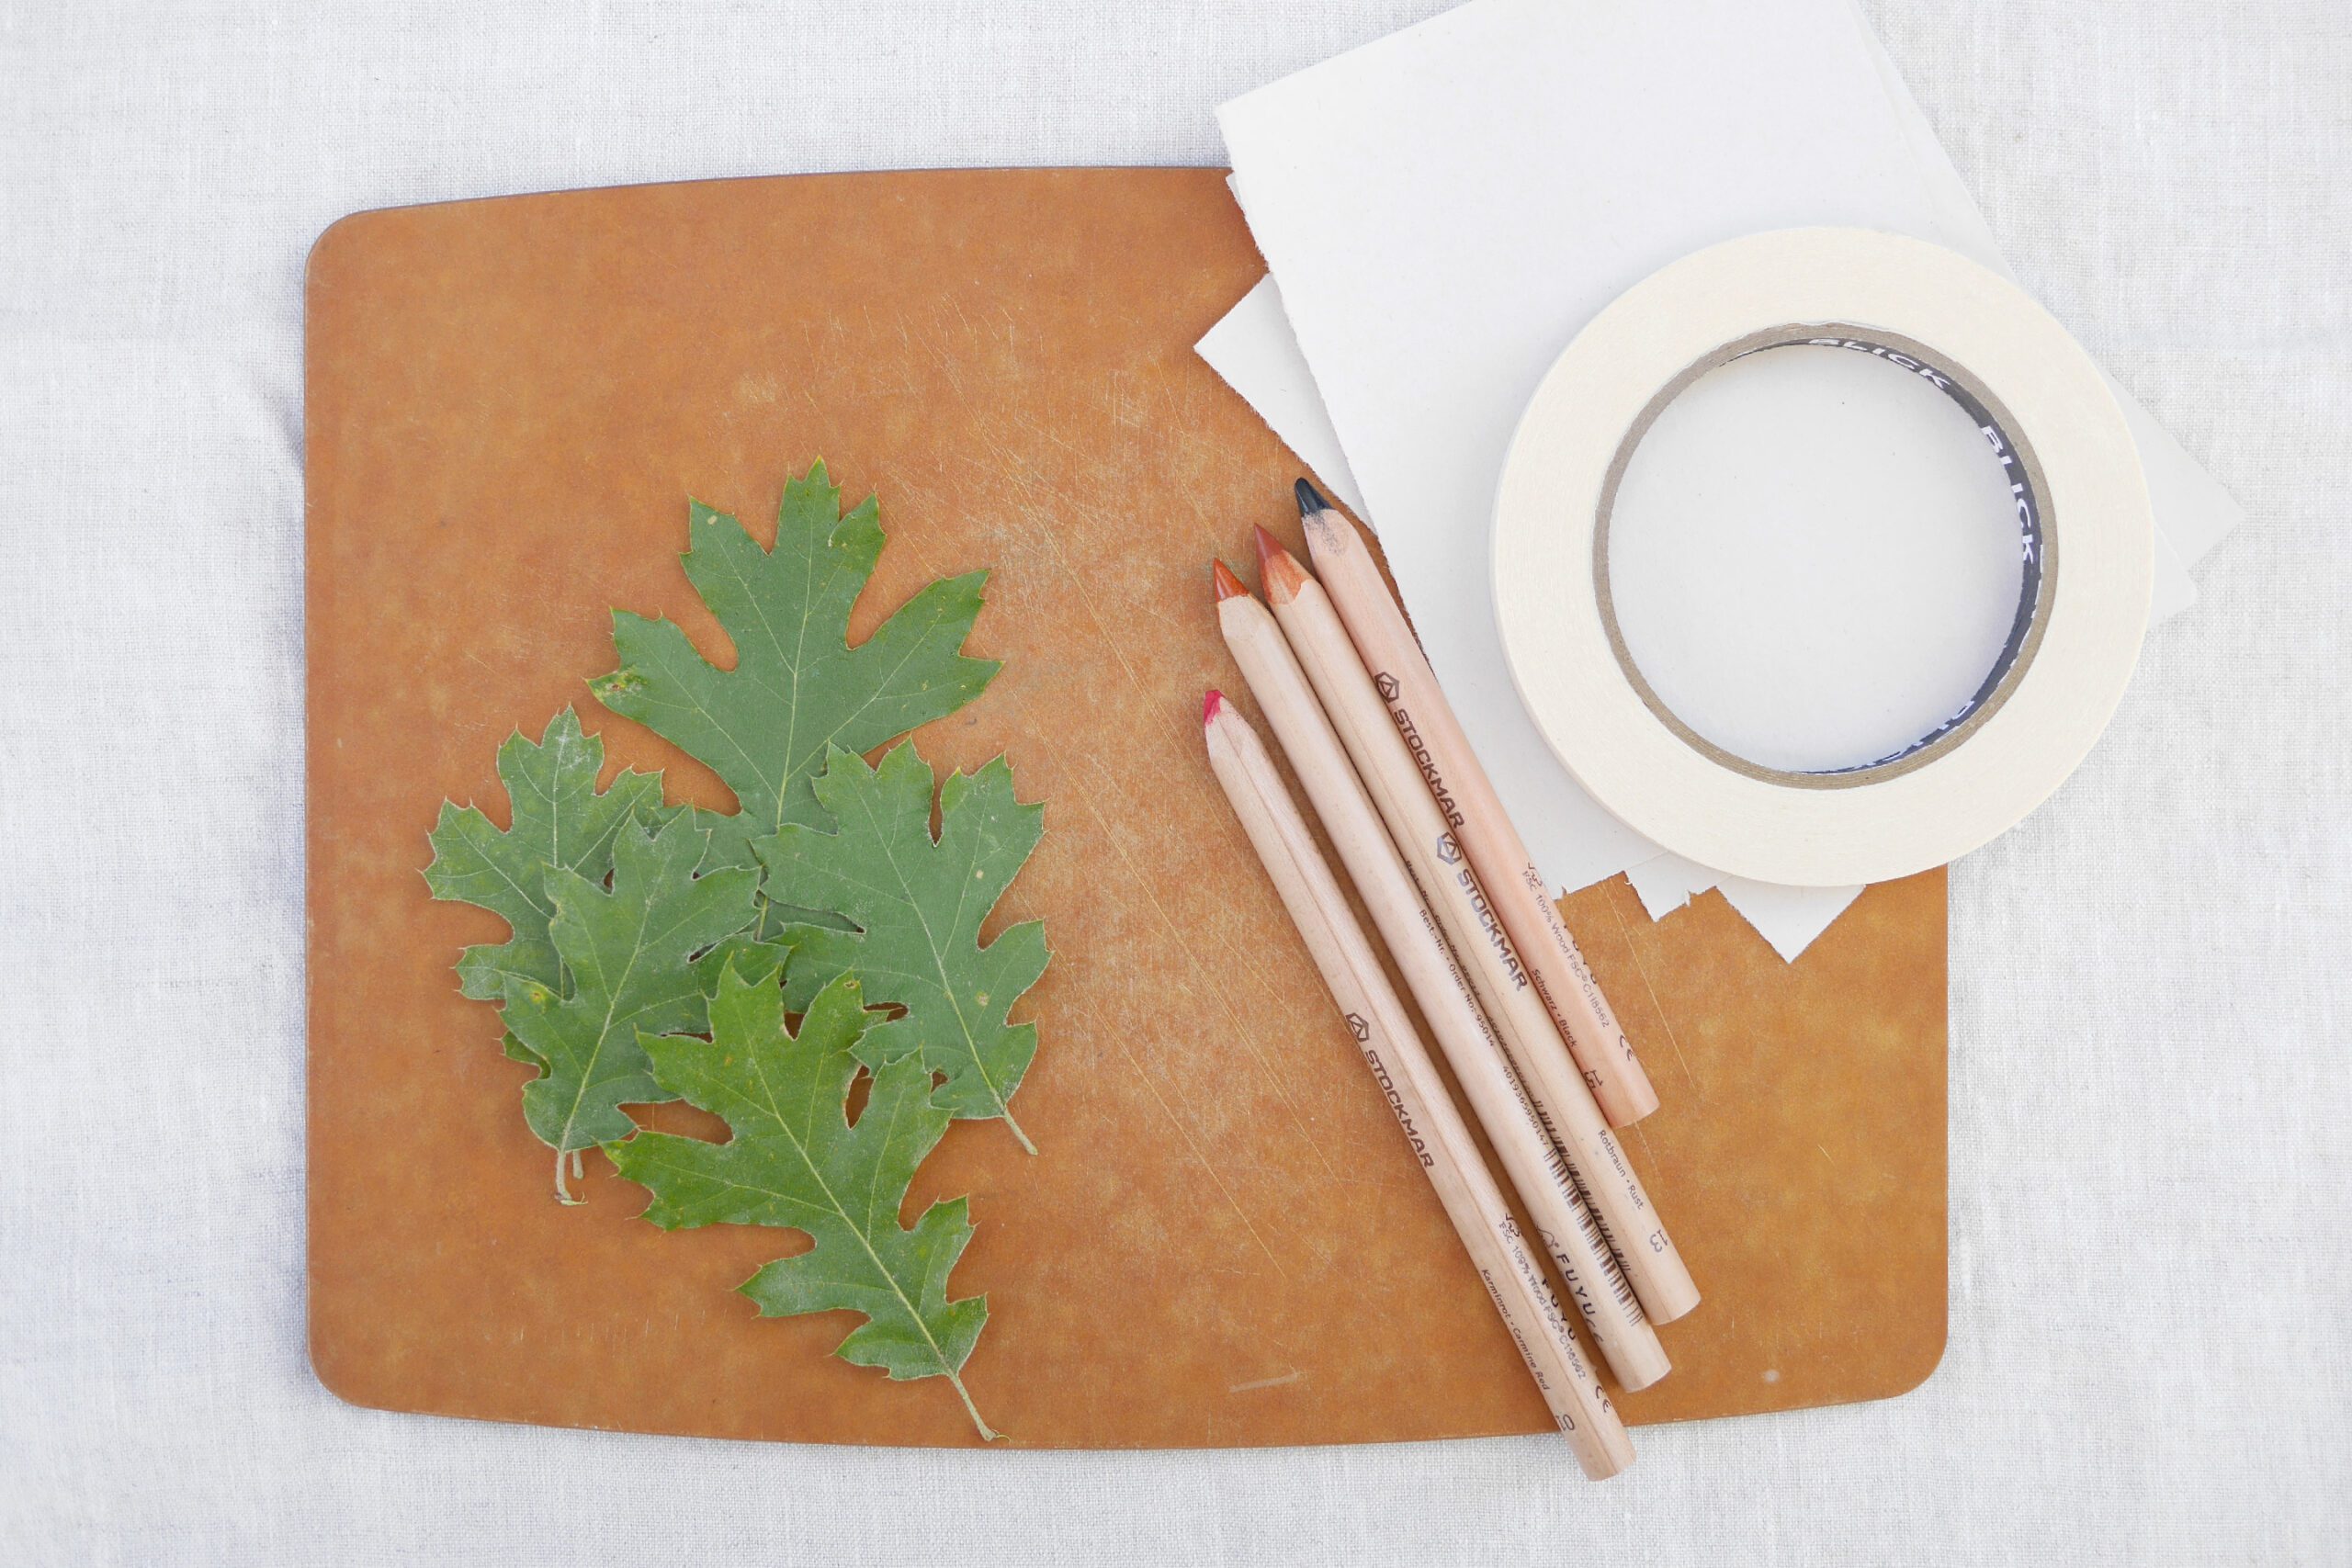
Materials
– Fallen leaves *Your favorite one
– Pencil or colored pencil
– Paper
Instructions for making
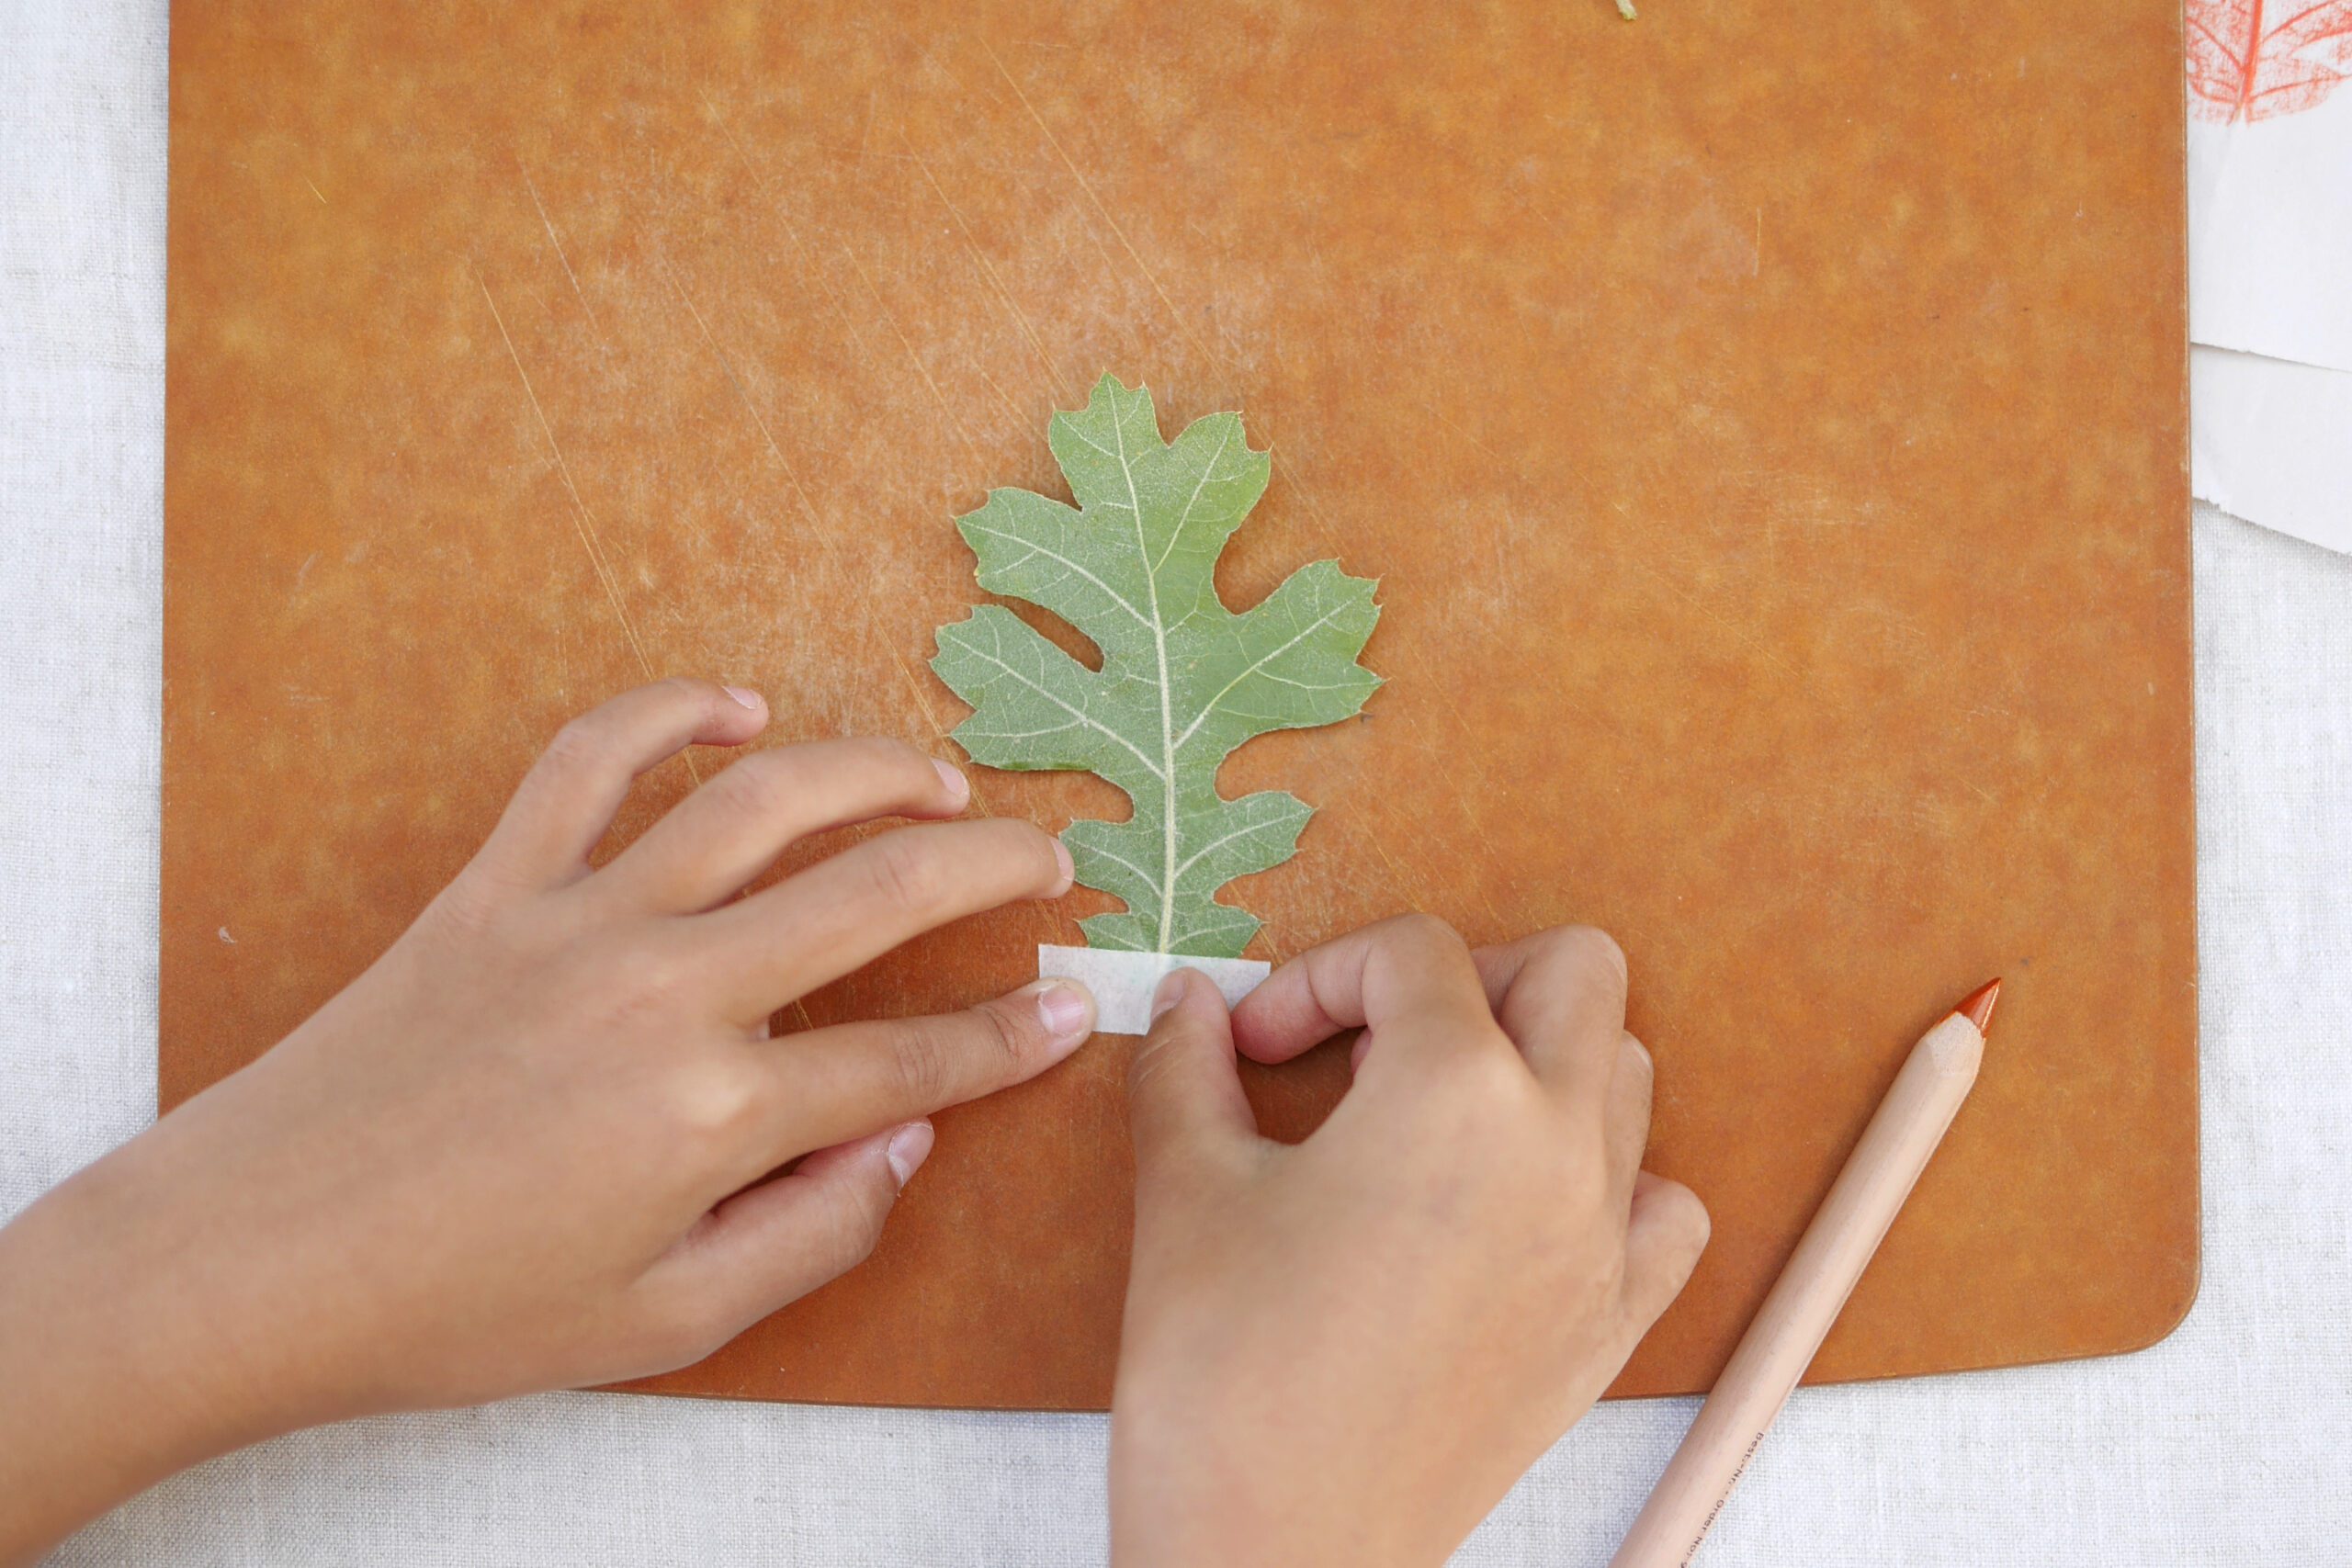
Step 1. Place a Leaf
Place the back of the leaf side up. The underside of the leaf is easier to capture clearly because the veins are well-defined and uneven.
It is a good idea to tape the edges of the leaf to prevent it from moving for children.
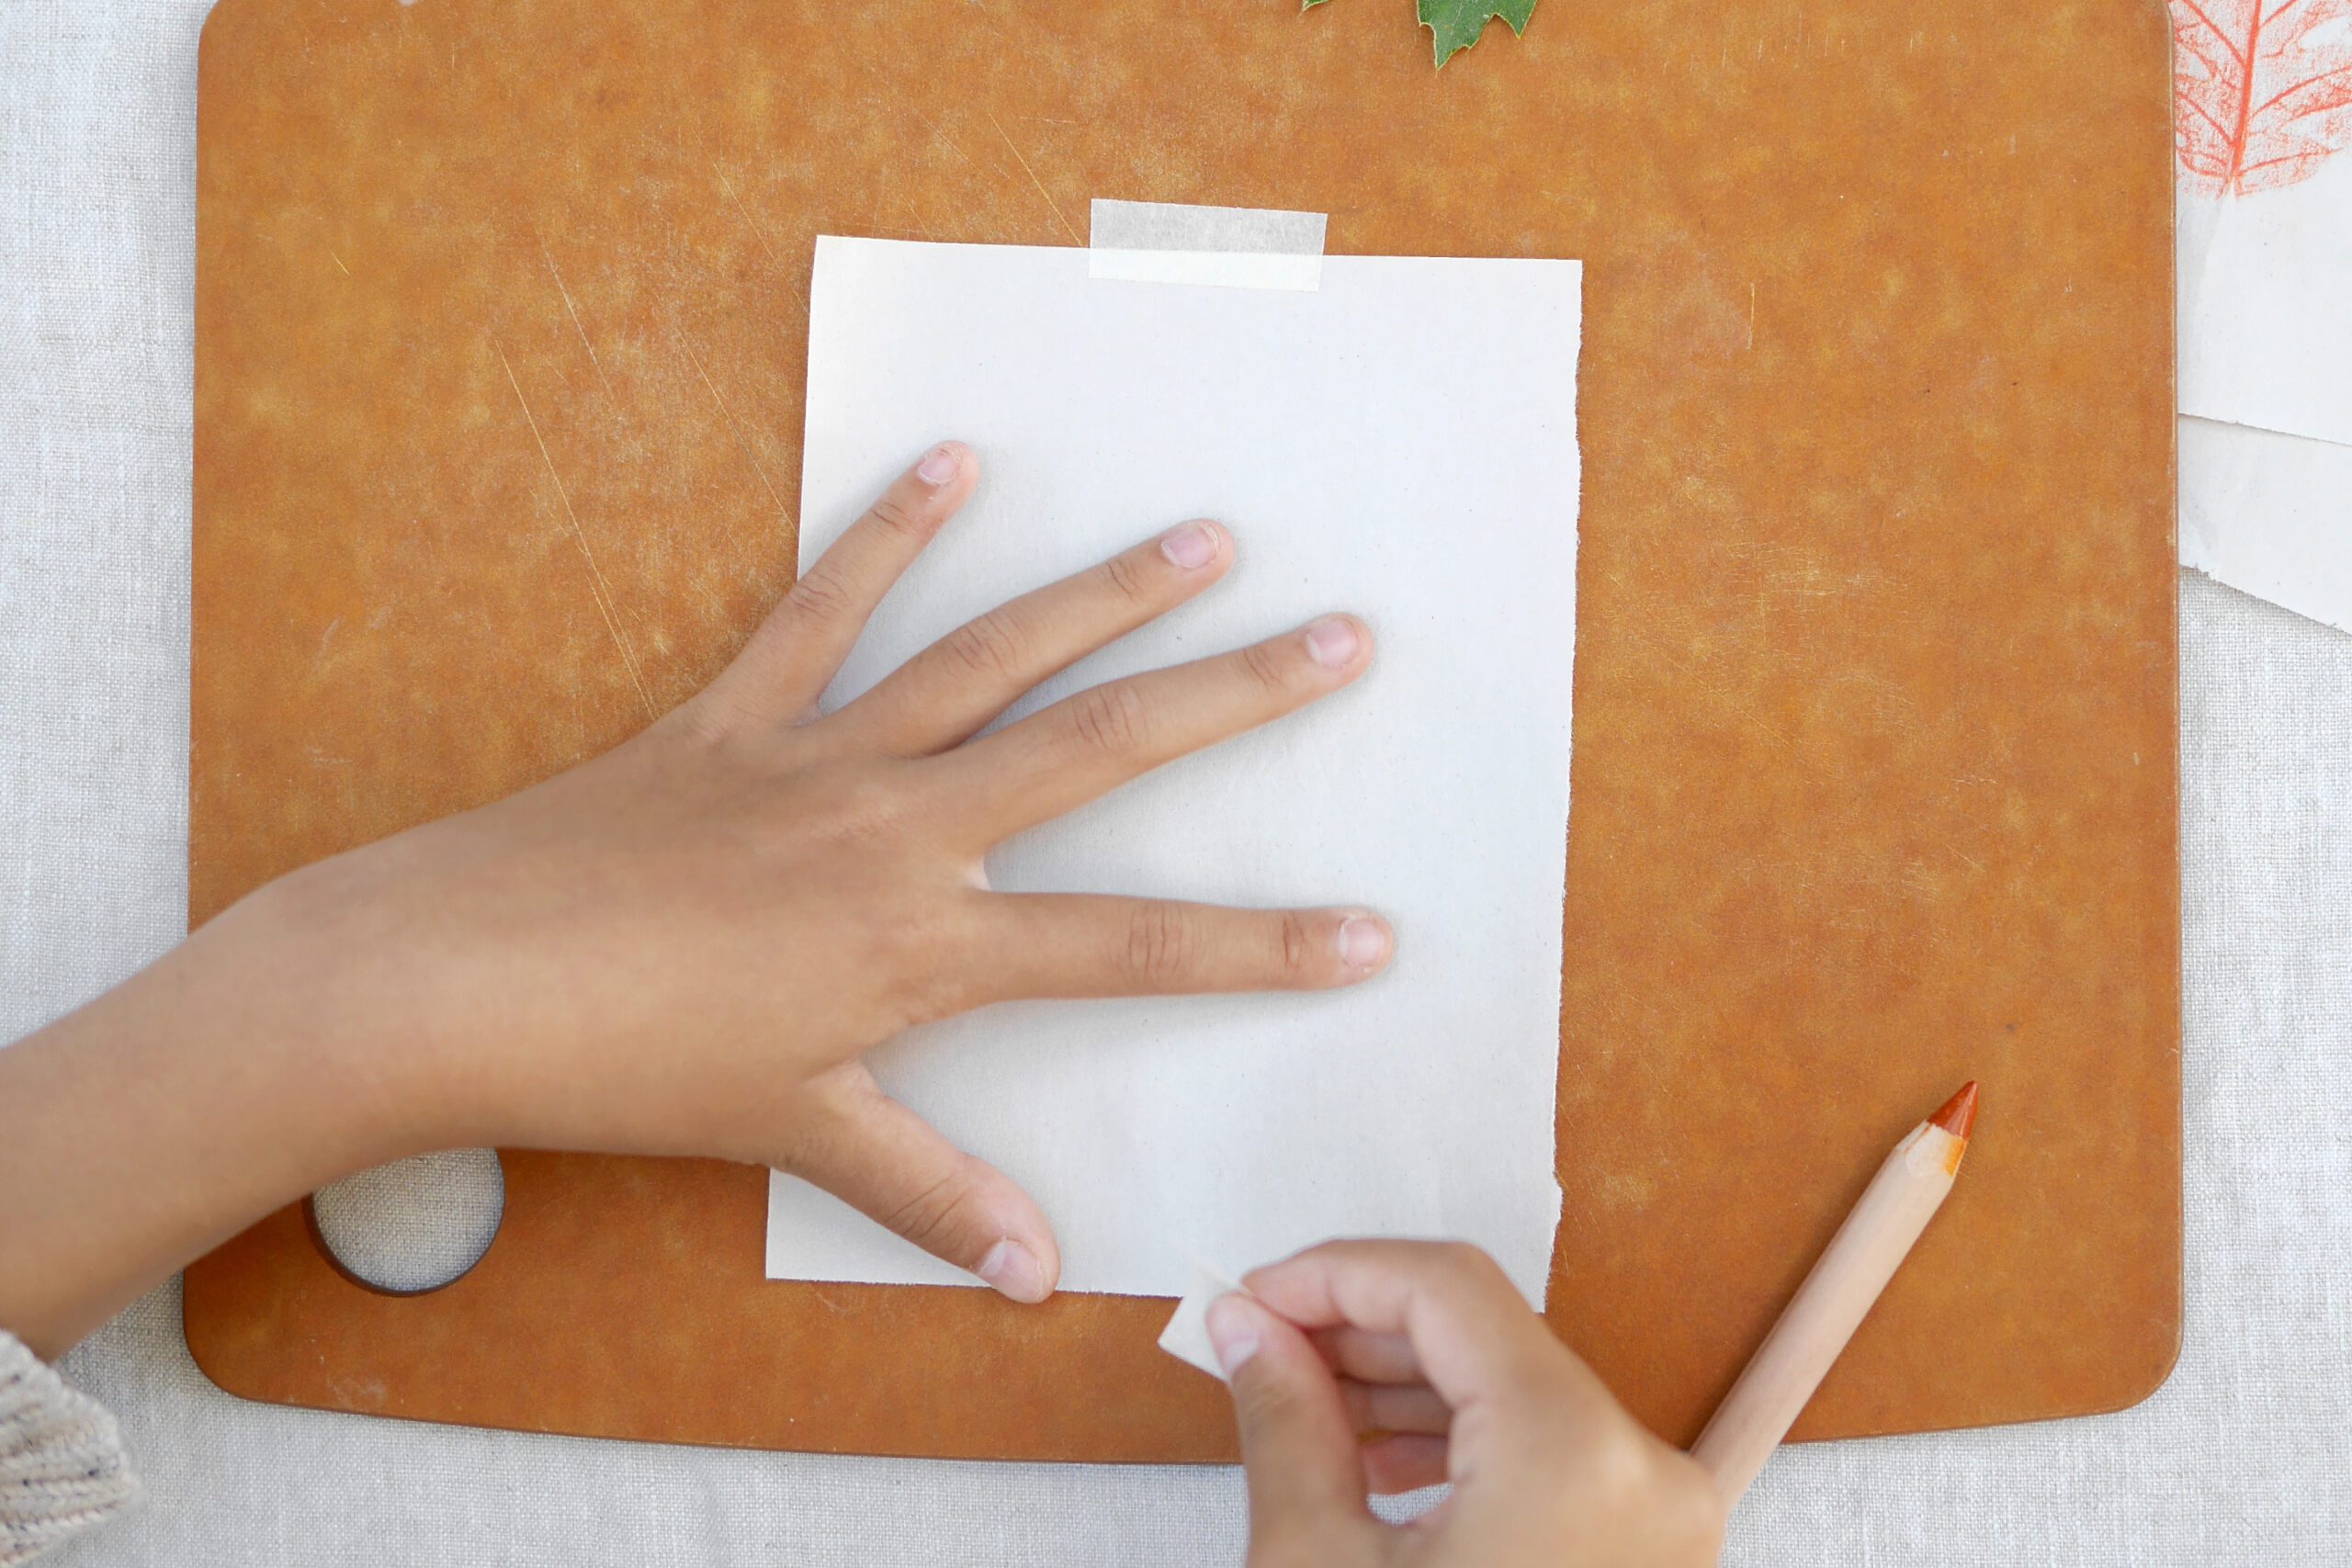
Place the paper on top of the leaf. Again, it is safe to secure the paper with tape. I recommend using thin paper that is not too thick. The paper in the photo is news print paper.
Step 2. Rub with a Pencil
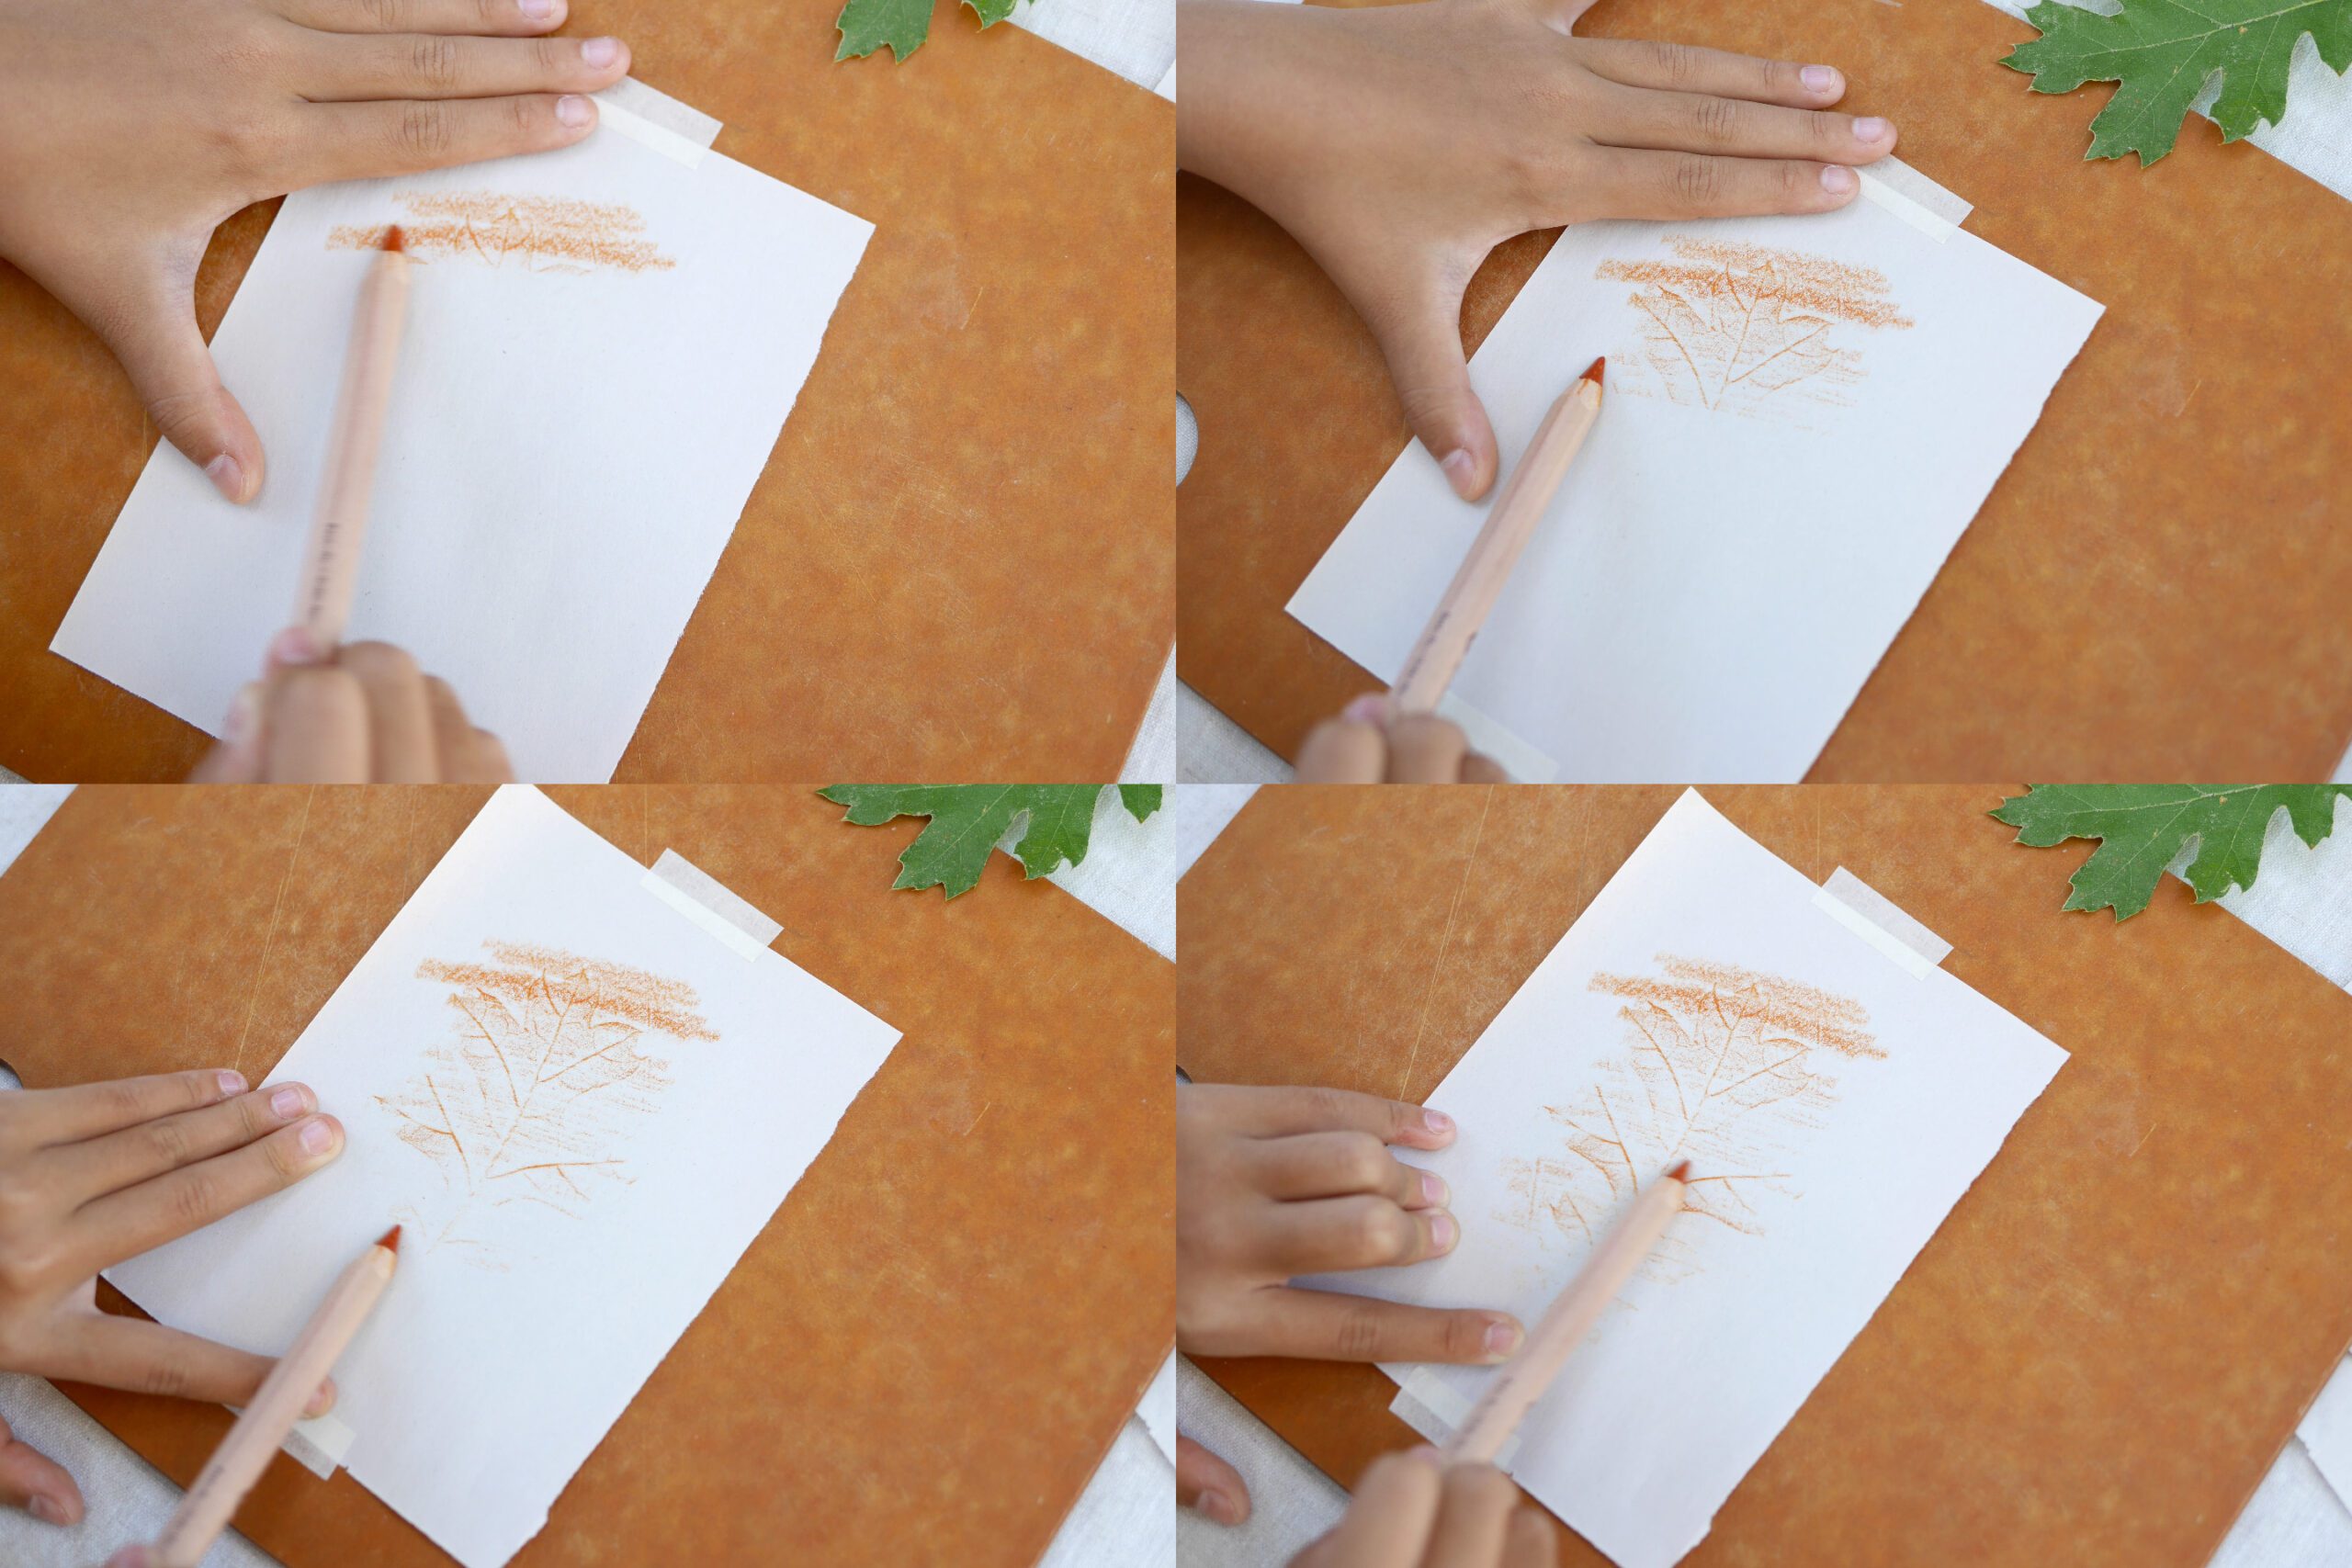
Tilt the pencil and draw over the leaf as if you are rubbing it on the paper.
At this point, it is important to hold the leaves firmly in place by hand to prevent them from shifting position. Rub until all veins appear. Pencils and colored pencils should be soft rather than hard.
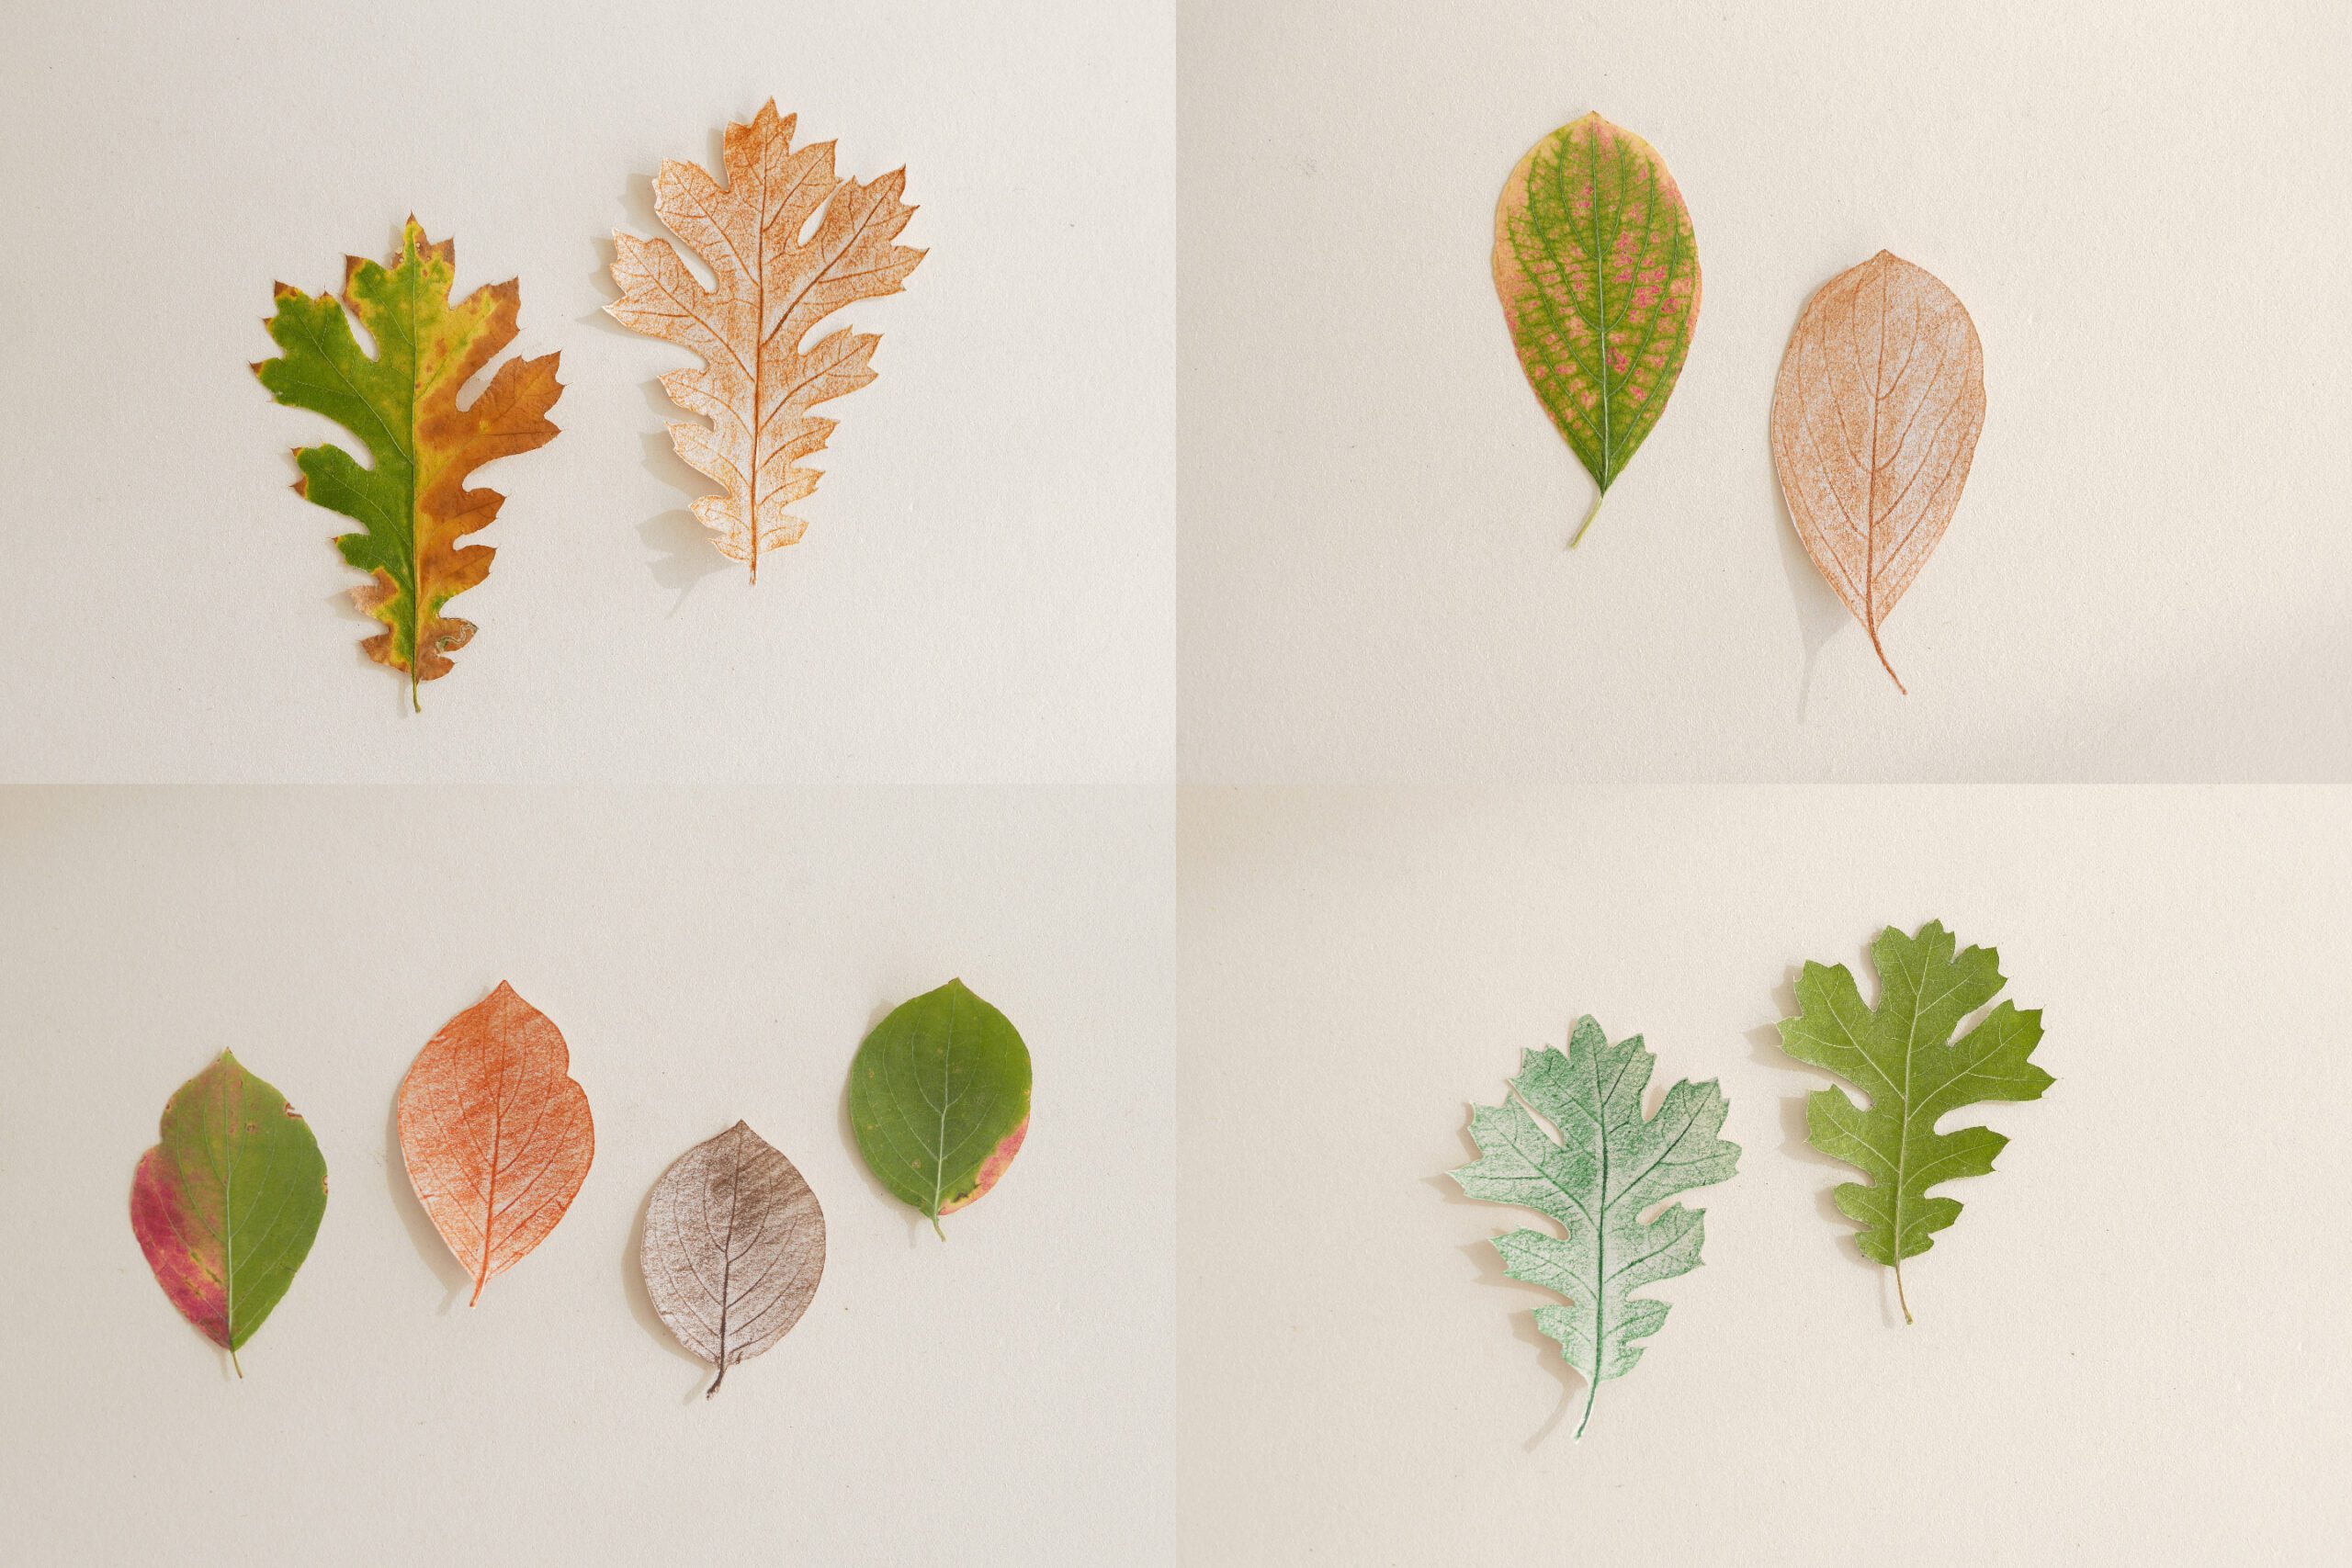
Guess which one is the real leaf?
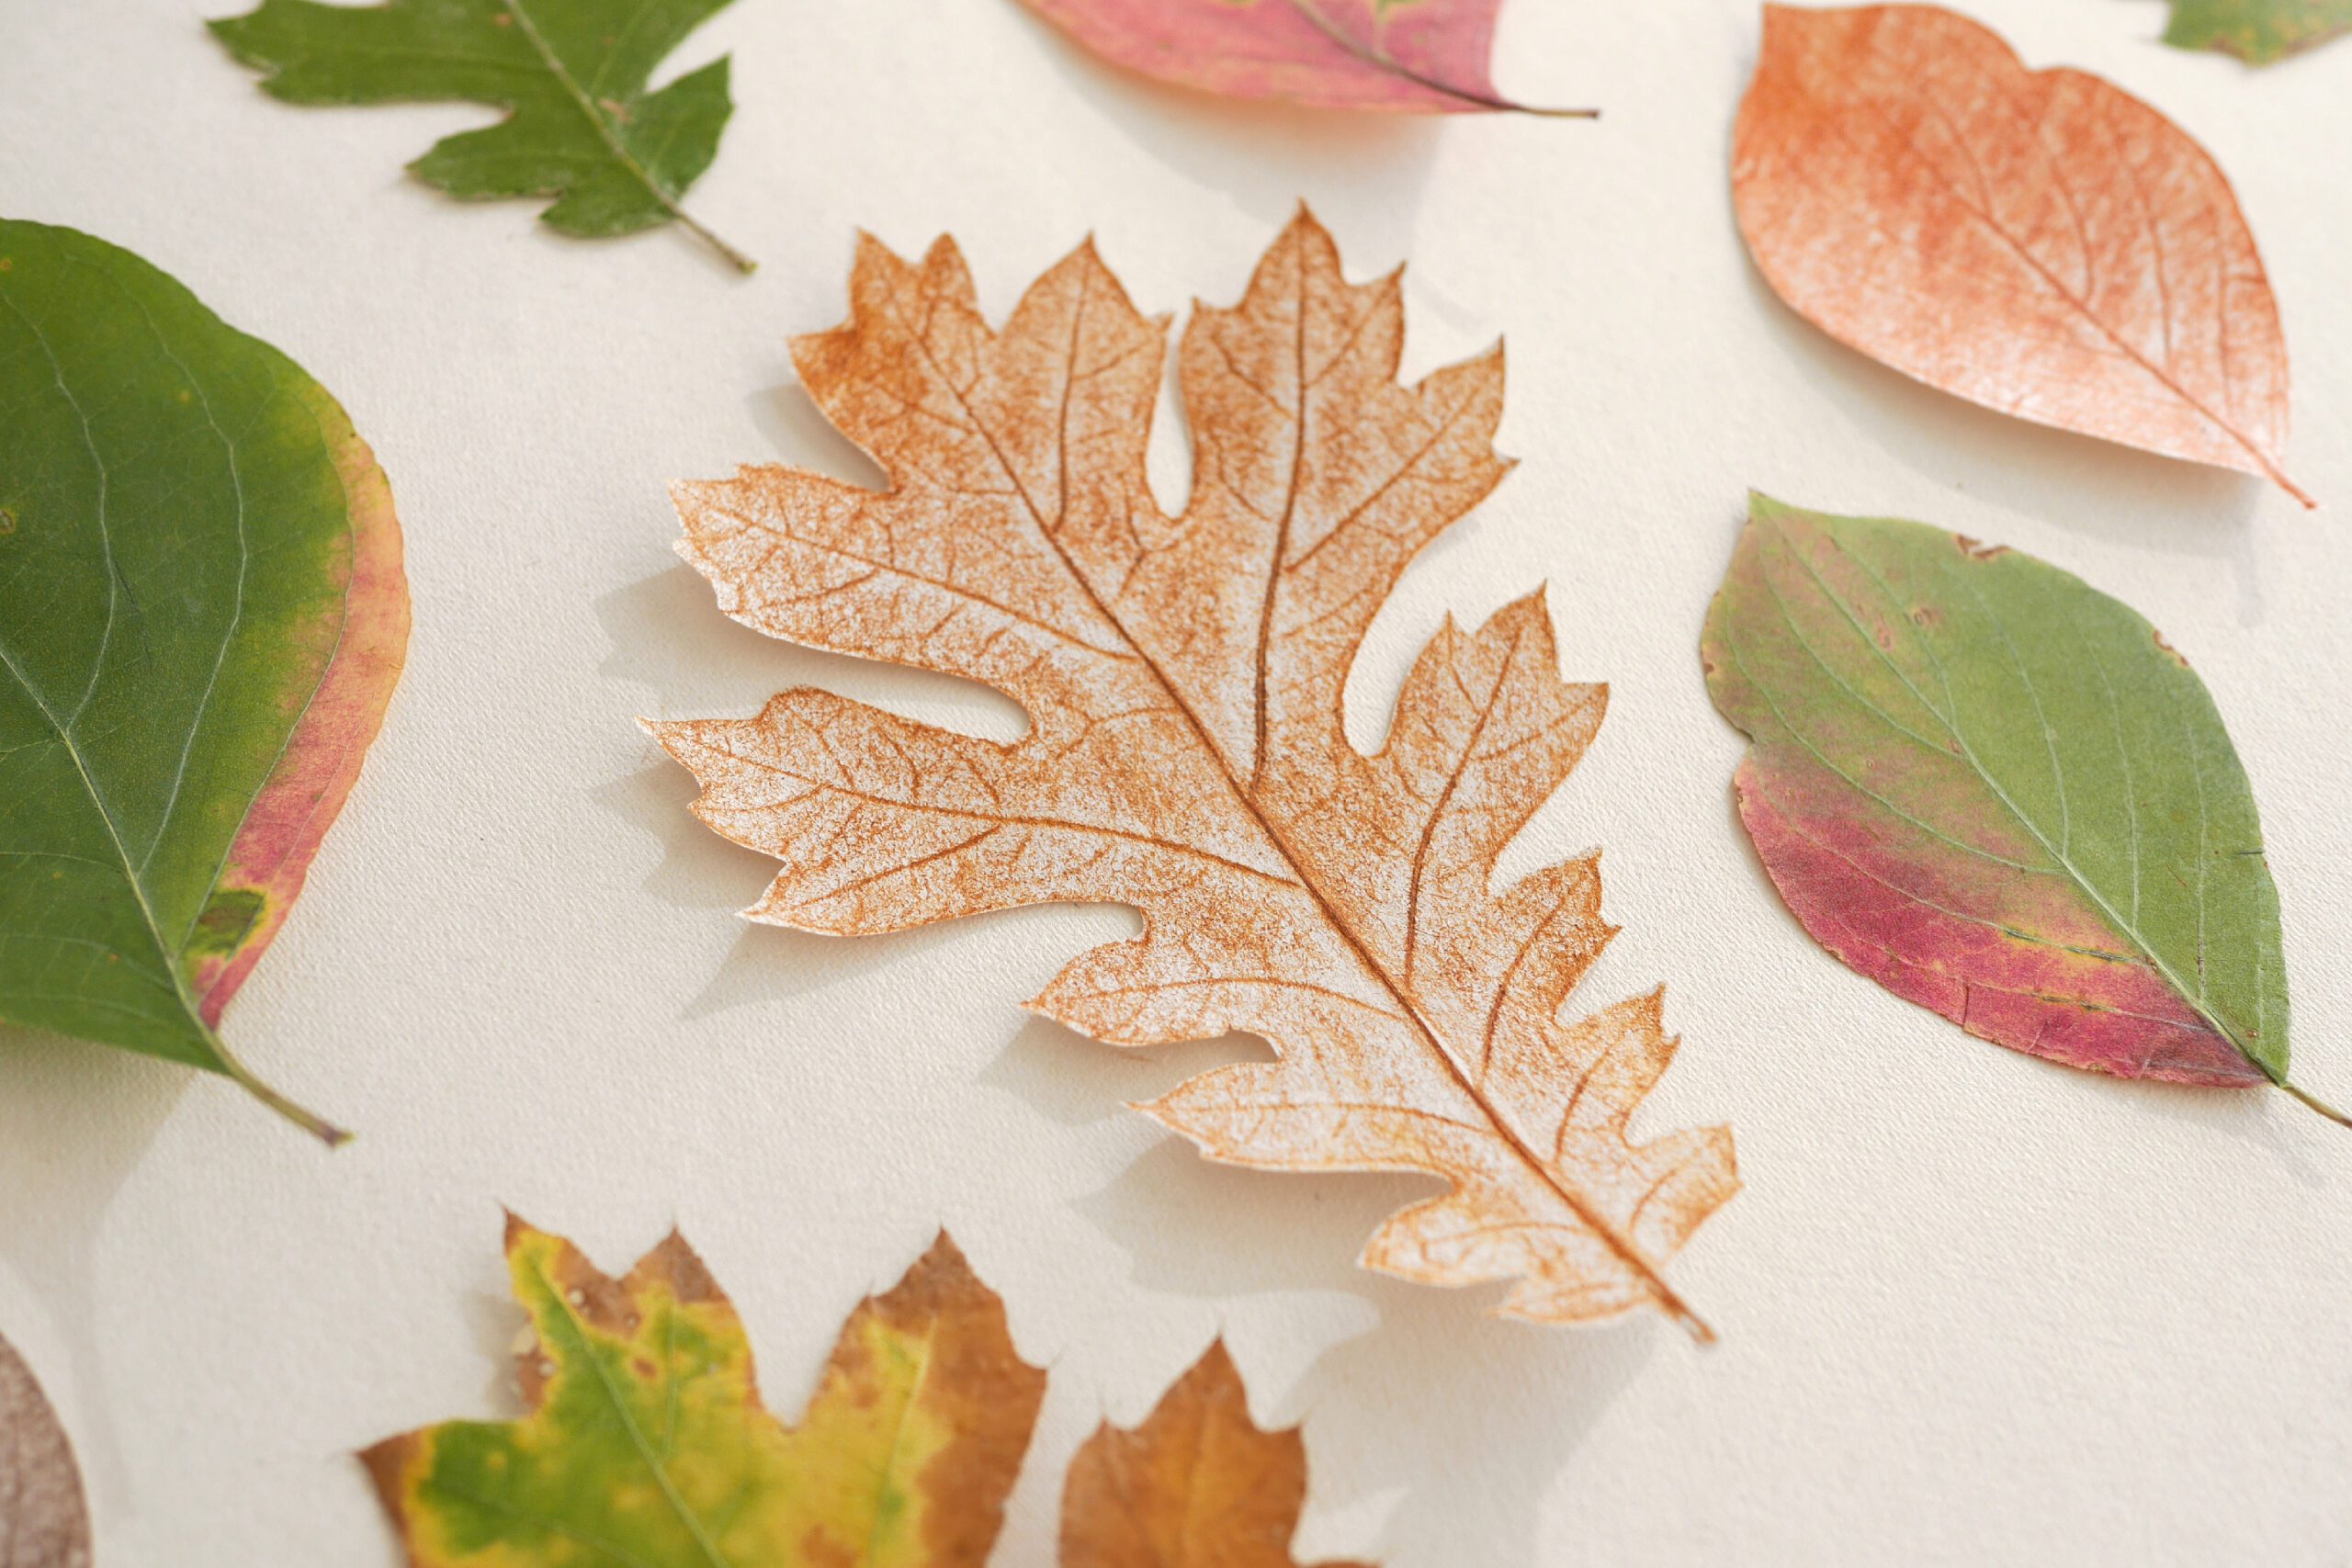
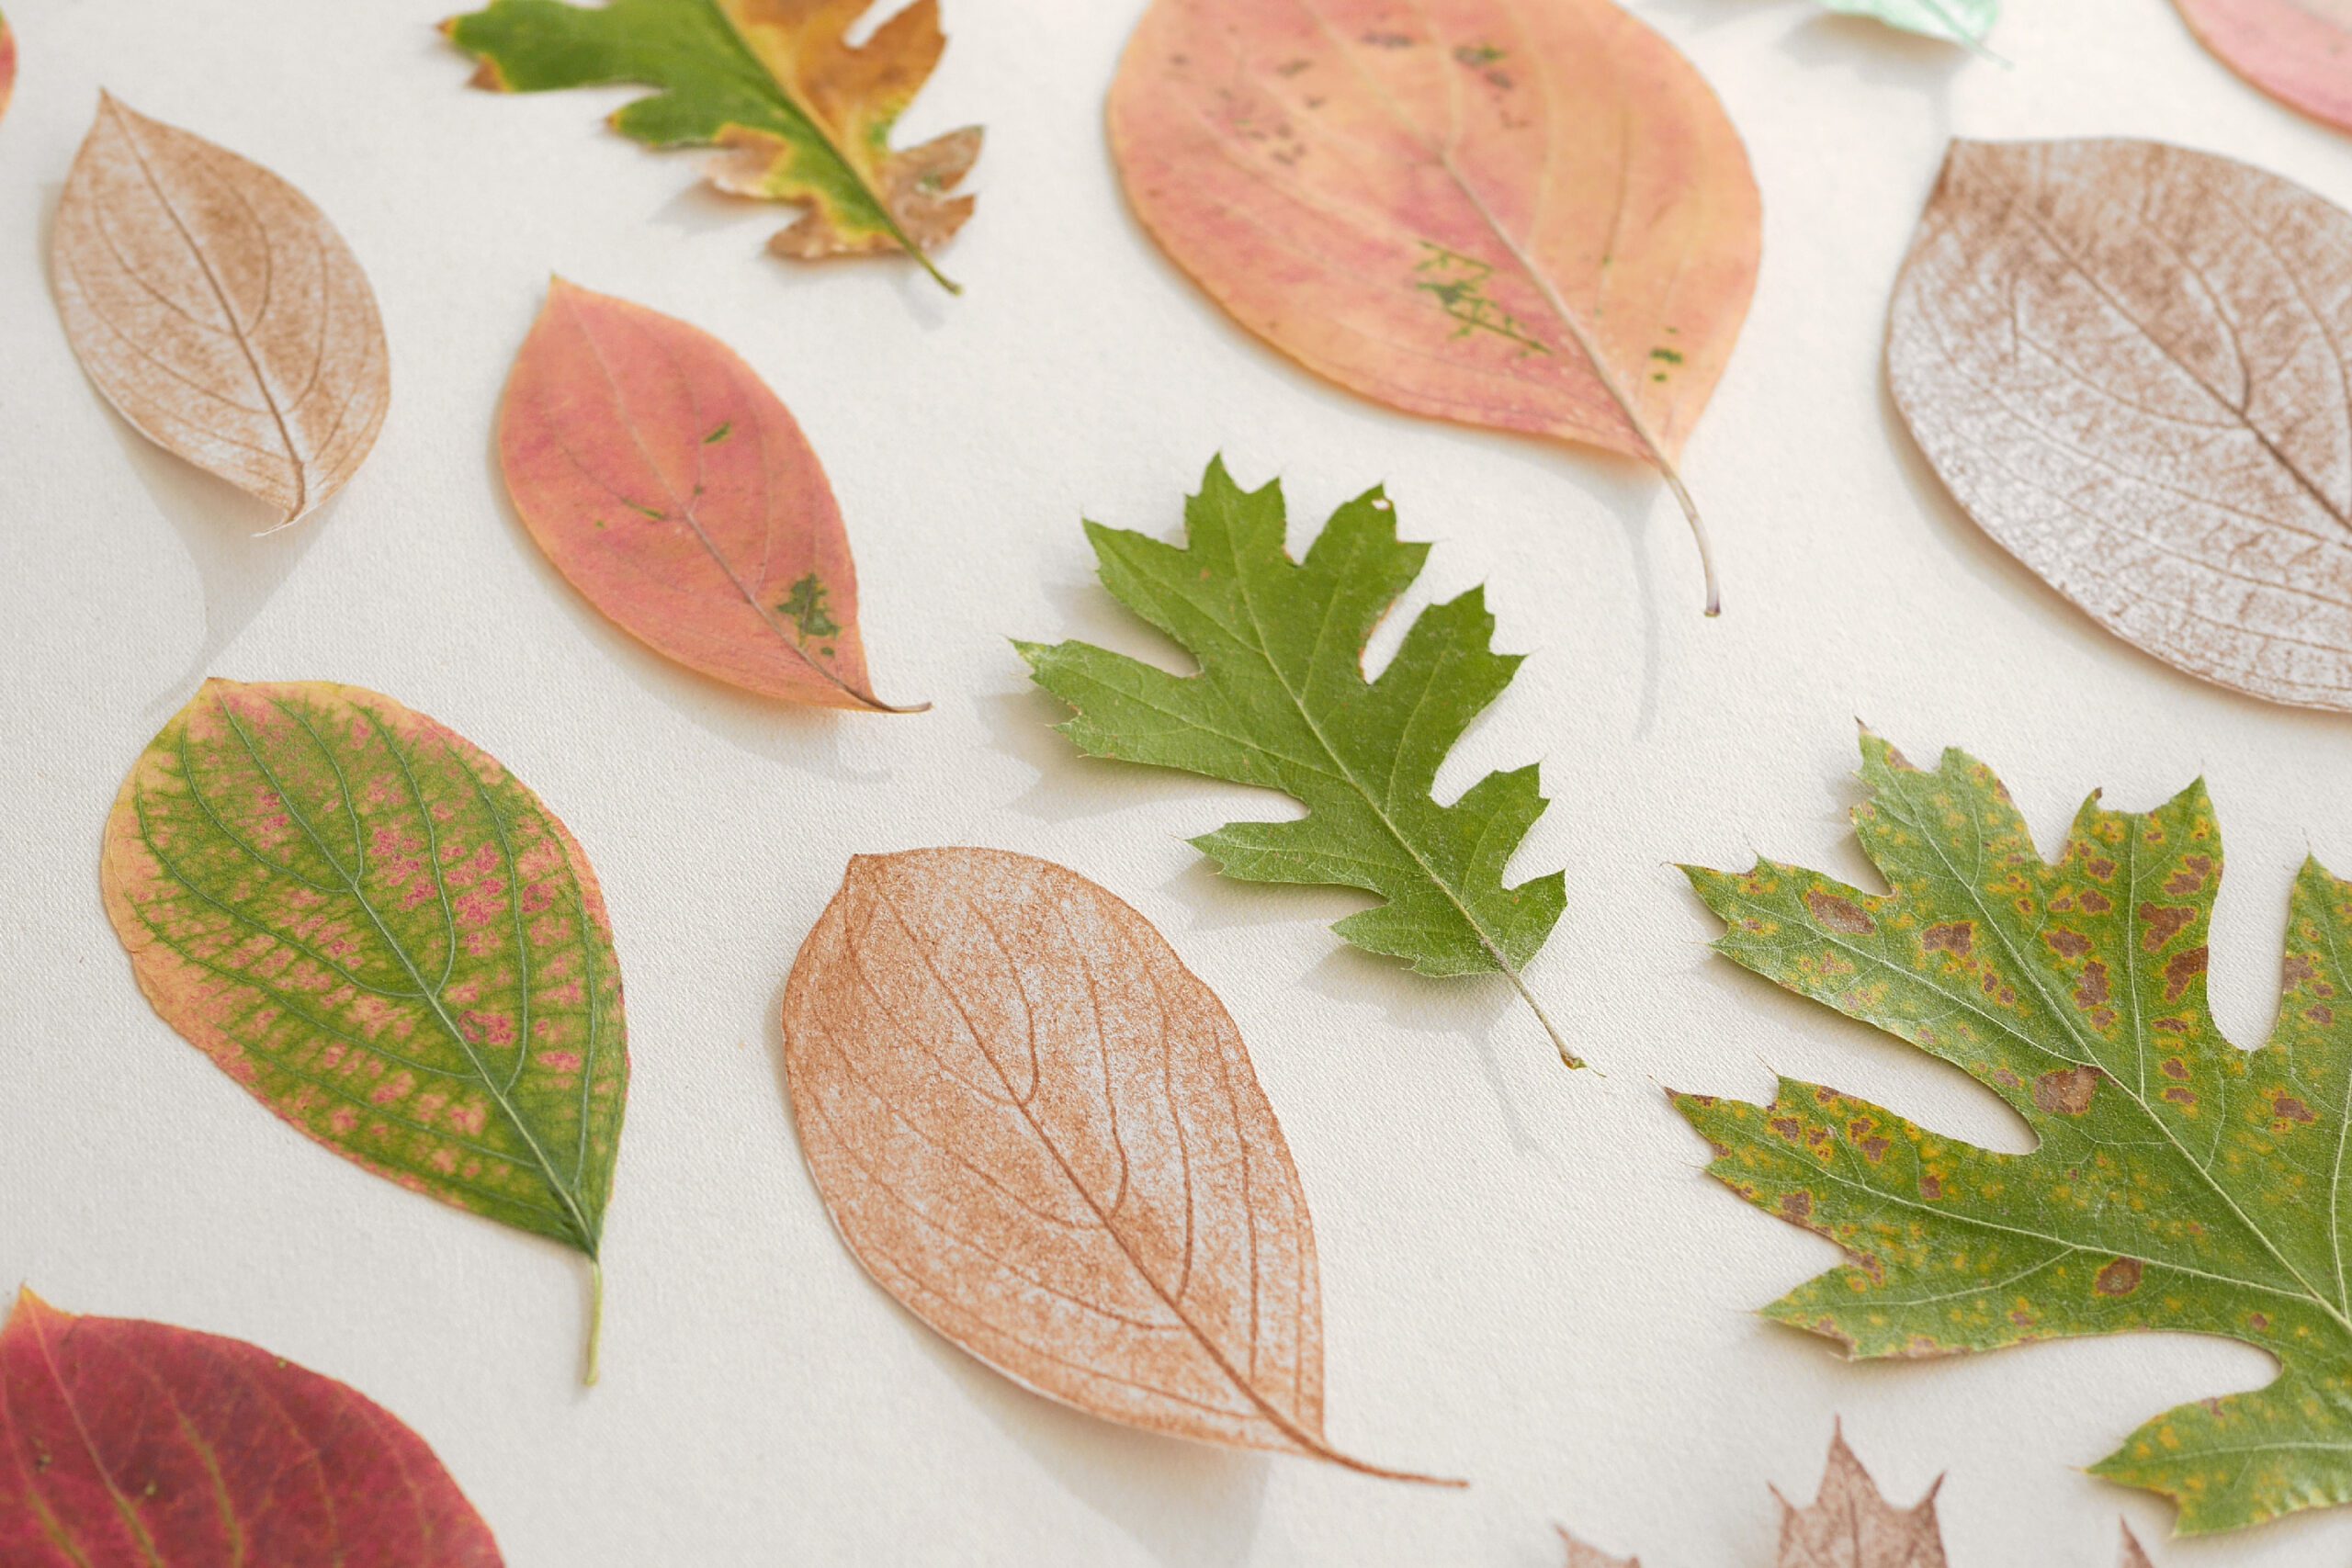
I cut out the leaf print with scissors along the shape. Then, leaves that look like twins were created. Guess which is the real leaf?
Autumn Fallen Leaf Print
夏が過ぎ涼しい日も多くなりました。私たちは秋を探しに、週末に山の方へショートトリップへ出かけることにしました。
紅葉が始まった森の中には自然の宝物がいっぱいです。どんぐりやオークの葉。ピンクがかった色に美しく紅葉した葉っぱ。大きな松ぼっくりはふわふわと羽のような種を飛ばしていました。
そして美しい葉っぱを見ていたら懐かしい遊びを思い出しました。葉脈を紙に写し取るリーフプリント。葉っぱの上に紙を置いて、あとは鉛筆で擦るだけ。小さな頃は、よくこんな遊びをしていたものです。森の中で、公園で、キャンプの時にも。自然の近くでいつでもできる秋にぴったりなクイッククラフトです。

用意するもの
– 葉っぱ *あなたのお気に入りのもの
– 鉛筆 もしくは 色鉛筆
– 紙
つくりかた
Step 1. 葉っぱを置く
葉の裏側を表にして置く。裏側は葉脈の凹凸がしっかりと出ているので、はっきりと写しやすいのです。
お子さんには、葉が動かないように端をテープで固定するといいでしょう。
葉の上に紙を置きます。この時も紙が動かないようにテープで固定すると安心です。紙は厚すぎない薄手の紙をおすすめします。写真の紙はnews print paperです。


Step 2. 鉛筆で擦る
鉛筆を傾けて、葉っぱの上を擦るように描きます。このとき、葉っぱの位置がずれないように、手でしっかりと抑えることが大切です。全ての葉脈が現れるまで擦ります。鉛筆や、色鉛筆は、硬いものよりも柔らかいものがいいでしょう。


どちらが本物の葉っぱだと思う?
写し取った葉っぱを、形に沿ってハサミで切り出してみました。すると双子のような葉っぱたちができあがりました。どちらが本物の葉っぱだと思う?


