Clay Leaf Bowl
In this beautifully clear season, drawing and crafting in nature is the best way of escape for us who live in the city and a time we cherish deeply. We loaded up the car with three days’ worth of food and plenty of craft supplies for a road trip to our favorite forest in the suburbs. Our goal was to relax in the woods and enjoy a time that felt like a art camp.
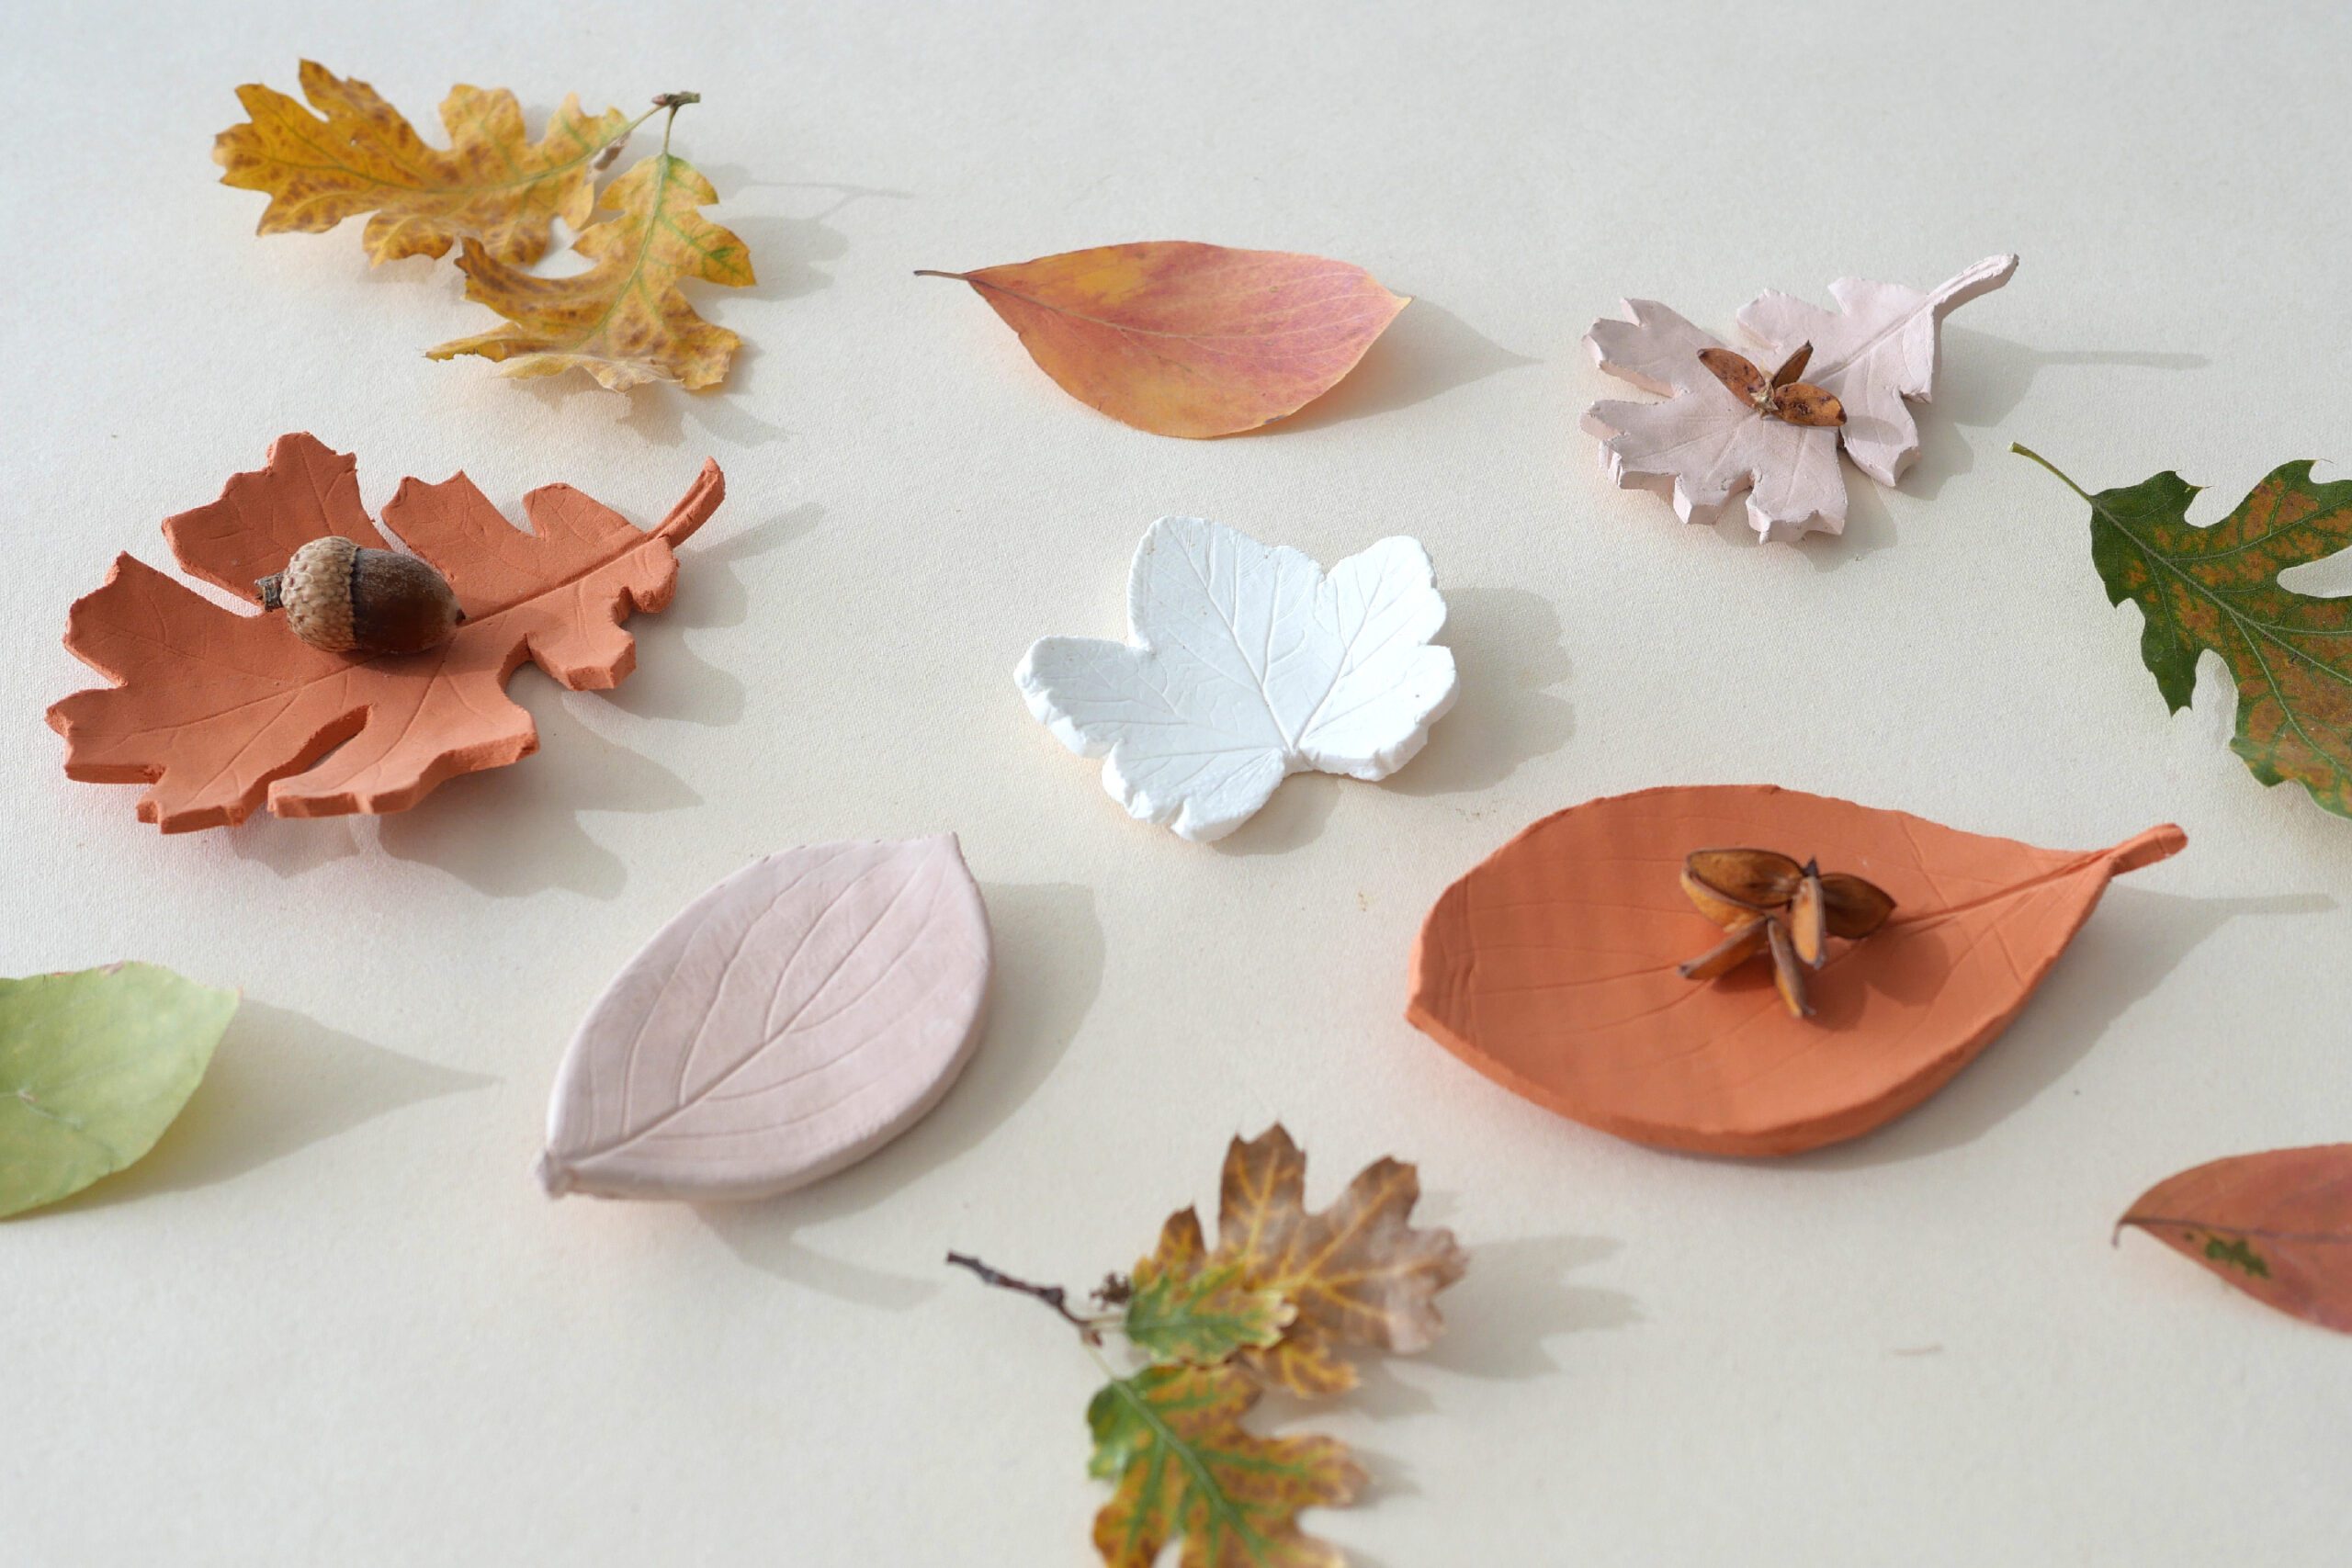
Upon arrival, we first went for a walk to gather fallen leaves and nuts. The forest is full of treasures. With gratitude to nature, we take a small portion to share, and then consider what we could create.
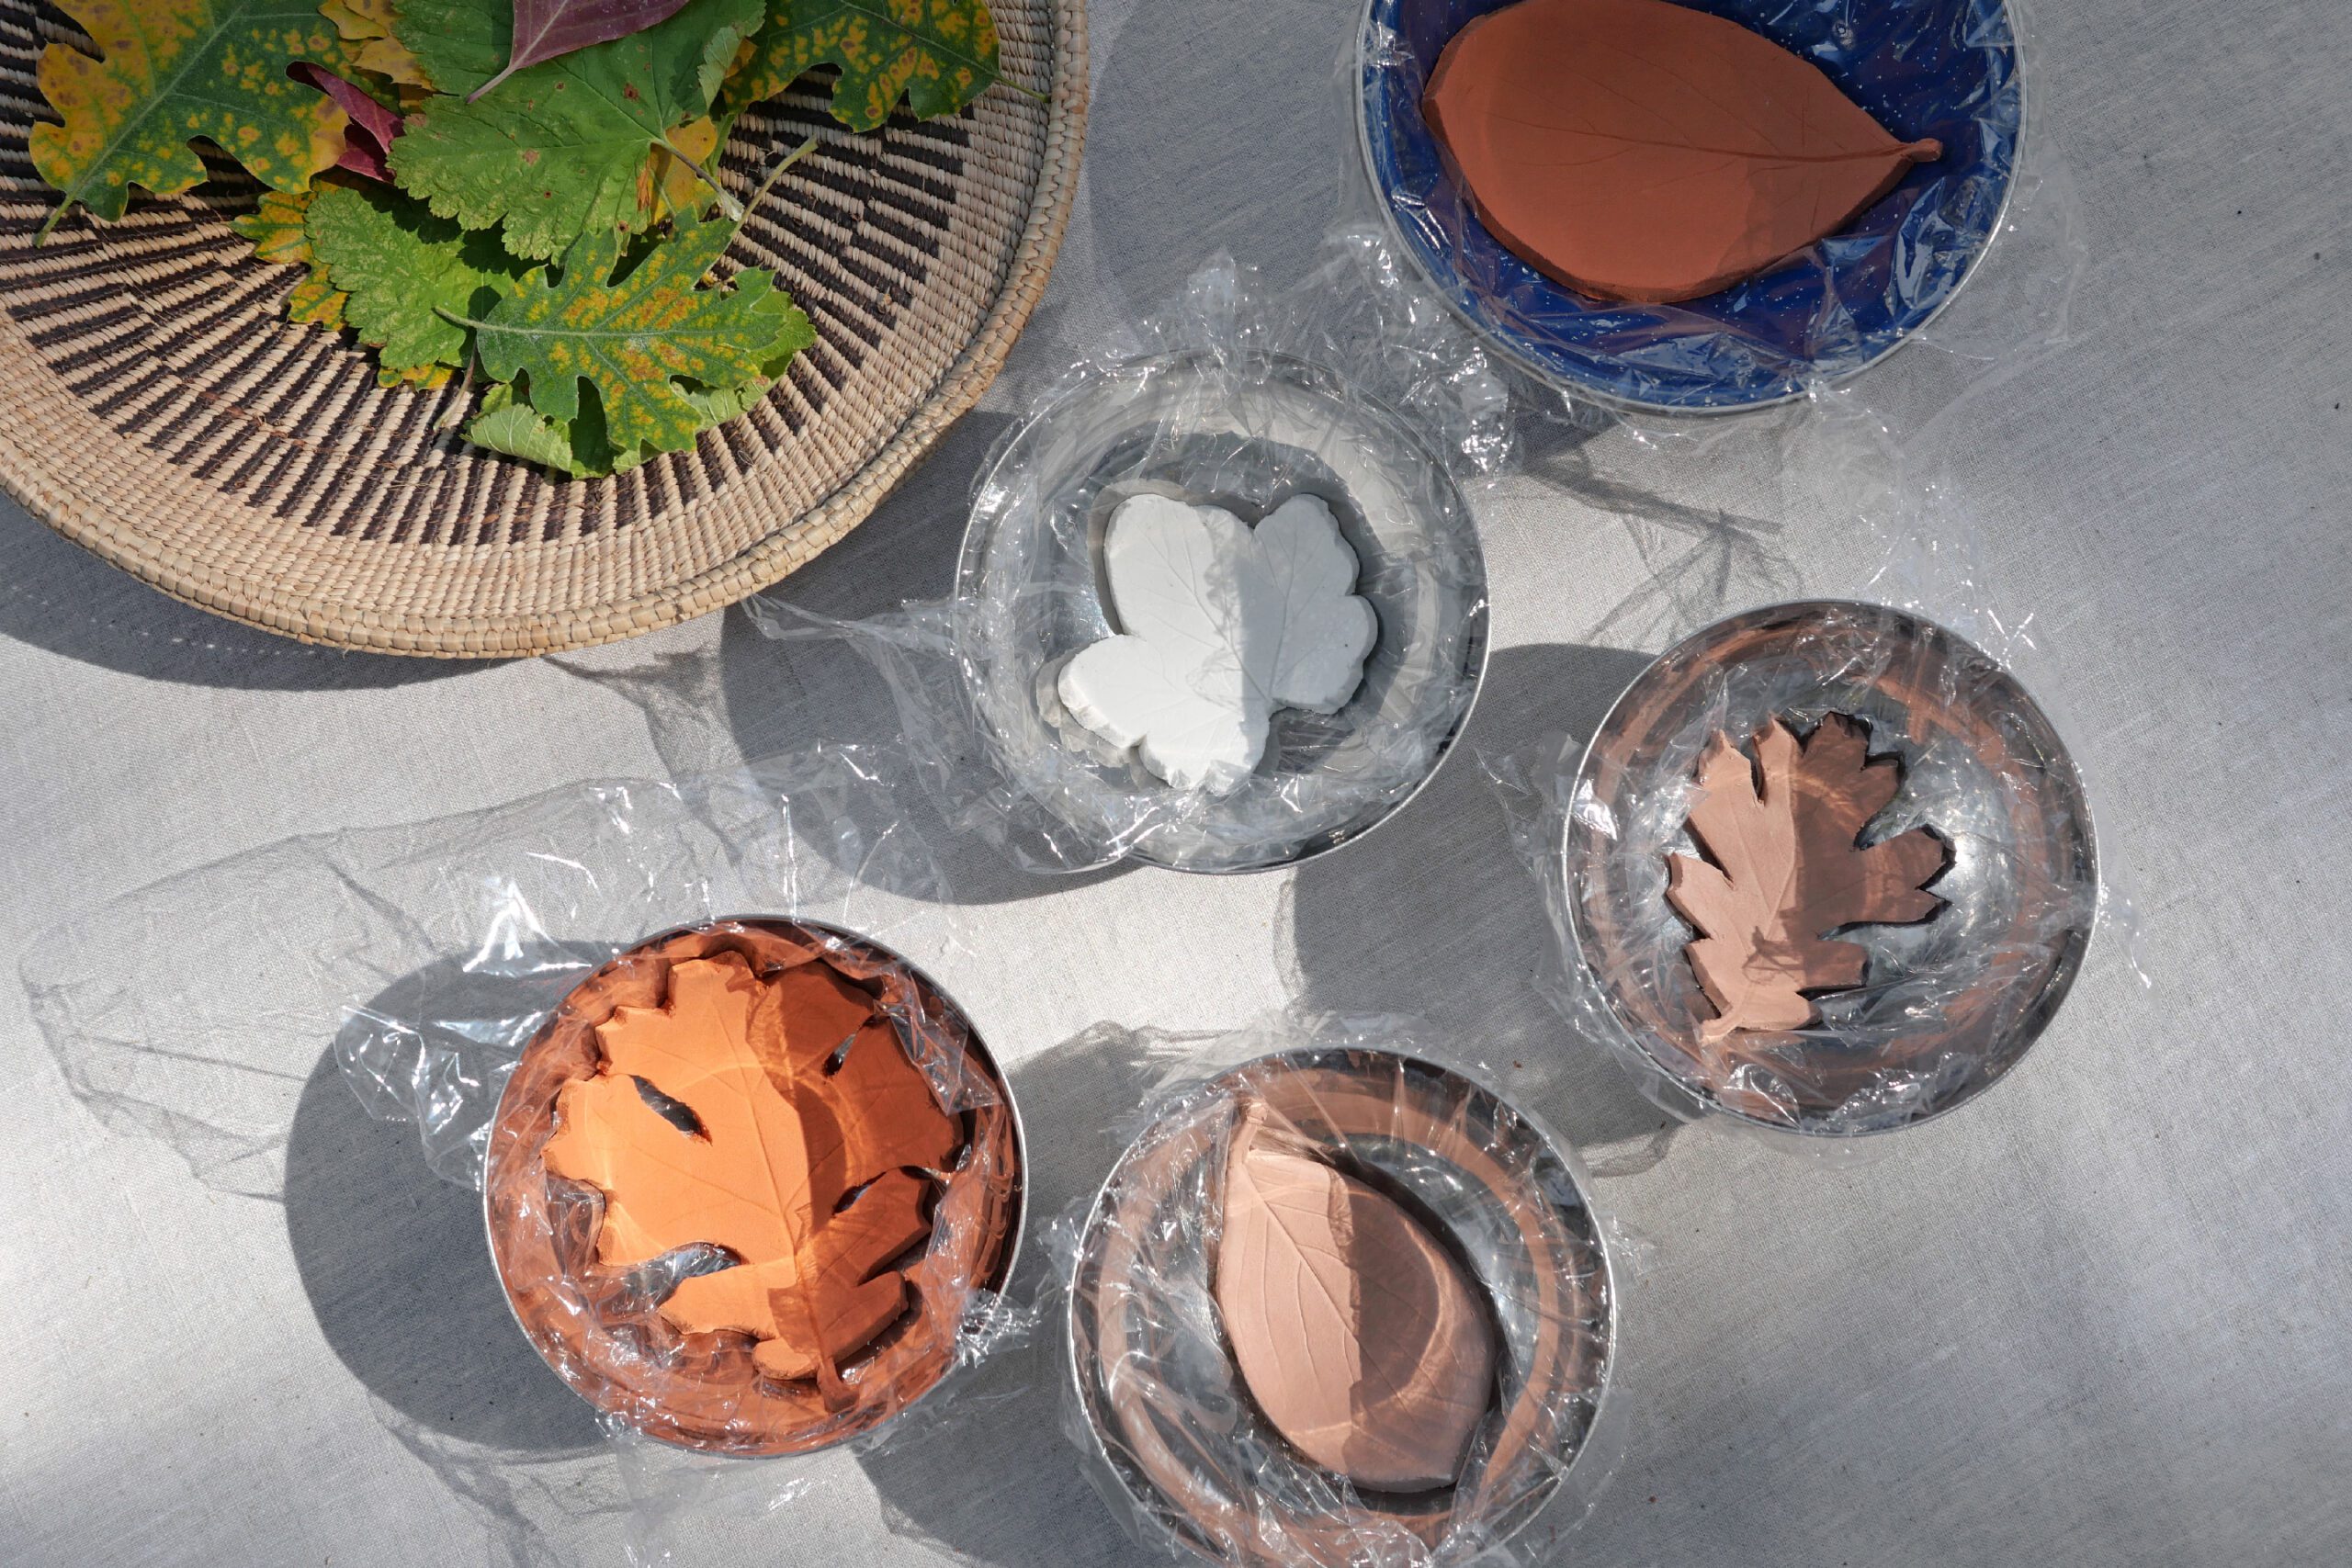
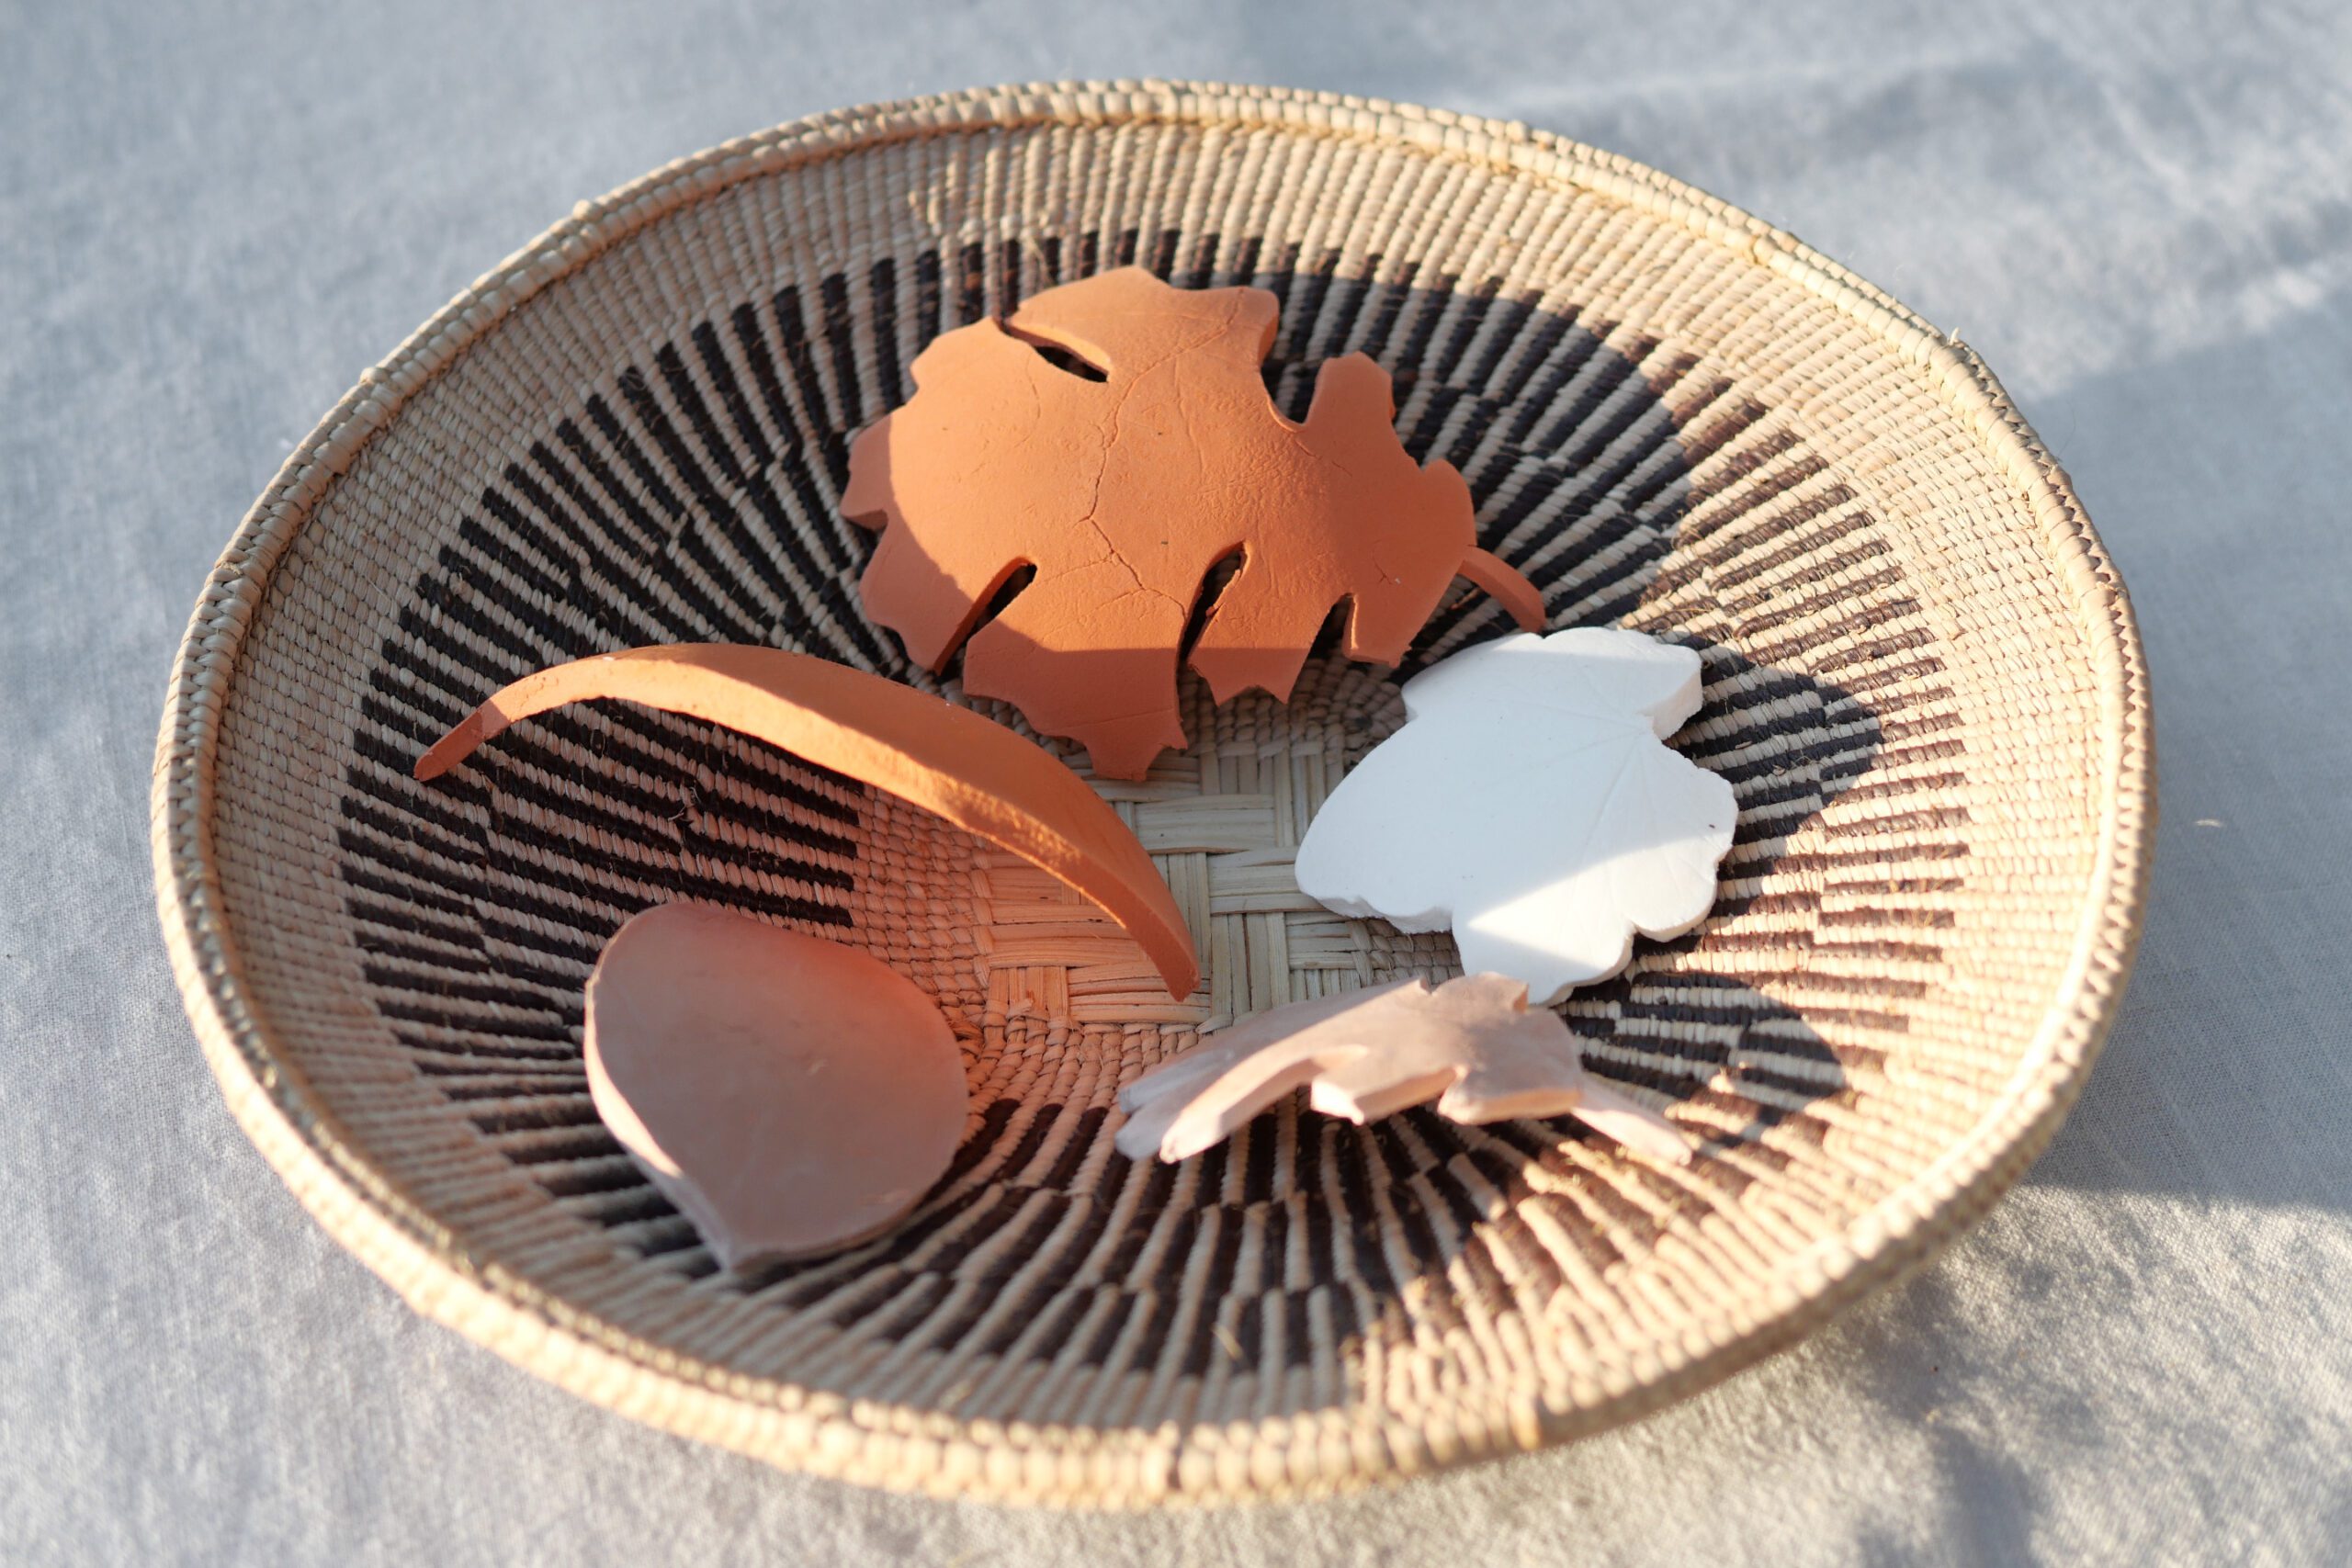
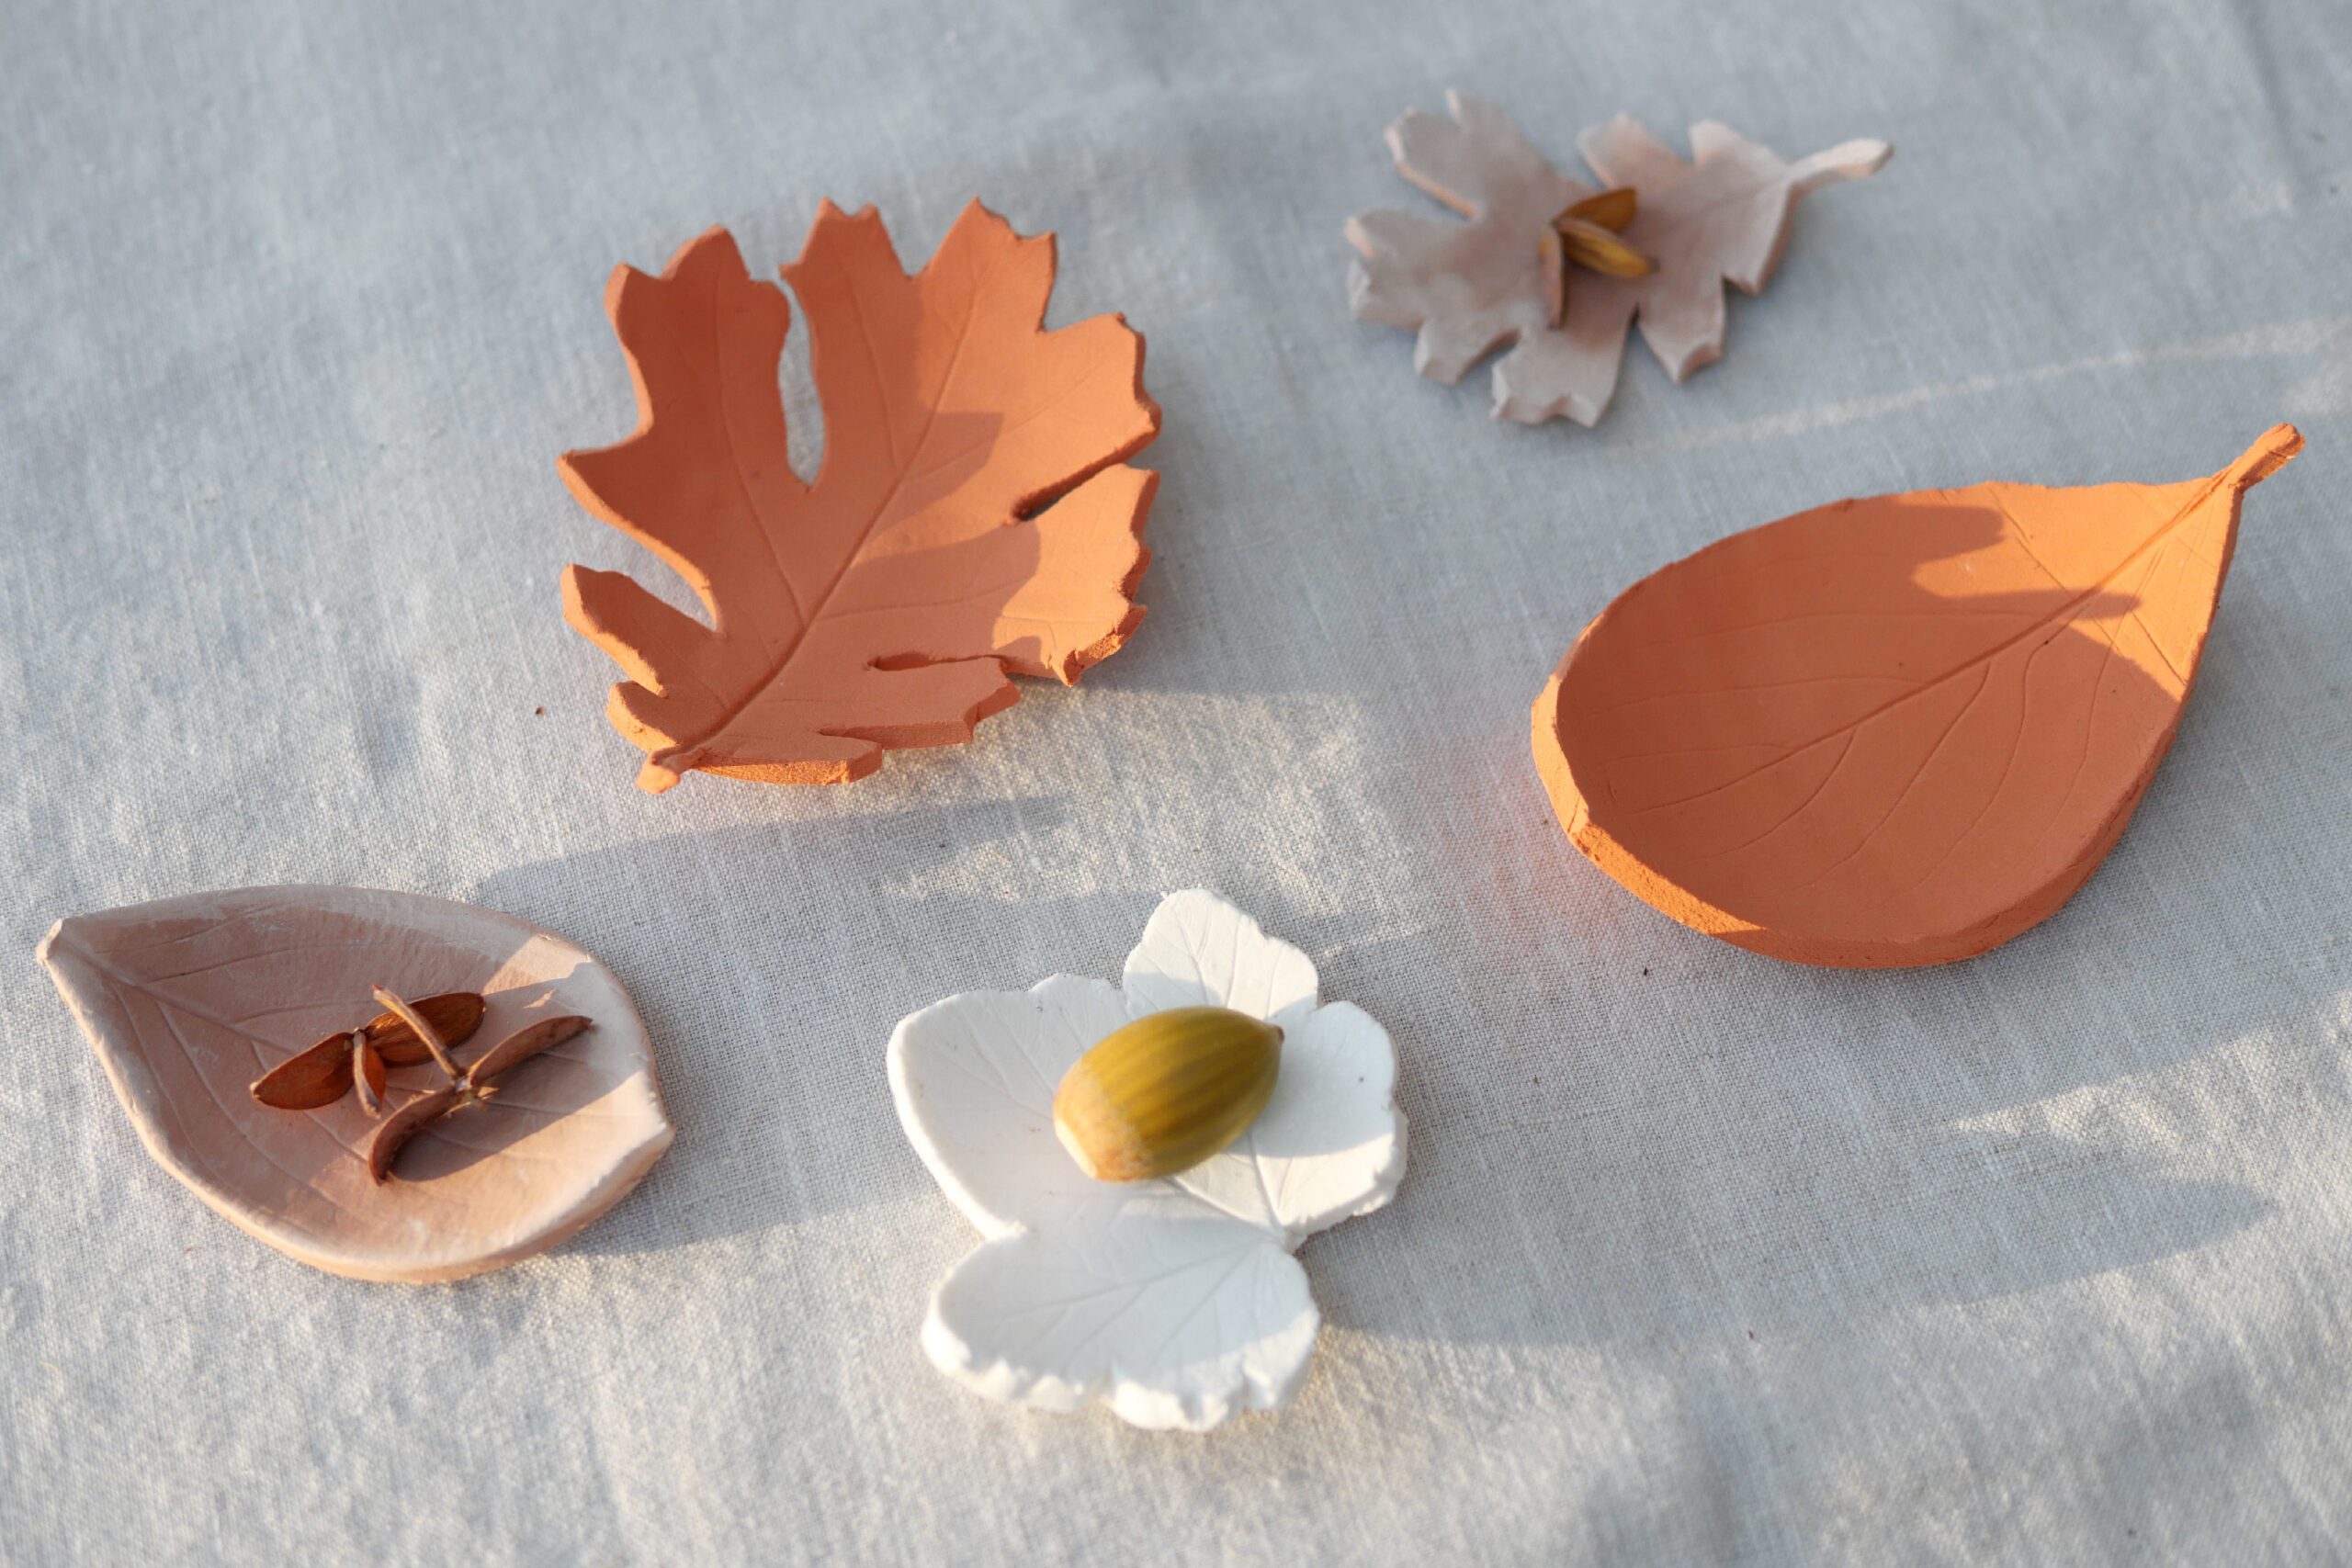
One thing we were looking forward to was making these leaf bowls from clay. They capture the beauty of nature’s form. The finished bowls are perfect for holding small items like jewelry or coins, or as candle holders.
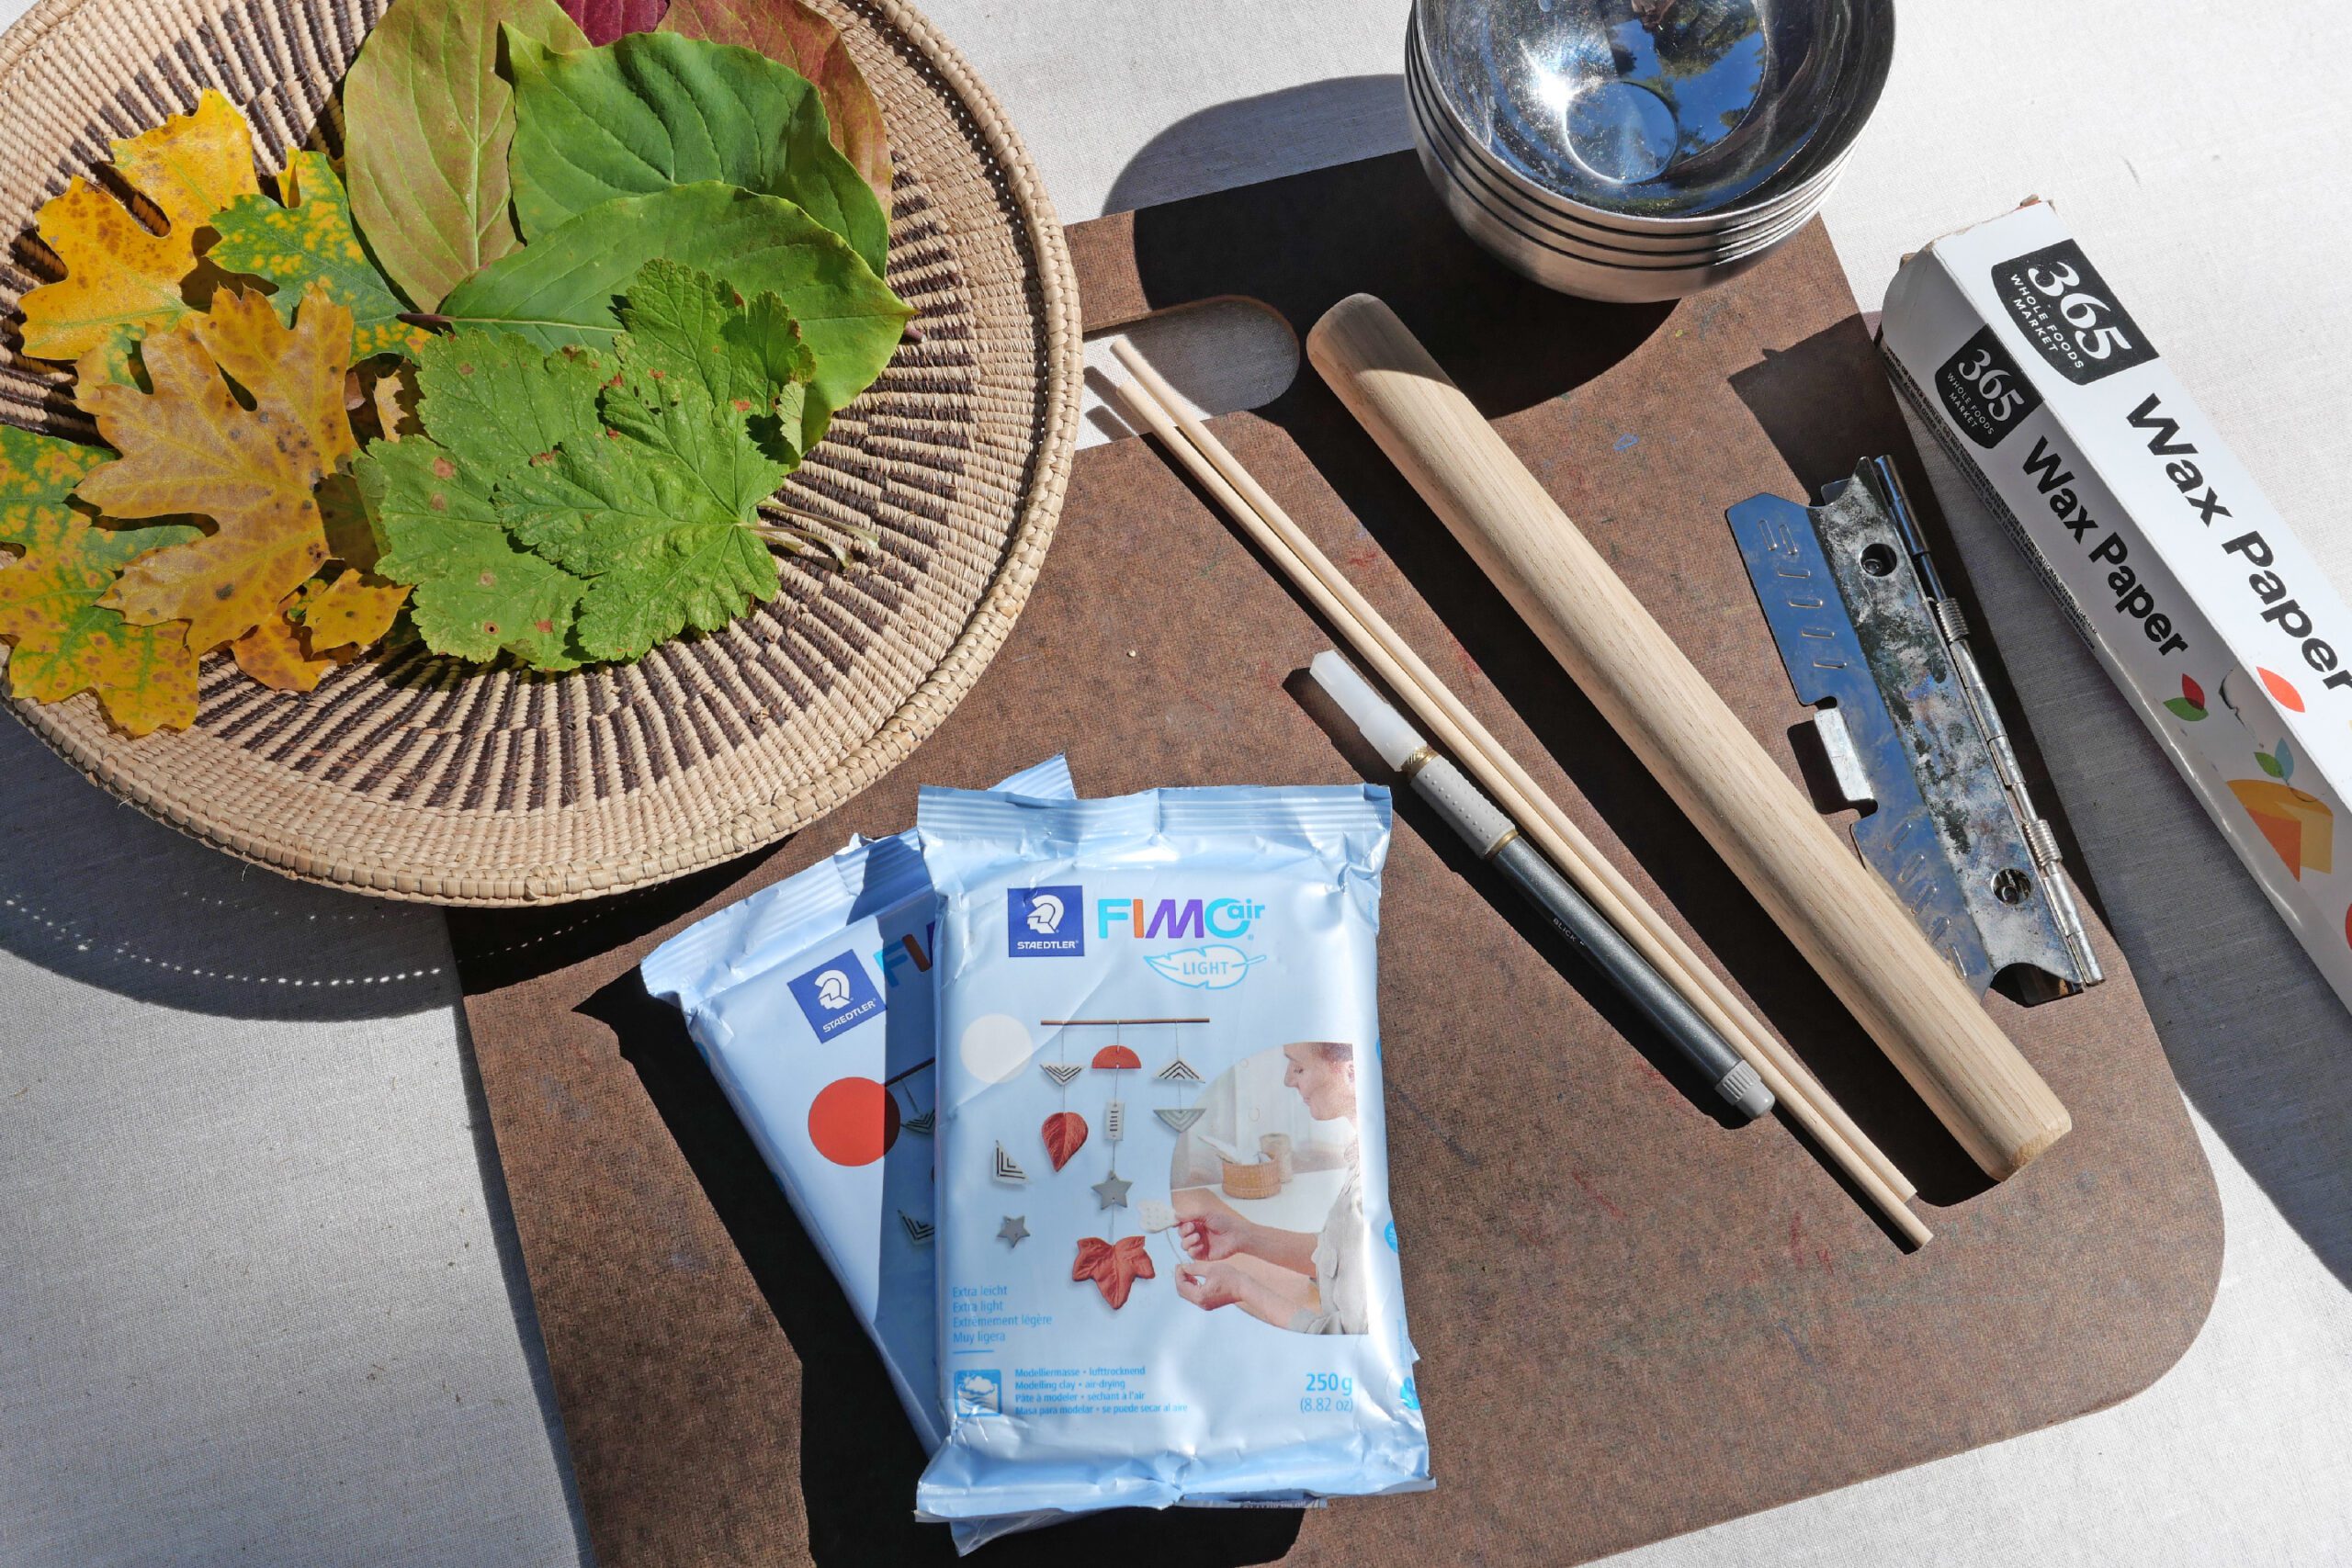
Materials
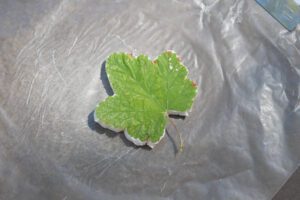
– Freshly fallen leaves
– Air dry clay
– Rolling pin
– Cutting board
– Small bowl
– Knife
– Wax paper
Instructions for making
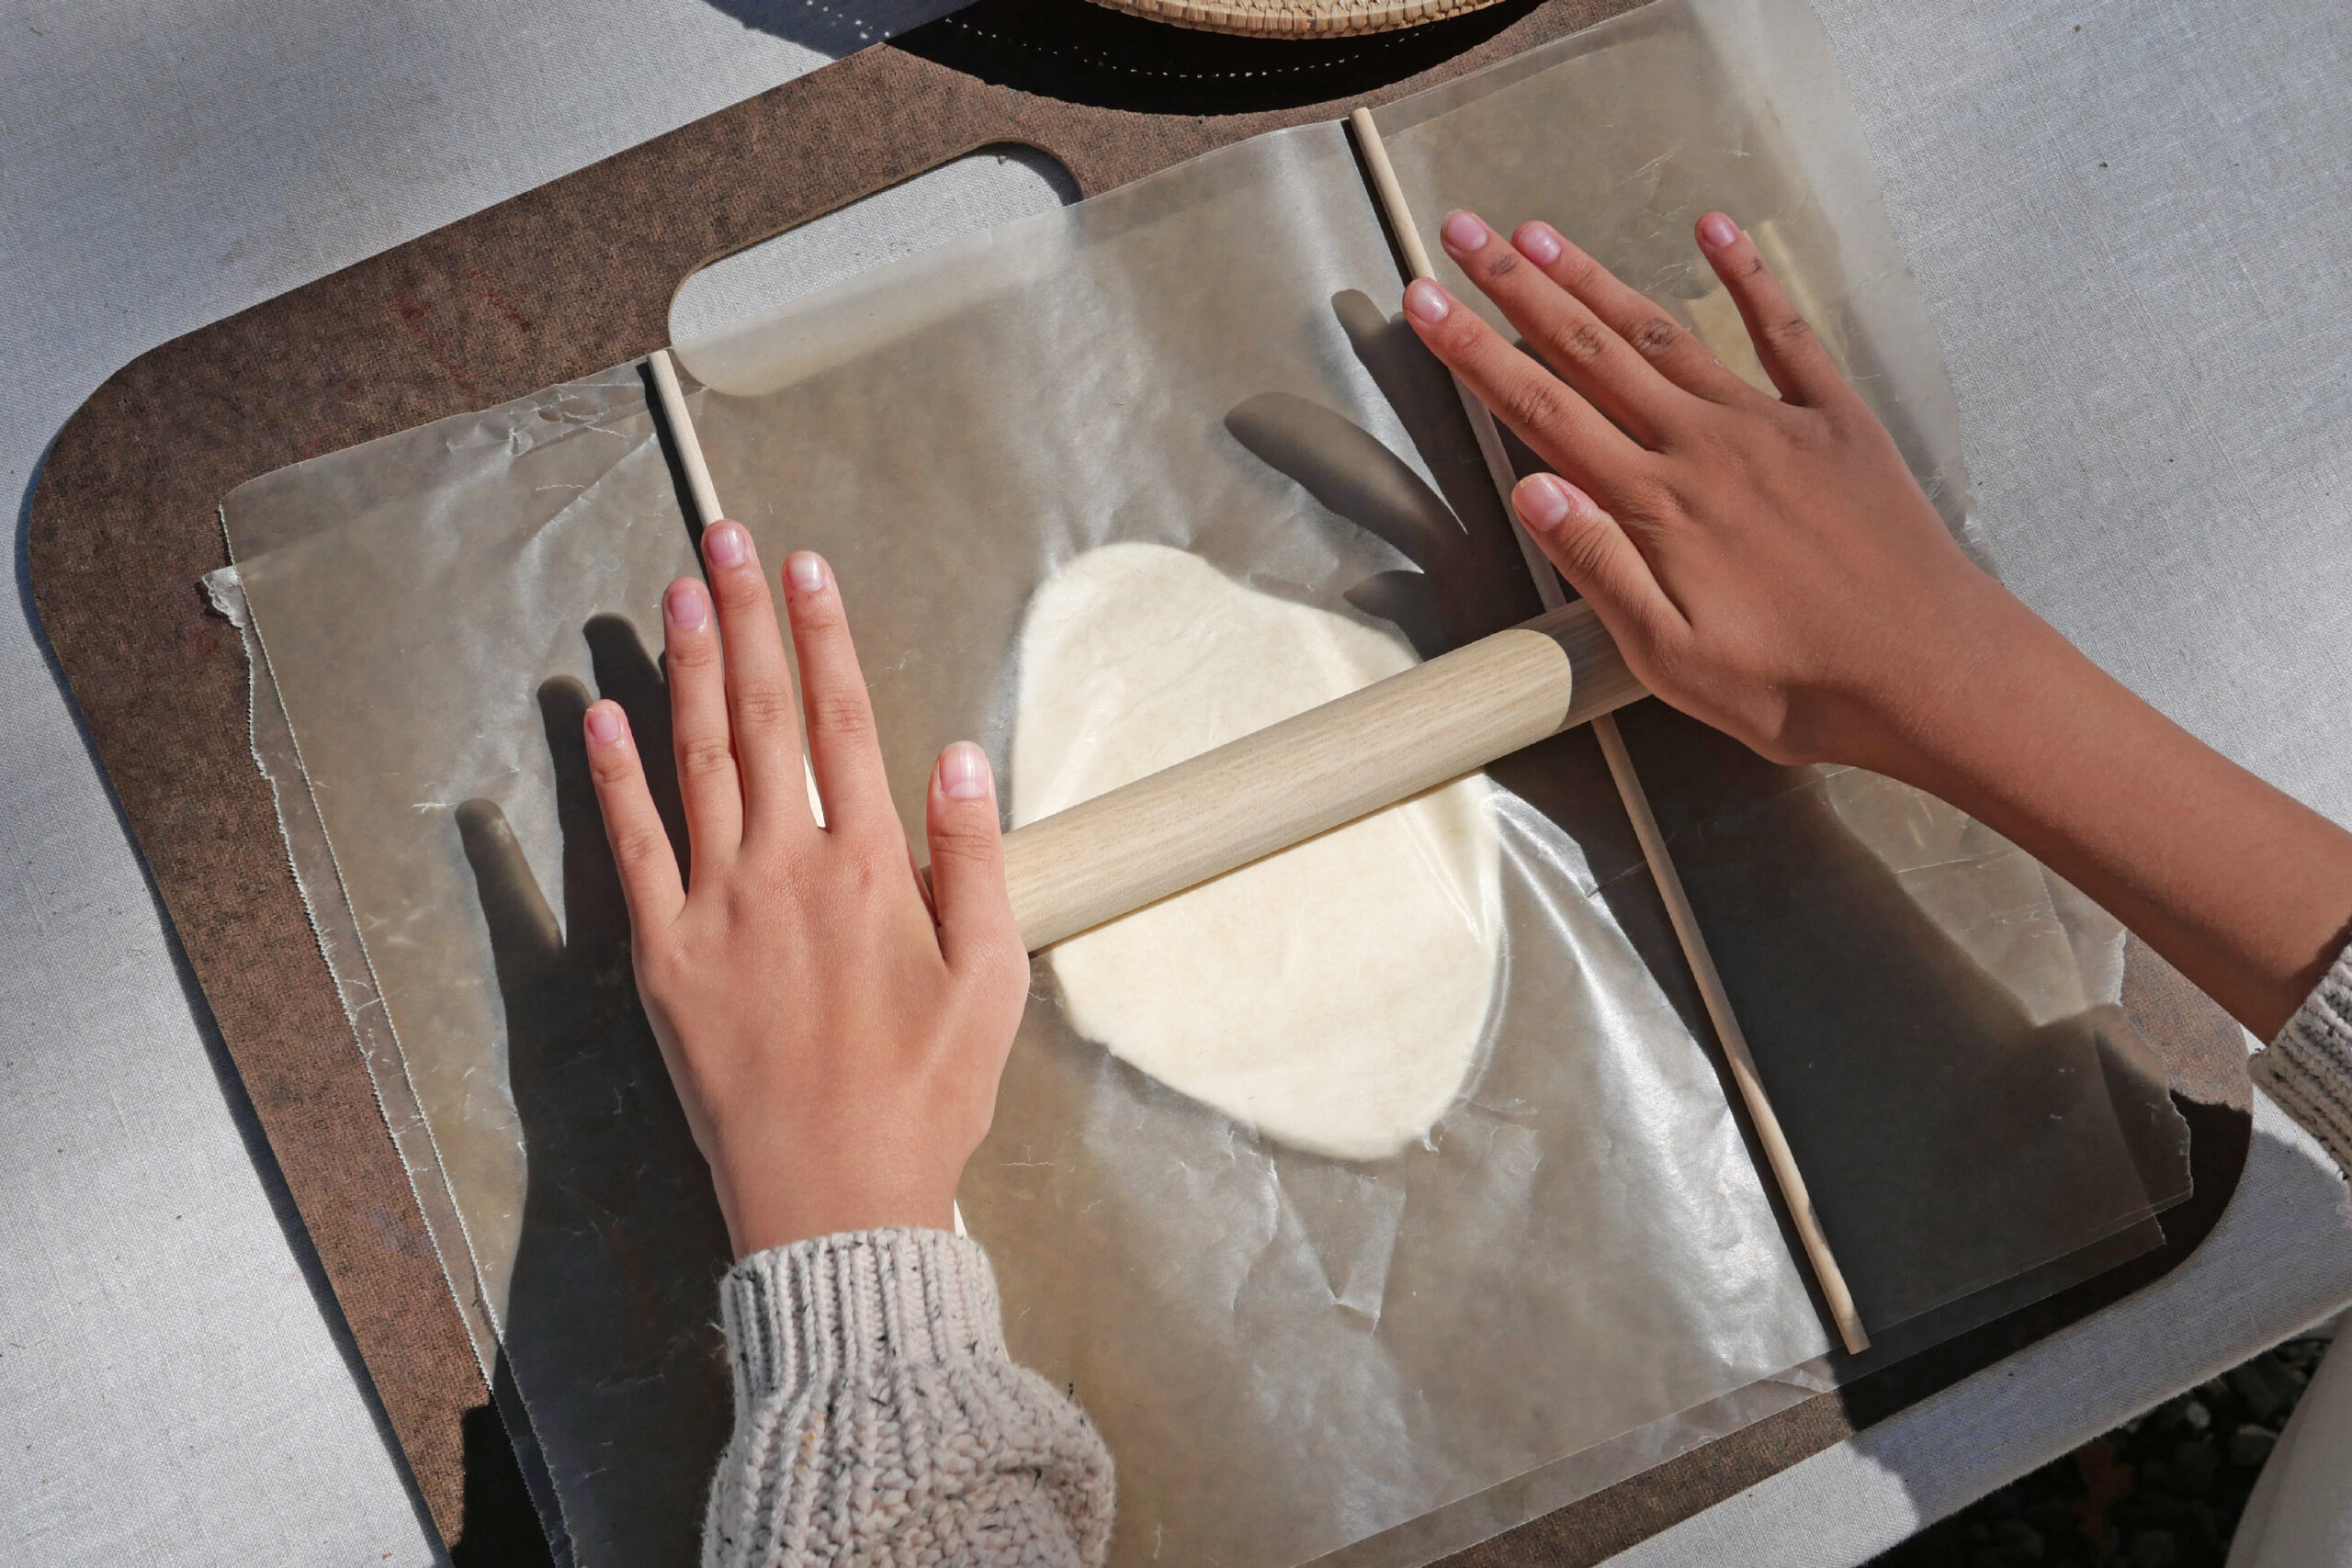
Step 1. Roll Out the Clay
Prepare two sheets of wax paper large enough to roll out the clay.
Cut the clay into a small ball-sized piece and sandwich it between the two sheets of wax paper. Roll it out until it is about 5mm thick.
*We placed two 5mm wood sticks on either side of the clay to roll it out to a uniform thickness of 5mm.
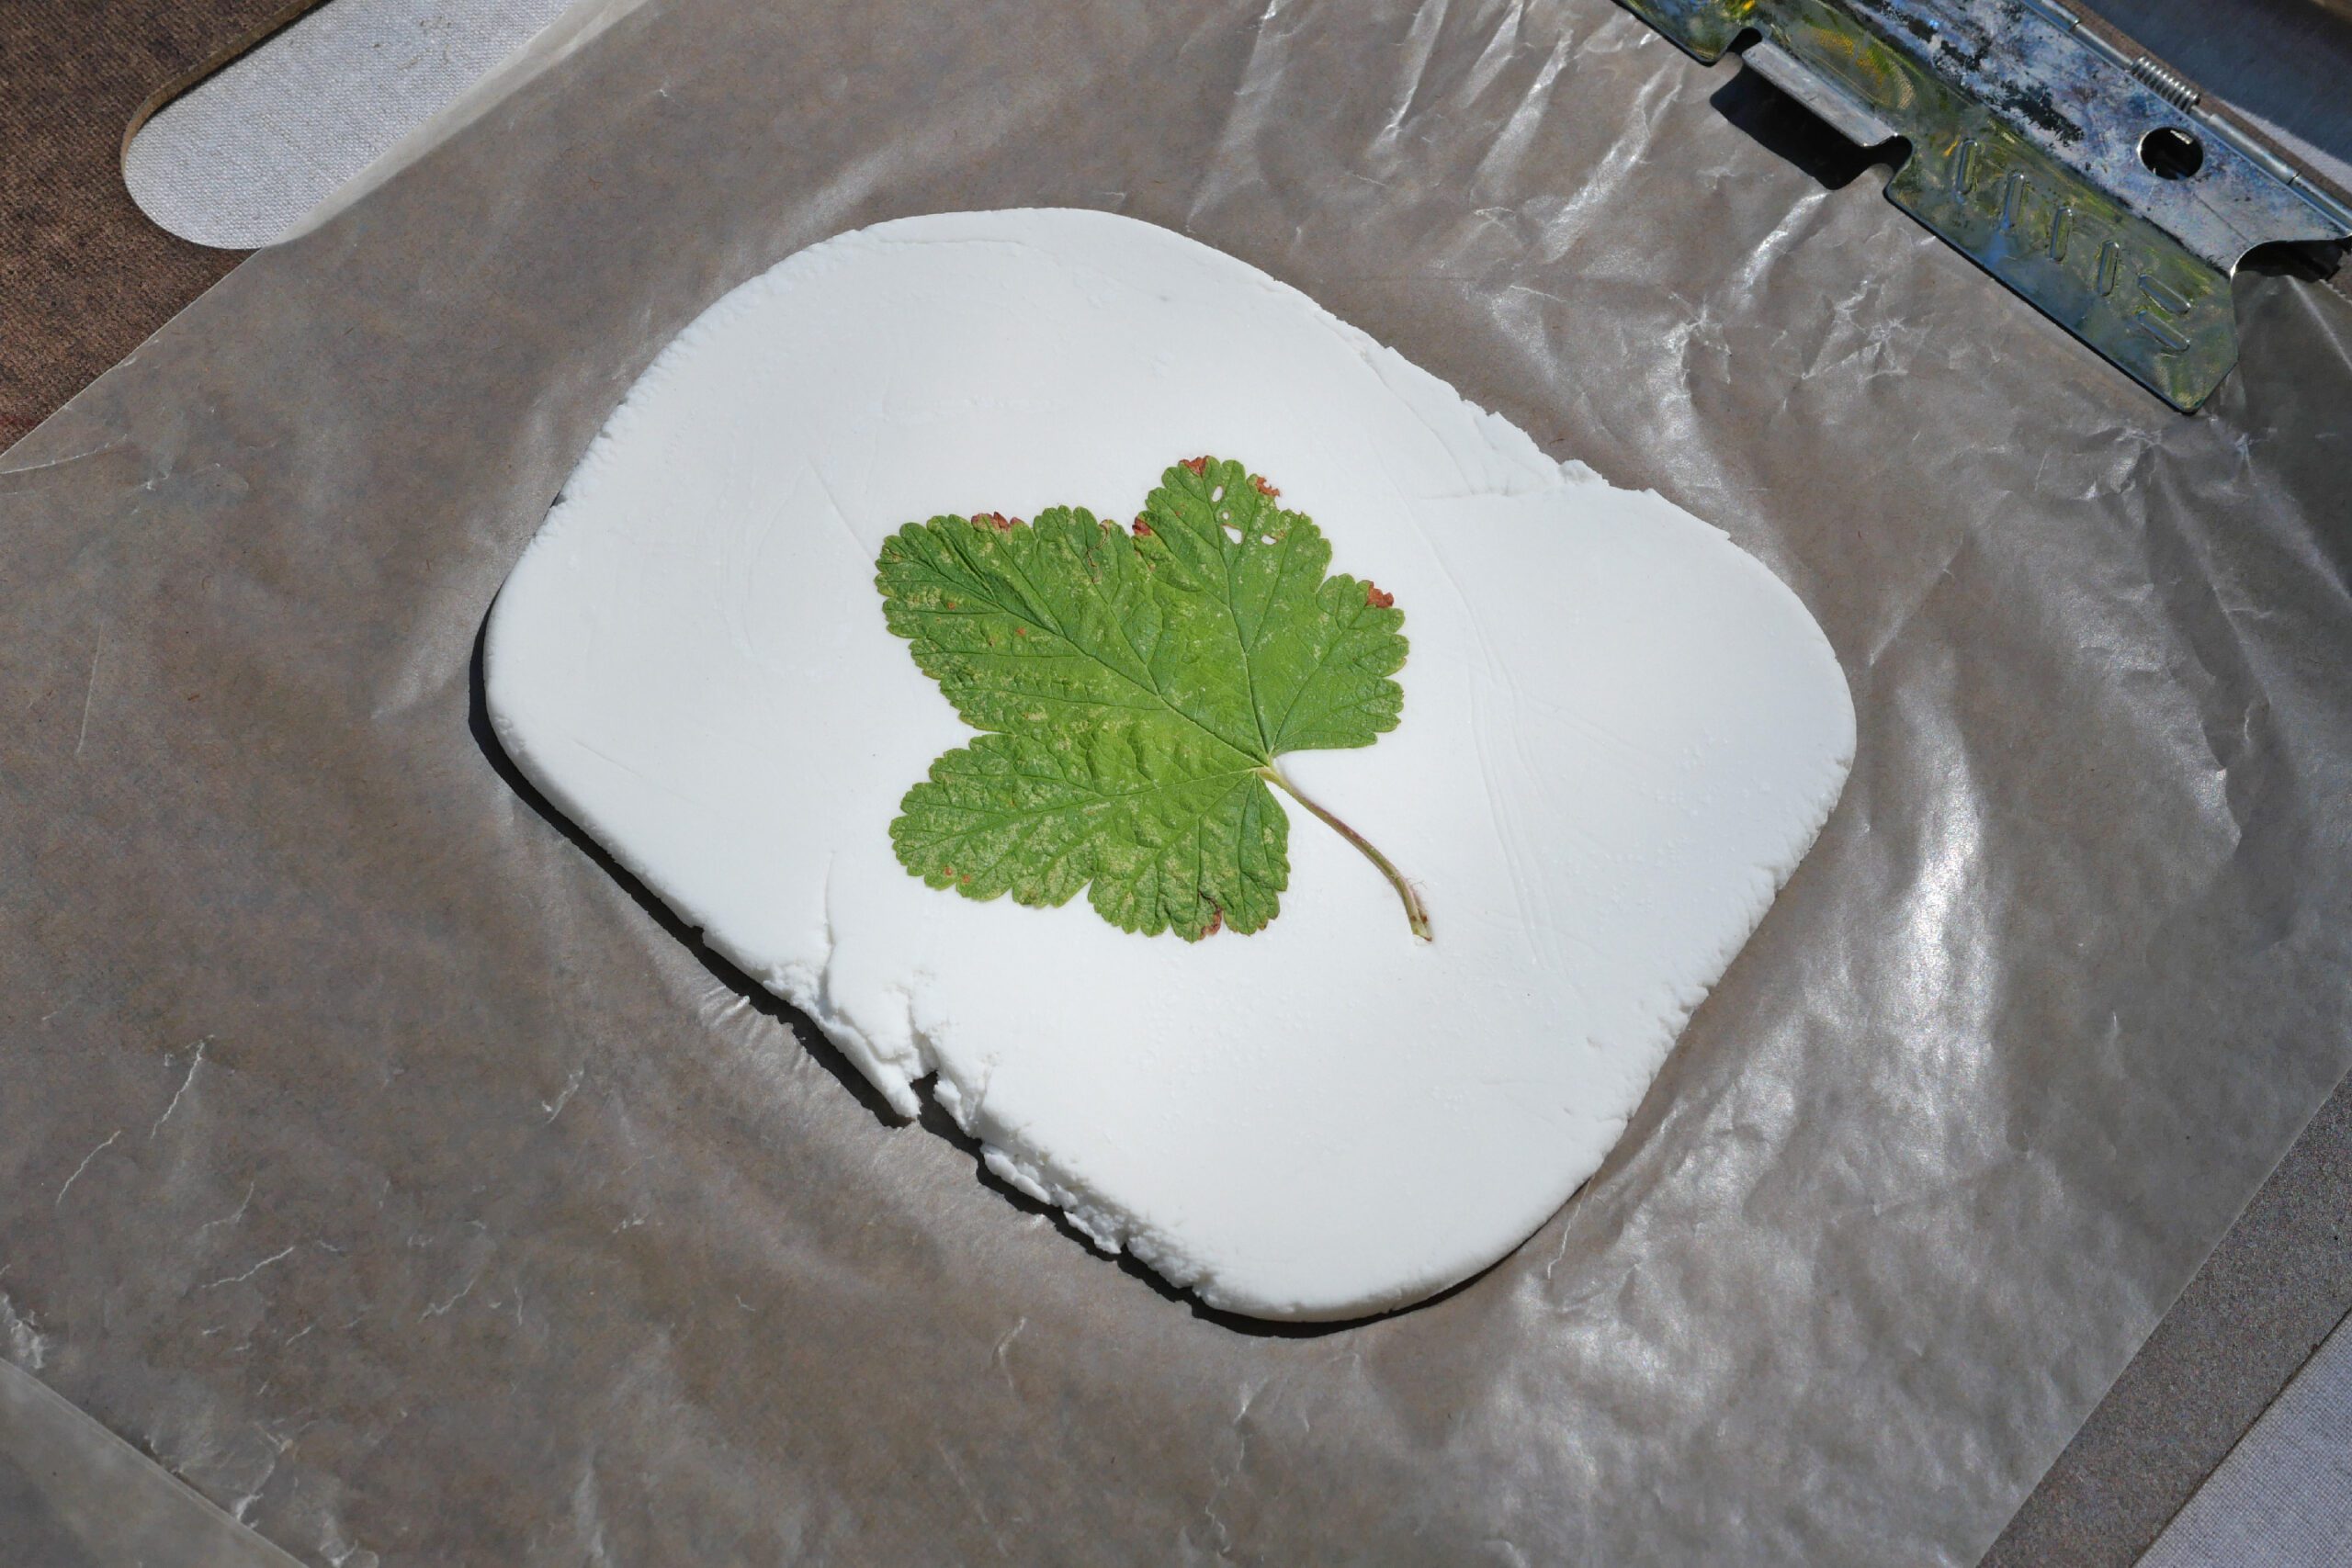
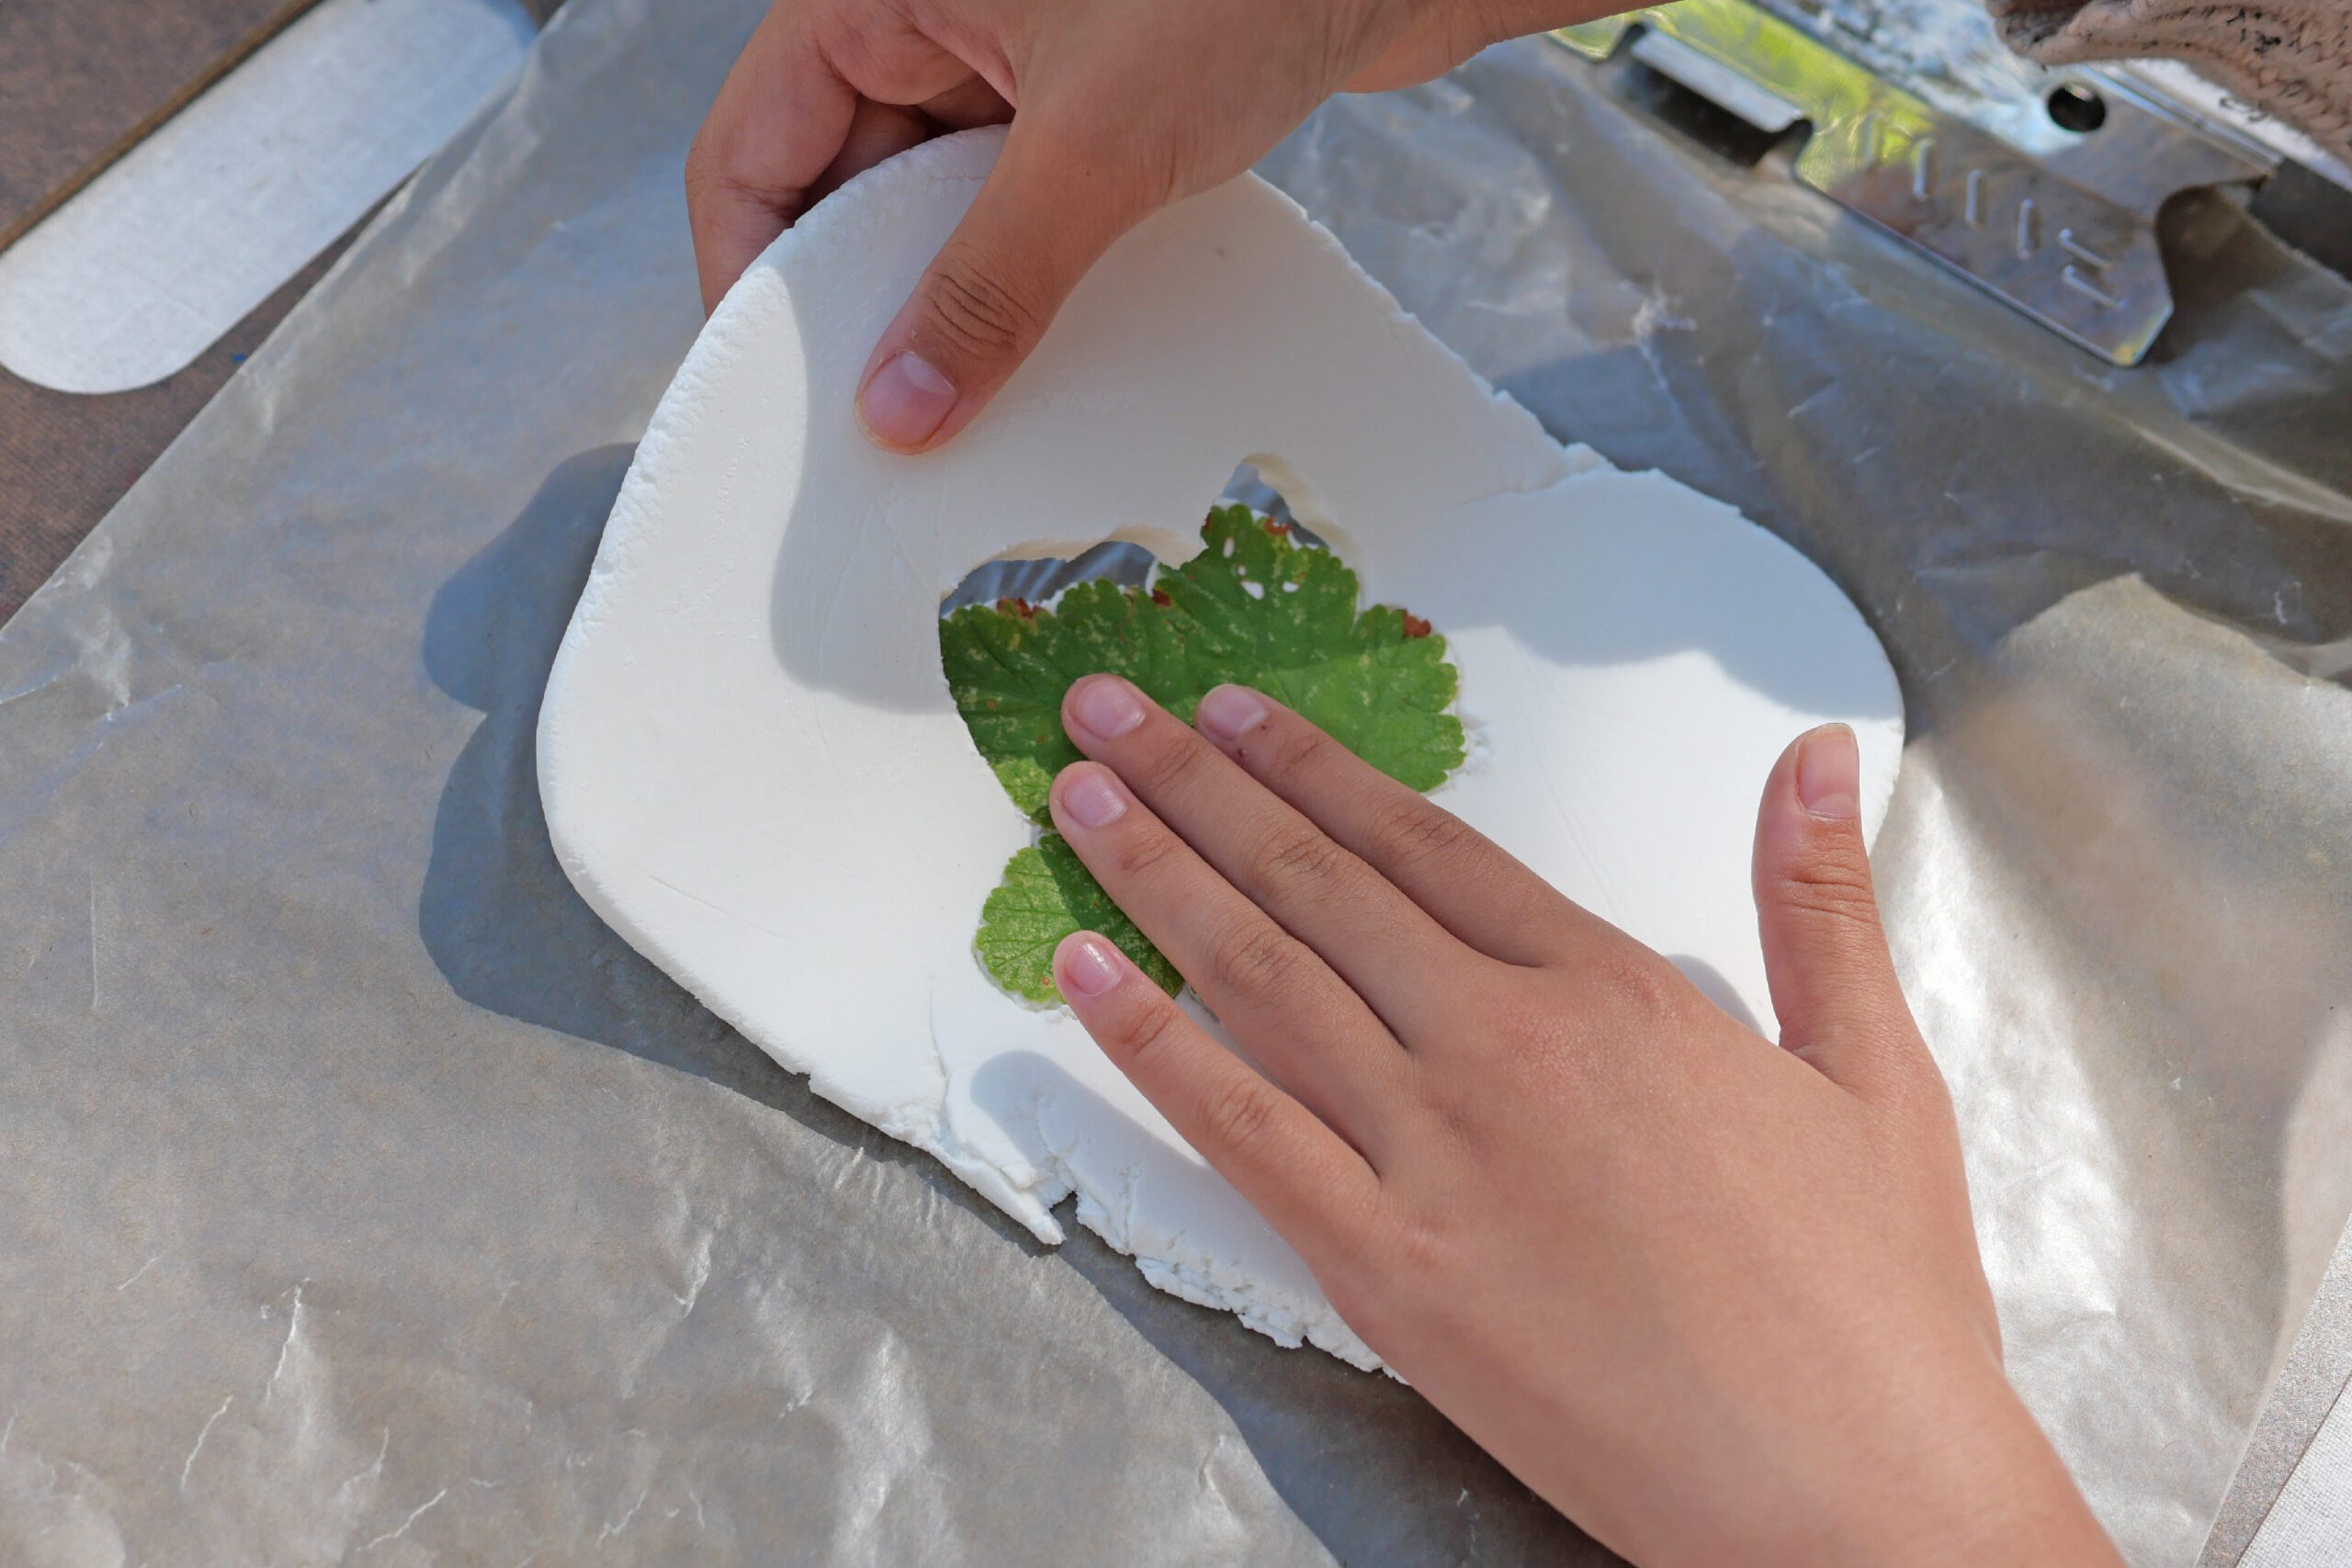
Step 2. Capturing the Shape of Leaves
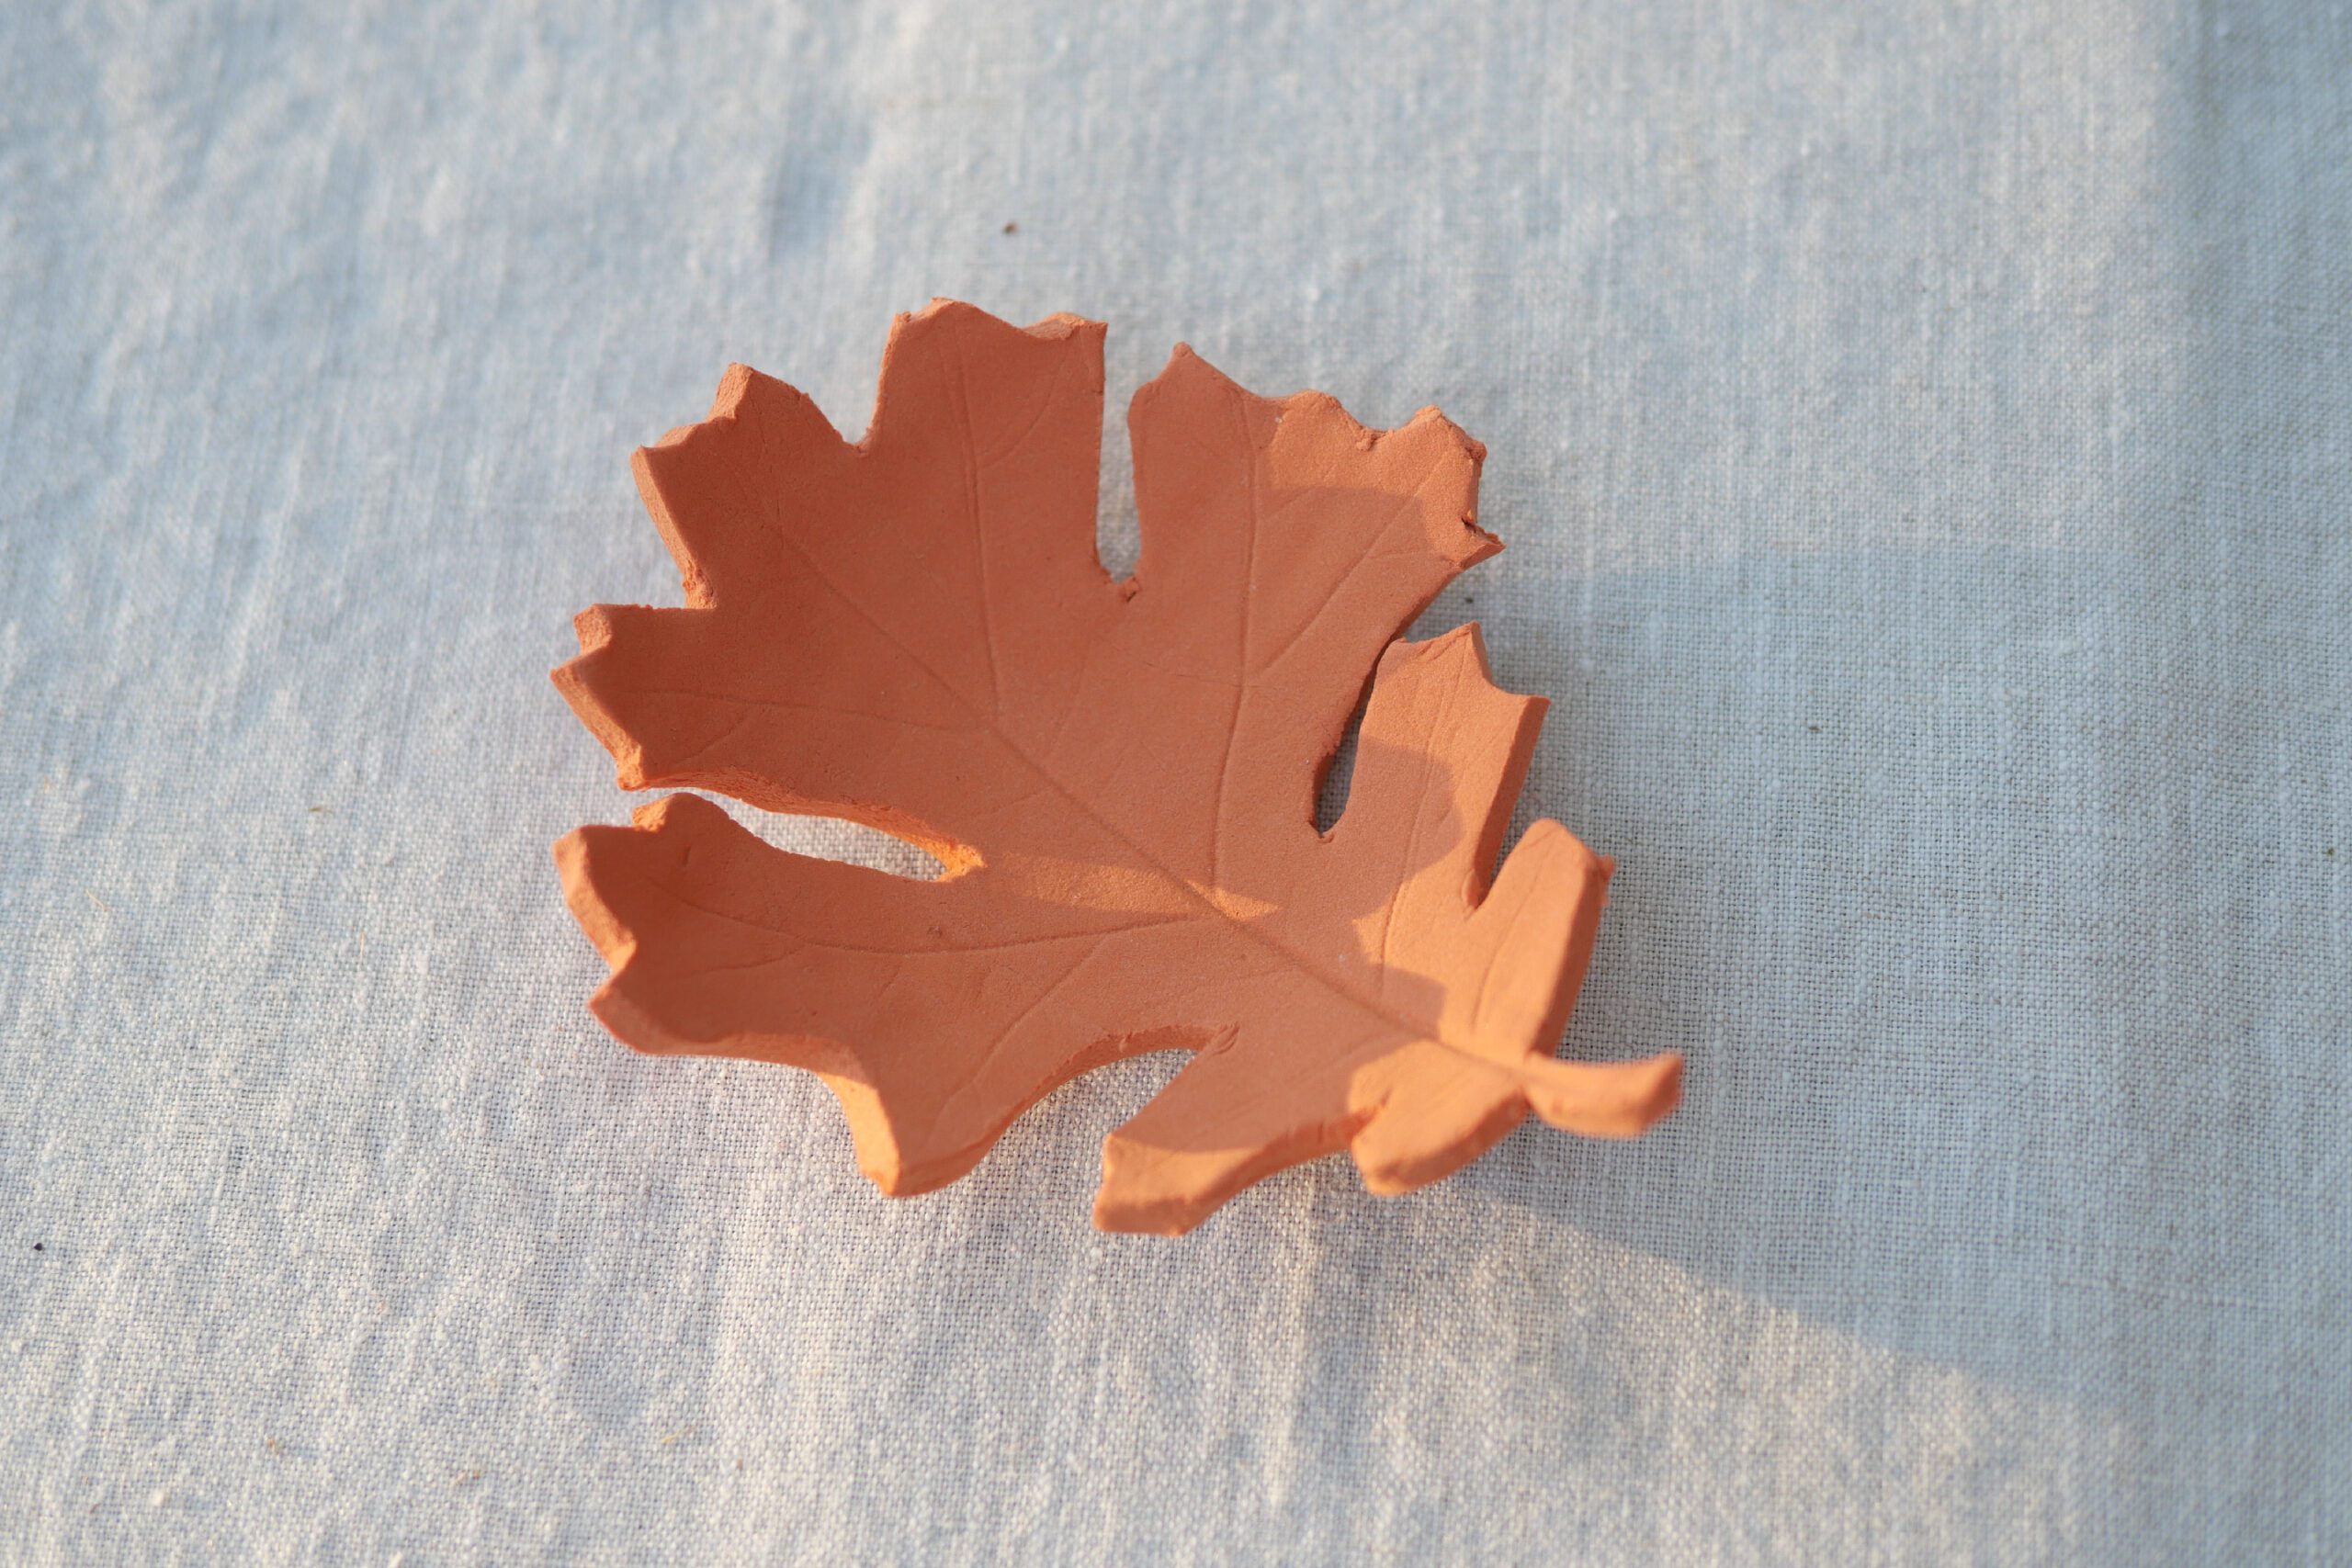
Place the textured underside of the leaf against the clay. Press the entire leaf firmly into the clay with your hand. Taking care not to shift the leaf, gently press down to ensure the shape and veins are clearly imprinted into the clay.
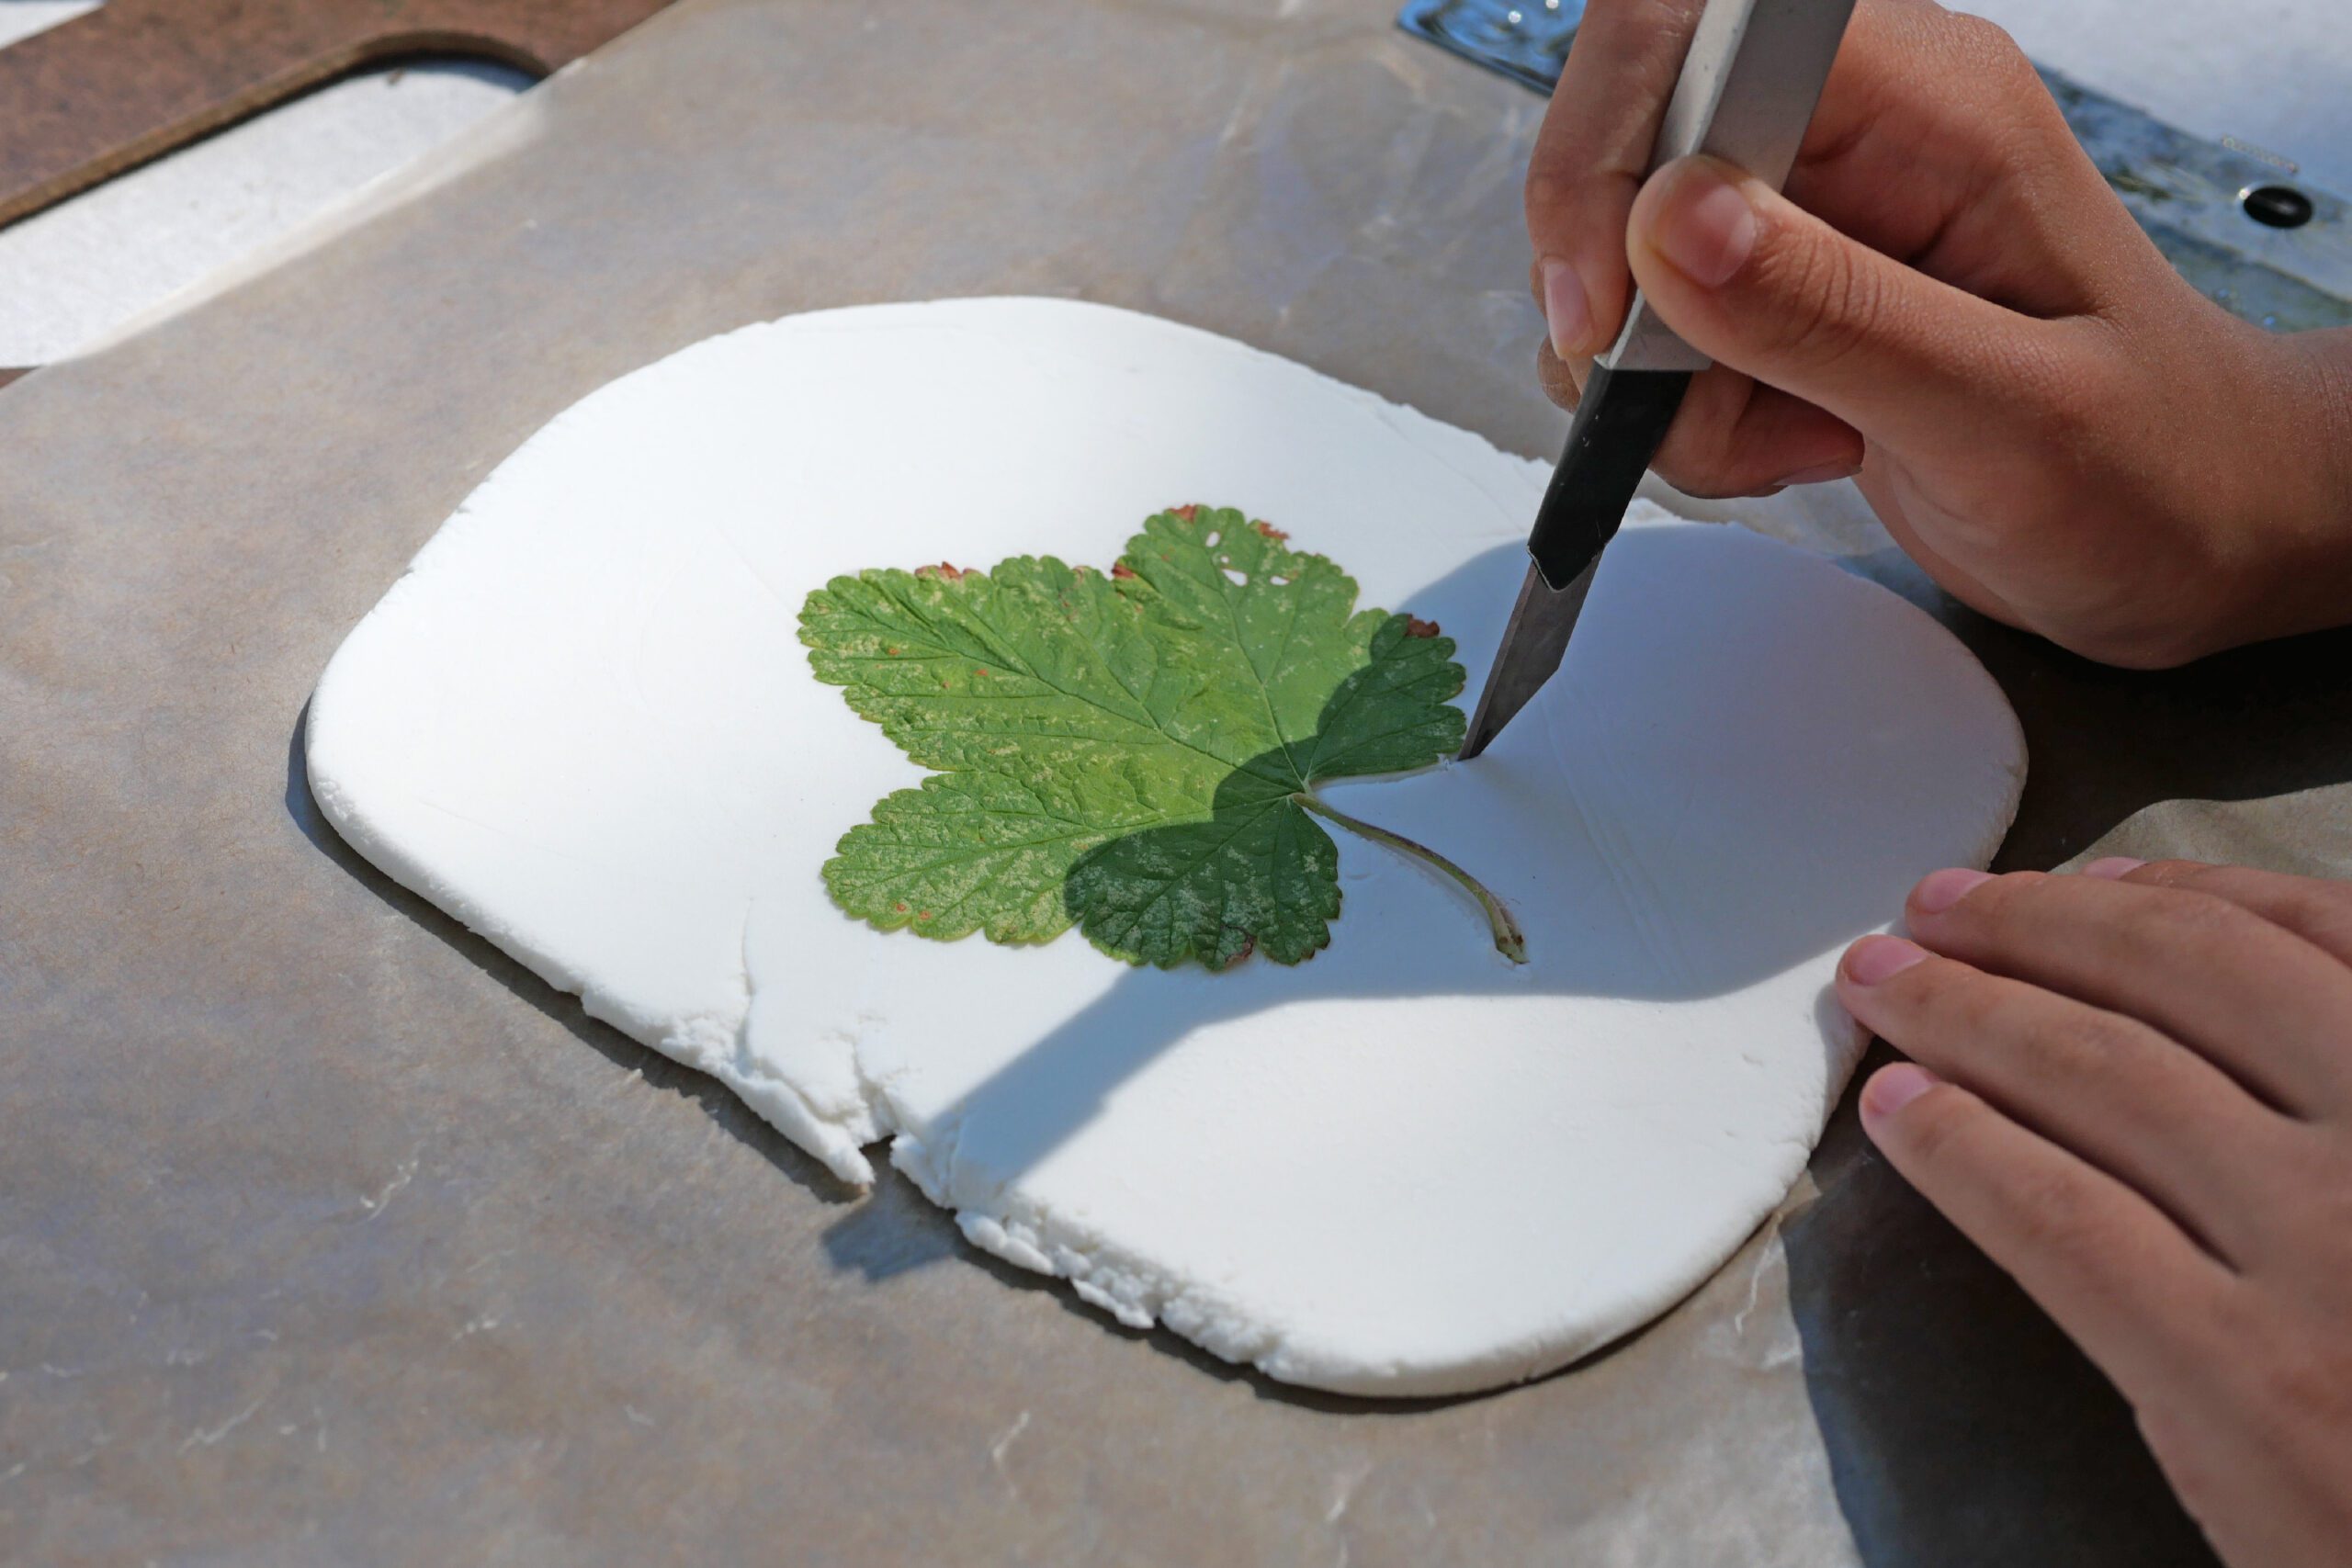
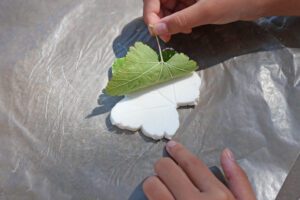
Step 3. Cut Out with a Knife
Cut away the outer edge of the leaf with a craft knife.
Gently peel the leaf away from the clay and remove any excess clay around it.

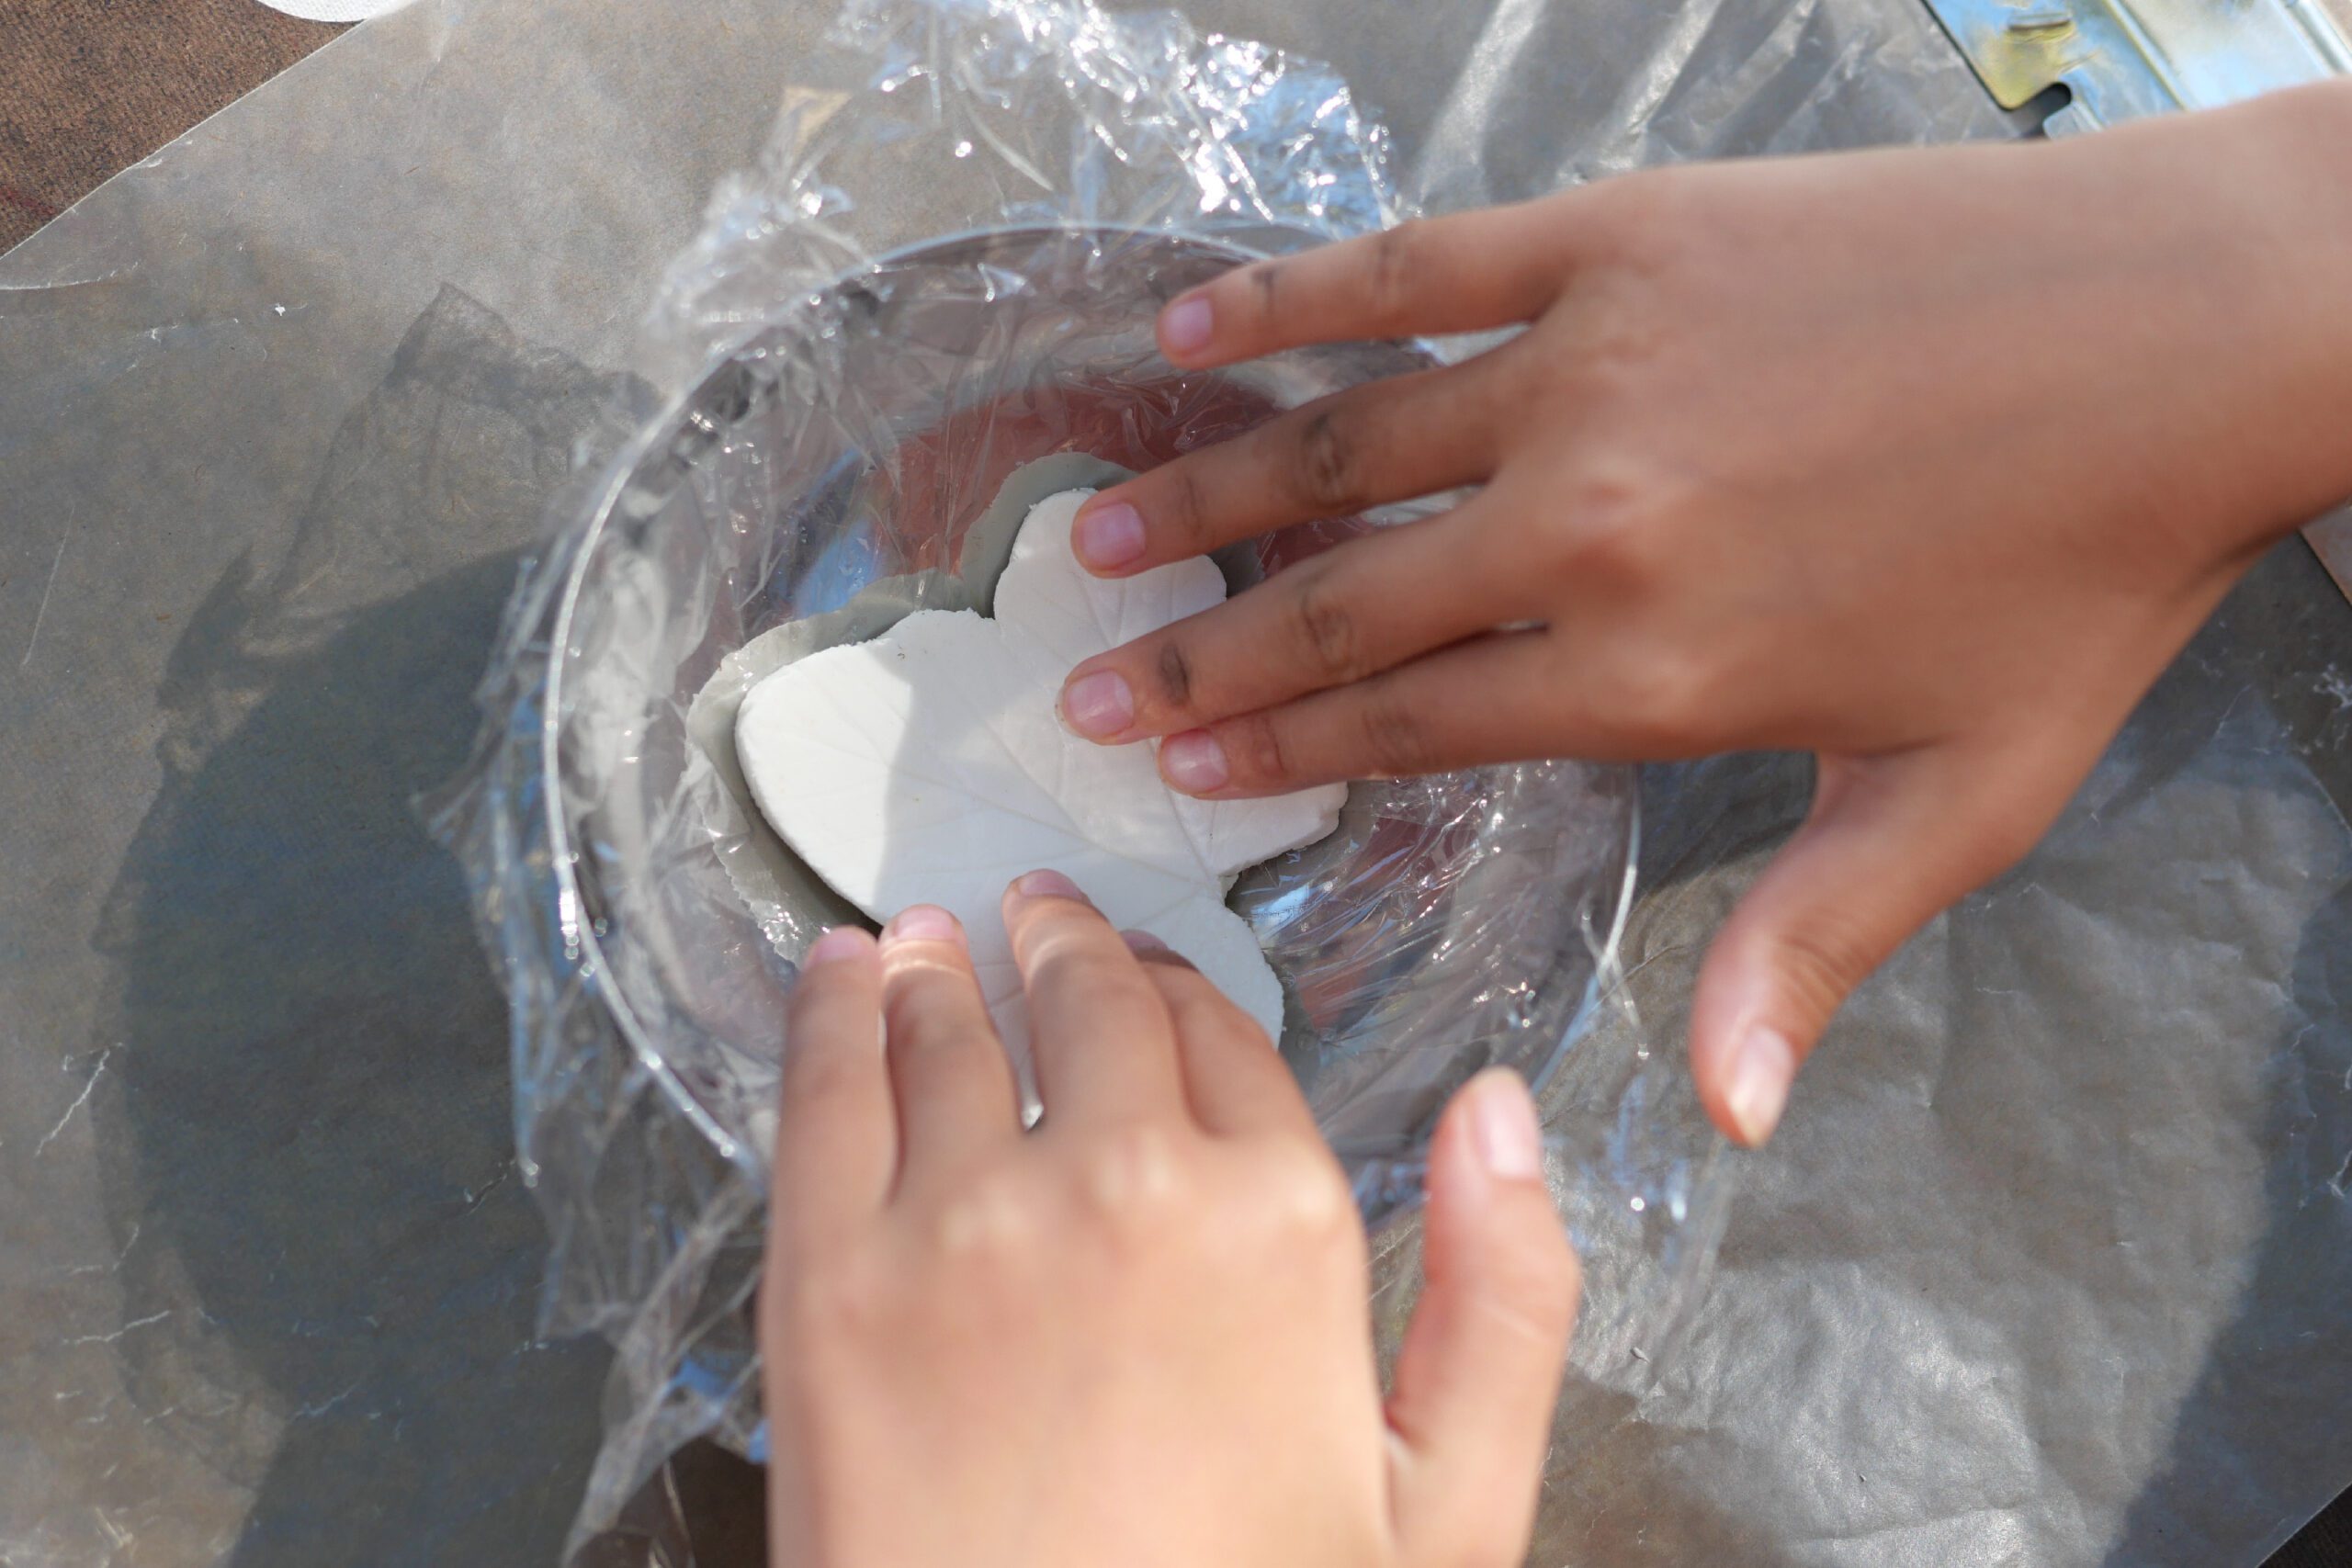
Step 4. Dry the Clay
Place the cut clay leaf into the small bowl and shape it into a rounded form, following the curve of the bowl’s base.
Drying time varies depending on the clay type, but is typically around 24 to 48 hours. Once the surface is completely dry, remove it from the bowl and place it upside down to allow the underside to dry. Once fully dry, it is complete.
Drying Time for Clay
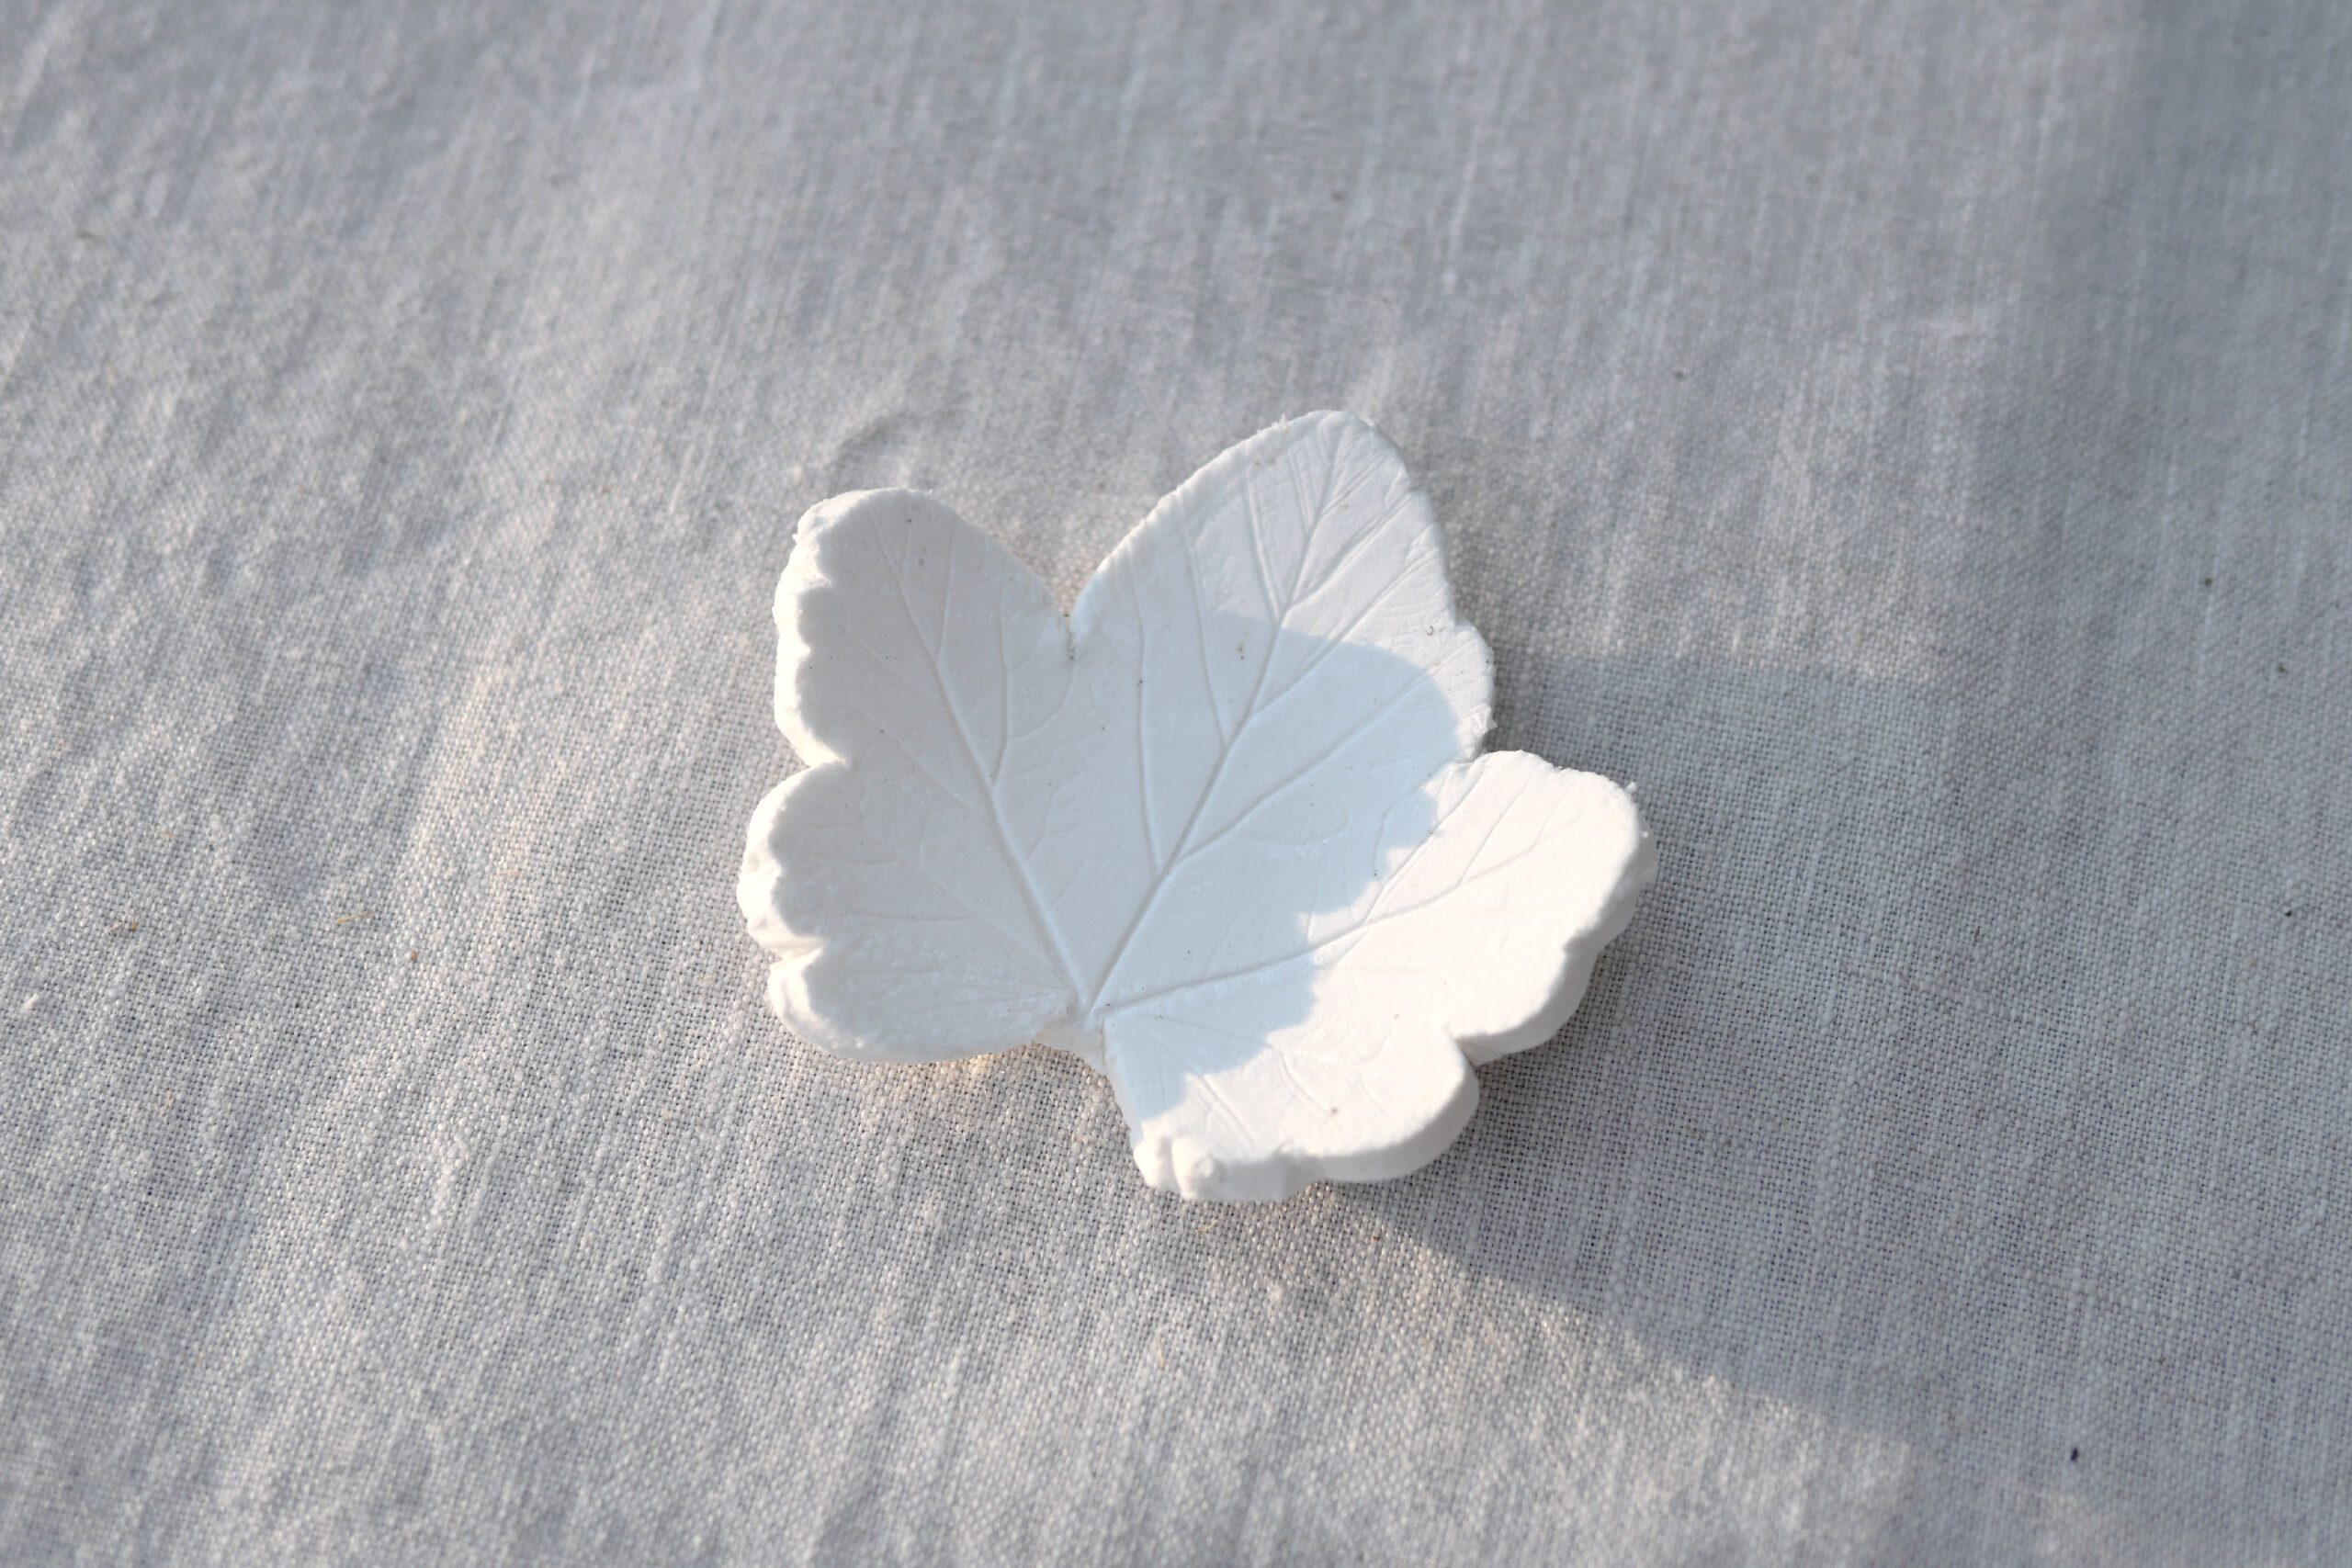
We tested two types of clay: a low-moisture “Light” type and standard clay. The Light type dried on the surface overnight, whereas the other took about two days to dry completely.
Once the clay is fully dry, you can use sandpaper or a nail file to smooth any rough edges. We enjoyed the natural texture of the clay as it was, but also be nice to paint it with acrylic paints or similar.
Clay Leaf Bowl
この美しく澄んだ季節に、自然の中で絵を描いたり工作することは、都市で暮らす私たちにとっては最高の息抜きであり大切にしている時間です。3日分の食料と、たくさんのクラフト材料を車に積んで、郊外のお気に入りの森へロードトリップへいきました。森の中でリラックスしながら、まるでアートキャンプのような時間を楽しみむのが目的です。
到着したら、まずは散歩へ出かけ落ち葉や木の実を拾います。森には宝物がいっぱいです。自然に感謝しながらお裾分けをいただき、そして何がつくれるのか考えます。
私たちが楽しみにしていたものの一つが、この粘土でつくる葉っぱの器。自然の造形の美しさをそのままとらえた器です。出来上がった器は、アクセサリーやコインなどの小物を入れたり、キャンドルの受け皿としても最適です。
用意するもの
– 落ちたばかりの葉っぱ
– 粘土
– 綿棒
– まな板
– 小さなボウル
– ナイフ
– ワックスペーパー
つくりかた
Step 1. 粘土を伸ばす
粘土を伸ばすのに十分な大きさのワックスペーパーを2枚用意してください。粘土をボール大に切り取り、2枚のワックスペーパーで挟みます。暑さが5mmほどになるまで伸ばしてください。
*私たちは粘土を5mmの均一な厚さに伸ばすために、5mmの棒2本を粘土の両サイドに置きました。
Step 2. 葉の形を写す
葉脈の凸凹のある裏面を粘土に触れるように置きます。手で葉っぱの全体を粘土に押し付けます。葉っぱがズレないように注意しながら、優しく葉の形と葉脈がしっかりと粘土に写るように押し付けます。
Step 3. ナイフで切り取る
カッターナイフで葉の外側を切り取ります。
葉を粘土からやさしく剥がし、周りの余分な粘土を取り除きます。
Step 4. 粘土を乾燥させる
切り取った粘土の葉をボウルに入れ、ボウルの底の丸みに沿わせて形を丸く整えます。
乾燥時間は粘土の種類によりますが24〜48時間ほどです。表面が完全に乾燥したら、ボウルから取り出し、逆さに置いて裏面も乾燥させてください。完全に乾燥したら完成です。
粘土の乾燥時間について
私たちは水分量が少ないLightタイプの粘土と、普通の粘土の2種類を試しましたが、Lightタイプは一晩で表面が乾燥しました。もう一方は、完全に乾燥するまでに2日ほどかかりました。
粘土が完全に乾いたら、サンドペーパーや爪やすりを使用して、エッジのざらつきを取り除くこともできます。私たちは粘土の風合いをそのまま楽しみましたが、アクリル絵の具などで色を塗ったりしても楽しいでしょう。