Felt Animal Patches
The long summer break has ended, and we’ve returned to our daily routine. We absolutely love traveling, and whenever we get a break—whether it’s a long vacation or just a short one—we head out on trips. This summer especially, we were only for a short while at my home in LA and were fortunate to have the opportunity to visit various cities. My daughter is now quite the seasoned traveler. From packing her baggage to passing the time on the road, she knows exactly how to make herself comfortable wherever she goes.
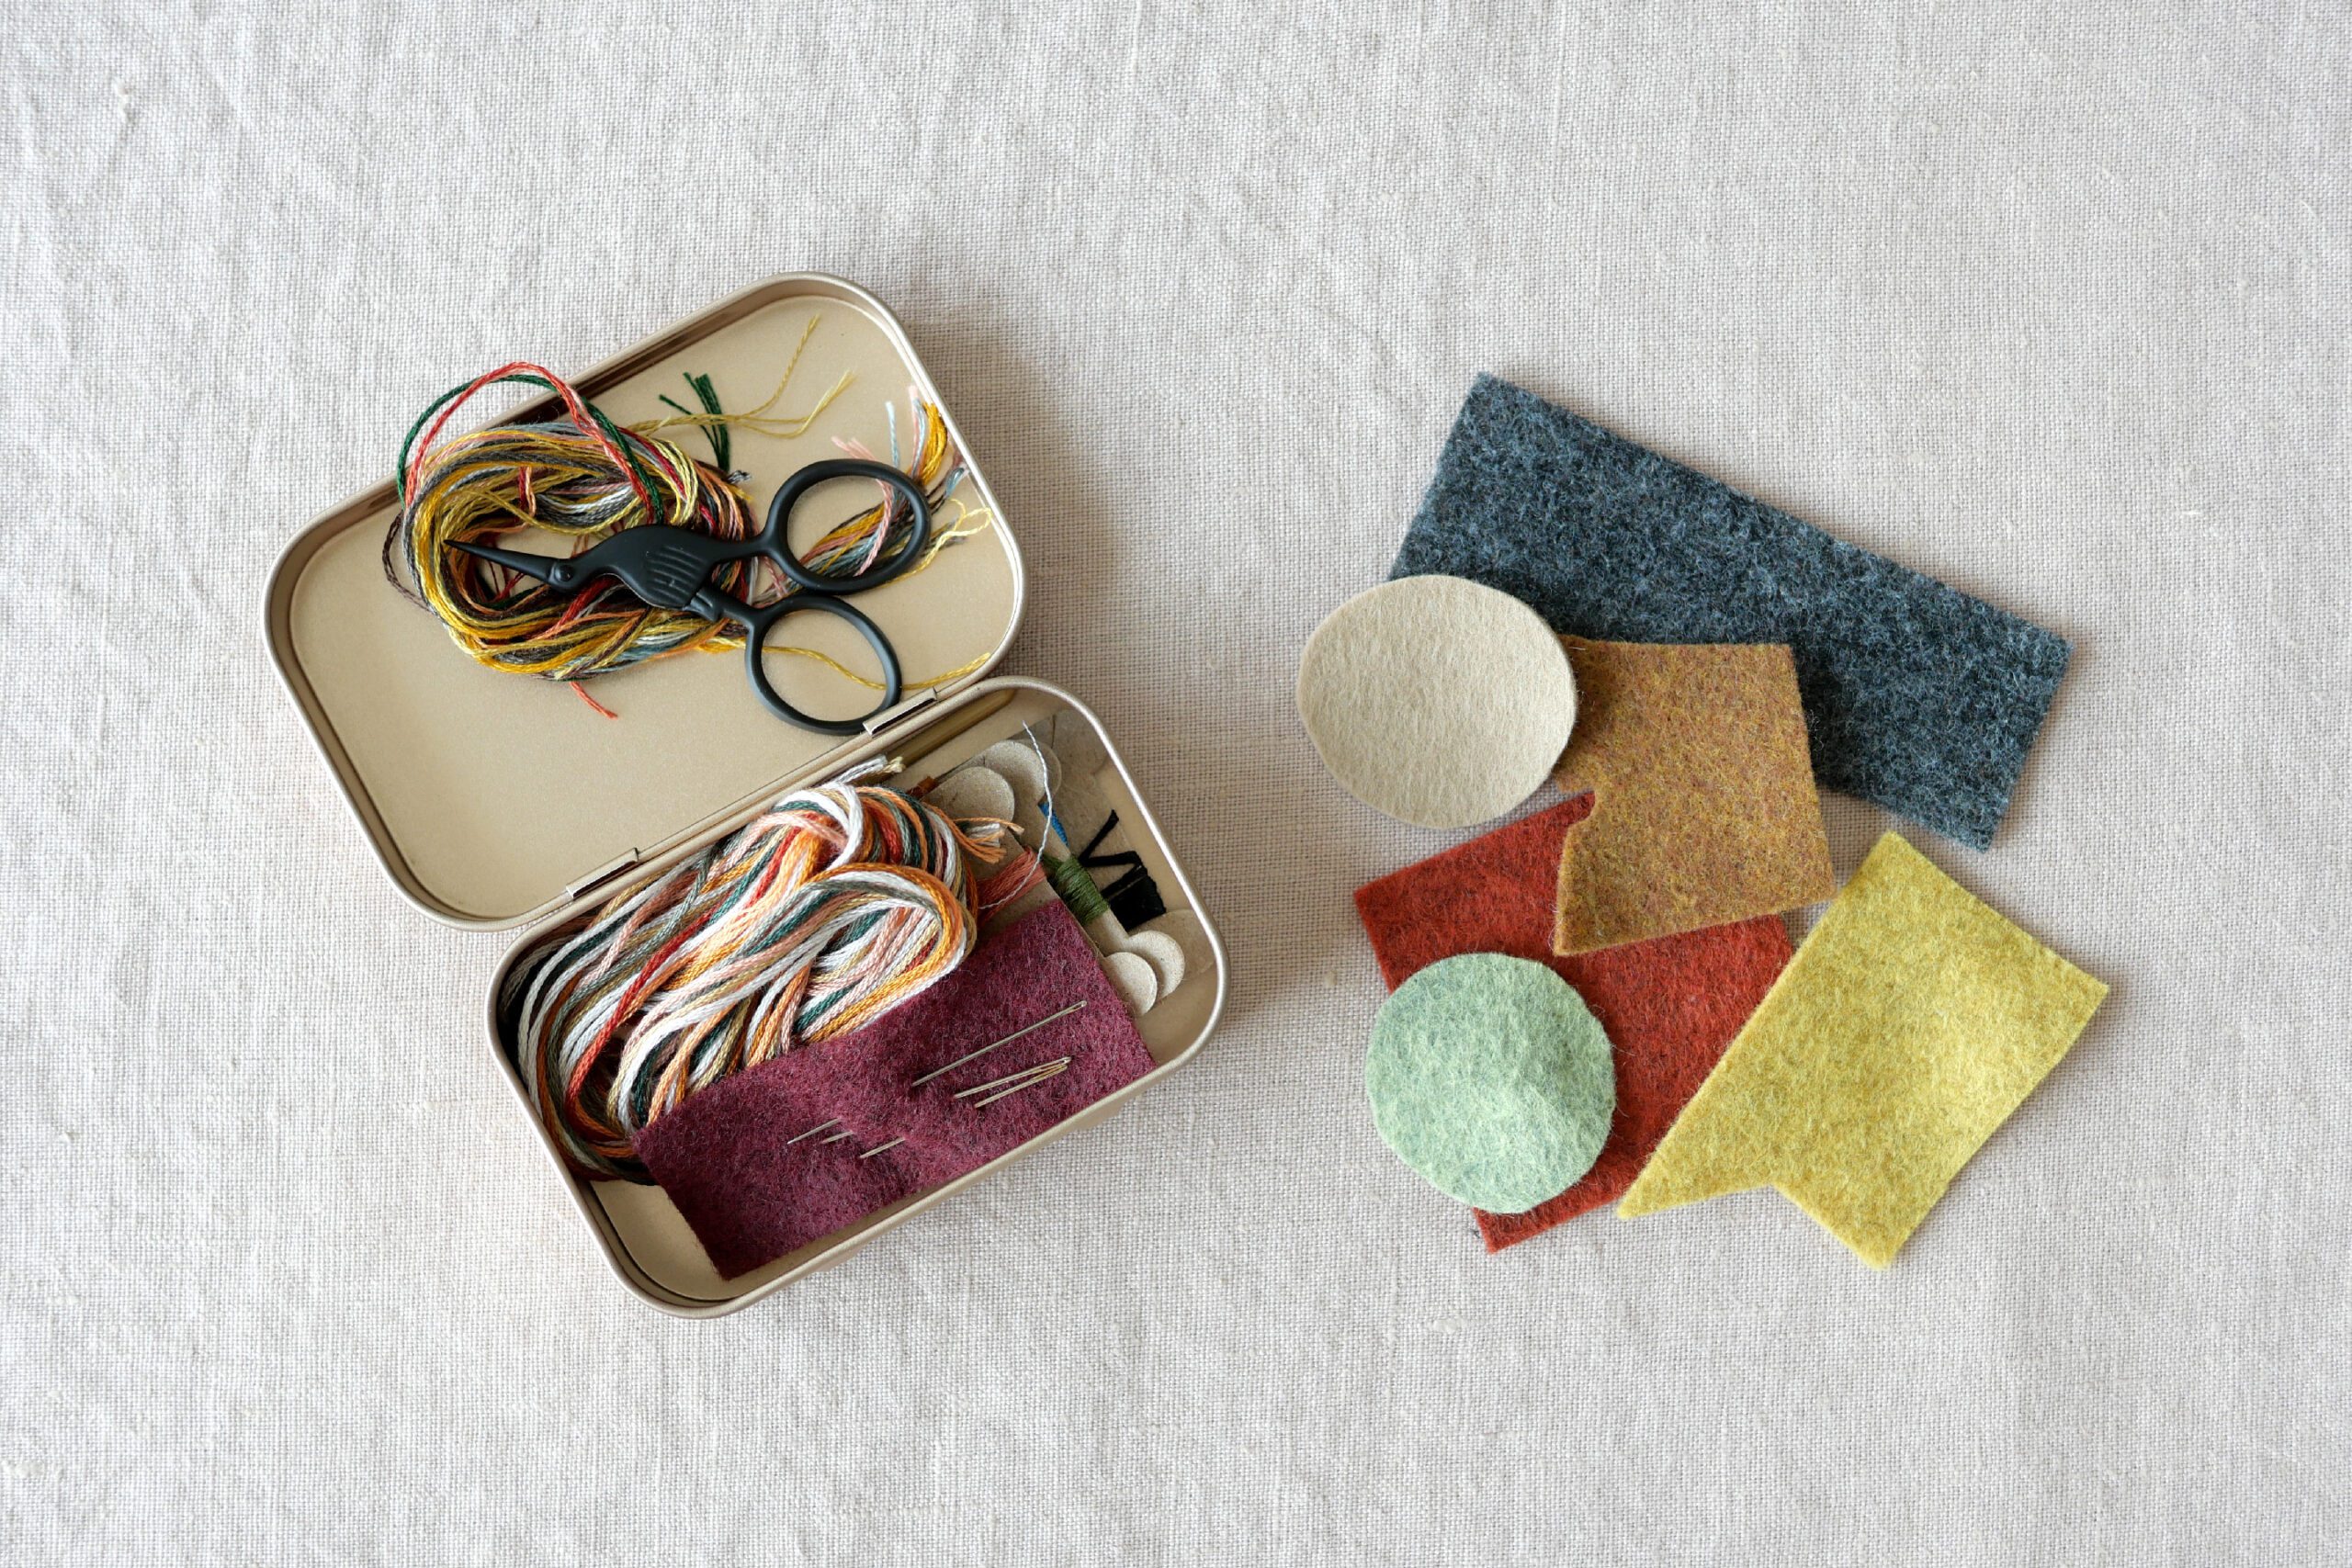
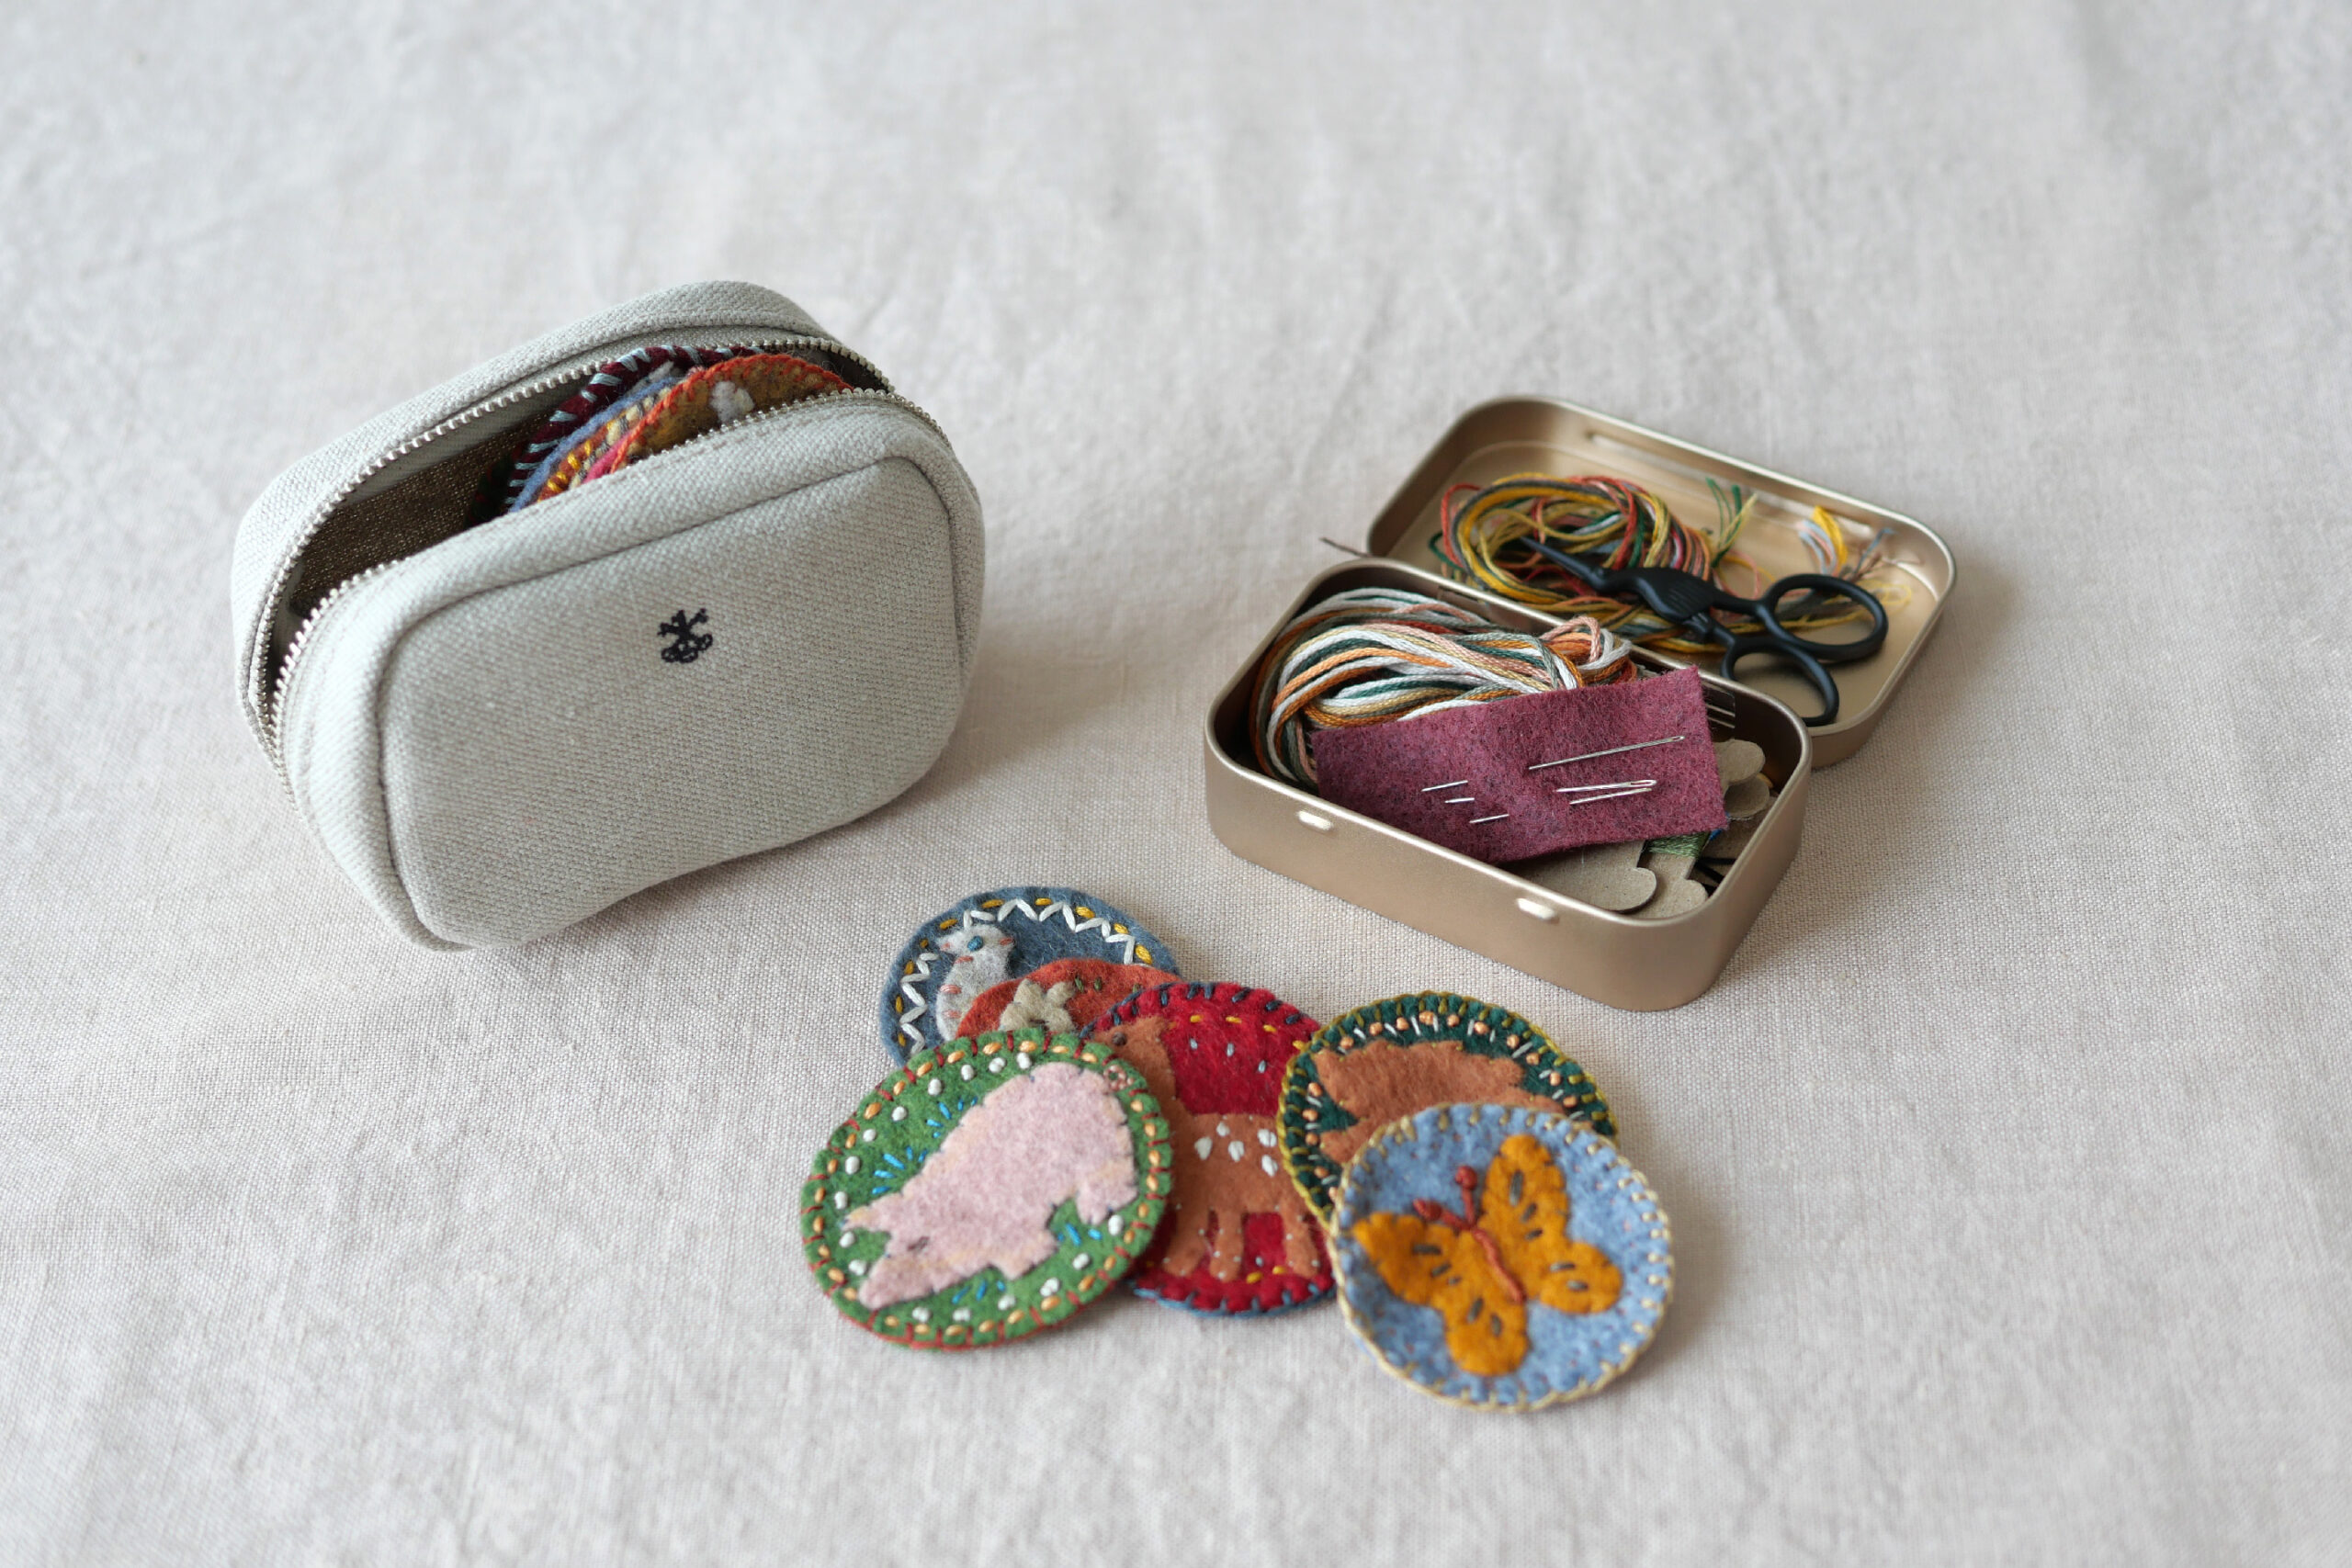
The one thing we always bring along on our trip is our knitting supplies. Yarn balls and knitting needles are our travel essentials. As long as my hands are moving, I can relax and be myself anywhere. In addition, this summer we decided to bring along the felt and sewing supplies my daughter is currently obsessed with. Inspired by Yumi Hayakawa’s beautiful book, we resolved to finish an animal patch during our travels. I wanted to keep my travel gear as compact as possible, so we cut the felt beforehand before departure. I packed the cut felt into a small pouch, and placed the needle, thread, and scissors into a small tin box.
Spreading out materials on a table while traveling, chatting together, and enjoying a relaxing time stitching away. This summer, during flights or train rides, or on nights spent in hotels. This is the result of our enjoyment.
Materials
– Felt
– Fabric pencil
– Embroidery thread
– Needle
– Scissors
Instructions for making
Step 1. Cut the Felt
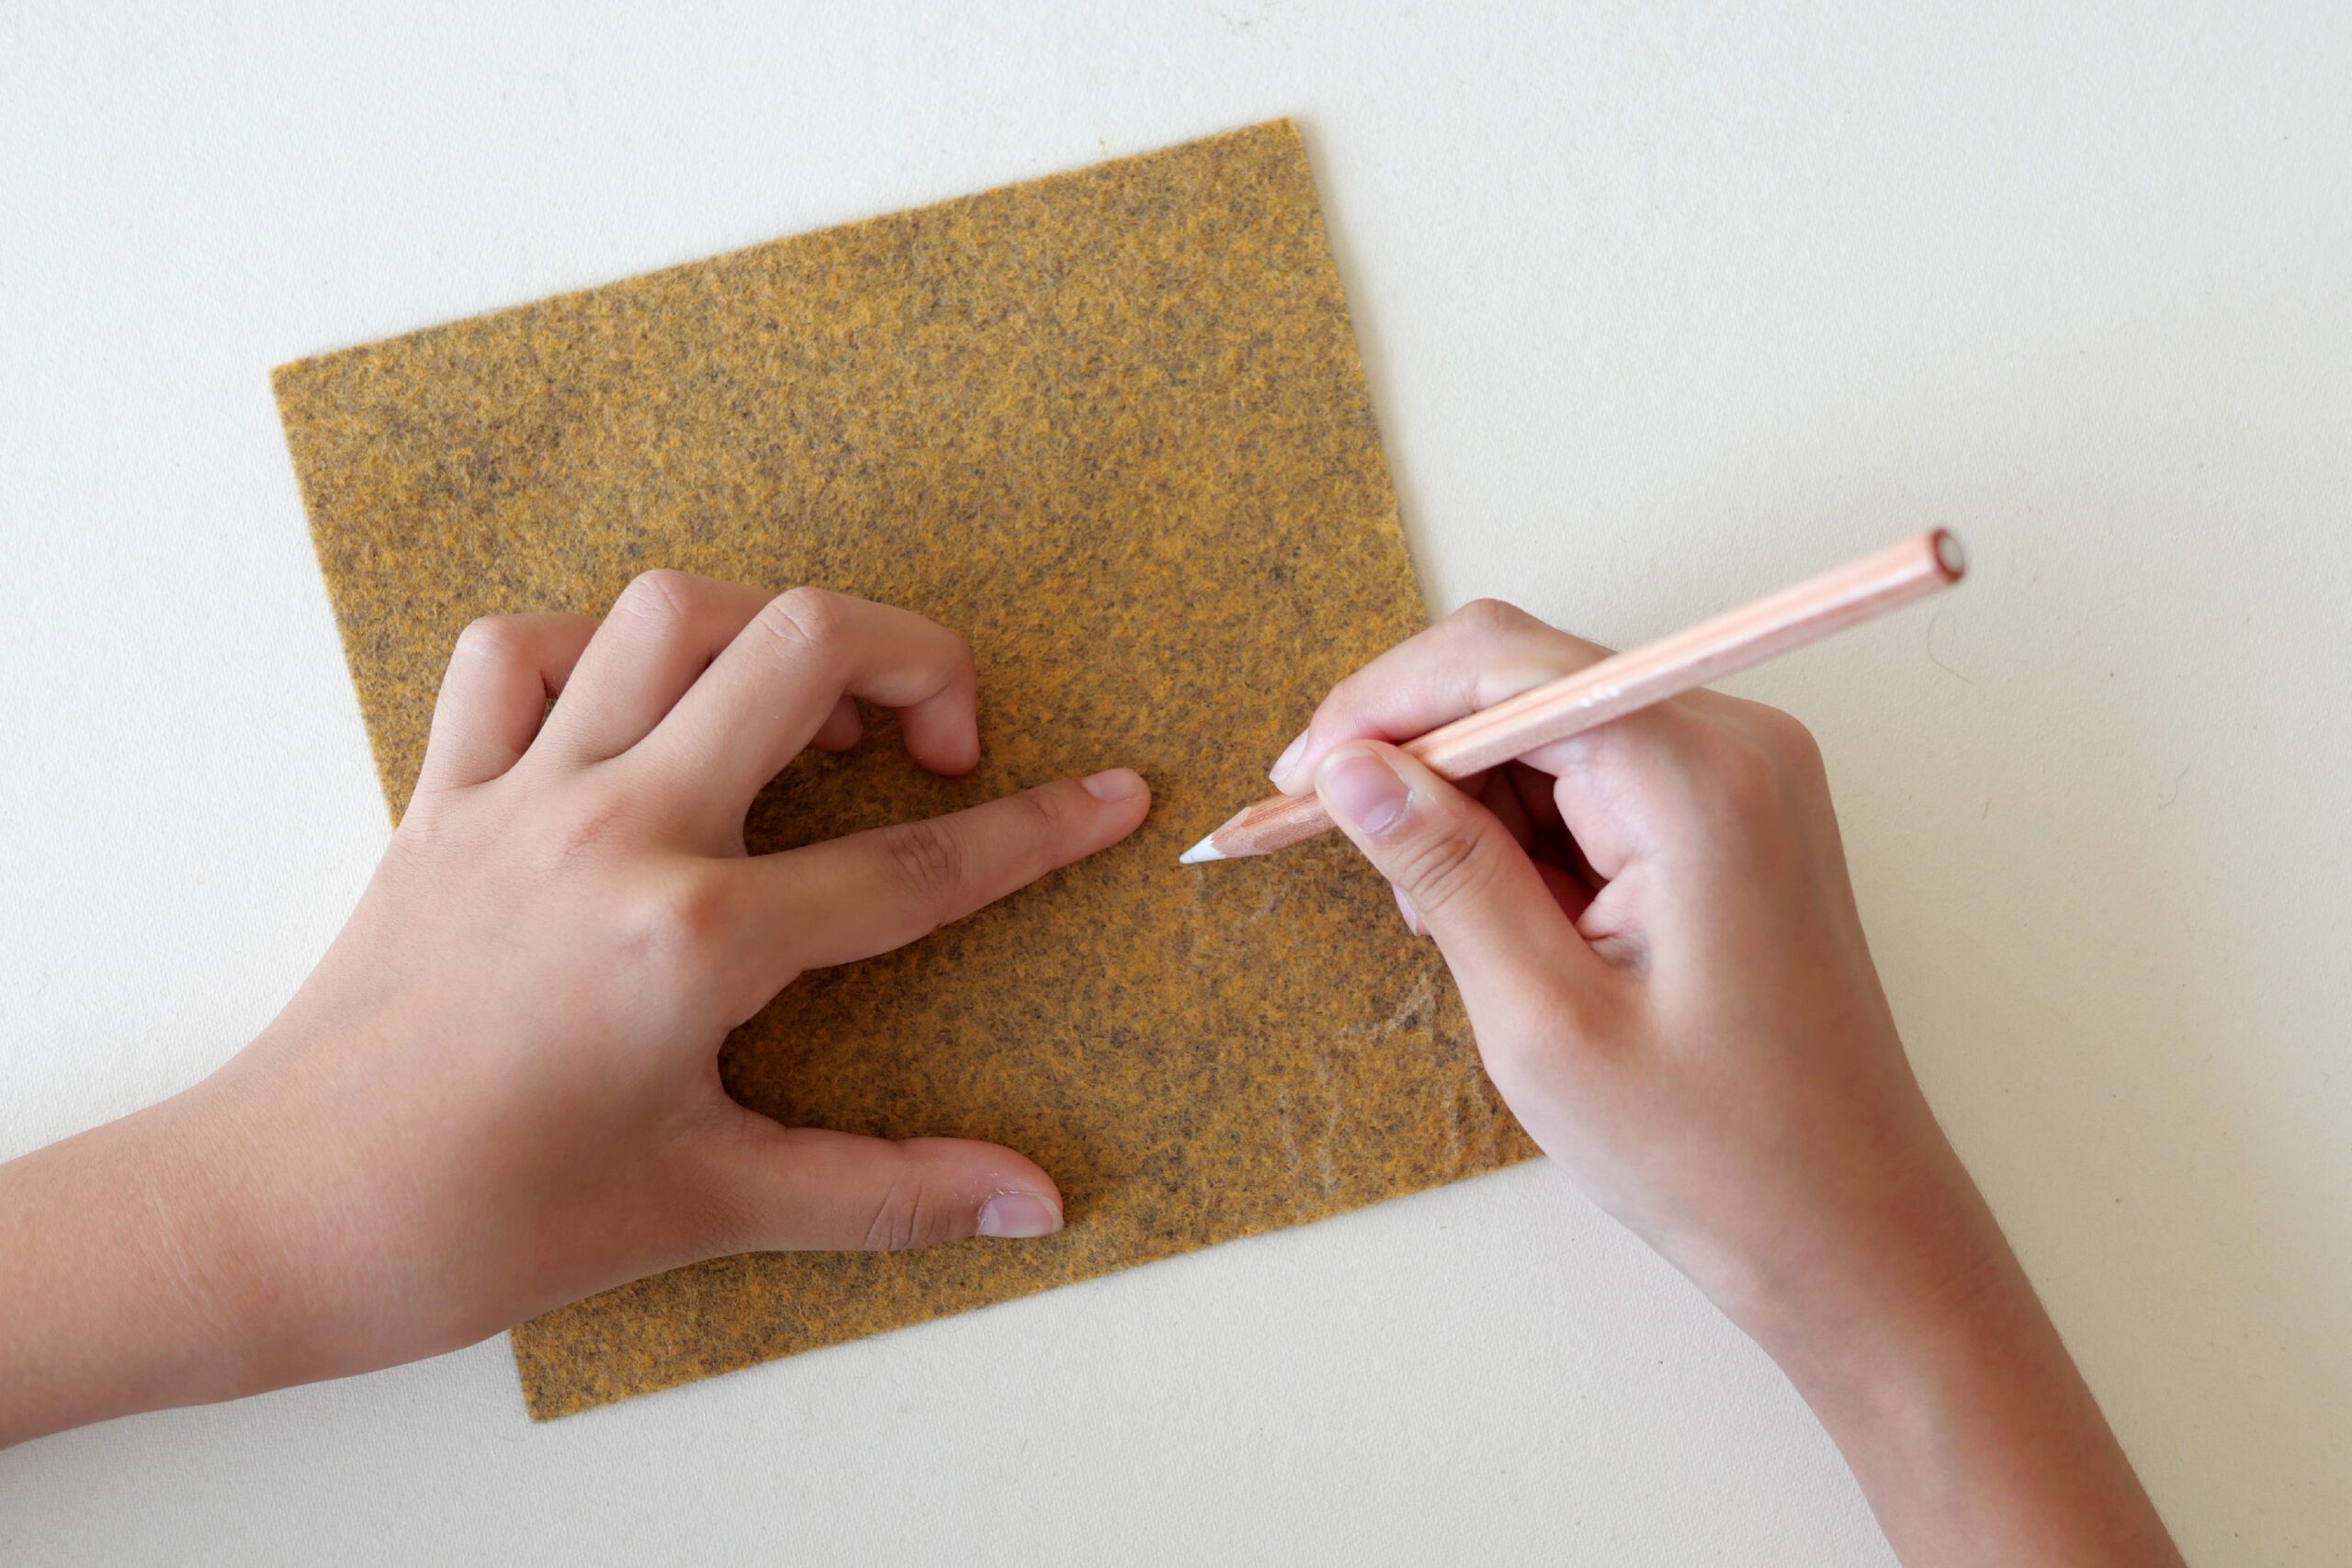
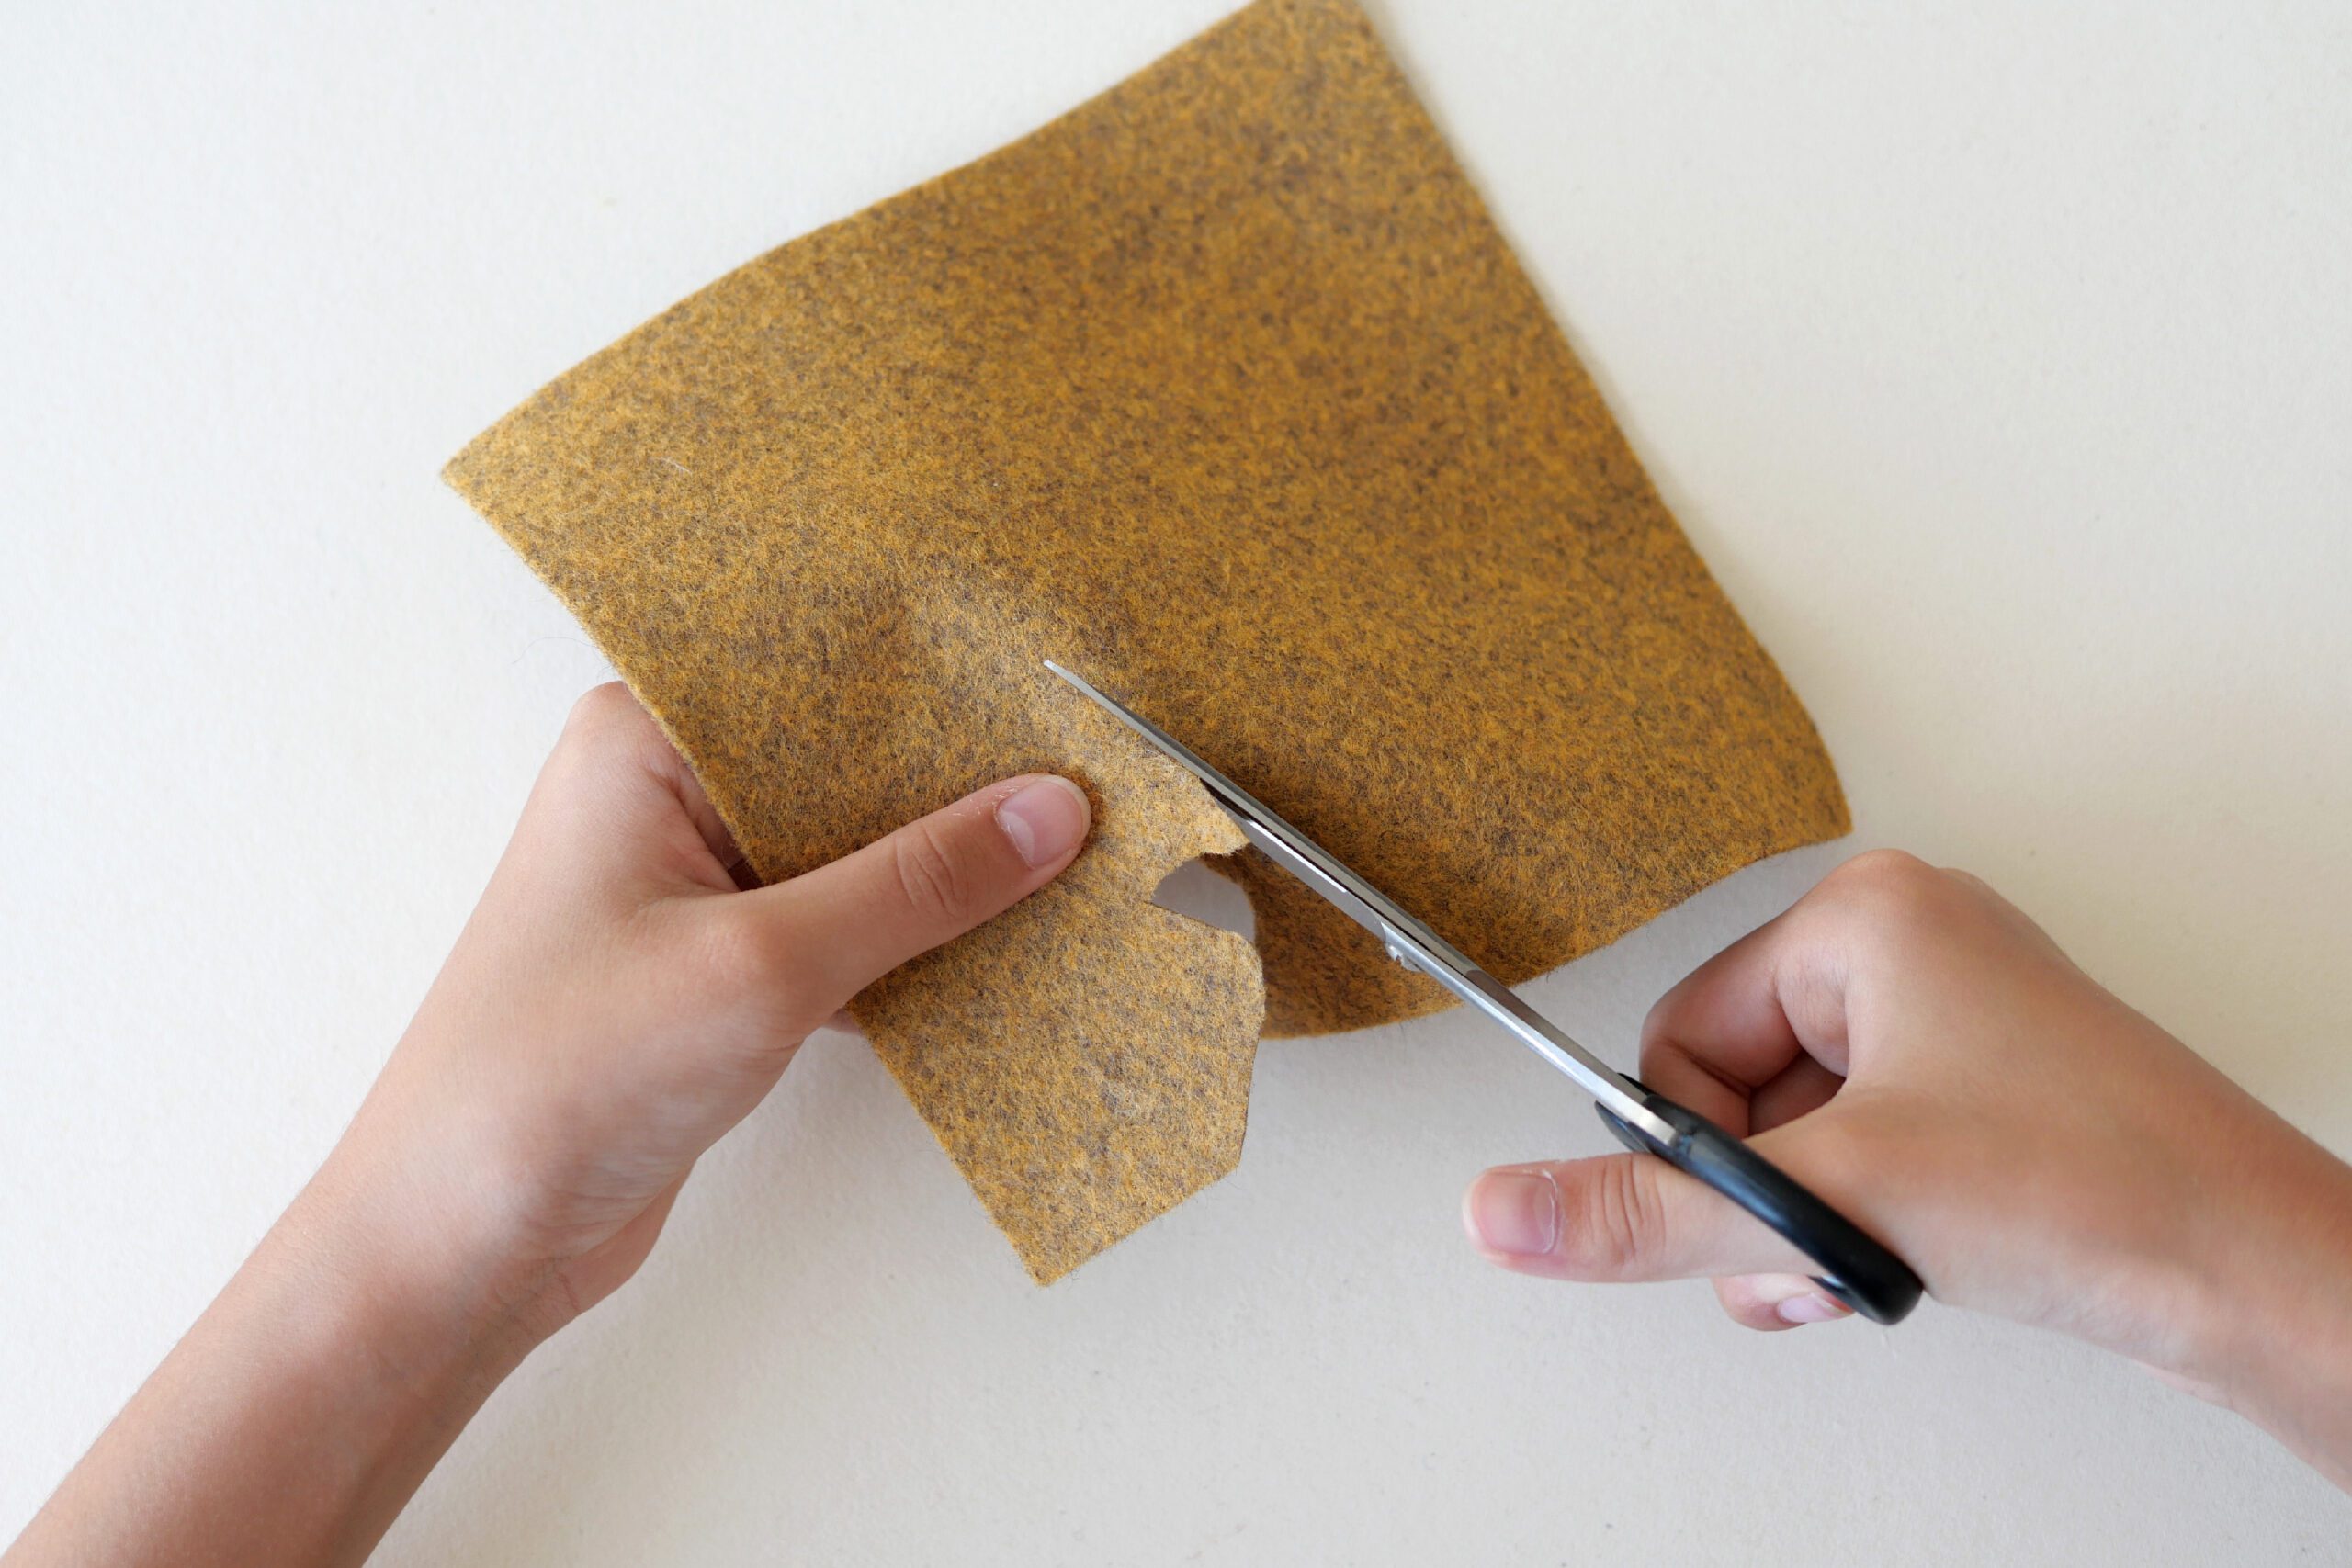
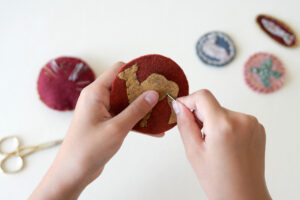
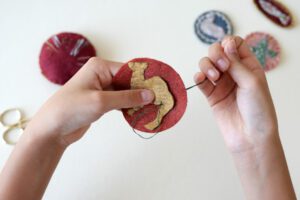
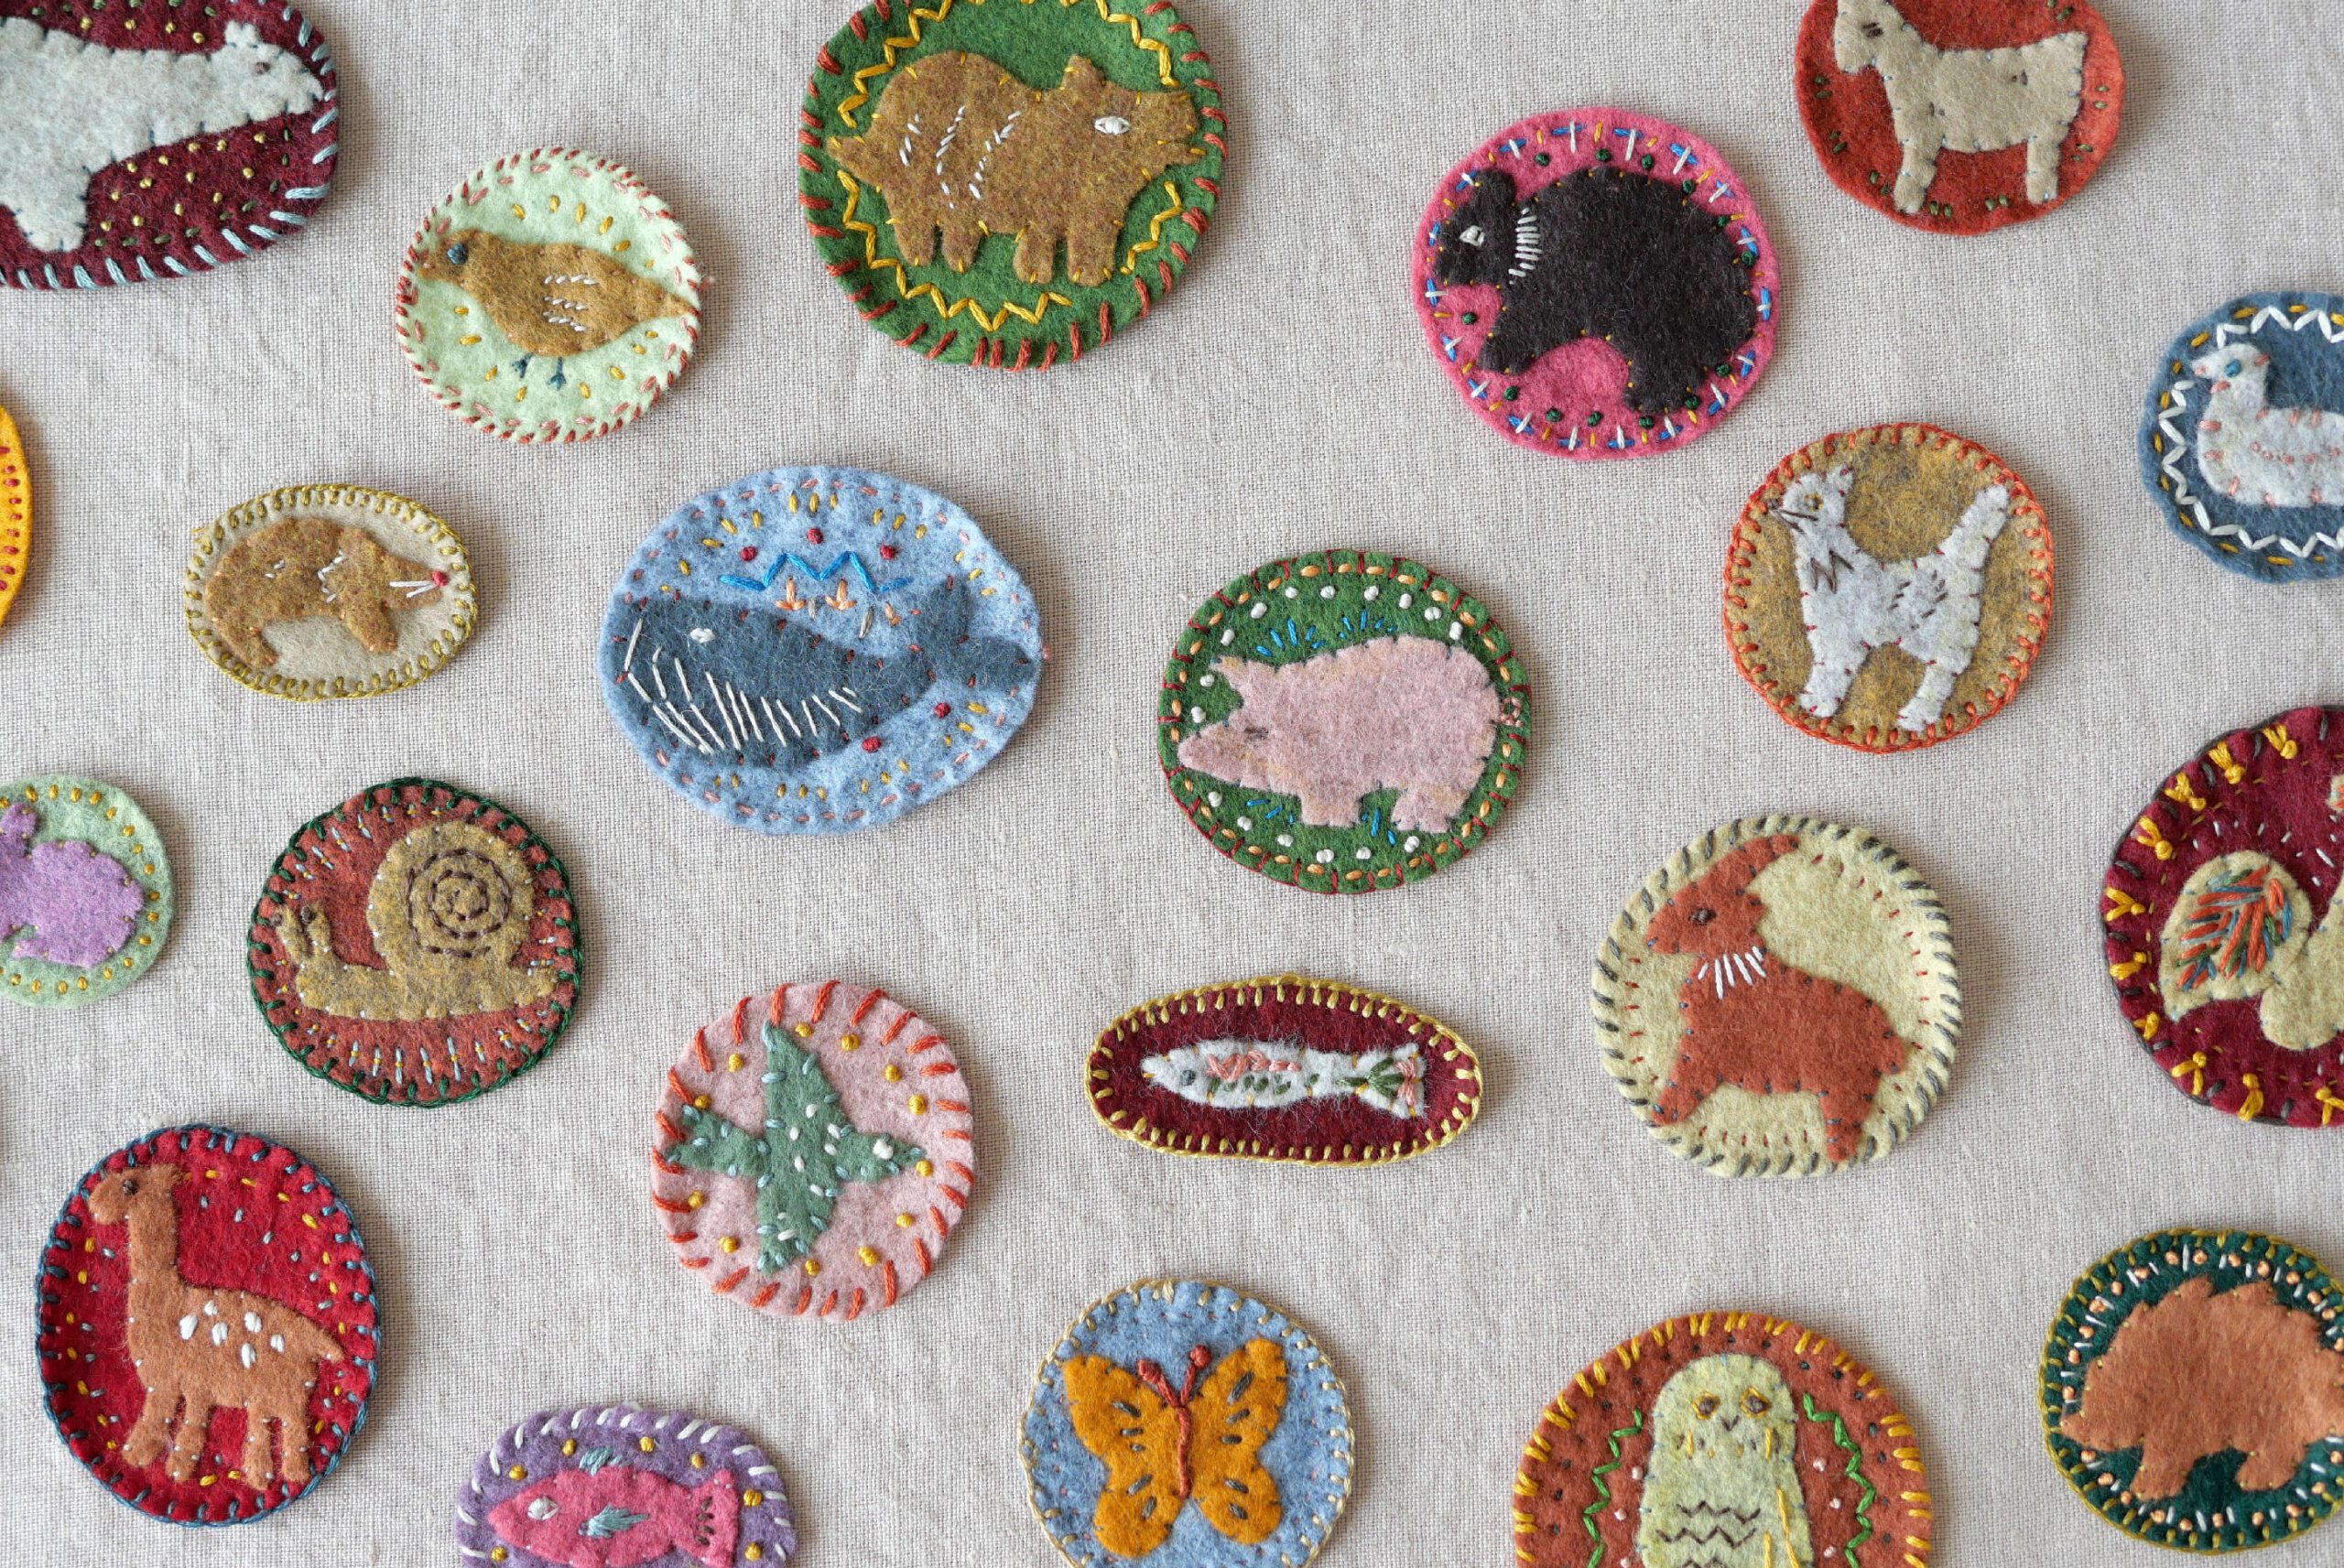
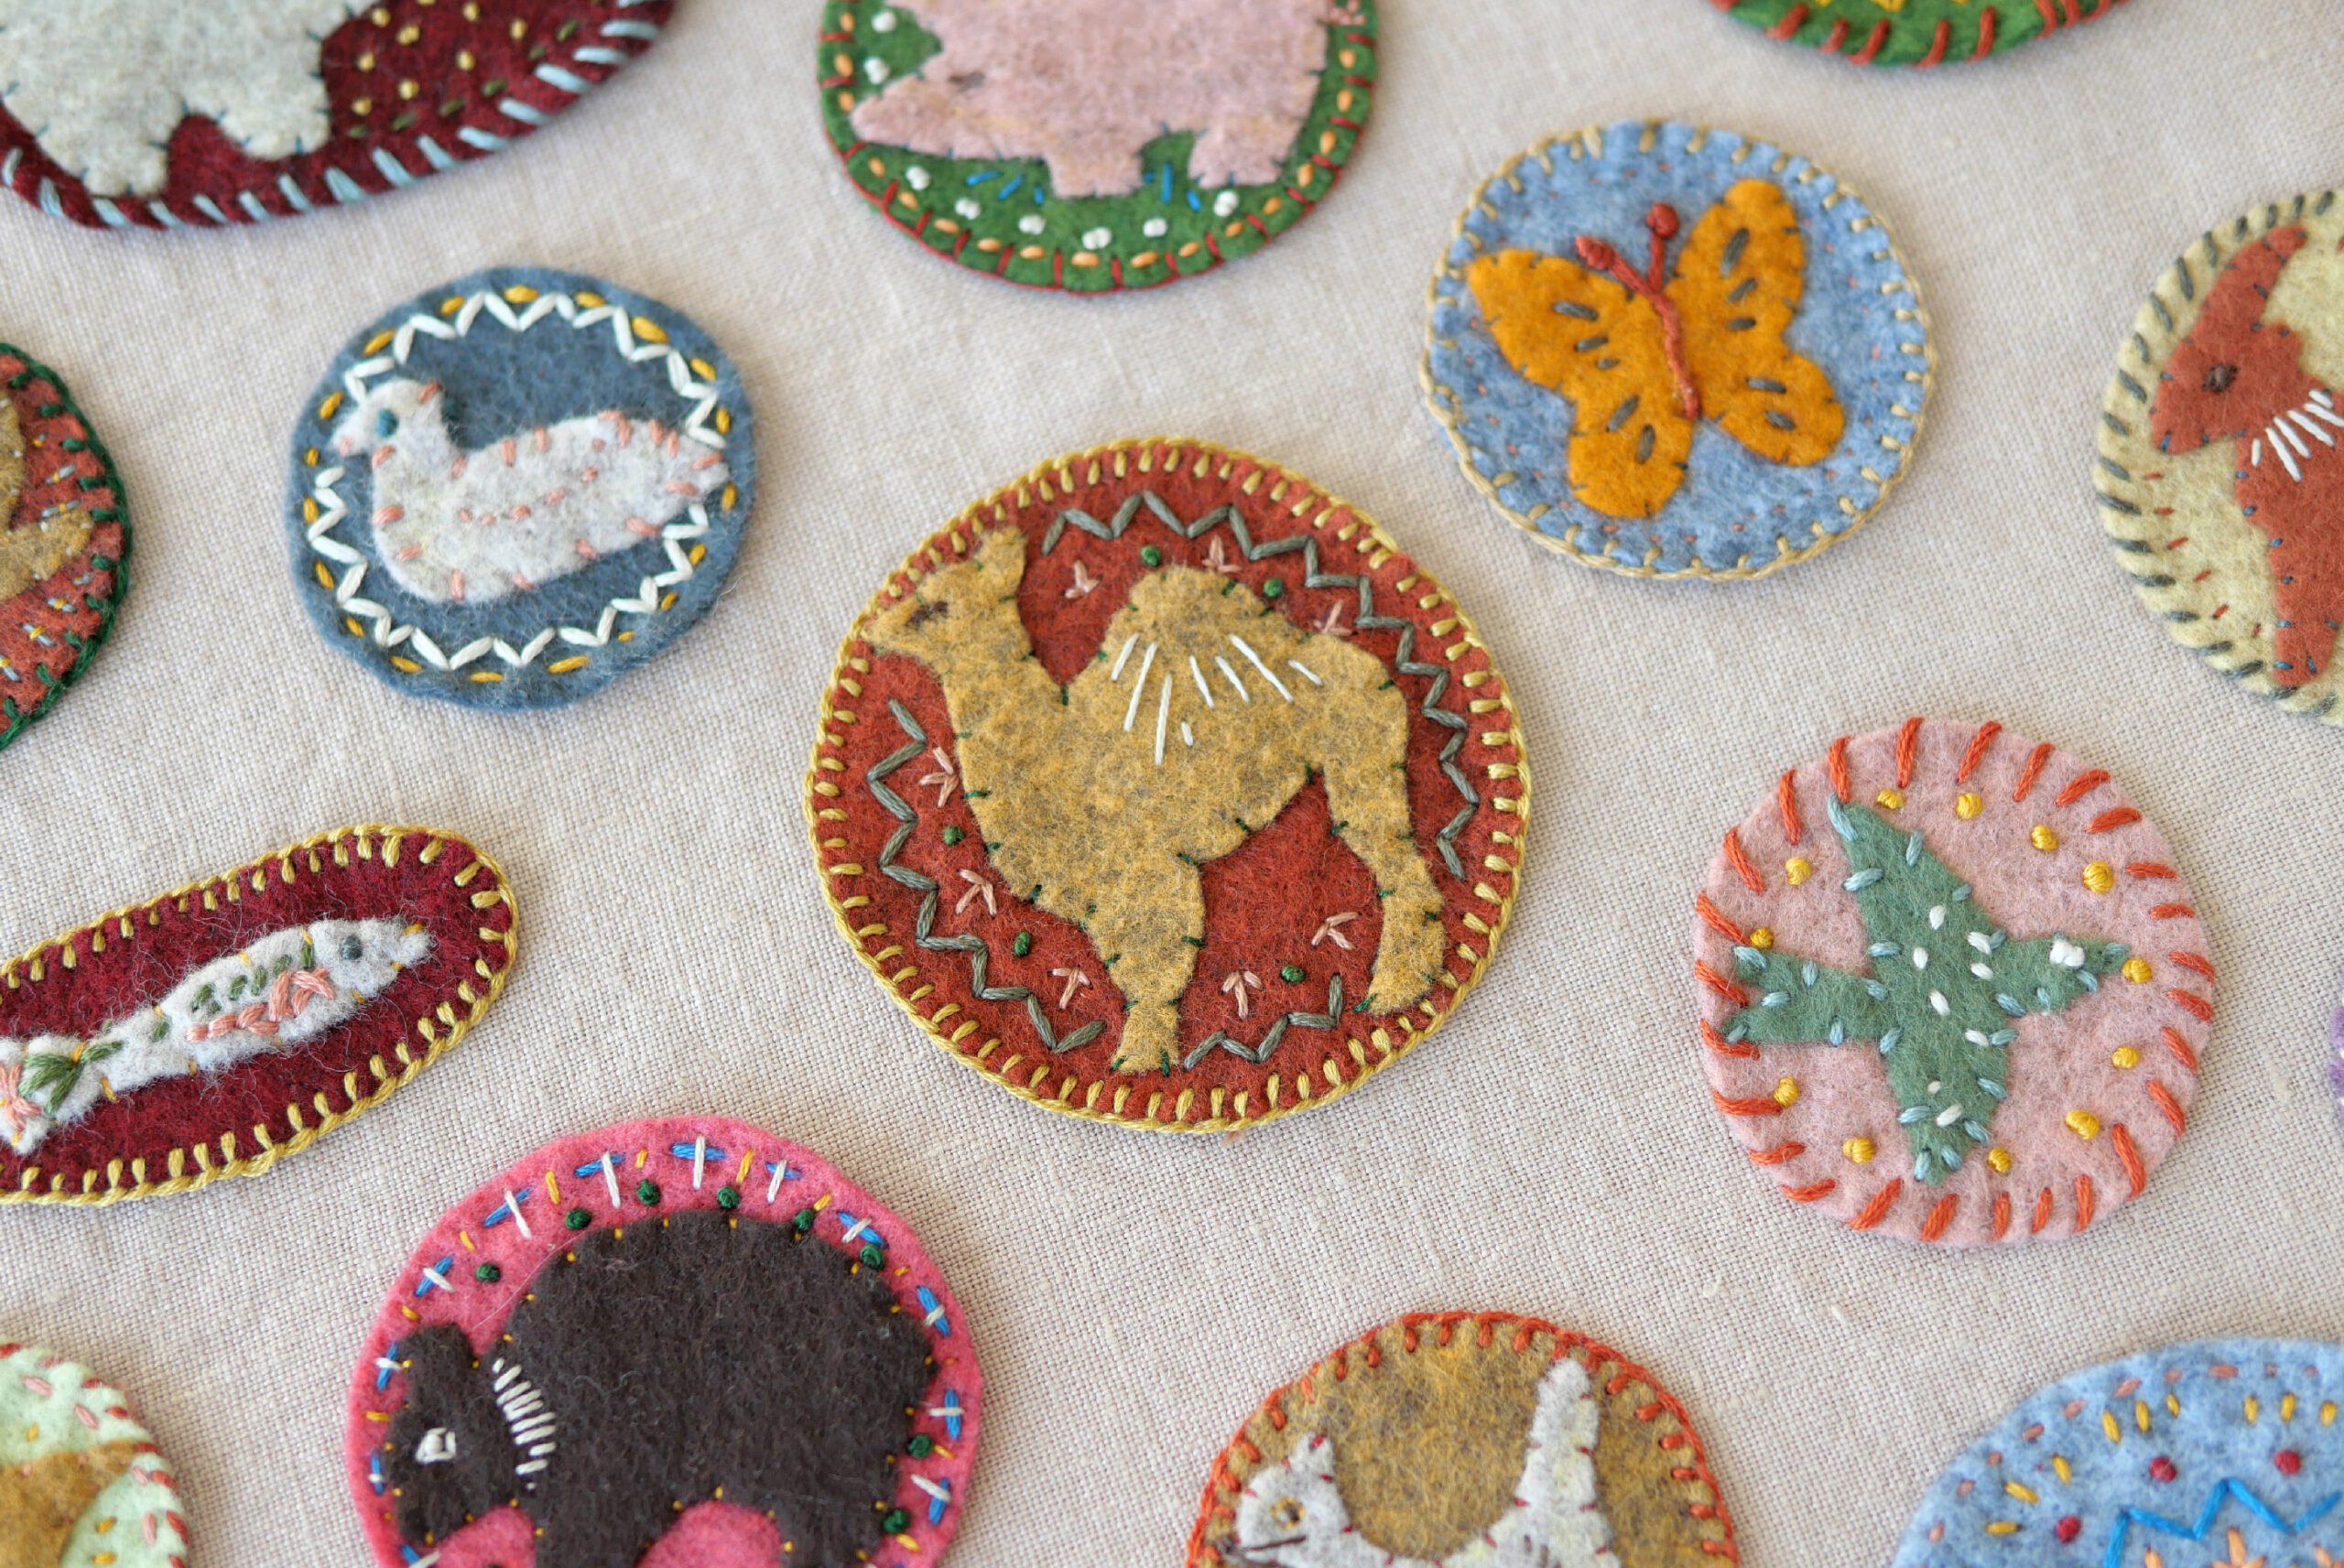
Cut the felt into any shape you like. It’s good to sketch the motif onto the felt with a fabric pencil and then cut it out with scissors. We chose animals as our theme. Bear, boar, wolf, deer, whale, bird, fish, snail—whatever you like. You can also make with patterns like hearts and stars etc.
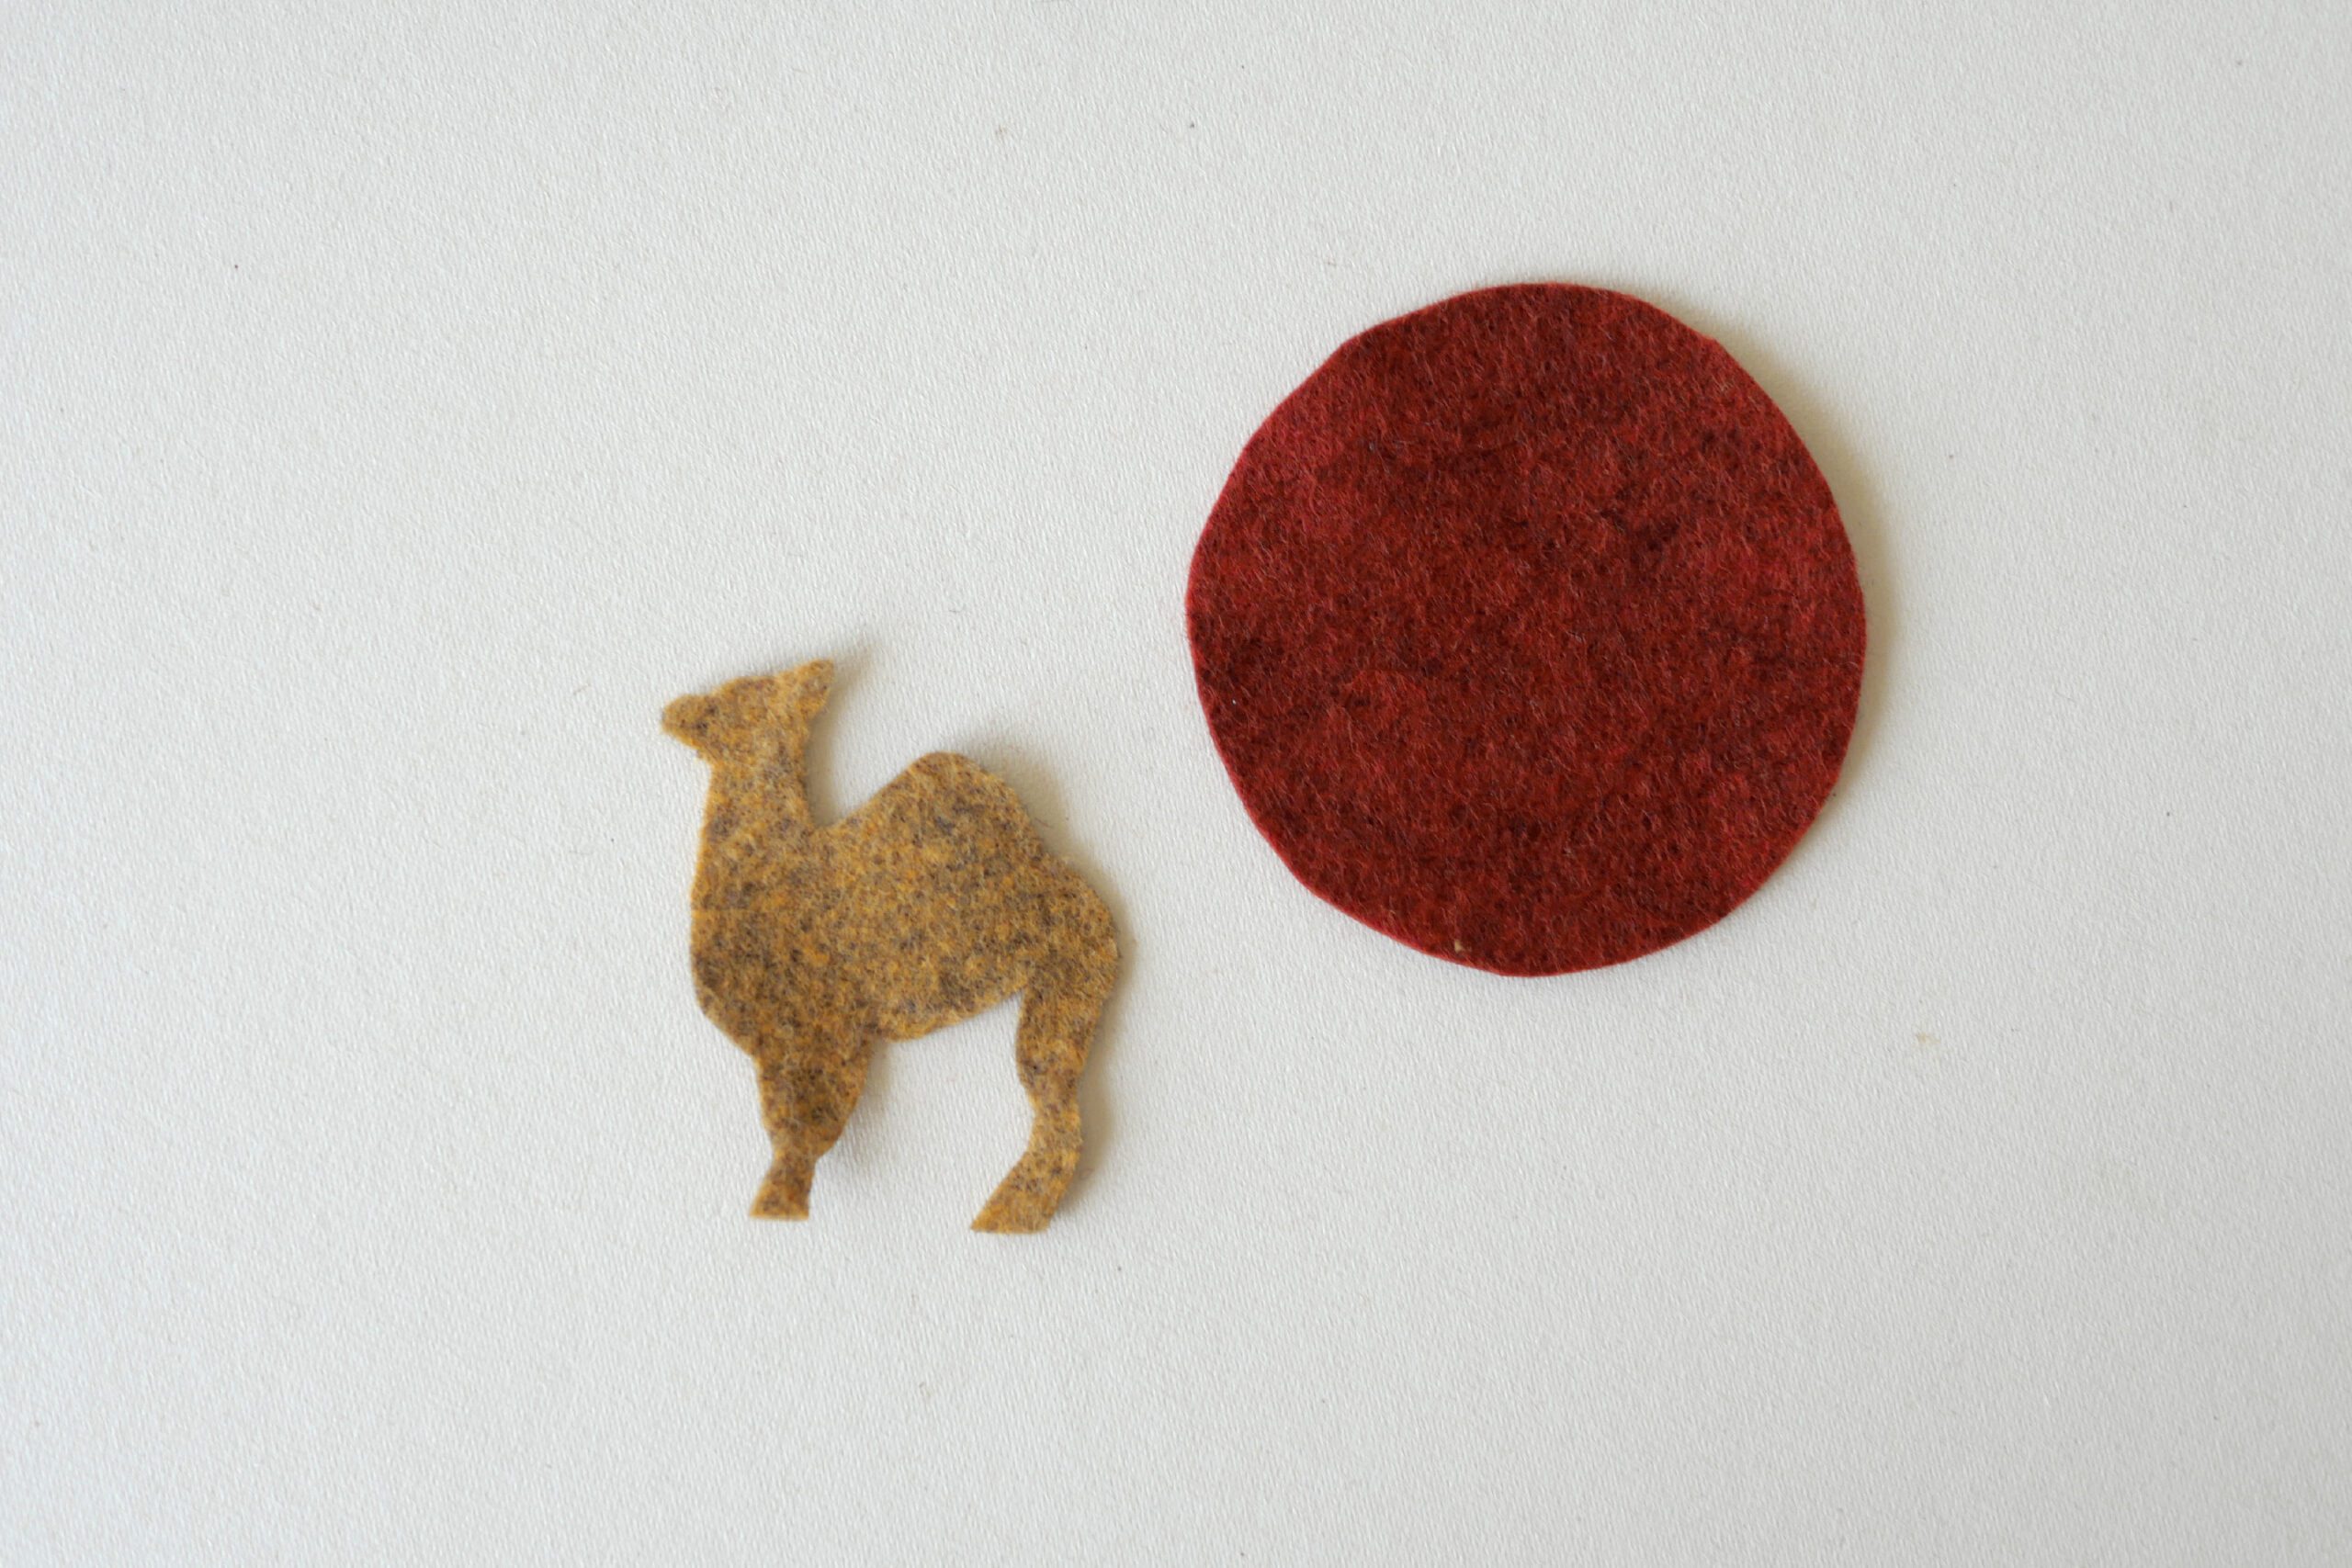
Cut round or oval felt for the base. Make it one size larger than the animal motif. Thinking about color combinations is also a fun part of the process.
Step 2. Sewing Animals onto Felt
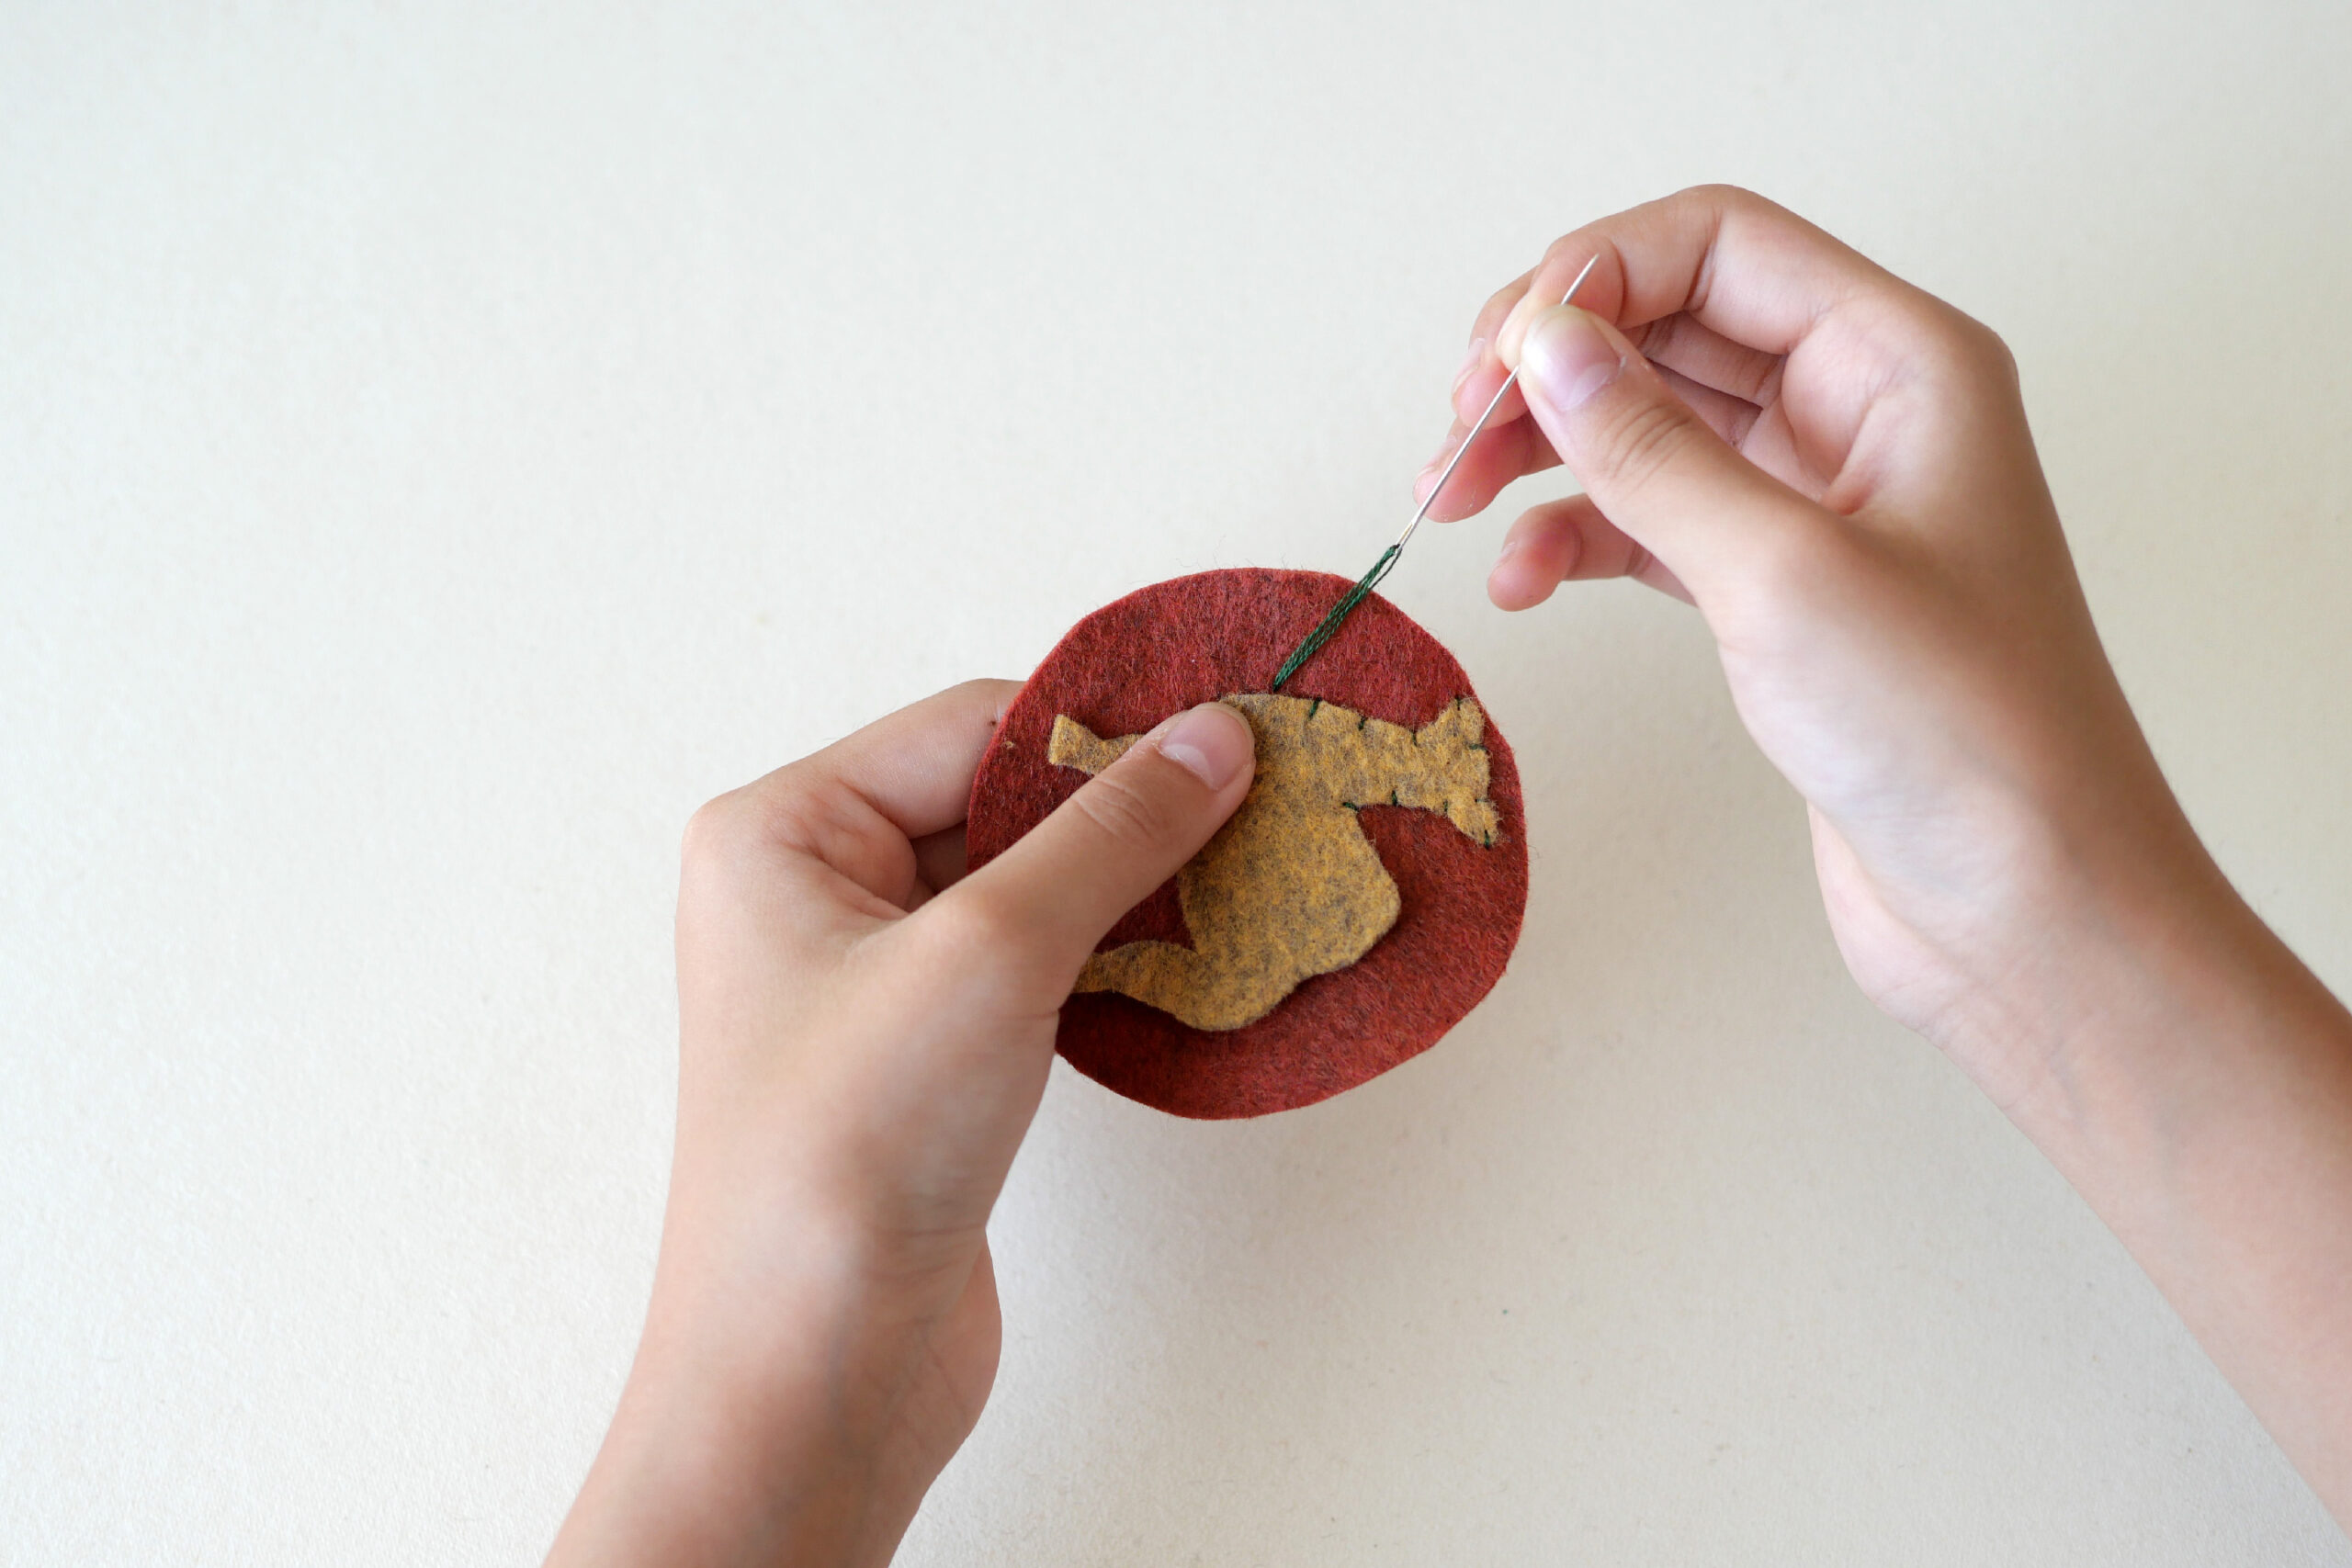
Sew animals onto a circular base using embroidery thread. We sew using two strands of thread. Initially, we tried sewing with six strands as a bundle, but we felt the thread was a bit too thick, making the animal shapes hard to see. Switching to two strands just right. This part is a matter of preference, so please try whichever number of strands you like.
Step 3. Sewing the Edges
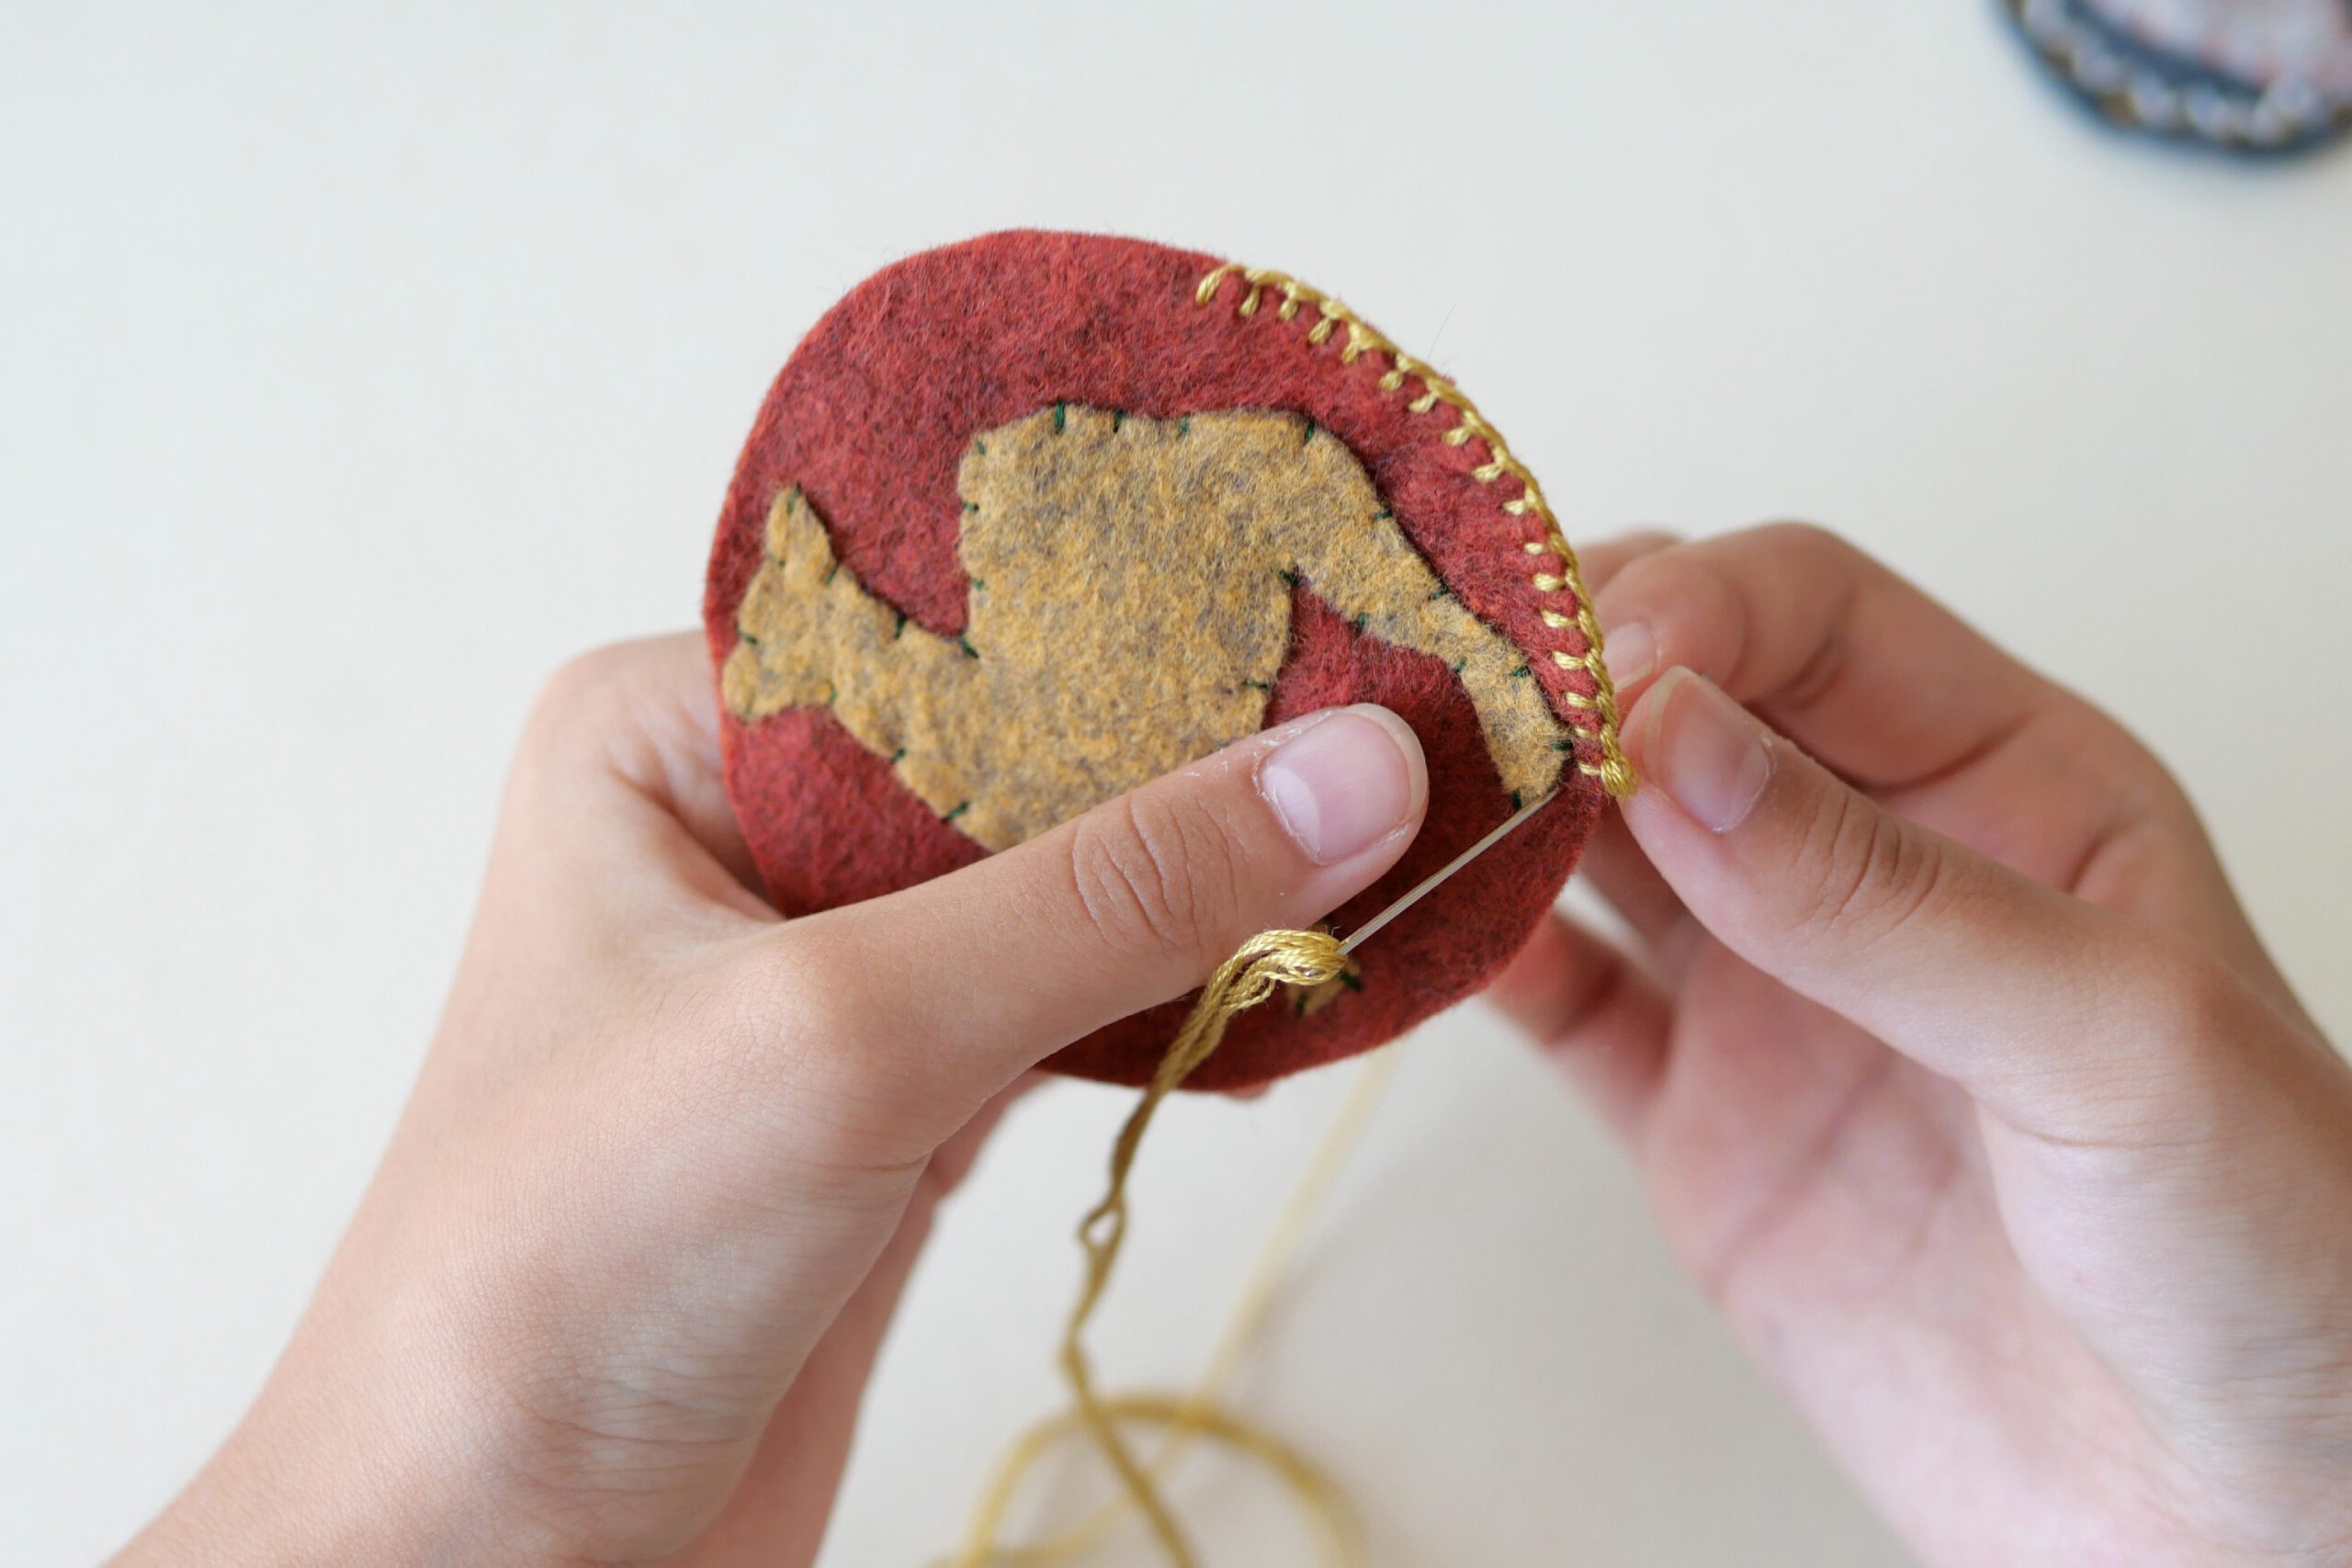
Embellish the edges with your favorite stitching technique. The photo shows blanket stitch. Enjoy using your preferred method—whether it’s whip stitch, running stitch, or any other.
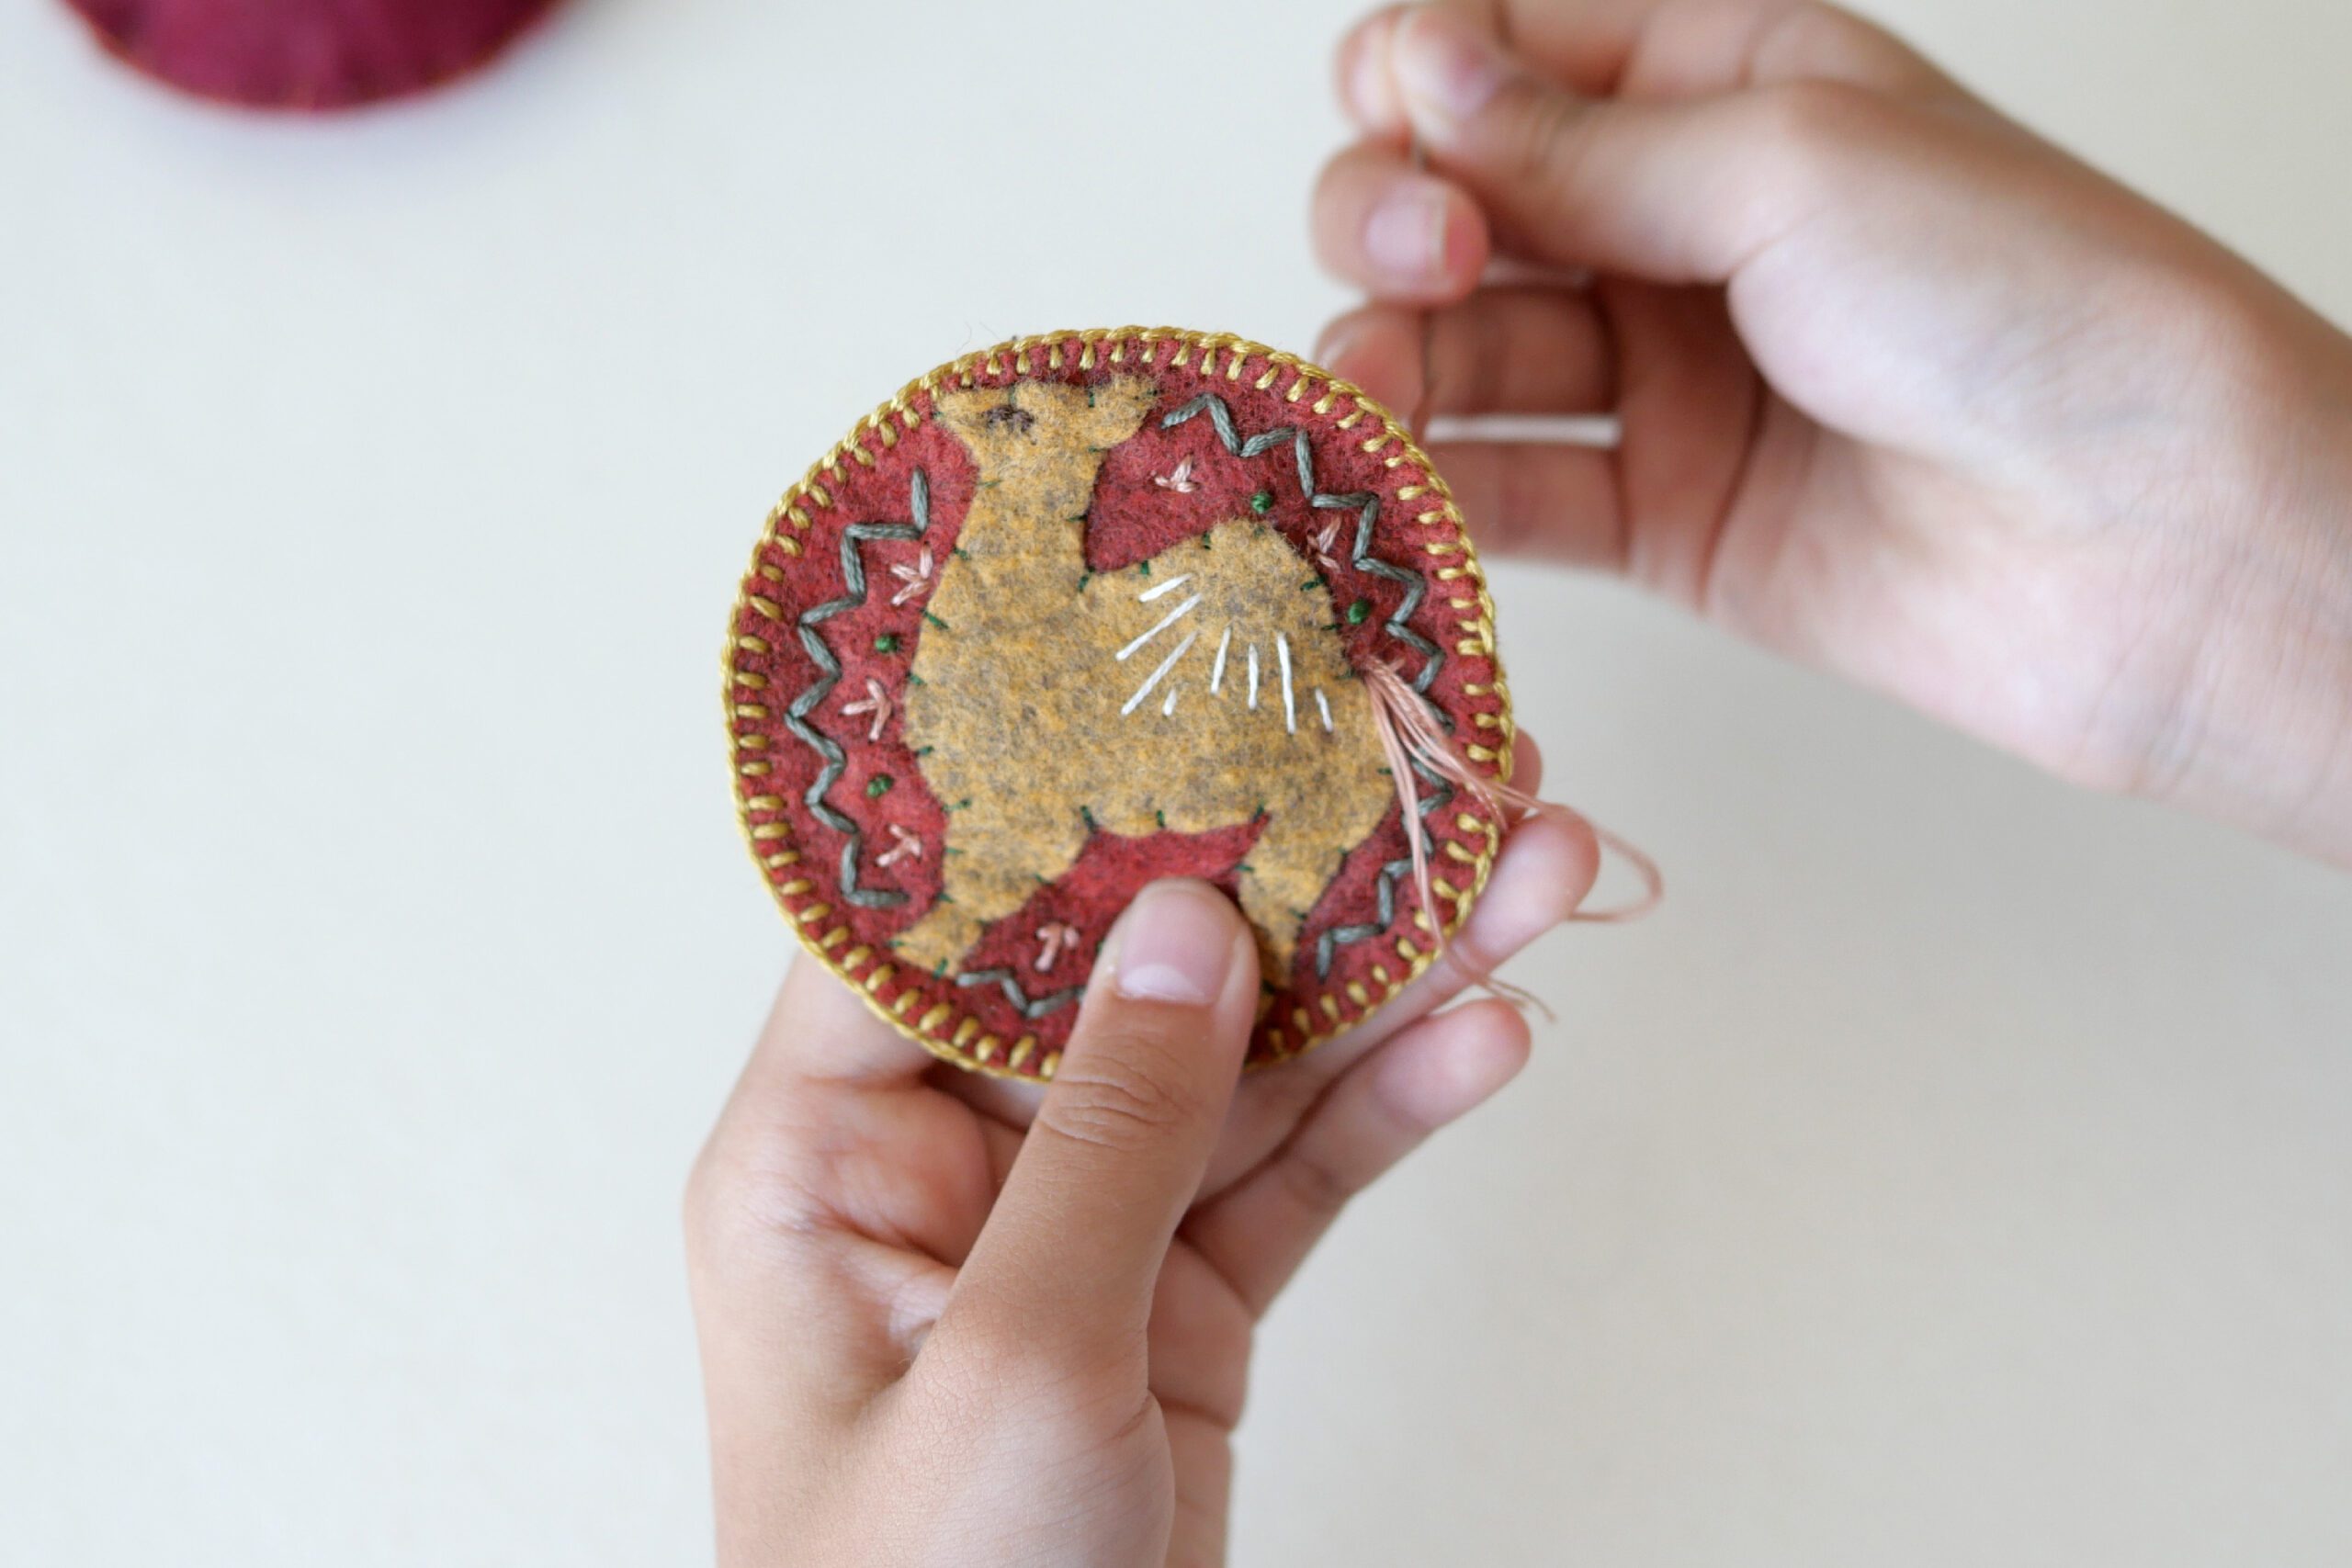
Step 4. Decorate with Stitching
After sewing the animals onto the patch, it’s time for the decorative work. Move the needle freely. Blanket stitches, dolphin stitches, French knots—whatever comes to mind. I varied the thickness of the embroidery thread—two strands, three strands, four strands, six strands—whatever suited your mood at the time.
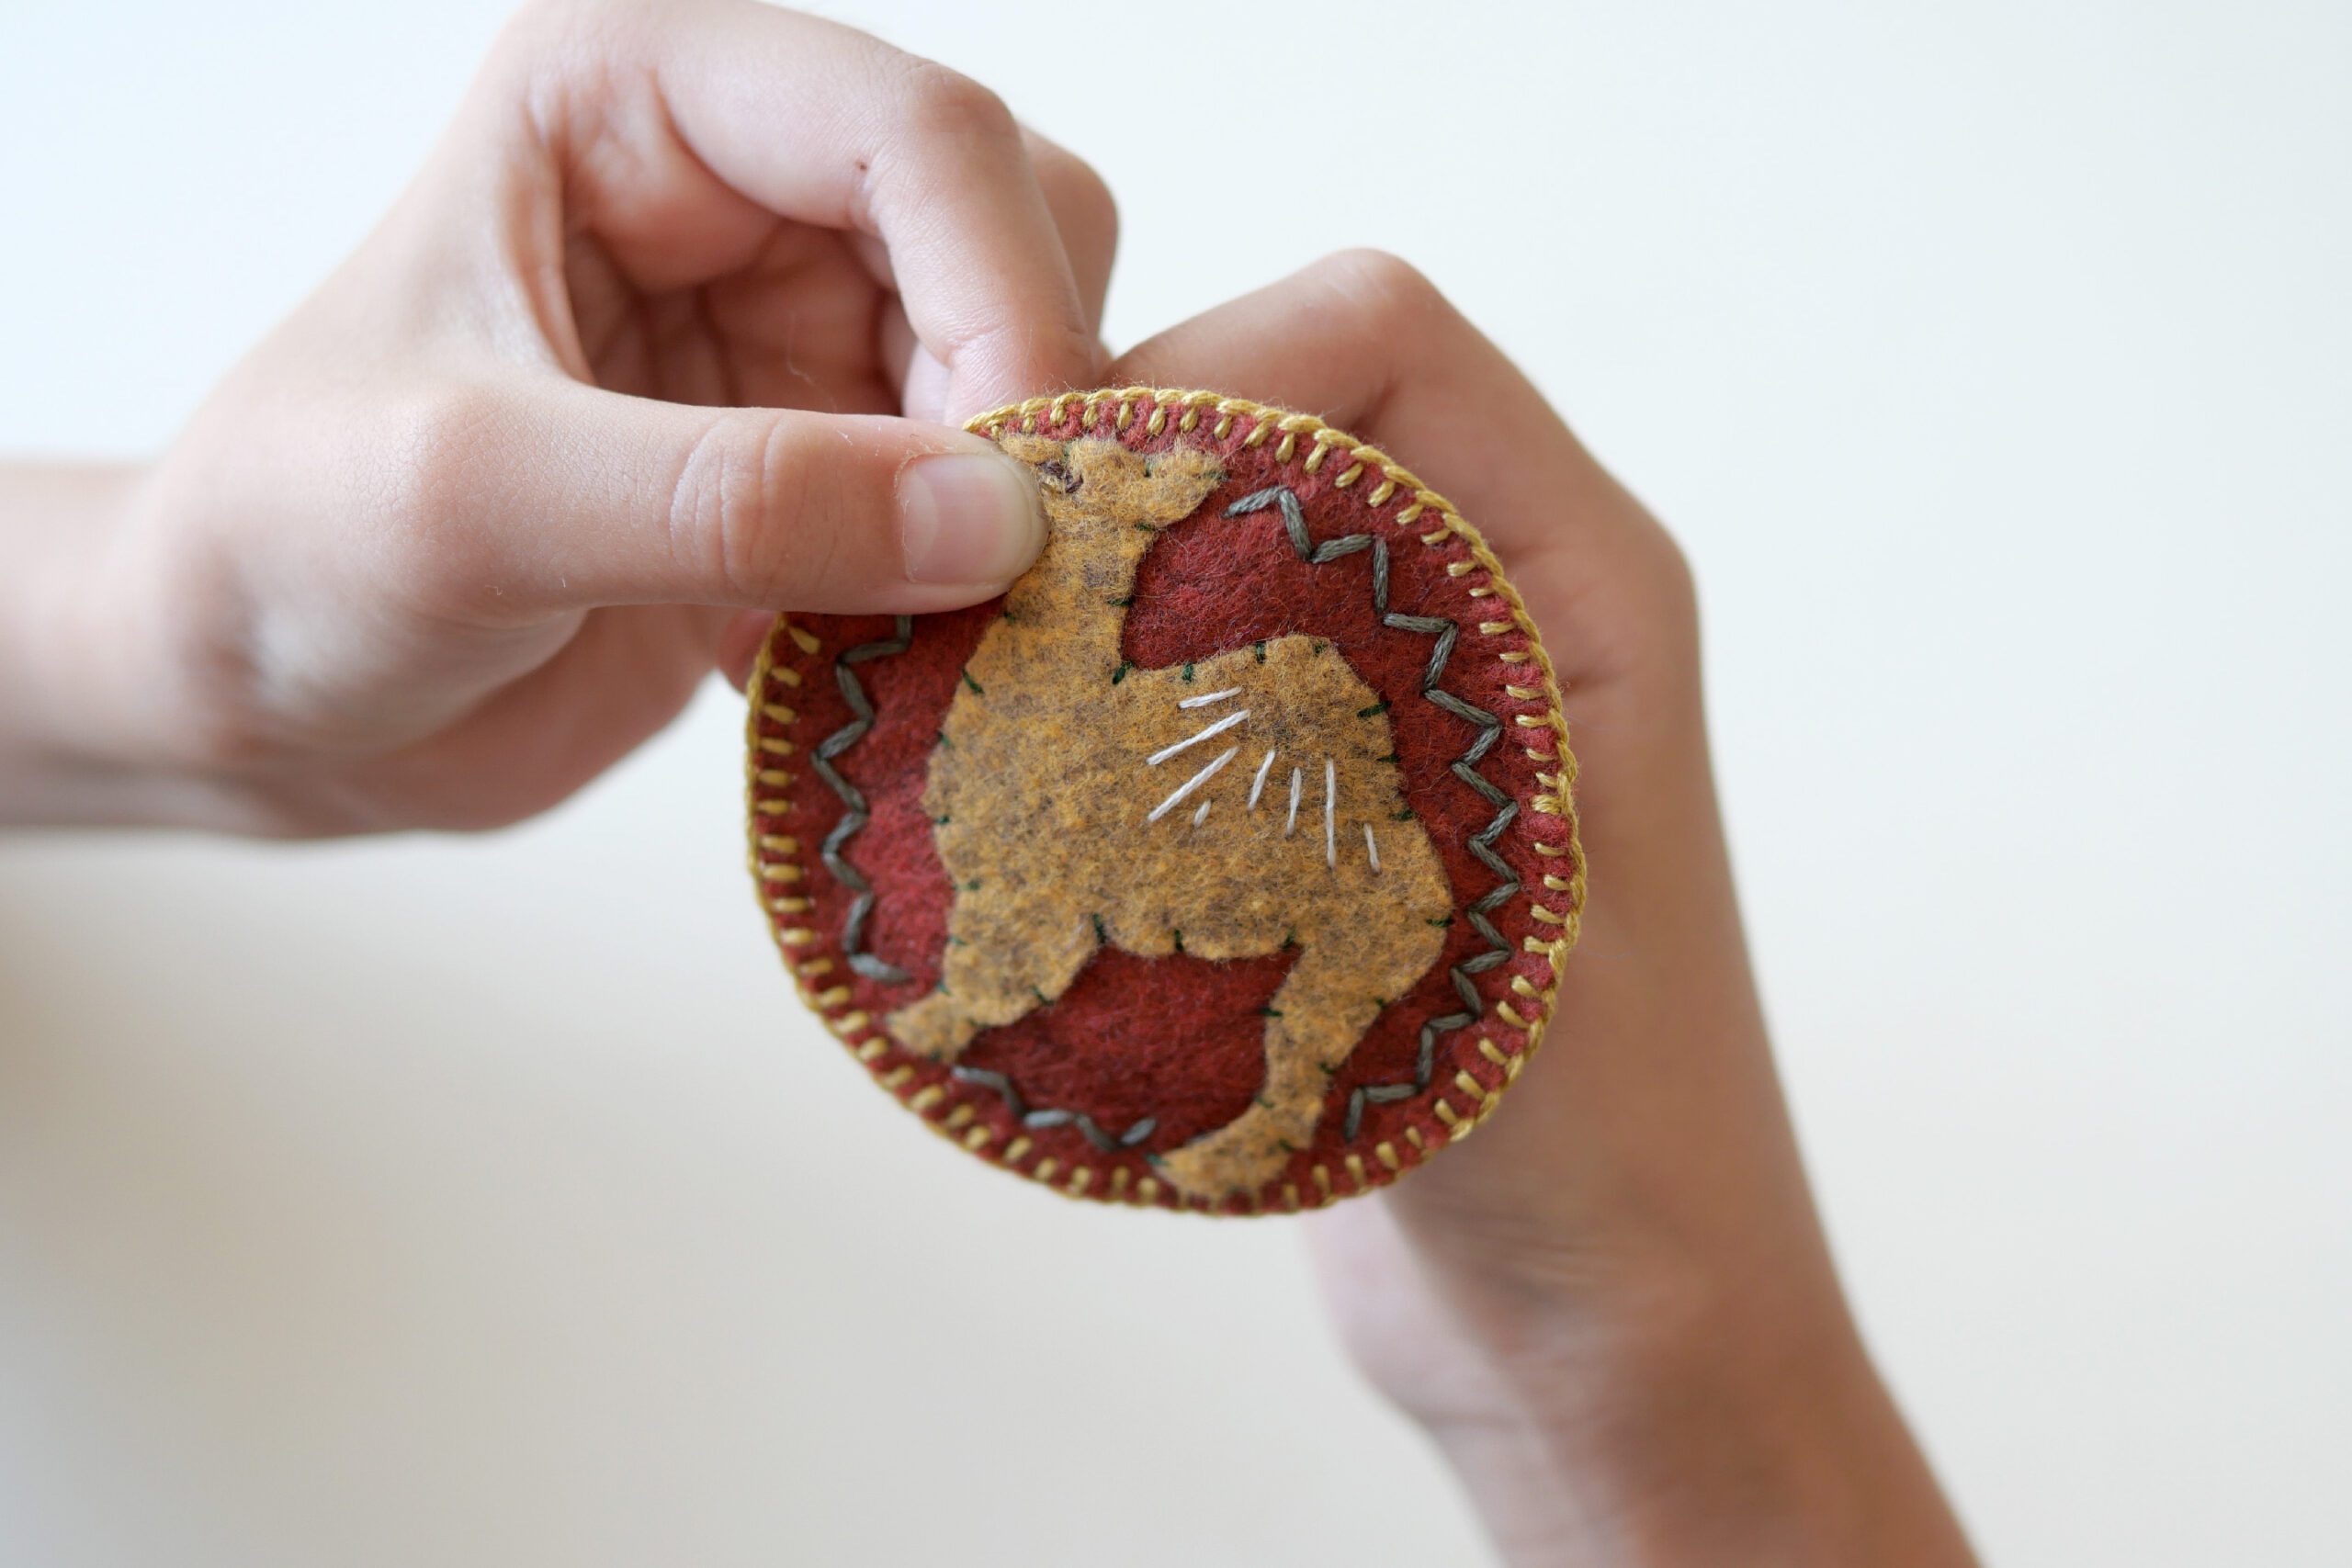
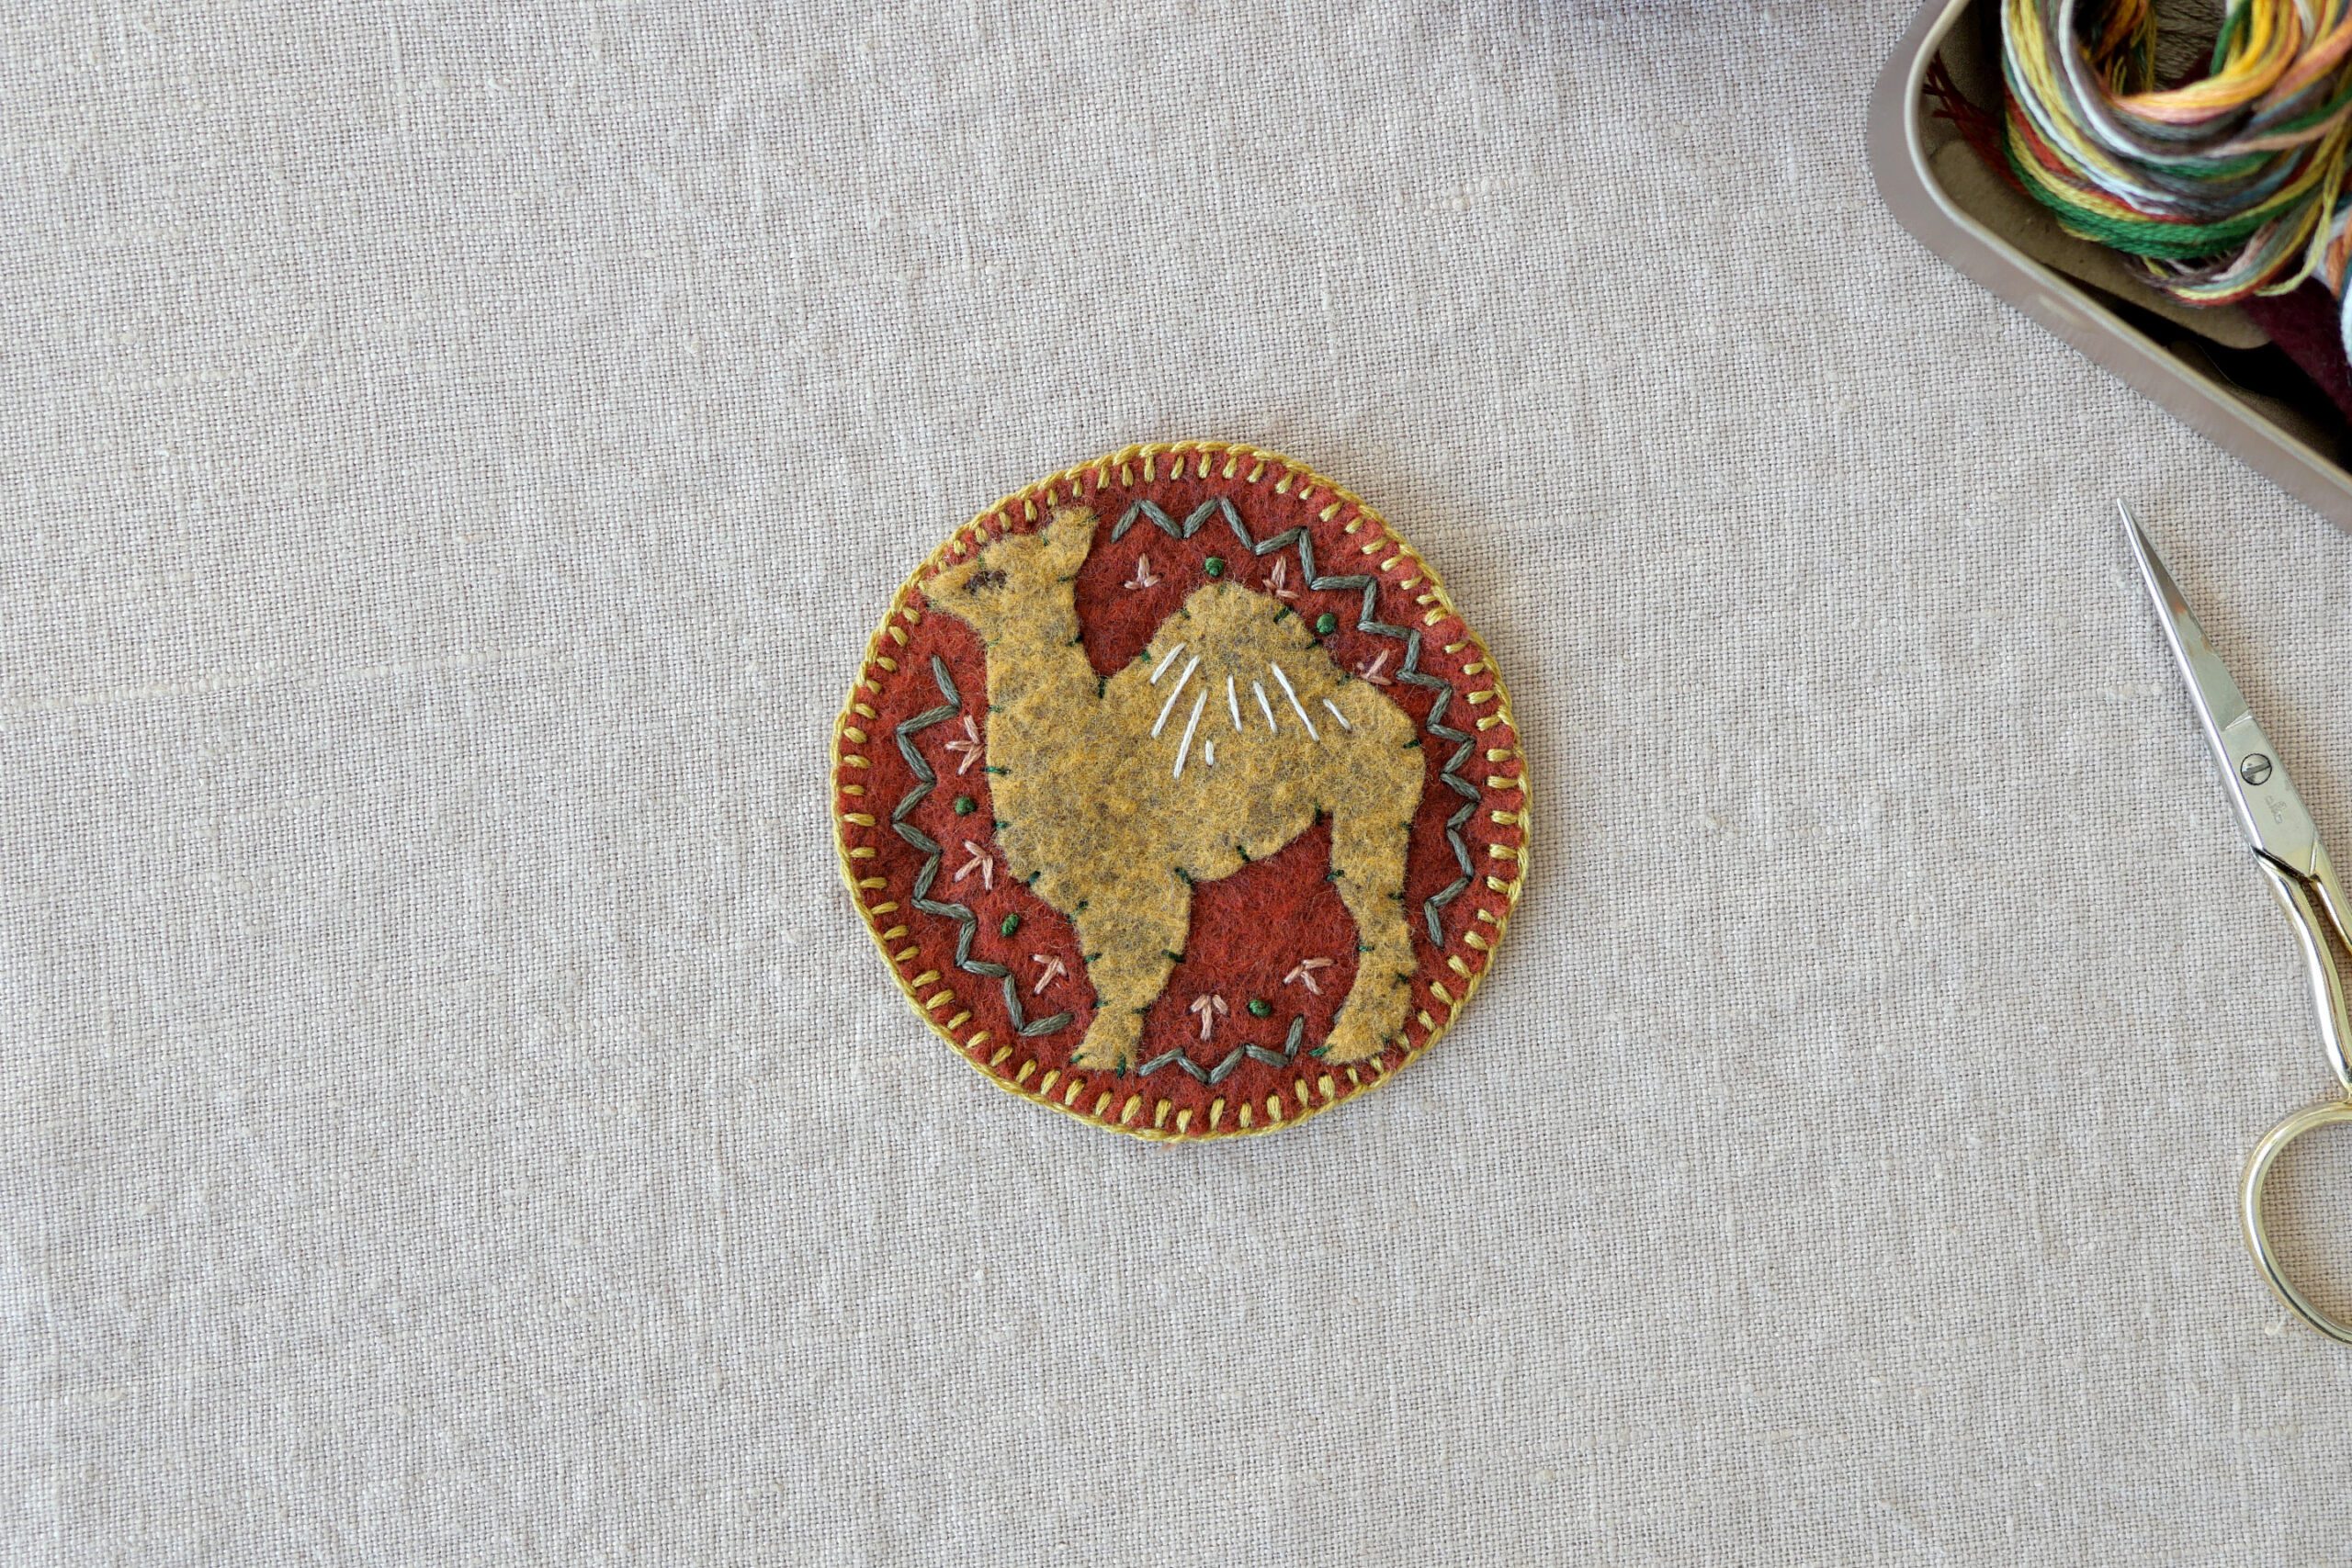
After Finishing the Stitching
And so the camel patch was finished. My 10yo daughter spent two and a half hours completing it.
As she worked on, it seems new ideas kept popping about what kind of animal to make next. We’re thinking of various ways to use the finished patches, like attaching them to T-shirts or pouches.
We put sewing tools and materials into a small pouch, we can enjoy stitching away anywhere—on trips or outings. So for the time being, this tool seems likely to become an essential part of our trip.
Felt Animal Patches
長い夏休みも終わり、日常を取り戻してきました。私たちは旅をするのが大好きで、長い休みはもちろん、少しの休みがあれば家族で旅に出かけます。特に今年の夏はLAで過ごす時間はほんのわずかで、いろいろな都市を訪れる機会に恵まれました。娘はいまではもう旅慣れたもので、旅の準備から、移動時間の過ごし方まで、どこにいても自分が心地よくいられる方法をよく知っています。
私たちが旅のおともに必ず持って行くものは、手仕事の道具です。毛糸玉と編み針は私たちの旅の必需品です。手が動かしていれば、どこでも自分らしくリラックスできるのです。それに加えて、今年の夏は娘がいま夢中になっているフェルトと裁縫道具を持って行くことにしました。早川ユミさんの美しい本に触発されて、旅先での時間に動物のパッチを仕上げることにしたのです。旅の道具はなるべくコンパクトにしたいので、フェルトはあらかじめ出発の前にカットしておきました。小さなポーチにカットしたフェルトと、そして小さなティンカーボックスに針と糸と鋏を入れて。
旅先のテーブルに材料を広げて、二人でおしゃべりしながら、ちくちくとリラックスする時間。この夏、飛行機や列車の移動中に、あるいはホテルで過ごした夜に。私たちが楽しんだ結果です。
用意するもの
– フェルト
– チャコペンシル
– 刺繍糸
– 針
– はさみ
つくりかた
Step 1. フェルトを切る
好きな形にフェルトを切ります。チャコペンシルでフェルトに下書きをして、ハサミで切り抜くと良いでしょう。私たちは動物をテーマにしました。クマ、イノシシ、オオカミ、シカ、クジラ、鳥、魚、カタツムリなど、思い思いに。ハートや星などの図案でもいいですね。
ベースになるフェルトは丸や楕円などに切り抜きます。モチーフとなる動物よりも一回り大きくします。フェルトの色合わせを考えるのも楽しい工程です。
Step 2. 動物を縫いつける
刺繍糸で円形のベースに動物を縫い付けます。私たちは刺繍糸を2本どりにして縫っています。はじめに束のまま6本で縫ってみたのですが、少し糸が太すぎて動物のシェイプが見えにくいと感じたので、2本どりにしたらちょうどよく感じたのです。この辺りは好みですので、好きな本数でお試しください。
Step 3. 縁を縫う
縁をお好きな縫い方で彩ります。写真はブランケットスティッチで縫っています。かがり縫い、なみ縫い、好きな縫い方で楽しんでください。
Step 4. デコレーションをする
動物をパッチに縫い付けたら、あとは飾りの作業です。自由に針を動かします。ブランケットスティッチにドルフィンスティッチ、フレンチノット、と思いのままに。刺繍糸は2本どり、3本どり、4本どり、6本どりとその時の気分で太さを変えました。
ちくちくを終えて
こうしてラクダのパッチが出来上がりました。10歳の娘が2時間半かけて完成させました。
つくり終わると次につくりたいアイデアが出てくるようです。出来上がったパッチは、Tシャツにつけたり、ポーチにつけたりとさまざまな使い道を考えています。
小さなポーチに裁縫道具と材料を入れたら、旅先や外出先などどこででもちくちく楽しめるので、当分この道具は私たちの旅の必需品になりそうです。