Flower Stamps
There are many ways to capture flowers and plants as they are. “Pounding Flowers” is one of them. Literally, the plant is placed on a piece of cloth or paper and tapped with a hammer, allowing the dye from the plant to reveal its original shape and color. It is a very simple technique.
However, when you hit it with a hammer, you have to be careful about the noise. So this time, I decided to use a rolling pin to capture the plant’s appearance. Quiet and easy with little effort. All you need are very fresh flowers. I used beautiful colorful violas I came across at the farmer’s market. Here are the instructions and a few tips.
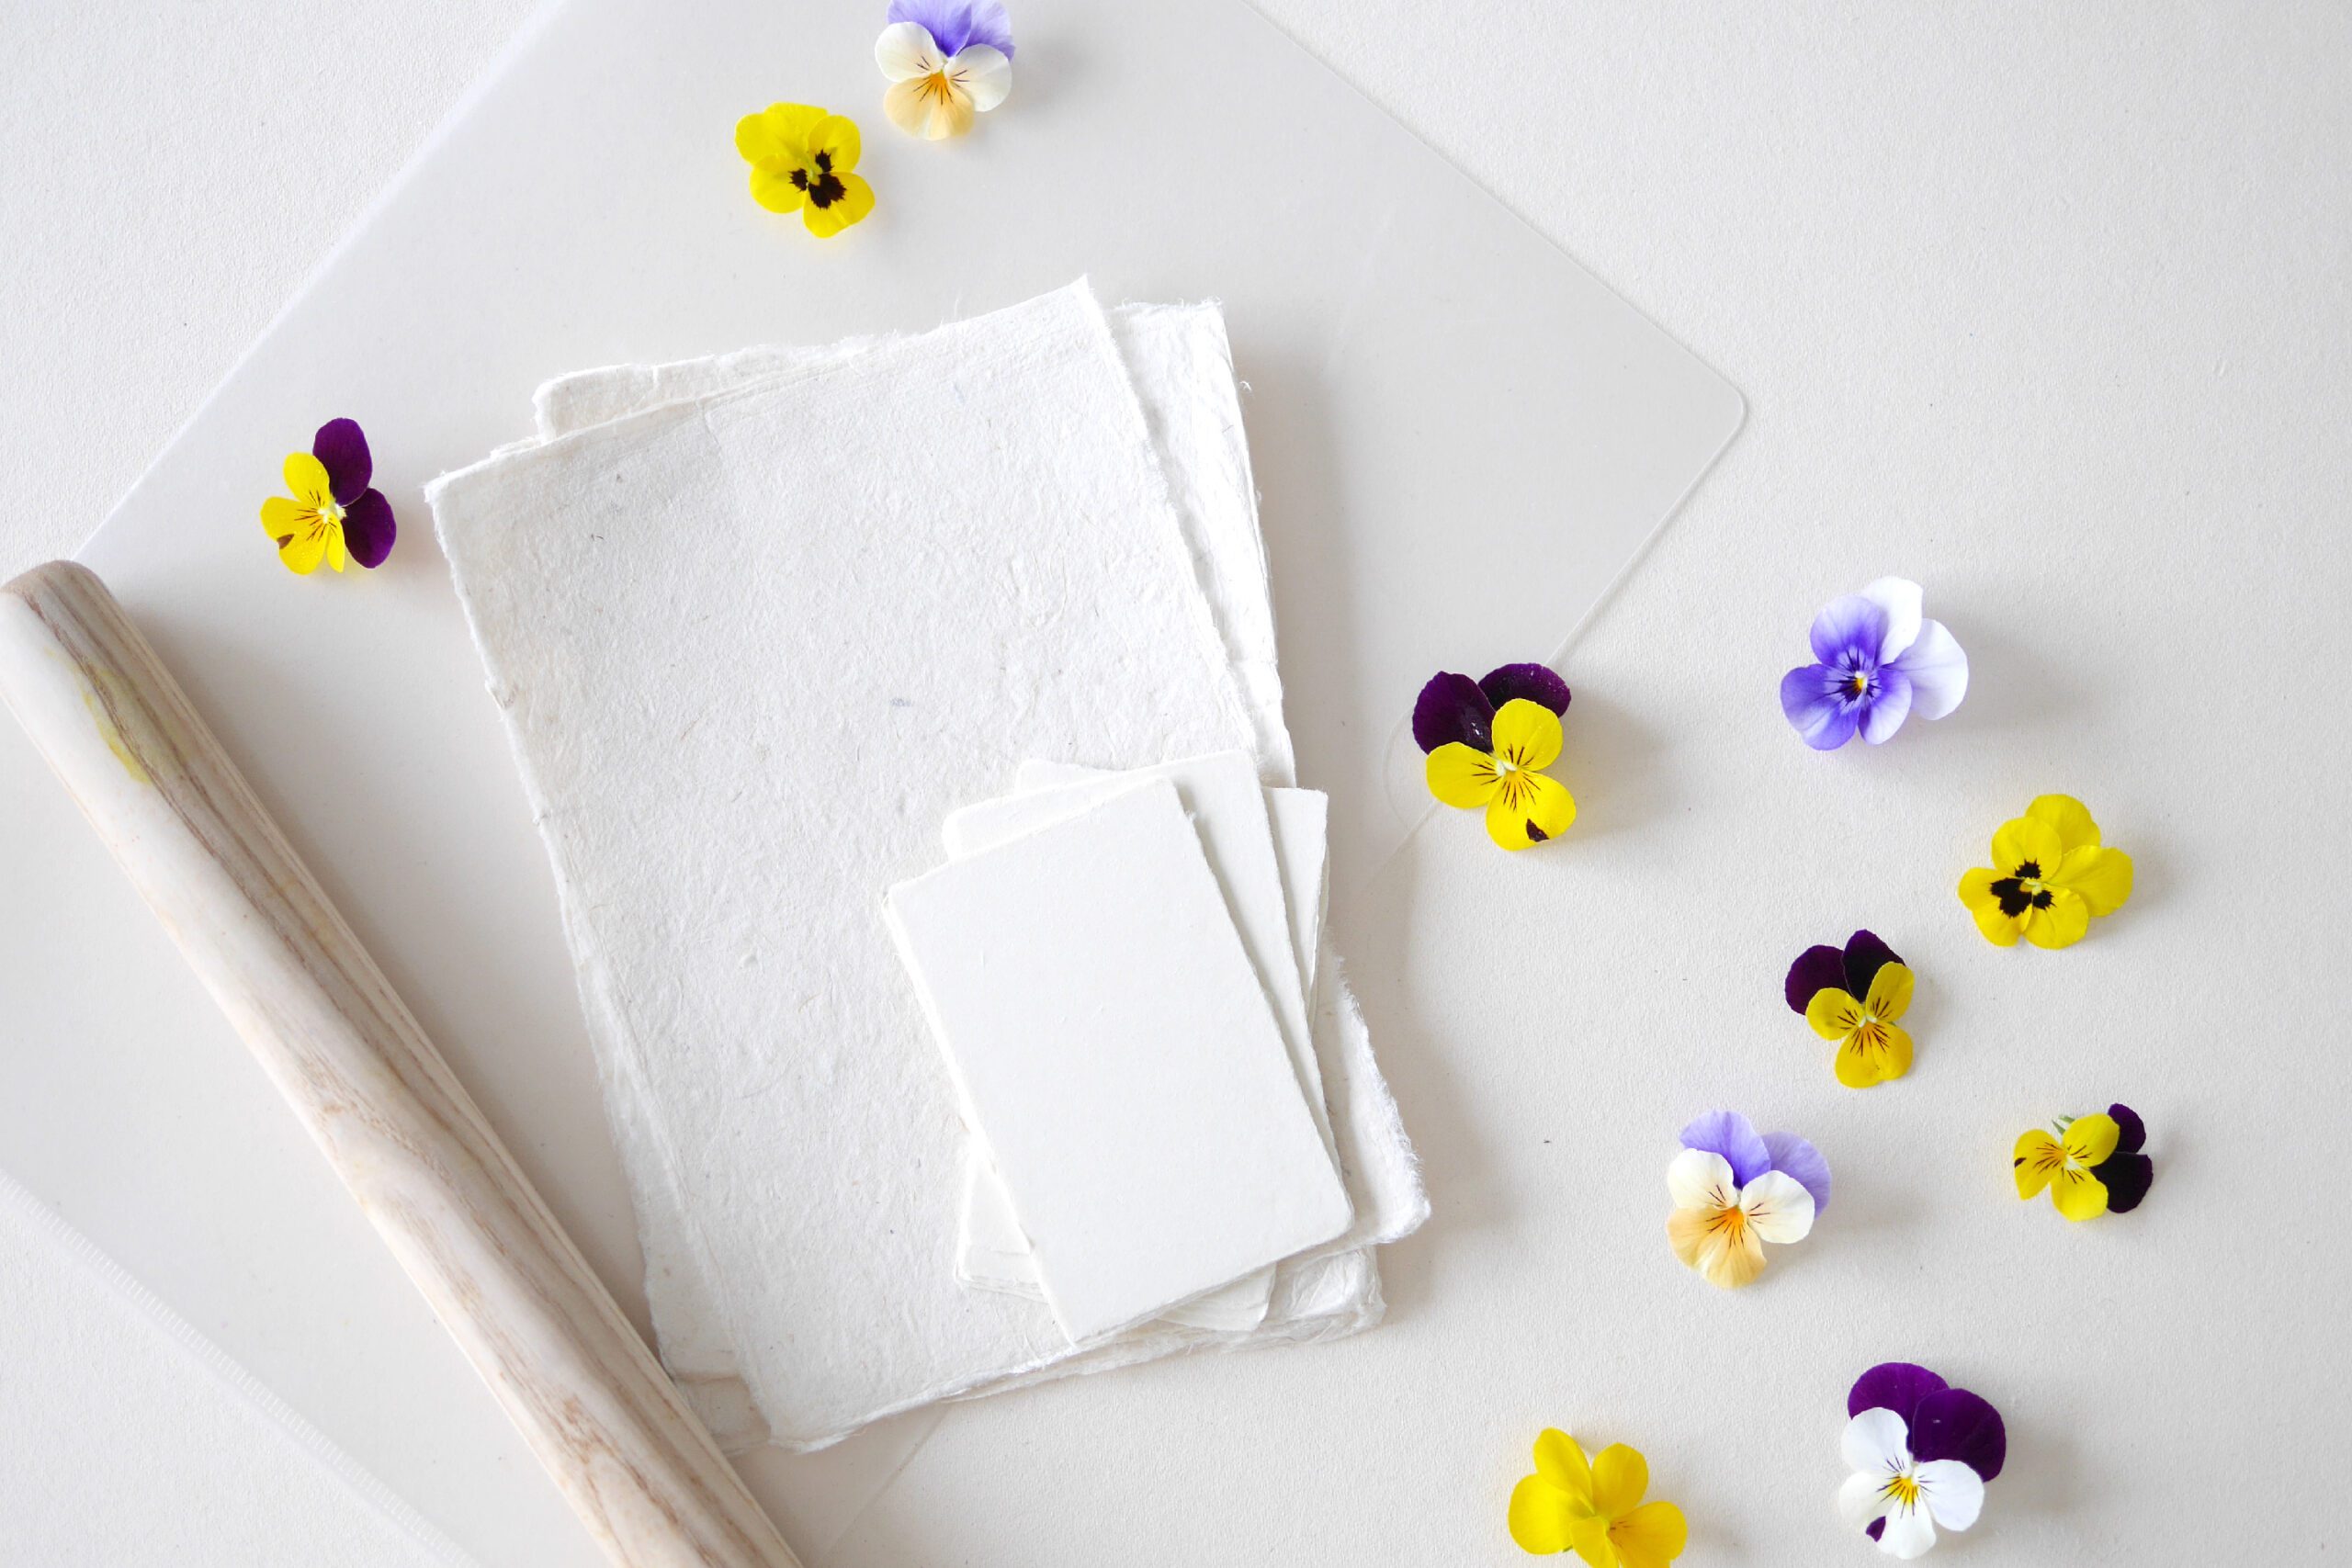
Materials
– Flowers or plants
– Card stock *Smooth paper with no irregularities is suitable
– Rolling Pin
– Clear folders or paper*
– Tissue
– Tweezers *Useful to have
*I used a clear file so that the contents can be easily seen. Paper is also sufficient as an alternative.
Instructions for making
Step 1. Prepare Flower
Prepare the flower to be transferred and place it on the card. There is a lot of moisture at the base of the stem, so cut that part off completely with scissors. Cut off around the calyx carefully. If you cut off too much, the petals will fall apart.
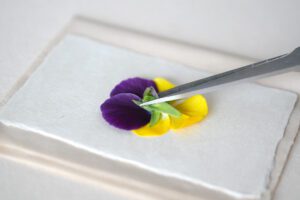
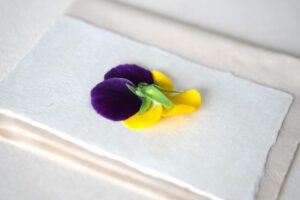
On the right is the part of the stem that was removed. This is a small step, but if the stems are not removed, the water from the stems will soak through and leave a shape. Please take the time to do this.
Step 2. Tuck Flower into a Clear Folder
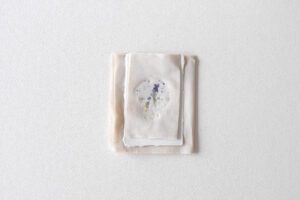
Sandwich the entire base paper with tissue to hold the flower in place. From the bottom, the sandwich is tissue, card base, flower, and tissue.
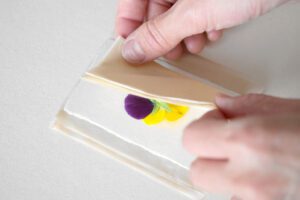
Next, place that in a clear folder. In this case, I used a plastic clear folder because it is easy to see the inside. I recommend if you have them in stock at home, as they are easy to use, prevent misalignment, and make it easy to see the inside. If you don’t have any, you can use a piece of paper and press it as an alternative. Be careful not to move the flowers inside.

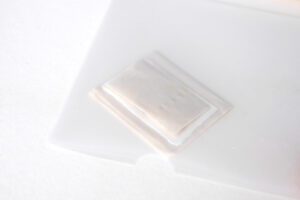
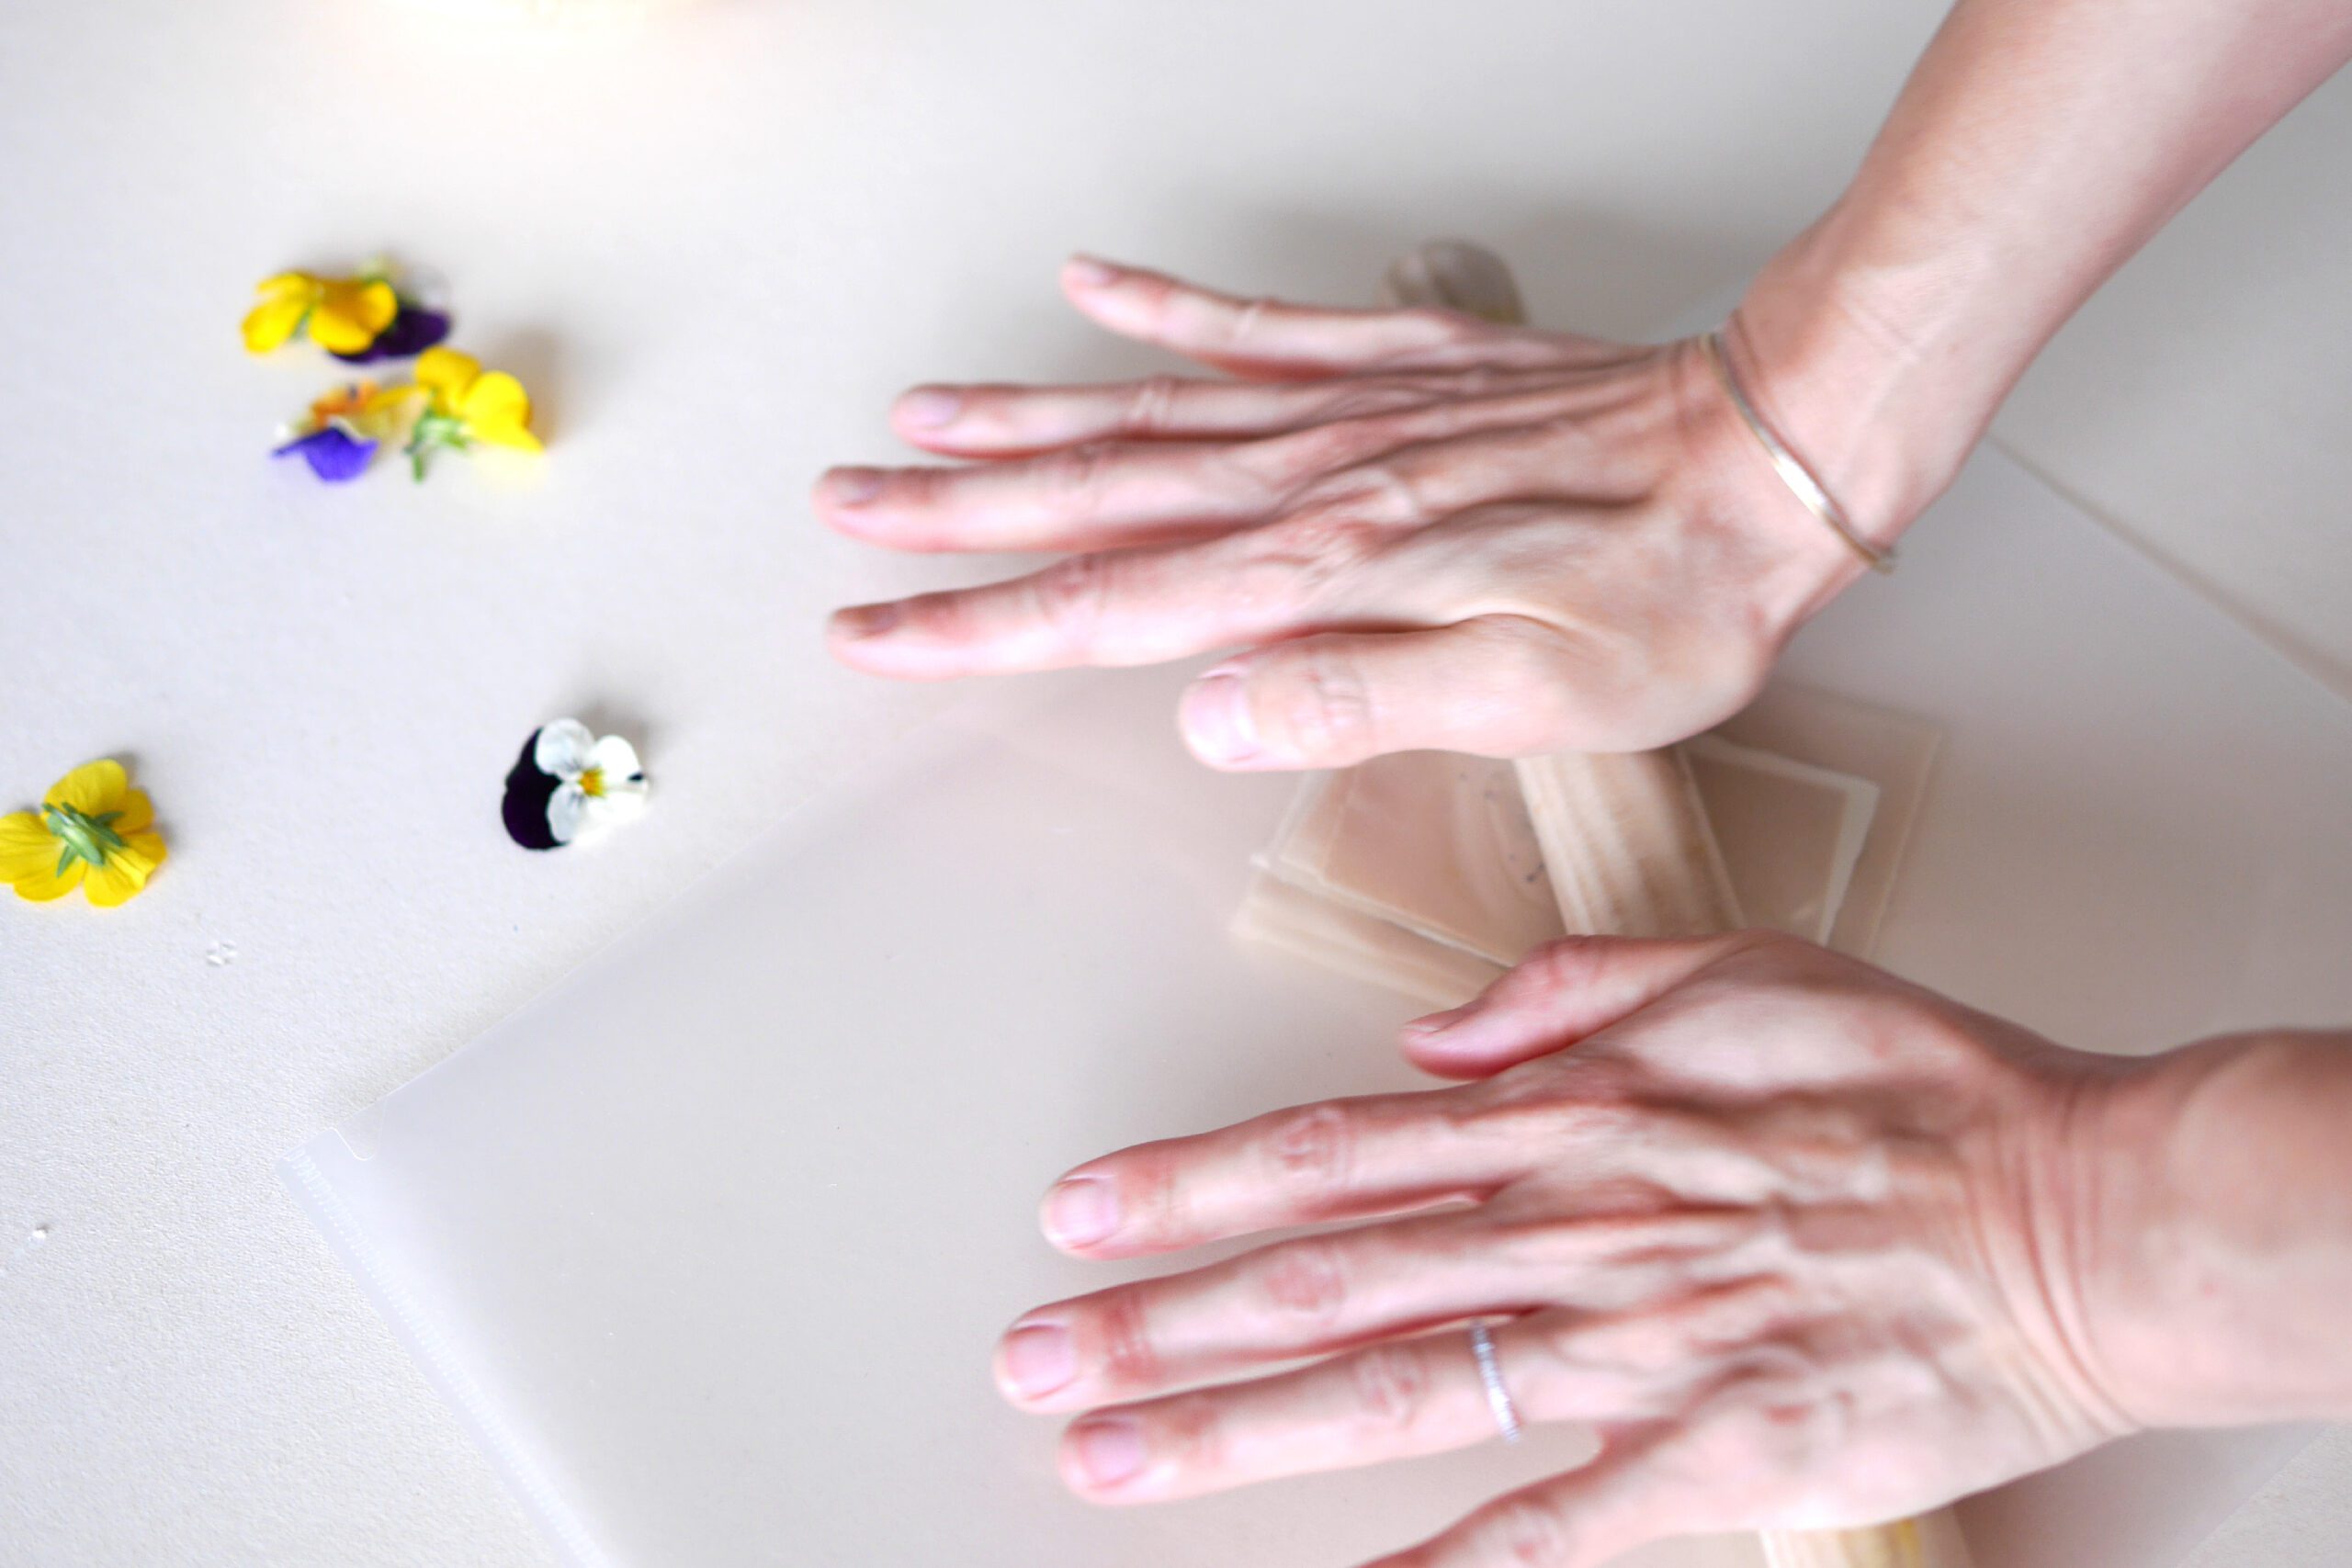
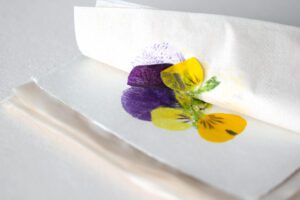
Step 3. Rolling a Rolling Pin
Roll the rolling pin over the folder. At first, carefully and slowly so that the flower does not move. Gradually increase the force and press firmly from various directions, up and down, left and right.
*An alternative to a rolling pin is to rub with the round part of a spoon.
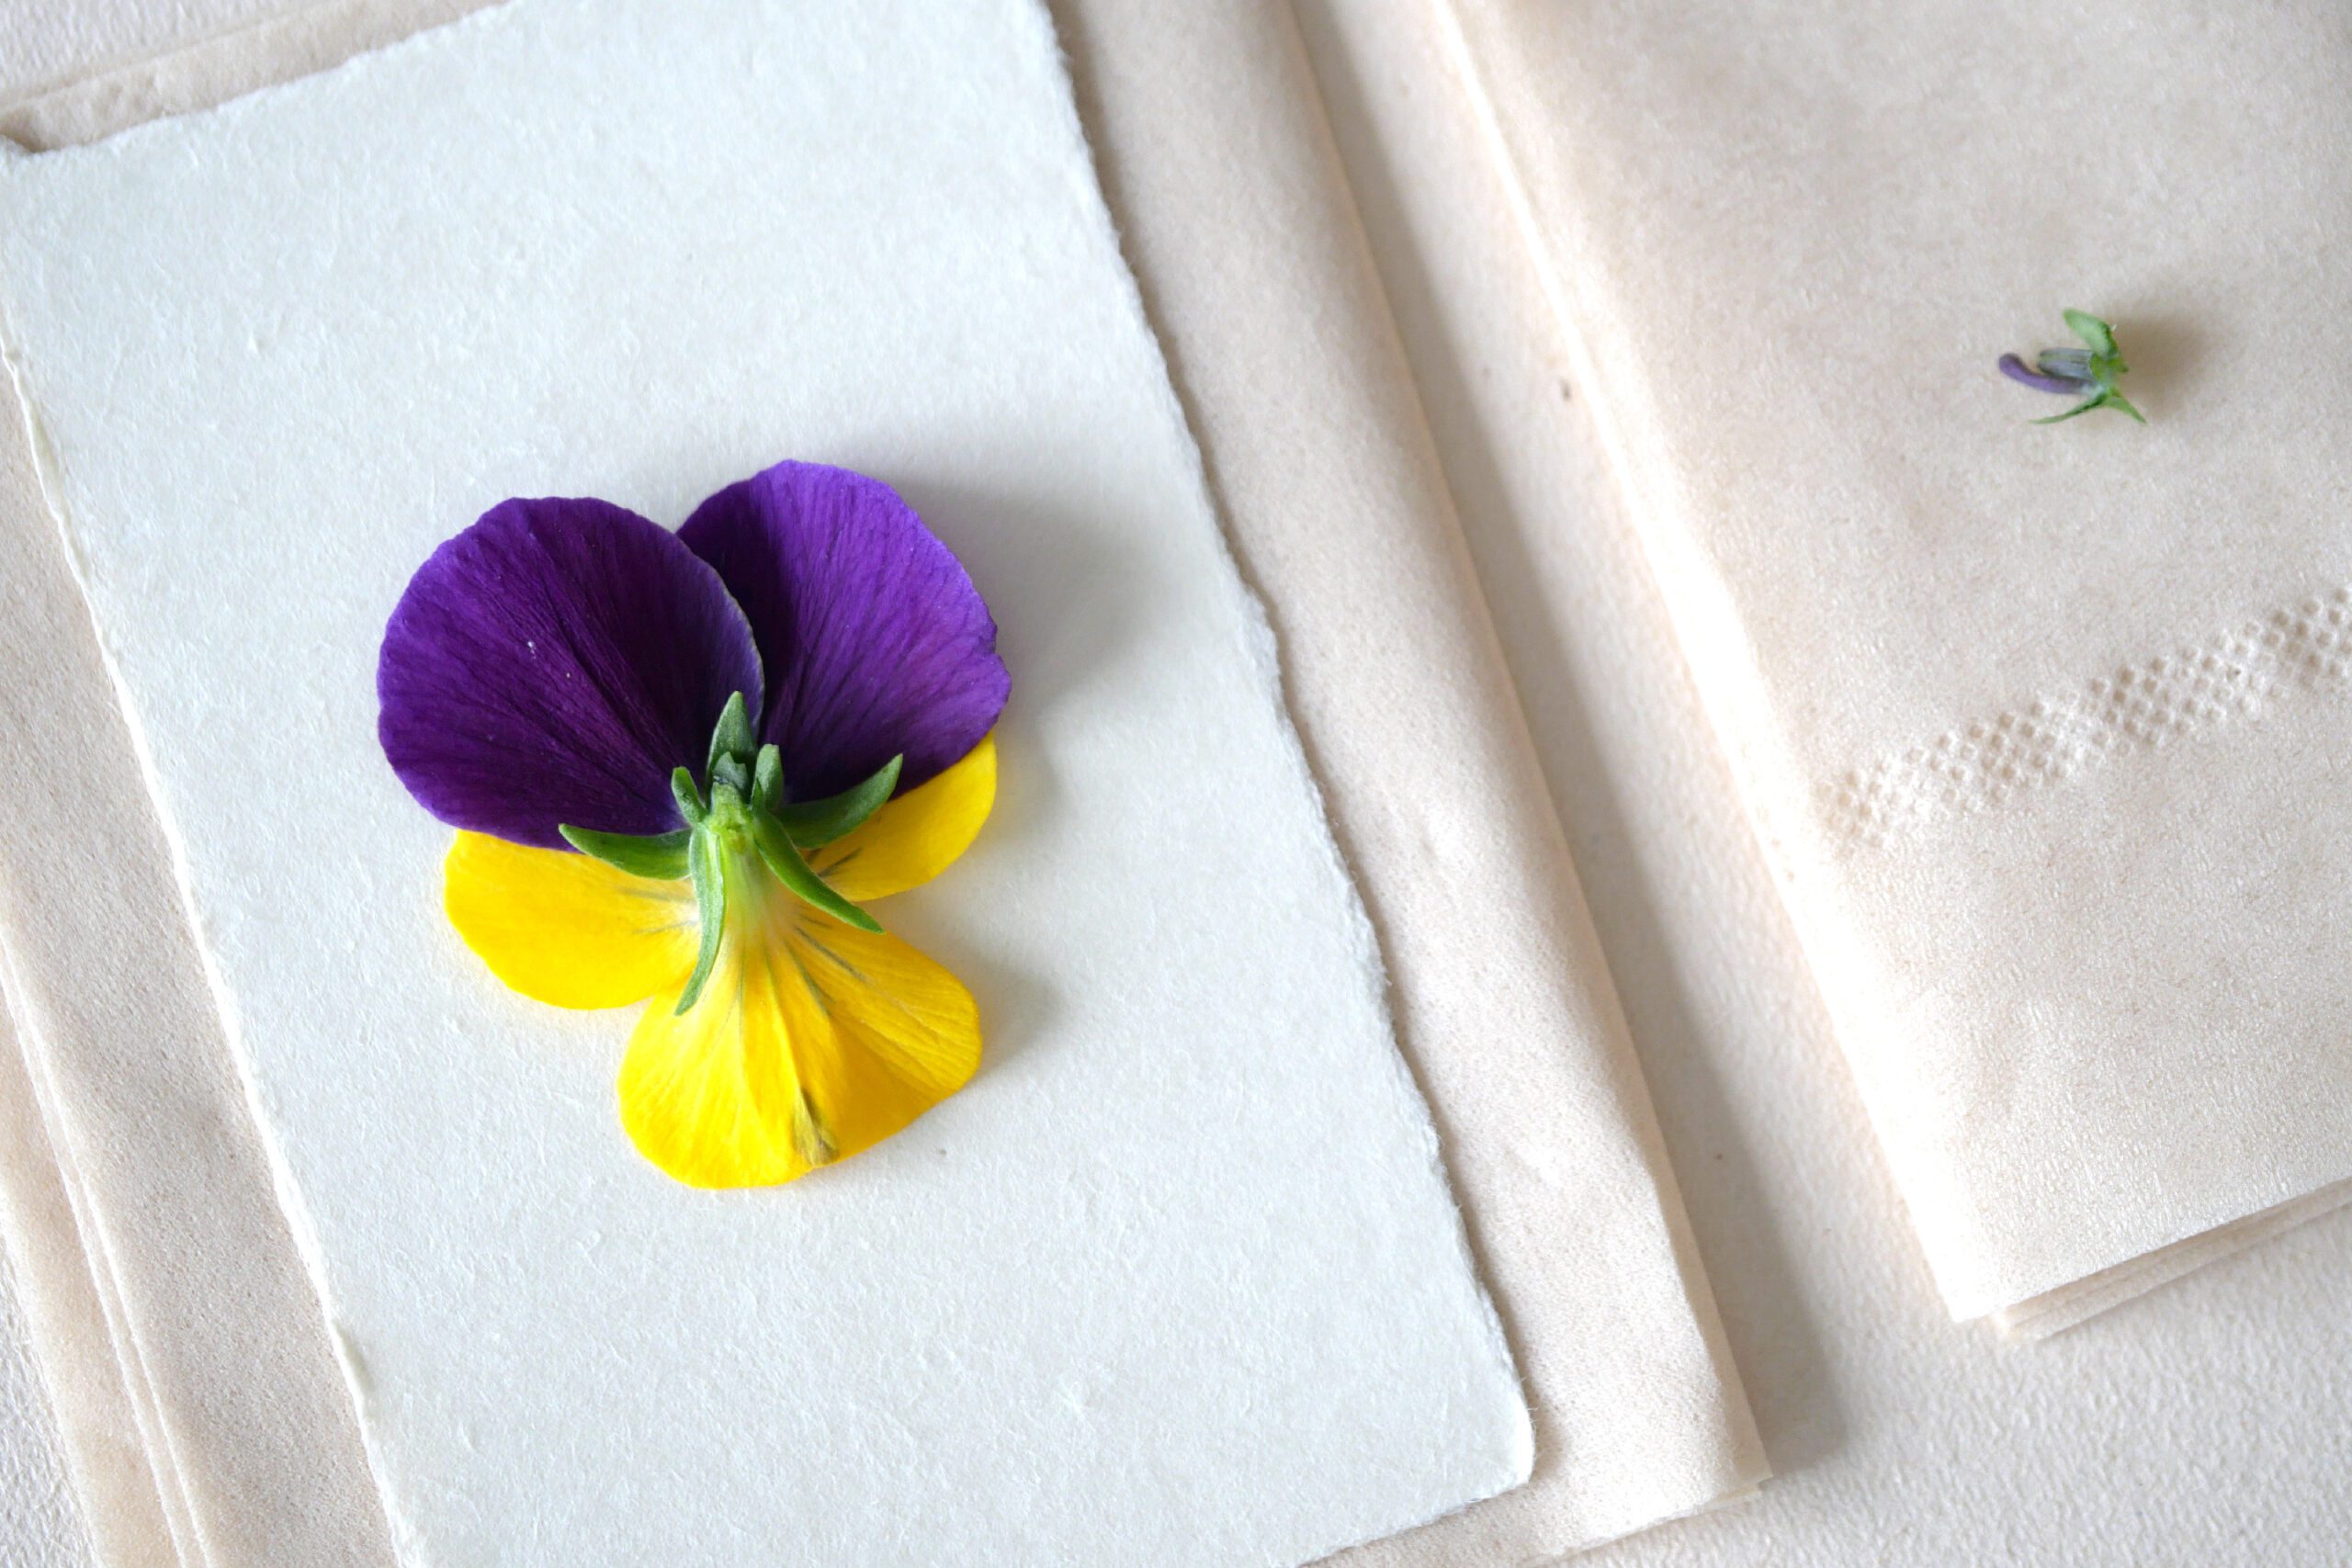
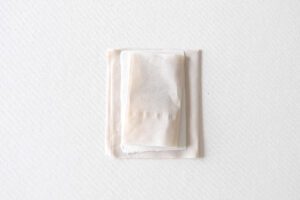
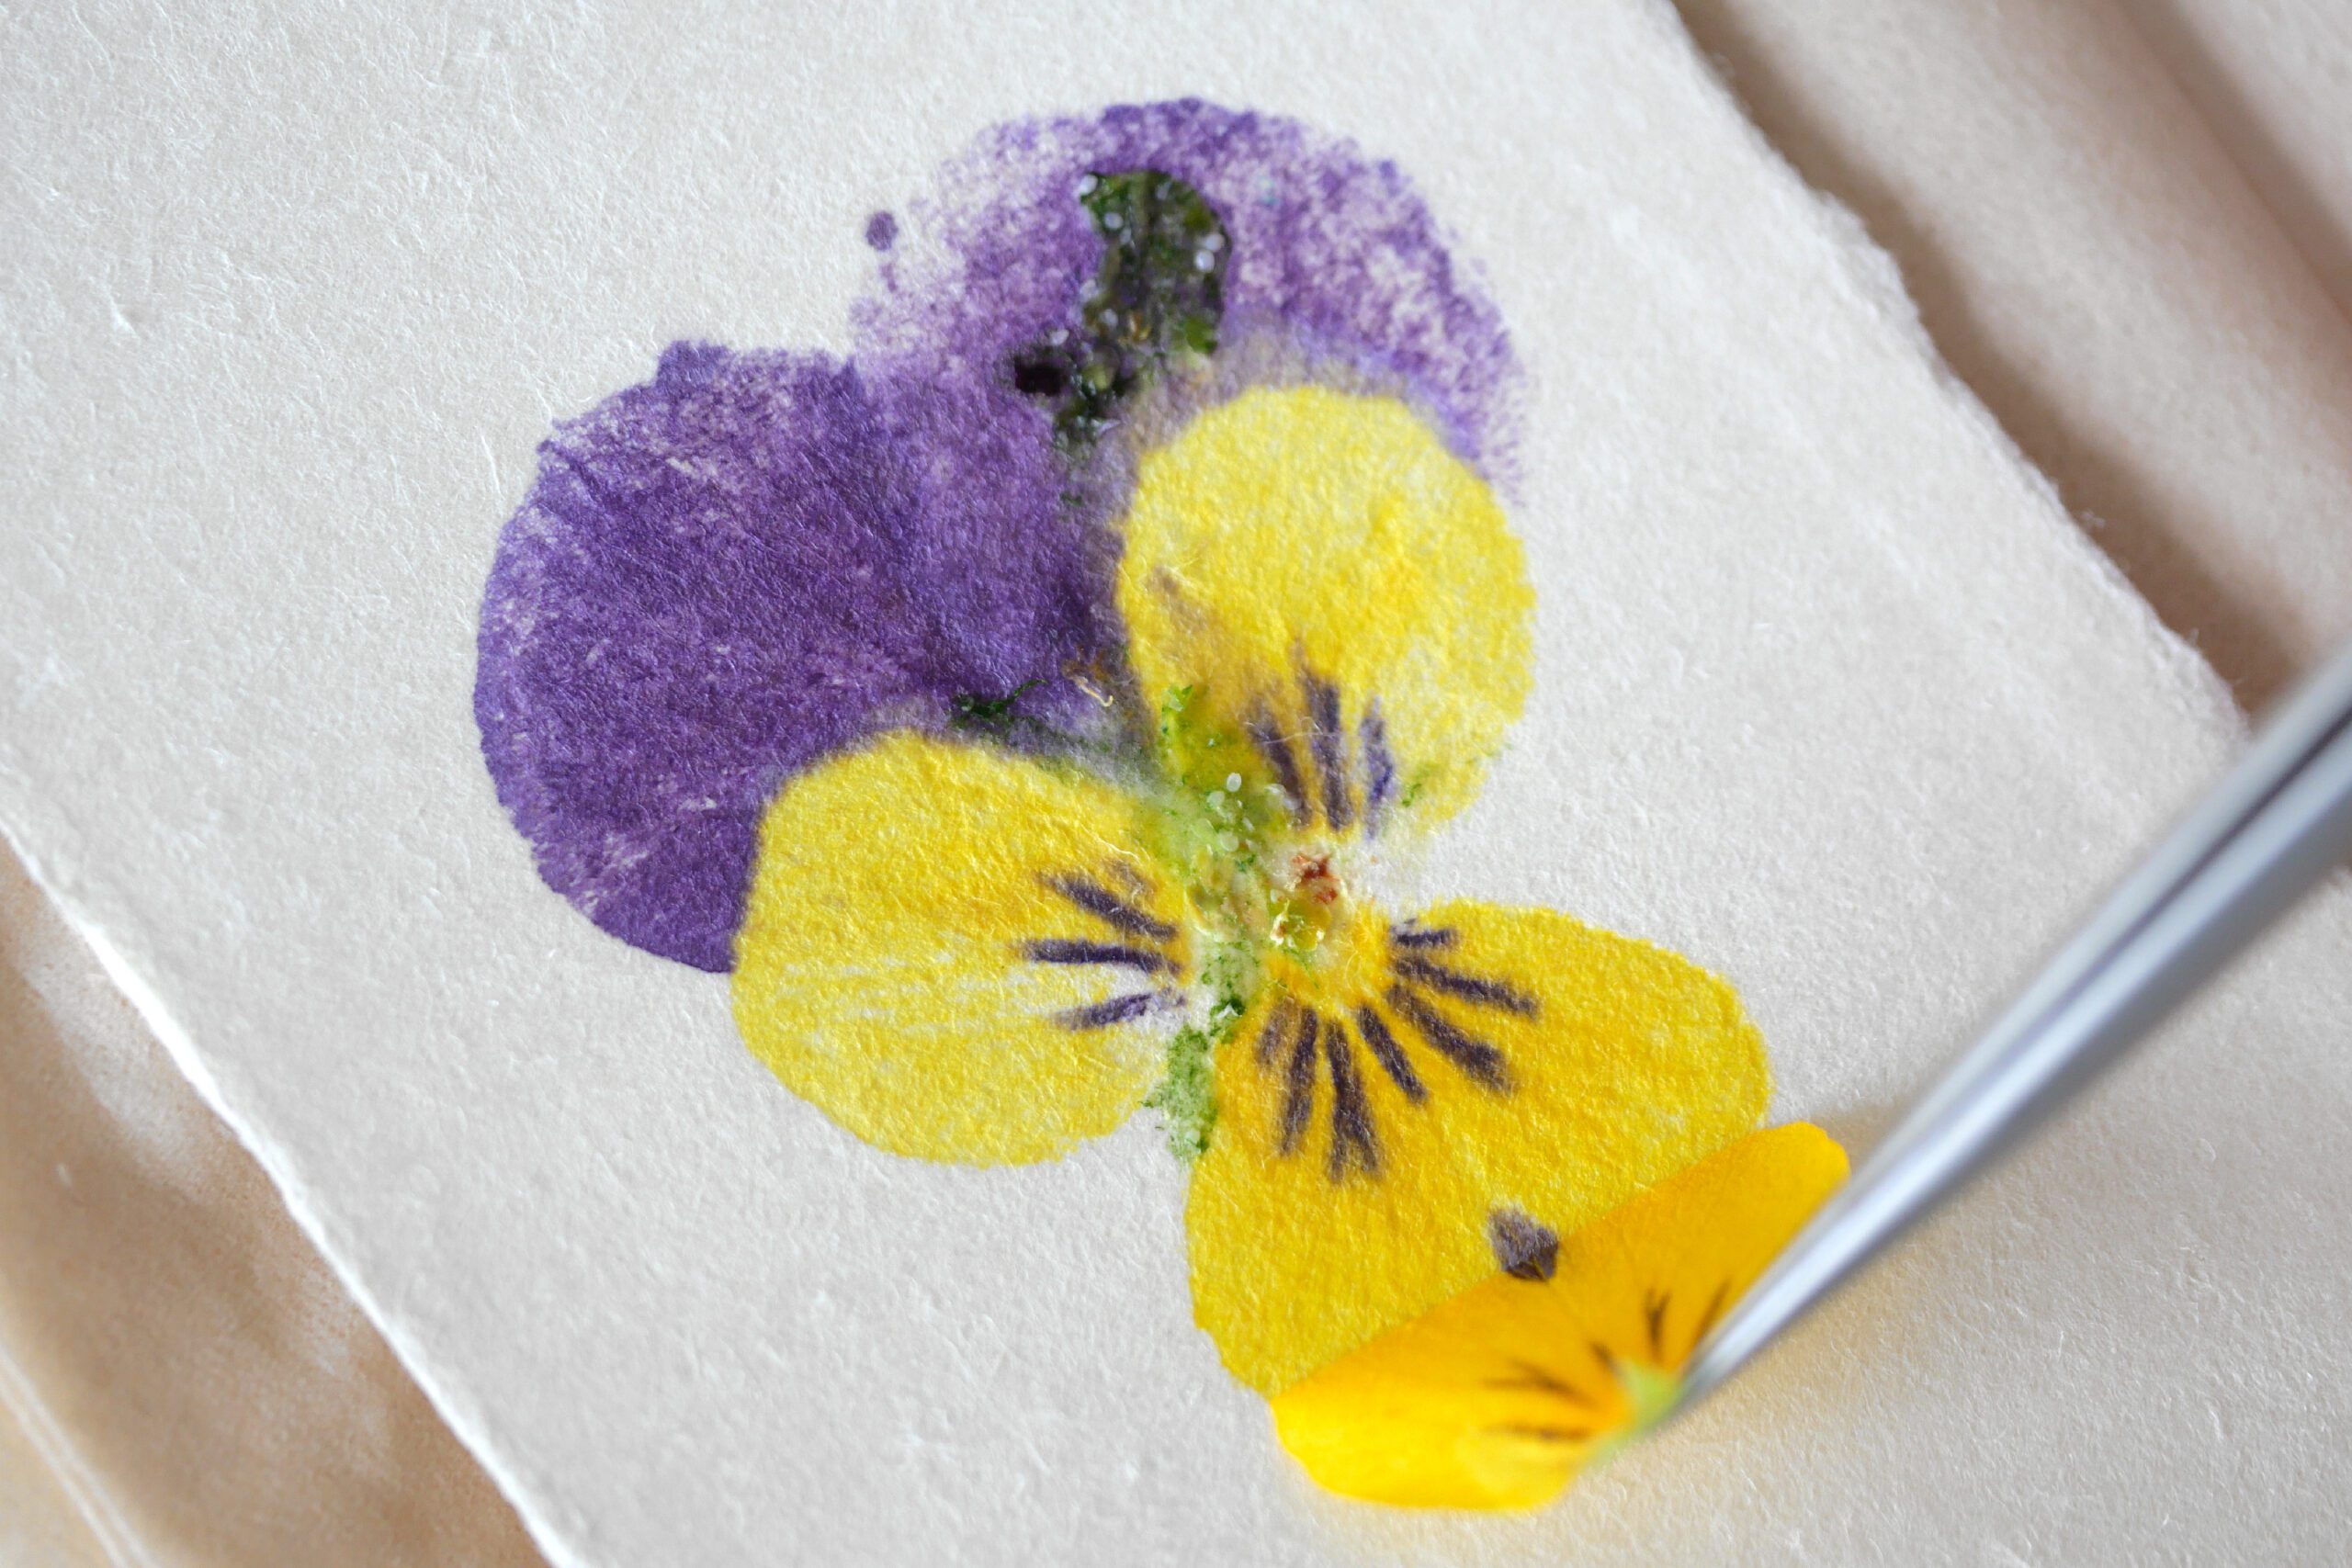
Step 4. Open the Tissue
Once the flower is thoroughly pressed, remove it from the folder and slowly and carefully open the tissue. Clean off the excess petals and calyx, and you are done.
Carefully open the tissue from the edges, and if there is still not enough transfer, gently put it back in place and roll the rolling pin over and press again.

Flower Variations
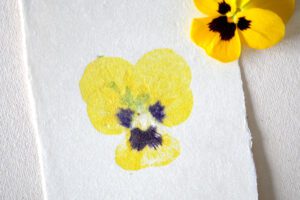
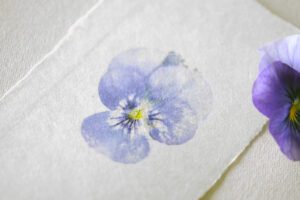
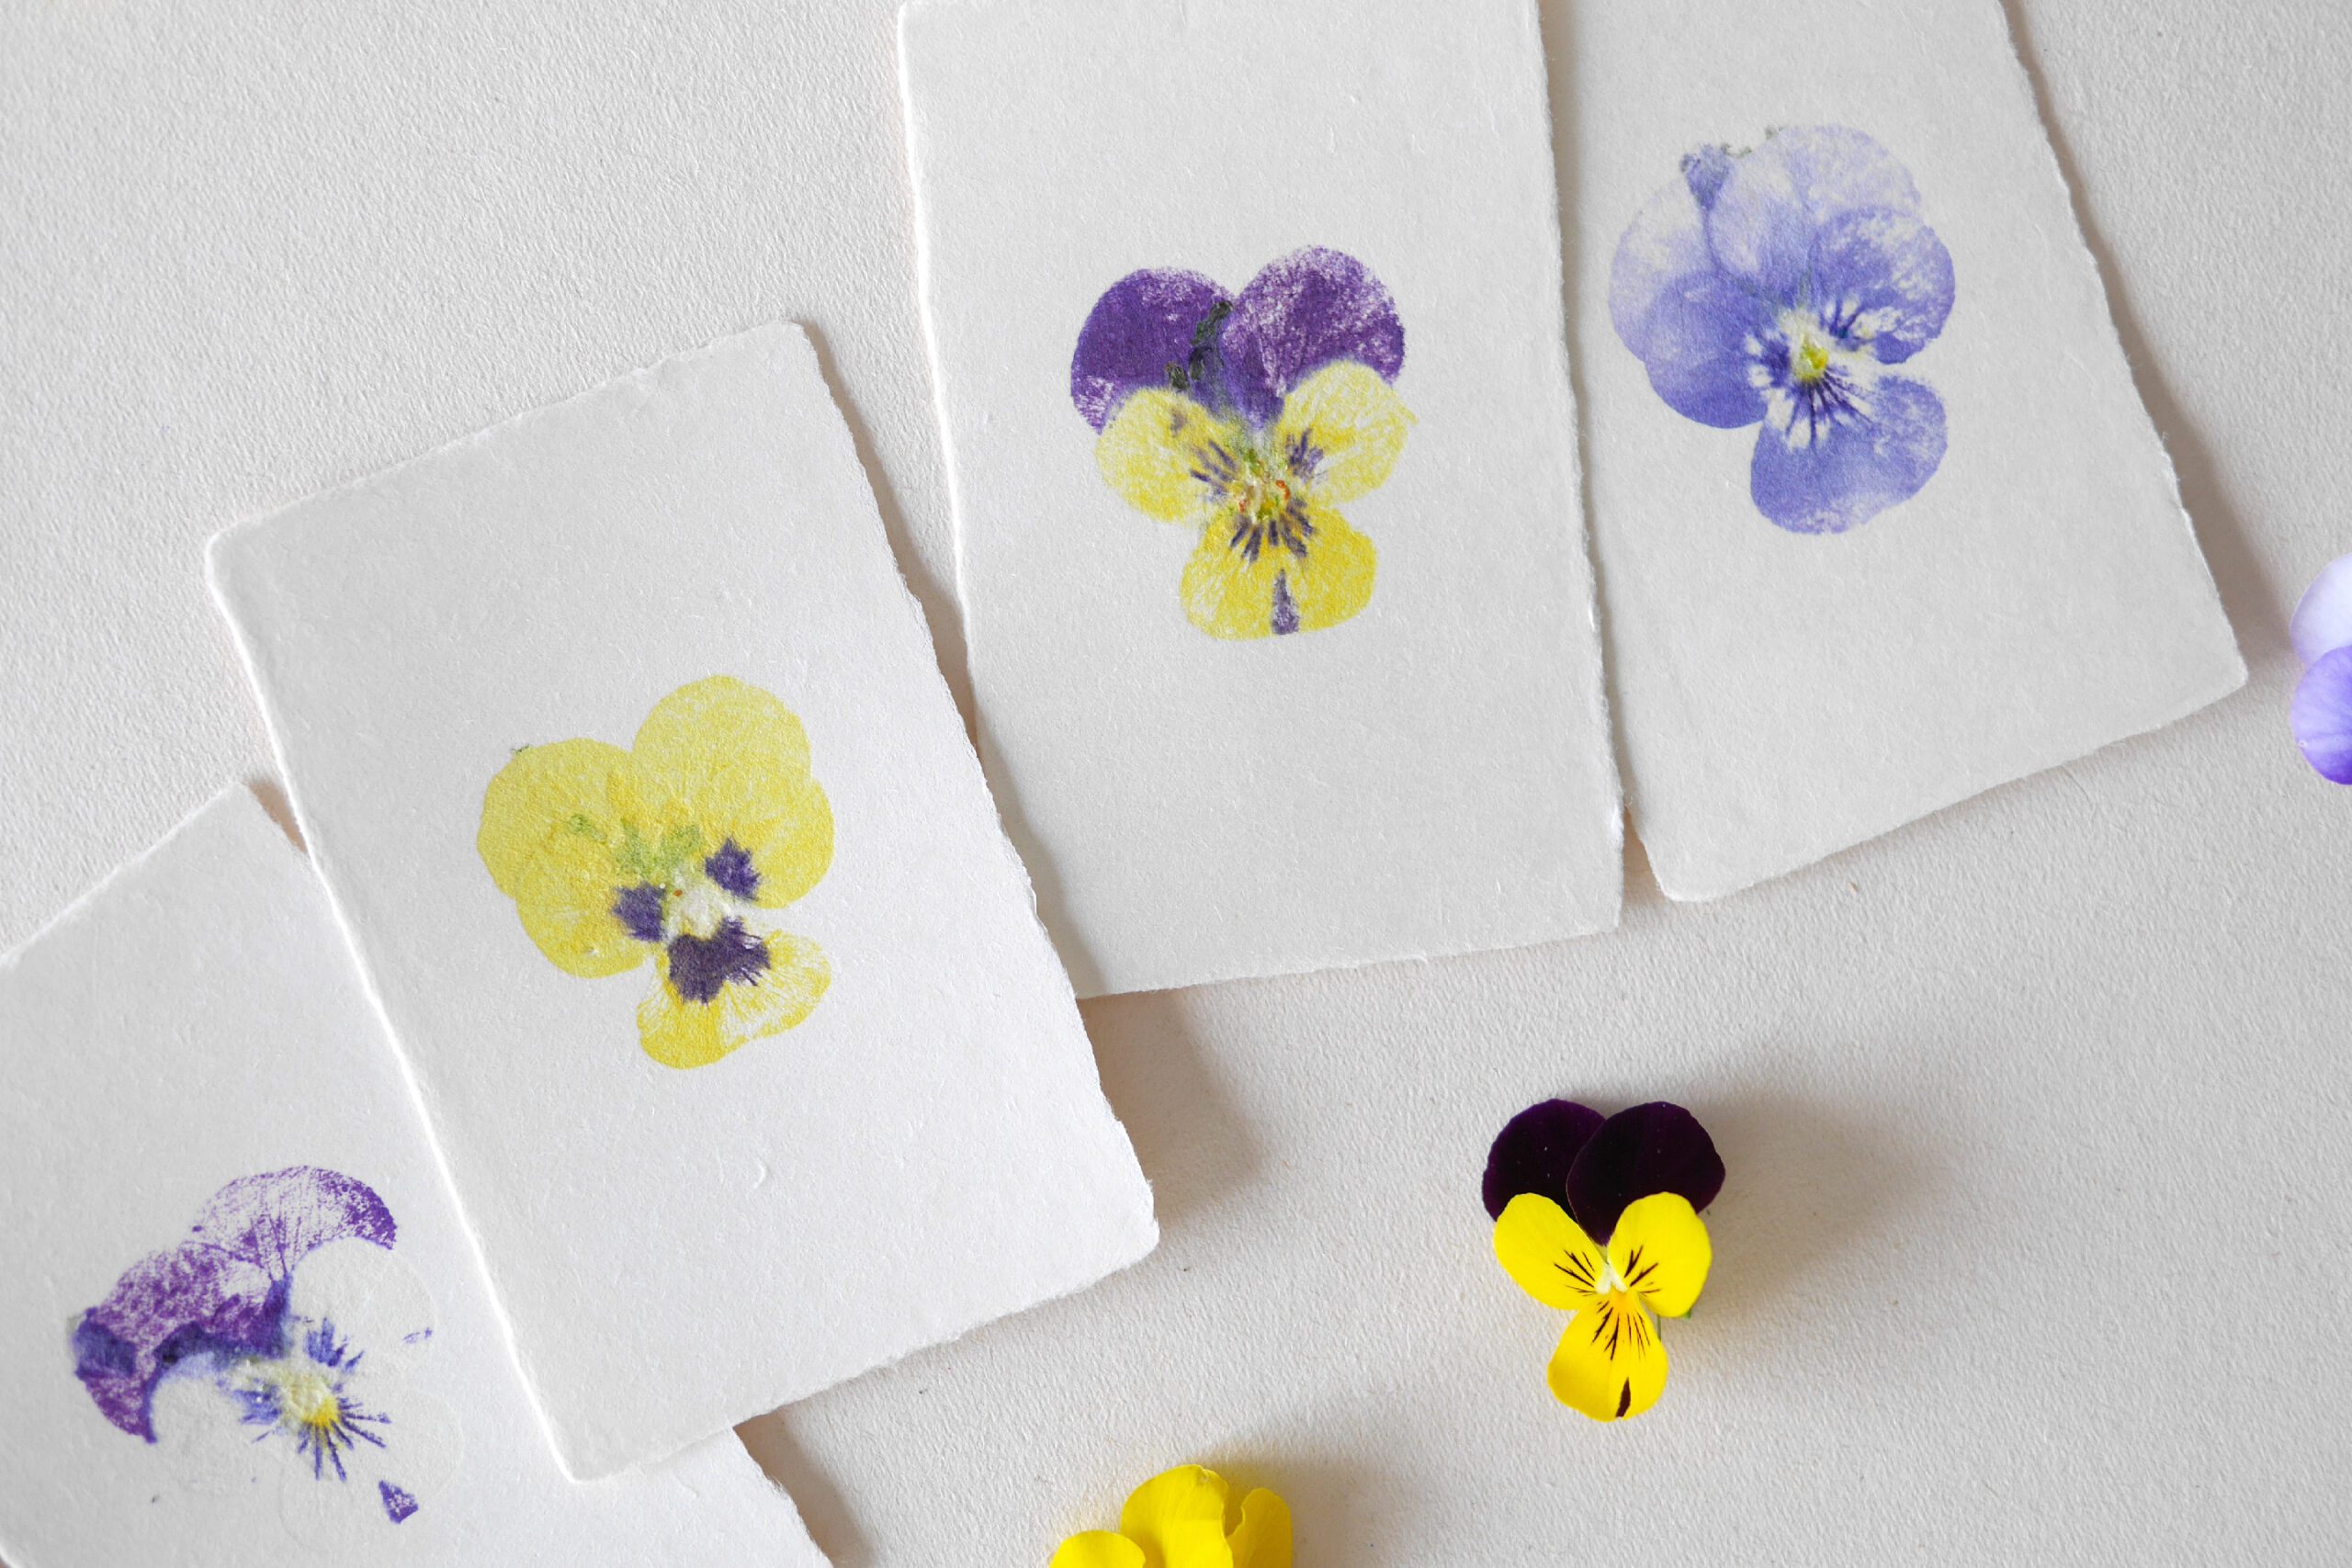
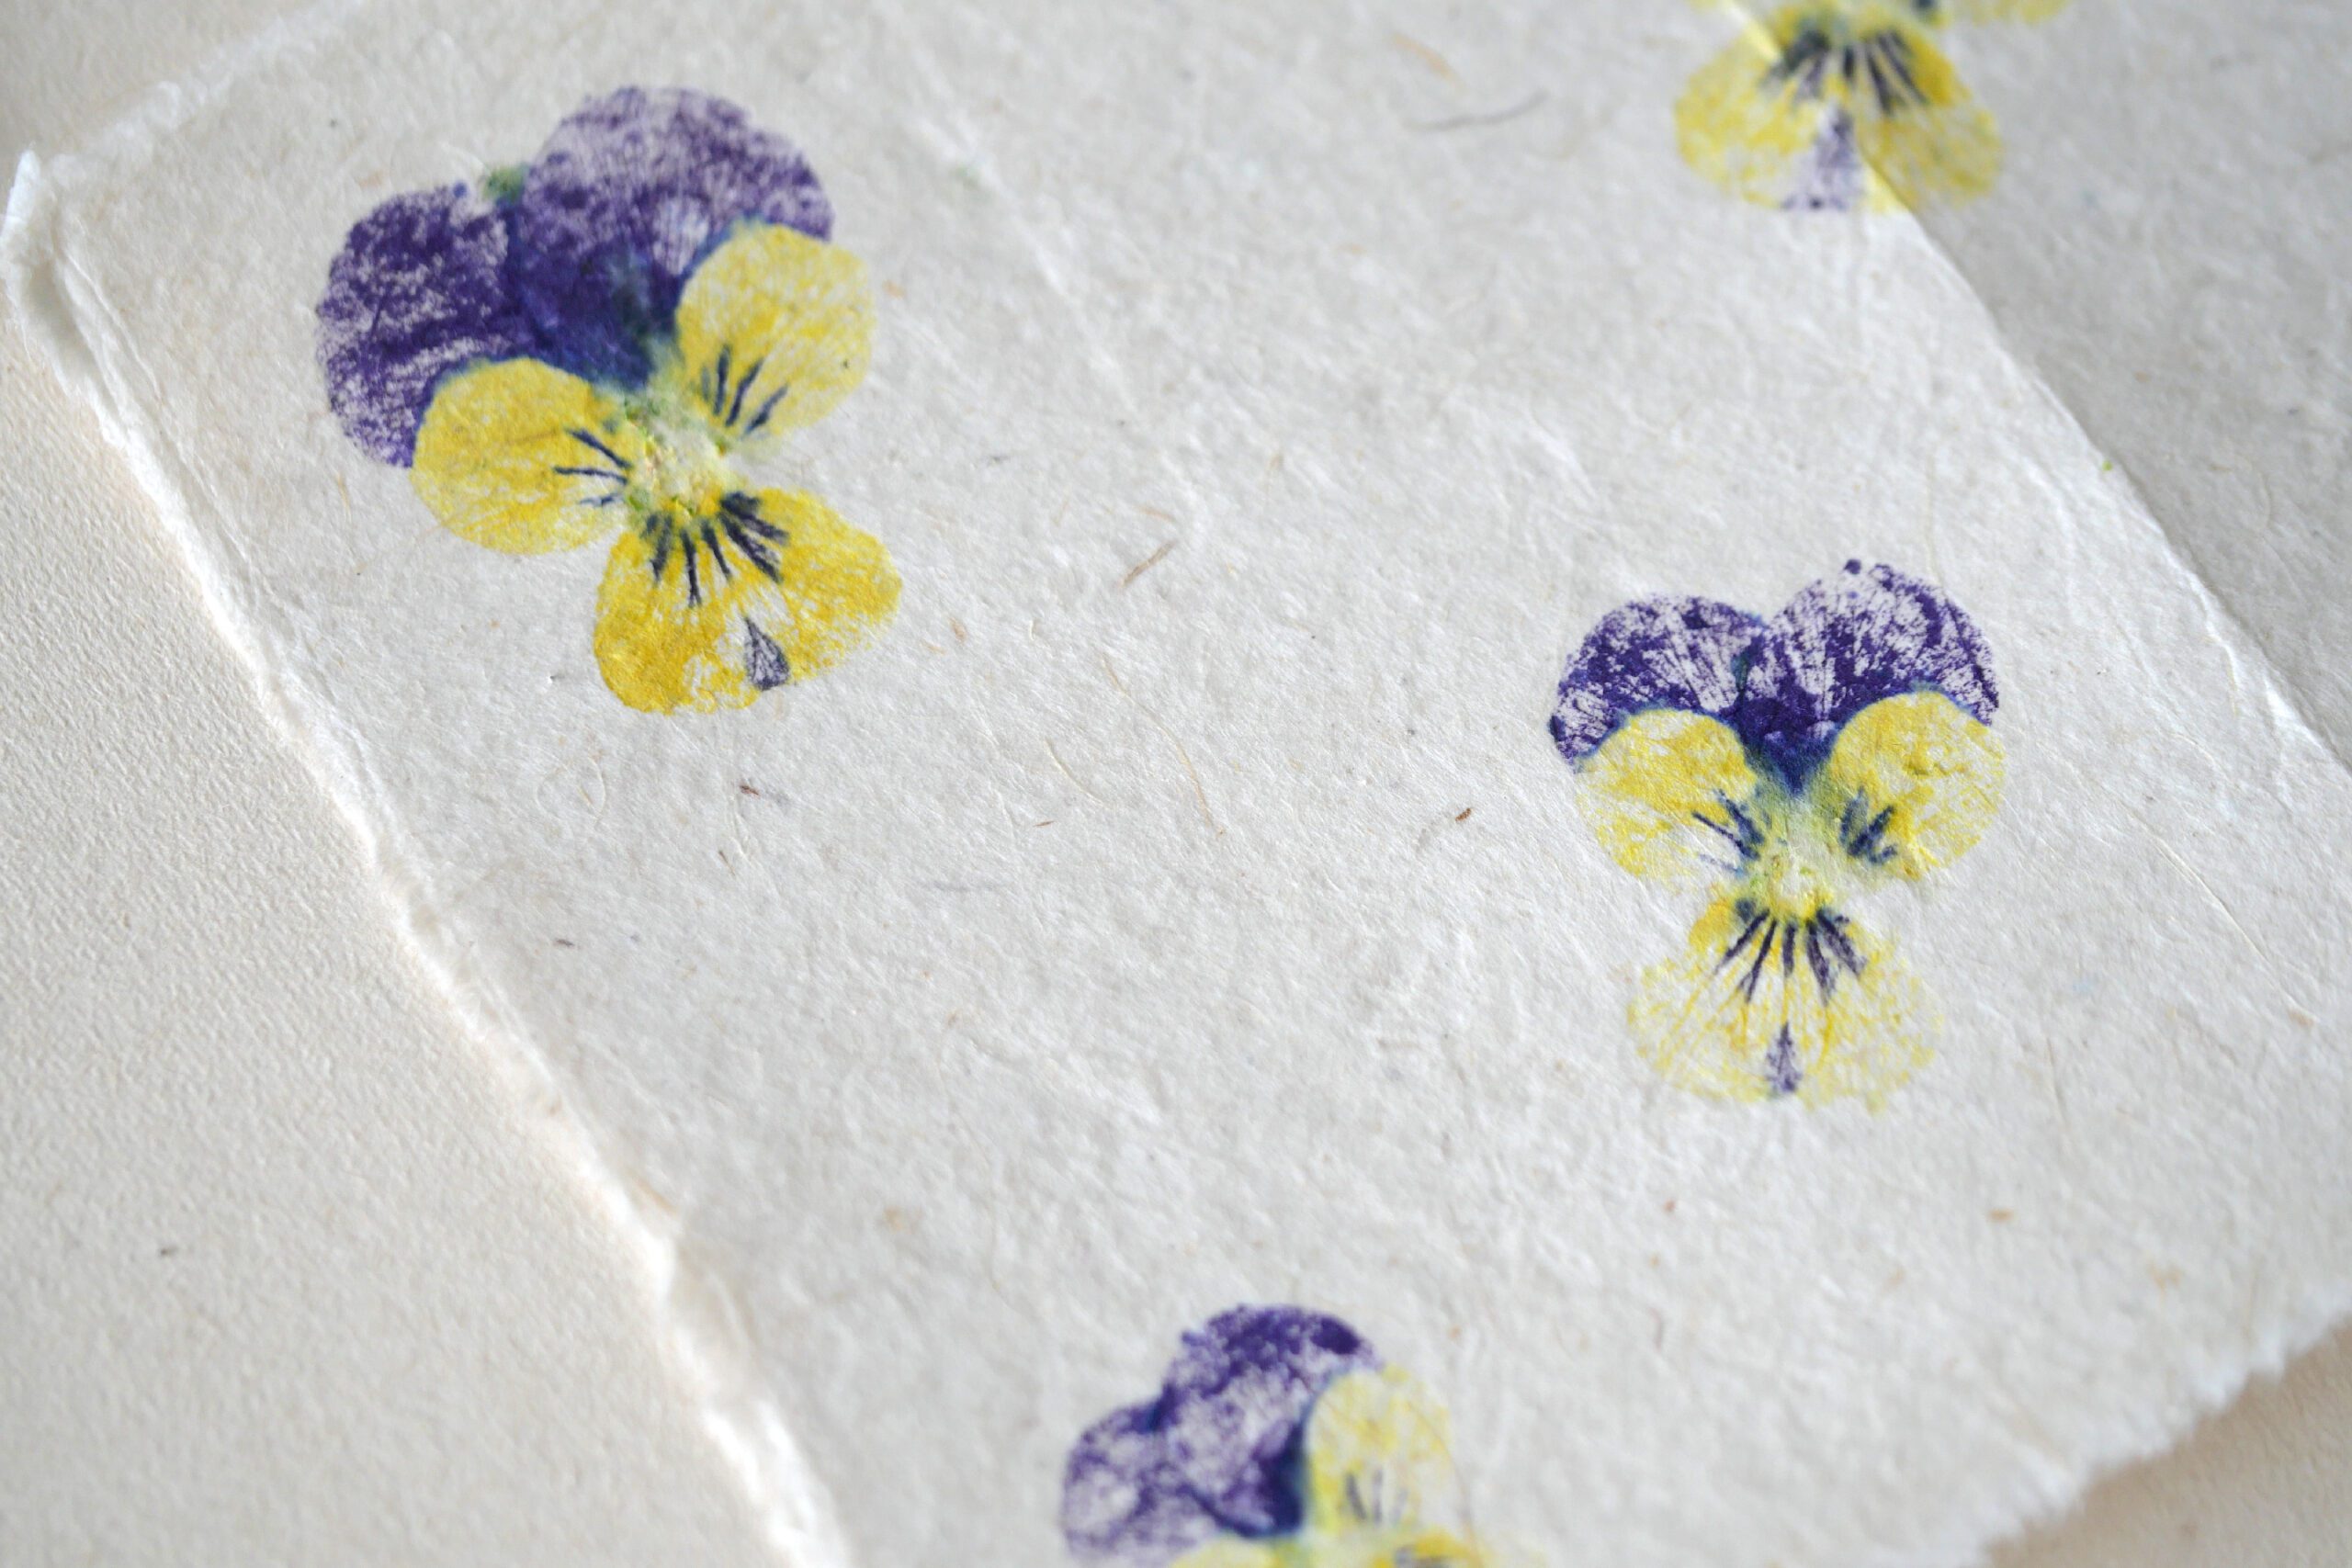
Some flowers and some colors are easy to transfer, and some are difficult. This time, I used violas. In addition, the petals of marigolds transferred beautifully. Tulip petals and lavender were a failure, with little color remaining. In general, flowers that are suitable for dyeing seem to transfer easily.
I would like to test different flowers and continue to find suitable samples. Please share your experiences as well.
Flower Stamps
花や植物のそのままの姿を写す方法はいろいろあります。”たたき染め”もそのうちのひとつ。文字通り植物を布や紙の上に置いてハンマーでたたき、植物の持つ染料ががそのままの形と色を現すのです。とてもシンプルなテクニックです。
ところが、ハンマーで叩くと音が気になります。そこで今回はめん棒を使って植物の姿を写すことにしました。少しの力で静かに簡単に。必要なのは瑞々しいフレッシュな花。私はファーマーズマーケットで出会った美しい色とりどりのビオラを使いました。ここではその手順と少しのコツをご紹介します。
用意するもの
– 花や草
– カード *凹凸のないスムースな紙が適しています
– めん棒
– クリアファイル もしくは 紙*
– ティッシュ
– ピンセット *あると便利です
*中身がわかりやすいようにクリアファイルを使いました。代替品として紙でも十分です。
つくりかた
Step 1. 花を用意する
転写する花を用意し、カードの上に置きます。茎の根元に水分が多くあるので、その部分をハサミで完全に切り取ります。ガクの周りは慎重に切ります。切り落としすぎてしまうと花びらがバラバラになってしまいます。
右にあるのが取り除いた茎の部分です。細かい作業ですがこれを取っておかないと、茎から出た水分が滲んで綺麗な形が残せません。ぜひこのひと手間を加えてください。
Step 2. ファイルに挟む
花を固定するように台紙ごとティッシュで挟みます。下から、ティッシュ→カード台紙→花→ティシュでサンドイッチとなっています。
次にアクリルファイルに挟みます。今回は中が見えやすいこともあり、プラスチック製のクリアファイルを使っっています。手軽で、ズレ防止にもなり、中が見えやすいので、家にストックがあれば使うことをおすすめします。ない場合は代替品として、紙を乗せてプレスしても十分です。中の花が動かないように注意してください。
Step 3. めん棒を転がす
ファイルの上からめん棒を転がします。初めは花が動かないように慎重にゆっくりと。次第に力を入れて、上下、左右、いろいろな方向からしっかりとプレスします。
*めん棒の代わりに、スプーンの丸い部分で擦ることもできます。
Step 4. ティッシュを開く
花を十分にプレスしたら、ファイルから出し、ゆっくりと慎重にティッシュを開きます。余分な花びらやガクを綺麗に取り除いたら完成です。
ティッシュは端から慎重に開いて、まだ転写が足りないようなら、そっと元の状態に戻し、もう一度、めん棒を転がしてプレスしてください。
花のバリエーション
花は写しやすいものと写しにくいものがあります。今回はいろいろな色のビオラを使いましたが、そこでも転写しやすい色と、そうでない色があるようです。ほかにマリーゴールドの花びらも綺麗に転写できました。チューリップの花びら、ラベンダーはほとんど色が残らず失敗に終わりました。一般的に染色に向いている花は、転写しやすいようです。
いろいろな花をテストして、これからも適したサンプルを見つけたいと思います。あなたの経験もぜひ教えてください。