Growing Grass for Easter
Grow “Real Grass” in your basket for Easter. This is one of the easiest science experiments you can do indoors, and as “real grass,” it can also serve as a substitute for plastic Easter grass. Growing plants also stimulates children’s curiosity, exploration, and scientific interest.
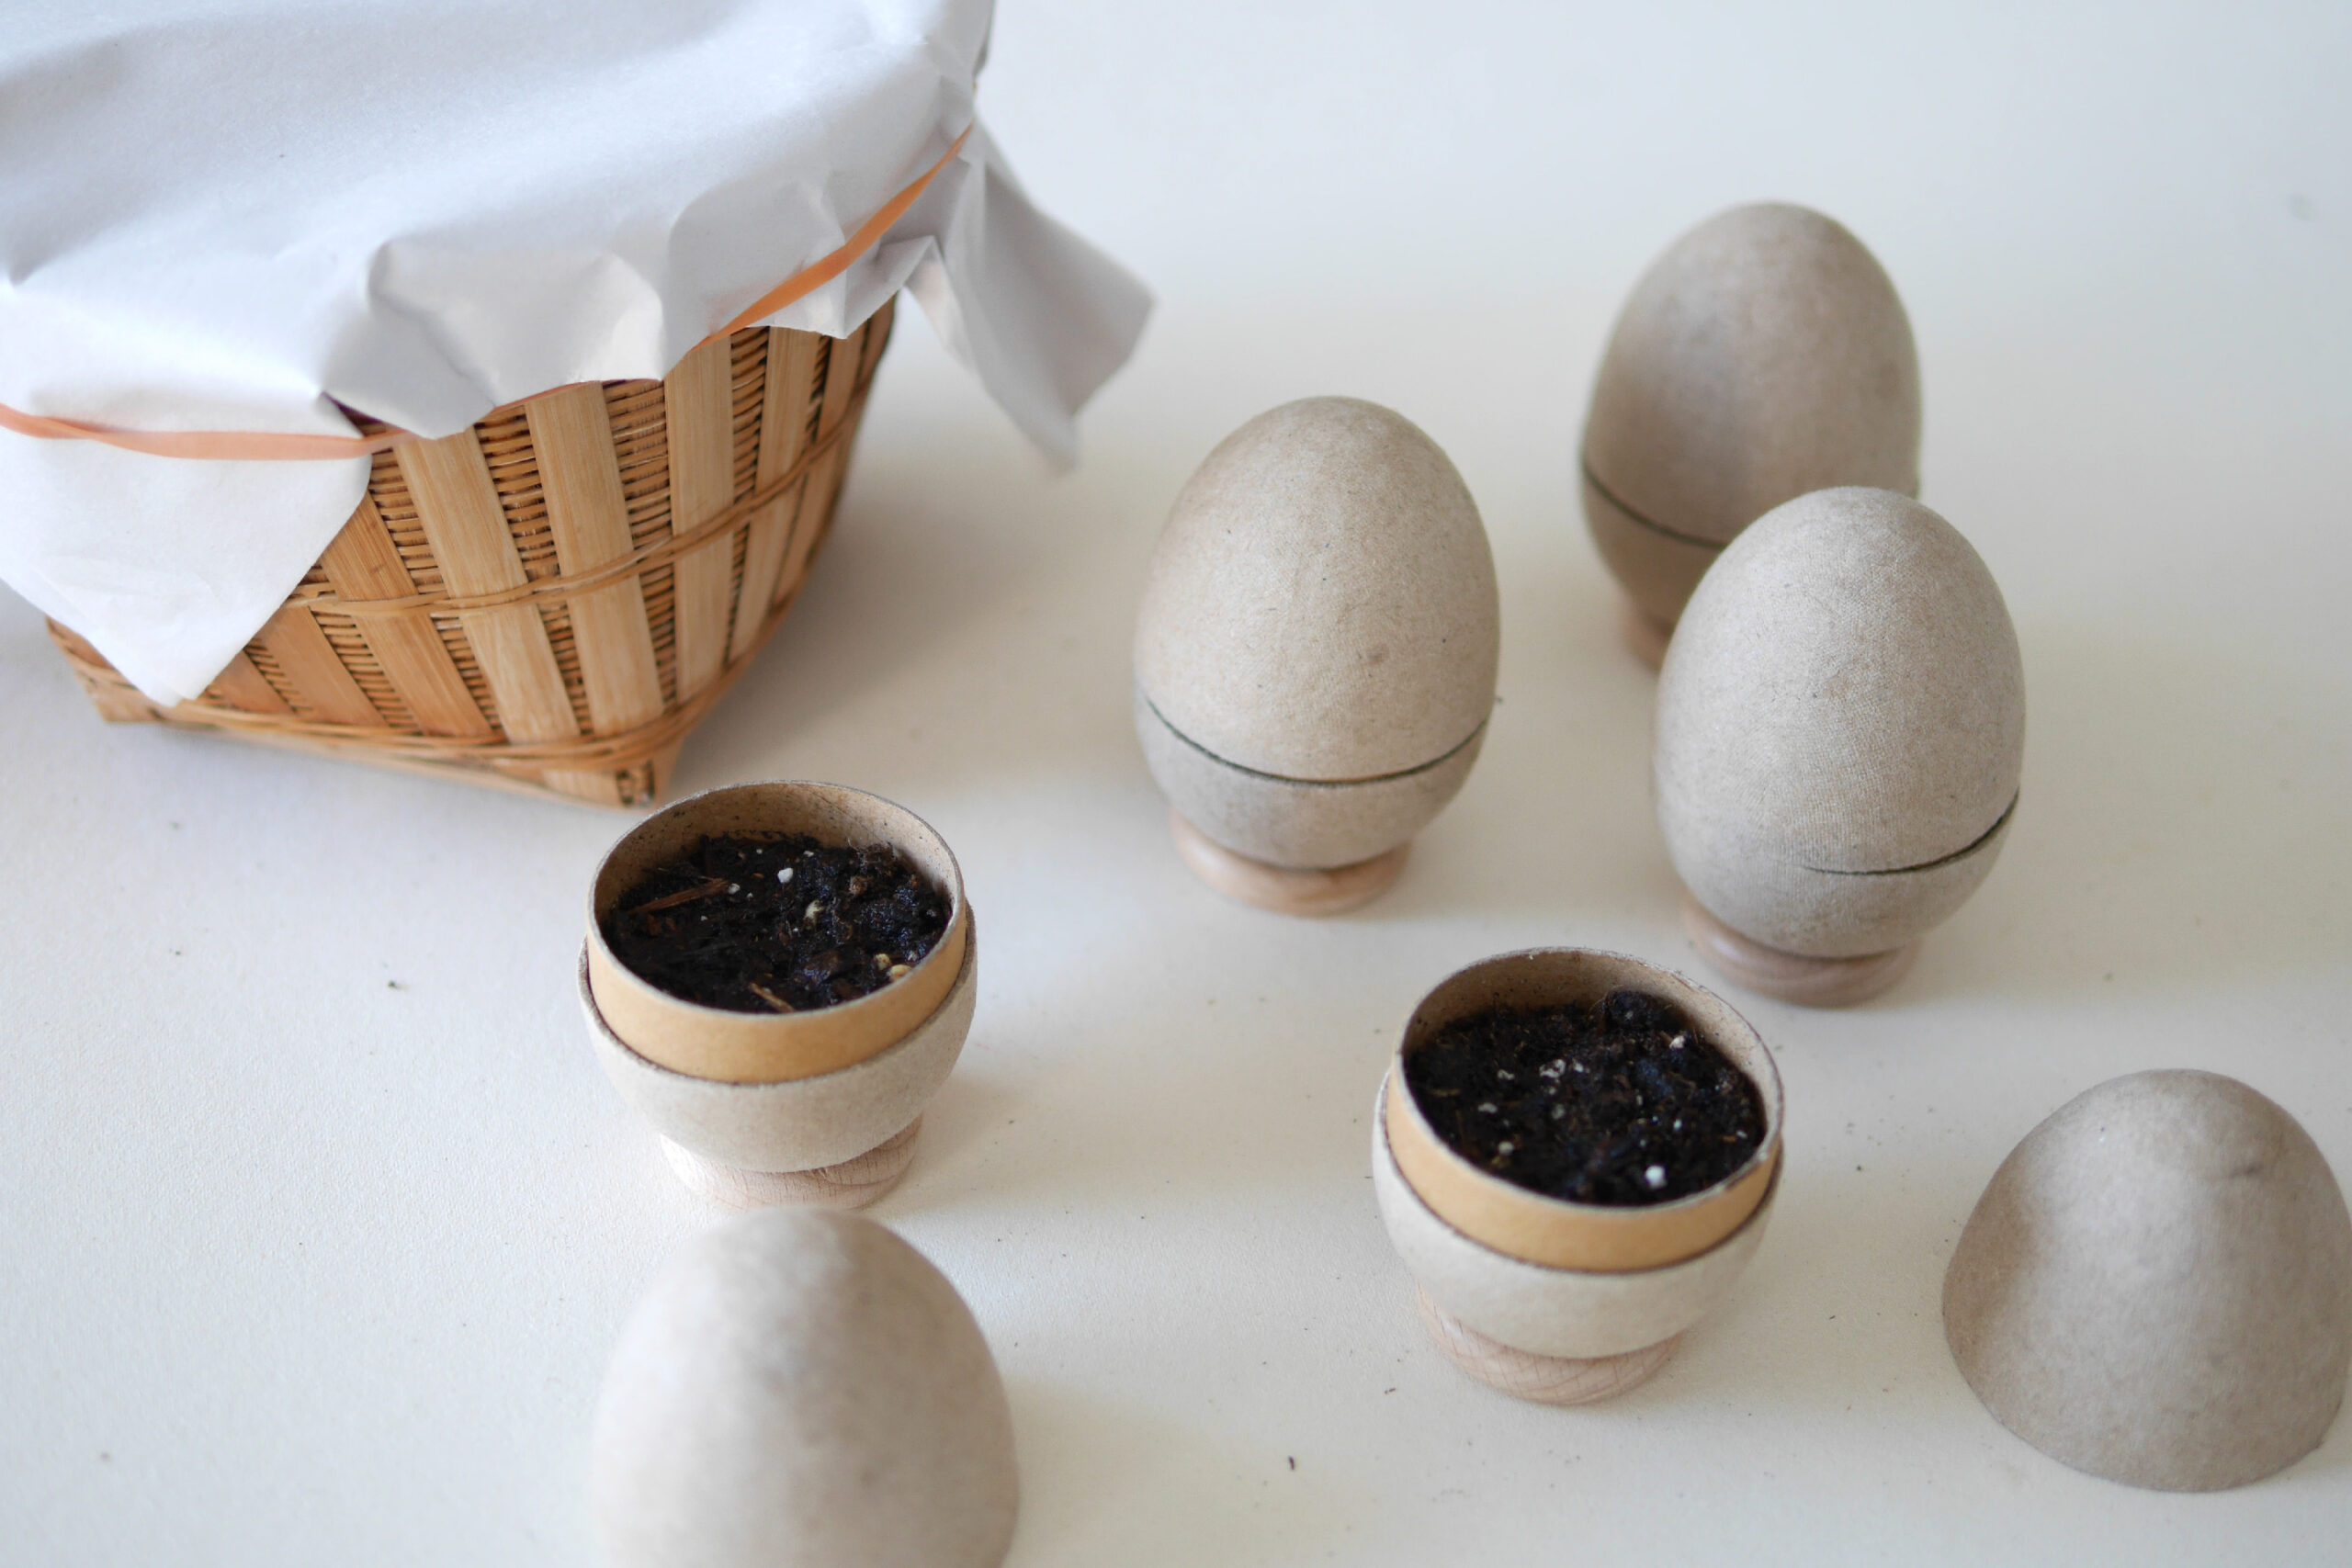
All you need are seeds, soil, and a basket. We prepared an Easter basket as well as small egg-shaped cups for spring decorations. Sow the seeds on top of the soil, gently covering the seeds with soil like a bedding and misting. All that is needed for germination is a warm, dark space. Cover the seed baskets with paper and the egg cups with lids. Until the seeds sprout, it grow them in the same conditions as in the soil = dark space to encourage growth. And we anticipate. How many days do you think it will take to sprout? How will the leaves grow? Then we wait for growth.
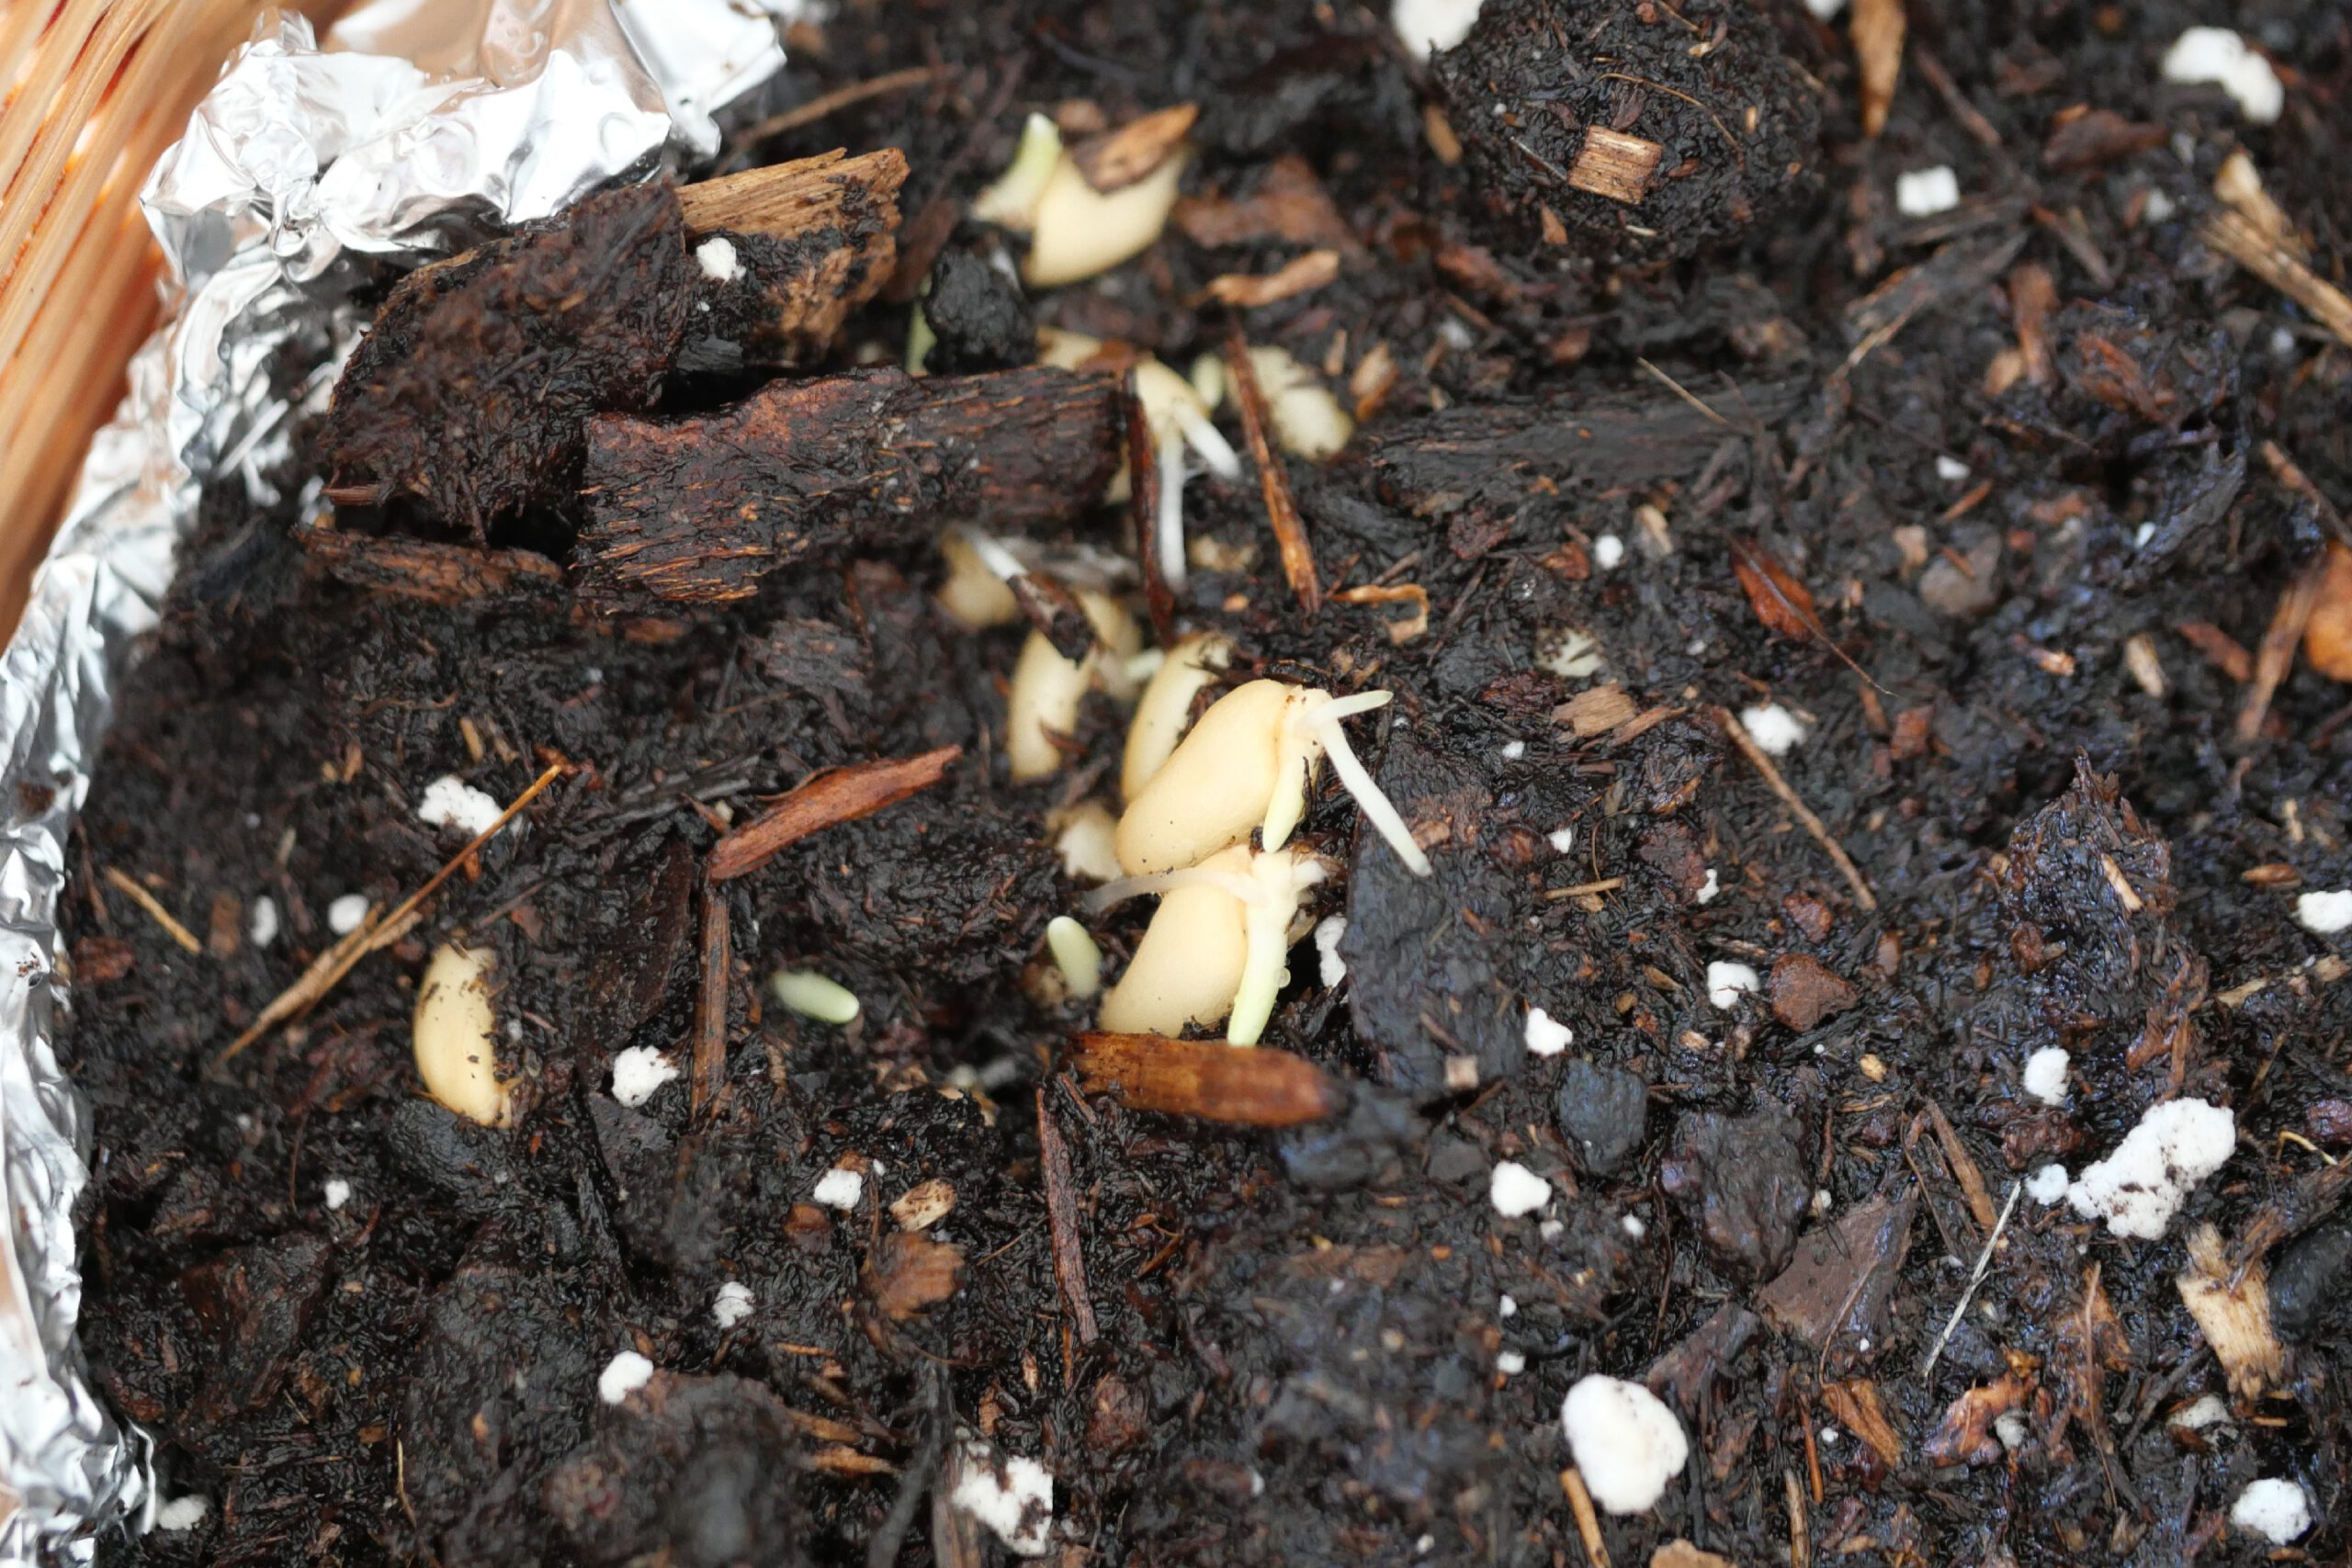
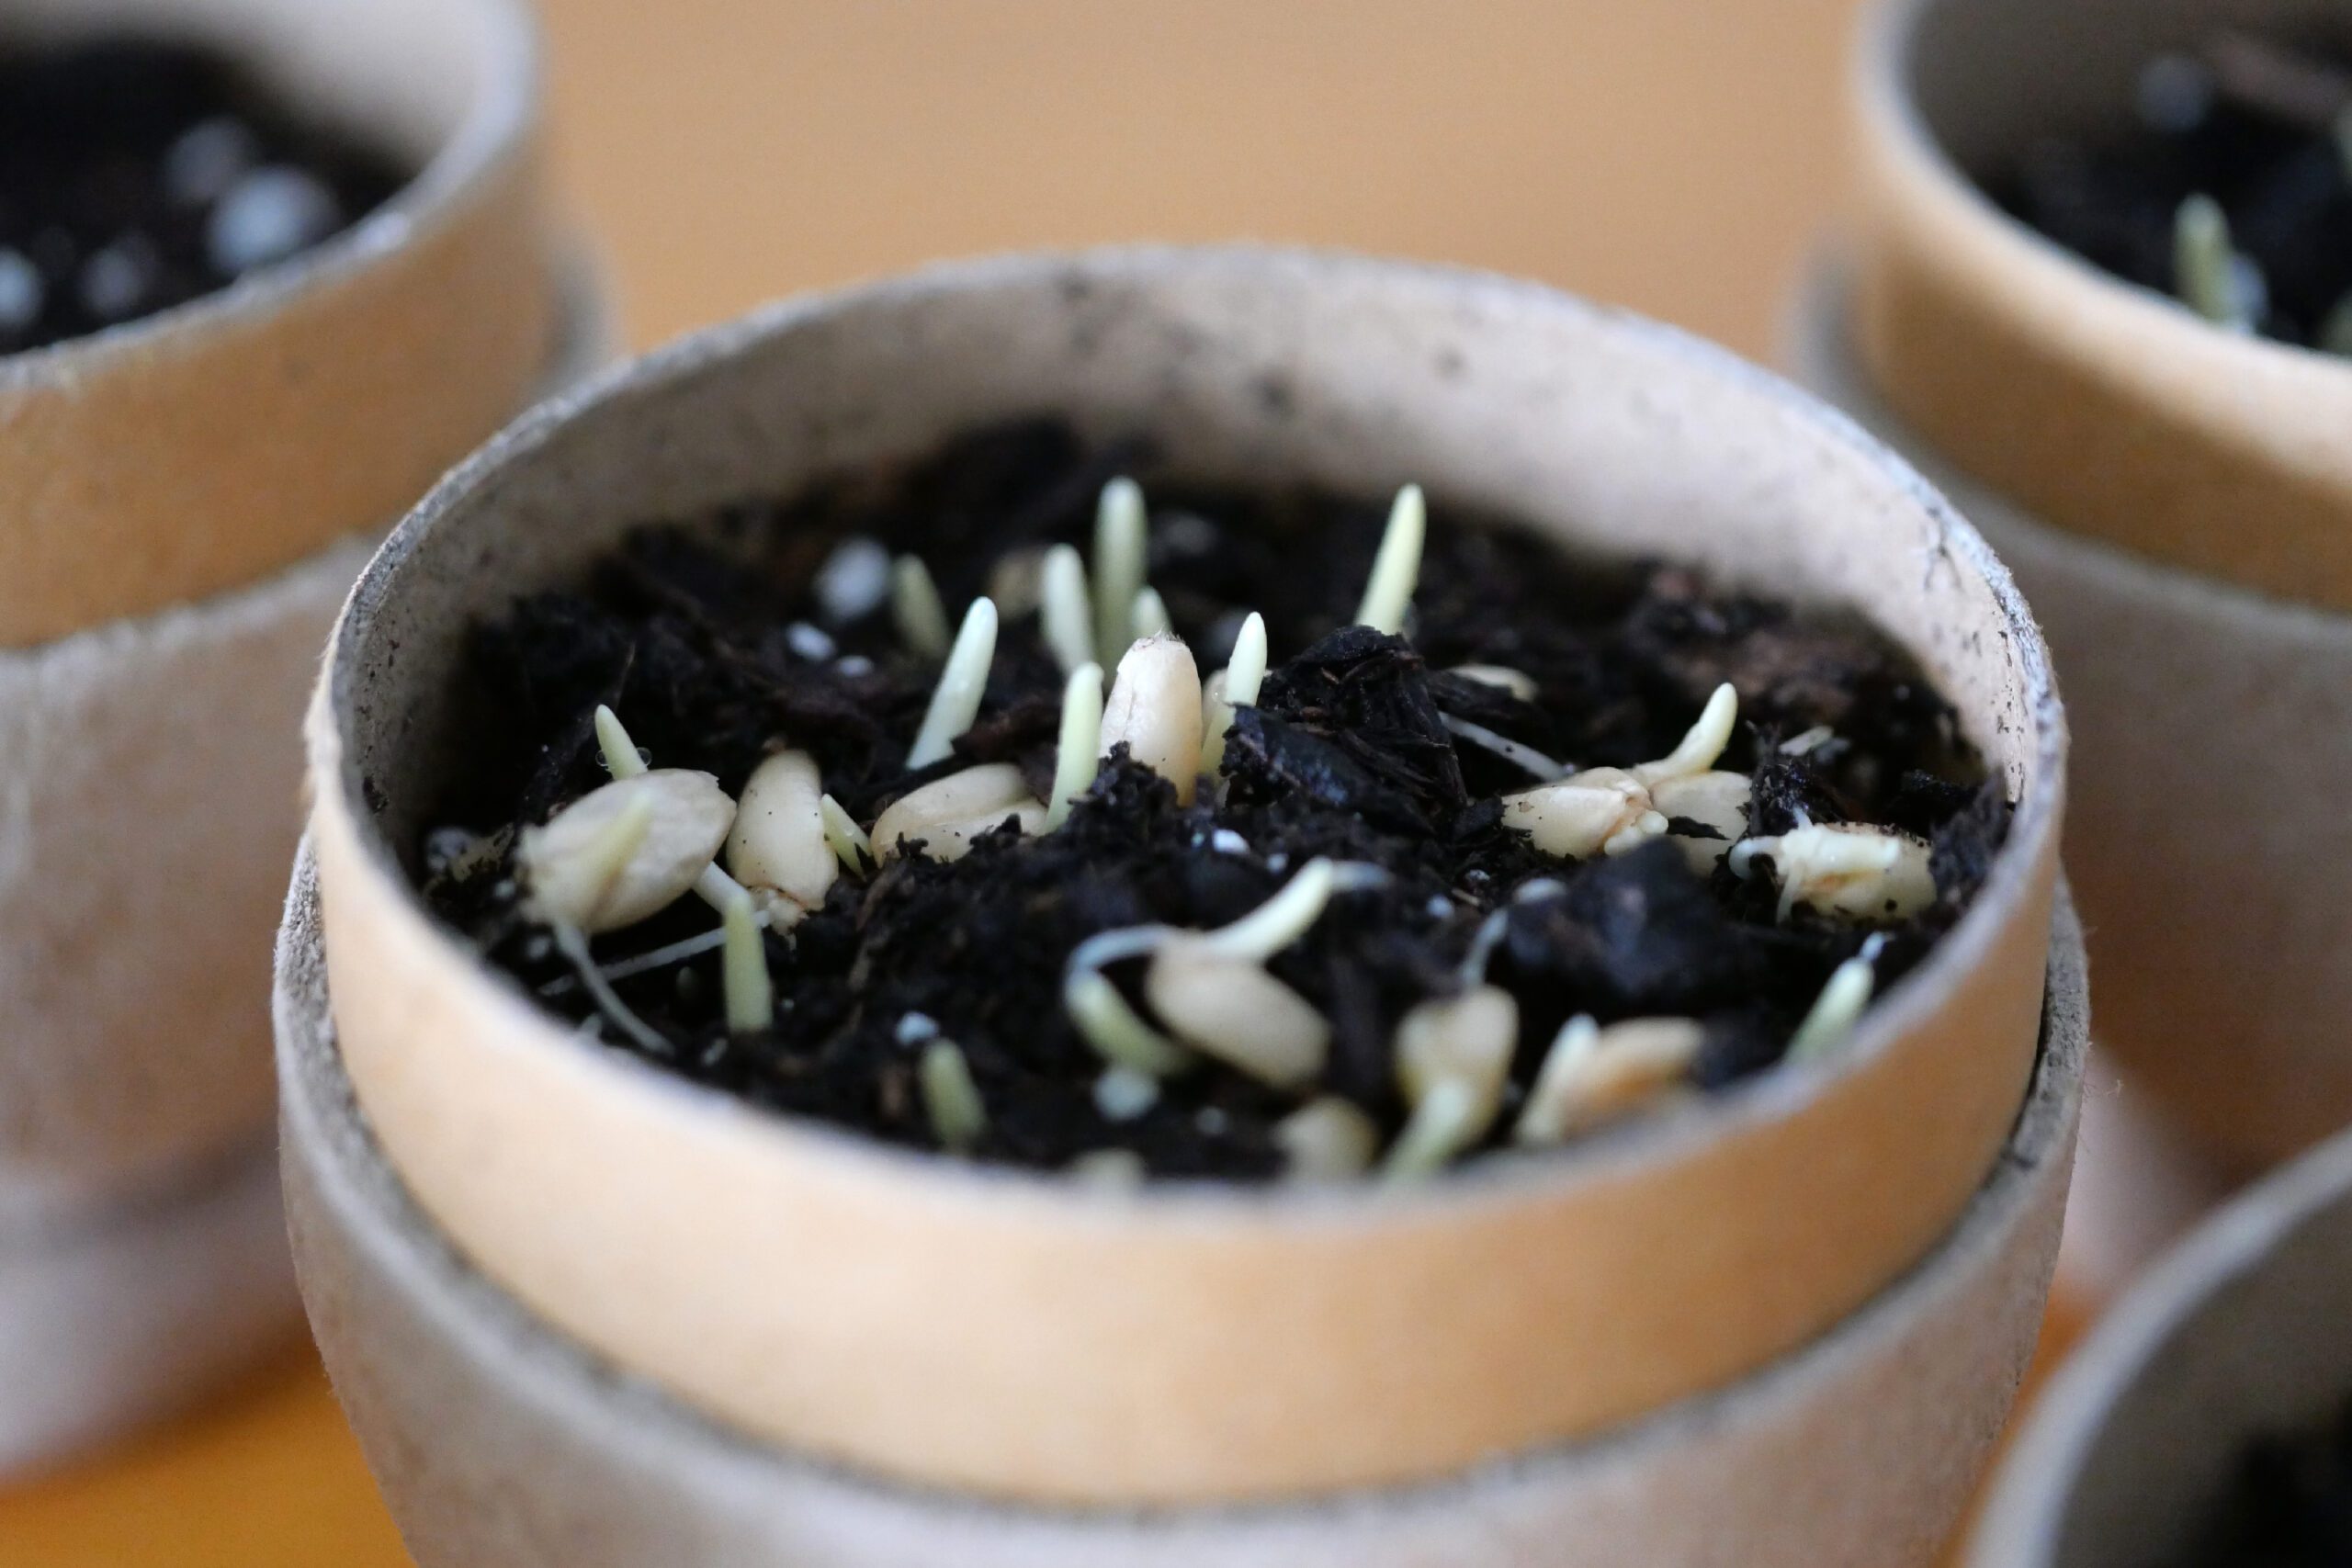
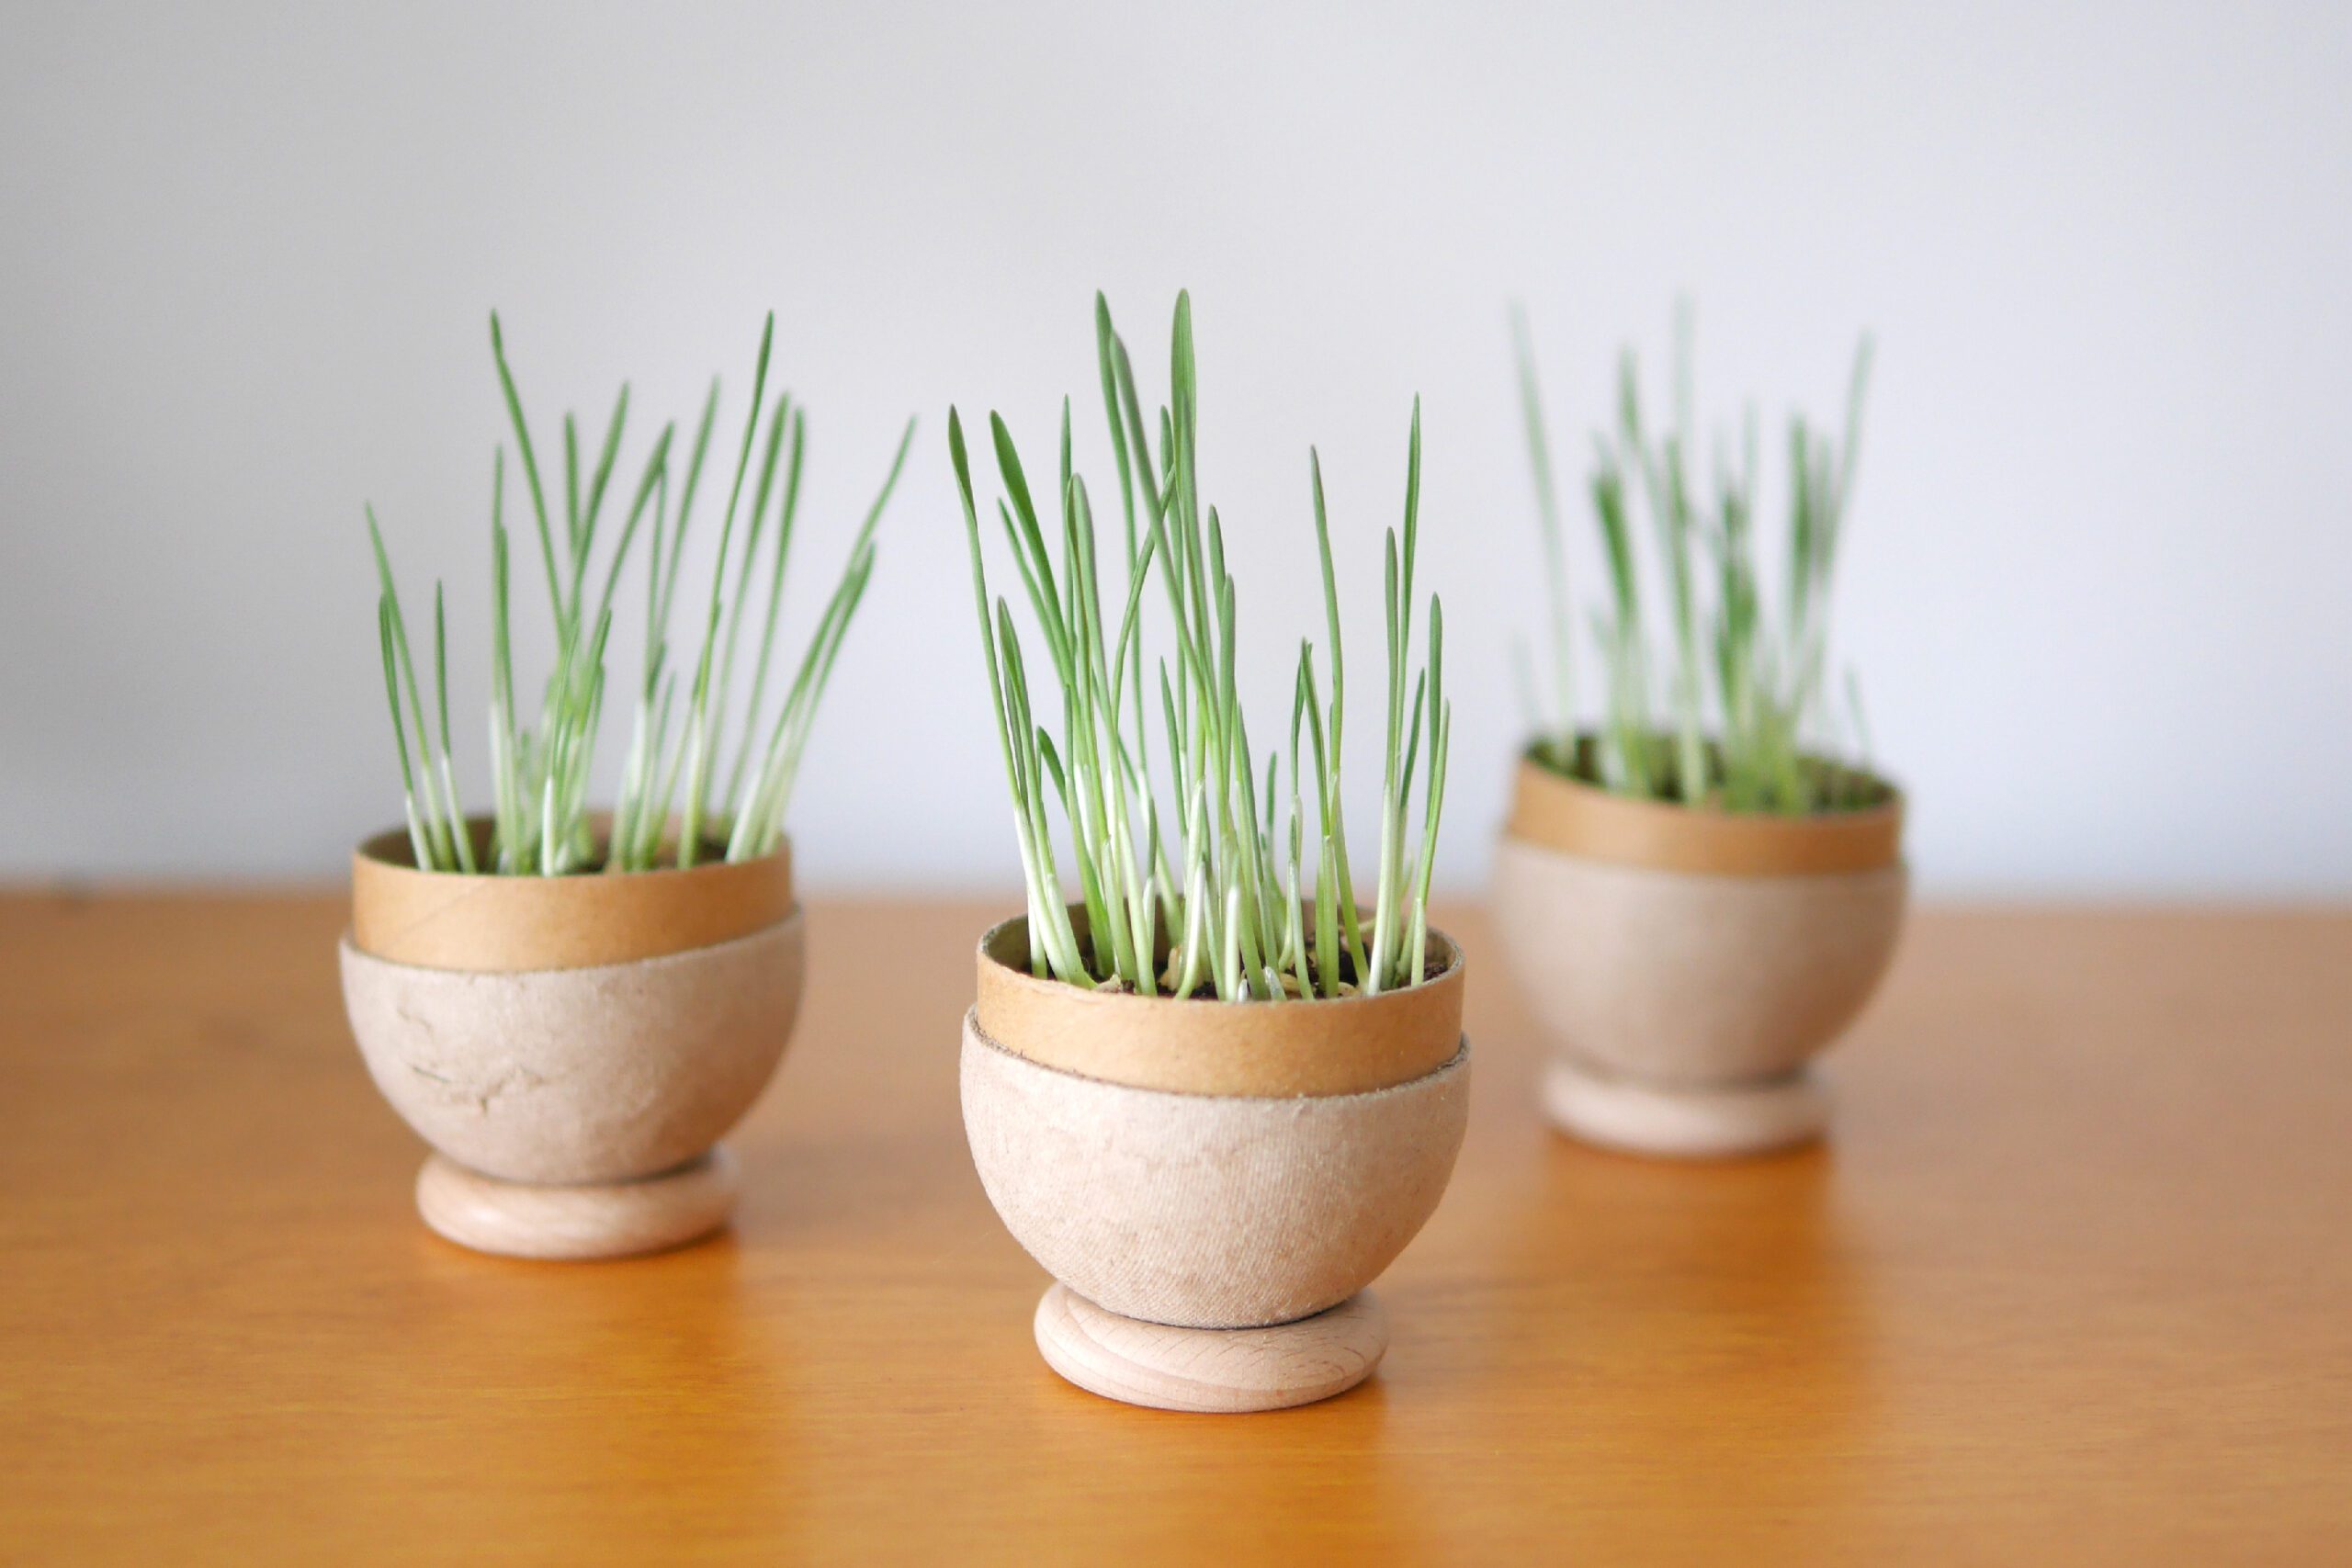
The day after the seeds were sown, small, white, thin roots could be seen. Then, we watered them with a misting spray and on the second day they sprouted. Once germinated, remove the cover and expose them to sunlight. The experiment was a success when the grass grew rapidly in the sunlight.
The seed is sown, watered, the roots emerge, and the leaves grow in the sunlight. Observe the workings of nature in your own hands and watch it grow. It is a lovely and enjoyable observation experiment.
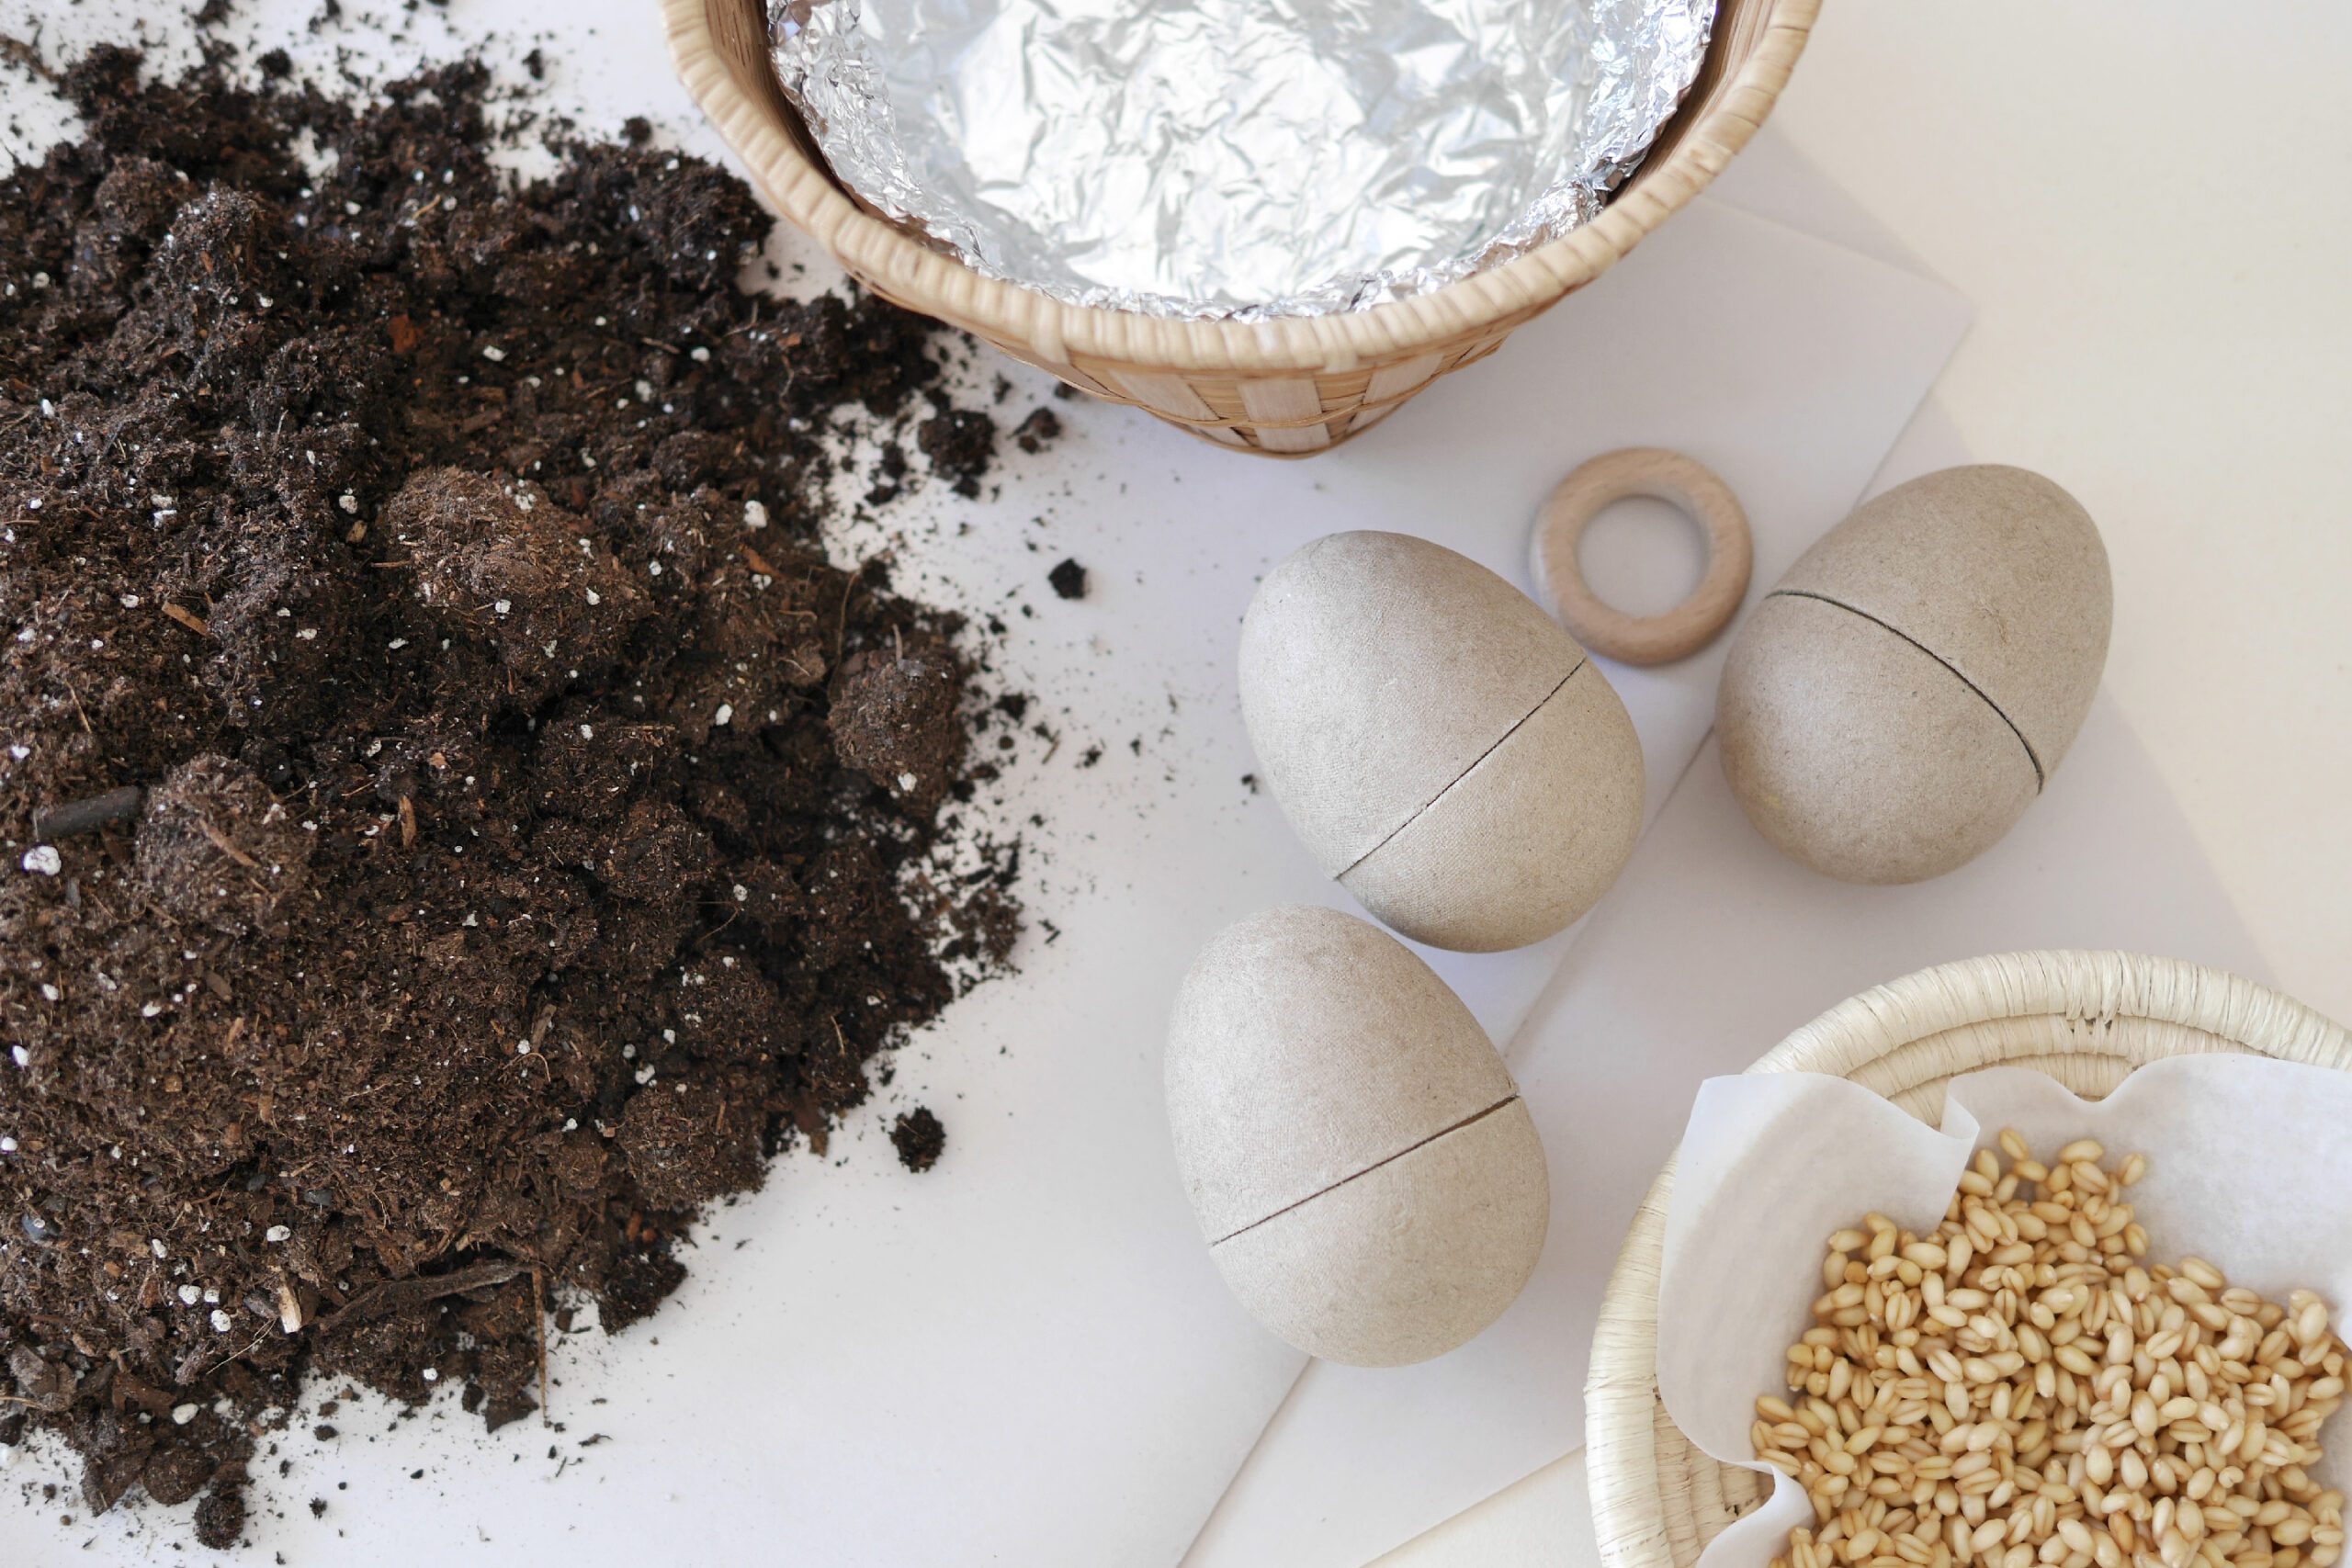
Materials
– Seeds of your choice *We used wheat berry seeds.
– Soil
– Easter basket
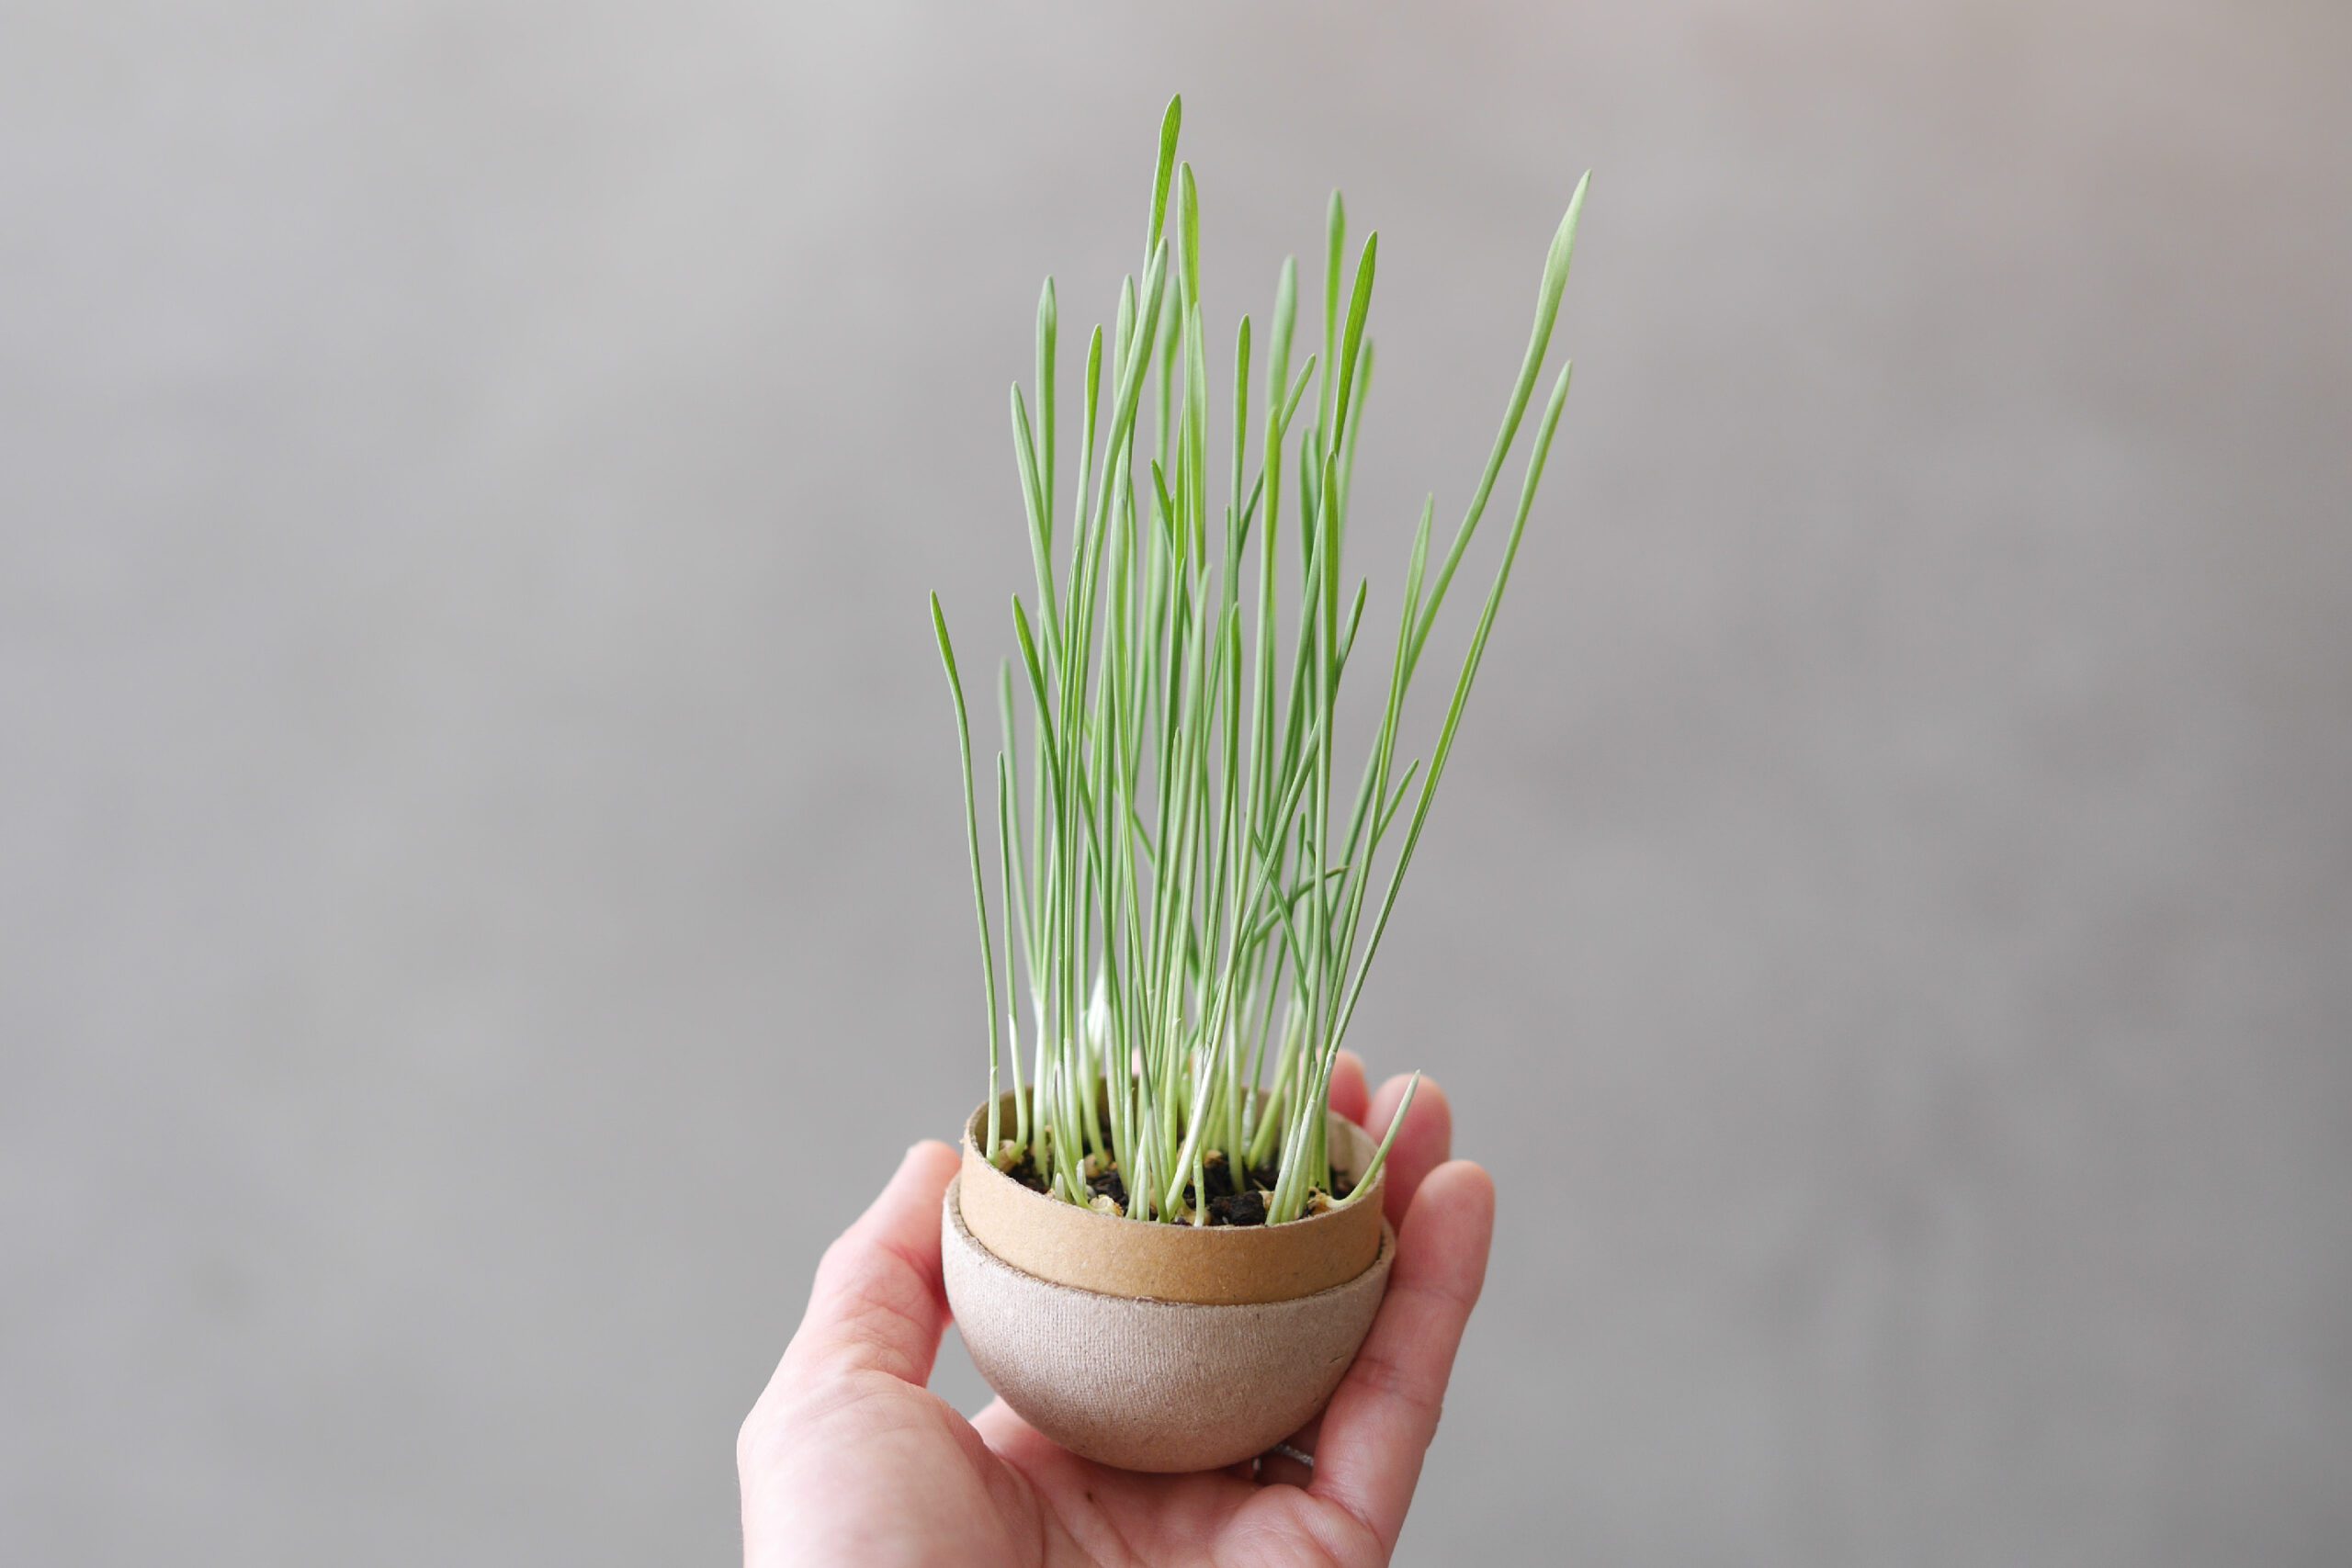
– Egg shaped cups *Optional
It takes about 7-10 days for the grass to grow before Easter.
Instructions for making
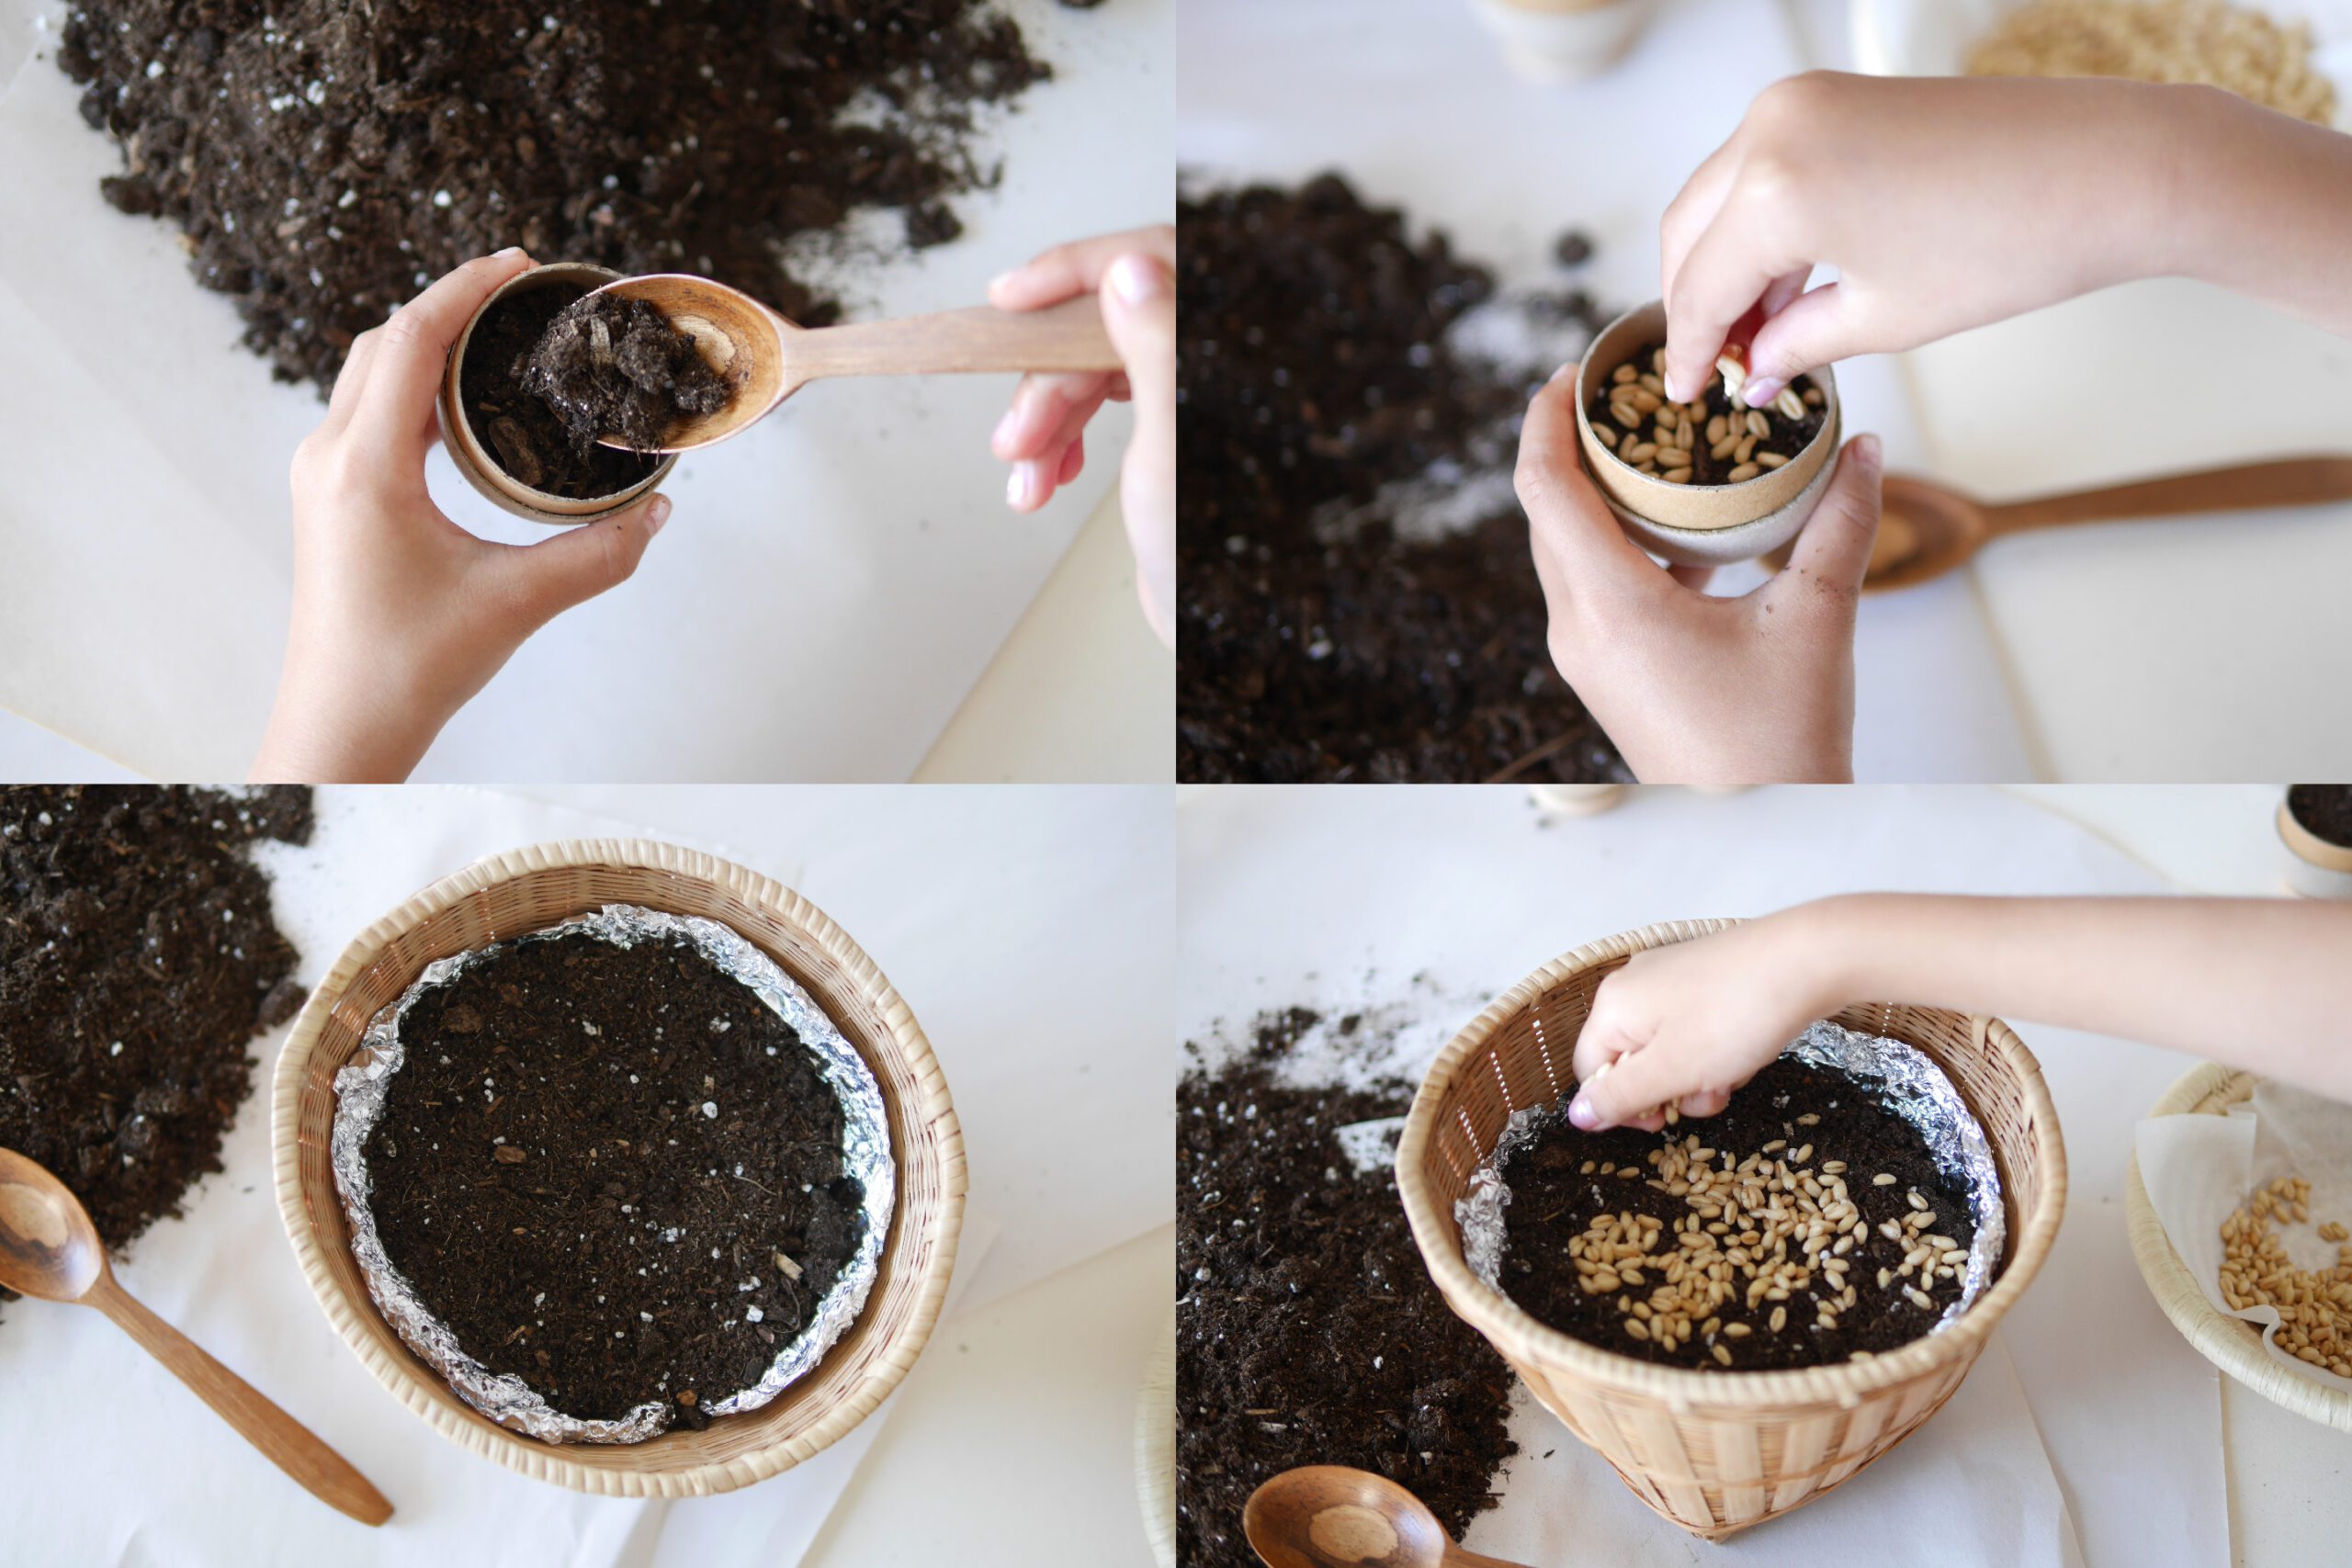
Step 1. Sow Seeds
Place a gardening plastic liner (or aluminum foil) in the basket and place soil on top of it. Sow the seeds evenly on the soil surface and gently sprinkle soil over the seeds.
*Option to speed germination: depending on the type of seed, soak the seeds in water for 4 hours beforehand. The seeds will absorb enough water to germinate easily.
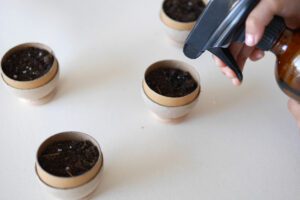
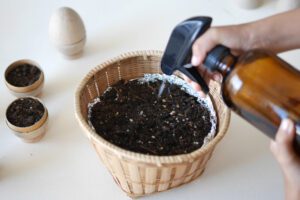
Step 2. Watering
Mist the soil with enough water to moisten the surface. Cover the basket with paper, the egg cups with lids, and place in a warm place.
Step 3. Observation
If the surface of the soil is dry, mist it once a day or so with enough water to moisten the surface.
Day 1
Small white roots have emerged.
Day 3
Tiny roots went into the soil. Tiny leaves have grown above the soil.
Day 7
Leaves exposed to the sun turned green and grew straight up.

Day 10
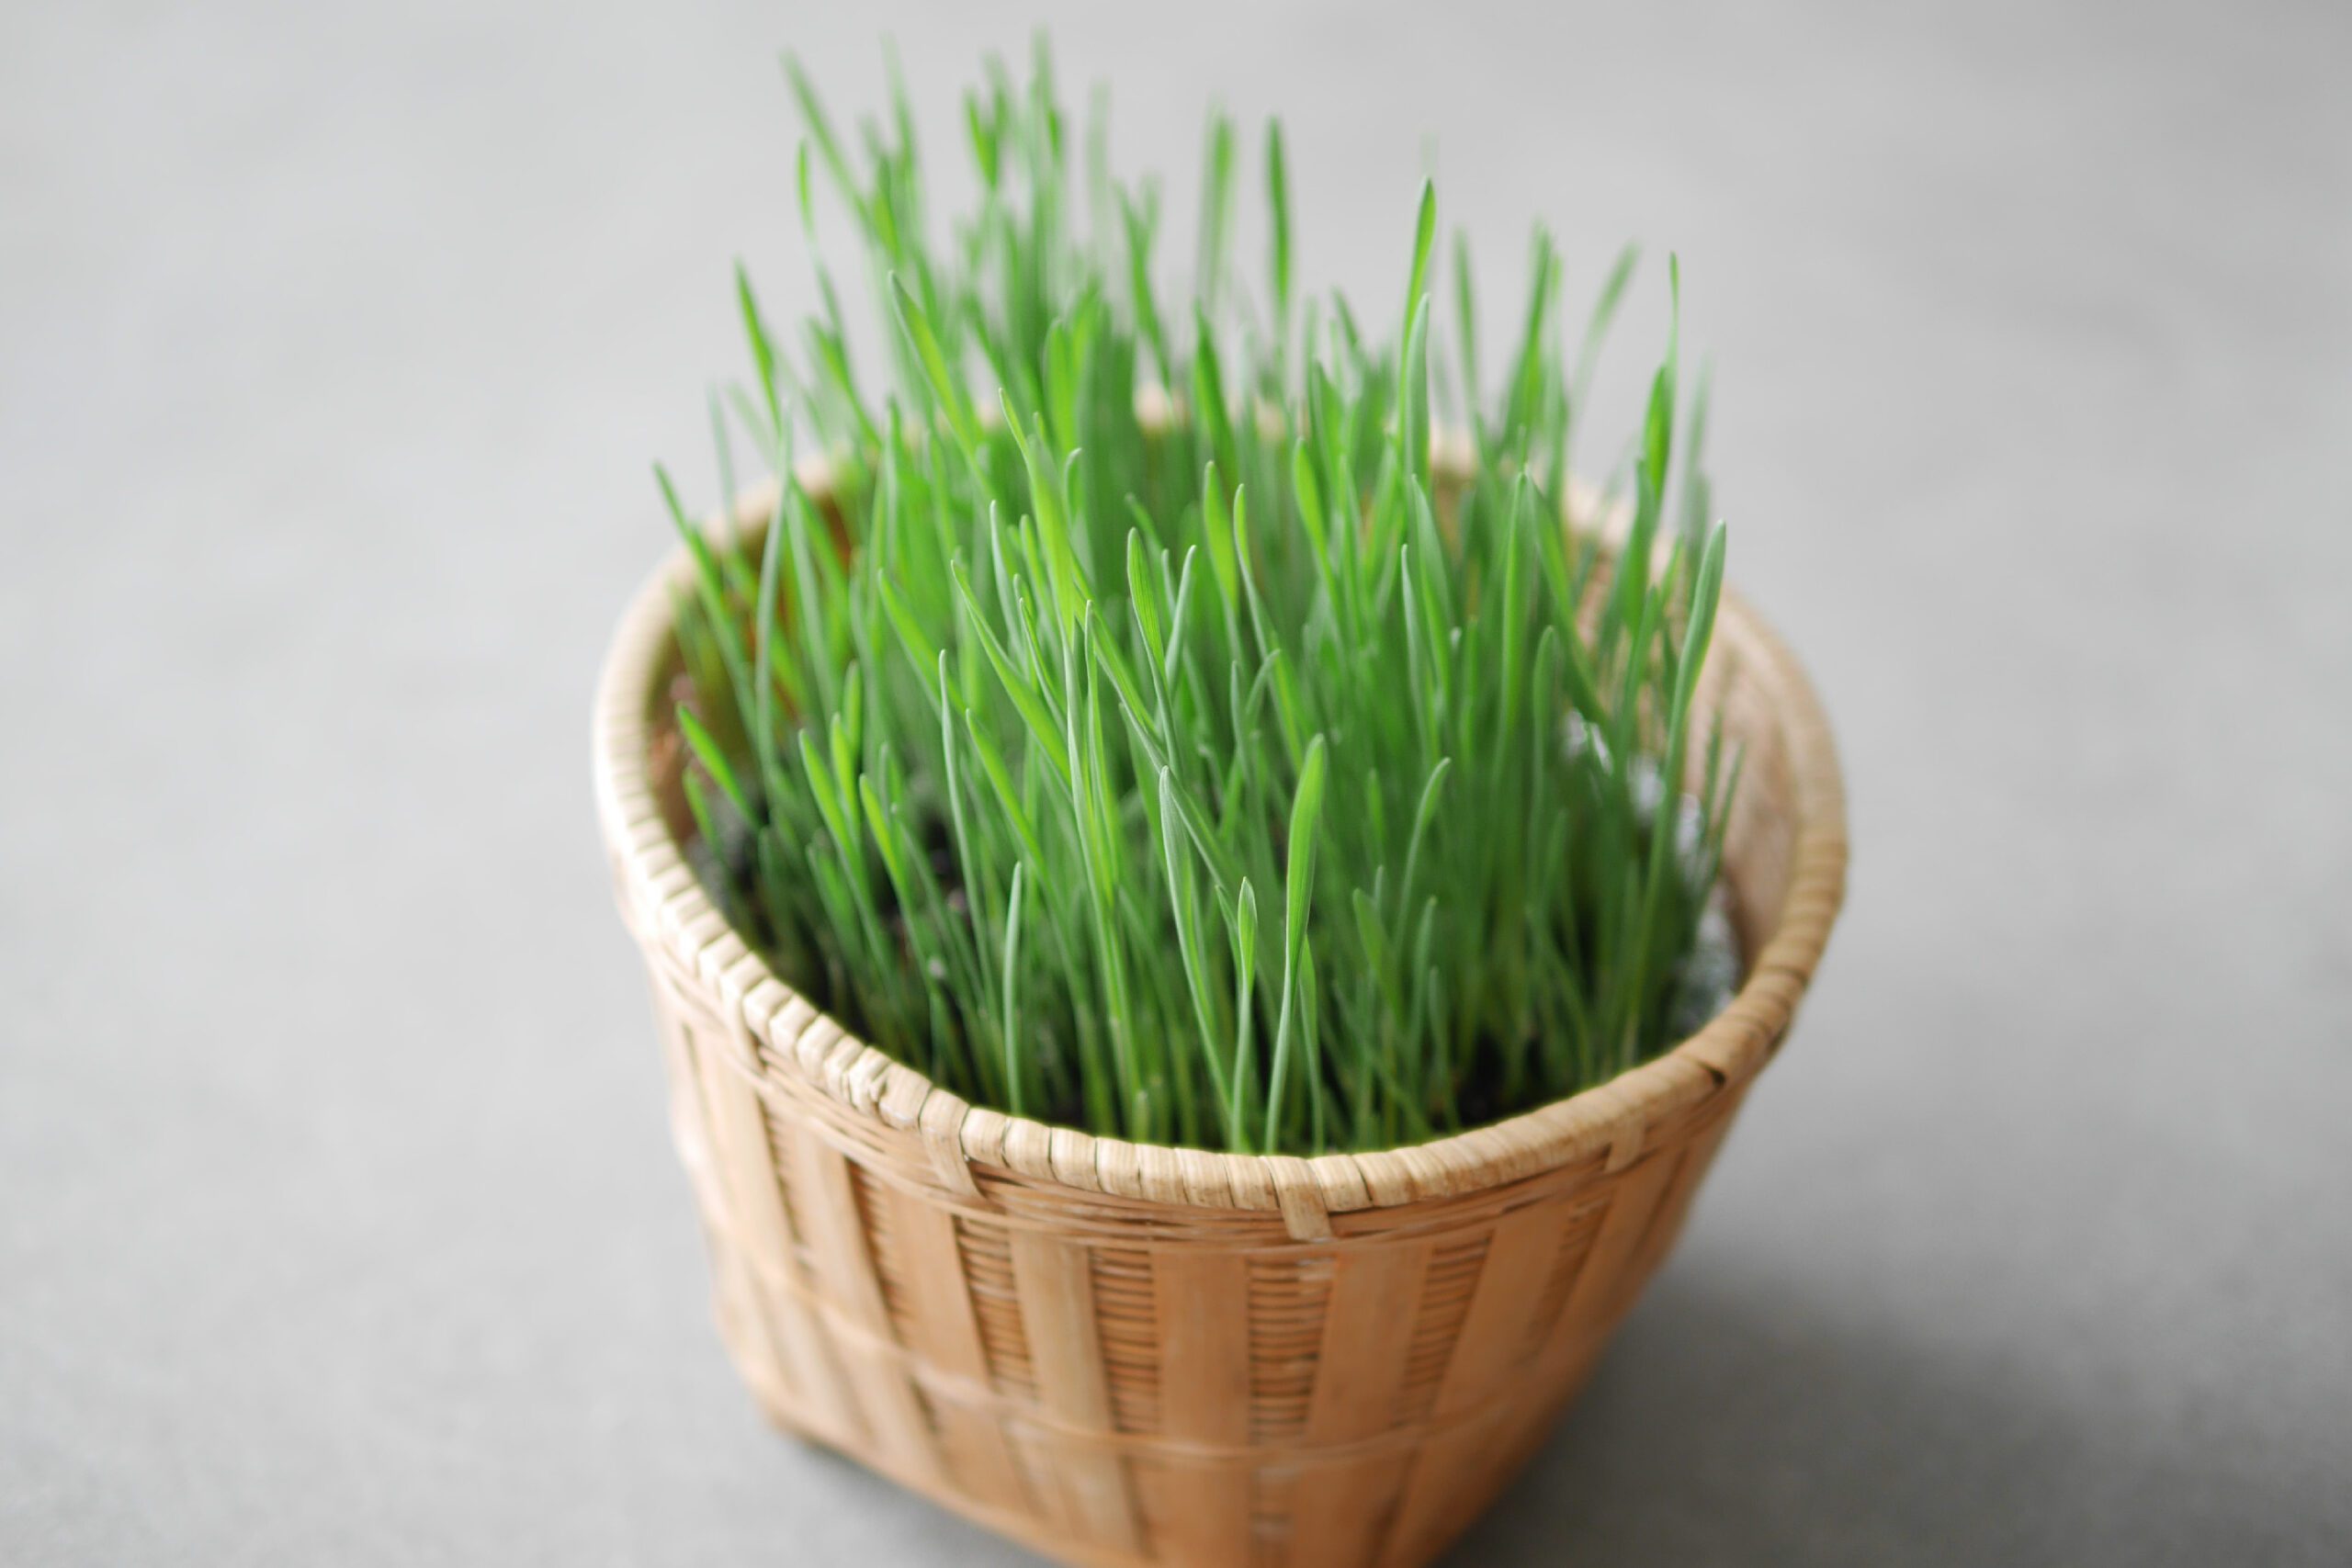
Beautiful green grass has grown all over.
Growing Grass for Easter
イースターに向けてバスケットに”本物の草”を生やしましょう。これは室内でできる最も簡単な理科の実験であり、”本物の草”として、プラスチック製のイースターグラスの代用品にもなります。また植物を育てることは、子どもの持つ好奇心や探究心をかきたて、科学的な興味や関心を育みます。
用意するのは、種、土、バスケット。私たちはイースターバスケットの他に、春の装飾用に卵型の小さなカップも用意しました。土の上に種を蒔き、種の上には土を布団のようにやさしくかぶせて、霧吹きをかけます。発芽に必要なのは温かく暗い空間。種を蒔いたバスケットは紙で覆い、卵カップは蓋をします。芽が出るまでの間は、土の中と同じ状態=暗い空間で育て、成長を促します。そして私たちは予想します。何日で芽が出ると思う?葉っぱはどうやって伸びる?そして、成長を待つのです。
種を蒔いた翌日に小さな白く細い根を確認できました。霧吹きで水をやり、2日めには芽が出てきました。発芽したら覆いを取り、日光に照らします。太陽の光を受けた草がぐんぐんと伸びたら実験成功です。
種を蒔き、水をやり、根が出て、太陽の光を受けて葉が伸びる。自然の営みをこの手の中でつぶさに観察し、成長を見守る。愛しく楽しい、観察実験です。
用意するもの
– お好きな種 *私たちはwheat berry seedsを使いました。
– 土
– イースターバスケット
– 卵型のカップ *オプションです
イースターまでに草を成長させるには7〜10日ほどの時間が必要です。
つくりかた
Step 1. 種を蒔く
バスケットの中に園芸用のプラスチックライナー(もしくはアルミホイル)を敷いてその上に土を入れます。土の表面に種を均等にまき、種の上から土を優しくかけます。
*発芽を早めるためのオプション:種の種類によっては、事前に種を水に4時間ほど浸します。種が水分を十分に吸収し、発芽しやすくなります。
Step 2. 水を与える
霧吹きで土の表面が湿るくらいの水をかけます。バスケットは紙で覆い、卵型のカップは蓋をして、温かい場所に置きます。
Step 3. 観察する
土の表面が乾いていたら1日に一回ほど霧吹きで表面が湿るくらいの水を吹きかけます。
1日目
小さな白い根が出てきました。芽が出るまでもう一度カバーをかけます。
3日目
小さな根は土の中へ。小さな芽が土の上に伸びてきました。芽が出てきたら、カバーを外し日光にあてます。水を与え、草が伸びるのを観察します。
7日目
日に当てた葉は緑色になり、上にまっすぐ伸びてきました。
10日目
美しい緑の草が生え揃いました。