Hand-Dyed Wooden Acorn
Naturally dyed wooden acorns. This is our annual gift to the children at the end of each school year.
My daughter’s school does not change classes from first grade to eighth grade, and homeroom teacher basically stays in charge of the same class. Our homeroom teacher is vivacious, full of energy, and has a great sense of humor. Since first grade, the common theme for the children has been acorns. The children are given “Kind Acorns,” by their teacher when they perform good deeds in the classroom. The acorns are collected in a large jar, and when a certain number is gathered, the children are given time to go to the park and play freely, and other such fun things are waiting for them. So all the children worked together to collect Kind Acorns.
Toward the end of the first grade, the teacher asked me for advice. She would like to give acorns, a common theme, to the children entering the second grade. It was a wonderful story that would be sent from her to her children: the children would receive acorns every year until they reached the 8th grade, and the acorns would eventually grow into a big and strong oak tree.
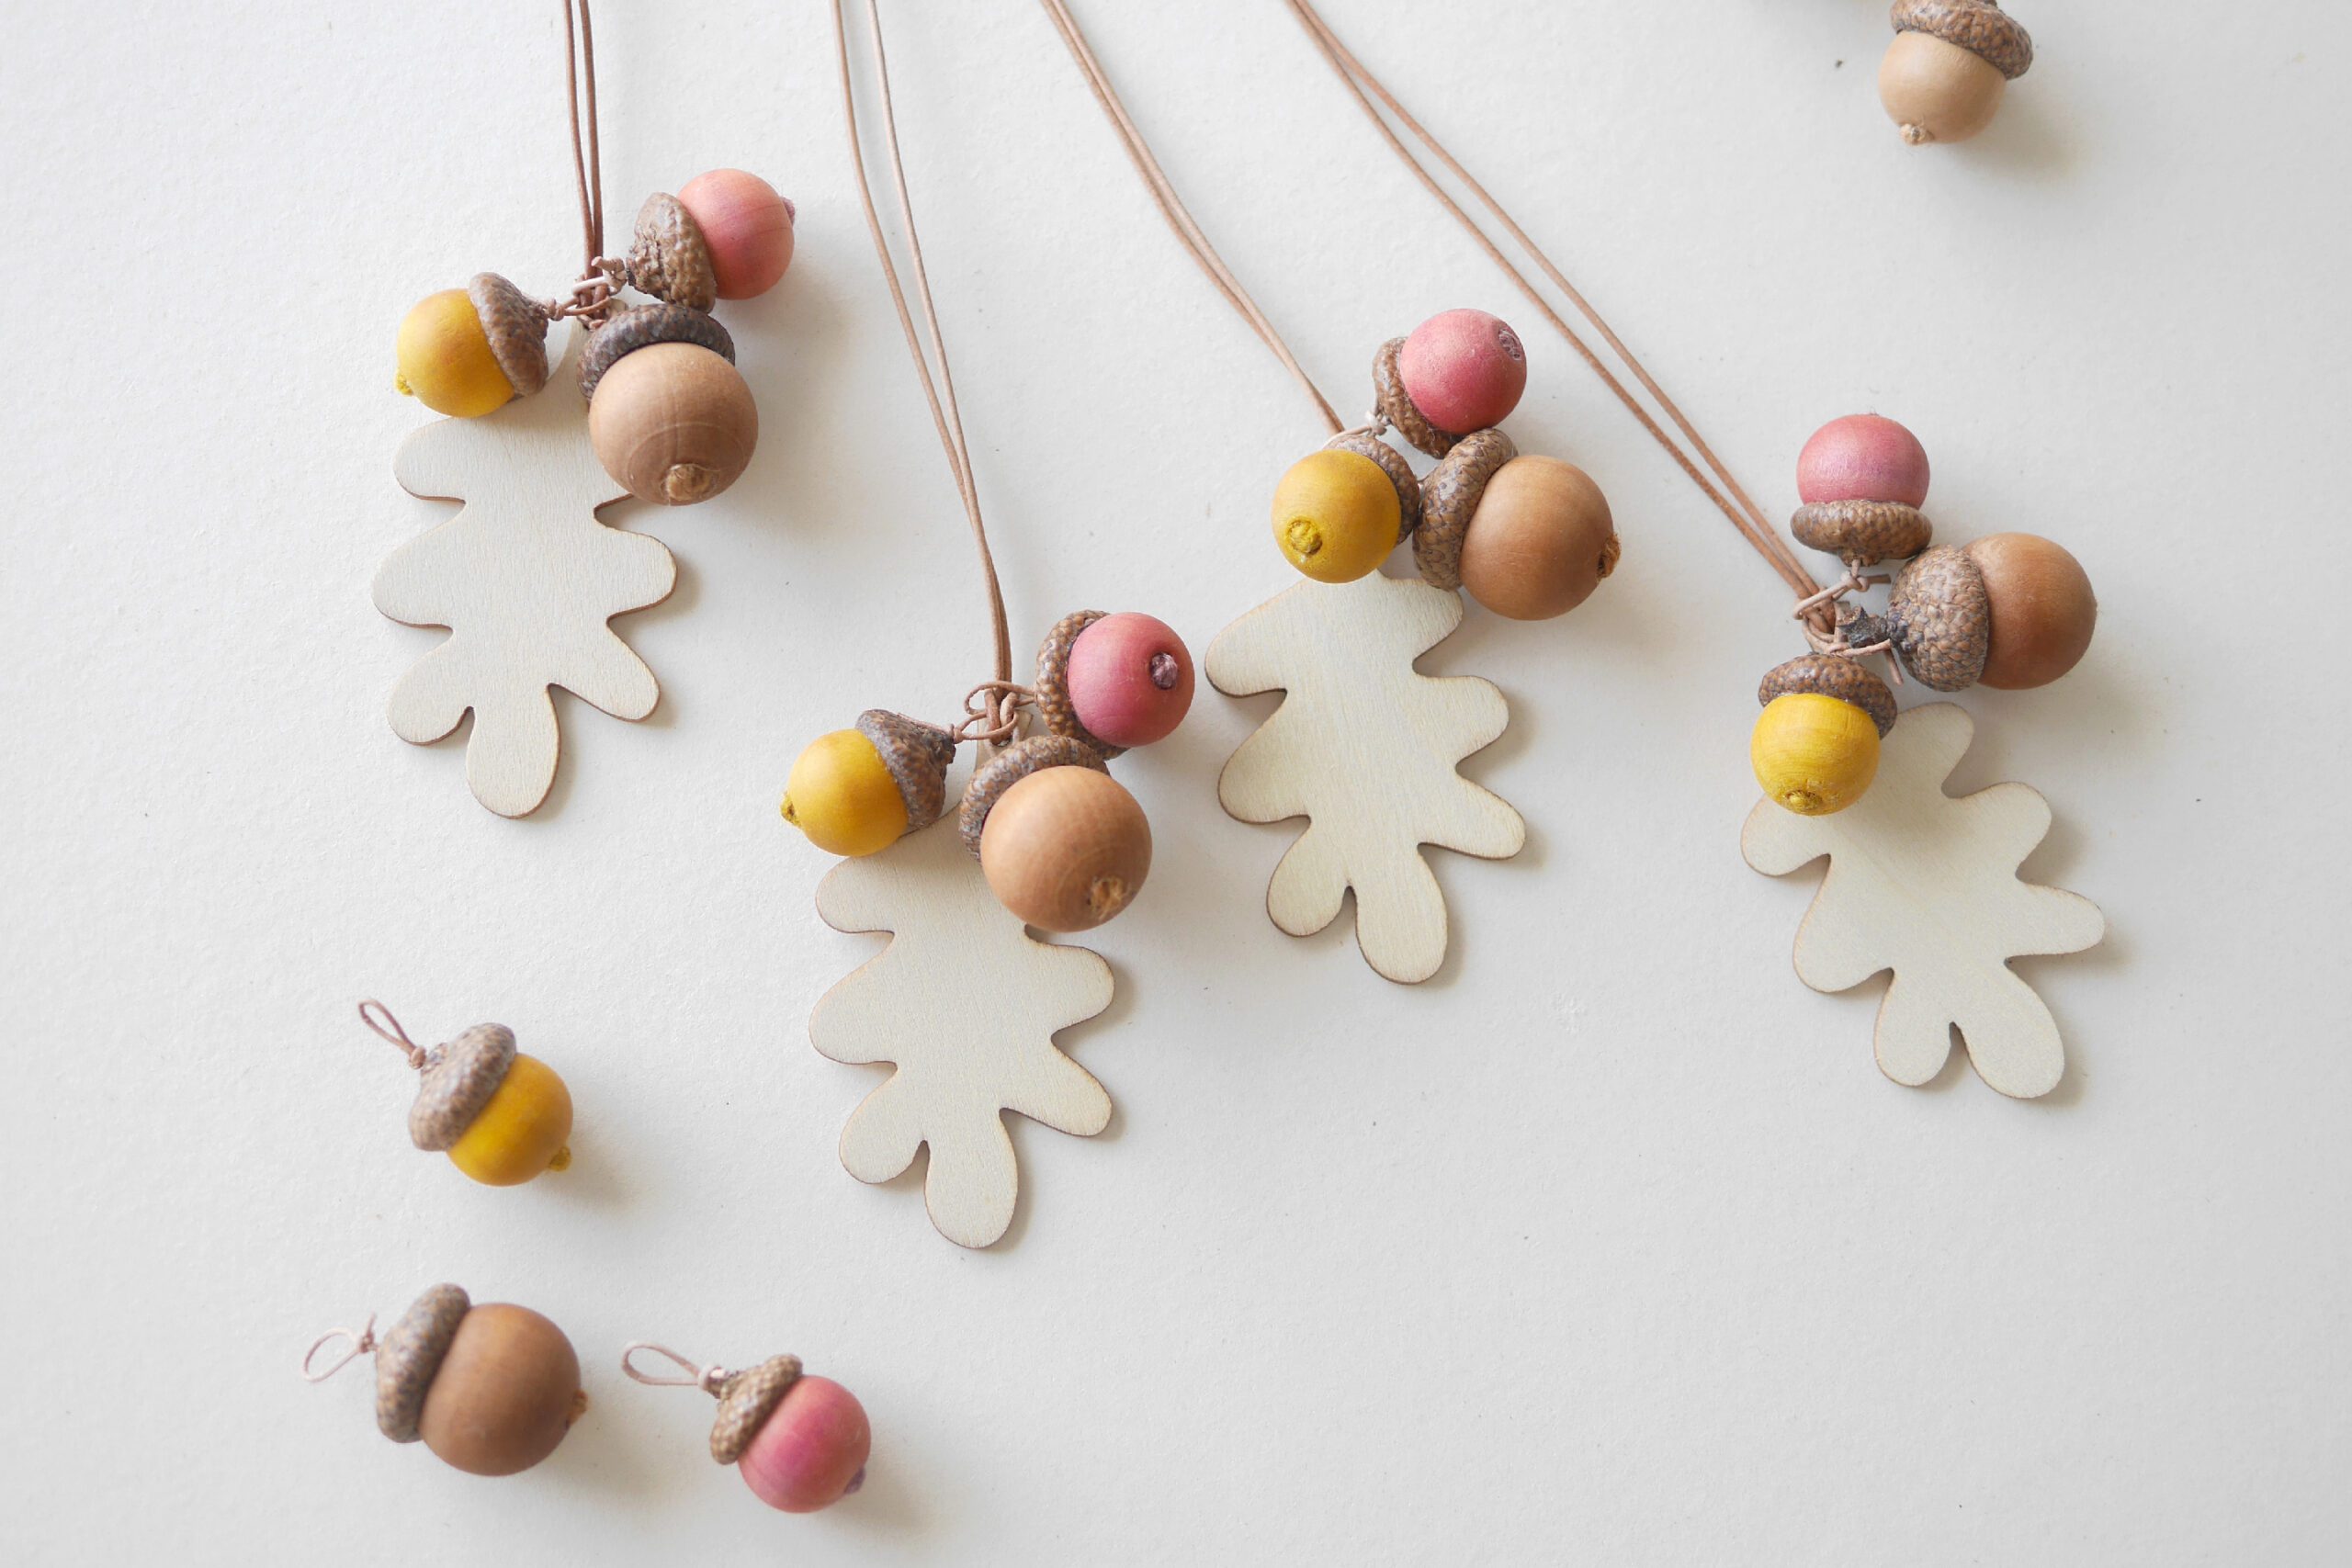
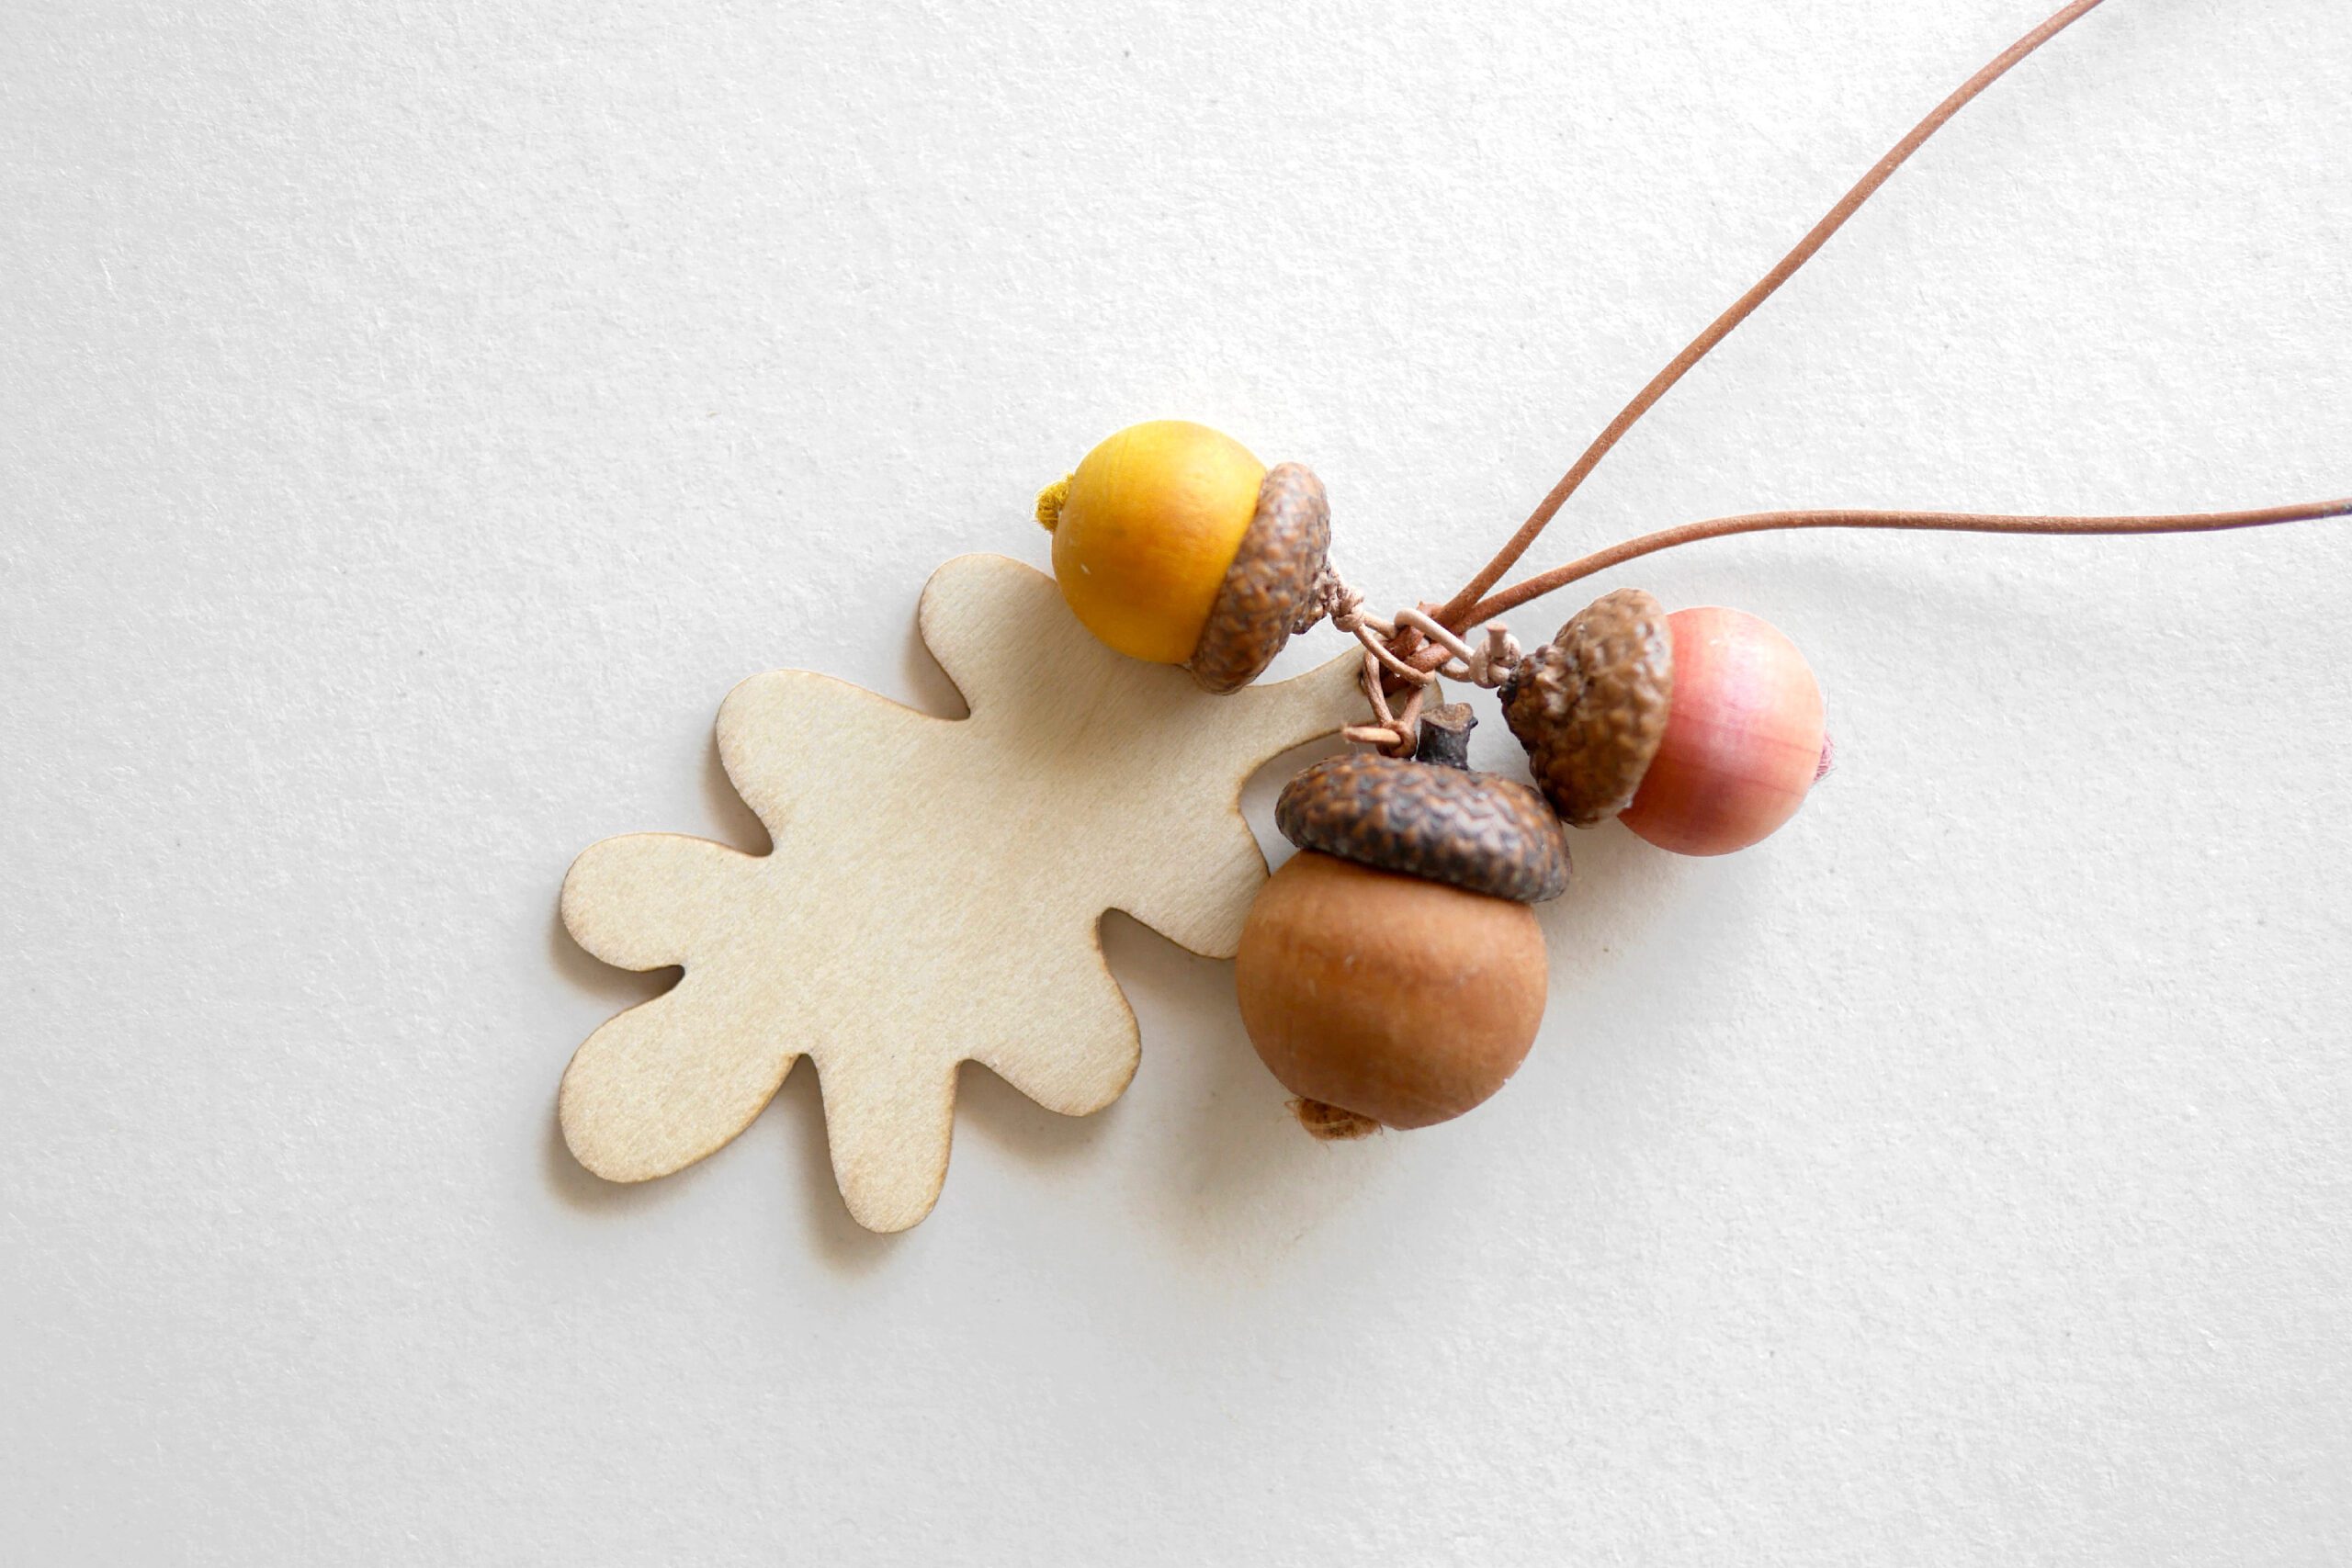
I immediately prepared hand-dyed wooden acorns. Along with the pendant was a leaf with a message from the teacher to each of them. The first year, I put one acorn on the pendant. The second year, to give a second acorn. In the third year, to give a third acorn. As the school year progresses, the number of acorns increases. Eventually, by the time they graduate, they will have many acorns. And like the oak tree, the children will grow into a big tree.
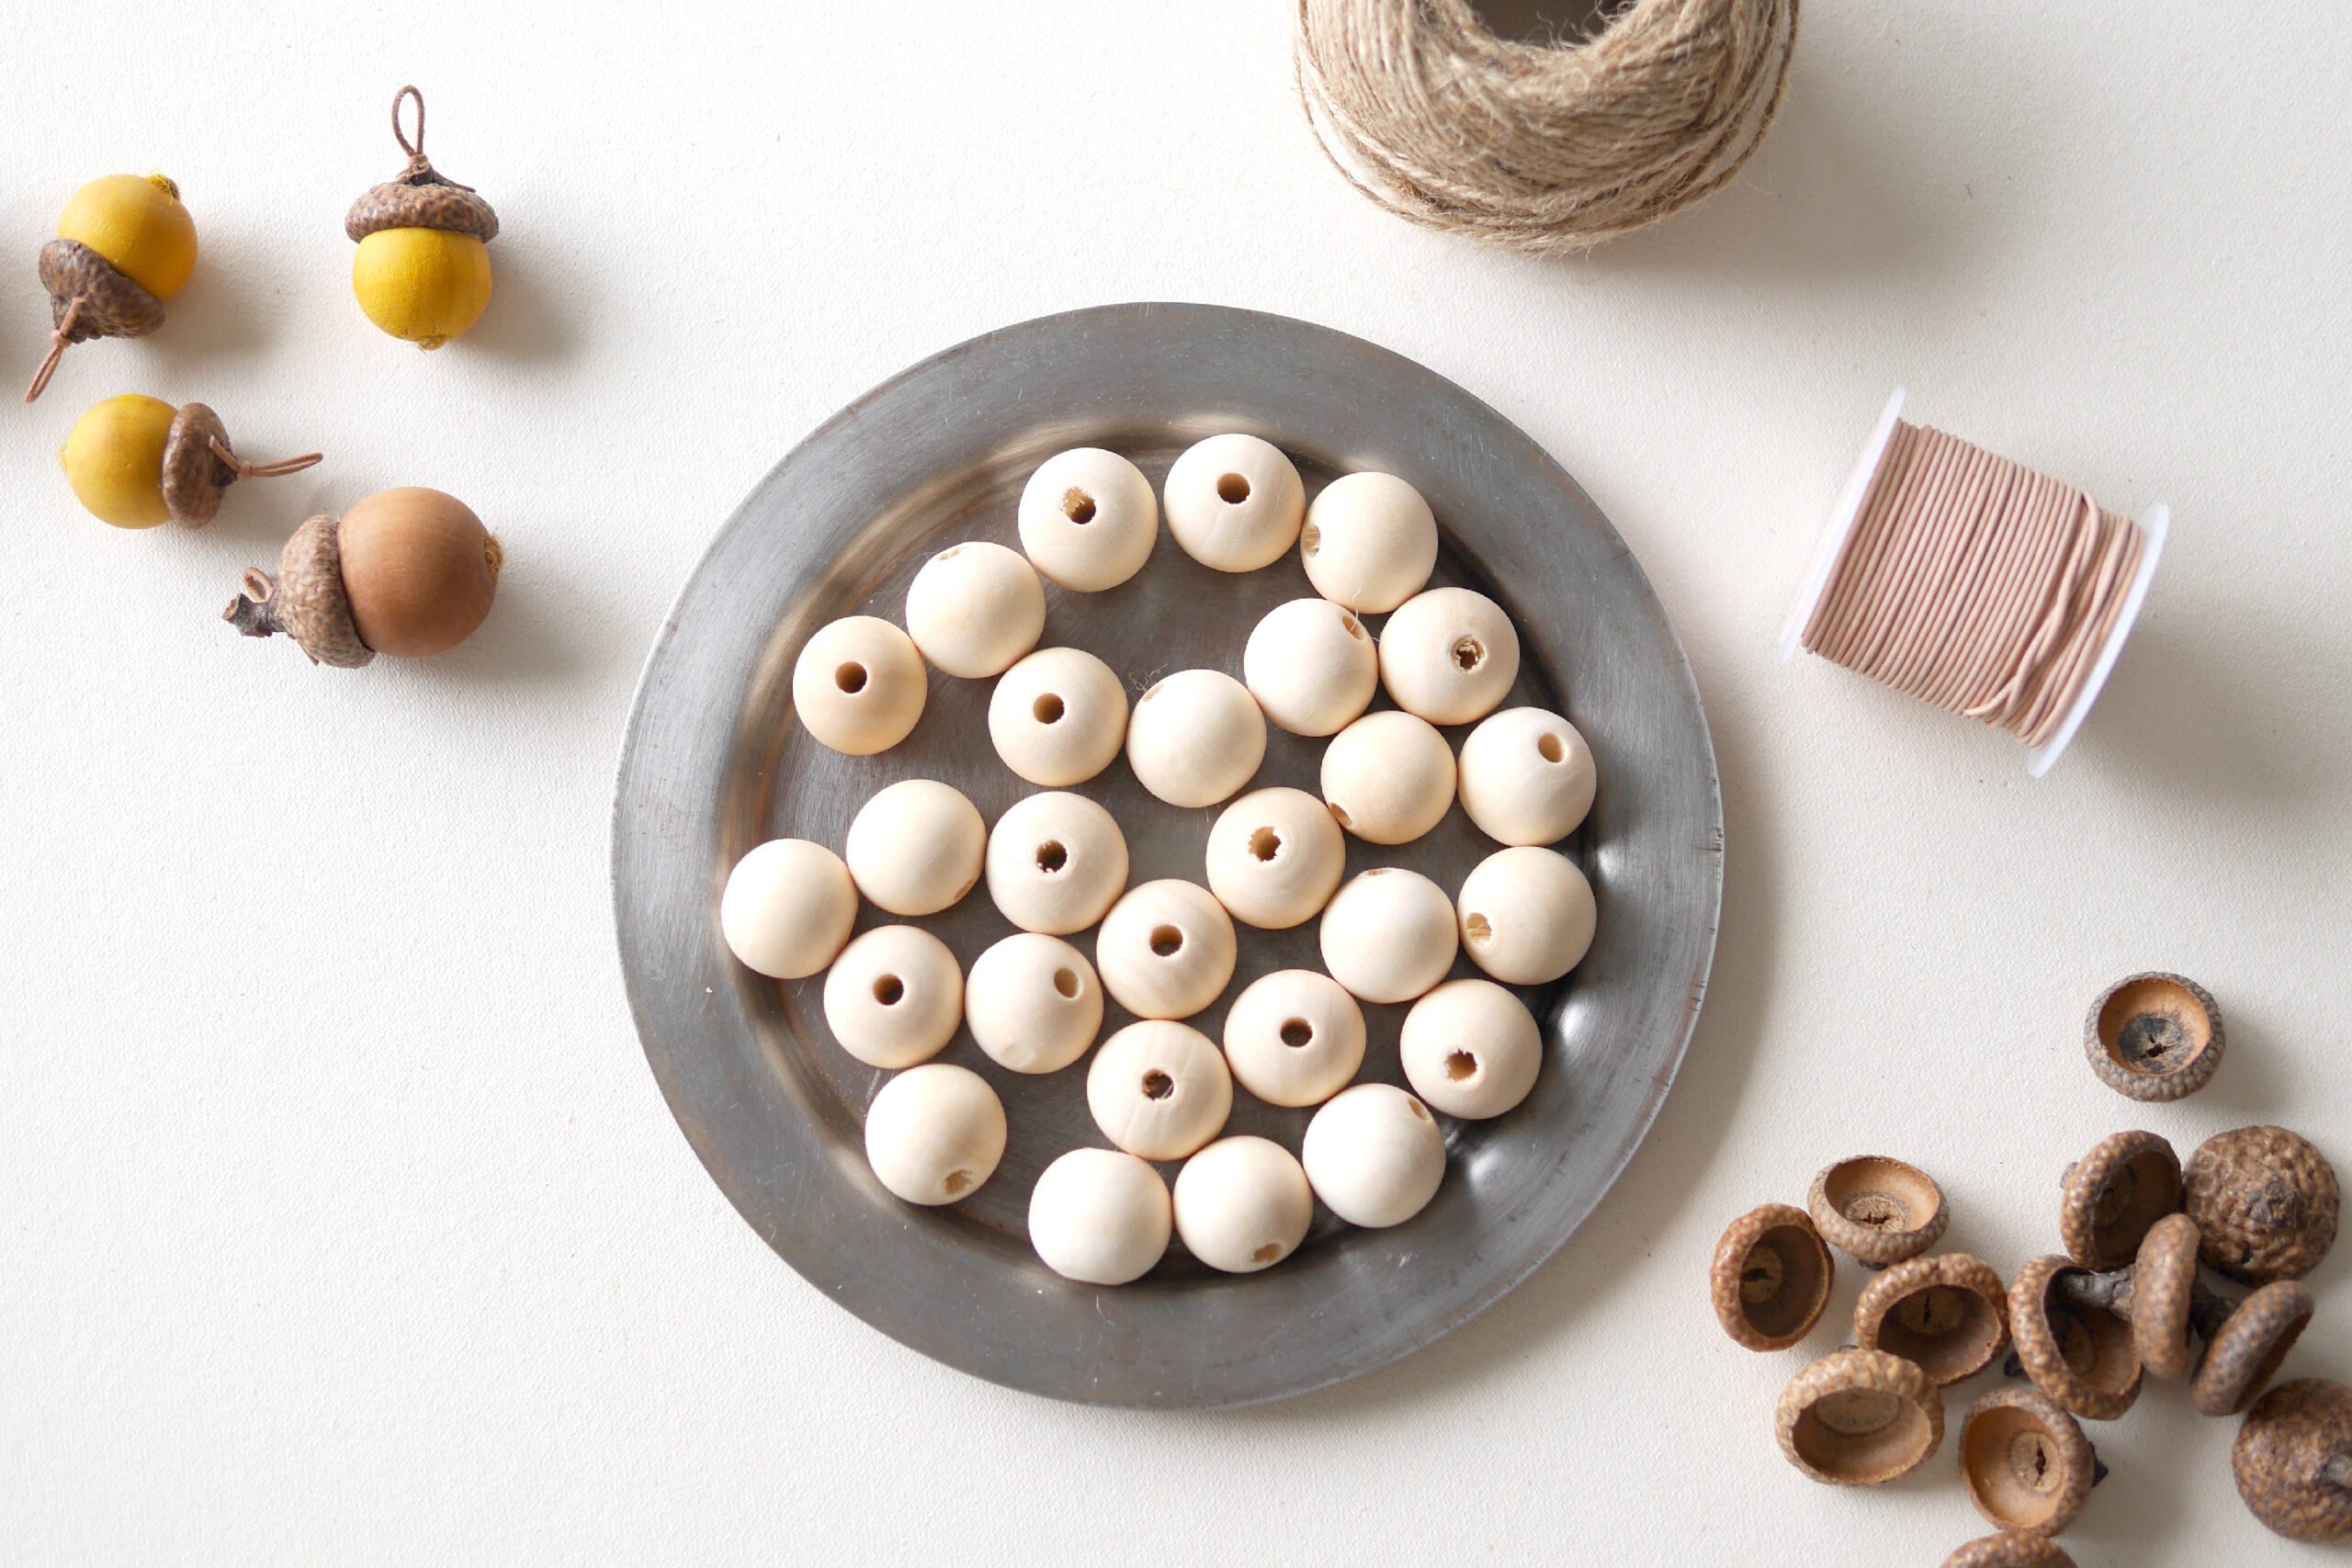
Materials
– Wood beads
– Acorn caps *picked up in the woods or park
– Dye *onionskin, black tea, turmeric, etc.
– String *to be threaded through the beads when dyeing
– Glue gun
– Beeswax polish *or some oil
– Leather cord
About Dyes
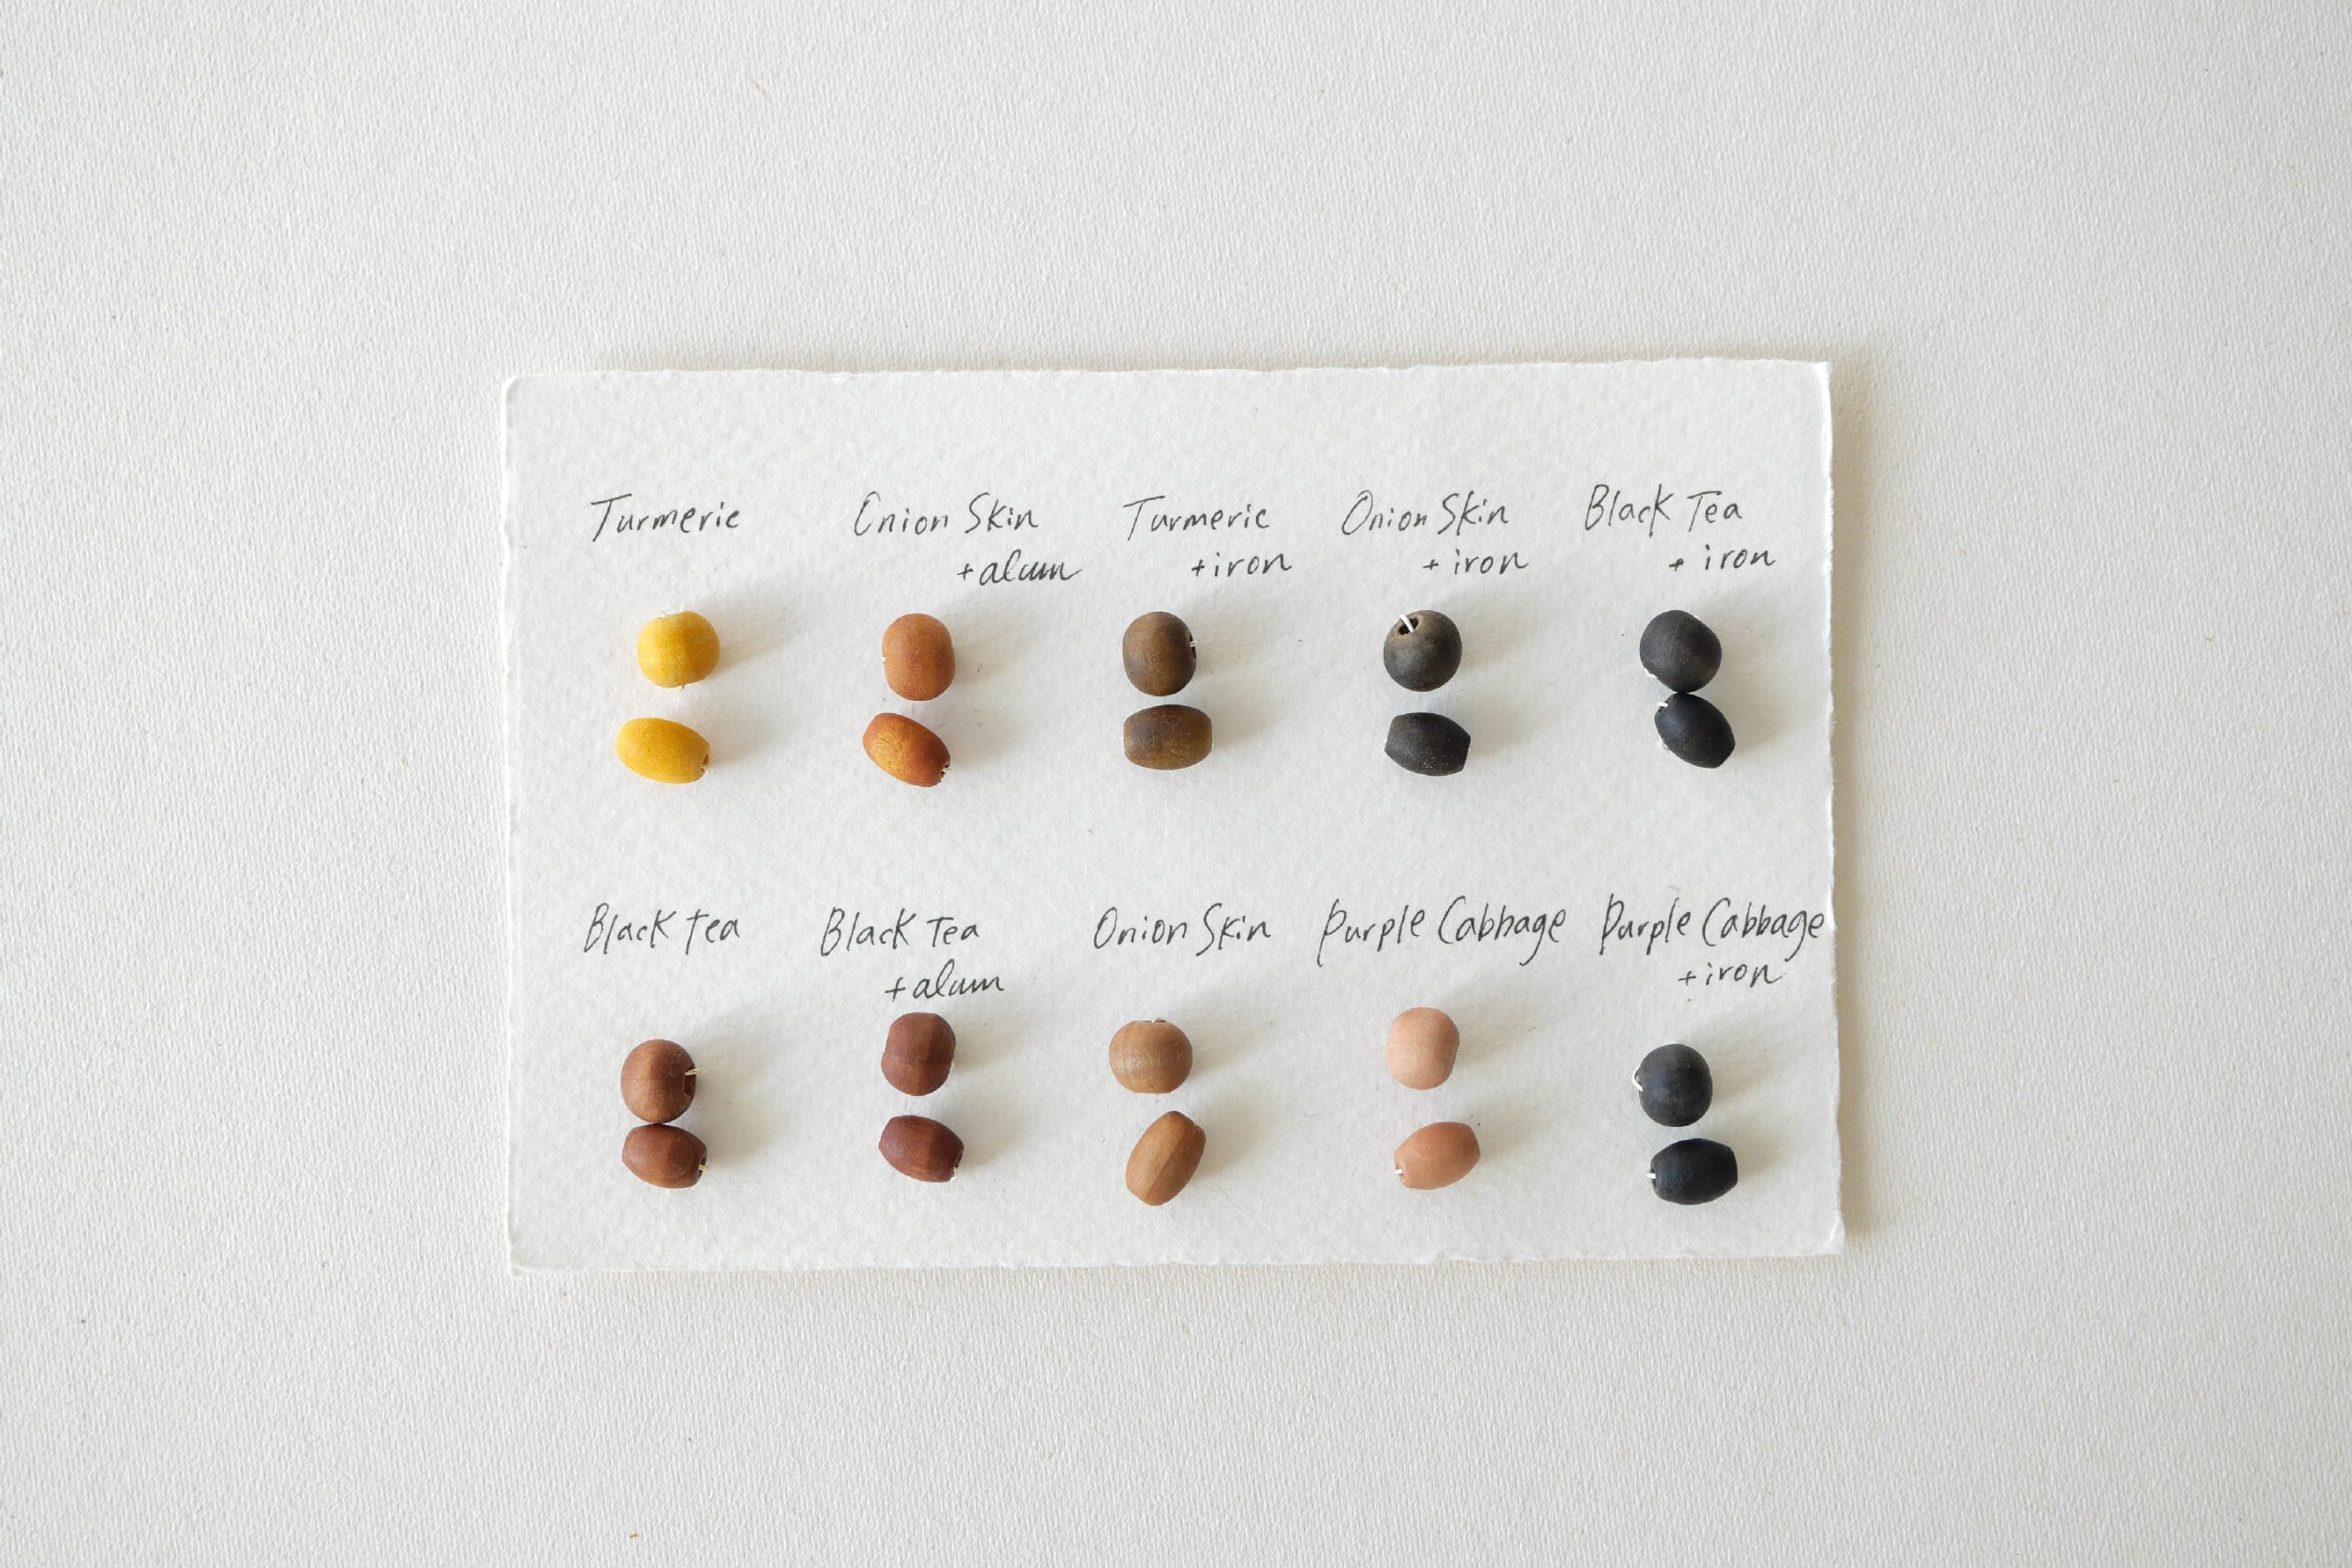
This photo is a color sample of dyes. The most familiar dyes in the kitchen are onion skins, turmeric, and black tea. All materials are placed in a pot with water and simmered for about 30 minutes. When sufficient color is obtained, strain the mixture through a cloth to remove any excess skins or debris. Black tea packets may be the easiest method, as they can be placed directly into the pot and the packets removed. It will turn a dark brown color.
Instructions for making
Step 1. Before Dyeing
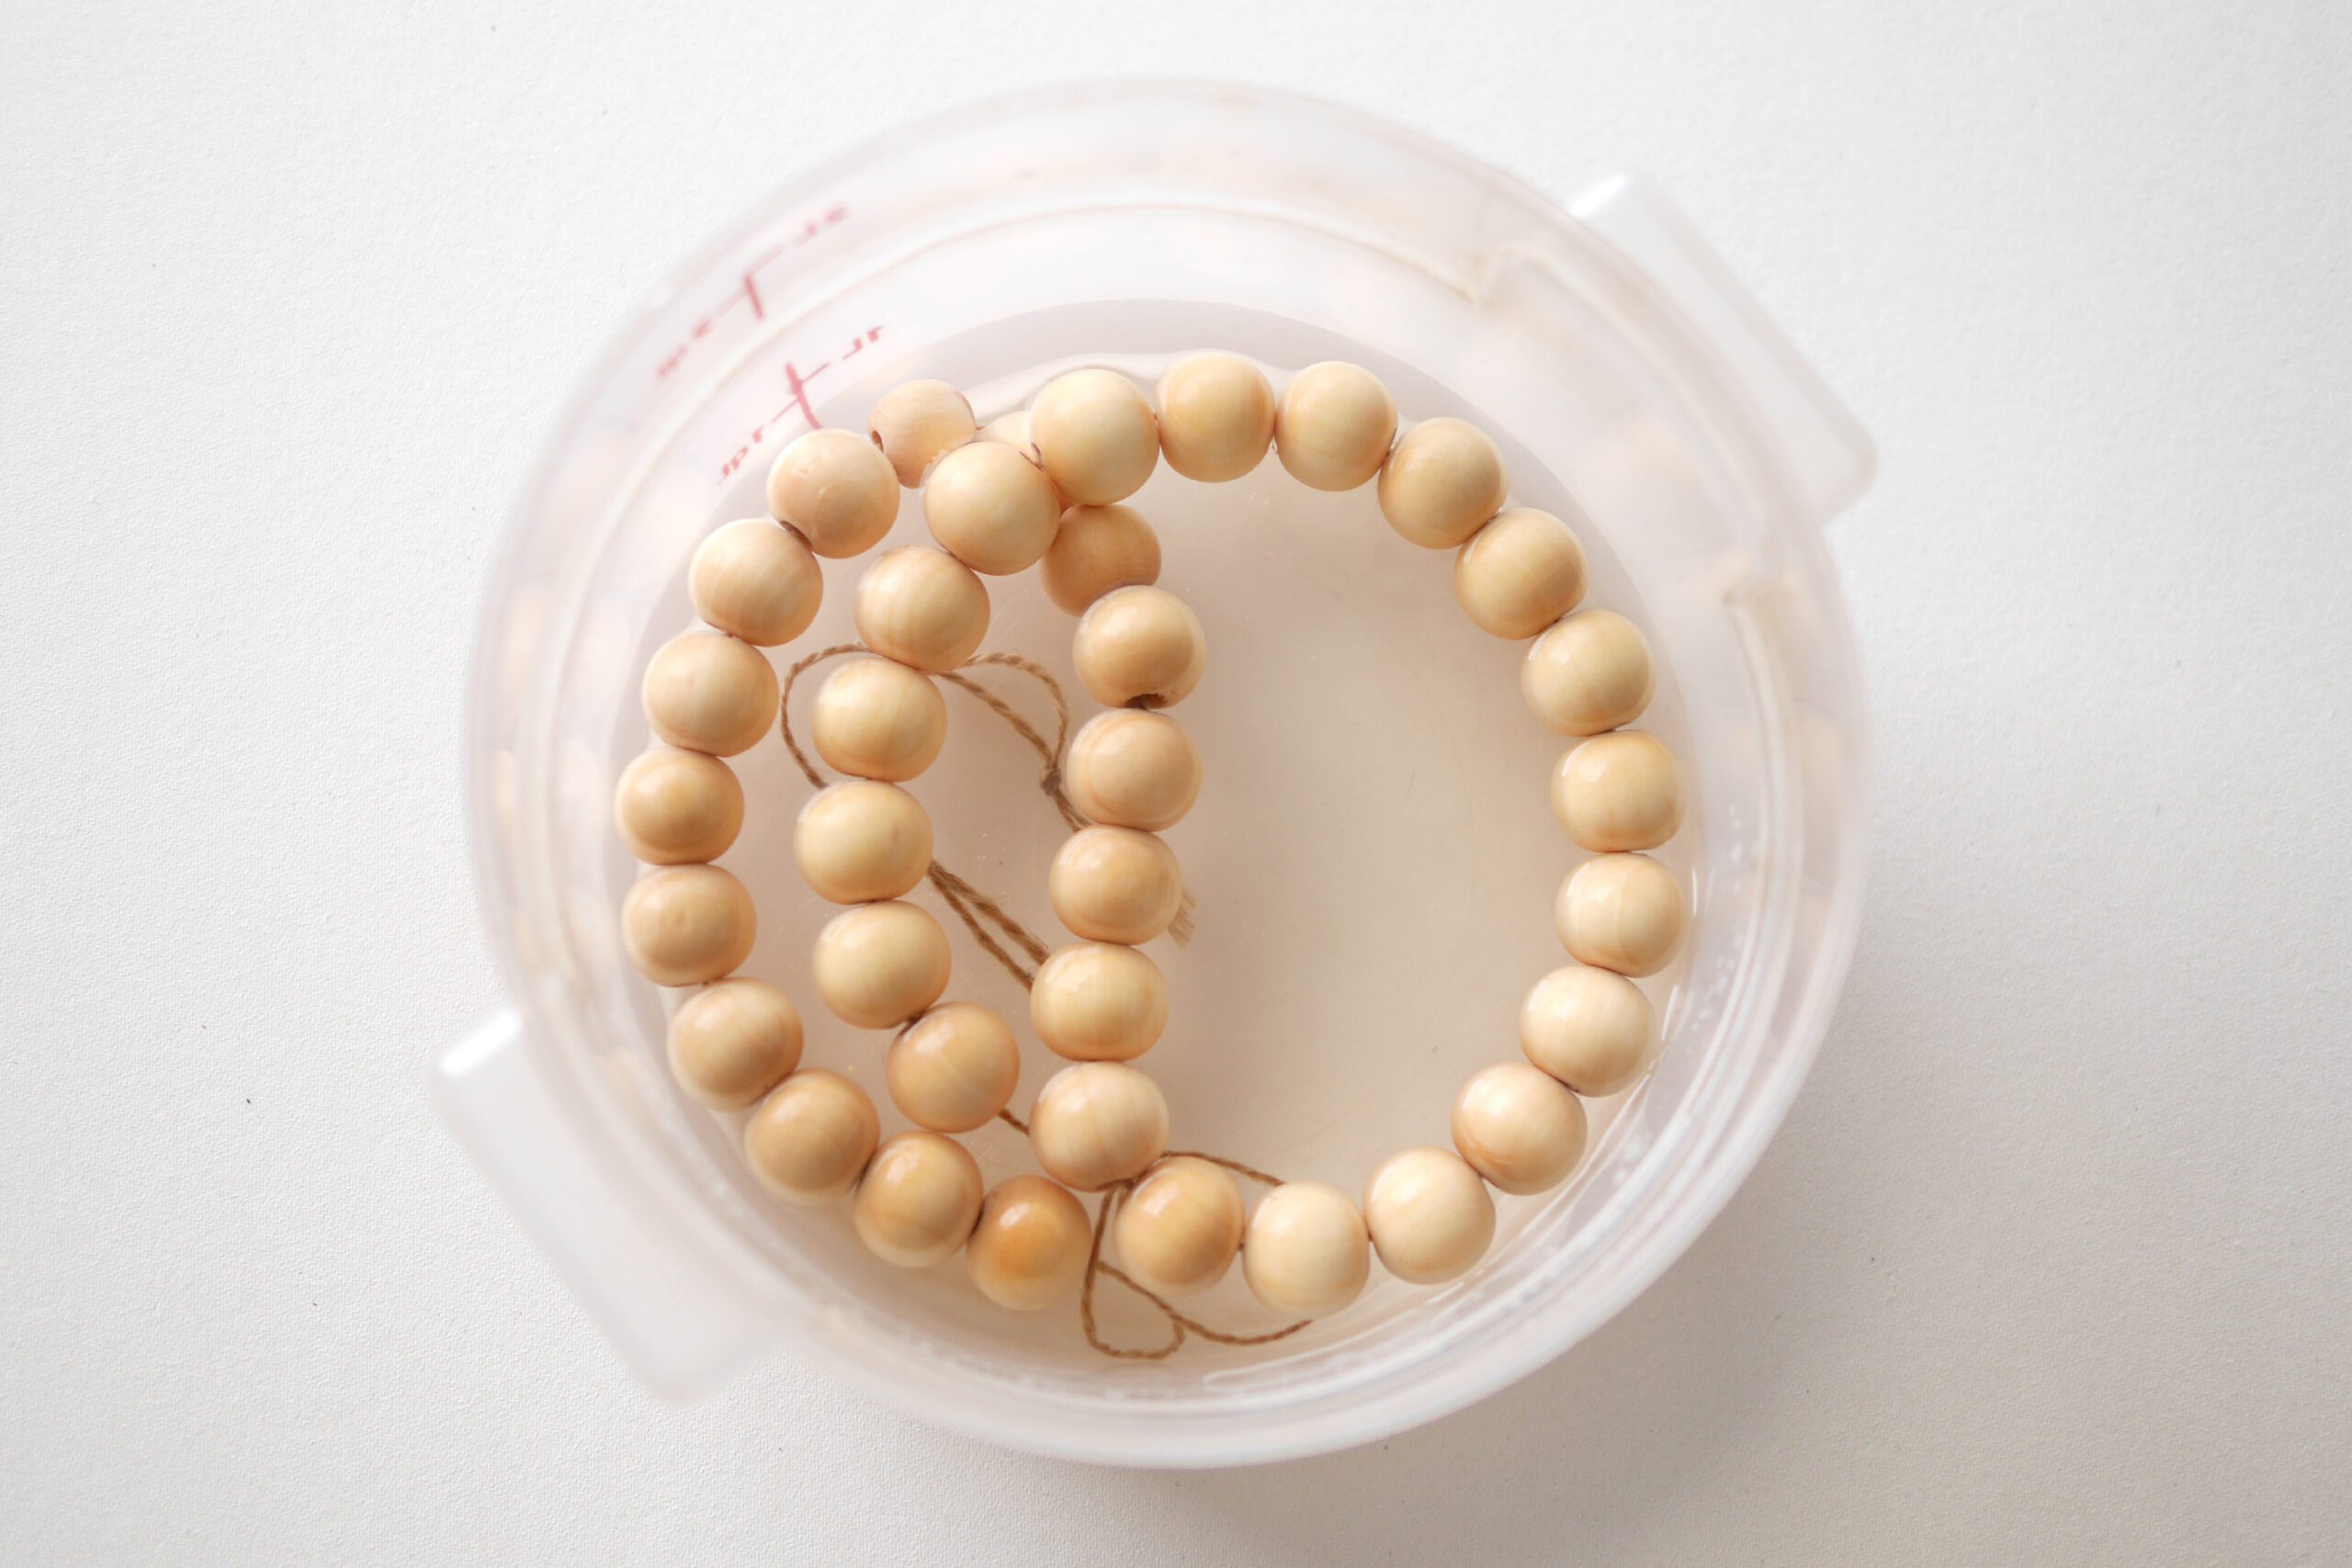
Thread the wood beads onto a string so that they do not fall apart. With the beads threaded through the string, soak them in water for about an hour. As the water permeates the beads, they will dye more easily.
Step 2. Dye
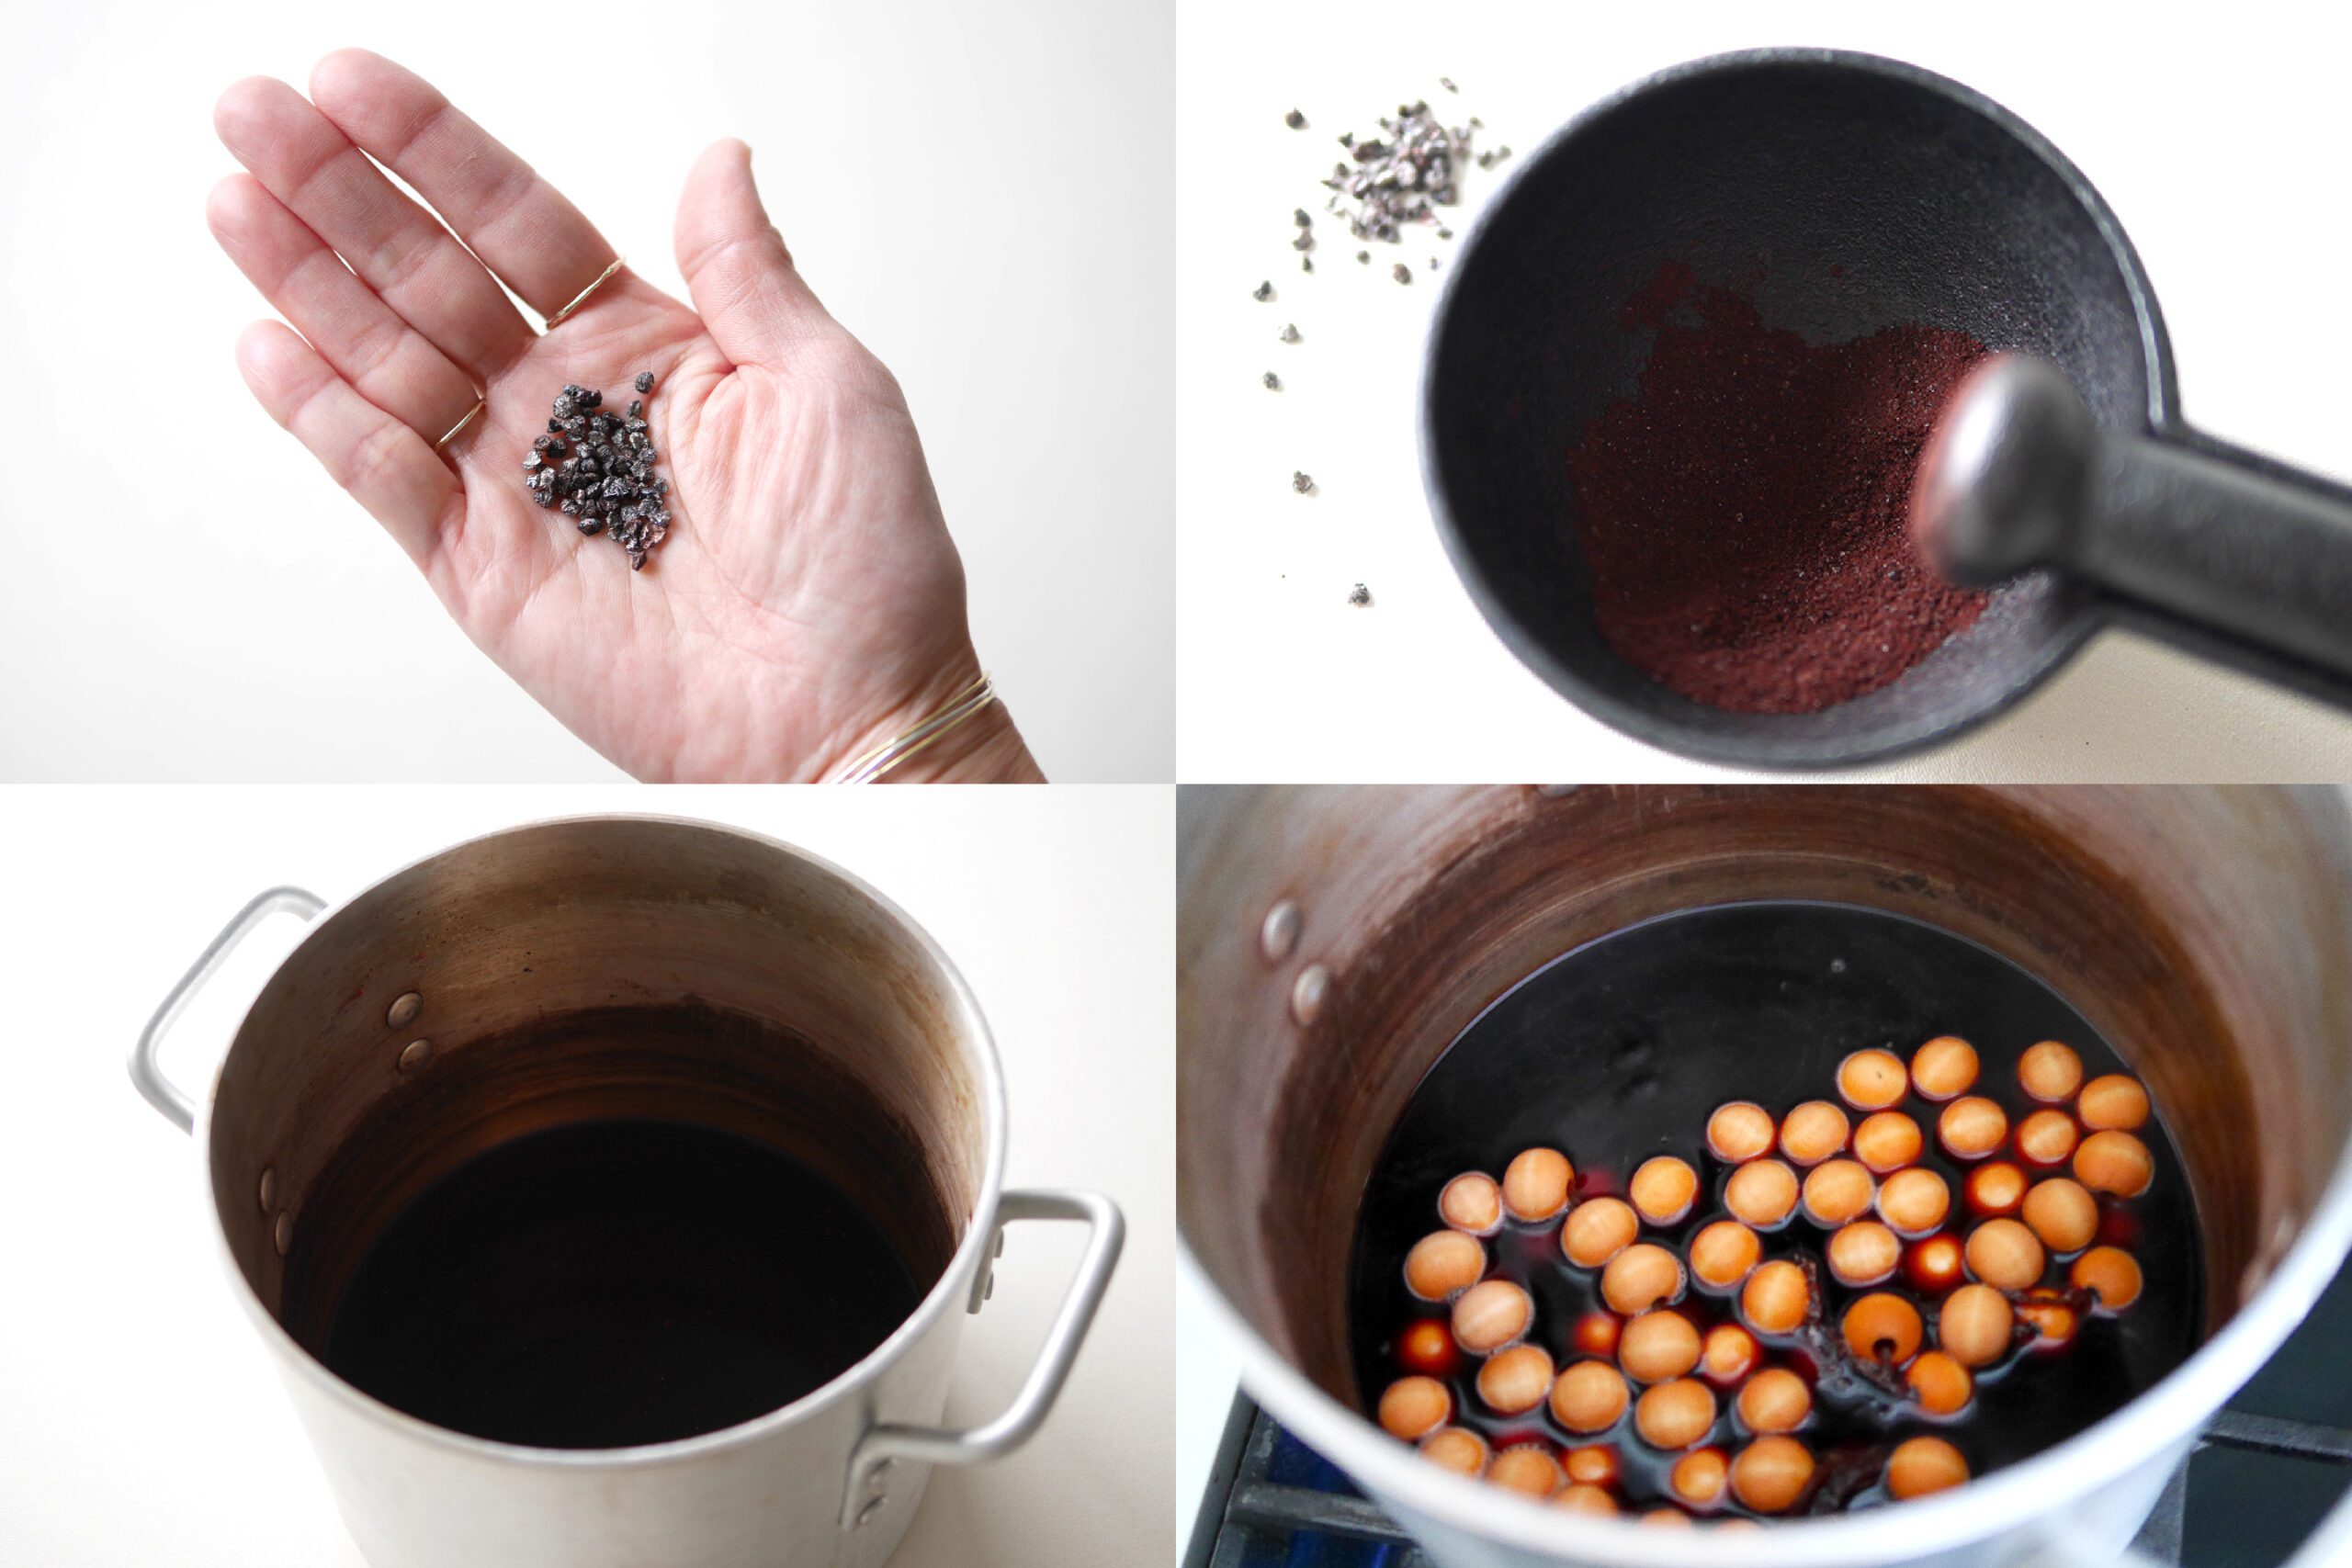
In this case, I used a dye called cochineal to dye it pink. Grind the solid dye with a mortar to make a powder. Put the ground dye and water into a pot. Bring to a boil and simmer over low heat for 30 minutes. Remove from heat and strain to remove excess to complete the dye.
Add the dye and the wood beads to the pot and slowly place it over low heat for about 30 minutes. Stir several times during the process to make sure all sides of the wood beads are soaked in the dye. If you want to dye a lighter color, adjust the dyeing time as desired.
Step 3. Leave It to Soak
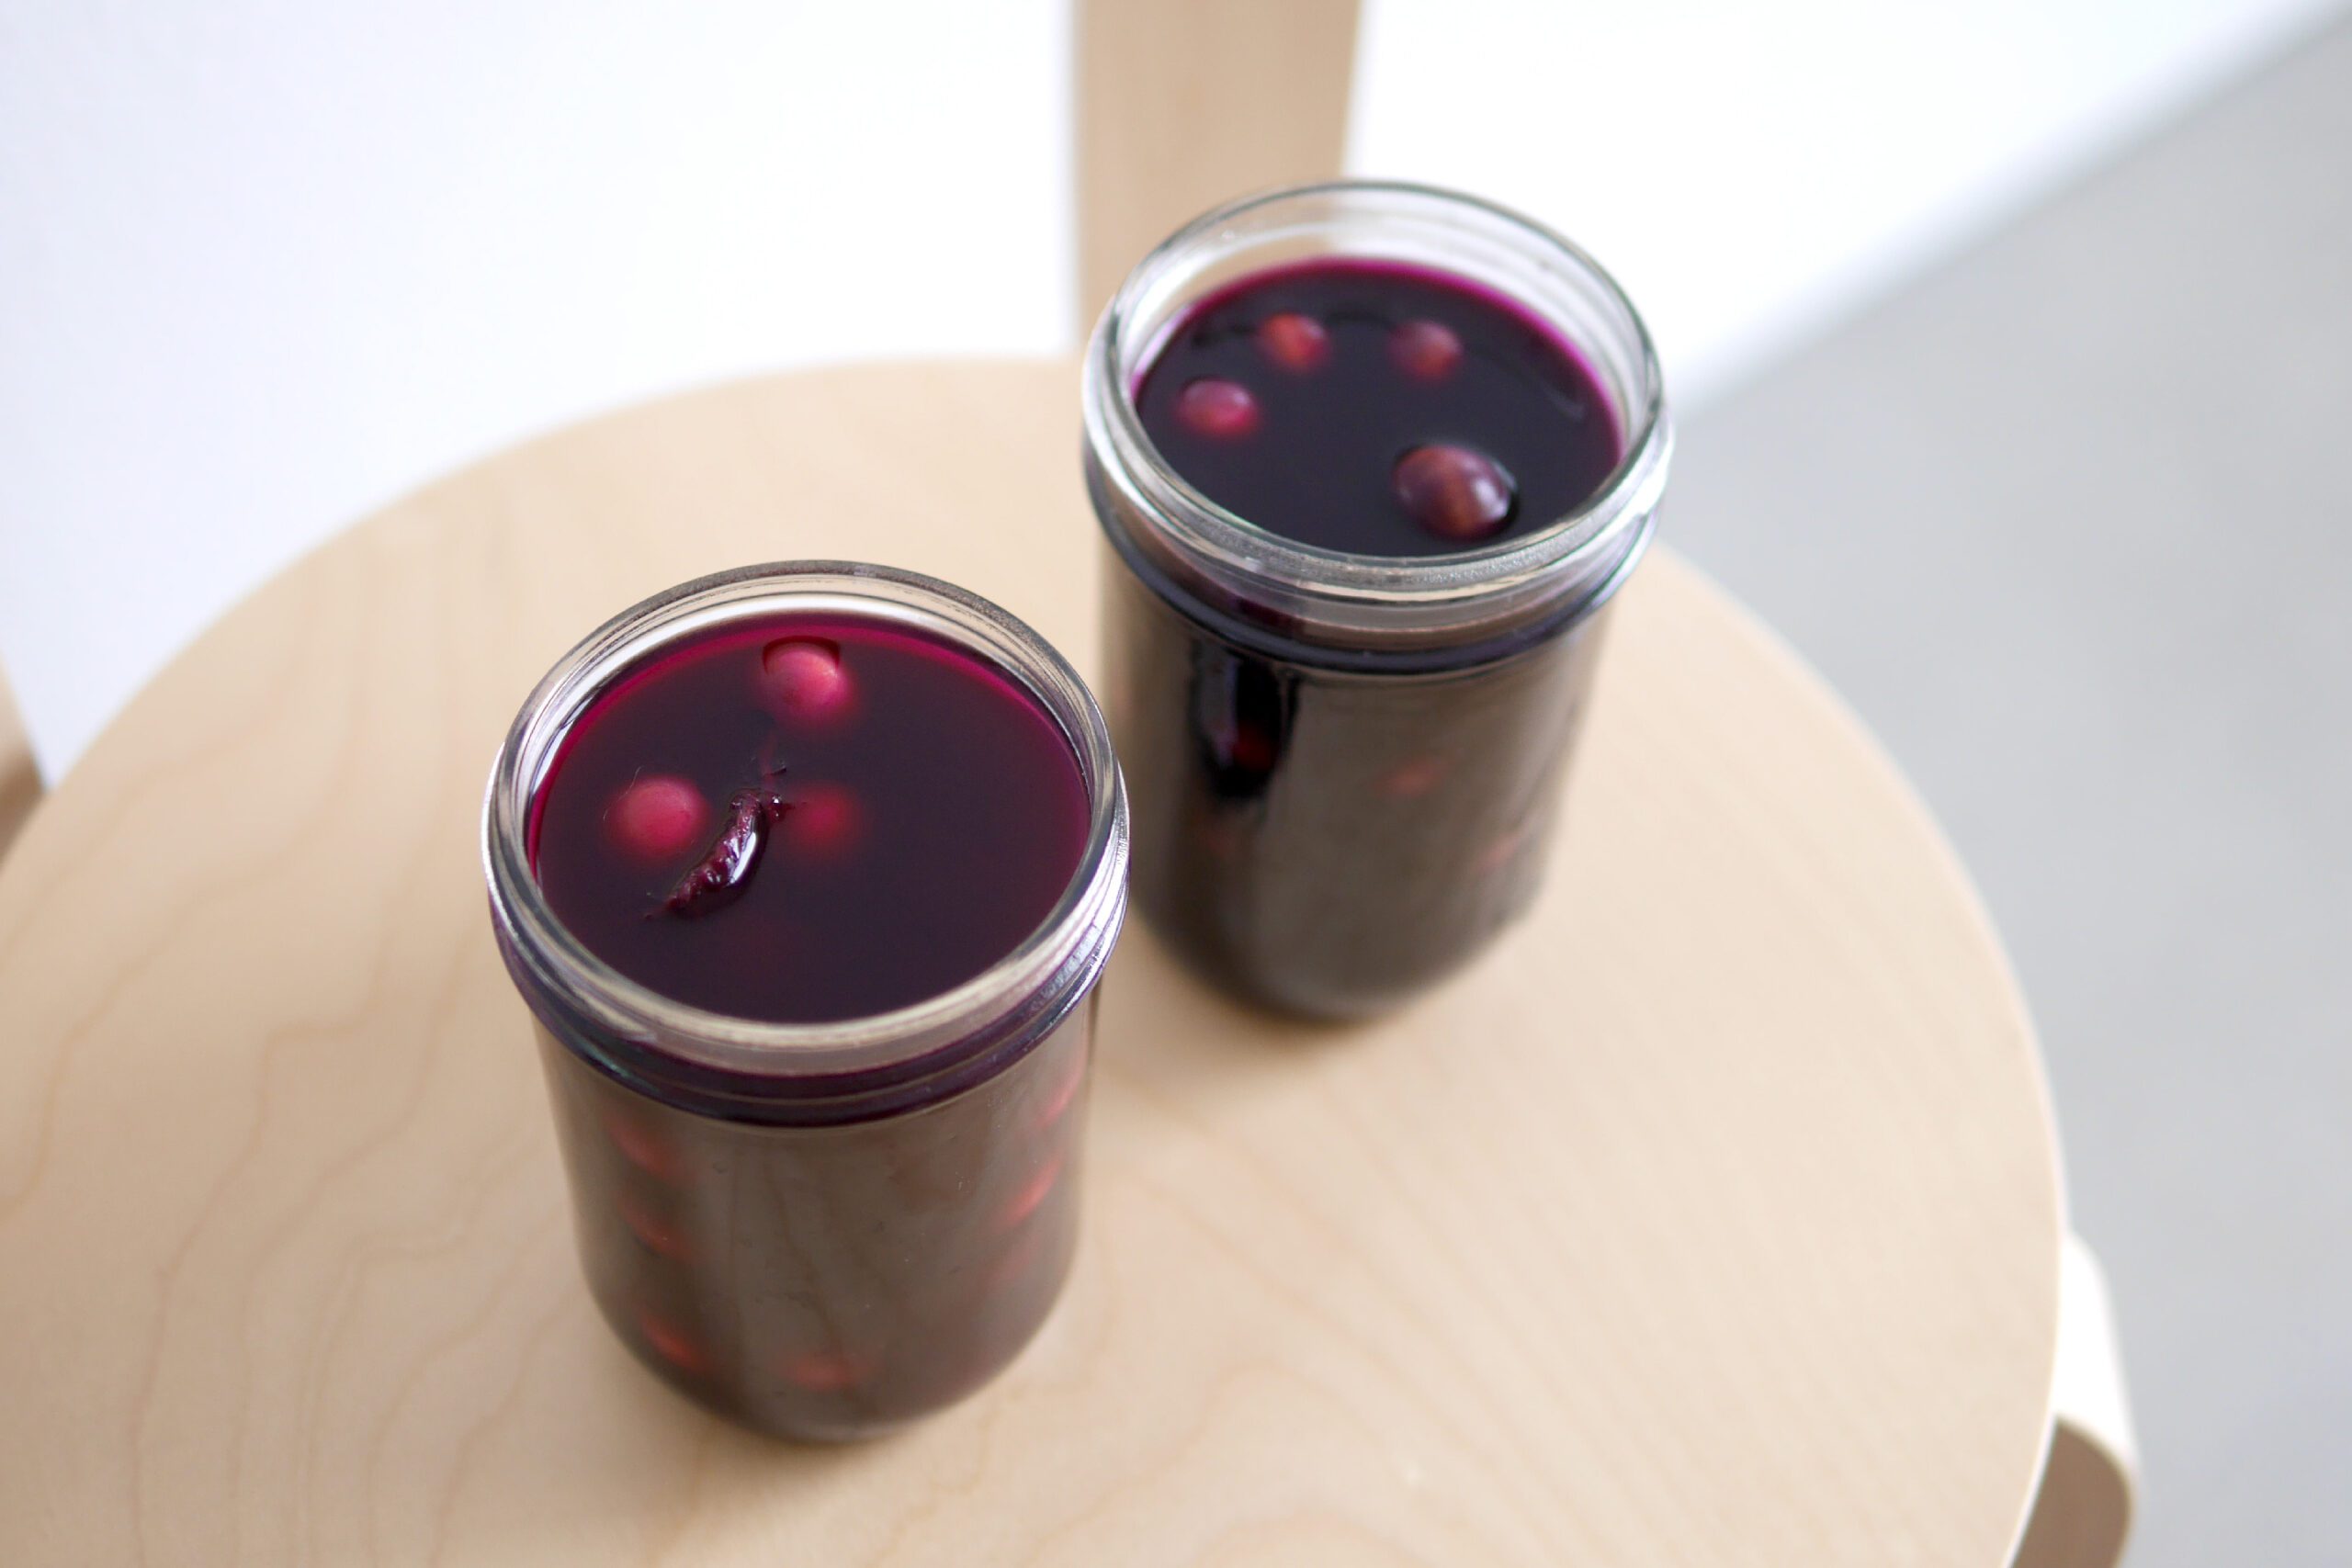
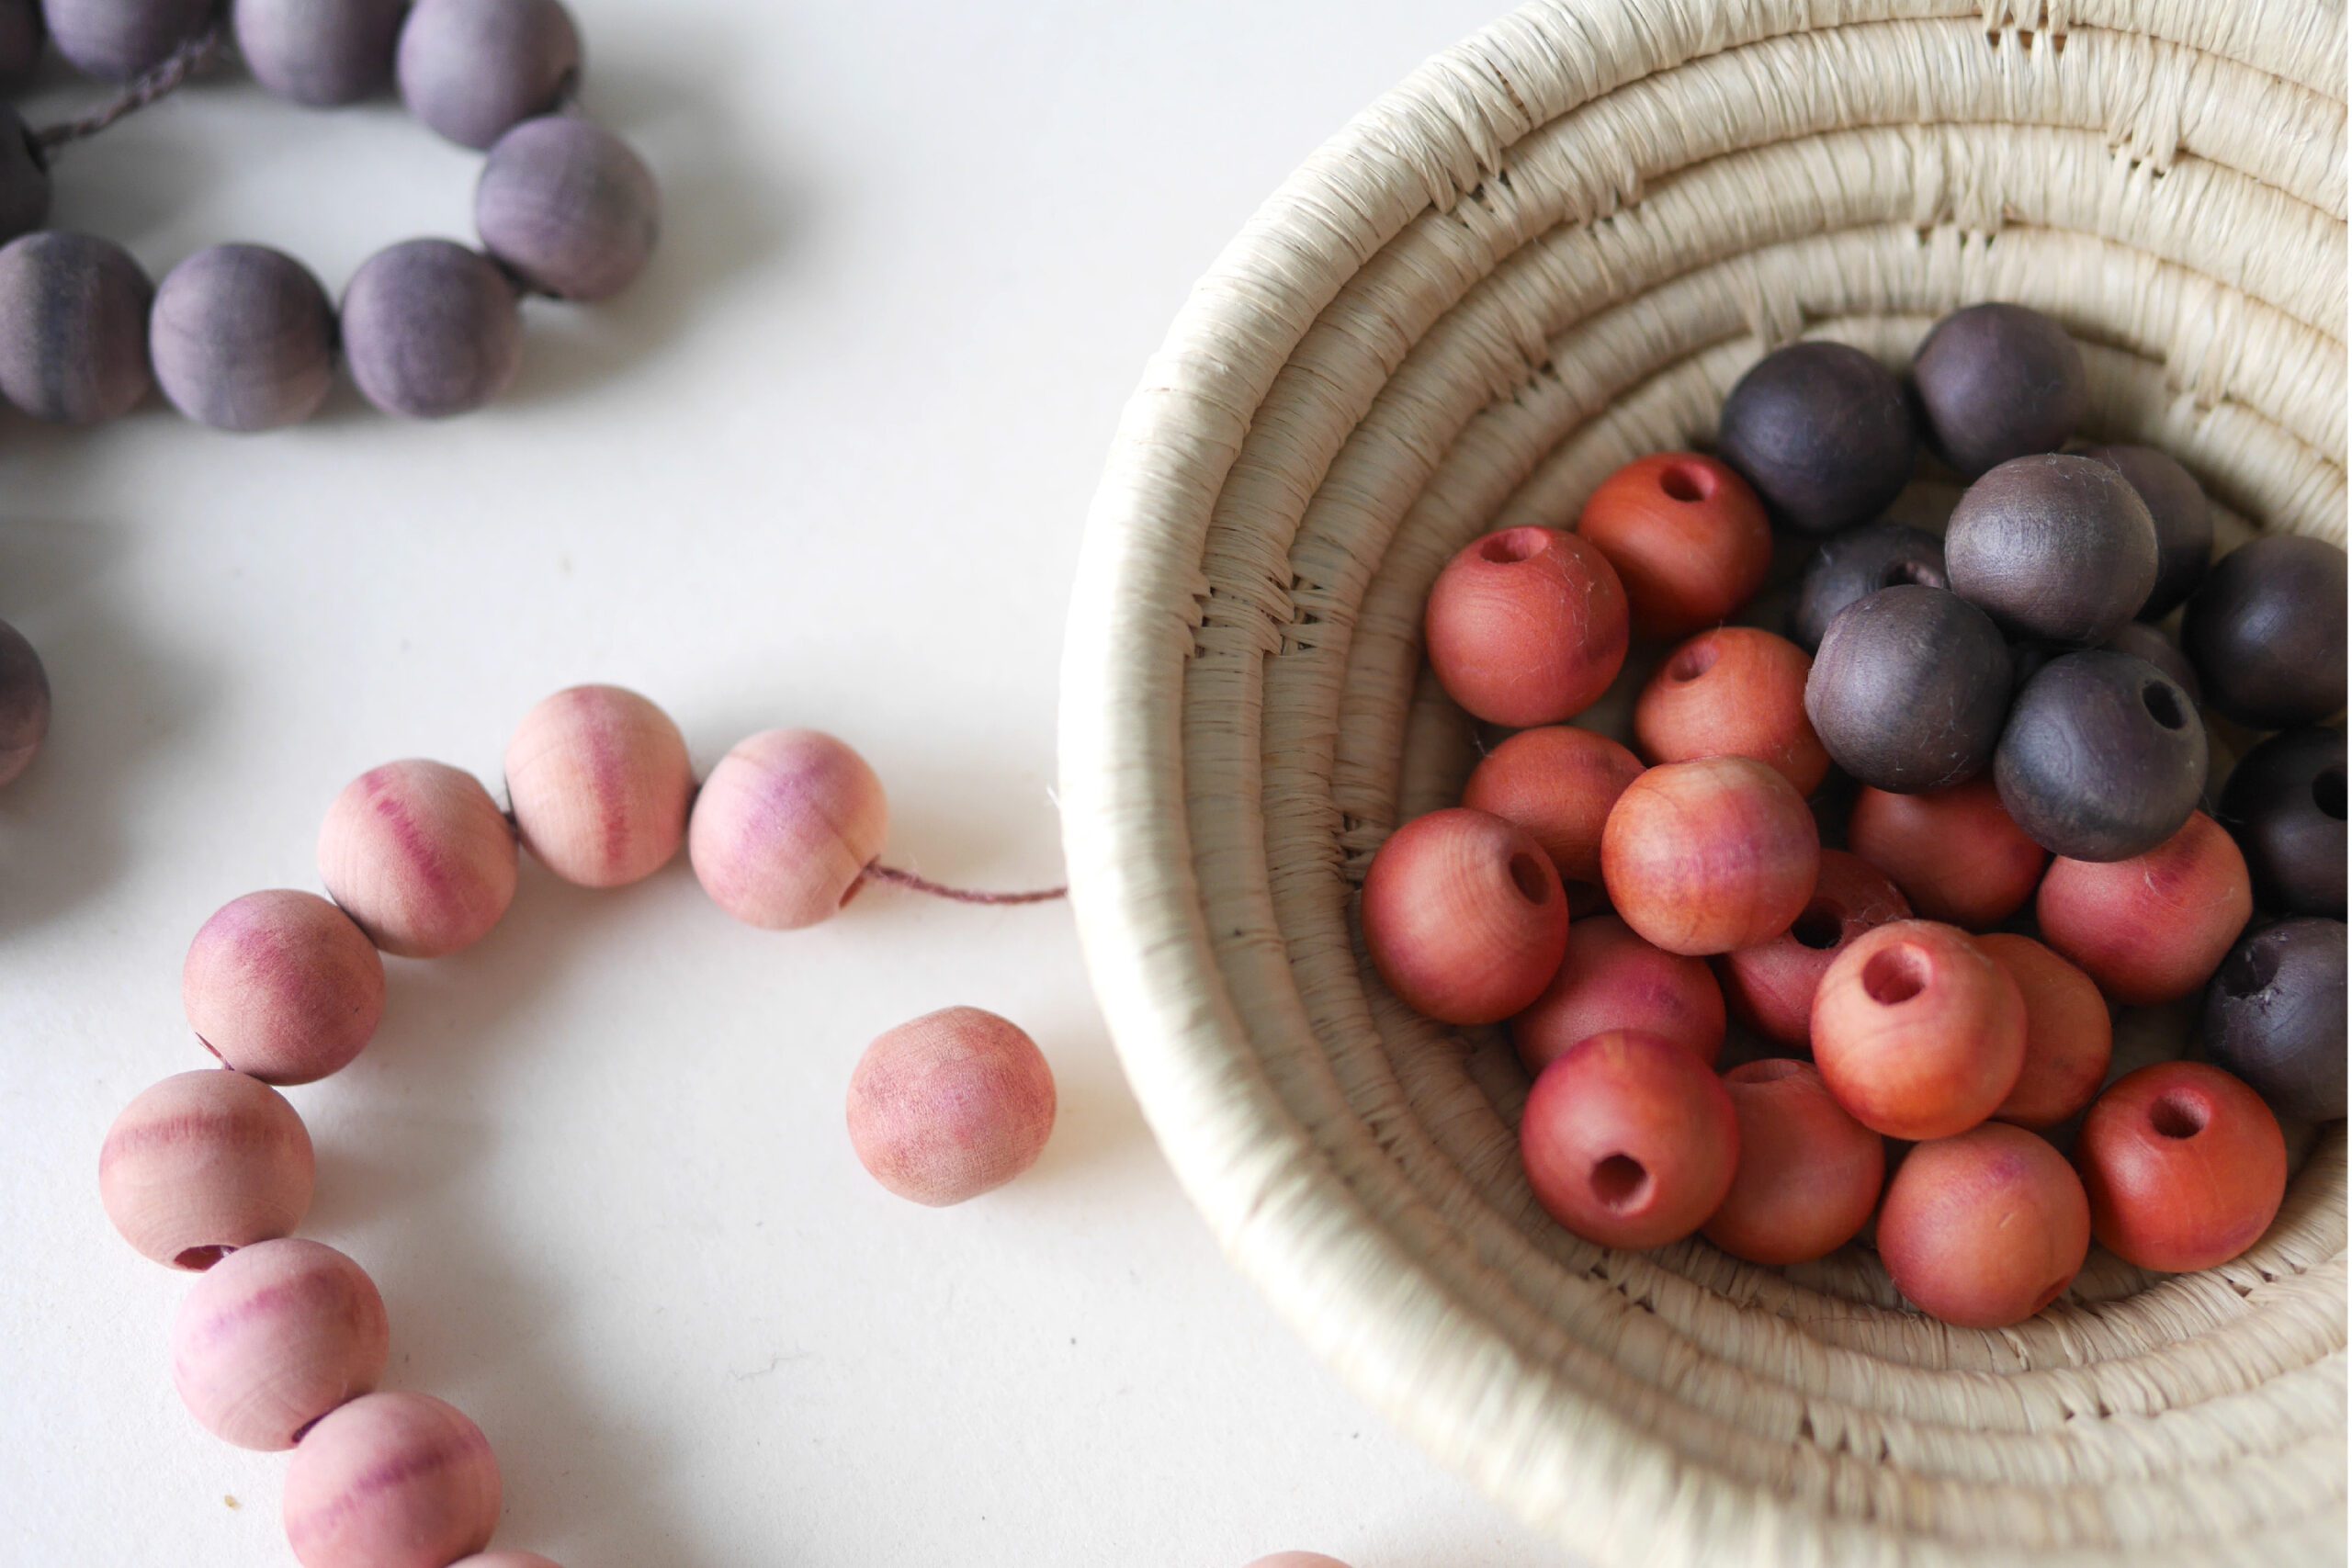
Remove from heat and transfer the wood beads and dye to a glass jar. Leave it to soak for one day; the color will penetrate more deeply and become darker after one day. When the desired color is achieved, rinse with water.
If you cannot wait longer or want to dye the beads a lighter color, remove them immediately and rinse them.
Step 4. Dry
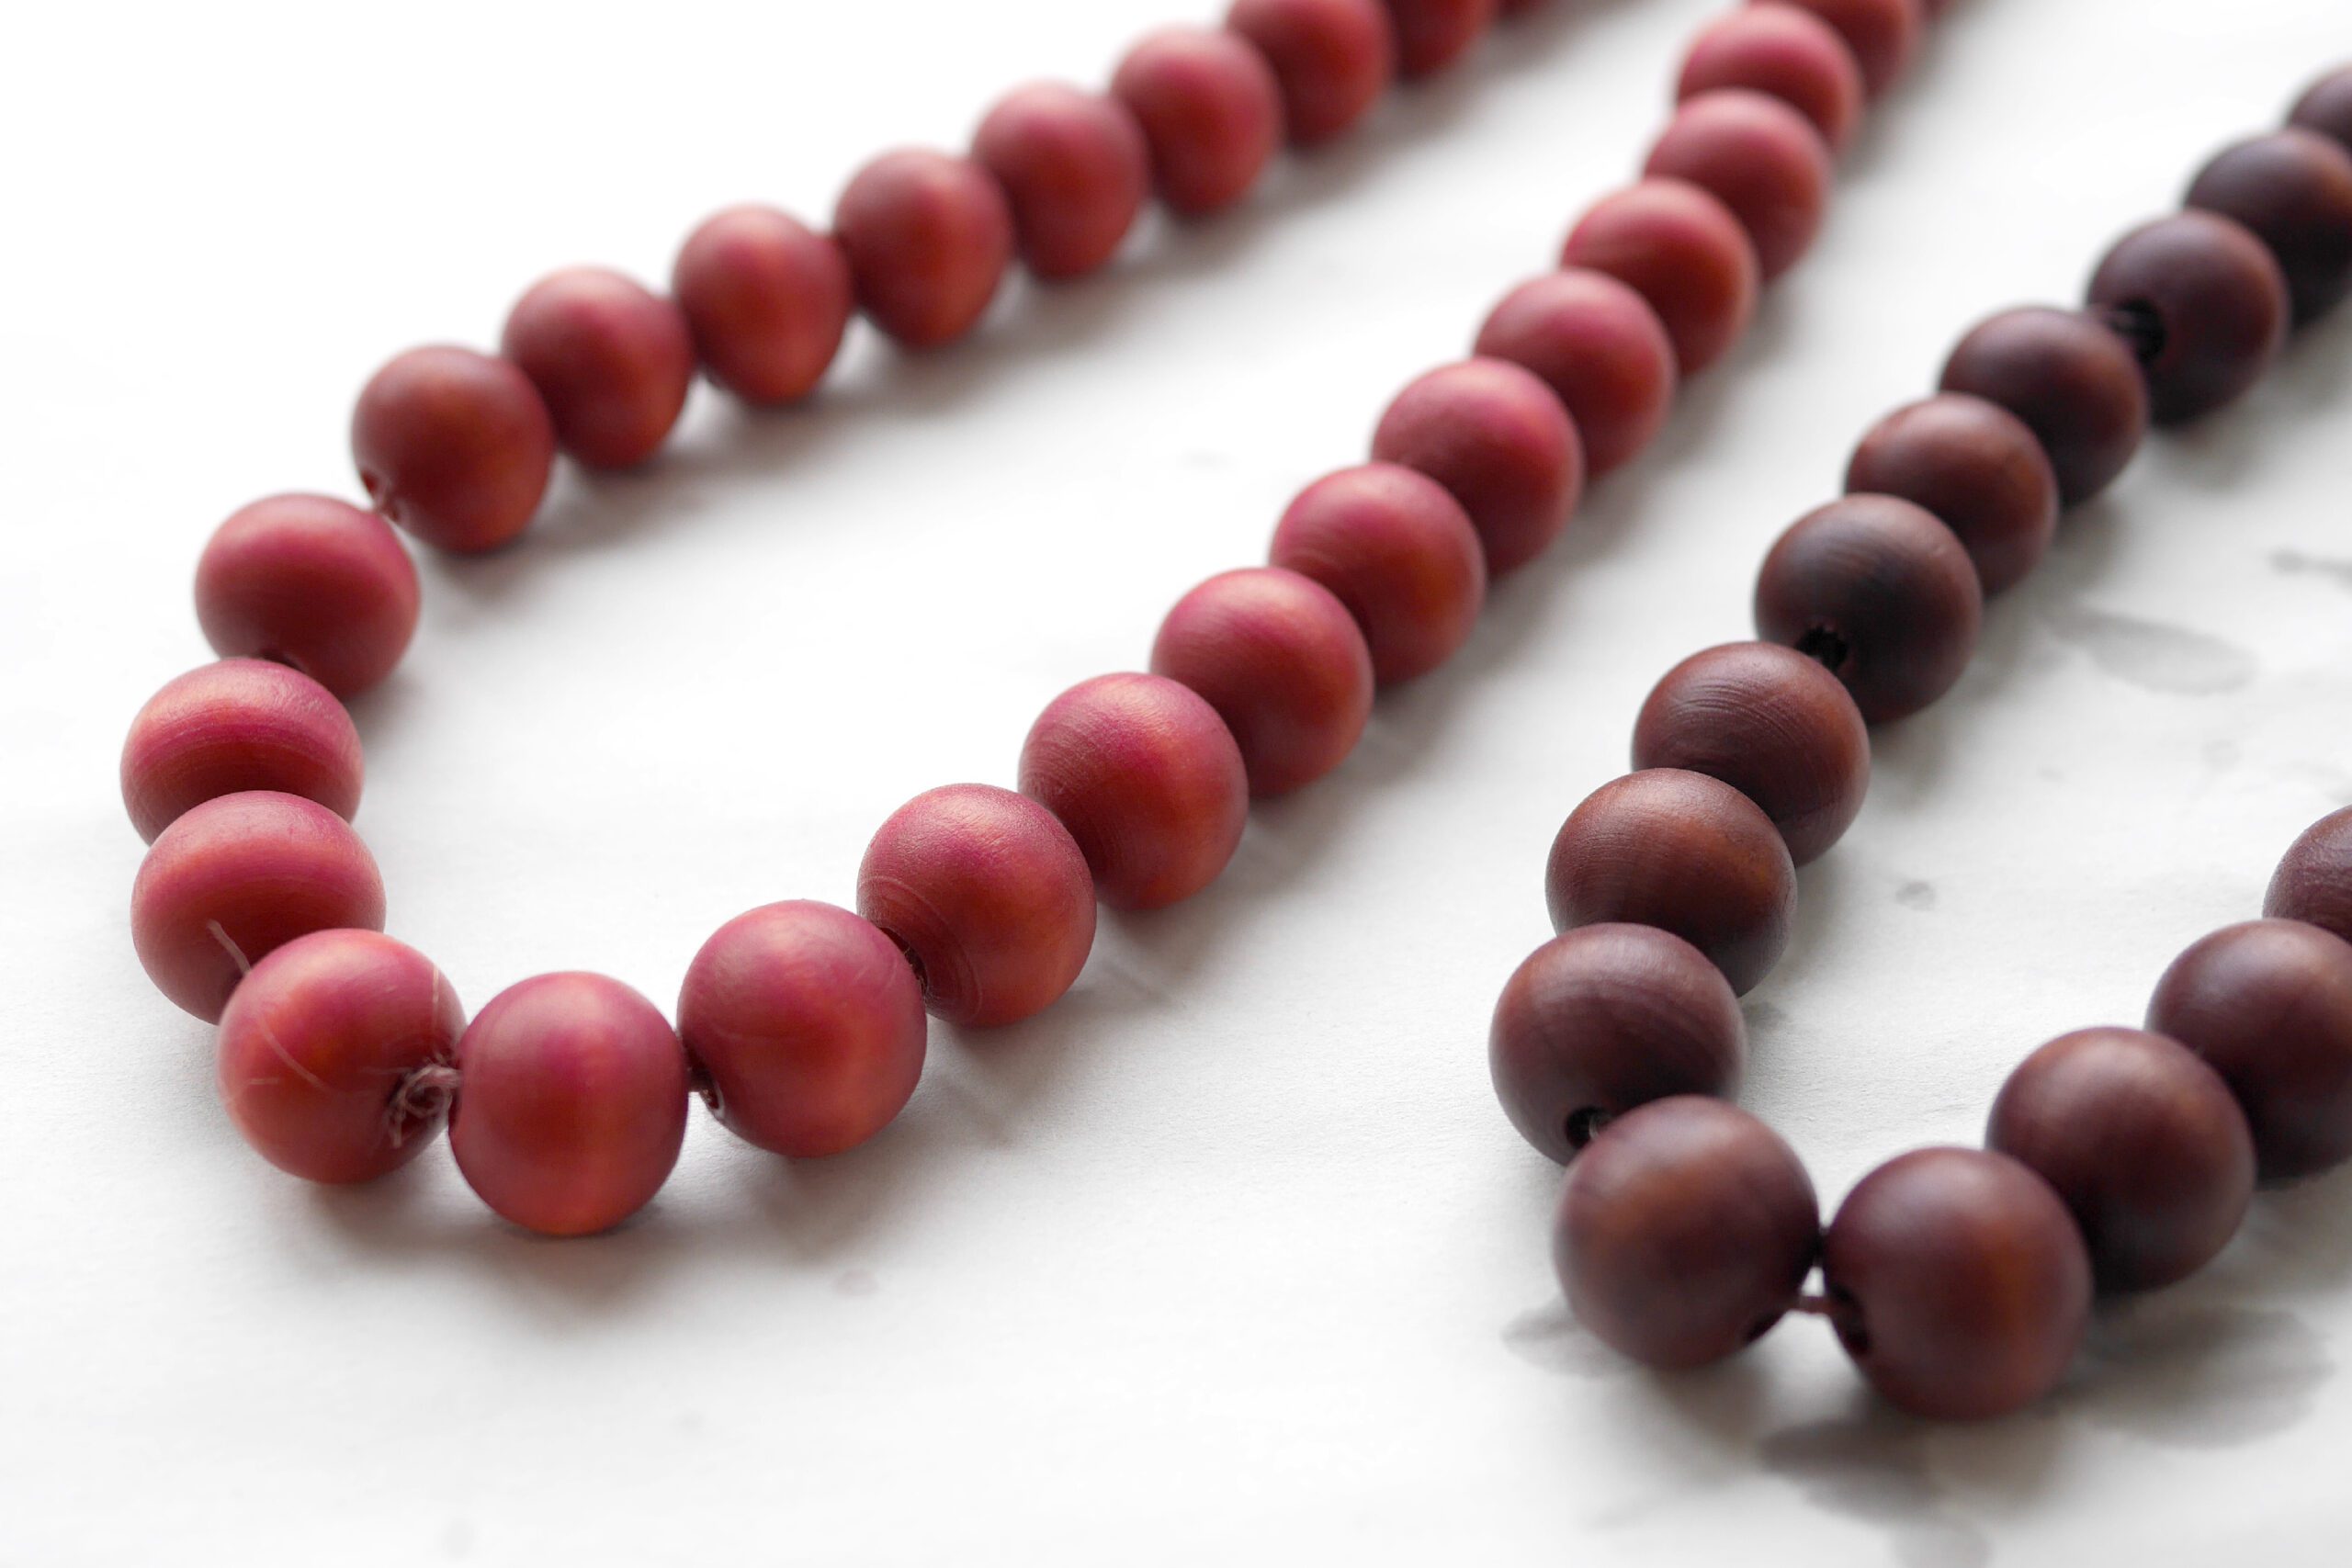
To dry the wood beads thoroughly, leave them as they are in the shade for 2-3 days. Natural dyes should always be dried out of direct sunlight, as direct sunlight may cause the colors to fade.
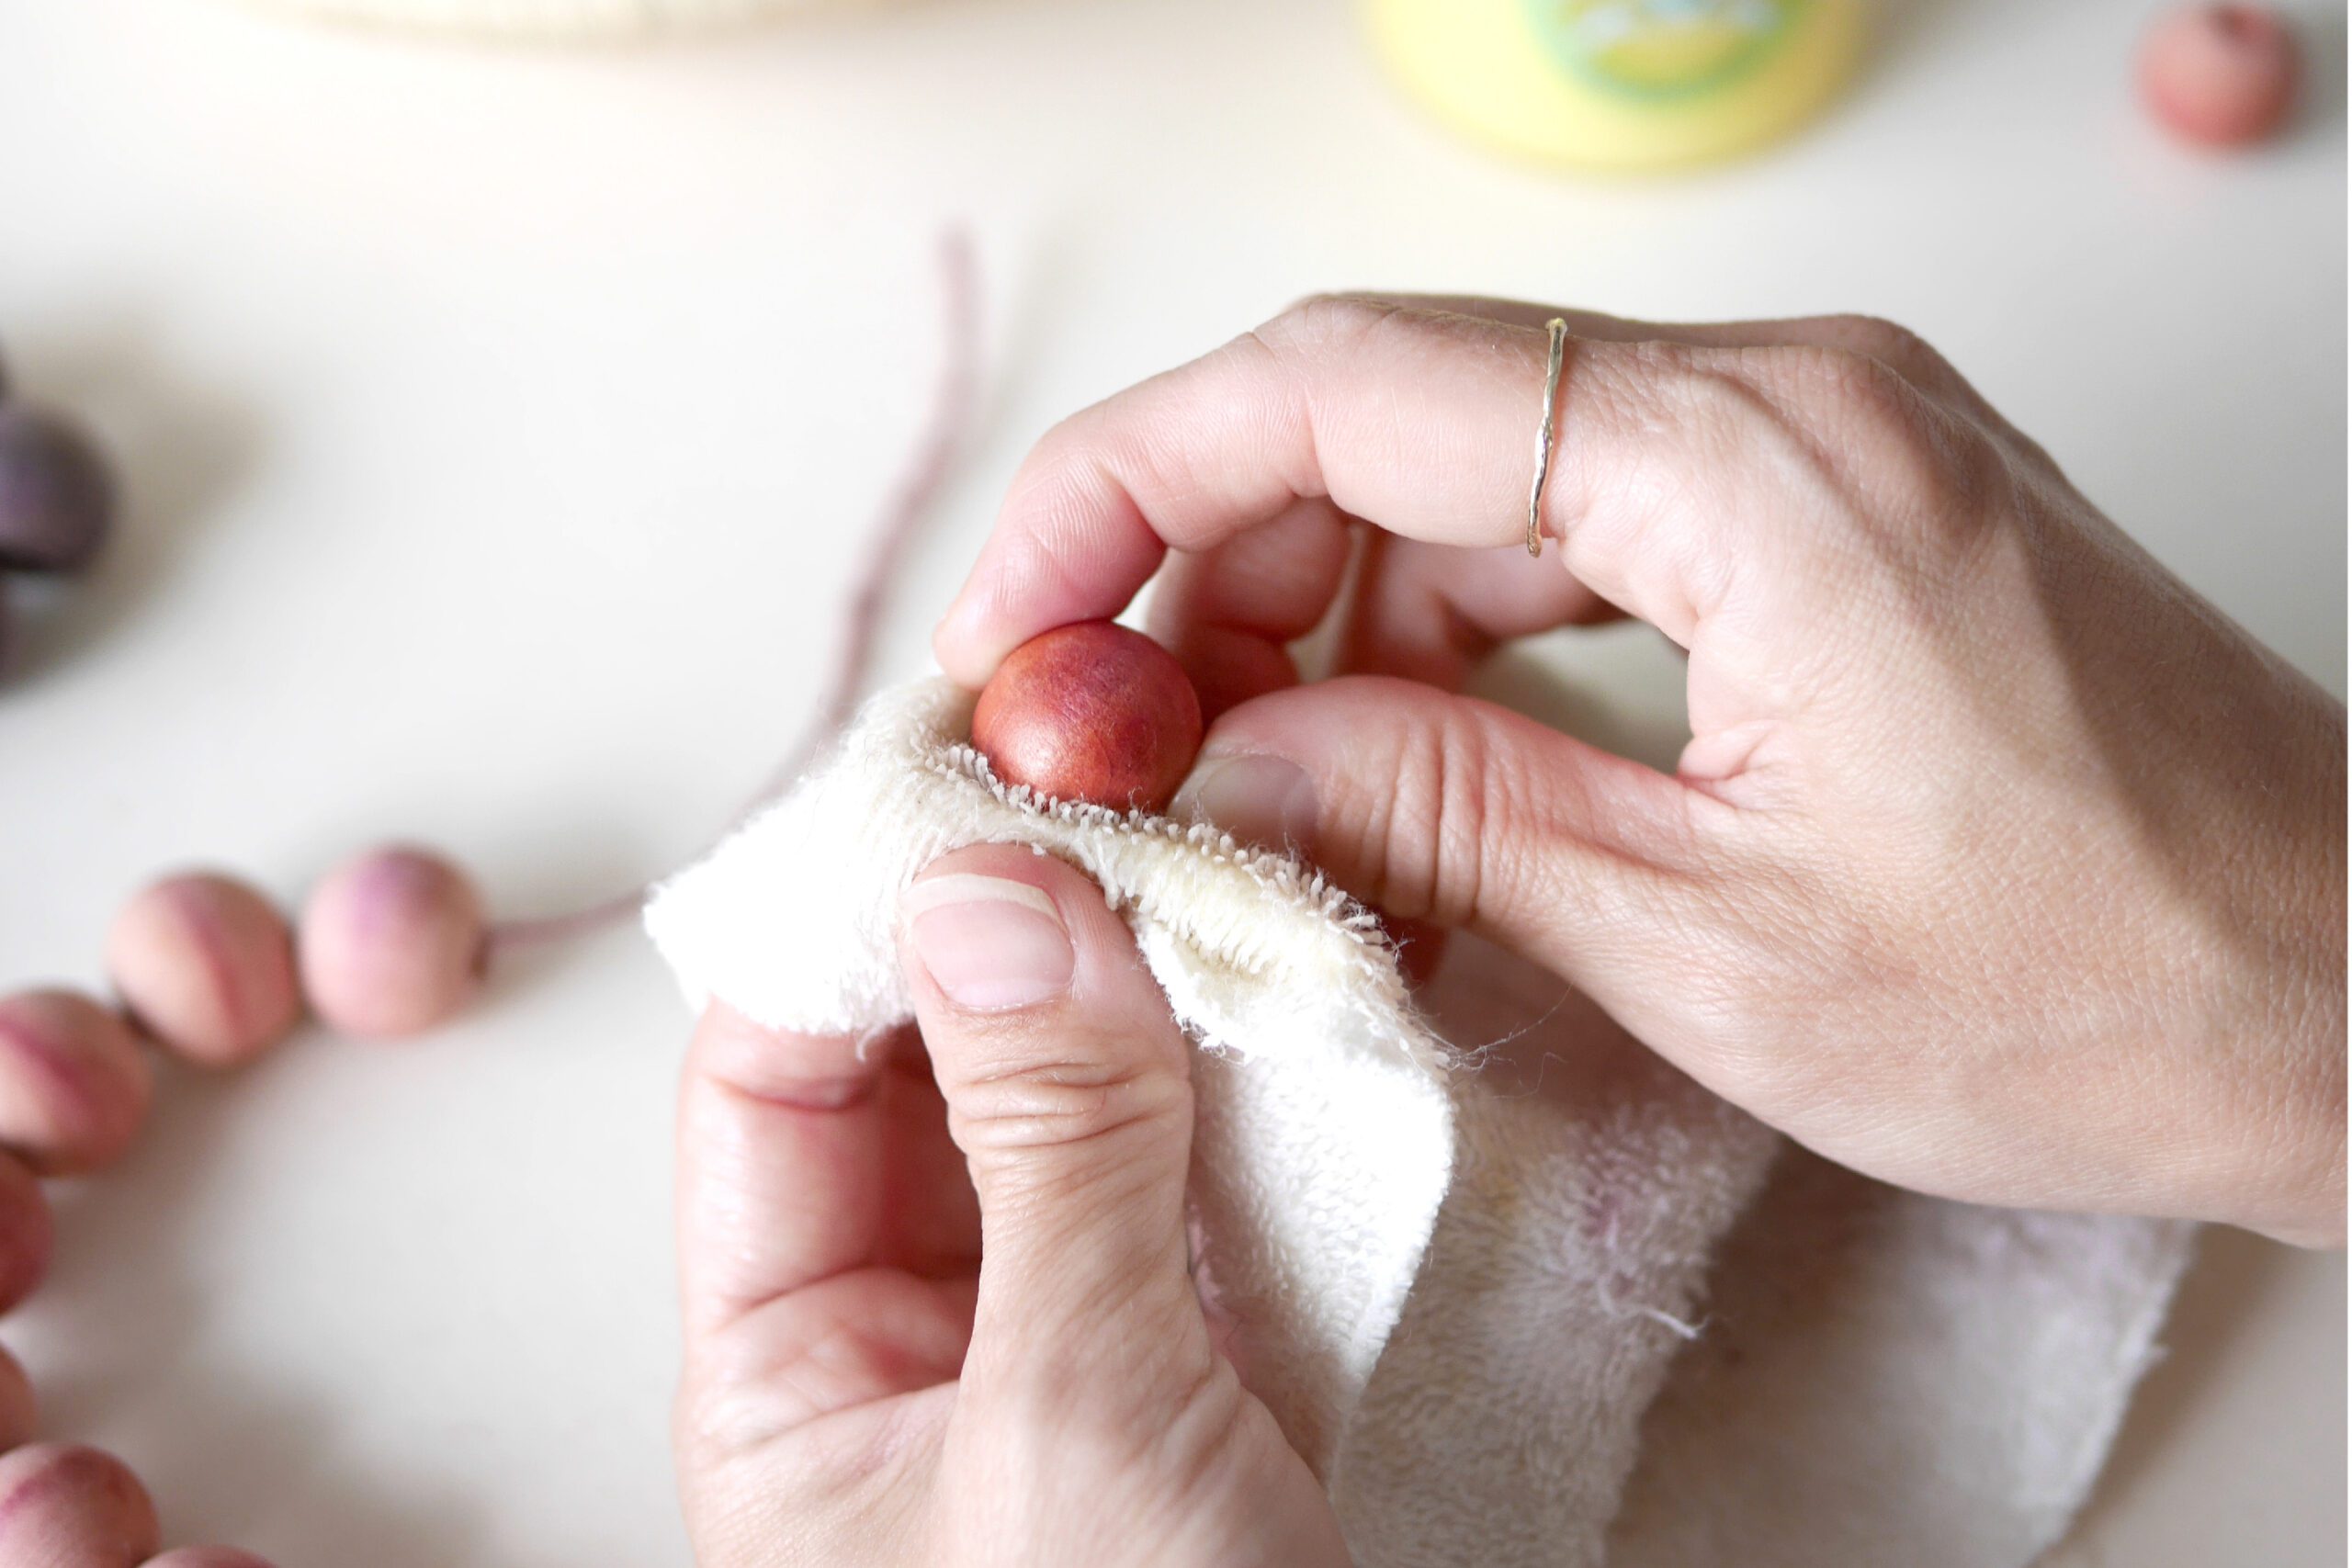
Step 5. Apply Beeswax Polish
When fully dried, the color will settle and the surface will be dry, as shown in the photo. Finishing with a coat of beeswax will give it a beautiful sheen and improve the color. You can use any oil you are familiar with. Please try this process.
Make into a Wooden Acorn
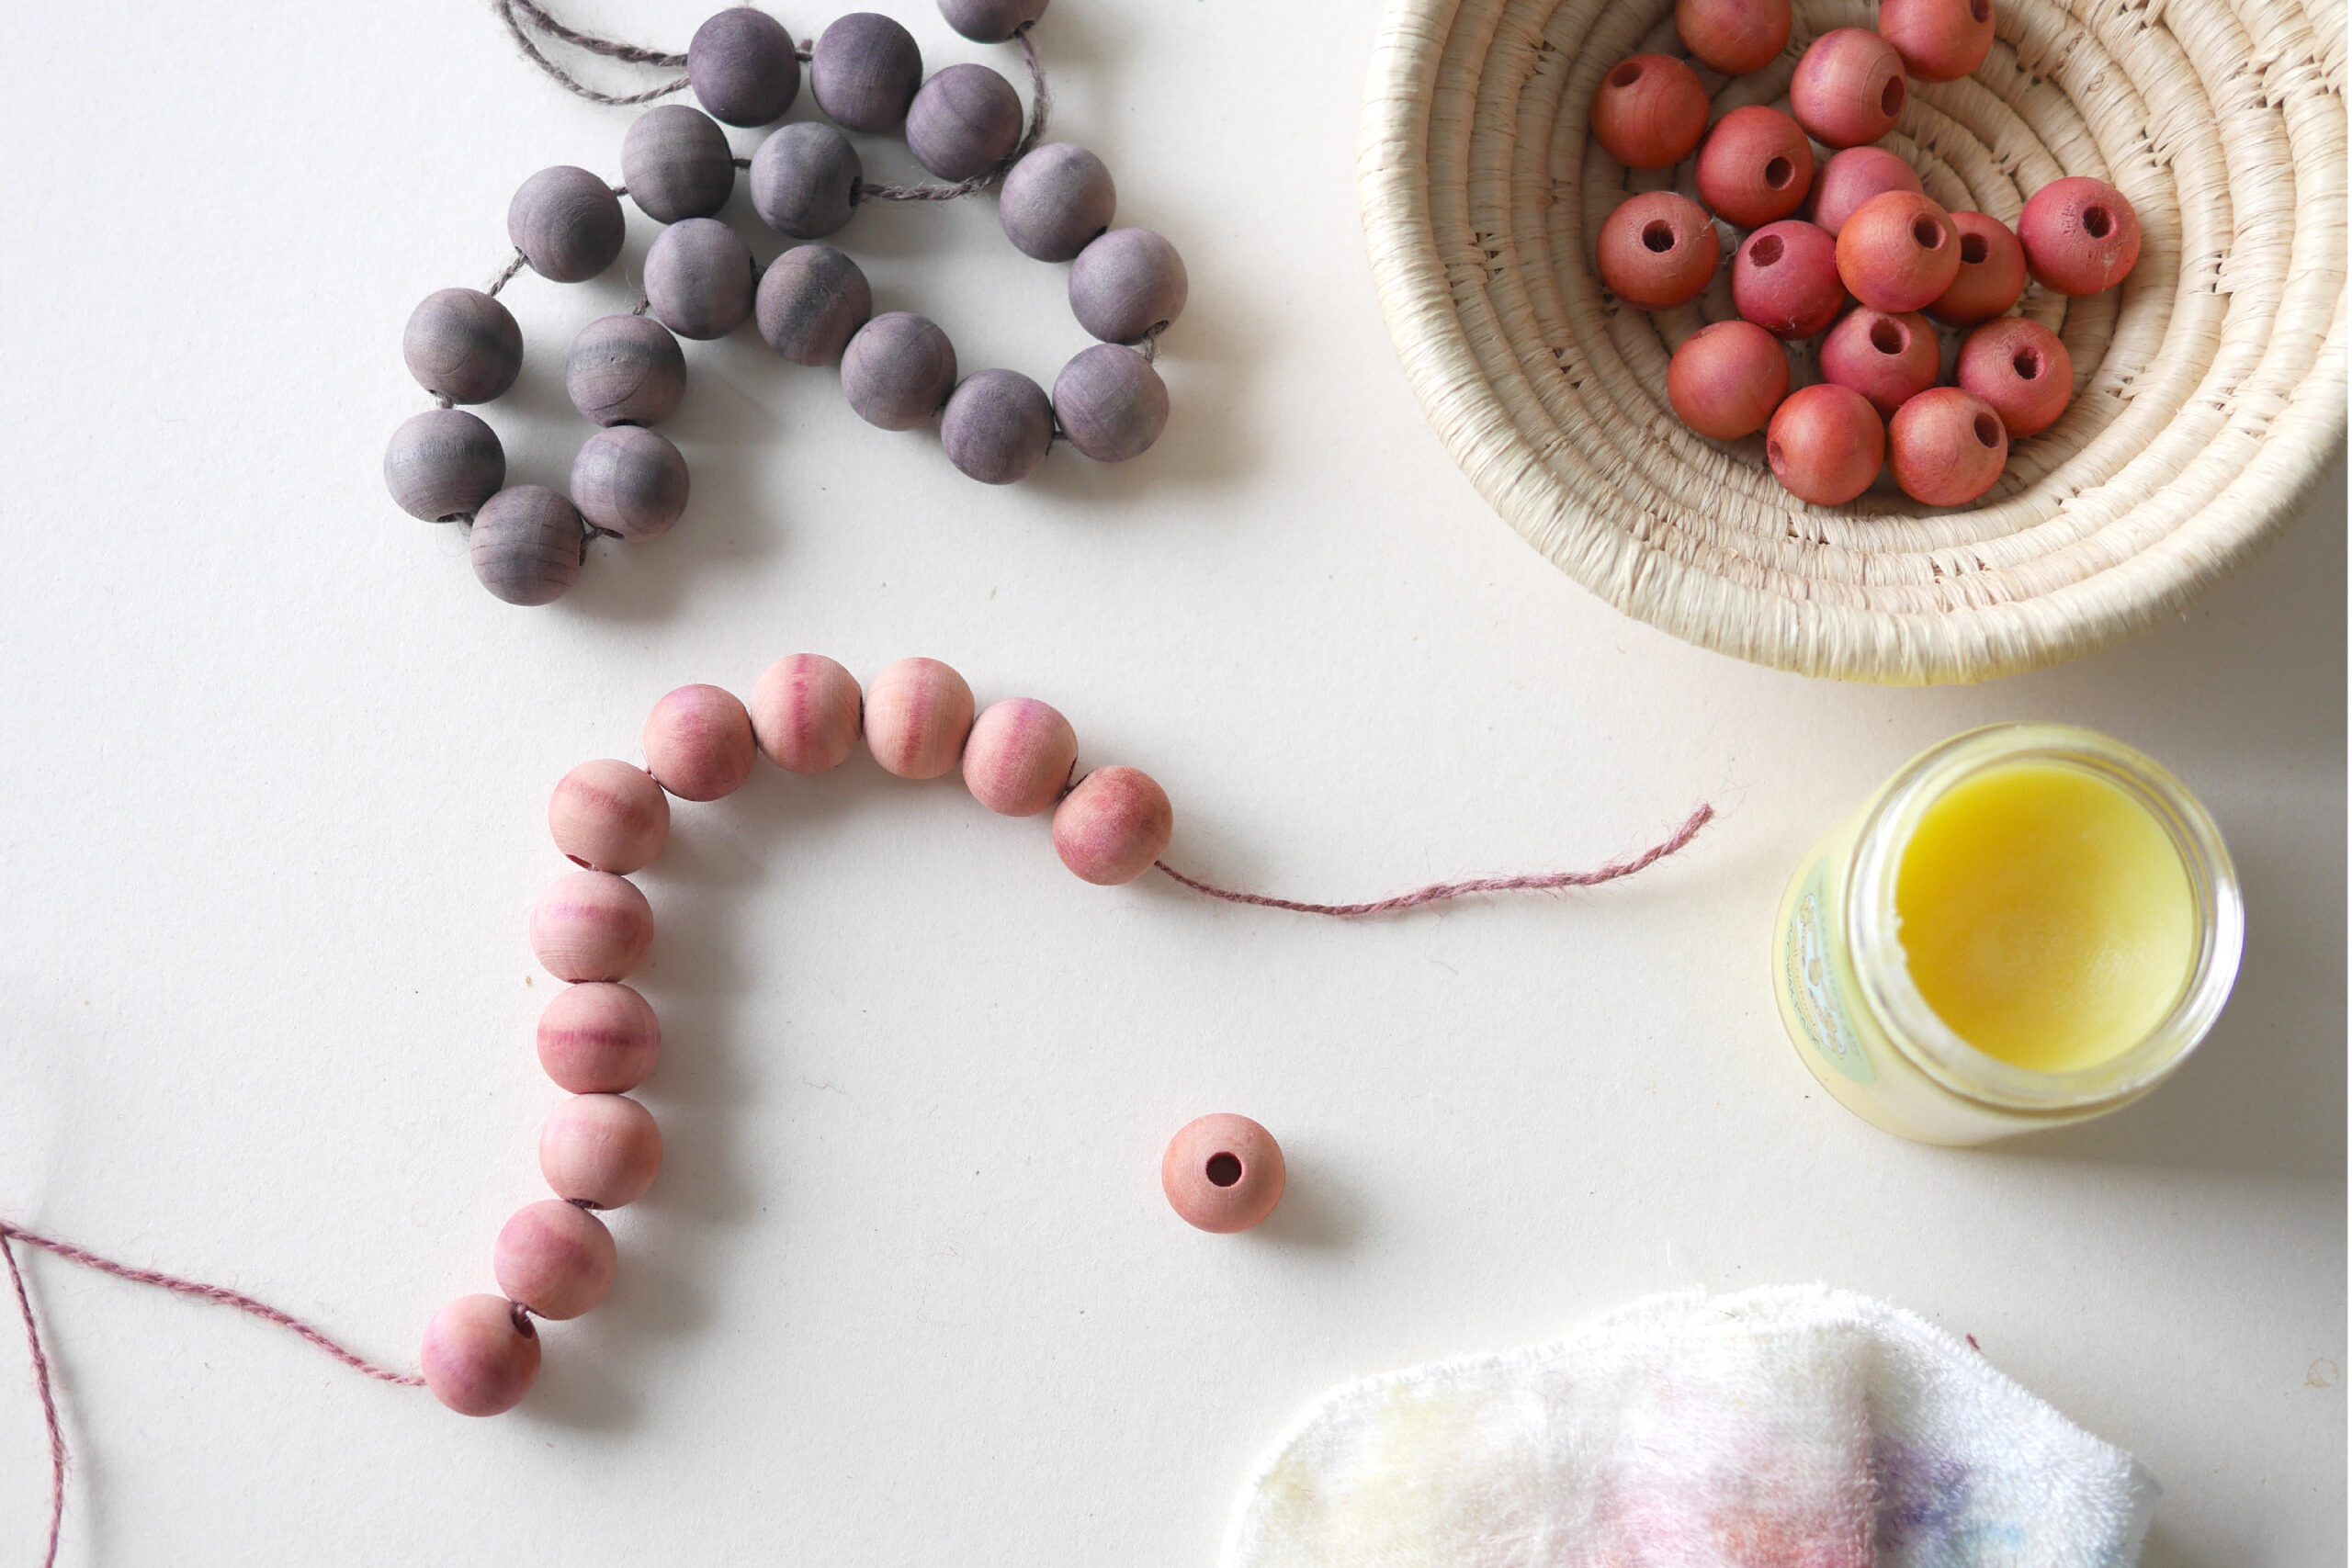
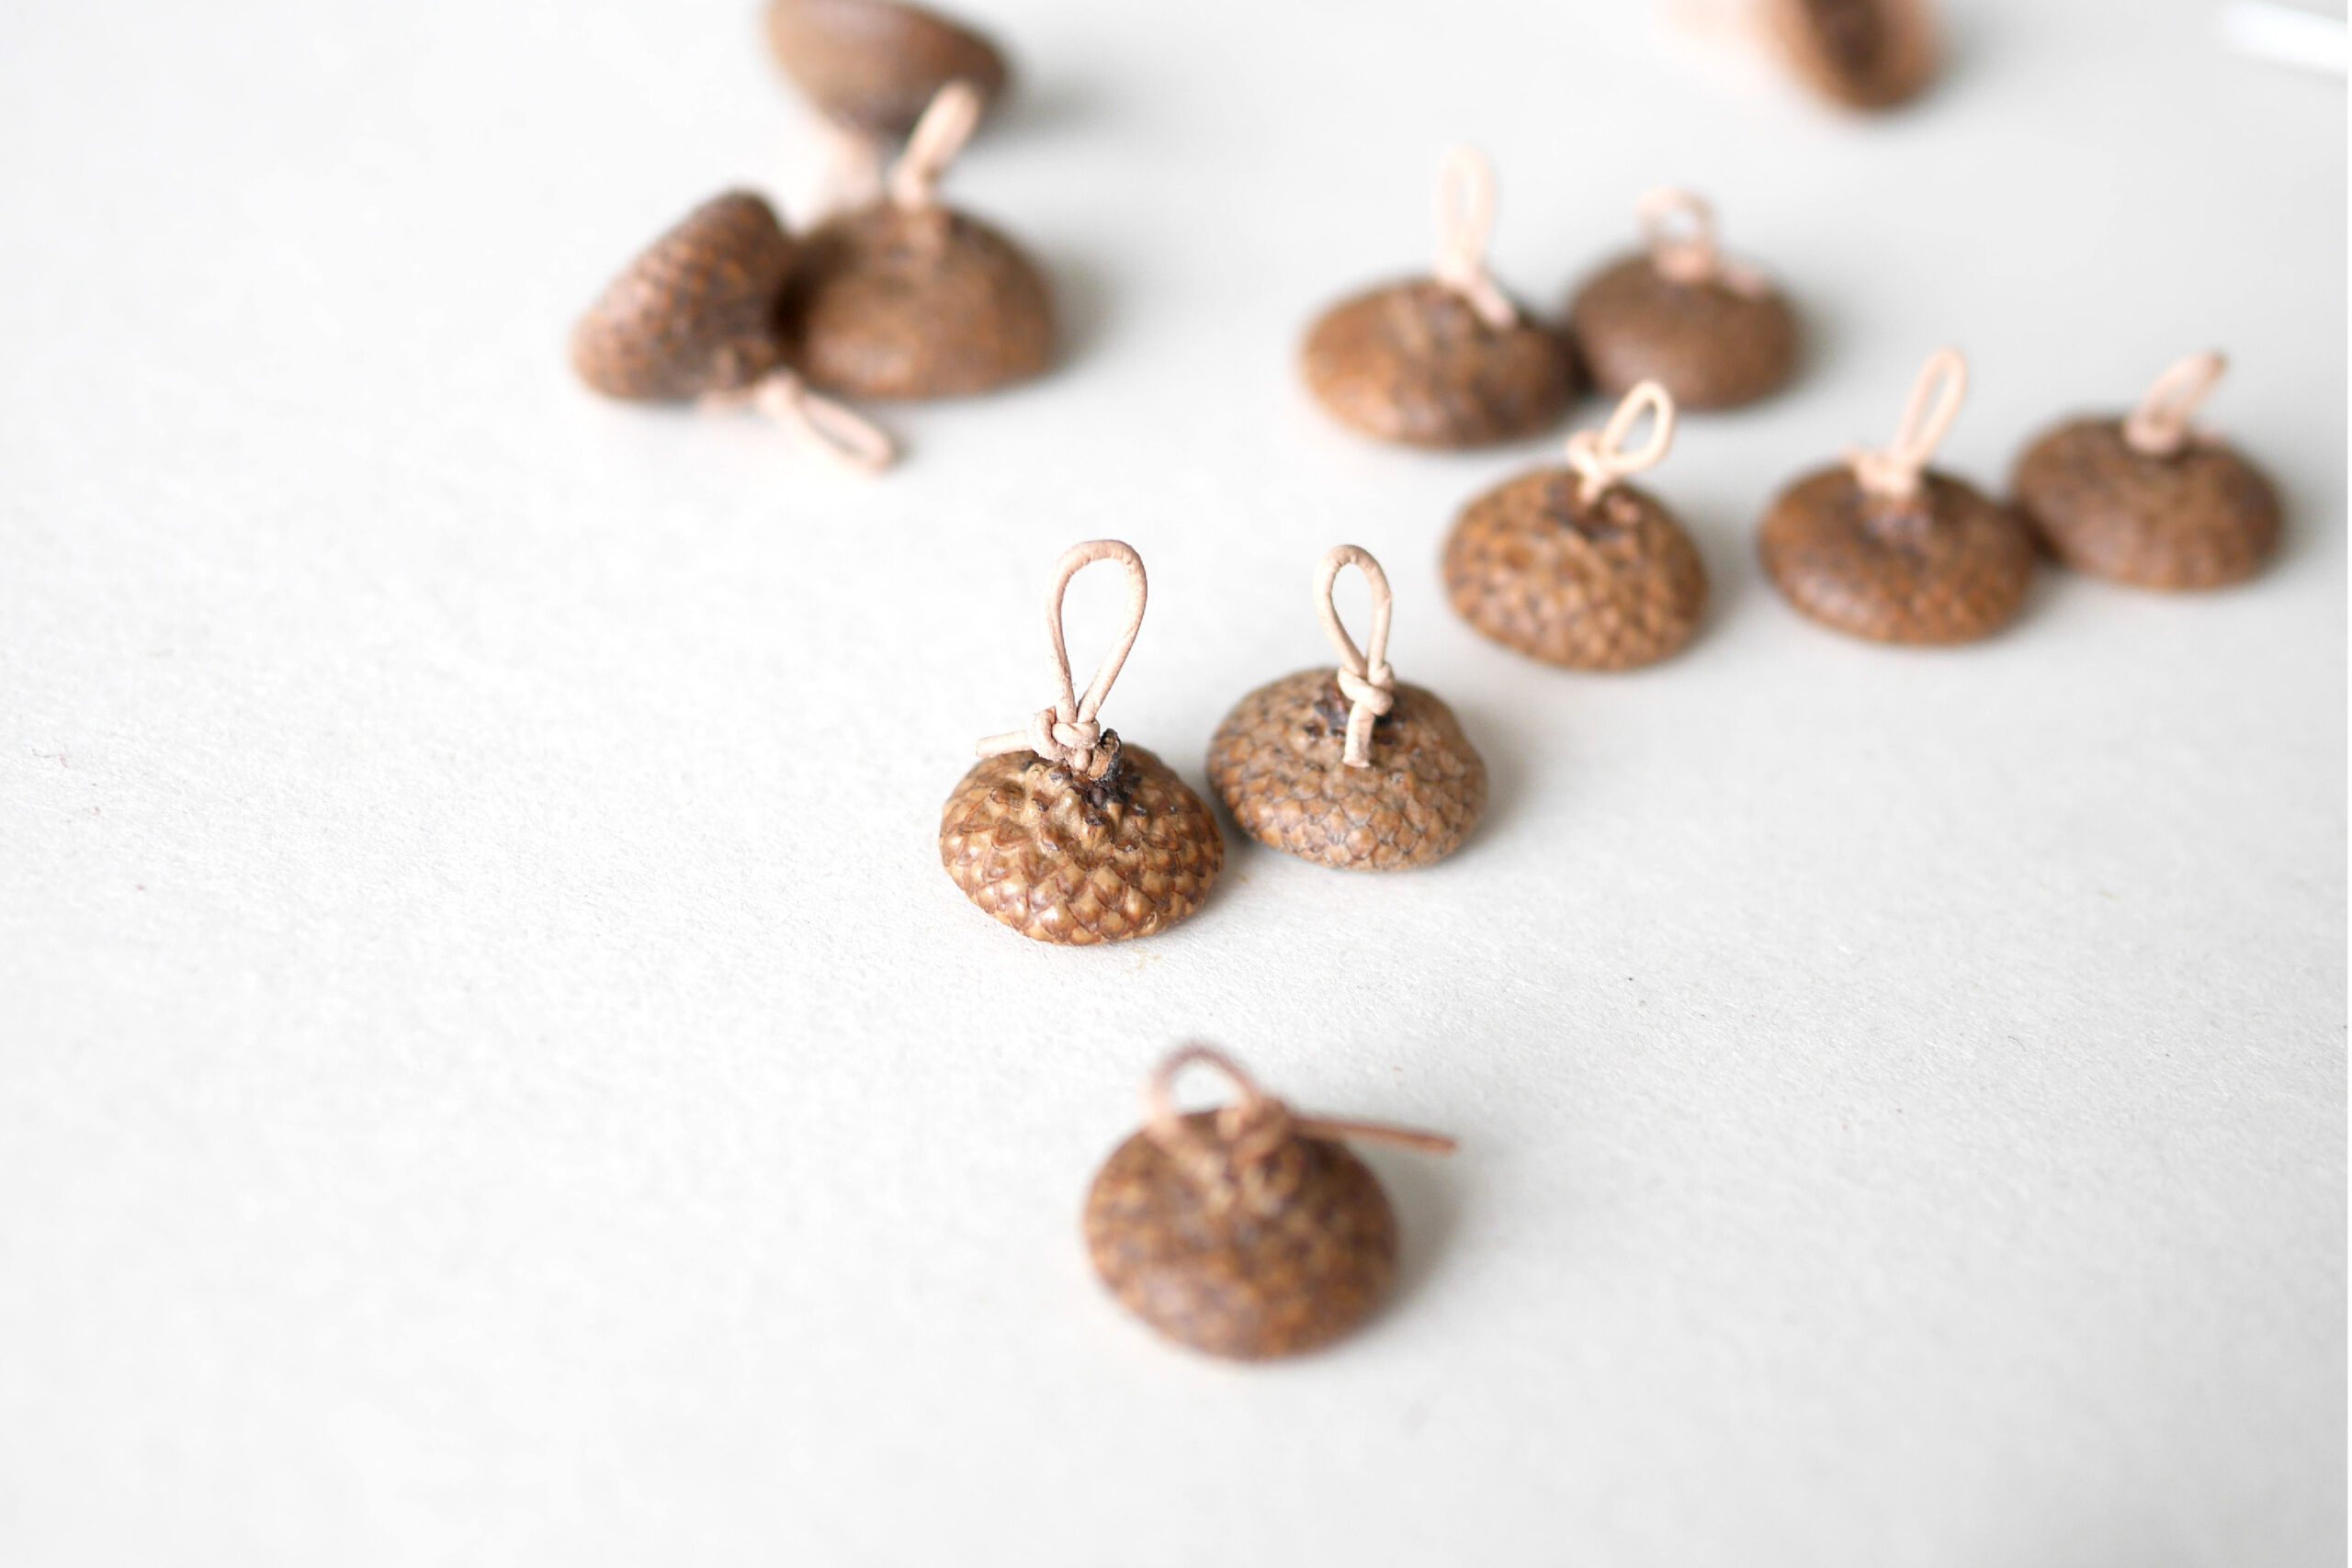
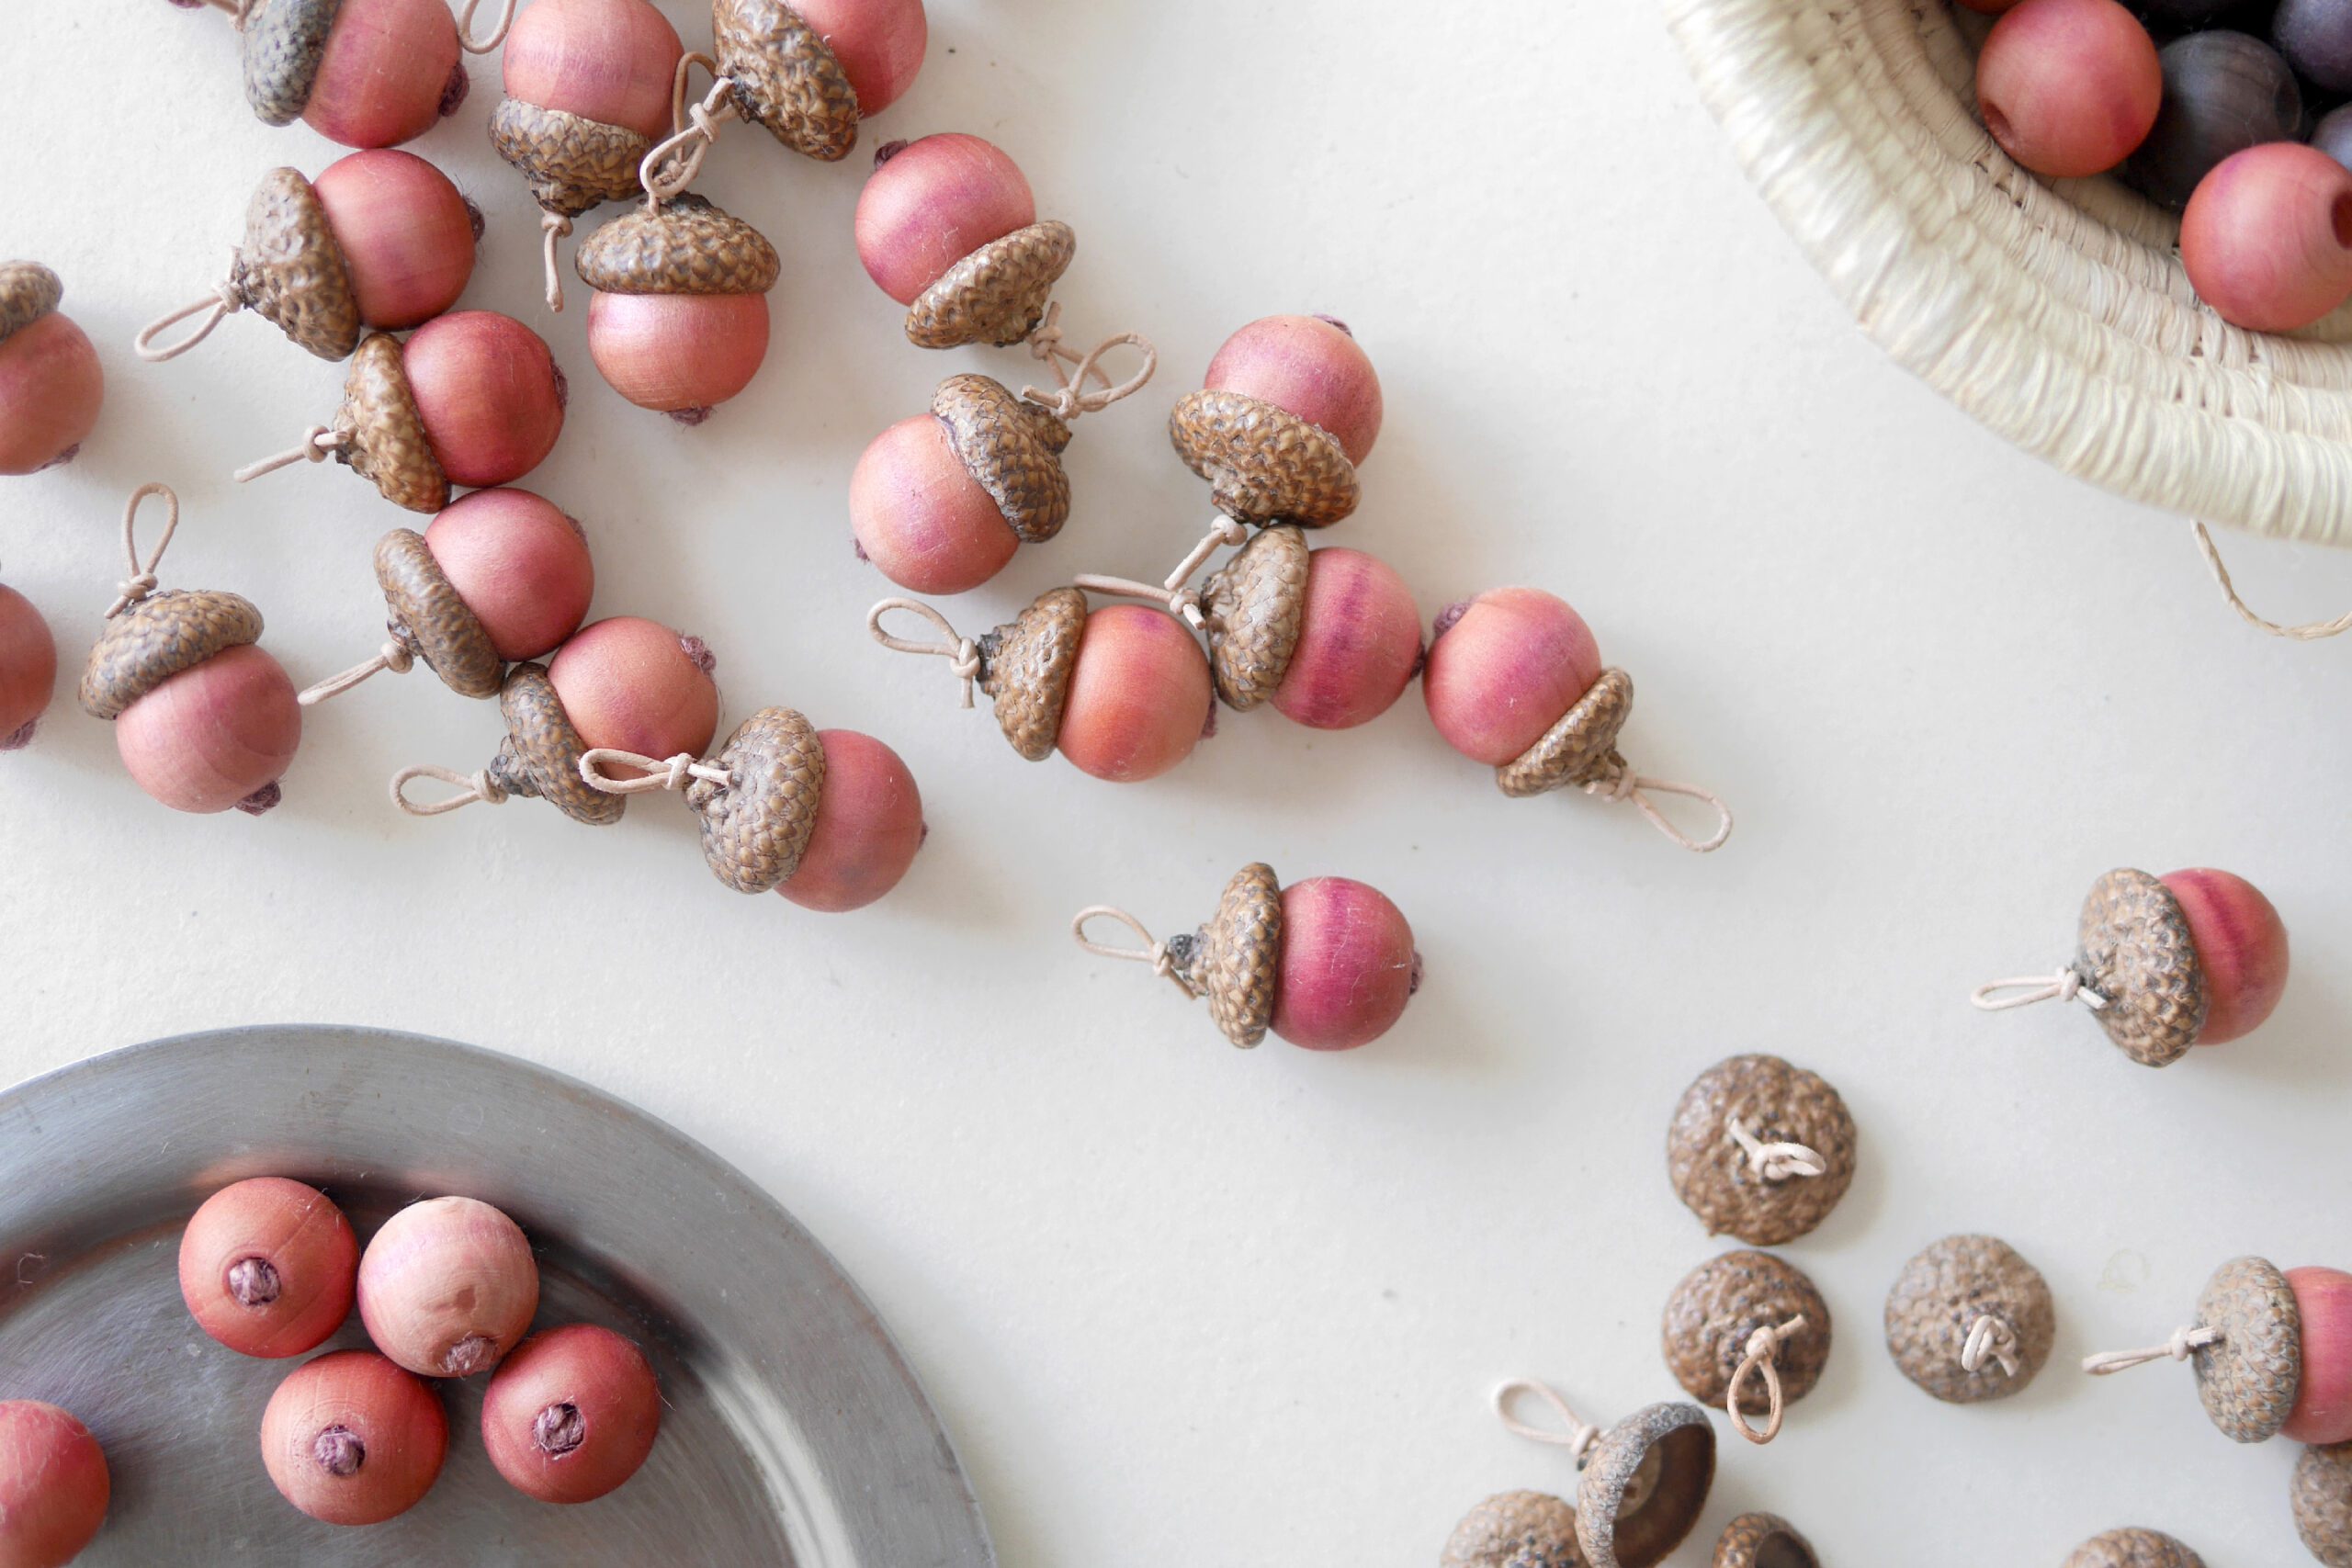
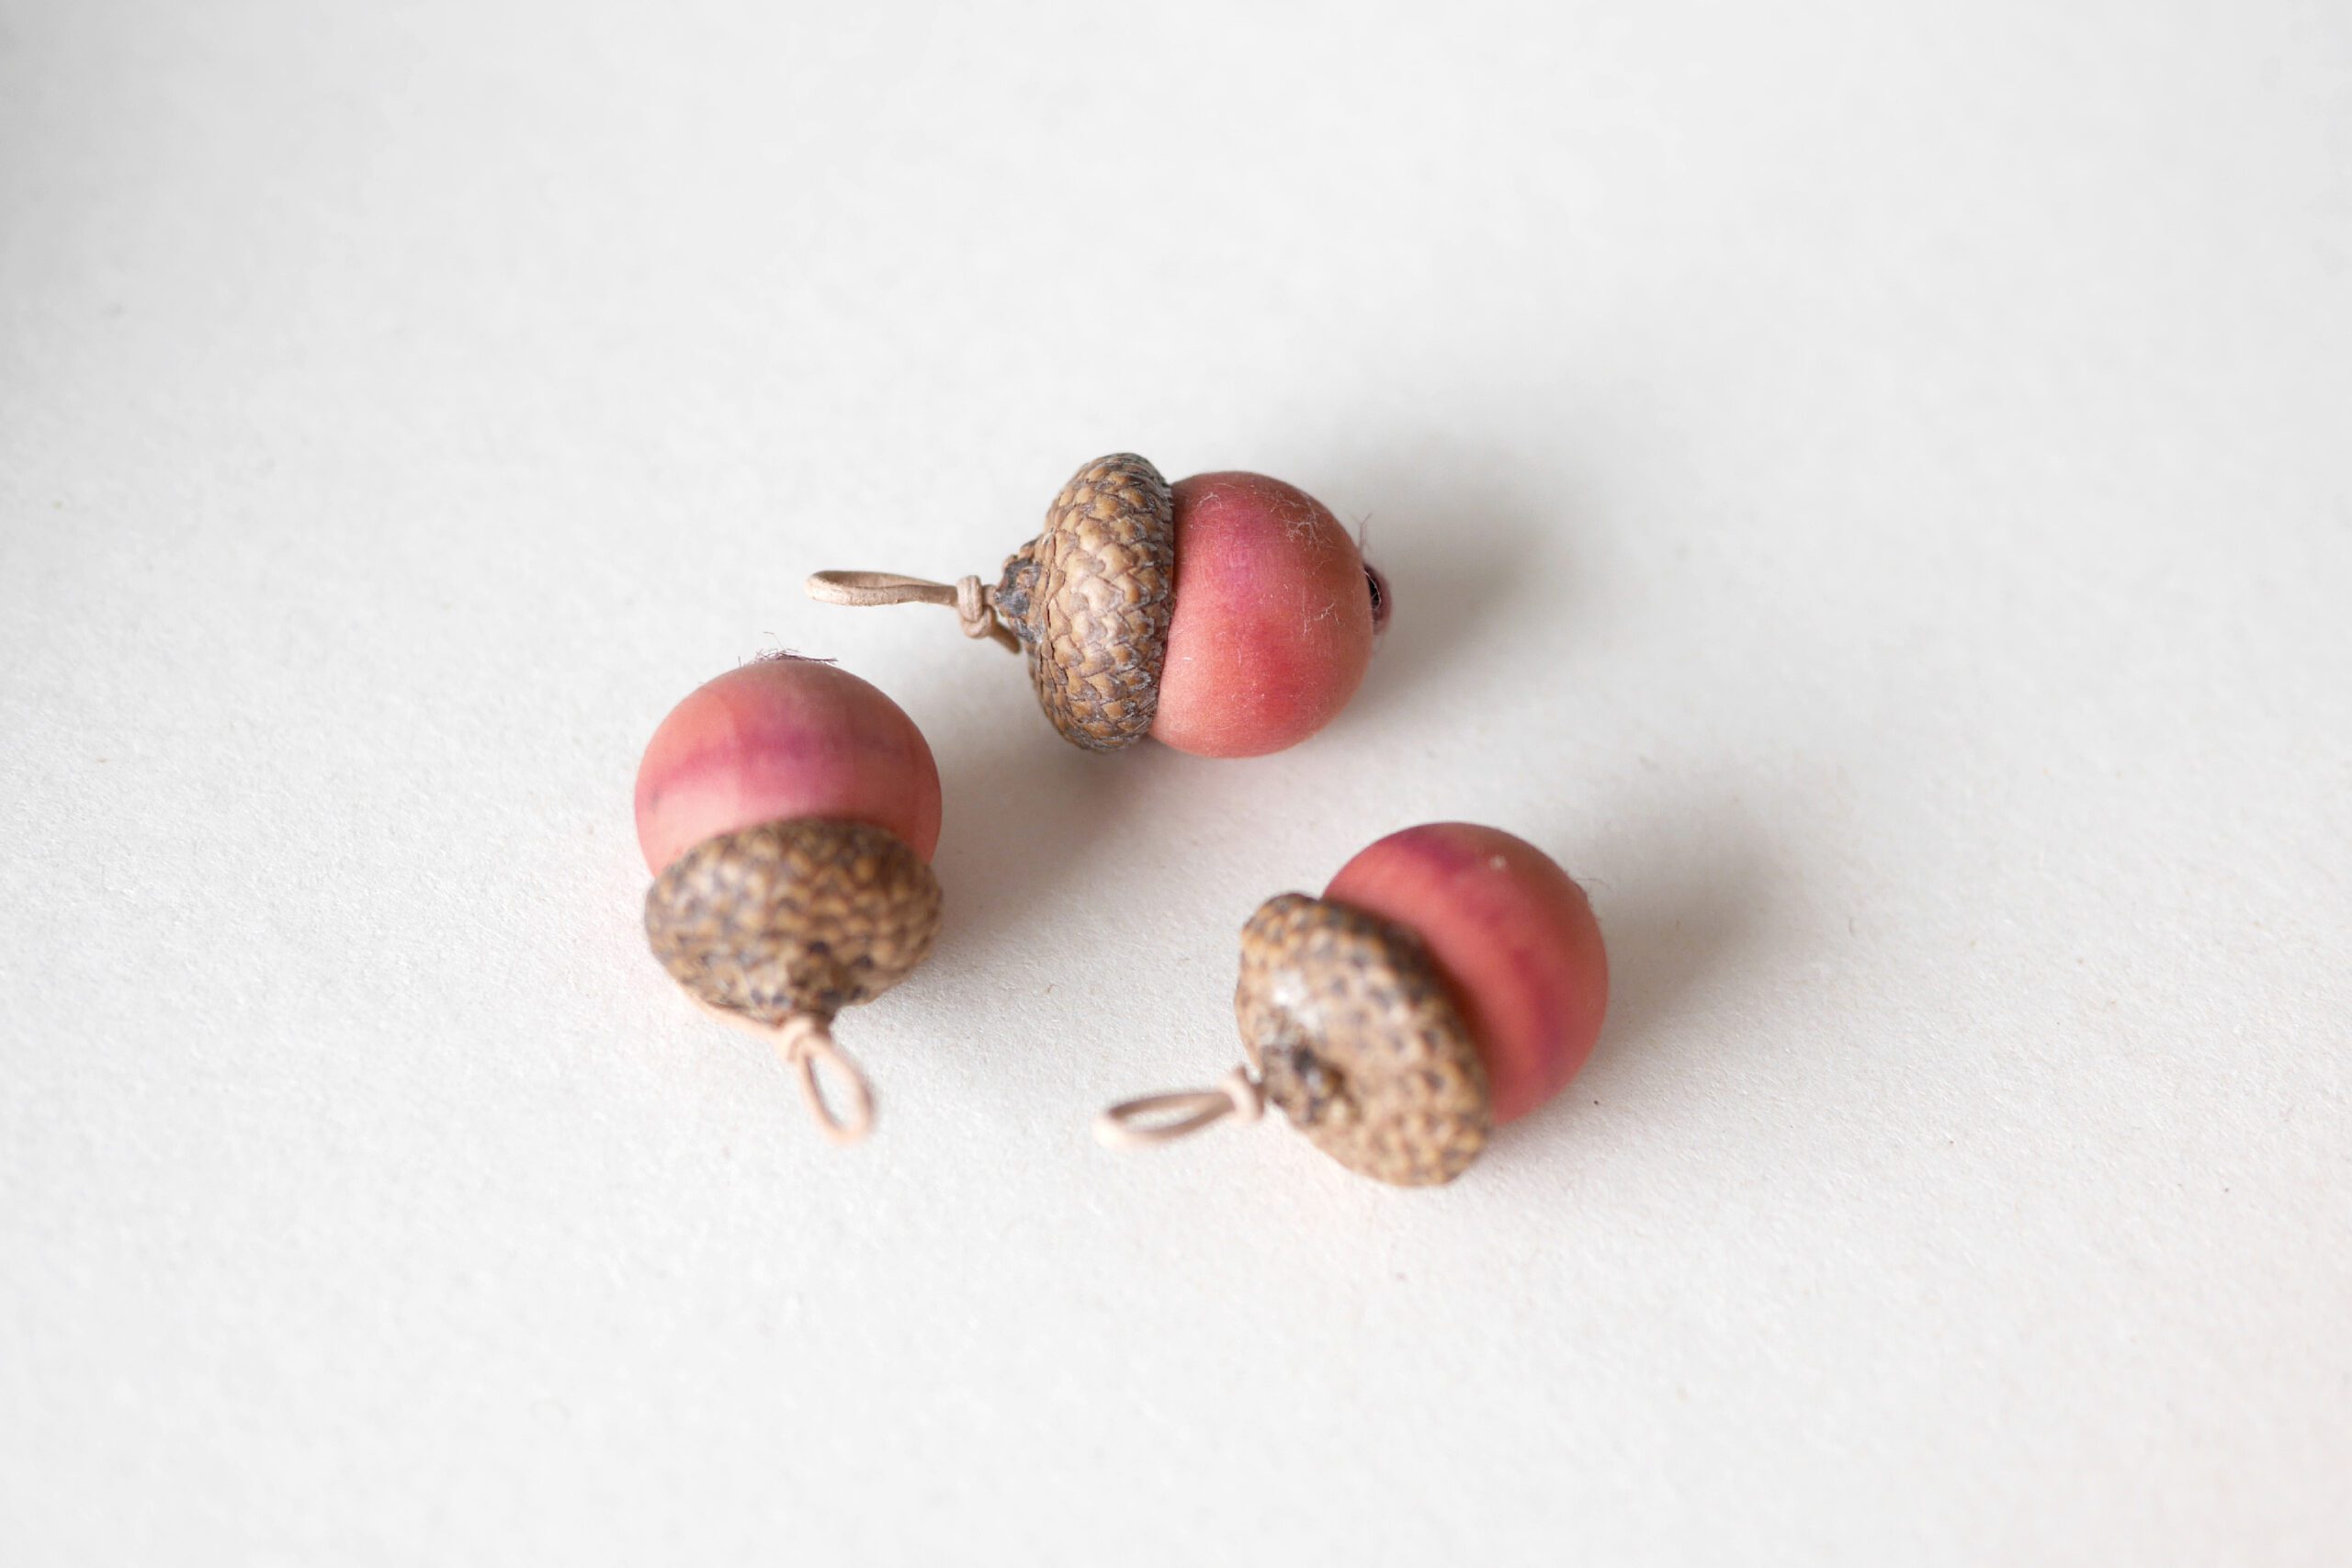
Dyed wood beads were made into acorn charms. Punch a hole in the acorn cap, thread a leather cord through, and tie it. Securely glue the acorn cap to the wood bead. Thread the string and the acorn charm pendant is complete.
The first grader’s acorns are brown with onion skin; the second grader’s acorns are yellow with turmeric. And the third grader’s acorns were dyed pink. So, what color acorns will be produced next year?
Hand-Dyed Wooden Acorn
天然染めの木製どんぐり。これは毎年、学年の終わりに恒例となっている子ども達への贈り物です。
娘の学校は一年生から八年生までクラス替えはなく、基本的には先生もずっと同じクラスを担当するのです。担任の先生は若く快活で、エネルギーに溢れていて、ユーモアがあり、とても素晴らしい先生です。一年生の時から子どもたちの共通のテーマはどんぐりでした。日頃、教室の中で良い行いをしたら先生からもらえるどんぐりの実”Kind Acorn”。手に入れたどんぐりの実は大きな瓶の中に集められ、ある一定の数が集まると公園へ出かけたり、自由な遊びができる時間を与えられたり、そんな楽しいことが待っています。なので子どもたちはみんなで協力し合いKind Acornを集めてきました。
そんな一年生が終わりを迎える頃、先生から私に相談がありました。二年生になる子どもたちへ、共通テーマであるどんぐりを渡したい。子どもたちは八年生になるまで毎年どんぐりをもらい、そのどんぐりはやがて大きく強い樫の木に成長するという、先生から子どもたちへ送る素敵なストーリーでした。
私は早速、手染めの木製どんぐりを用意しました。ペンダントには先生からひとりひとりへメッセージが書かれた葉っぱも一緒に。一年目は、一つのどんぐりをつけて。二年目は二つ目のどんぐりを。三年目には三つ目のどんぐり。学年が上がるにつれ、どんぐりの数が増えていきます。やがて卒業する頃にはたくさんの実がつくことでしょう。そして、子どもたちは樫の木のように、大きな木へと成長するのです。


用意するもの
– ウッドビーズ
– どんぐりのキャップ *森や公園で拾いました
– 染料 *オニオンスキン、紅茶、ターメリック、など
– 紐 *染める時にビーズを通して染めます
– グルーガン
– 蜜蝋ポリッシュ *もしくはオイル
– 革紐
染料について
この写真は染料の色見本です。台所にある一番身近な染料は、玉ねぎの皮、ターメリック、ブラックティーなど。どの素材も鍋に水と一緒に入れ、30分ほど煮込みます。十分な色が出たら、布で漉し、余分な皮やかけらを取り除きます。紅茶のティーパックは、そのまま鍋に入れて、パックを取り除けばいいので一番簡単な方法かもしれません。濃い茶色に染まります。

つくりかた
Step 1. 染める前に
ウッドビーズがバラバラにならないように、紐に通します。紐に通した状態で、1時間ほど水につけます。水が浸透することによって、染まりやすくなります。

Step 2. 染める
今回はピンクに染めるために、コチニールという染料を使用しました。固形の染料をすり鉢で潰して、粉状にします。すり潰した染料と水を鍋に入れます。沸騰したら弱火で30分ほど煮ます。火から下ろして、余分なものを濾して取り除いたら染料の完成です。
鍋に染料と、ウッドビーズを入れて、ゆっくり30分ほど弱火にかけます。途中、何度かかき混ぜて、ウッドビーズの全ての面が染料に浸かるようにしてください。薄い色に染めたい場合は染める時間を好きなように調節してください。

Step 3. 染料に漬ける
火から下ろして、ウッドビーズを染料ごとガラス瓶に移します。そのまま1日漬けておきます。1日置くことで、より色が浸透して濃い色に染まります。好みの色に染まったら水で洗います。
待ちきれない場合や、淡い色に染めたい場合はすぐに取り出して水ですすいでもよいでしょう。

Step 4. 乾燥させる
ウッドビーズの中まで十分に乾燥させるには、2−3日日陰にそのまま置いておくのがいいでしょう。天然染料は、直射日光により色が褪色することがあるので、必ず直射日光を避けて乾燥させてください。

Step 5. 蜜蝋ポリッシュを塗る
十分に乾燥すると、写真のように色が落ち着き、表面が乾燥した状態になります。仕上げに蜜蝋を塗ると、美しい艶が出てより色の発色がよくなります。身近なオイルでも構いません。ぜひこの工程をお試しください。


木製どんぐりに仕立てる
染めたウッドビーズは、その後どんぐりのチャームとして仕立てました。どんぐりキャップに穴を開け、革紐を通して結びます。どんぐりキャップとウッドビーズをしっかりと接着します。紐に通したらどんぐりチャームのペンダントの完成です。一年生のどんぐりは、オニオンスキンで茶色に。2年生はターメリックで黄色。そして、3年生のどんぐりはピンク色に染めました。さて、来年はドングリを何色に染めるのでしょうか。


