Hand-rolled Beeswax Candle
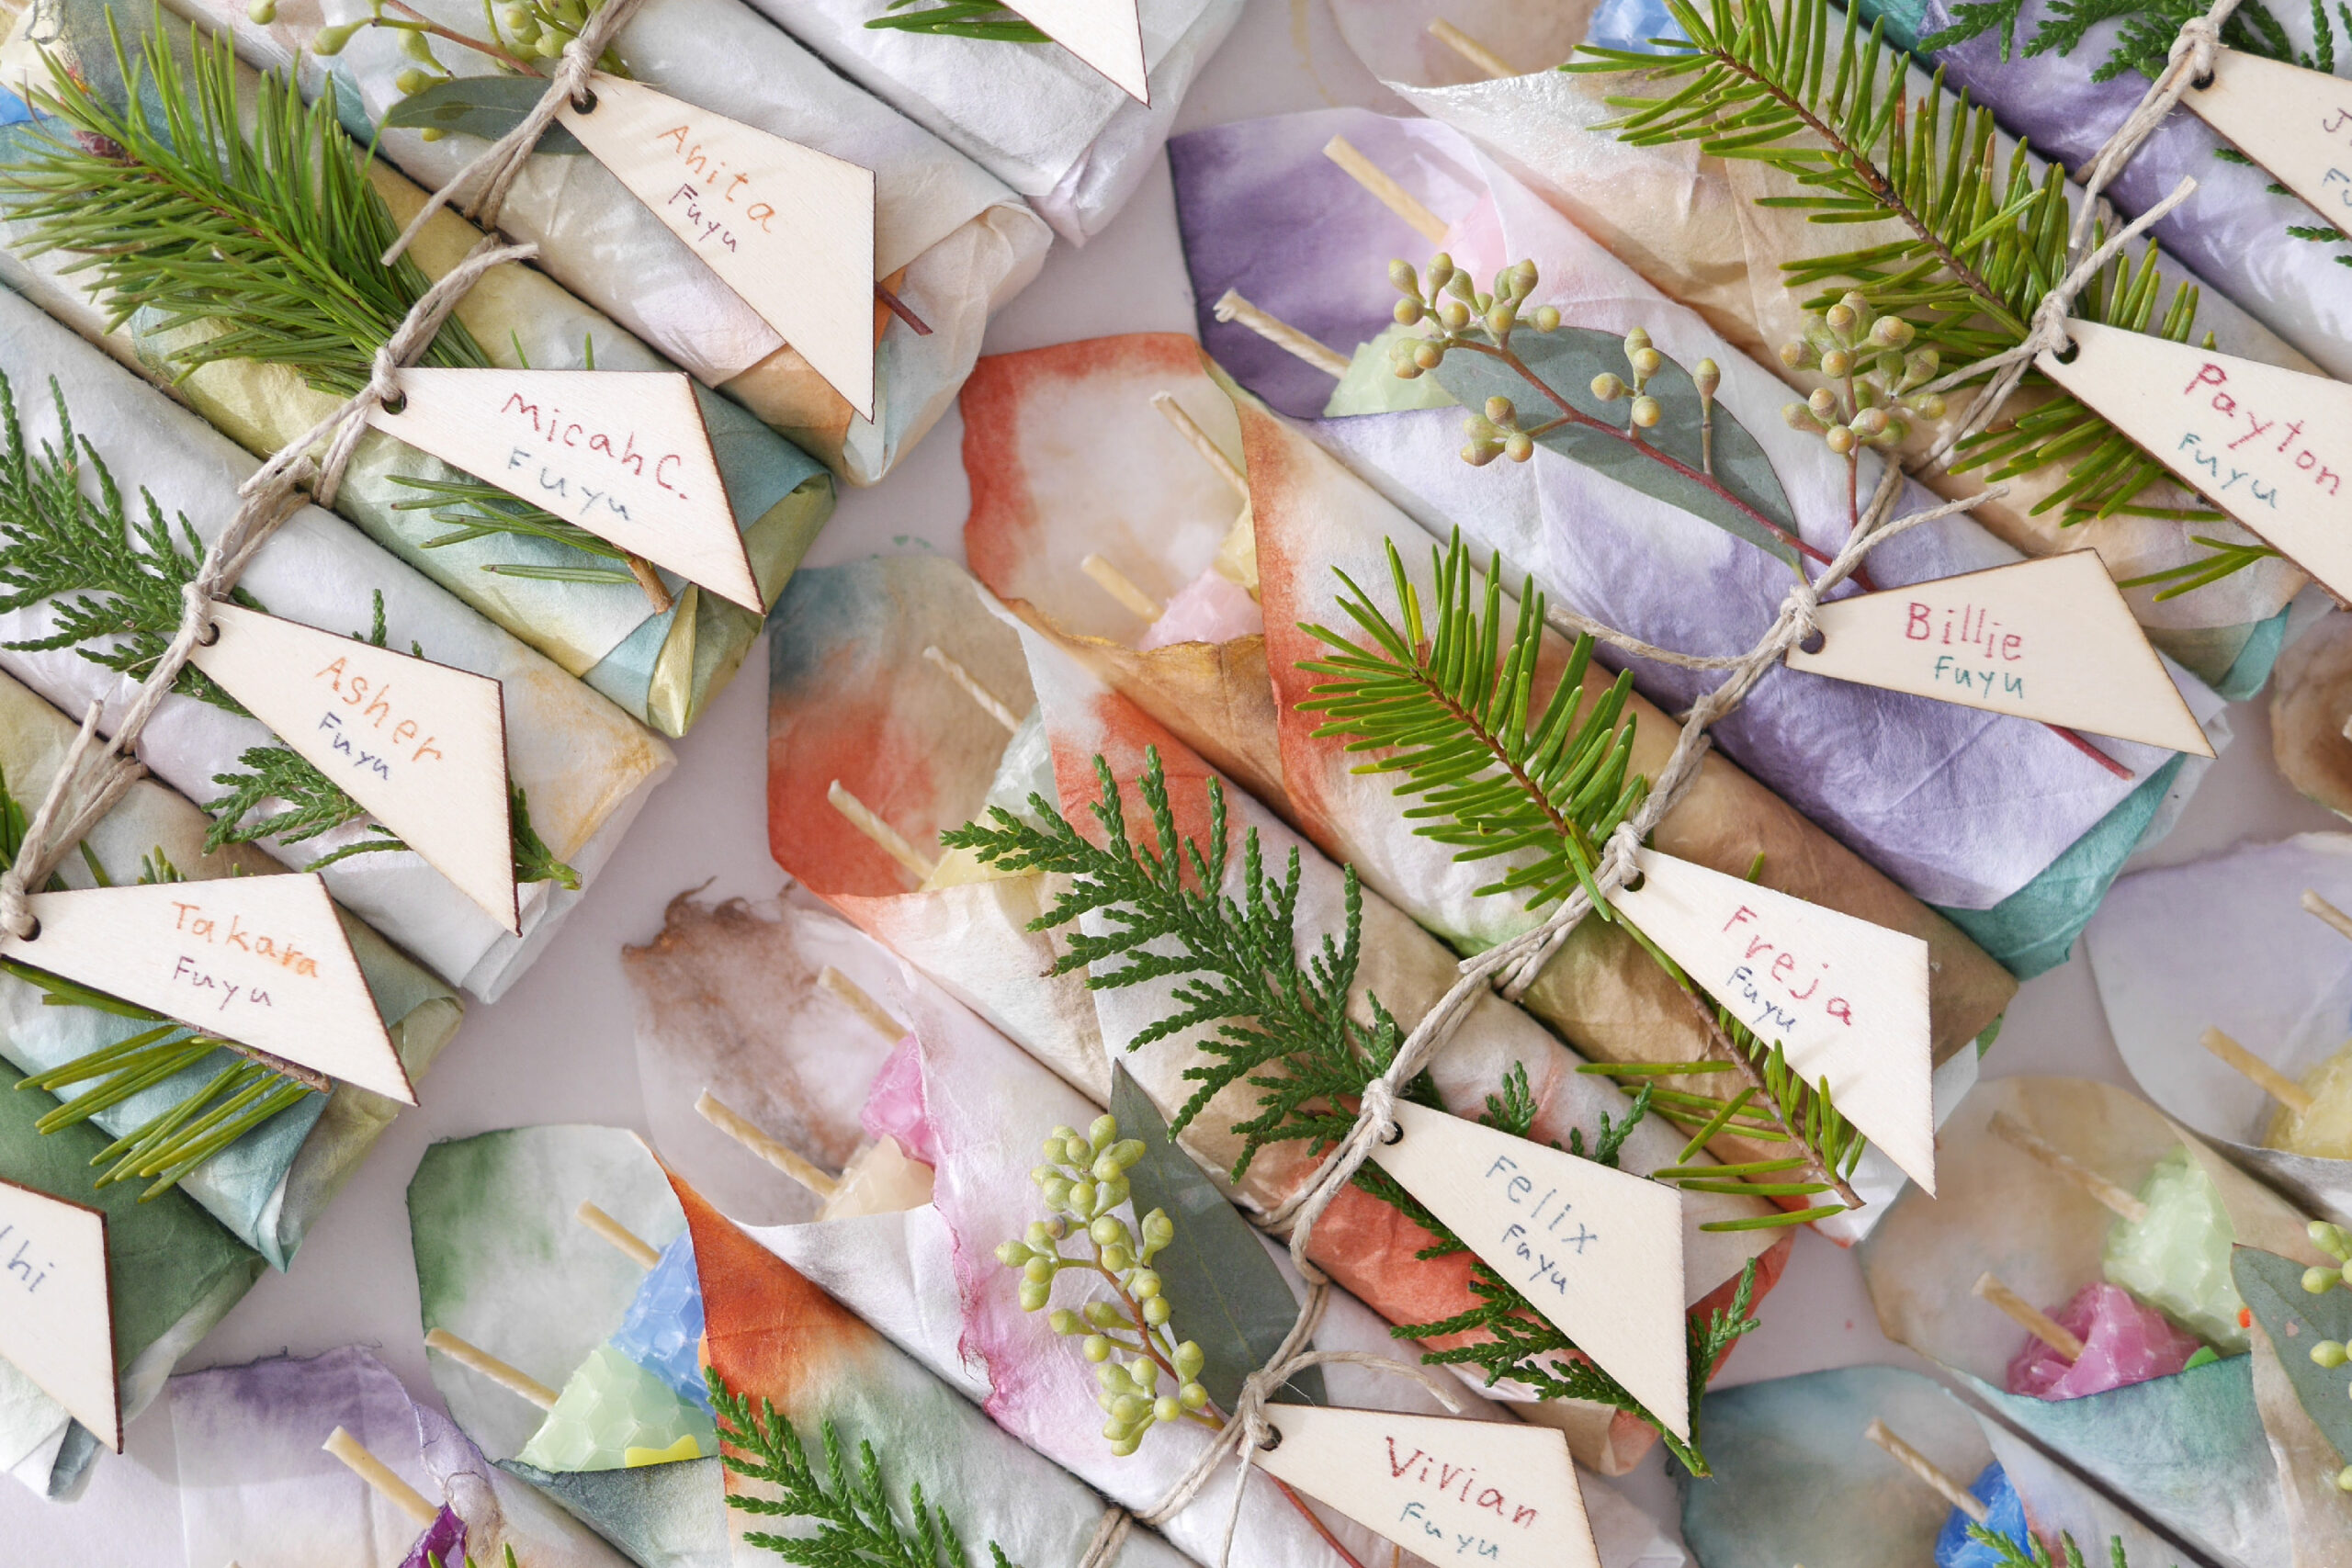
Handmade candles made by rolling up of beeswax sheets. Every year, it has become our tradition to give these candles along with holiday cards to those who have helped us and to our friends or classmates. My daughter loves this process and is always happy to help. One sheet of beeswax can be cut into four pieces to make four small candles. The small sheets are easy to wrap around a kid’s hands and are the perfect size for gifts. The time spent working with the sweet aroma of beeswax is a healing time for us. And when wrapped in Orizome paper, they make the perfect gift for the holiday season. This year I will be giving them as a greeting from ARUHI to those around me for appreciation. With gratitude to the bees too. Wishing you a wonderful holiday with cozy candlelight.


Materials
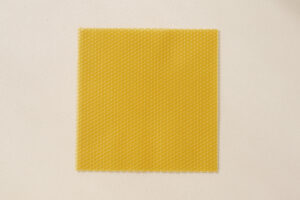
– Beeswax Candle Sheets
– Candle wick
– Cutter
– Orizome paper, or wrapping paper *Orizome instructions are here
– Greens or dried flowers
Instructions for making
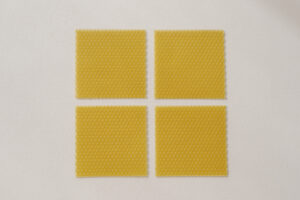
Step 1. Cut the Candle Sheets
Cut the candle sheet into quarters with a cutter. The finished candle will be about 10cm long. Cut the wick 1~2cm longer than the beeswax sheets.
Step 2. Wrap the Candle Wick
Place the core on the edge of the sheet and lightly hold it down with your hand to make it adhere. Then, slowly roll it up from the edge. Finish by gently pressing down on the edges as if warming them with your hands.

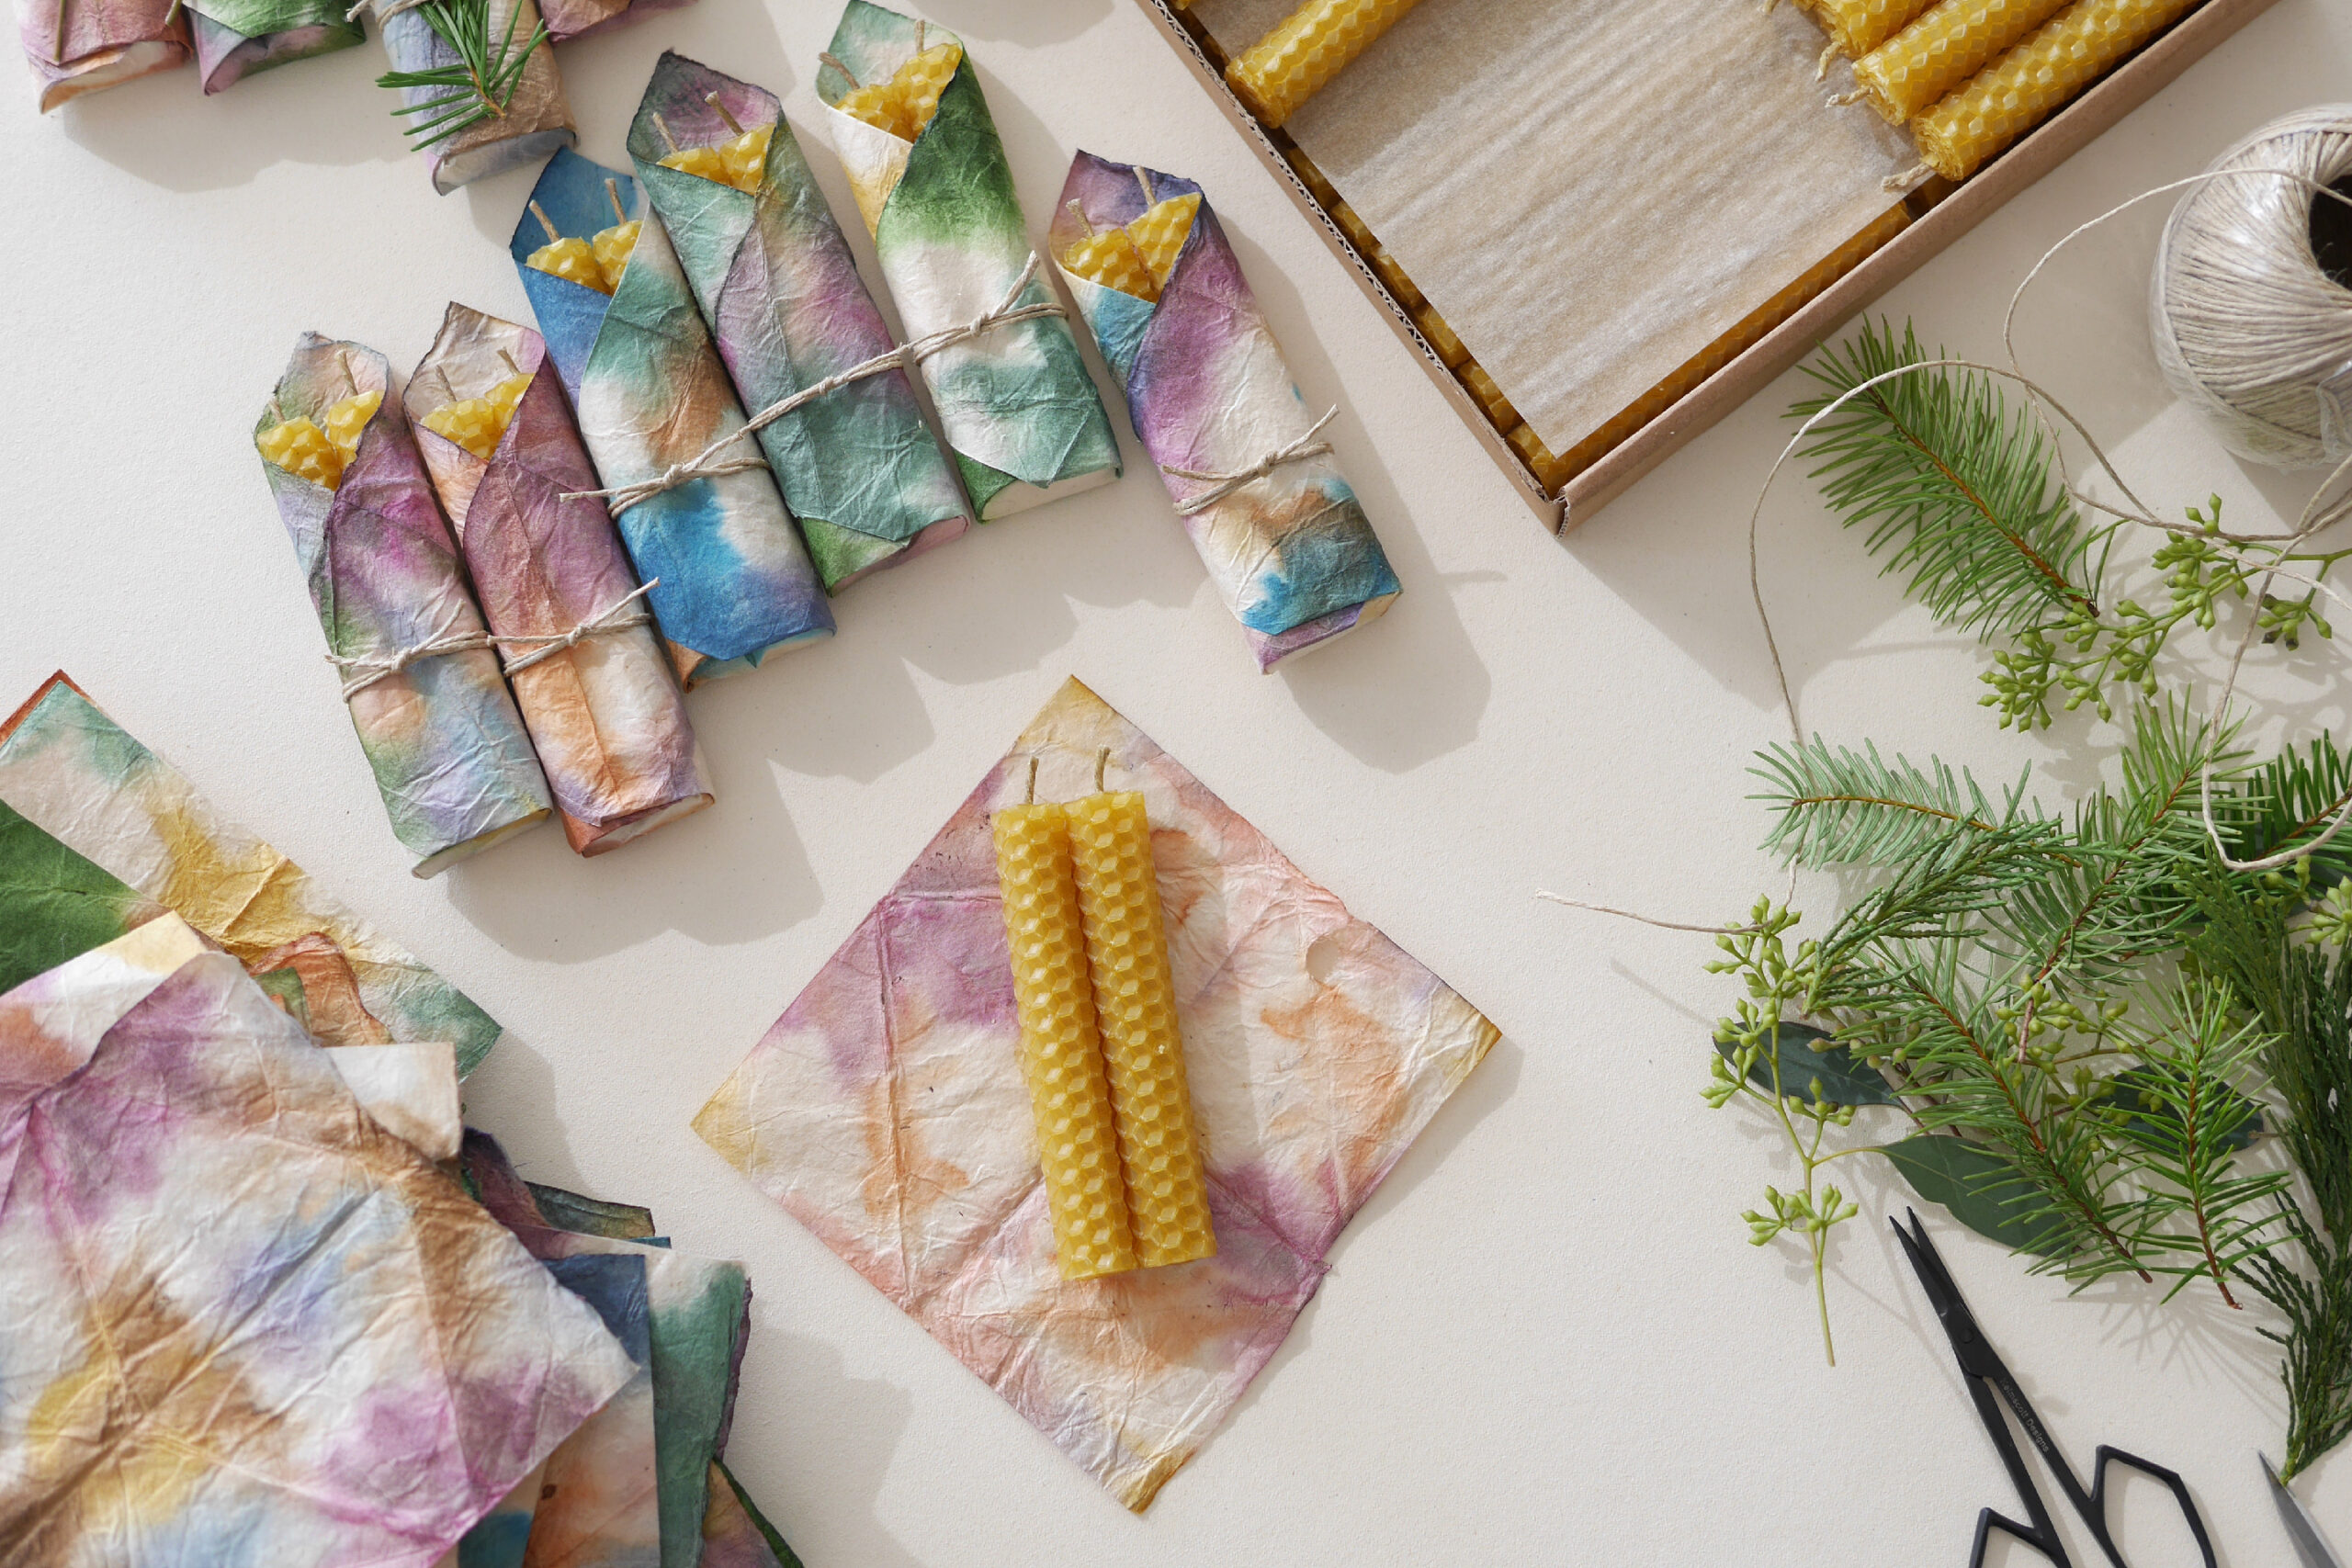
Step 3. Wrap with Orizome
Cut a piece of Orizome paper to 13 cm x 13 cm. Place two candles slightly above the center of the paper and wrap tightly from bottom to top, then left to right. Fasten with string and decorate with greenery.

Candle Decorating
This is an option to decorate candles. Using Decorating beeswax sheets and mini shape cutters, you can decorate a candle with a single point of interest. You can create shapes such as flowers, stars, mushrooms, leaves, etc. by combining the die-cut shapes. Of course, you can also create your own shapes with your hands, just like modeling with clay.

Hand-rolled Beeswax Candle
蜜蝋シートを巻いてつくる手作りのキャンドル。毎年、この時期にお世話になった方々や学校のお友達へ、ホリデーカードと共に贈るのが私たちの定番になっています。娘はこの作業が大好きで、いつも喜んでお手伝いしてくれます。一枚の蜜蝋シートを4つに切れば、4つの小さなキャンドルができます。小さなシートは子どもの手でも巻きやすく、贈り物にもぴったりのサイズ感。蜜蝋の甘い香りと共に作業する時間は、私たち親子の癒しの時間になっています。また、折り染めの紙で包めば、ホリデーシーズンのギフトに最適です。今年はこのARUHIのご挨拶として、周りの方々へ感謝を込めて贈ろうと思います。蜜蜂たちに感謝して。やさしいキャンドルの光と共に。素敵な祝日を過ごせますように。
用意するもの
– 蜜蝋キャンドルシート
– キャンドルの芯
– カッター
– 包装紙 *折り染めの手順はこちらです
– グリーンやドライフラワー
つくりかた
Step 1. キャンドルシートを切る
キャンドルシートをカッターで1/4に切ります。キャンドルの仕上がりは長さ10cmほどです。芯は蜜蝋よりも1〜2cmほど長く切ります。
Step 2. 芯を巻く
シートの端に芯を置き、軽く手で抑えて密着させます。そして端からゆっくりと巻いていきます。最後は端をやさしく手で温める様に押さえて完成です。
Step 3. 折り染めで包む
折り染めの紙を13cm×13cmにカットします。キャンドル2本を紙の中心よりやや上に置き、下から順に→左→右としっかり包むように巻きます。紐でとめてグリーンを飾ればできあがり。
キャンドルの飾り付け
これはキャンドルを彩るオプションです。ワックスシートと抜き型を使って、キャンドルへワンポイントの飾り付けをします。花や星、きのこ、葉っぱなど、抜き型を組み合わせて形をつくります。もちろん、粘土の様に手で自由に形を作ってもいいですね。