Origami Paper Lantern
November has arrived and it is time to get ready for winter.
The Lantern Walk is held every year at this time. It is a traditional autumn celebration that brings light into the darkness as we head toward the winter solstice, when the days get shorter and the nights get longer. Walking along the night paths with lanterns light, we feel connected to nature and to our community, reminding ourselves that each of us is a light in the darkness. In this way we mark the rhythm of the year with traditional celebrations.
This time I decided to prepare origami lanterns, which I came up with while doing origami. Paper lanterns are safer for outside walks. You don’t have to worry about the jar breaking if you drop it. This modern lantern is made by folding paper into a three-dimensional shape. Here are the steps for making it.
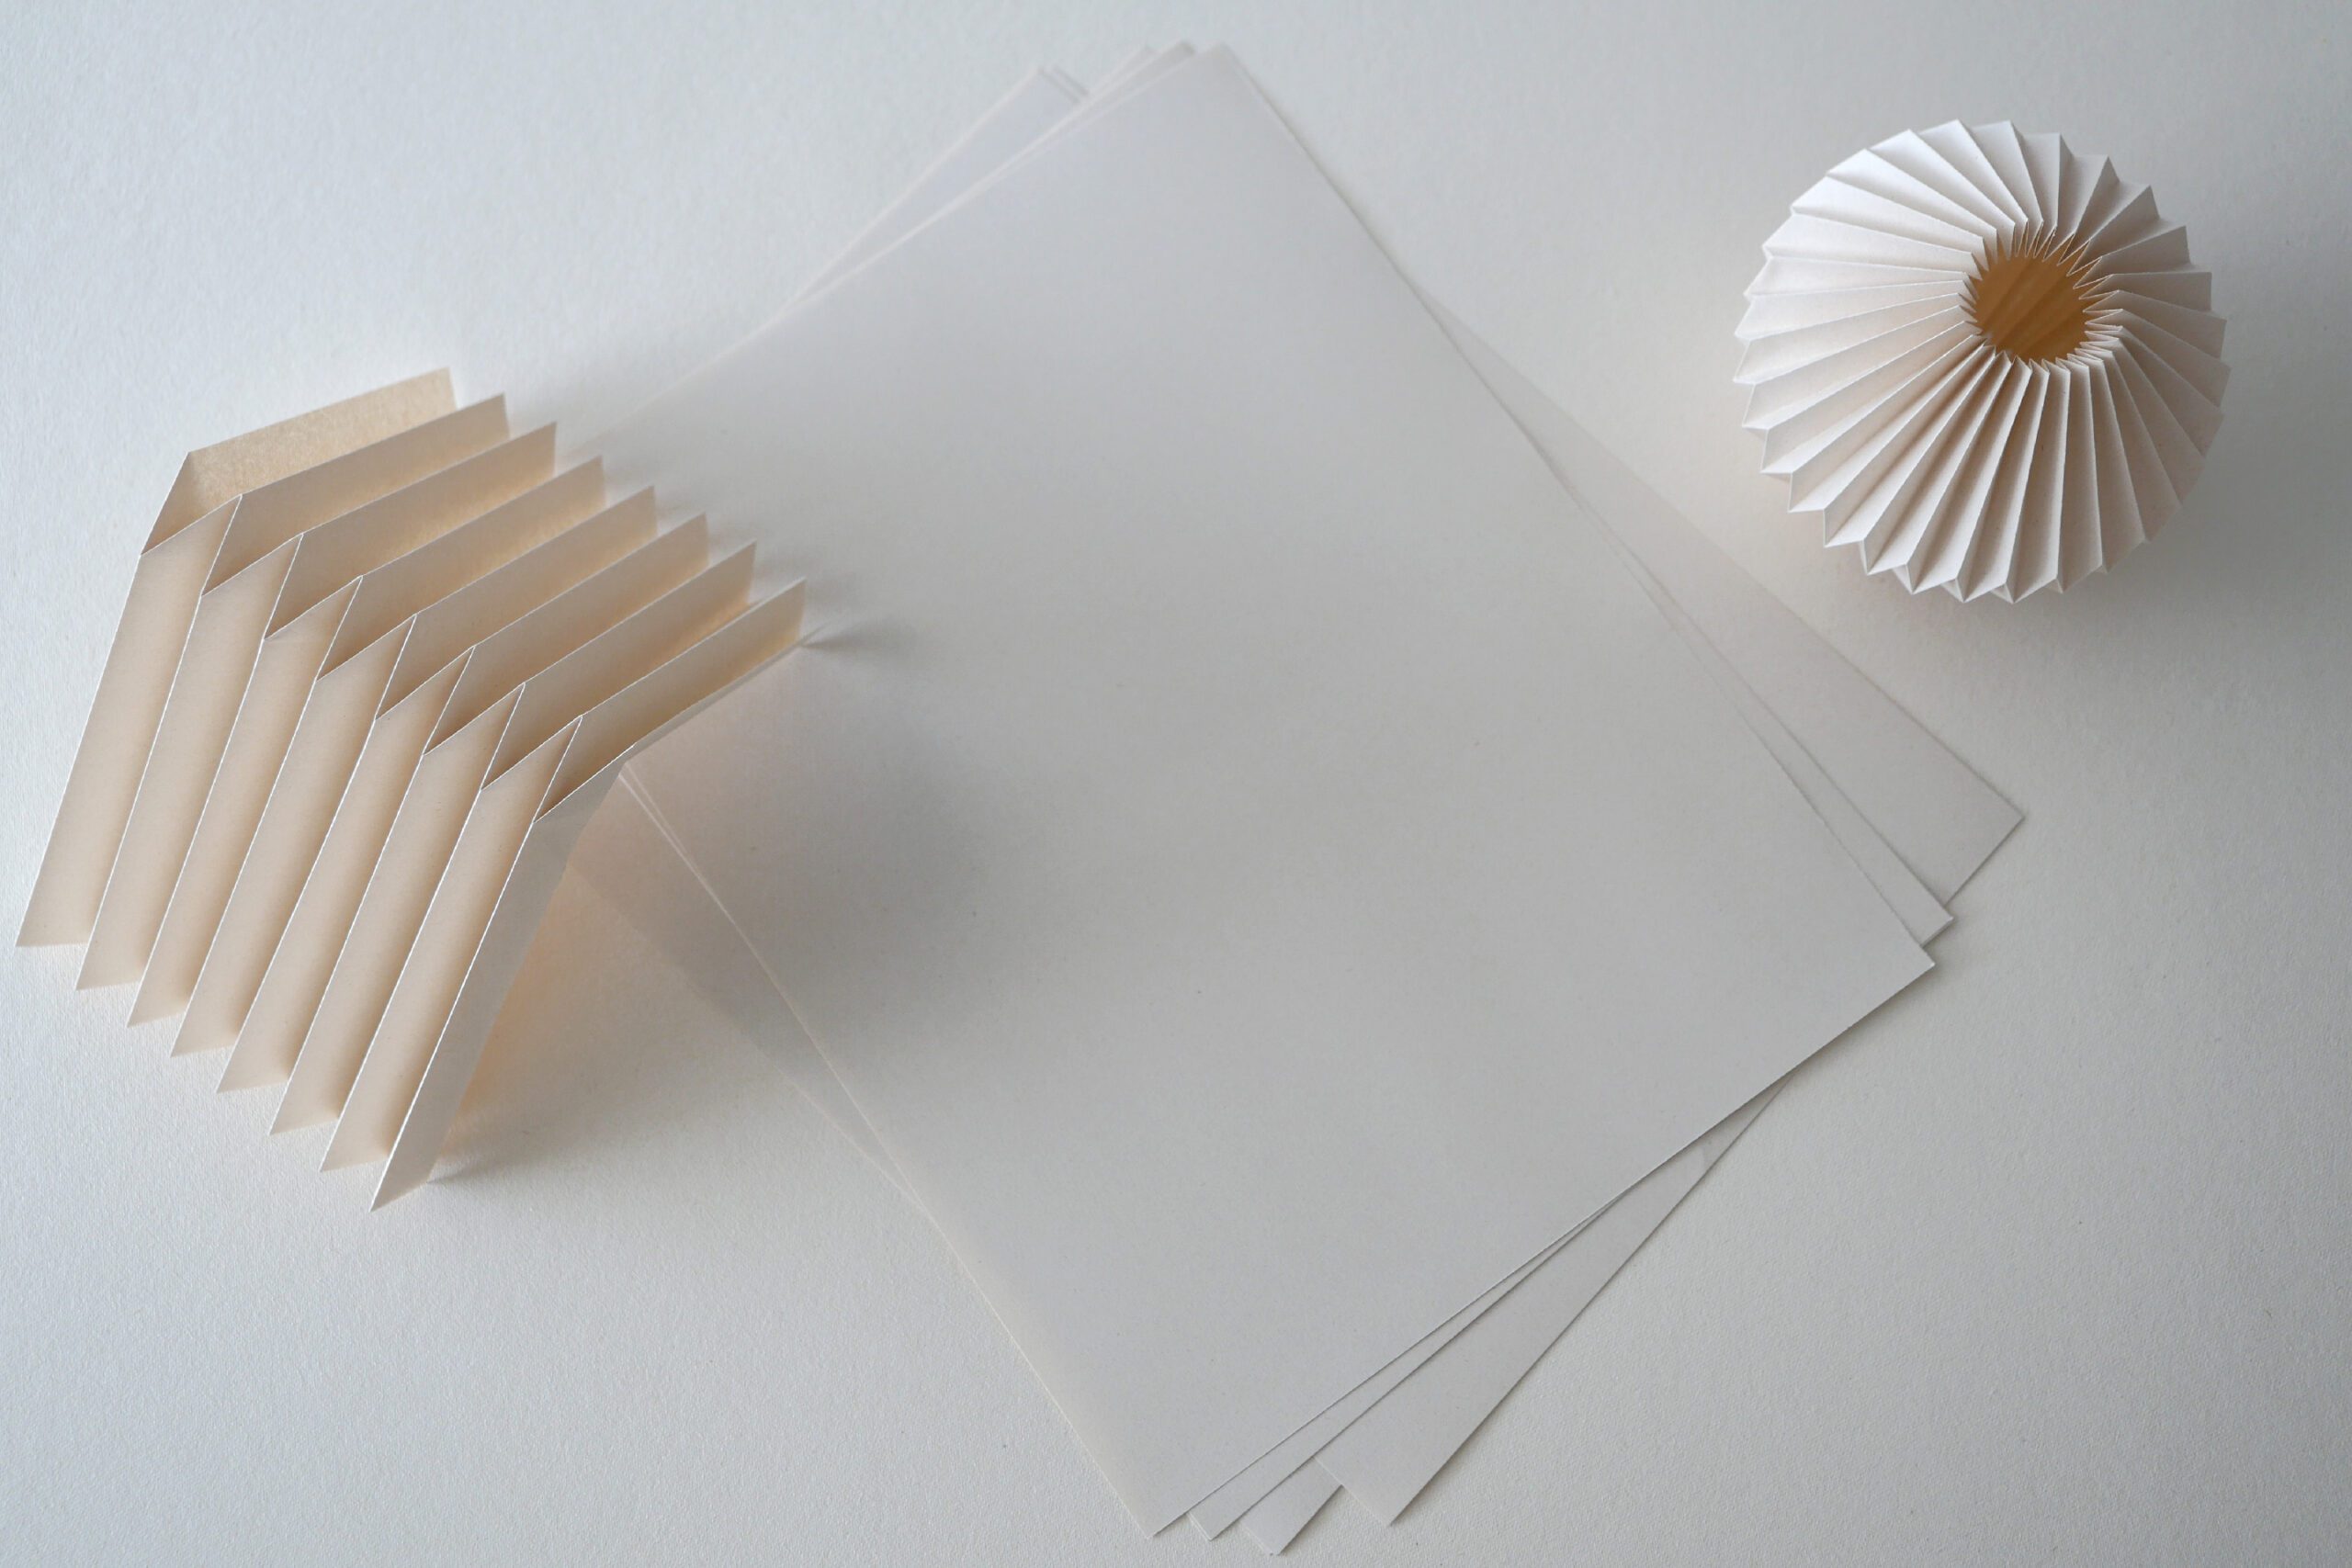
Materials
– 5 sheets of letter size paper
– Glue
– String and sticks to hang lanterns
– Flameless tea lights*
*It is made of paper, it should not be used for actual fire candles to avoid fire danger.
Instructions for making
Step 1. Fold a Paper into a Bellows
Fold the paper in half, then in half again, and continue folding until you have 16 equal pieces and fold it into a bellows.


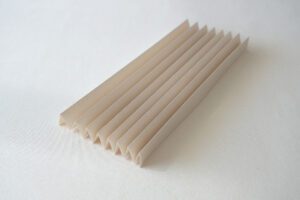
Step 2. Alternately Fold Paper
Once open, fold in half horizontally. Starting from the end, open the inside out and fold into a triangle as shown in the photo. Repeat alternating the mountain and valley folds along the bellows to form the crease as shown in the photo.
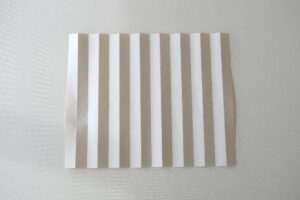





Step 3. Glue the Parts
Make five identical parts, glue the ends together and connect them. Once the five parts are connected, join the first and last parts to form a loop.



Step 4. Close with a Thread
Close the part that will be the bottom with thread. Join the bottom 1 cm from the bottom as if sewing with thread, and finally, tie the thread into a knot. Thread a string through the top and tie it to a stick. If you want to decorate it, you can also use wood beads like we did. After you put the tea lights in, you can slide the wood beads to close or open the top.
Hanging tassels or decorating with fallen leaves or other natural objects would be beautiful and seasonal.
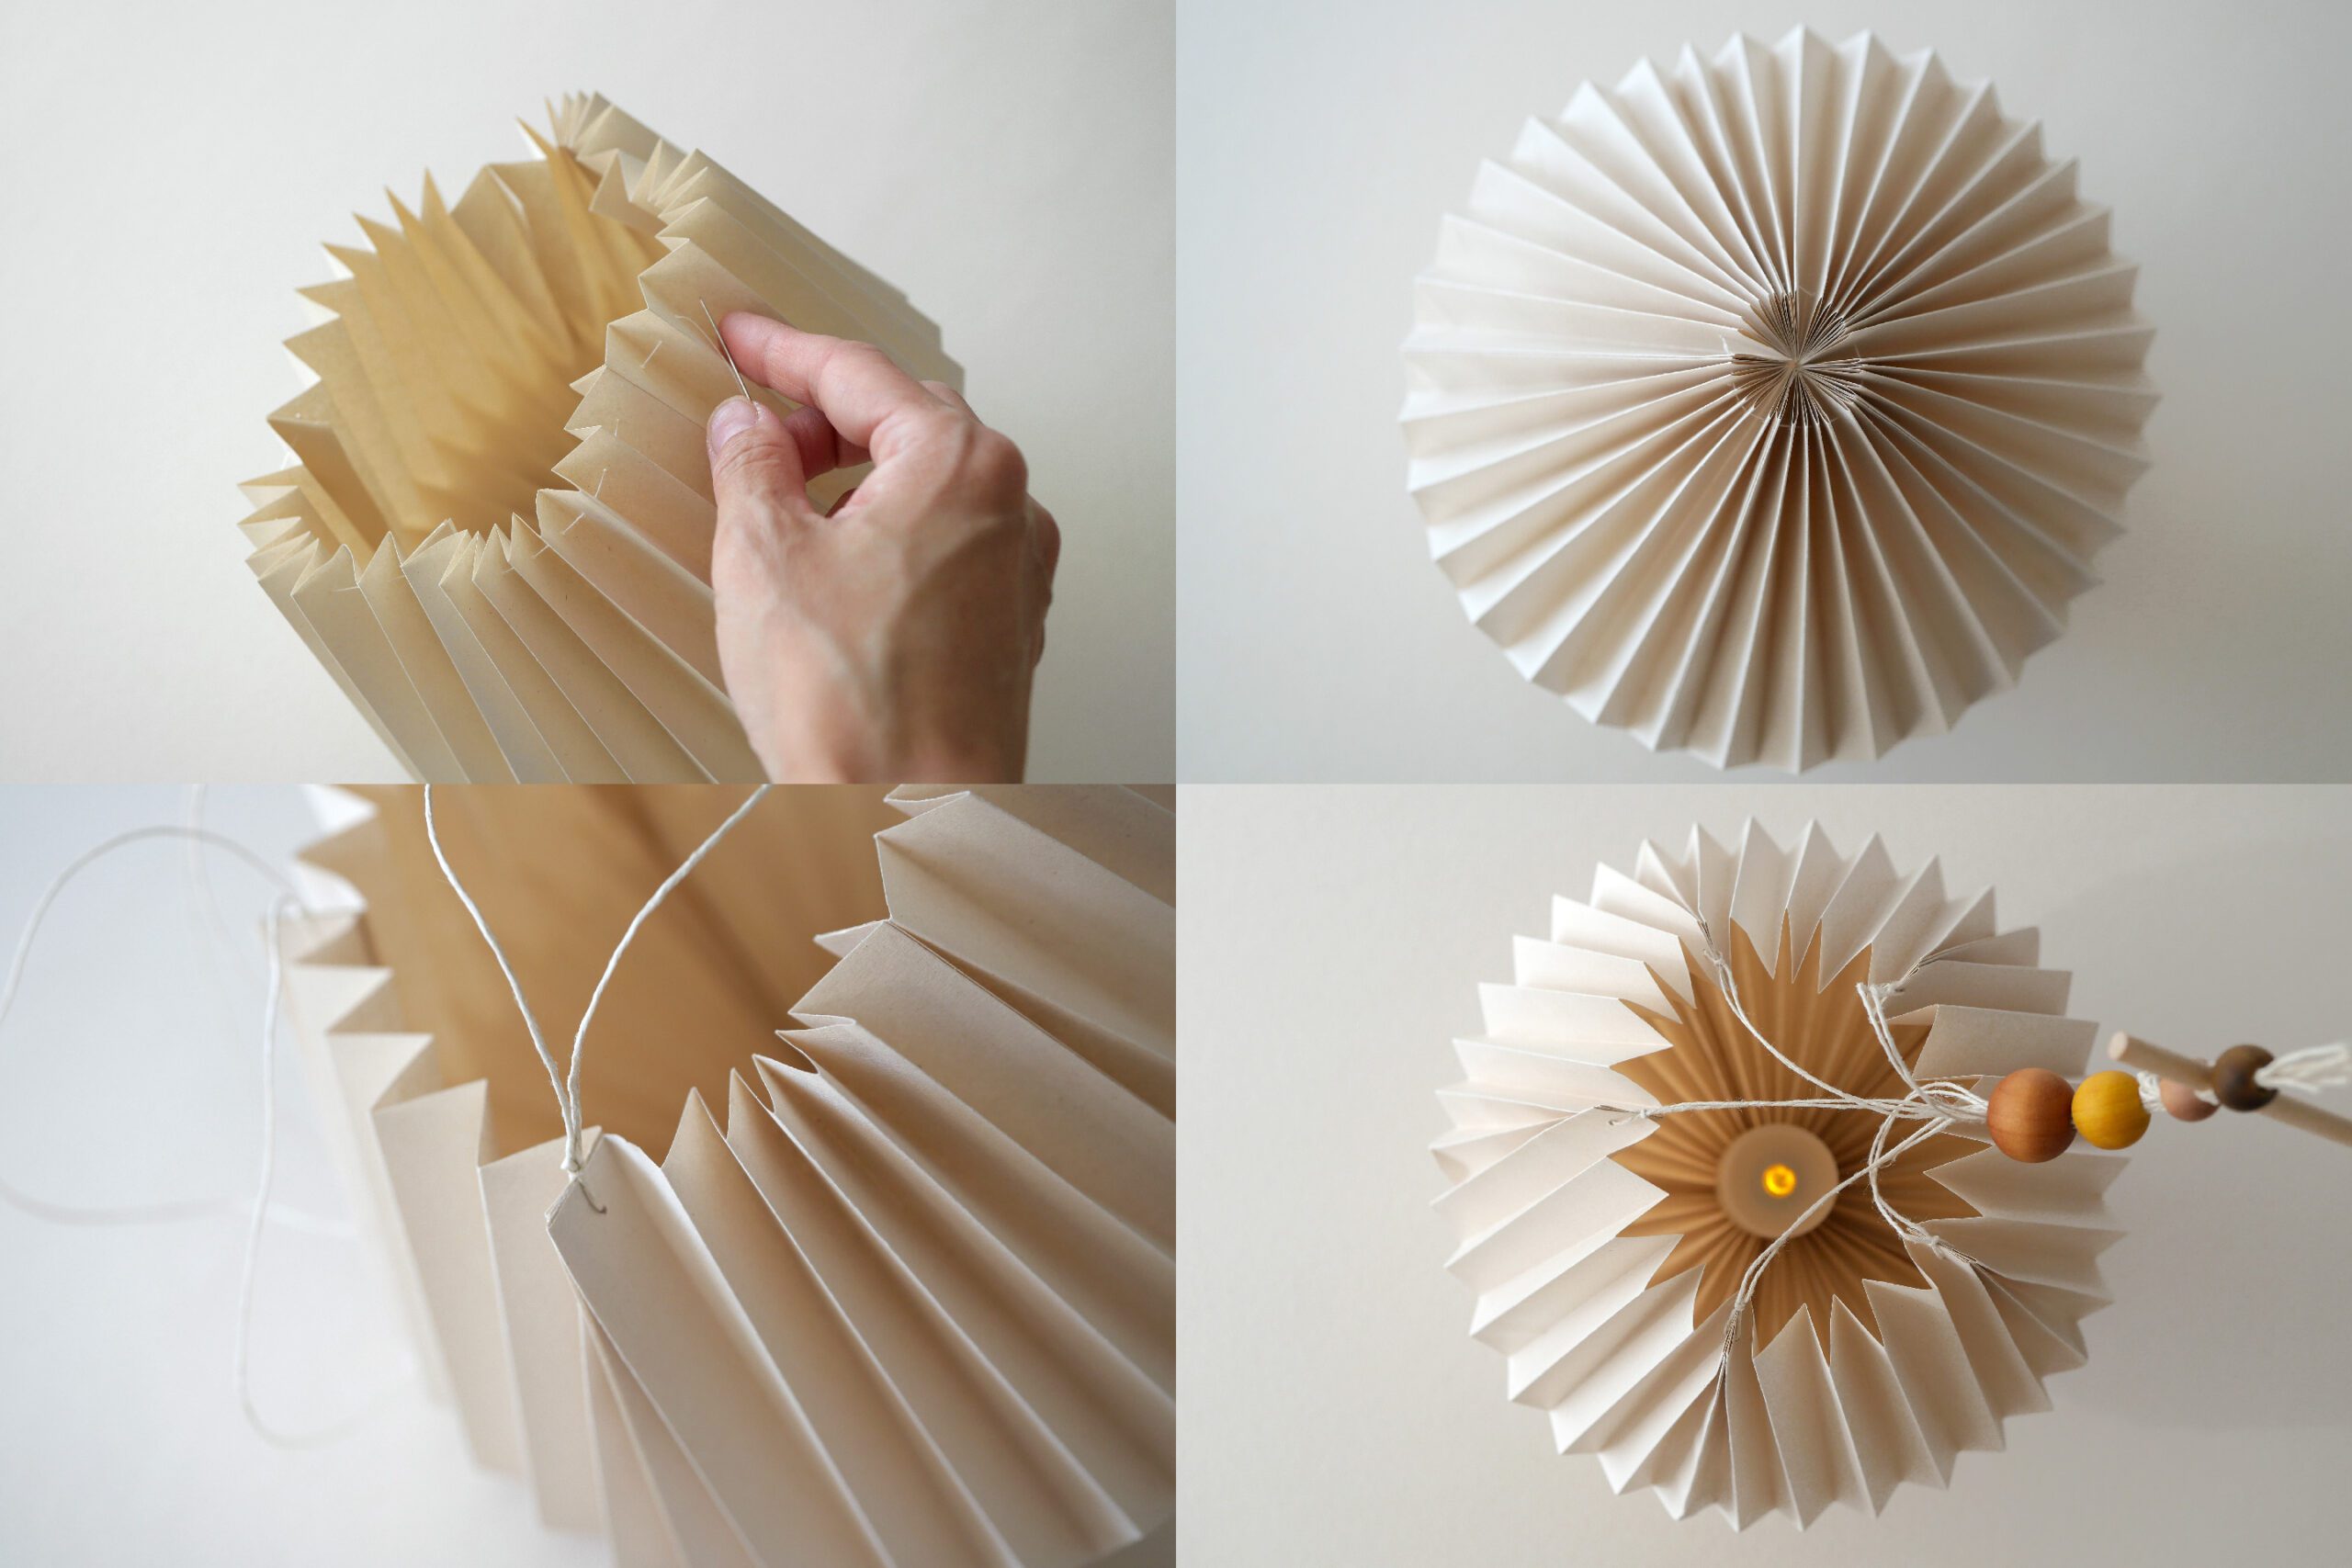

Arrangement of Sizes
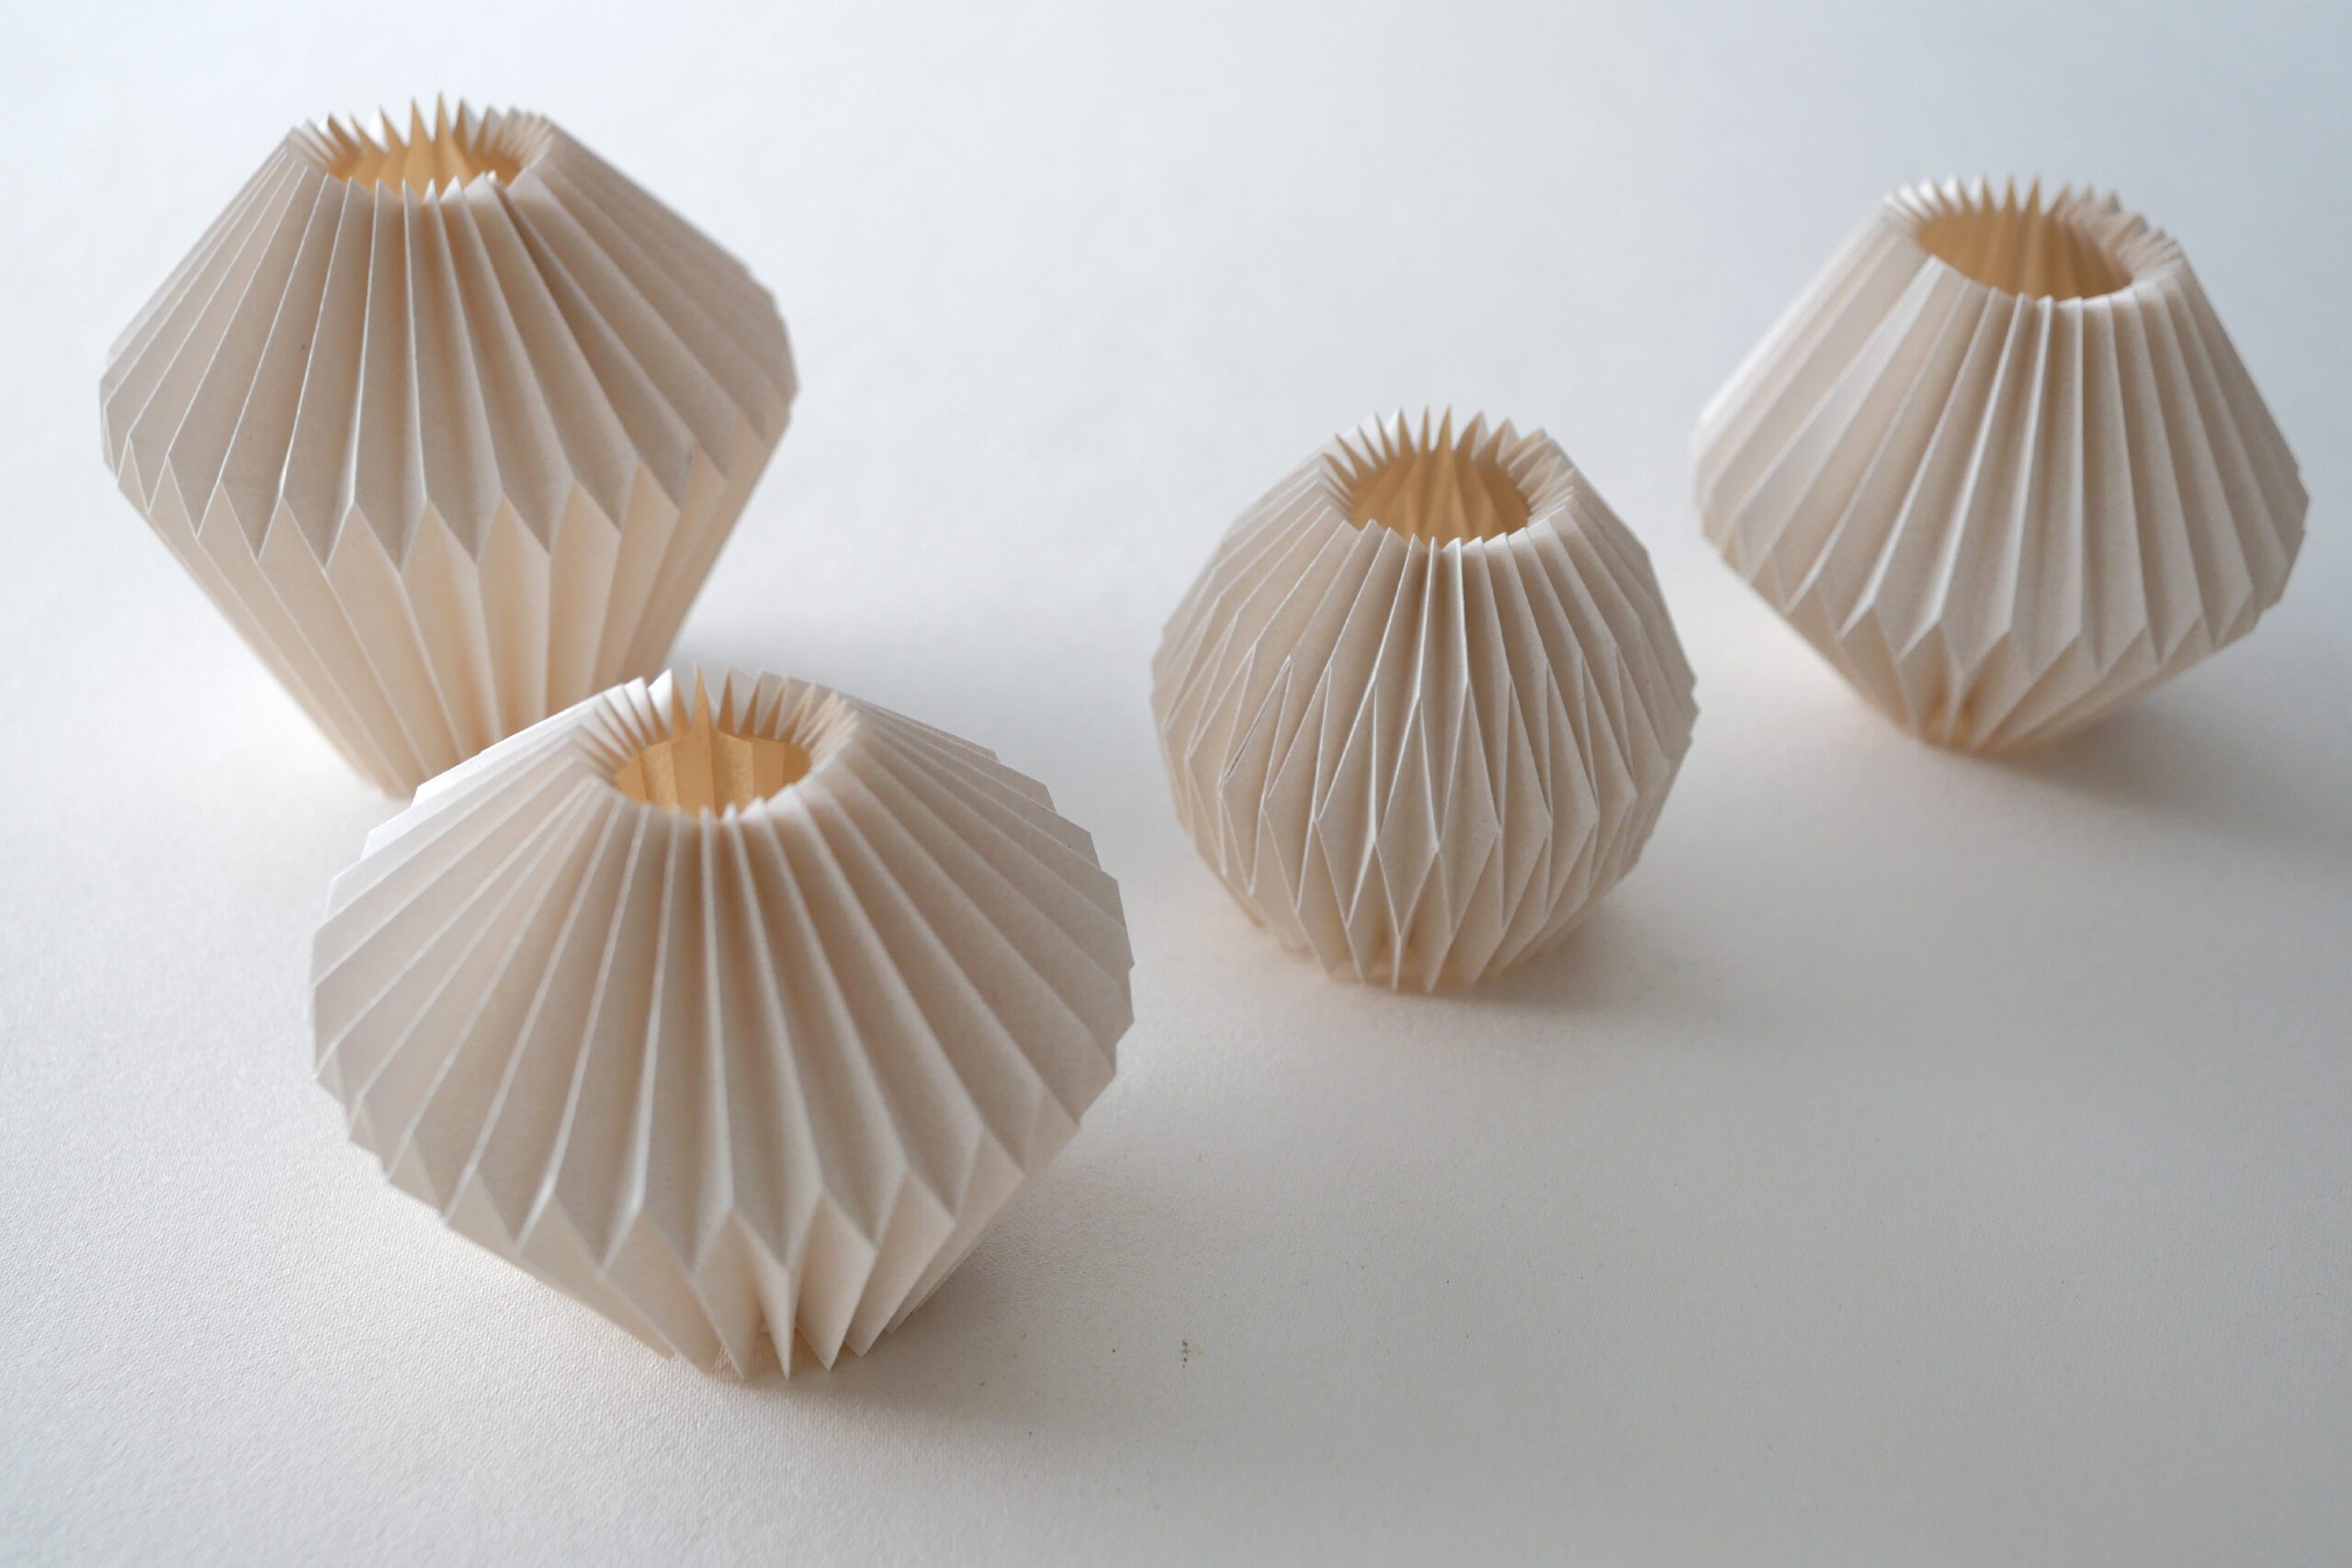
The lanterns can be arranged in different sizes and heights, and can be hung or used on a tabletop. For the small lantern on the table, a piece of letter-size paper is cut in half horizontally and bellows into 32 equal pieces. Two of these pieces are connected together. After connecting the parts, the lantern is completed by covering the flameless tea lights as it is.





Origami Paper Lantern
11月に入り冬を迎える準備をするときがやってきました。
毎年この時期に行うランタンウォーク。日が短くなり夜が長くなる冬至へ向けて、暗闇に光をもたらす伝統的な秋のお祝いです。ランタンの火を灯しながら夜道を歩き、自然とのつながり、コミュニティとのつながりを感じながら、私たち一人一人が暗闇の中の光であることを心に思い起こします。そしてこうして伝統的なお祝いをすることで、一年のリズムを刻むのです。
今回私は折り紙をしていて思いついた折り紙ランタンを用意することにしました。外の散歩では紙製のランタンが安全です。瓶を落としてしまい割れる心配はありません。紙を立体的に折ってつくるモダンなランタン。つくり方の手順をご紹介します。

用意するもの
– レターサイズの紙 5枚
– 糊
– ランタンを吊るす紐と棒
– 電池式のティーライト*
*紙製のランタンなので、火災の危険を避けるため、実際の火を使うキャンドルには使用しないでください
つくりかた
Step 1. 紙を蛇腹に折る
紙を半分に折り、また半分に折り、それを続けて16等分になるまで折ります。一度開き、折り目に合わせて、蛇腹に折ります。


Step 2. 紙を交互に折る
一度開いて横半分に折ります。端から順番に内側を開いて写真のように三角形に折ります。蛇腹に沿って山折りと谷折りを交互に繰り返して、写真のような折り目をつけていきます。


Step 3. パーツをつなげる
5つ同じパーツをつくり、端に糊をつけてつなげていきます。5つつなげたら、最初と最後のパーツをつなげて輪にします。


Step 4. 糸で閉じる
底辺になる部分を糸で閉じます。下から1cmほどのところを、糸で縫うように繋いで行き、最後に糸を絞って結びます。上部には紐を通して、棒にくくりつけます。デコレーションしたい場合は、私たちのようにウッドビーズを使うこともできます。ティーライトを入れた後、ウッドビーズをスライドさせれば、上部を閉じたり開けたりすることができます。
タッセルをぶら下げたり、落ち葉や自然のものでデコレーションしても季節を感じられて美しいと思います。


サイズのアレンジ
大きさや高さを変えたり、ぶら下げたり卓上で使ったりとアレンジが楽しめます。卓上の小さなランタンは、レターサイズを横半分に切った紙を32等分に蛇腹にします。そのパーツを2枚つないでつくりました。パーツをつなげたあとはそのままティーライトの上にカバーすれば完成です。


