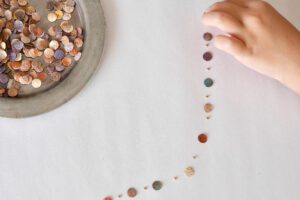
Paper Sequin Necklace
This is a sequin necklace made of paper. You start by cutting out the paper one by one to create original sequins.
The paper used is the original dyed paper. However, it is simple. Thick Japanese paper or drawing paper is painted on both sides. The unique hand-dyed gradation of shades creates sequins with different expressions one by one. These individual differences in color give a variety of expressions when made into a necklace.
Once the paper sequins are completed, it is a simple task to thread them alternately with beads. It takes a bit of patience, but I was impressed by the concentration of the child here. My daughter, who had just turned six at the time, completed the necklace in a few days. She took her time and was patient, resting when she got tired.
I think the combination of plain white paper and colorful beads is also wonderful. The colors of paper, patterns, types of beads, and variations are endlessly conceivable.

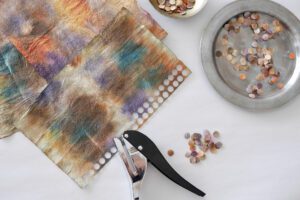
Materials
– Paper *I used hand-dyed paper
– hole punch *I used this Hole size: 5/16 inch (8mm)
– Needle for beads
– Thread
– Beads
– Needle or Stitching awl
*It’s made of hand-dyed paper, so please be careful of rain or water color transfer.
Instructions for making
Step 1. Punching Out the Paper
Punch out the paper with a hole punch. The hole punch used here is a 5/16 inch (8 mm) punch, which is slightly larger than a regular one.

Step 2. Punch Holes for Beads
In the center of the paper that has been punched out in a circle, use a needle to make a hole small enough for the needle to pass through. This completes the paper sequins. Doing this in advance will make it easier to thread the sequins and beads alternately later.

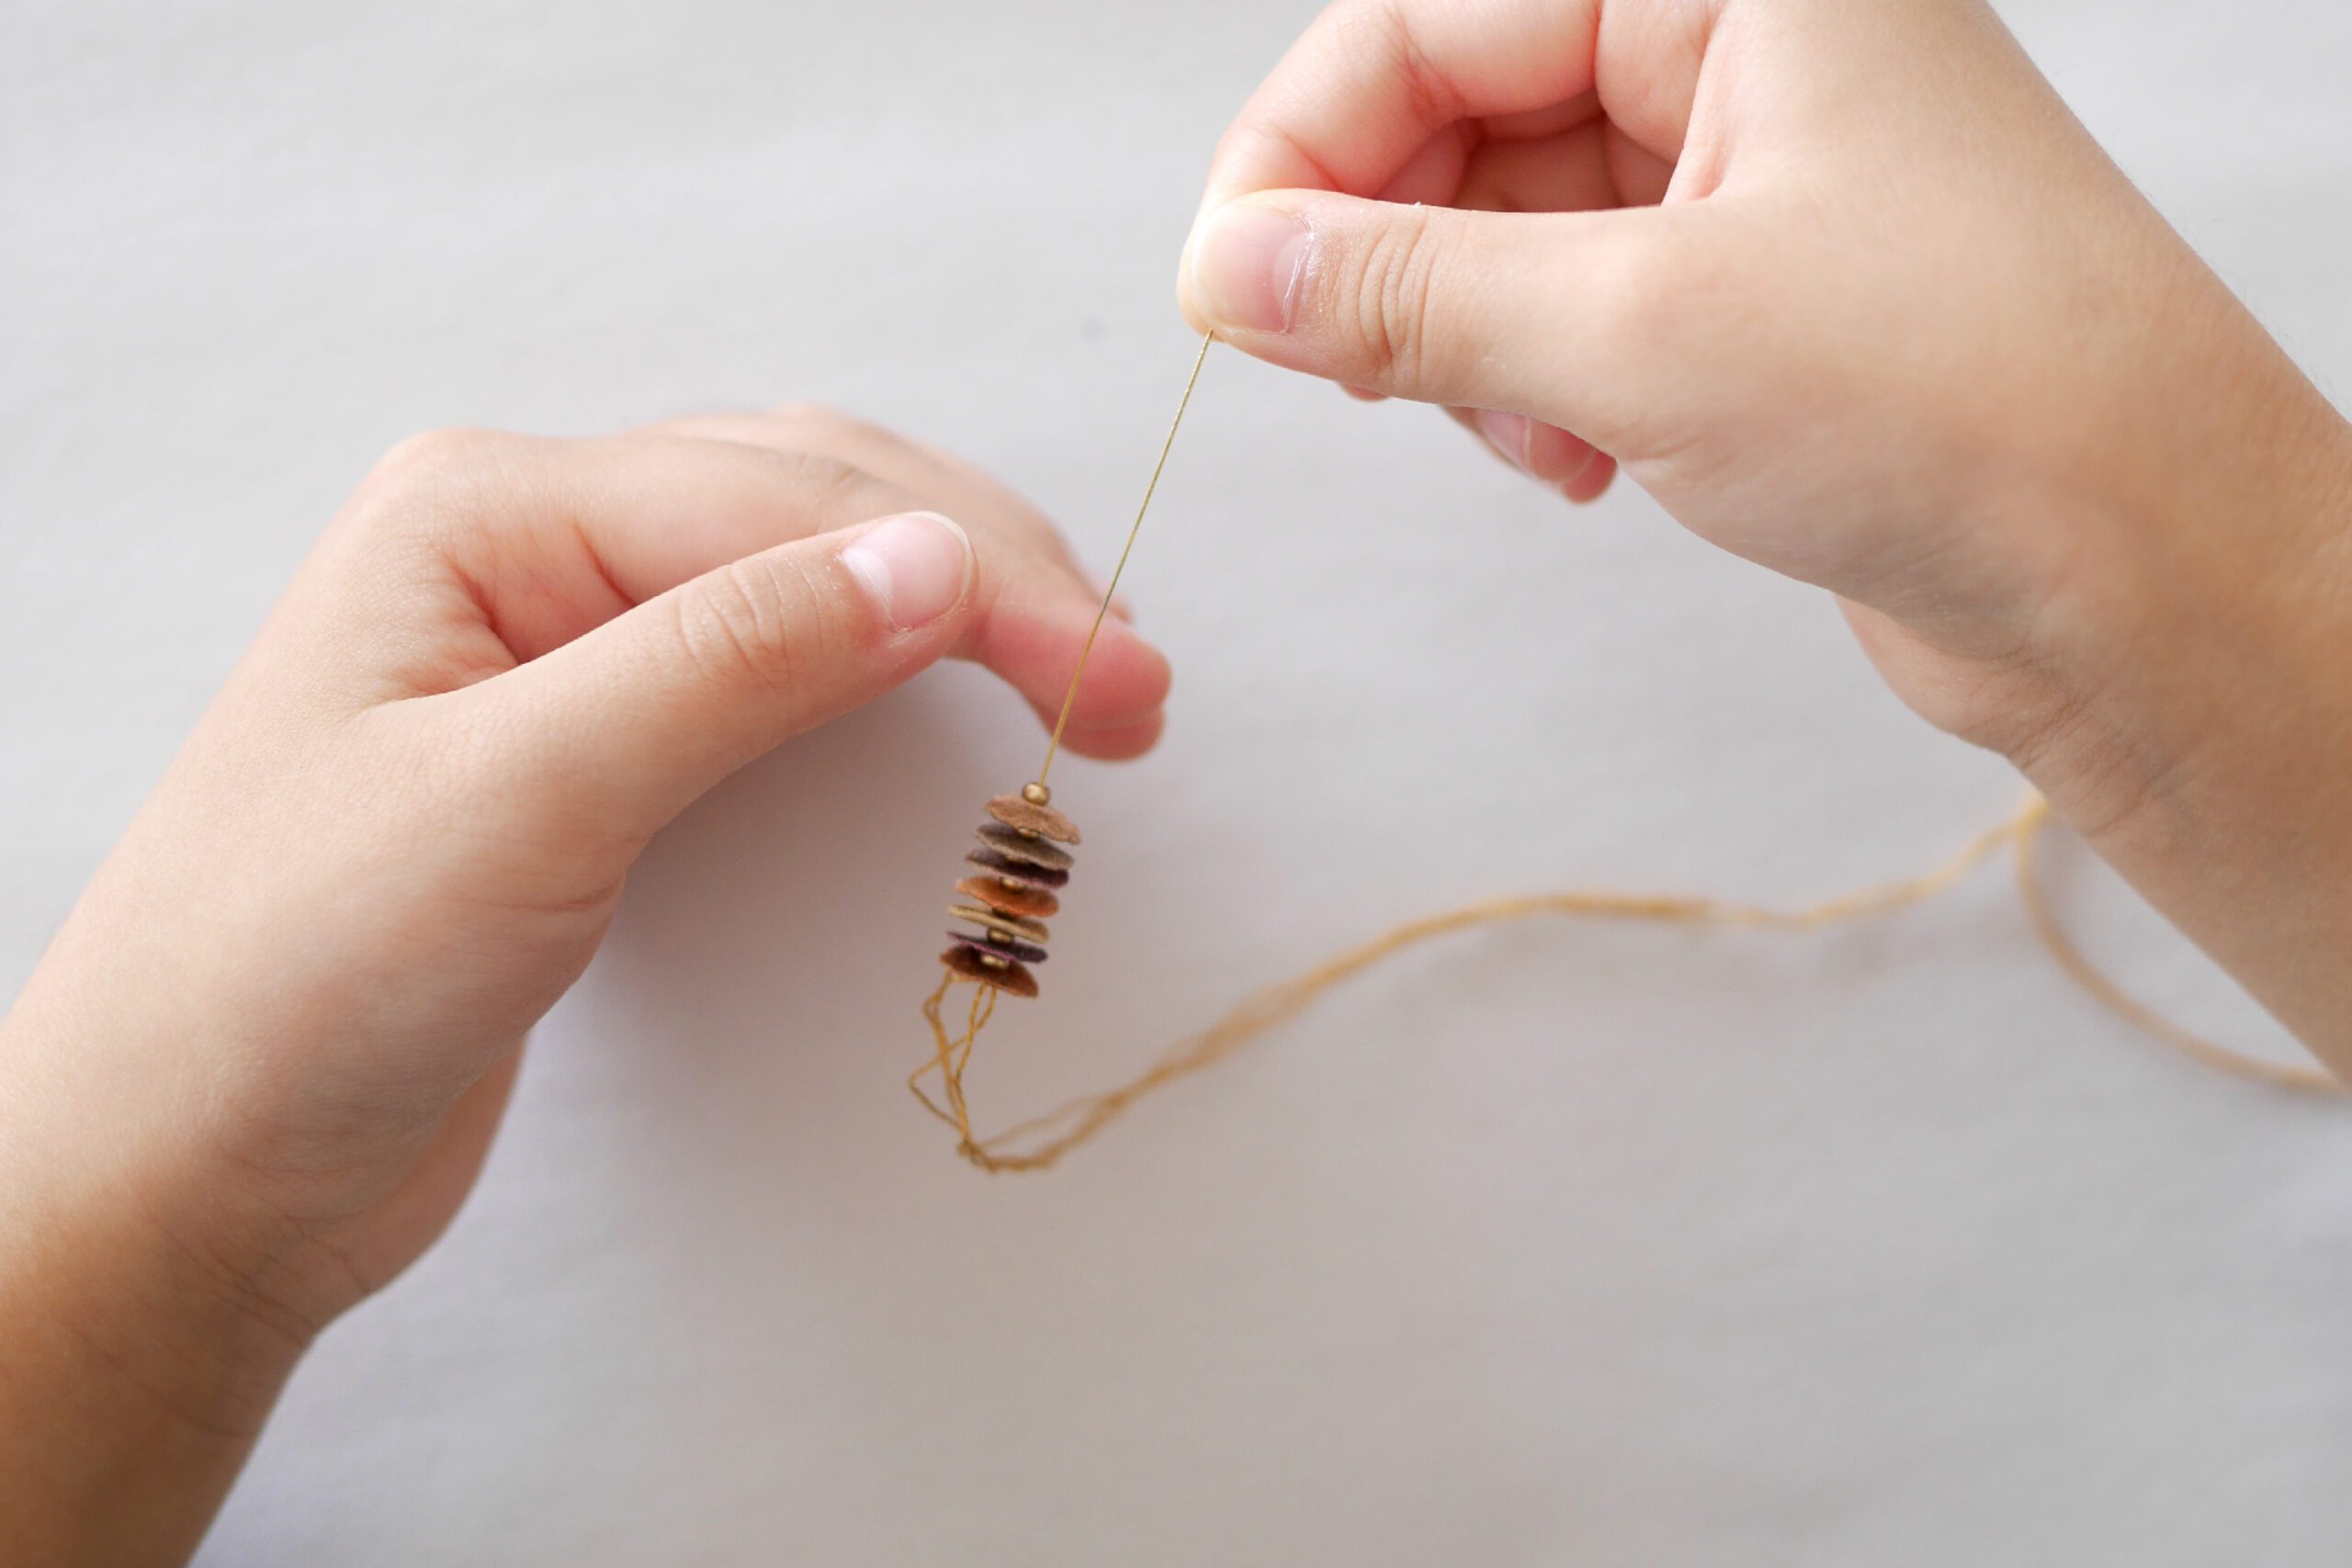
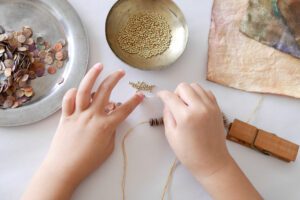
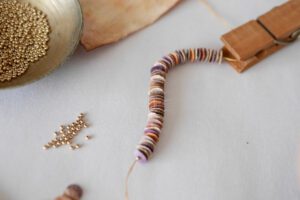
Step 3. Thread Paper and Beads onto yarn
Thread paper sequins and beads alternately. One small part at a time. This is a process that exercises fine finger movements and concentration.
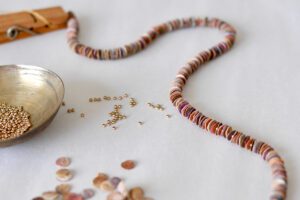
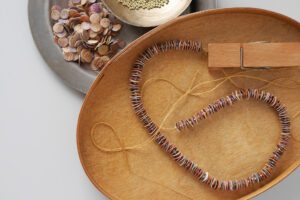
Step 4. Finish by Tying
Make it as long as you like, and tie it tightly at the end to complete.
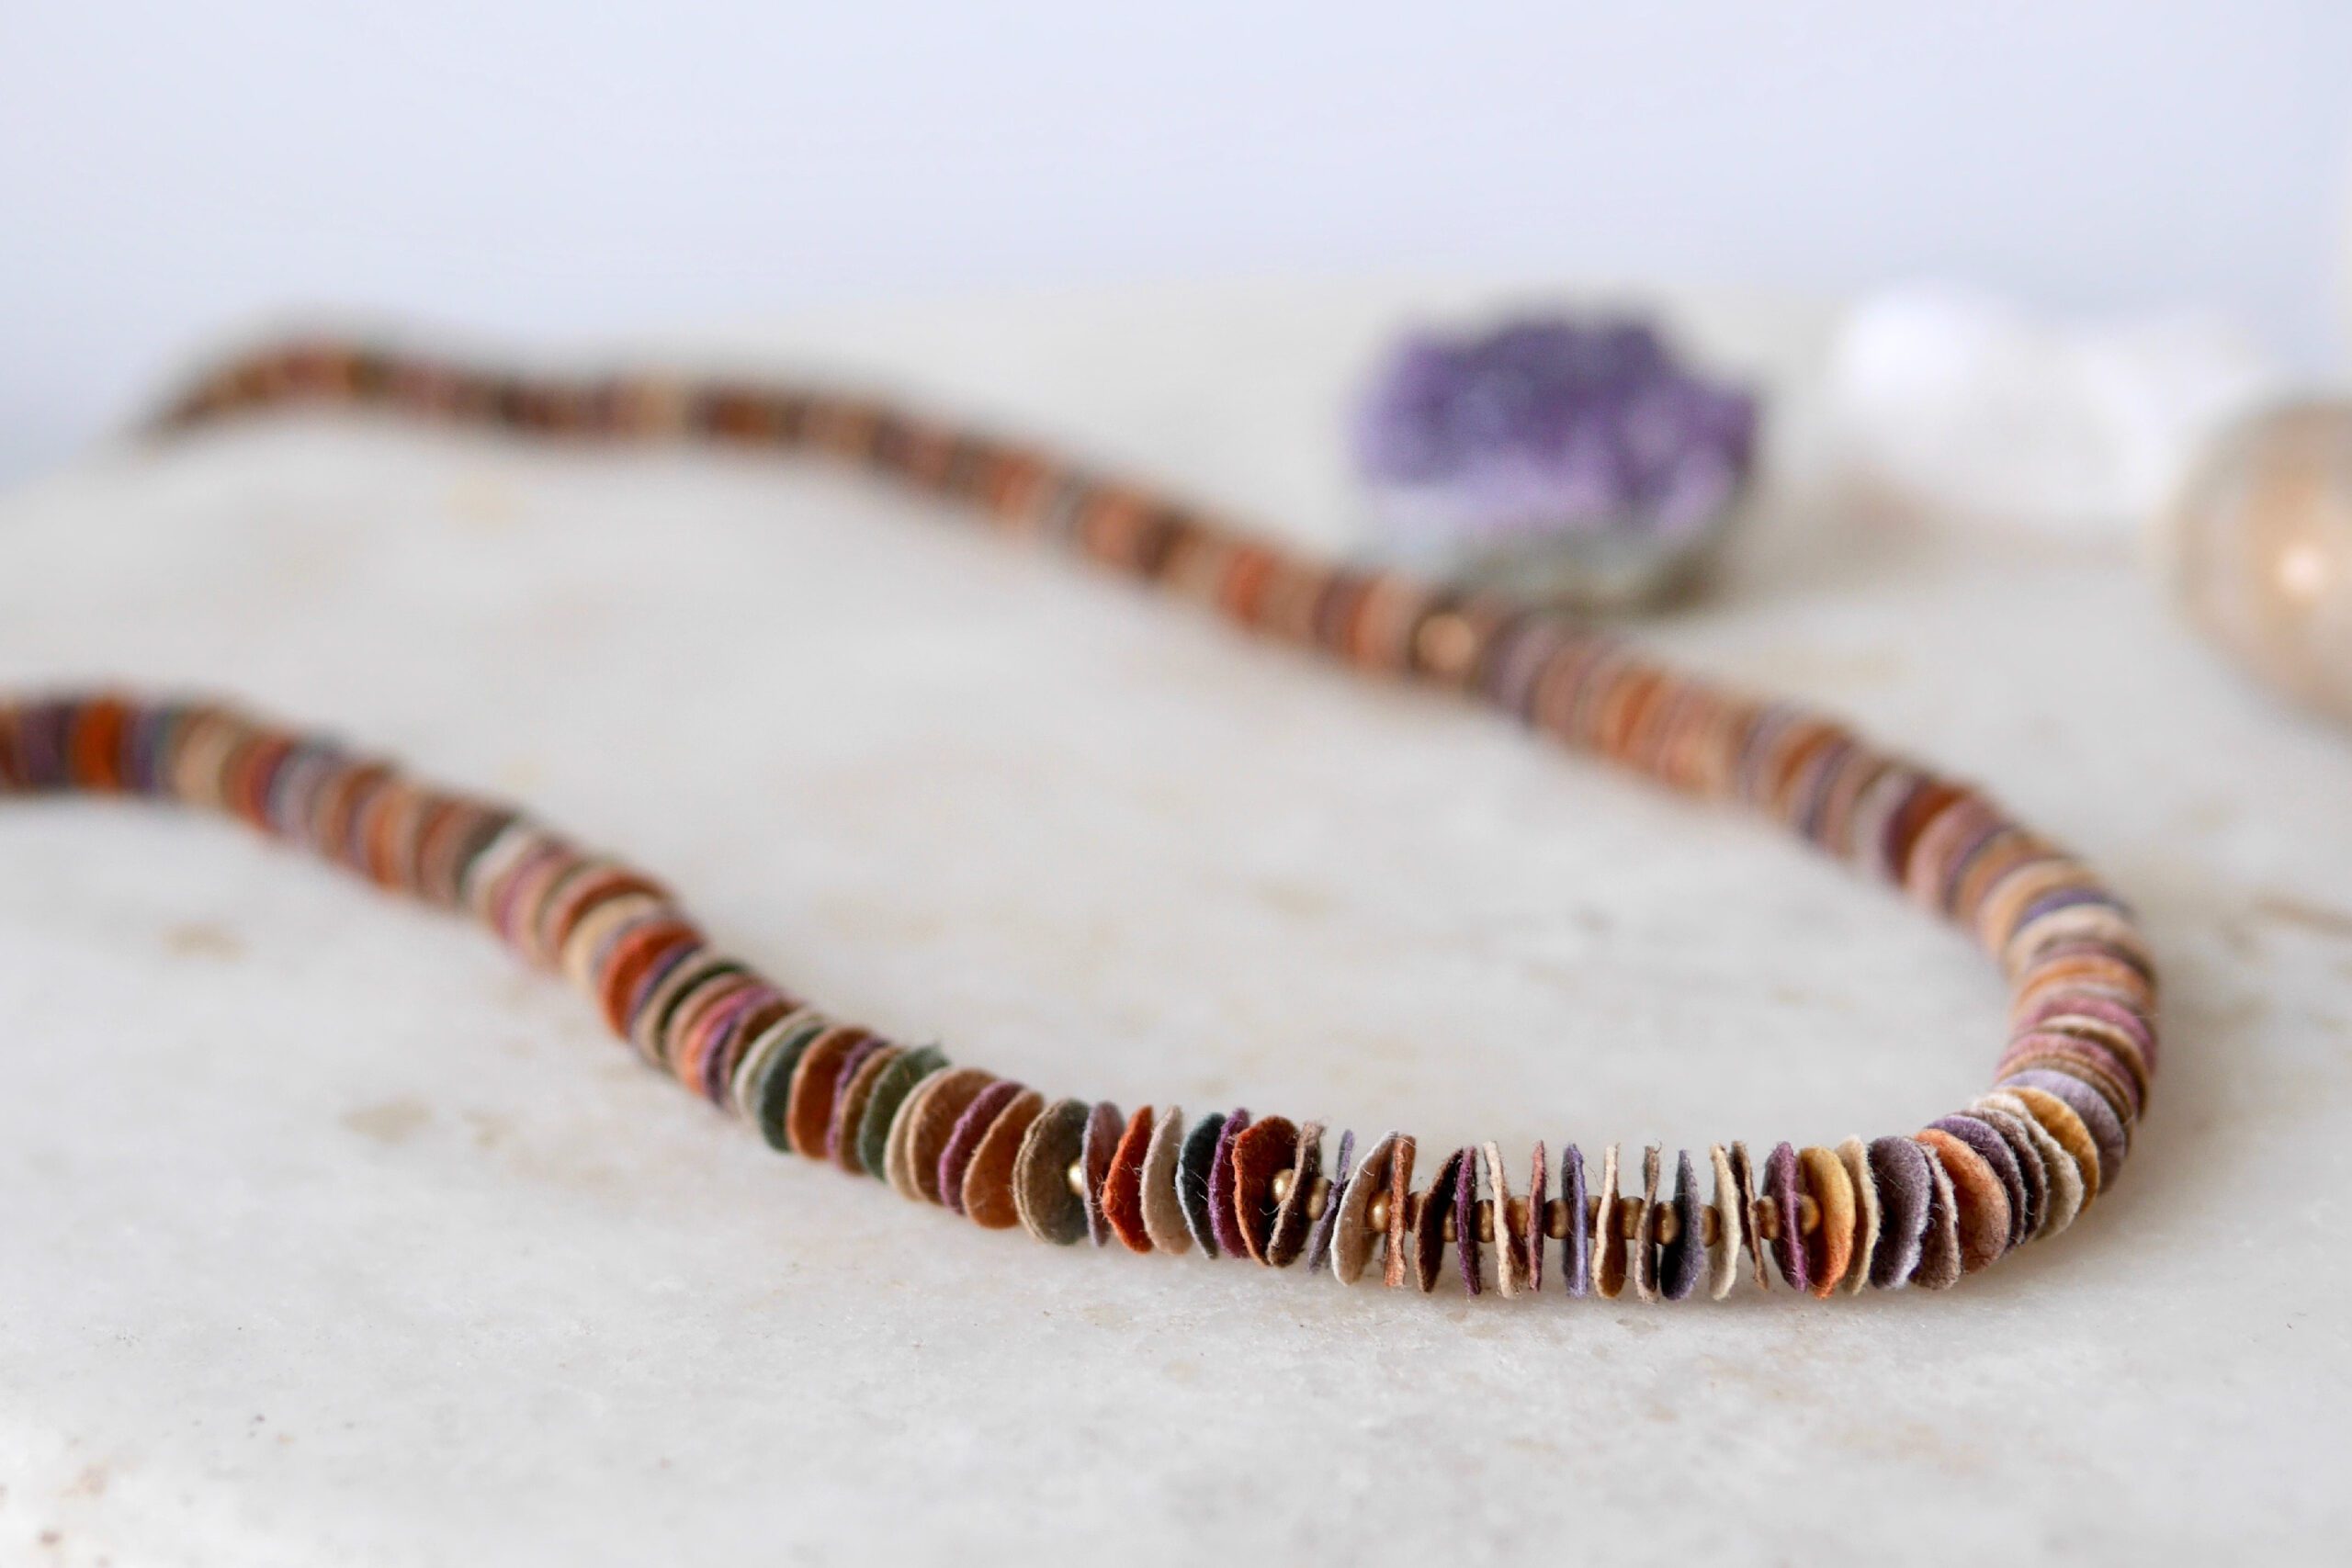
Material Variations
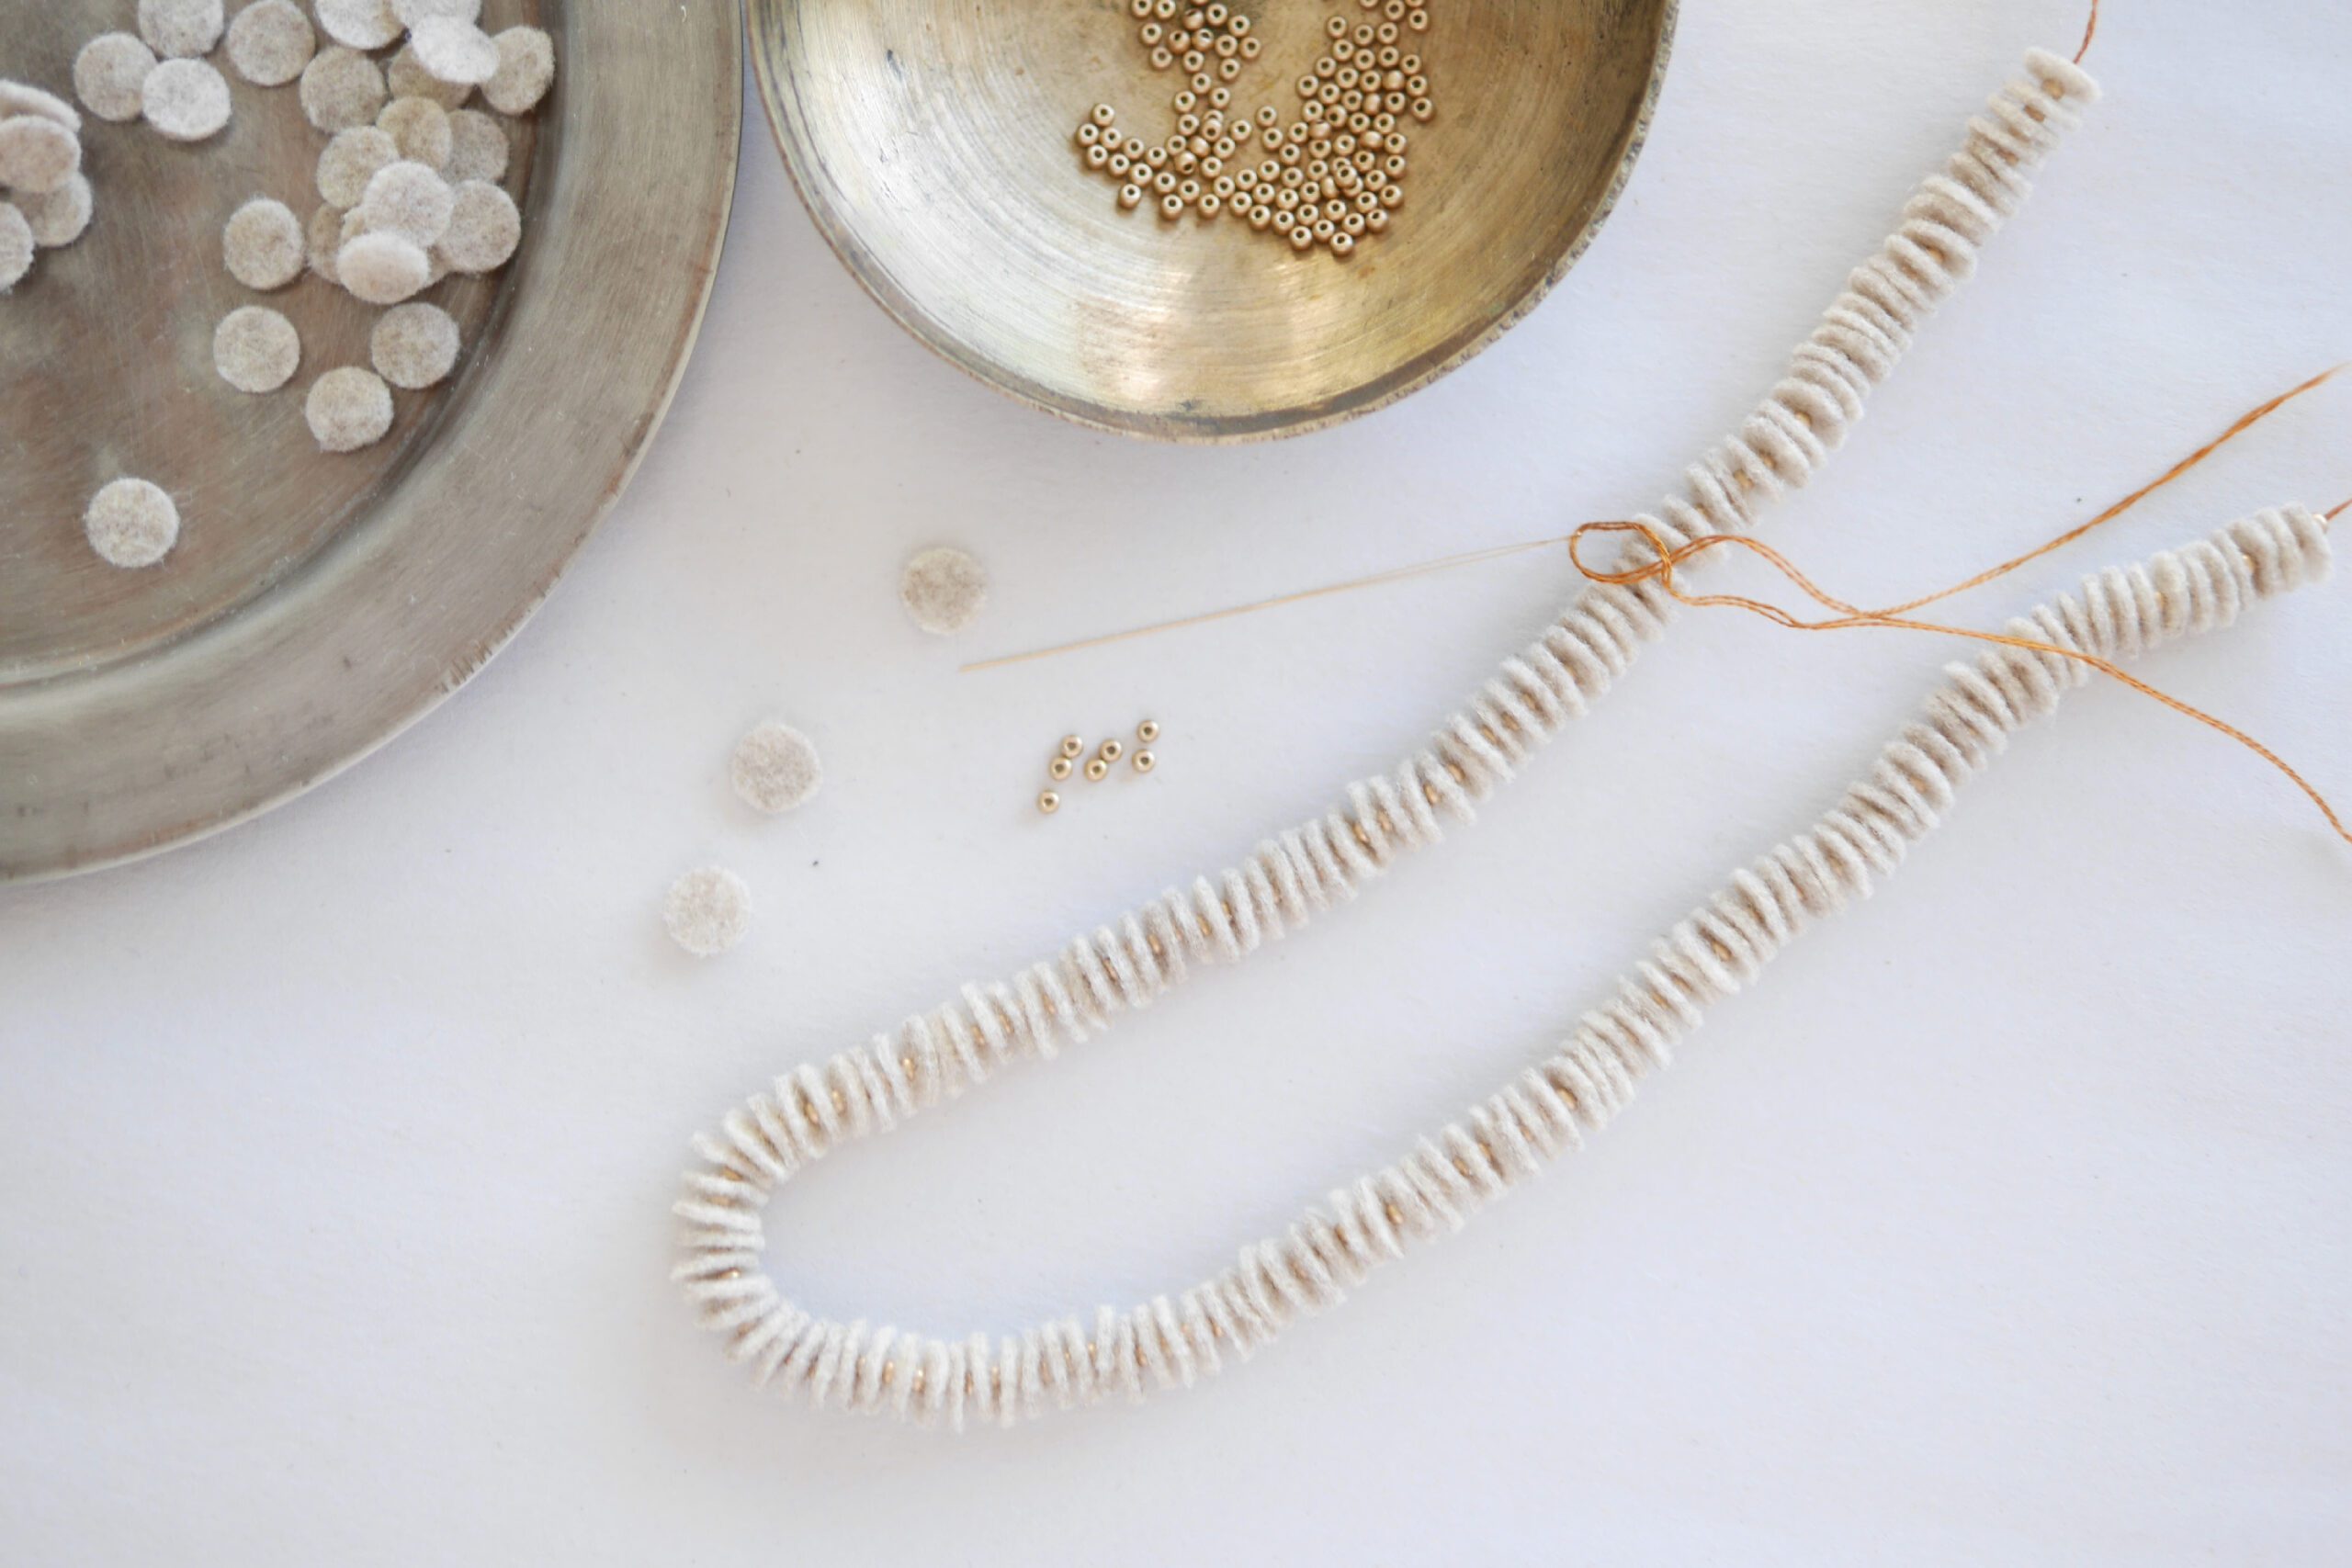
Our first project was sequins made from felt fabric. We used a leather punch to cut out circles of felt and threaded them alternately with beads. The result is a soft felt necklace.
However, it’s a bit difficult to cut out the felt with a punch for leather punch. I thought about whether there was an easier way to do it, and came up with the method introduced here, using paper and a hole punch. But, there is a catch: cloth is more durable, while paper is weak against water. I would like to continue to think about an easier way to make them with cloth or felt.


Paper Sequin Necklace
これは紙でつくったスパンコールのネックレス。紙をひとつひとつ切り出してオリジナルのスパンコールをつくることから始めます。
使う紙はオリジナルで染めた紙。といっても簡単なものです。厚手の和紙や画用紙を裏表満遍なくペイントしたもの。手染め特有のグラデーションの陰影が、一つ一つ違う表情のスパンコールをつくり出します。この一つ一つの色味の差異が、ネックレスにした時に多彩な表情になるのです。
紙のスパンコールが完成したら、ビーズと交互に糸に通すだけの単純な作業です。少し根気がいりまが、私はここでも子どもの集中力はすごいなと感心したものです。当時6歳になったばかりの娘は数日かけてこのネックレスを完成させました。疲れたら休みながらゆっくりと、のんびり気長に。
プレーンな白紙にカラフルなビーズの組み合わせも素敵だと思います。紙の色、柄、ビーズの種類、バリエーションは無限に考えられます。
用意するもの
– 紙 *手染めの紙を使いました
– 穴あけパンチ *こちらで購入しました 穴のサイズ:5/16 inch (8mm)
– ビーズ用の針
– 糸
– ビーズ
– 錐 または 目打ちや太めの針など
*手染めの紙を使用していますので、雨や水分での色移りにご注意ください。
つくりかた
Step 1. 紙をパンチで抜く
紙を穴あけパンチで抜きます。ここで使用している穴あけパンチは、通常のものより少し大きめな5/16 inch (8mm)のものです。
Step 2. ビーズの穴を開ける
丸く抜き出した紙の中心に、錐で針が通るくらいの小さな穴を開けます。これで紙のスパンコールの完成です。この作業を事前にしておくと、あとでスパンコールとビーズを交互に糸に通す時にスムーズです。
Step 3. 糸に紙とビーズを通す
紙のスパンコールとビーズを交互に糸に通します。小さなパーツを一づつ。細かい指先の動きと、集中力を鍛える作業です。
Step 4. 結んで完成
好きな長さまでつくって、最後はしっかりと結んで完成です。
素材のバリエーション
私たちがはじめにつくったのは、フェルト生地でつくるスパンコールでした。革用のパンチでフェルトを丸く切り抜き、ビーズと交互に糸に通しました。柔らかなフェルトのネックレスです。
ただしこの作業、革用のパンチでフェルトを切り抜くのが少し大変でした。何かもっと簡単な方法がないか考えて思いついたのが、今回ご紹介した紙と穴あけパンチを使う方法です。しかしながら、布は耐久性がありますが、紙は水には弱い。布やフェルトで簡単につくる方法も、今後継続して考えたいと思っています。