Pop-up Card with Christmas Tree
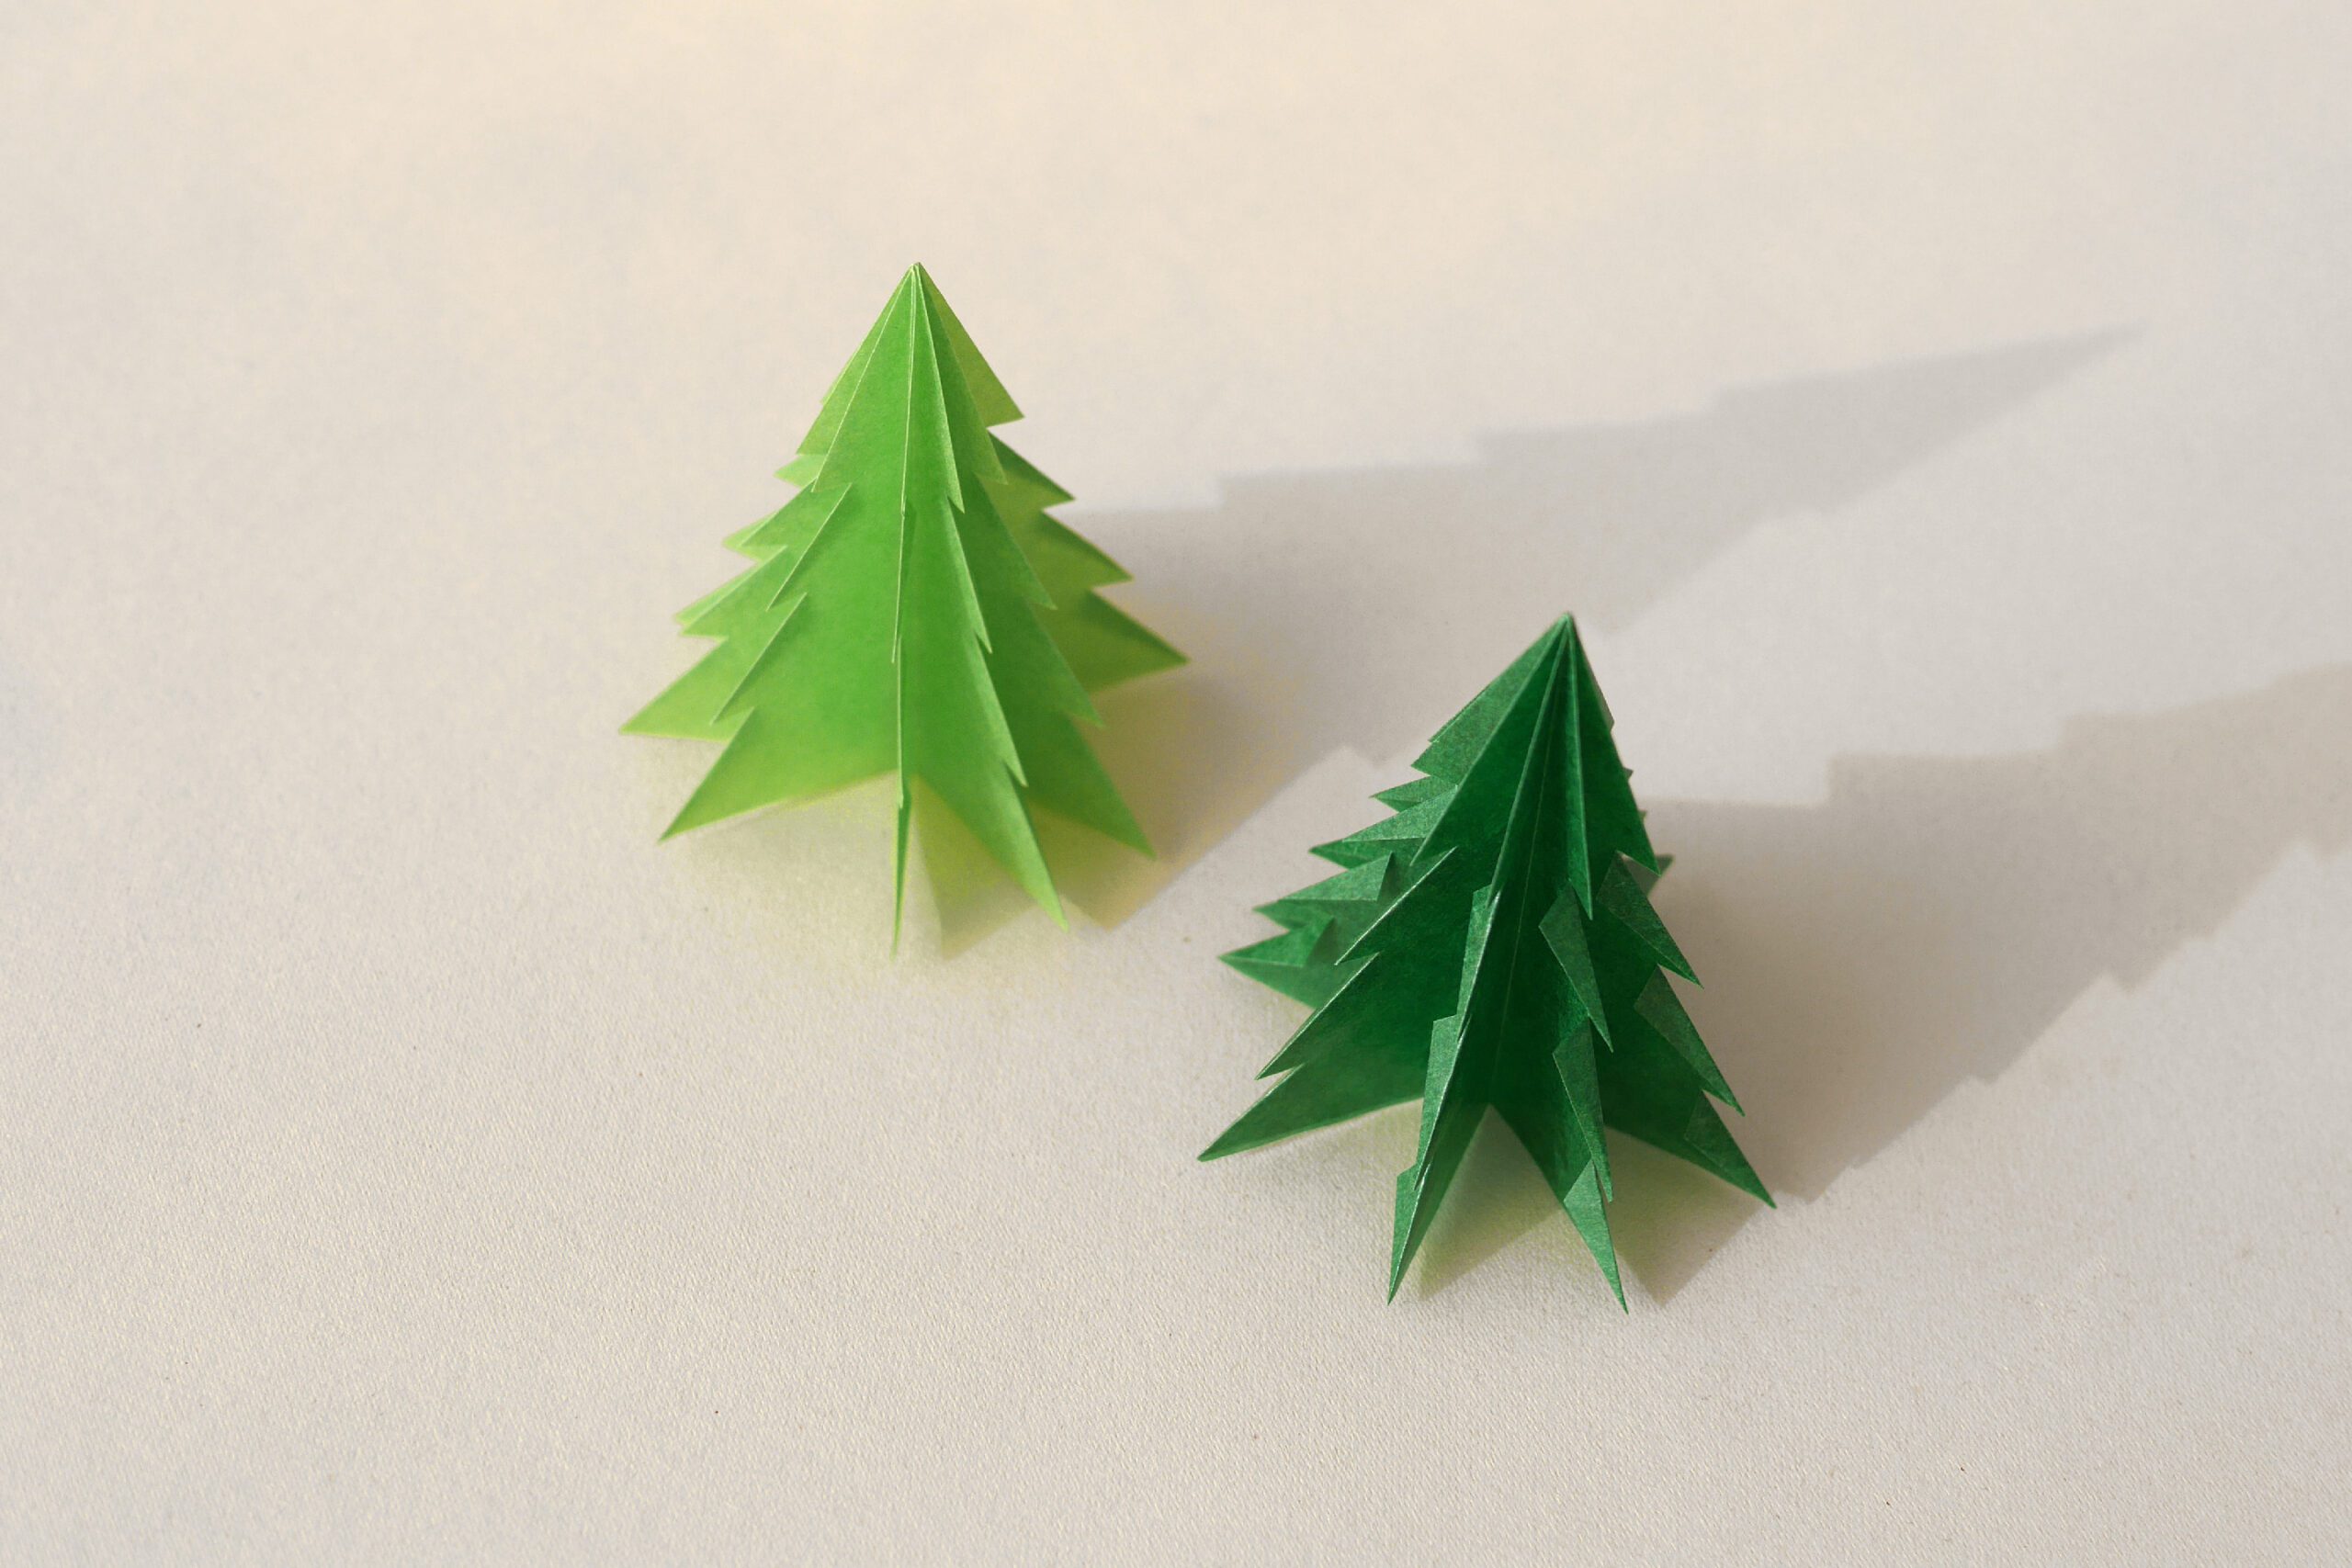
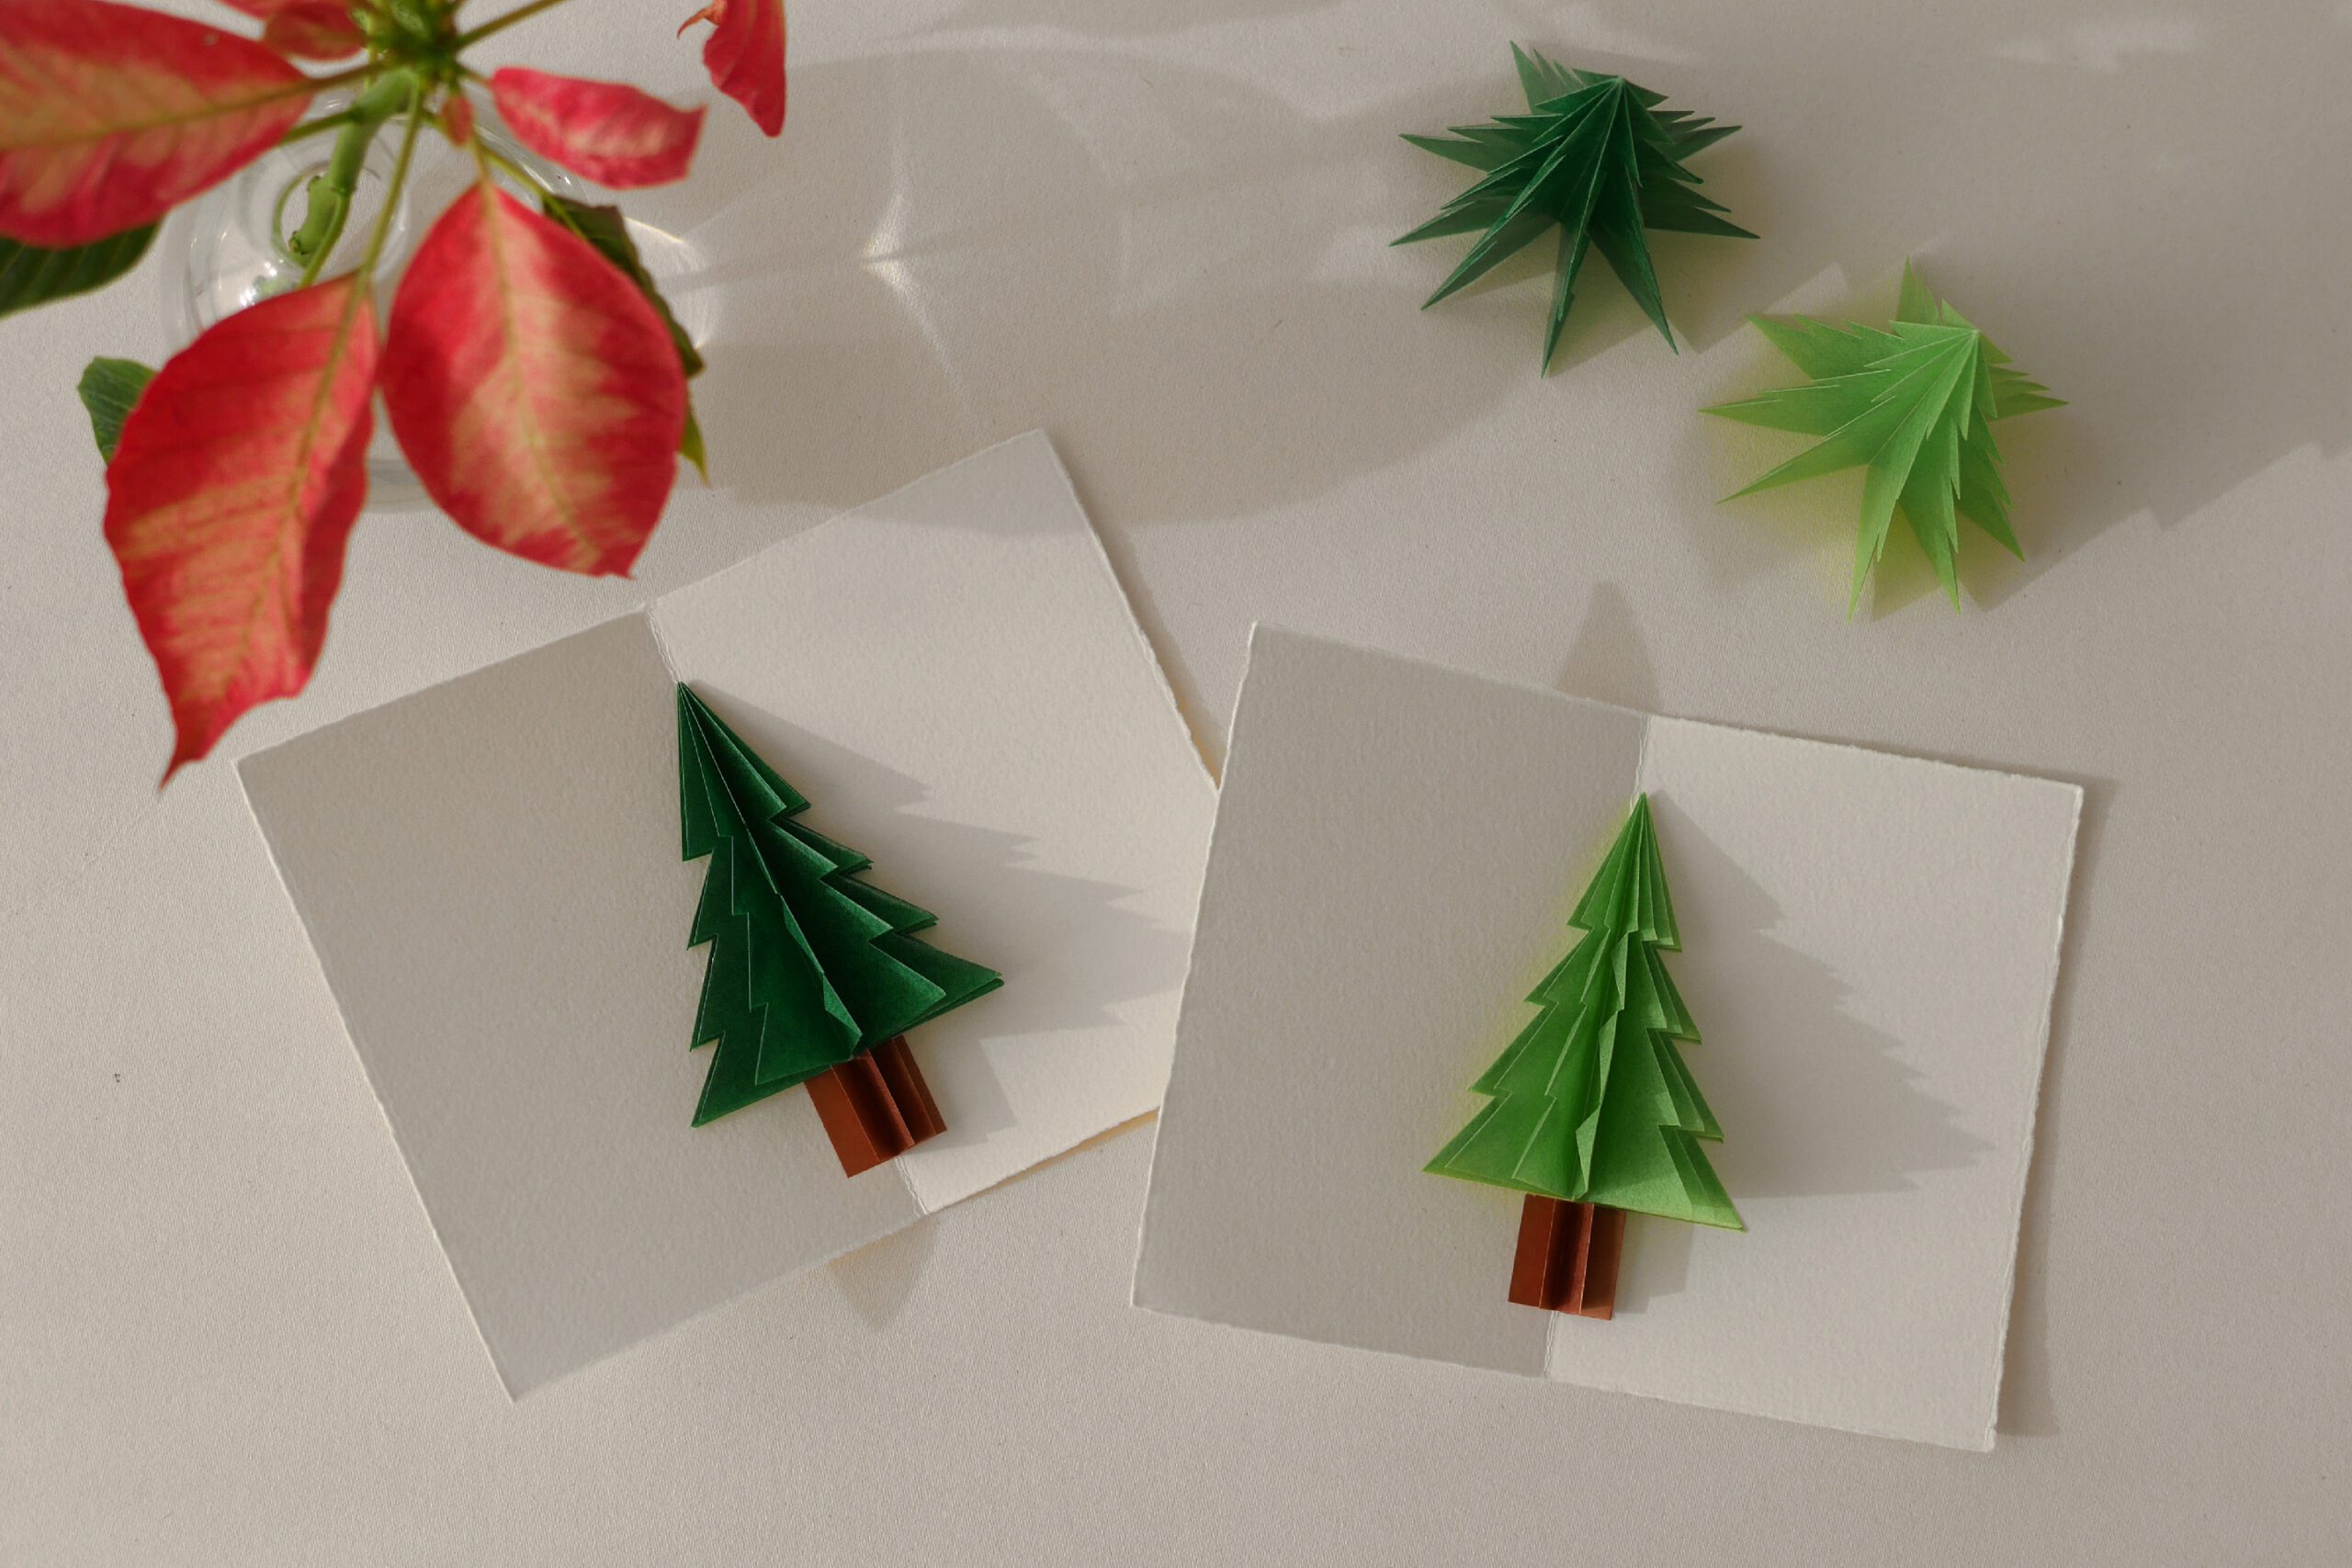
I casually made a three-dimensional origami fir tree.
While I was thinking about whether to use it as a decoration or not, my daughter, who was looking at it beside me, she said “A card that pops up!”.
Thanks for the great idea. I immediately made it into a card.
The paper I used was kite paper. It is a transparent origami paper used for window stars. The translucent material creates a delicate atmosphere. But you can also make it with origami paper or colored paper that you have around you. It’s a great quick craft for December. Please give it a try.
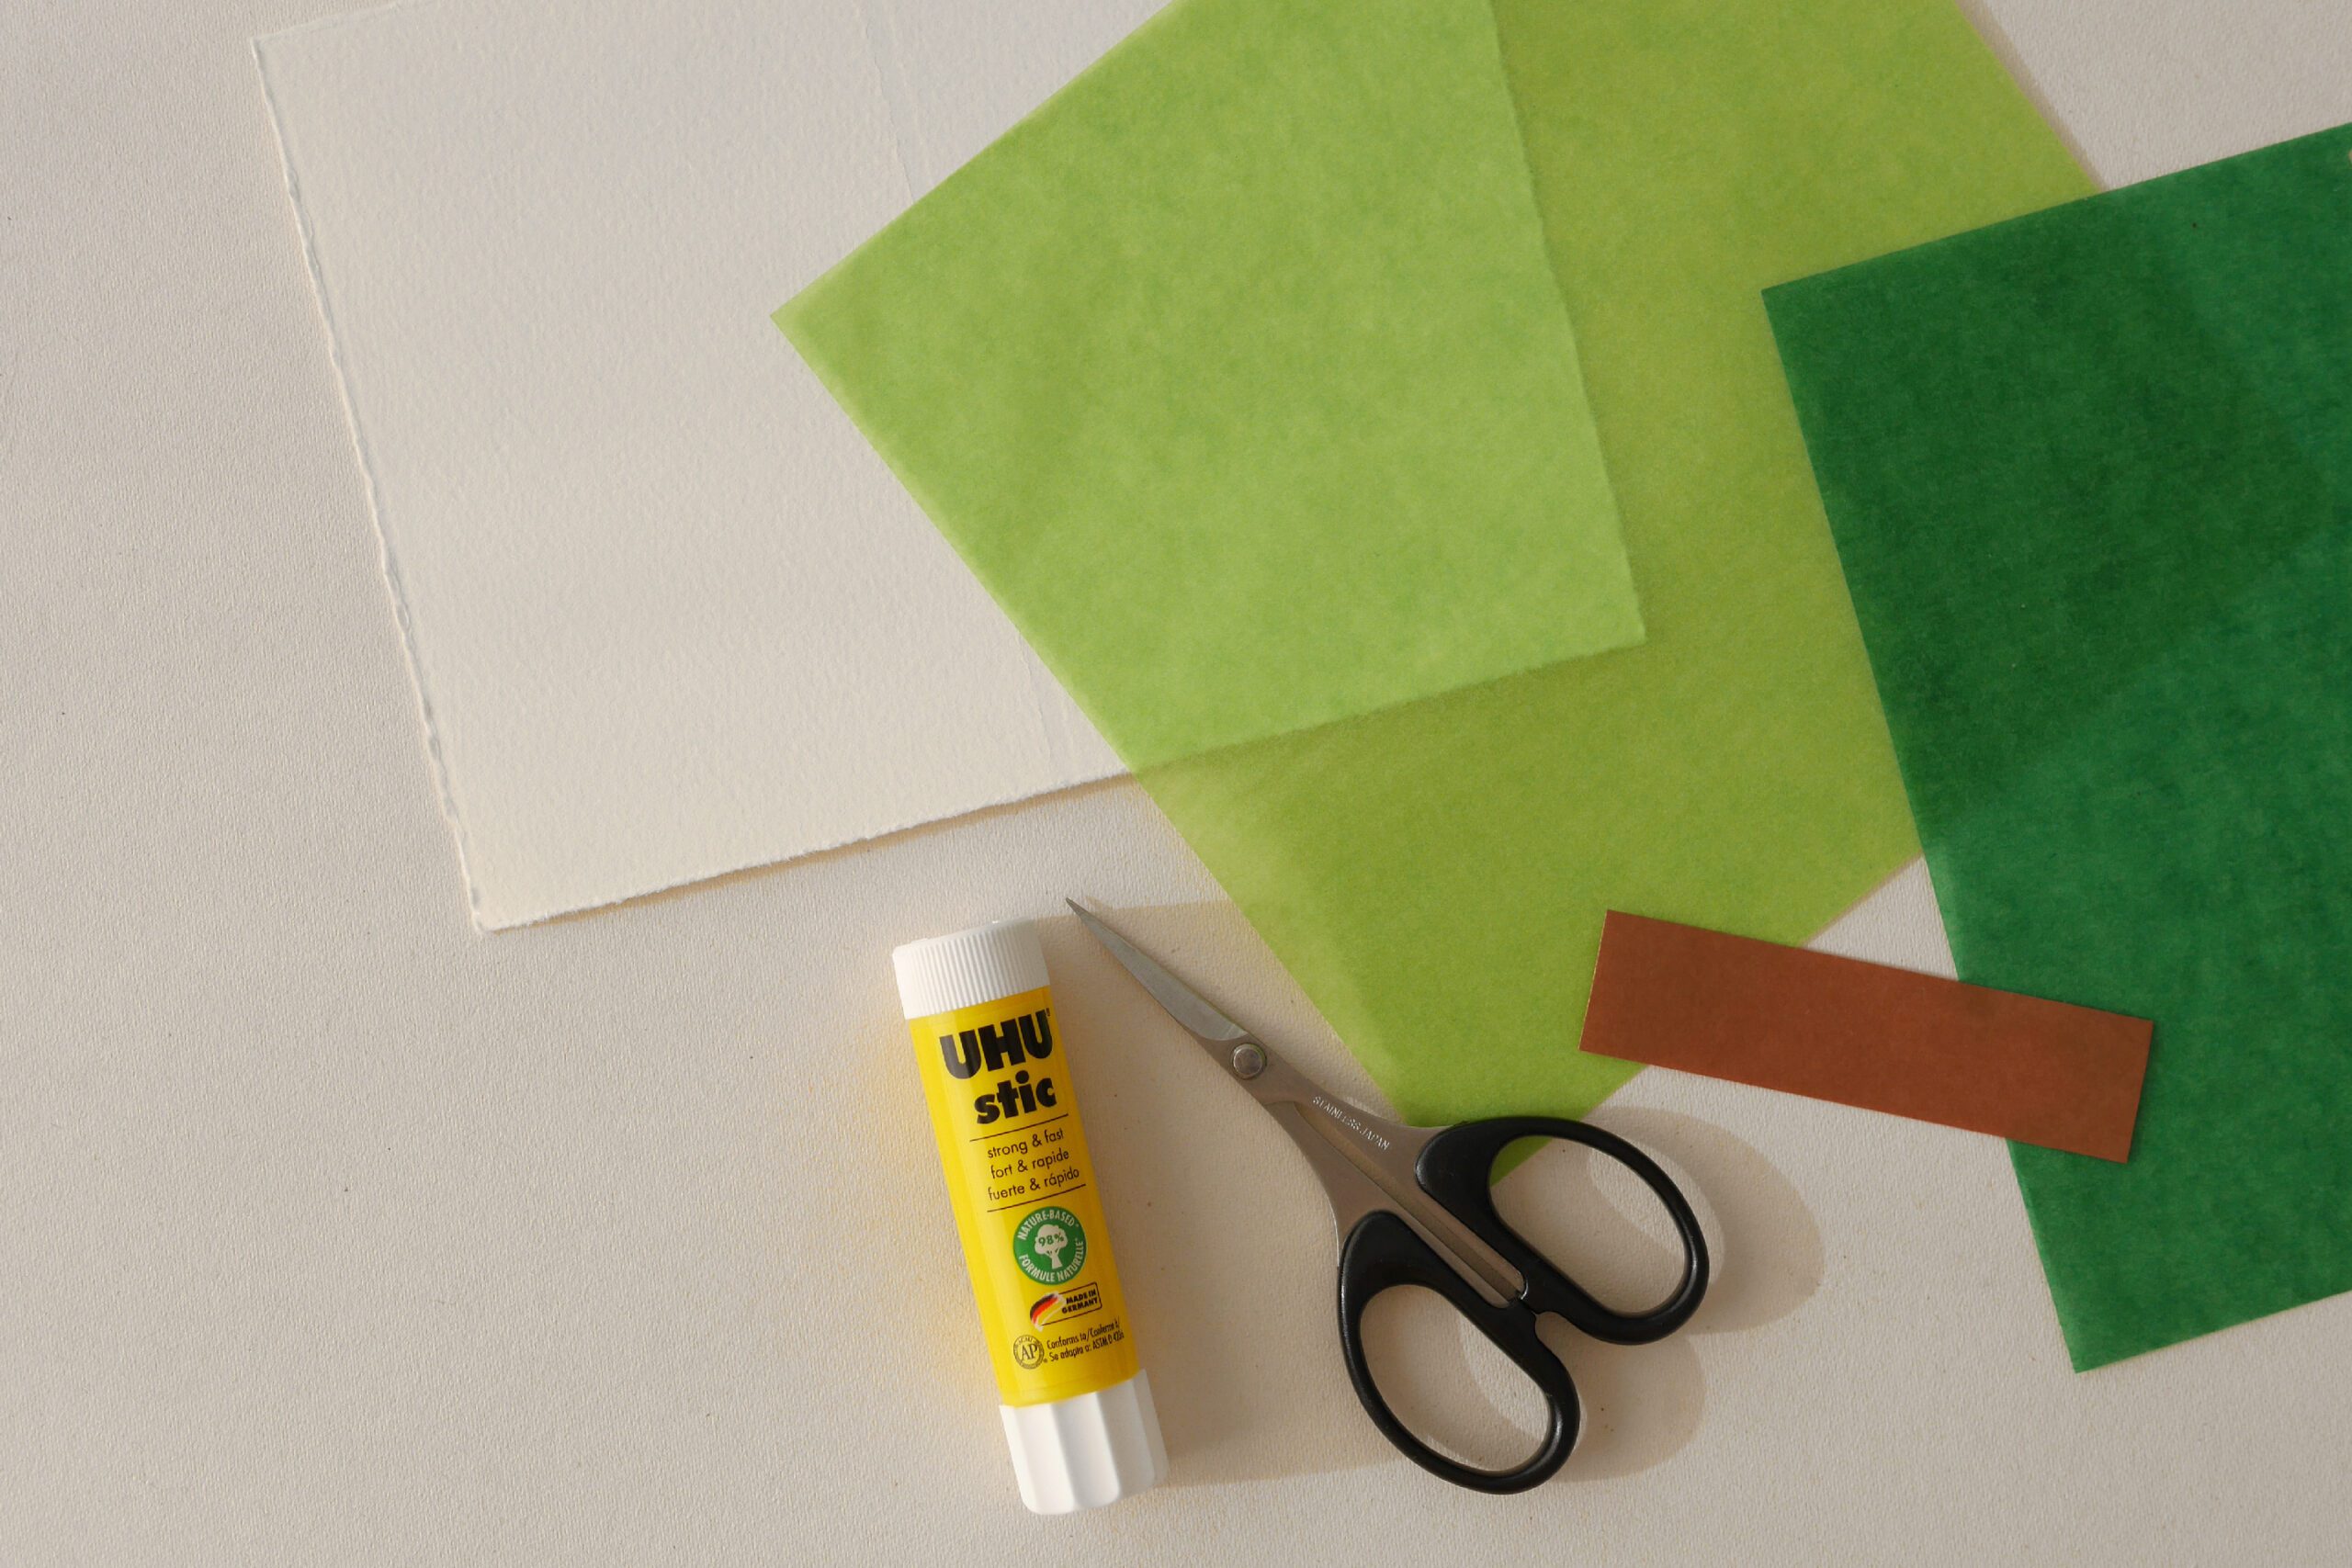
Materials
– Kite paper or origami paper
– Folded card
– Scissors
– Glue
Instructions for making
Step 1. Fold the Paper
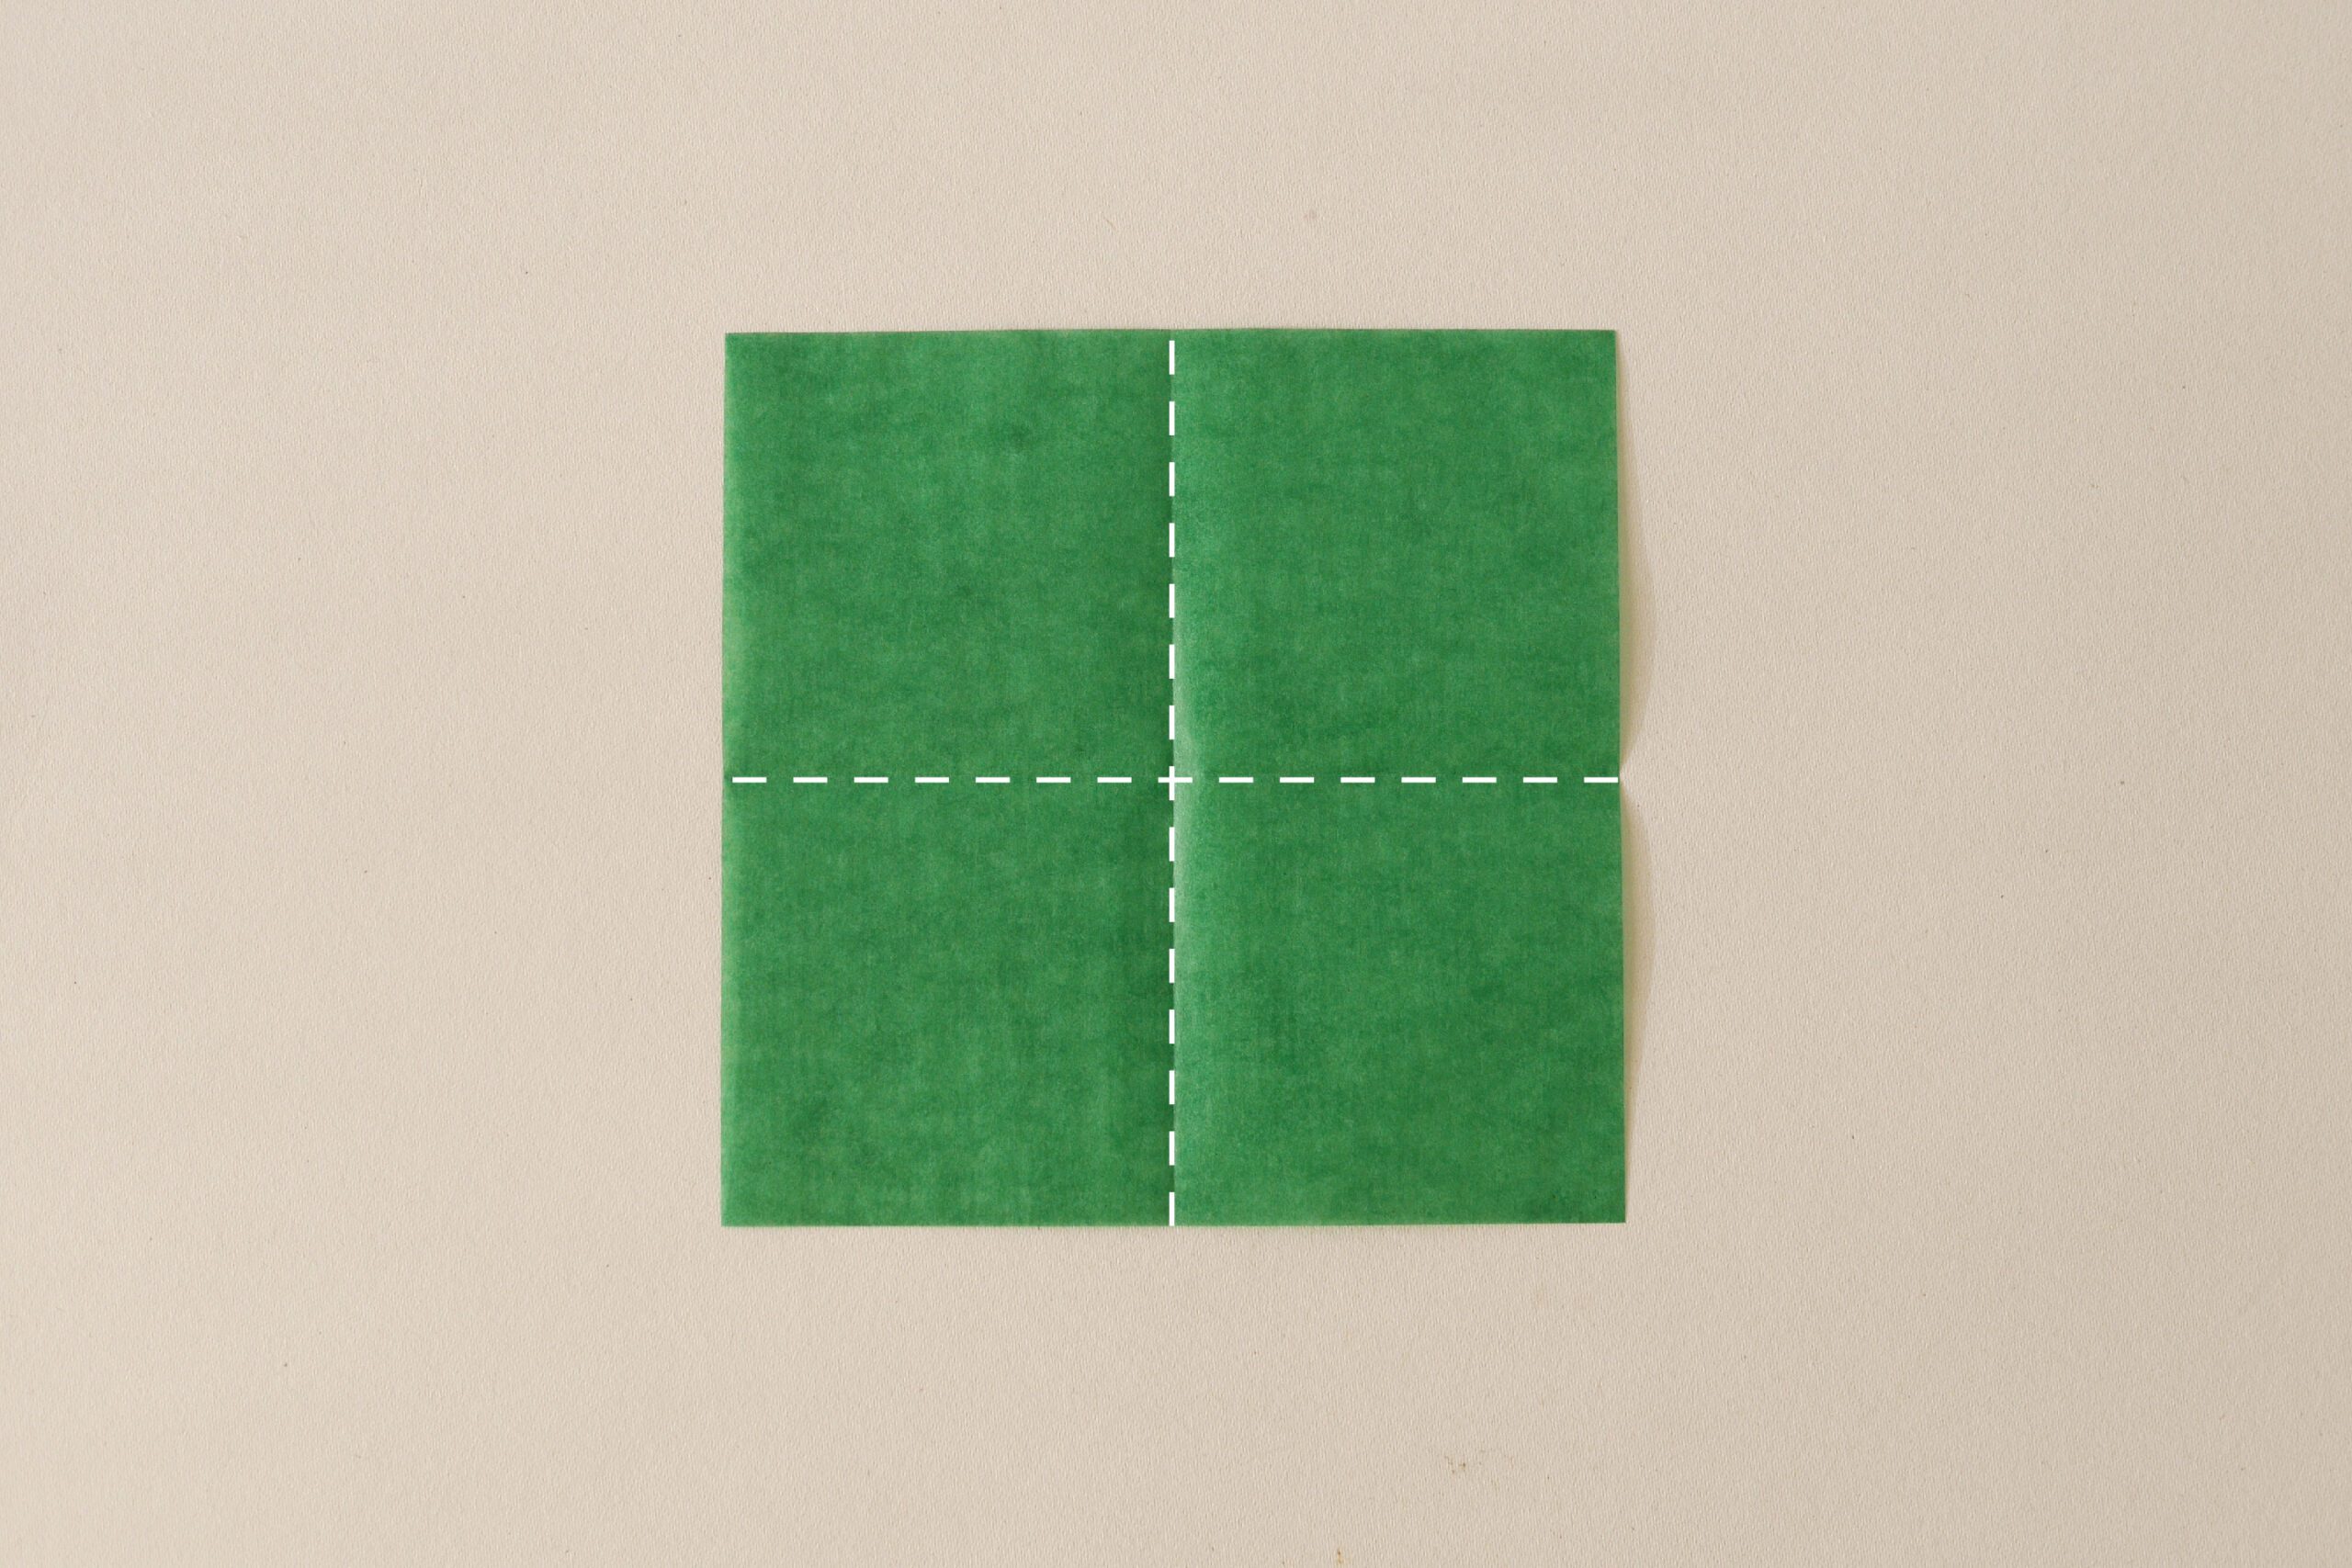
Fold the origami paper crosswise.
Fold it into a square along the crease lines.
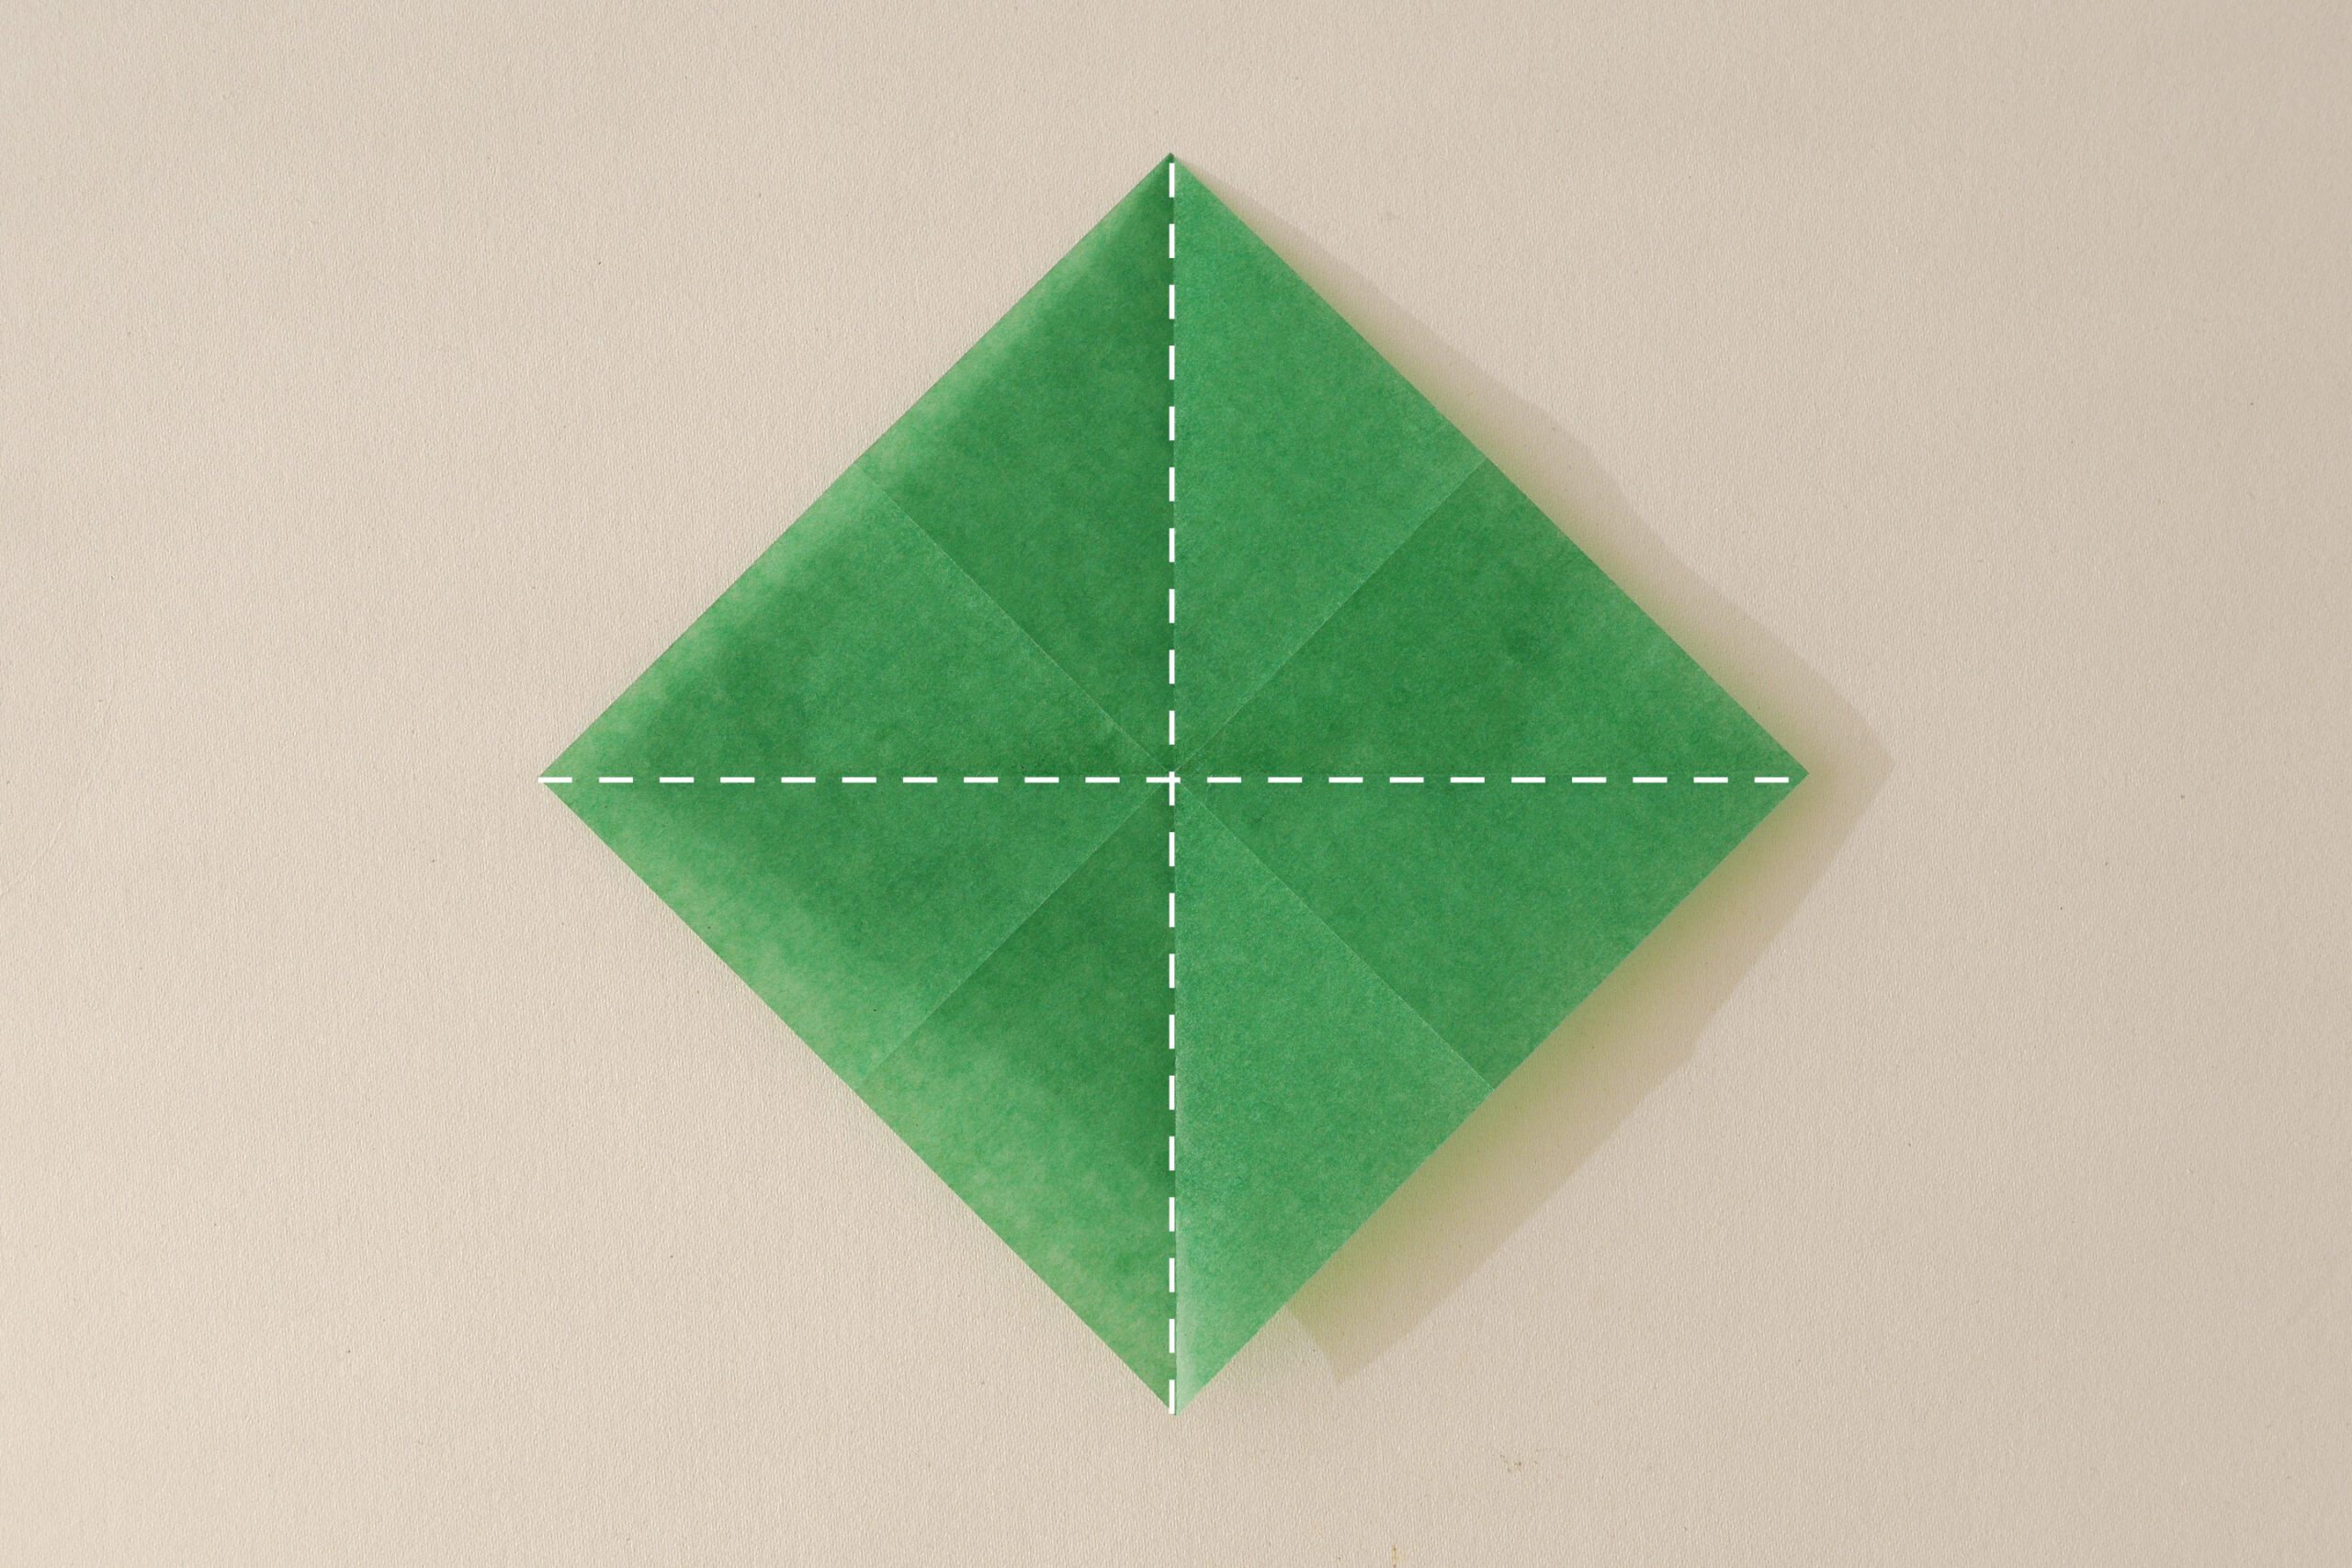
Fold it into a square along the crease lines.
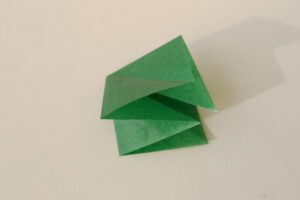
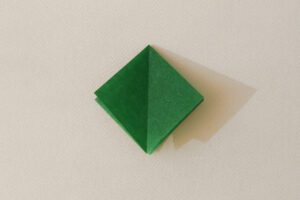
Spread one bag out with your fingers and fold it into a triangle as if to crush it.
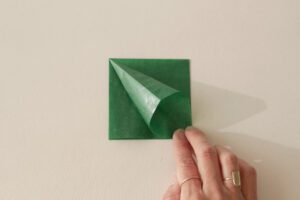
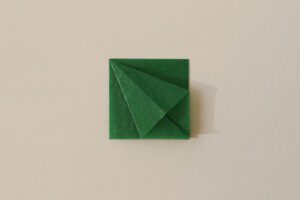
Fold the remaining three sections into a triangle in the same manner.
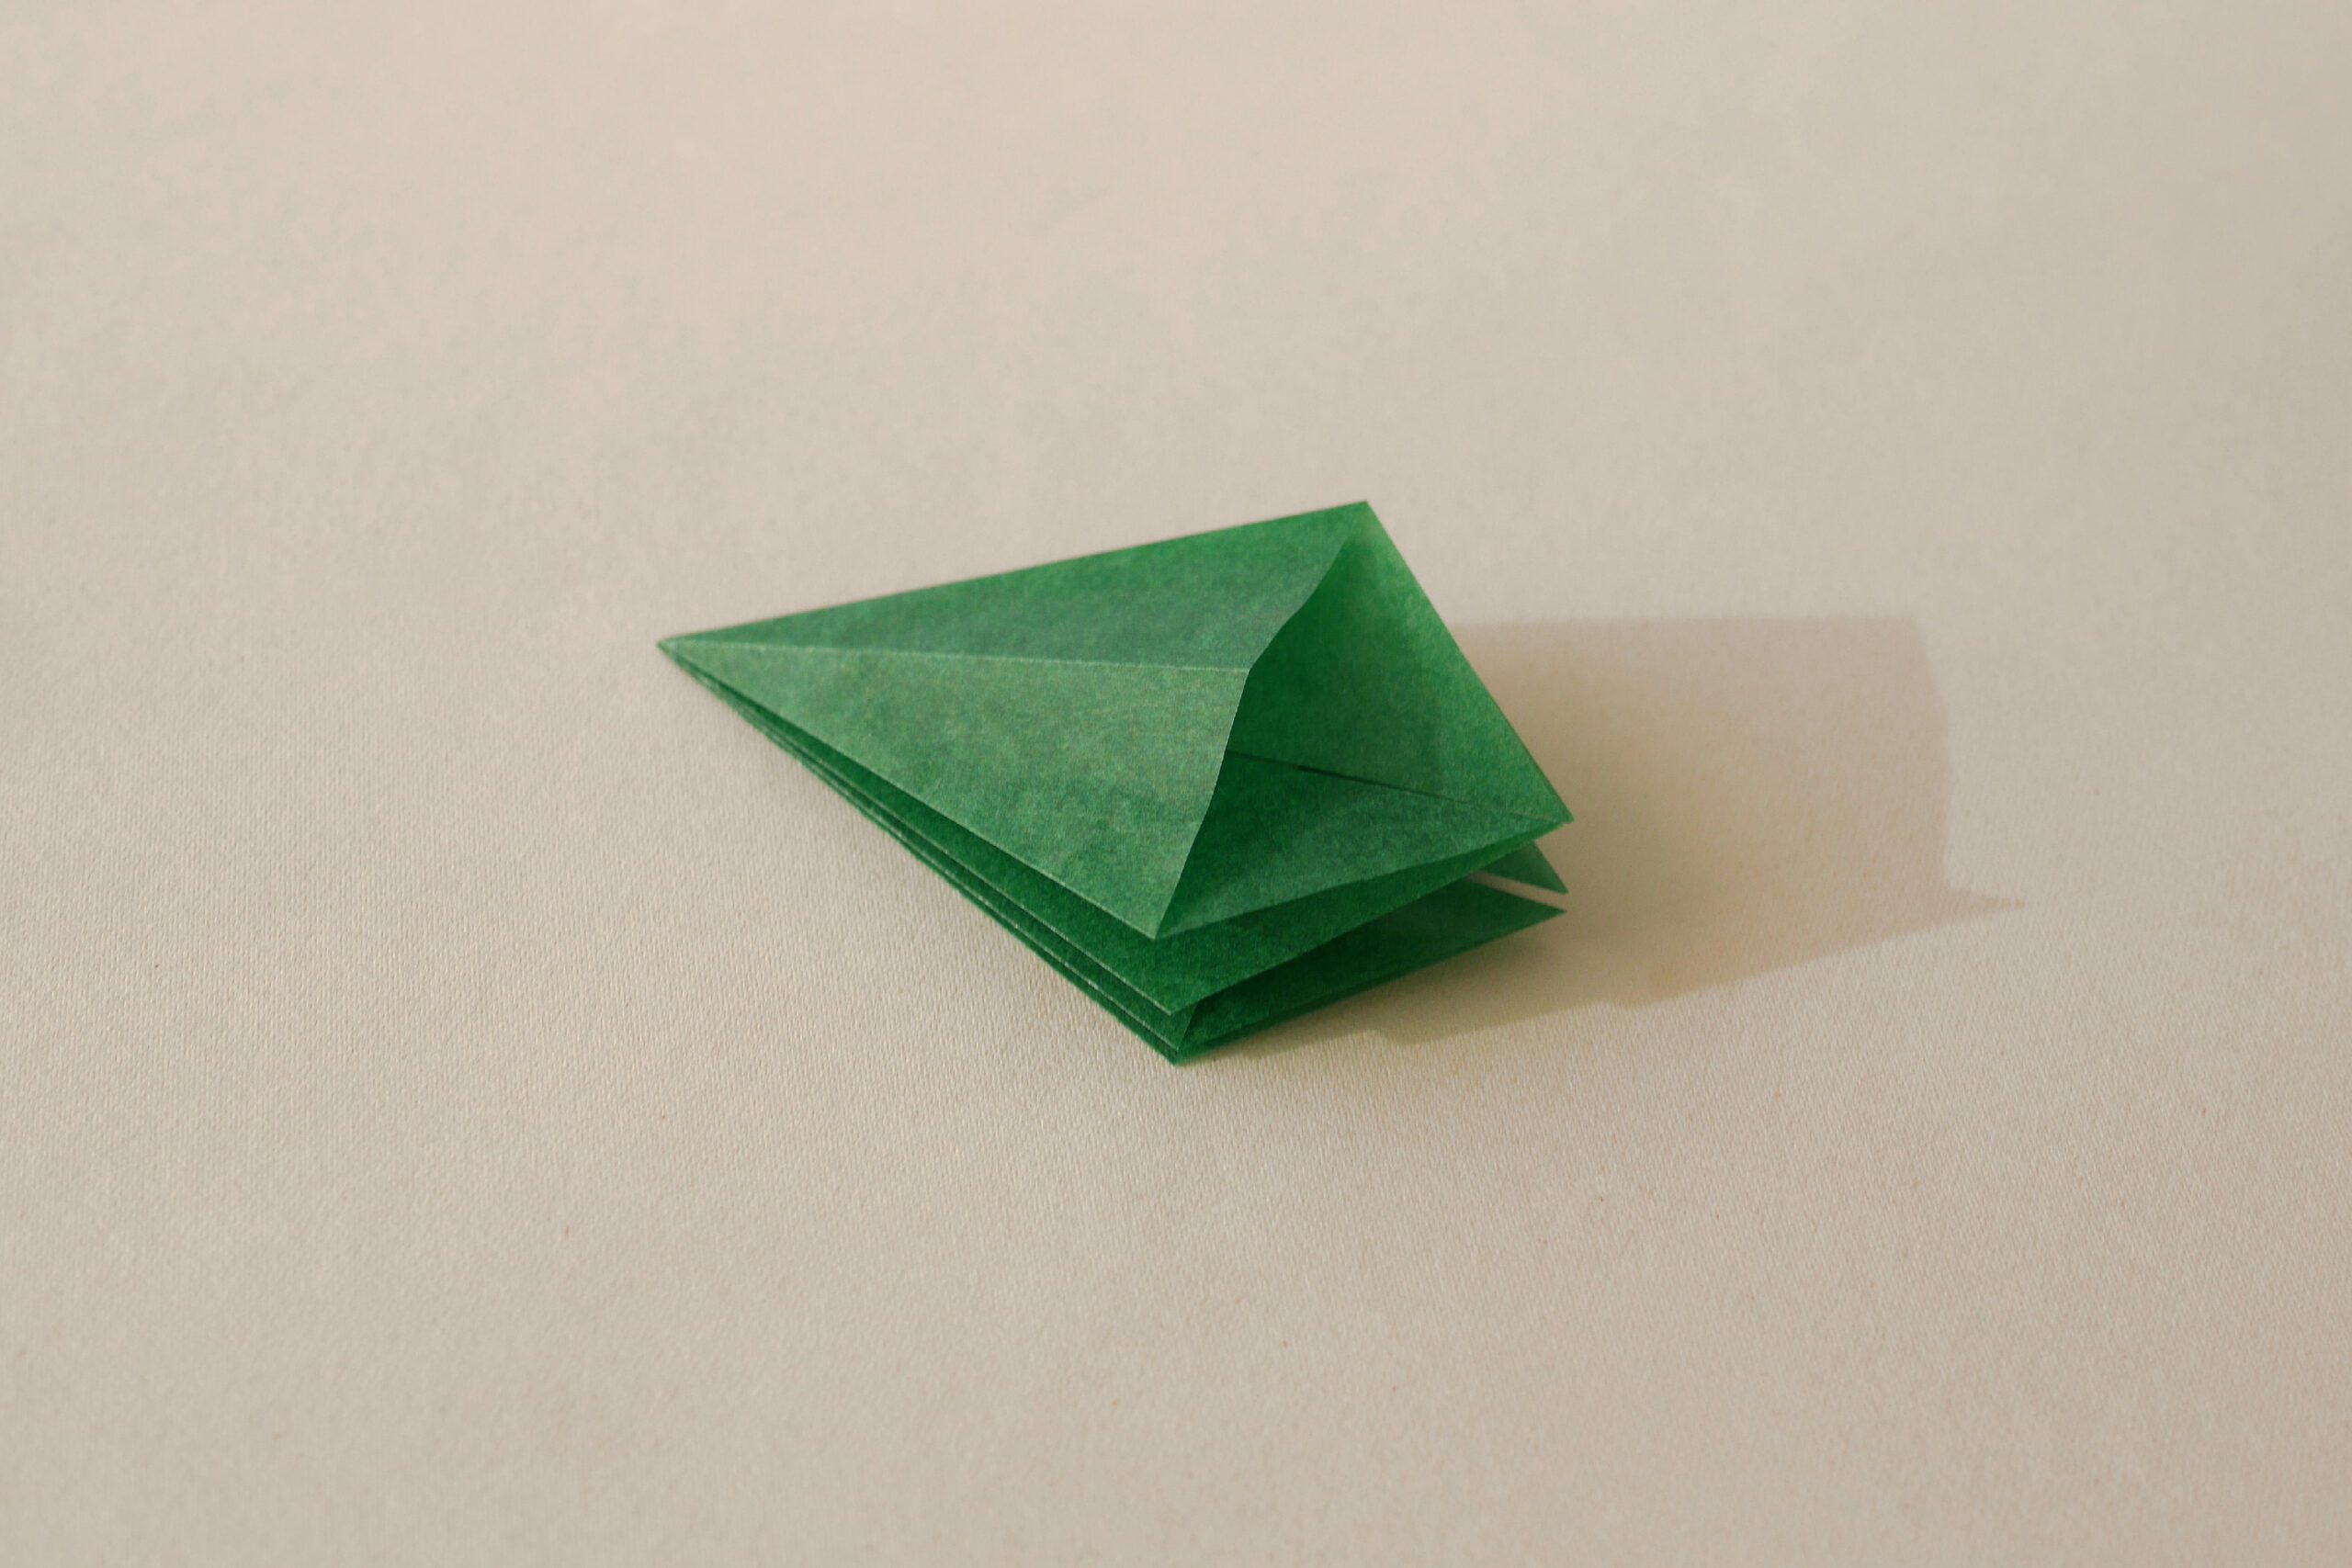
Step 2. Cut the Paper
Cut off the line with scissors.

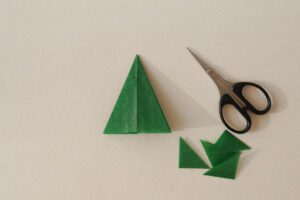
Make six incisions on each side as shown in the photo line.
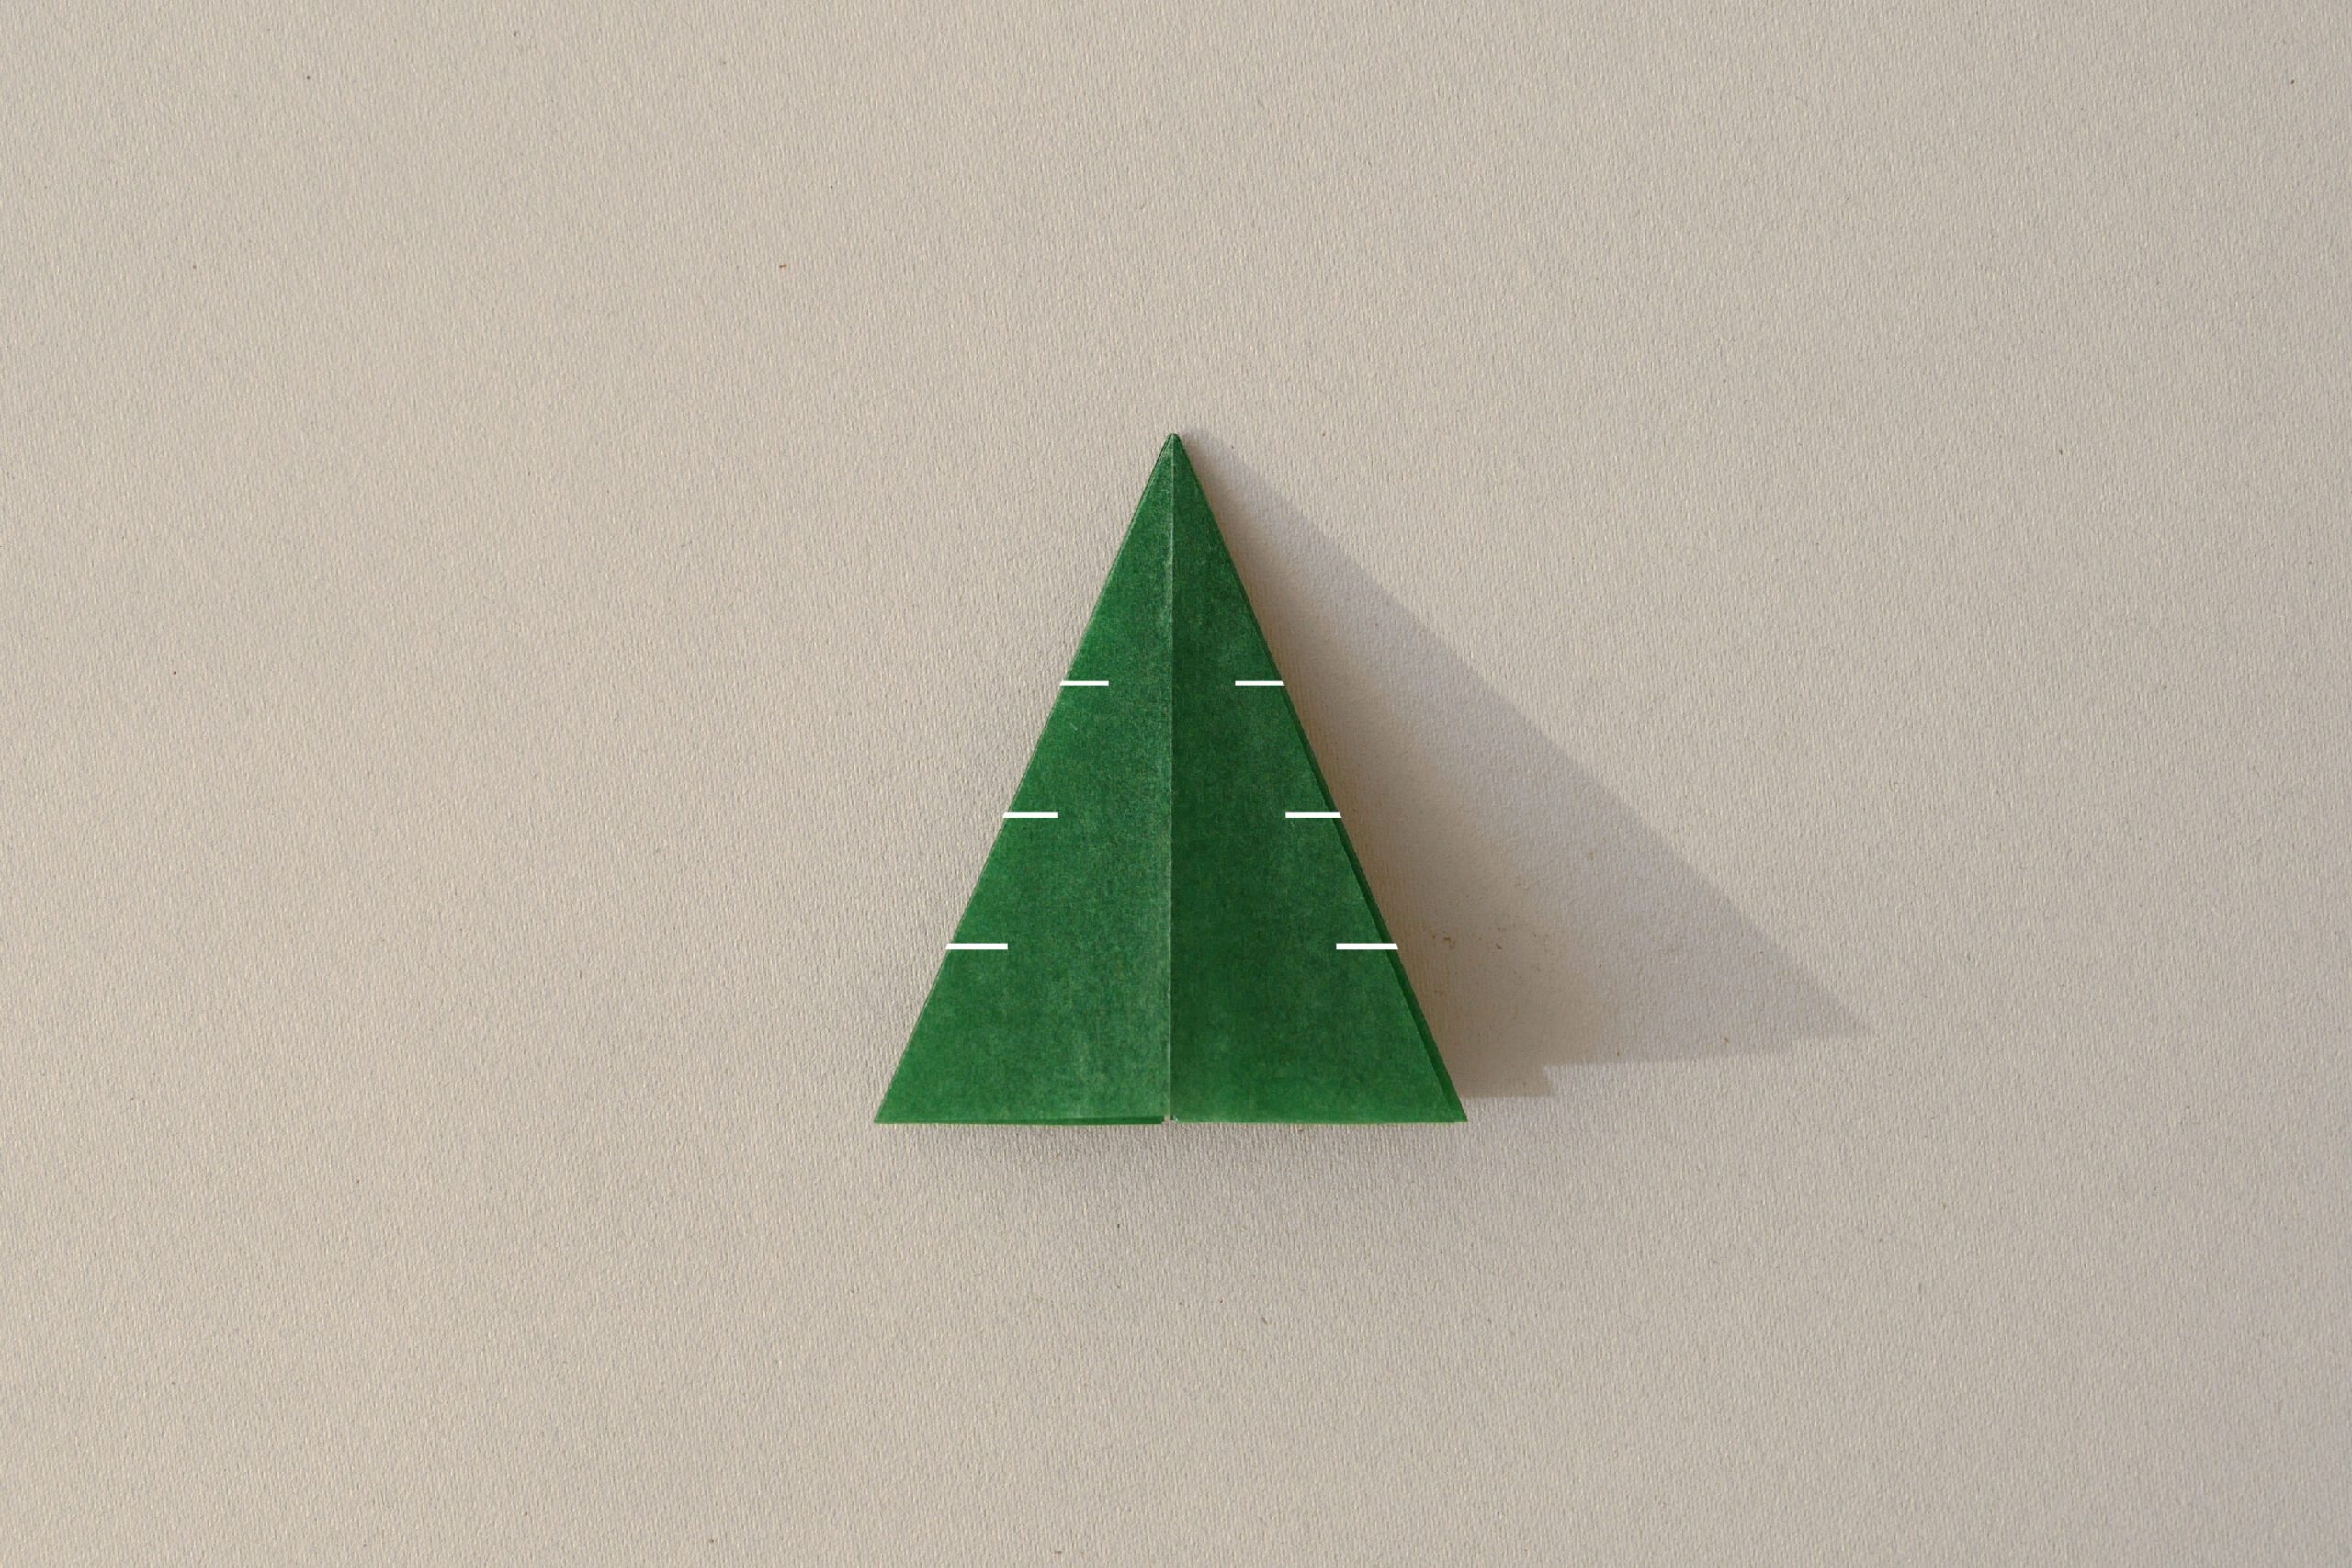
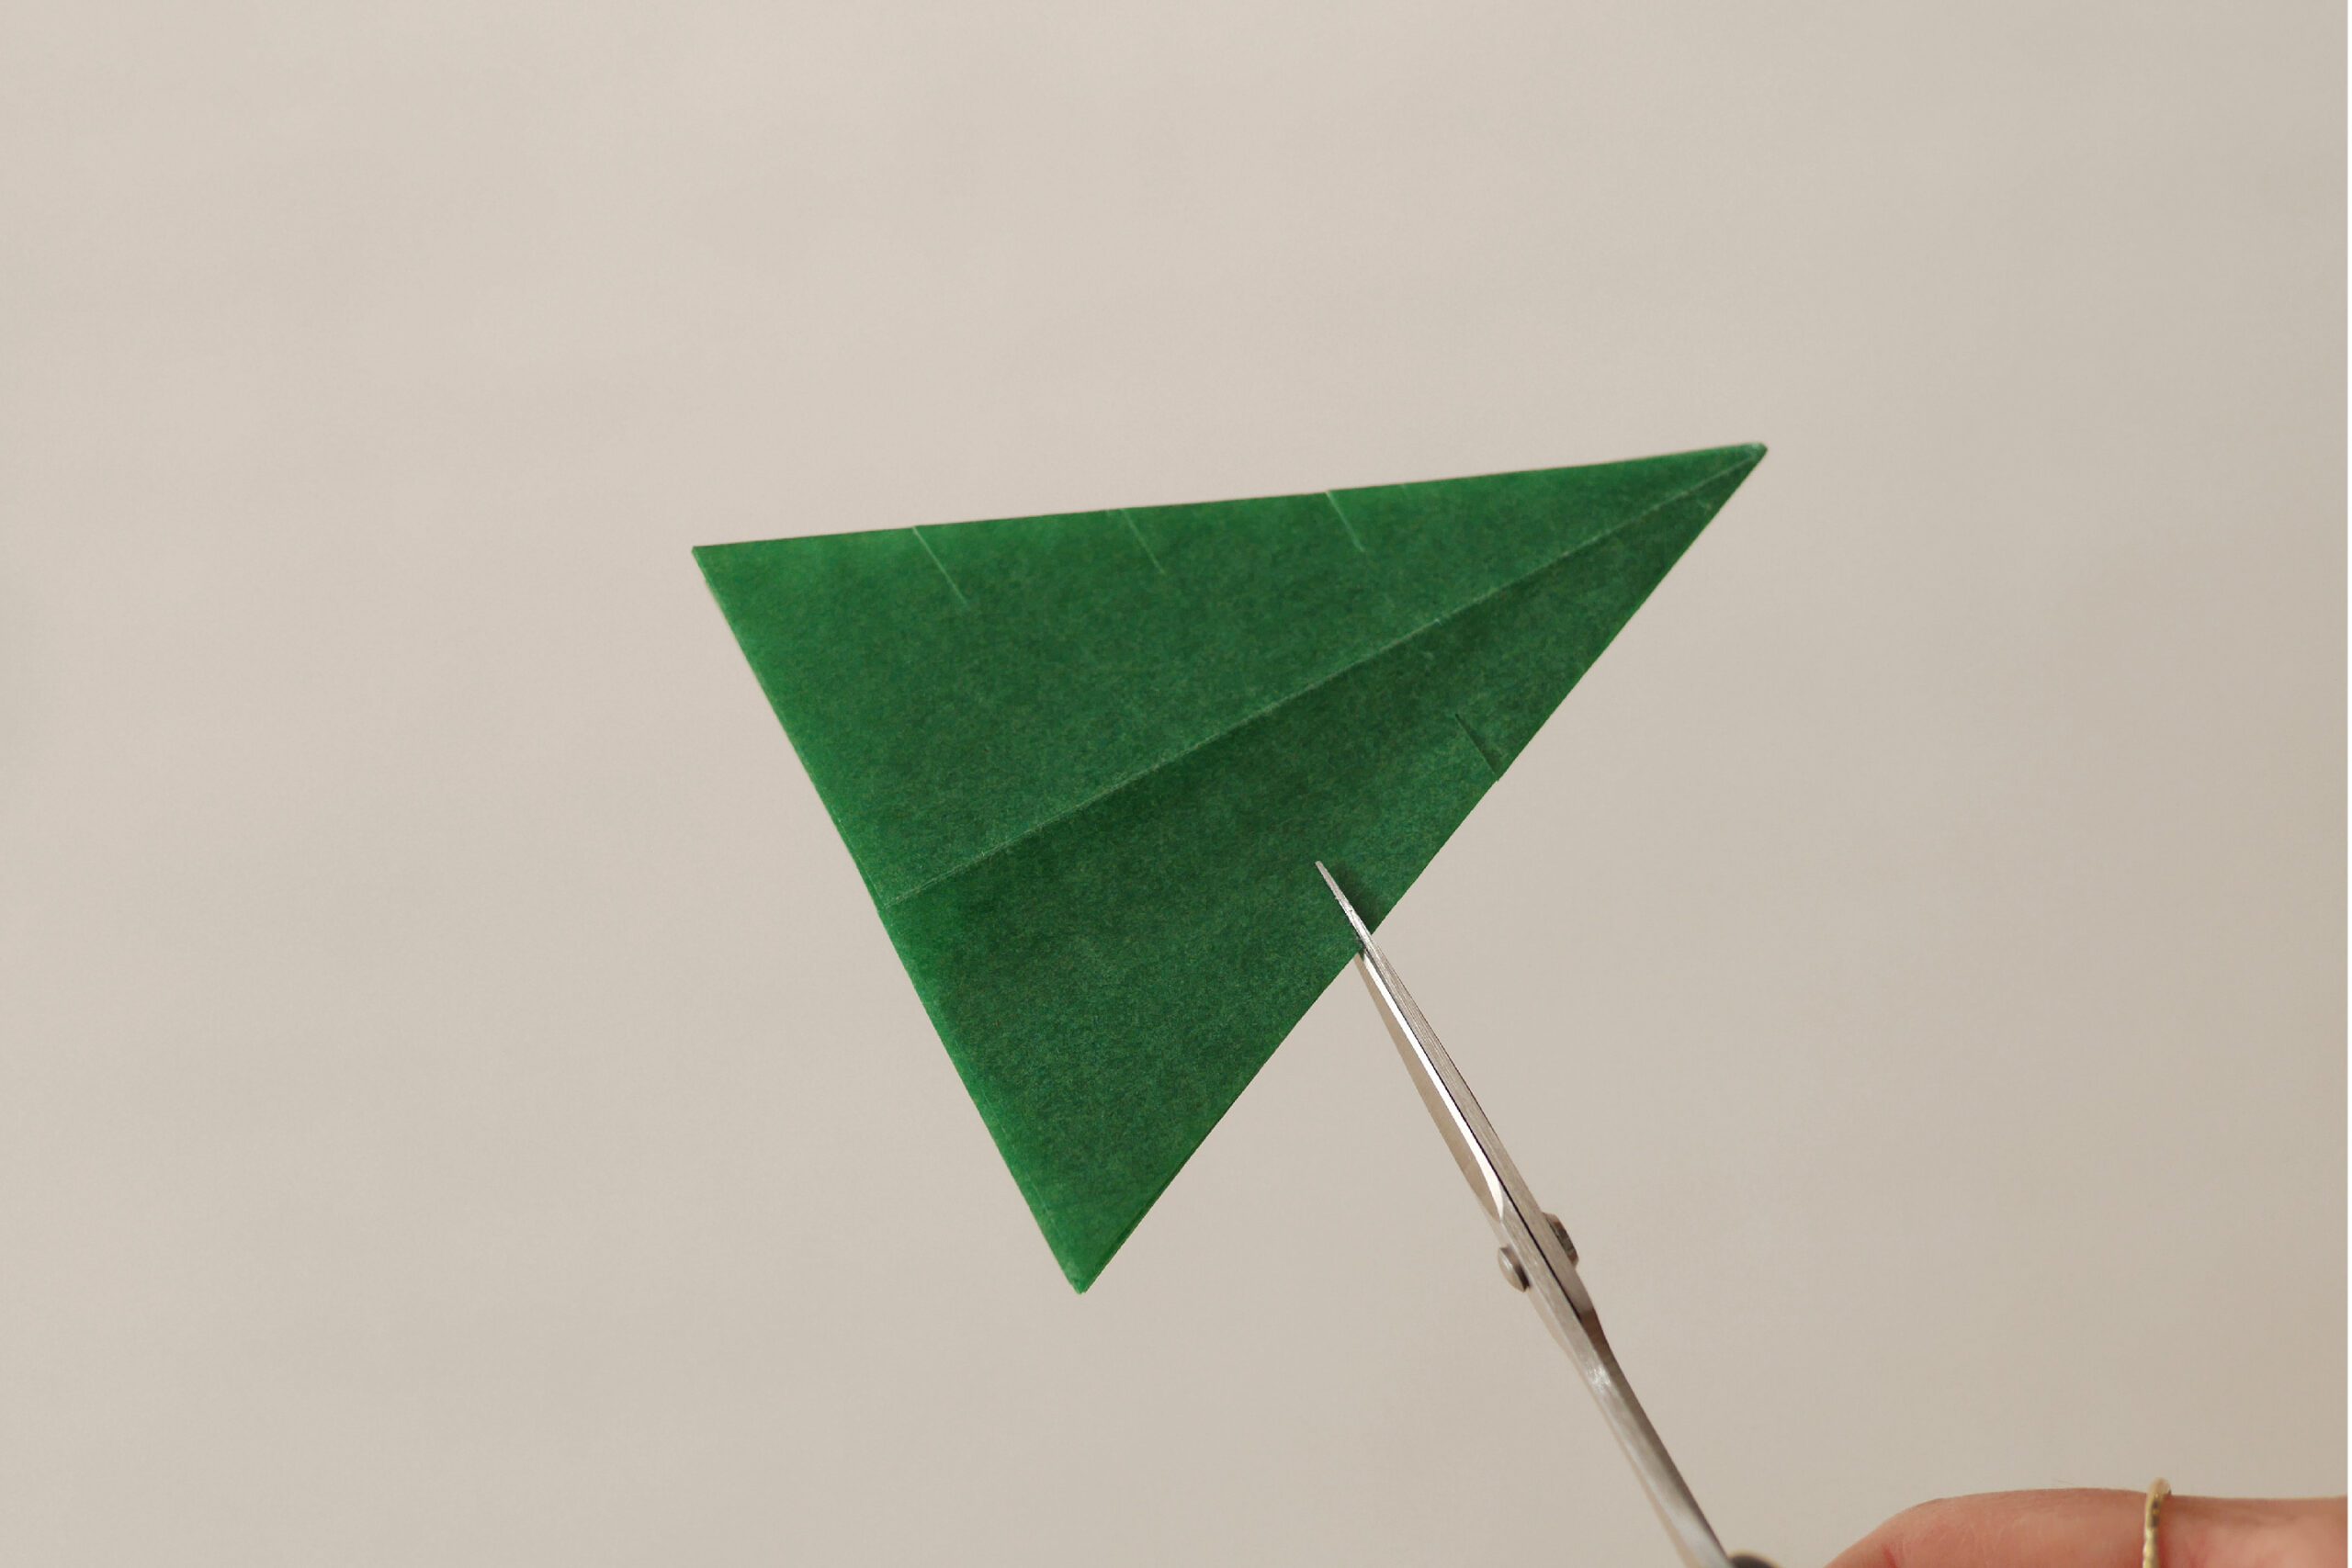
Step 3. Fold the Paper Again
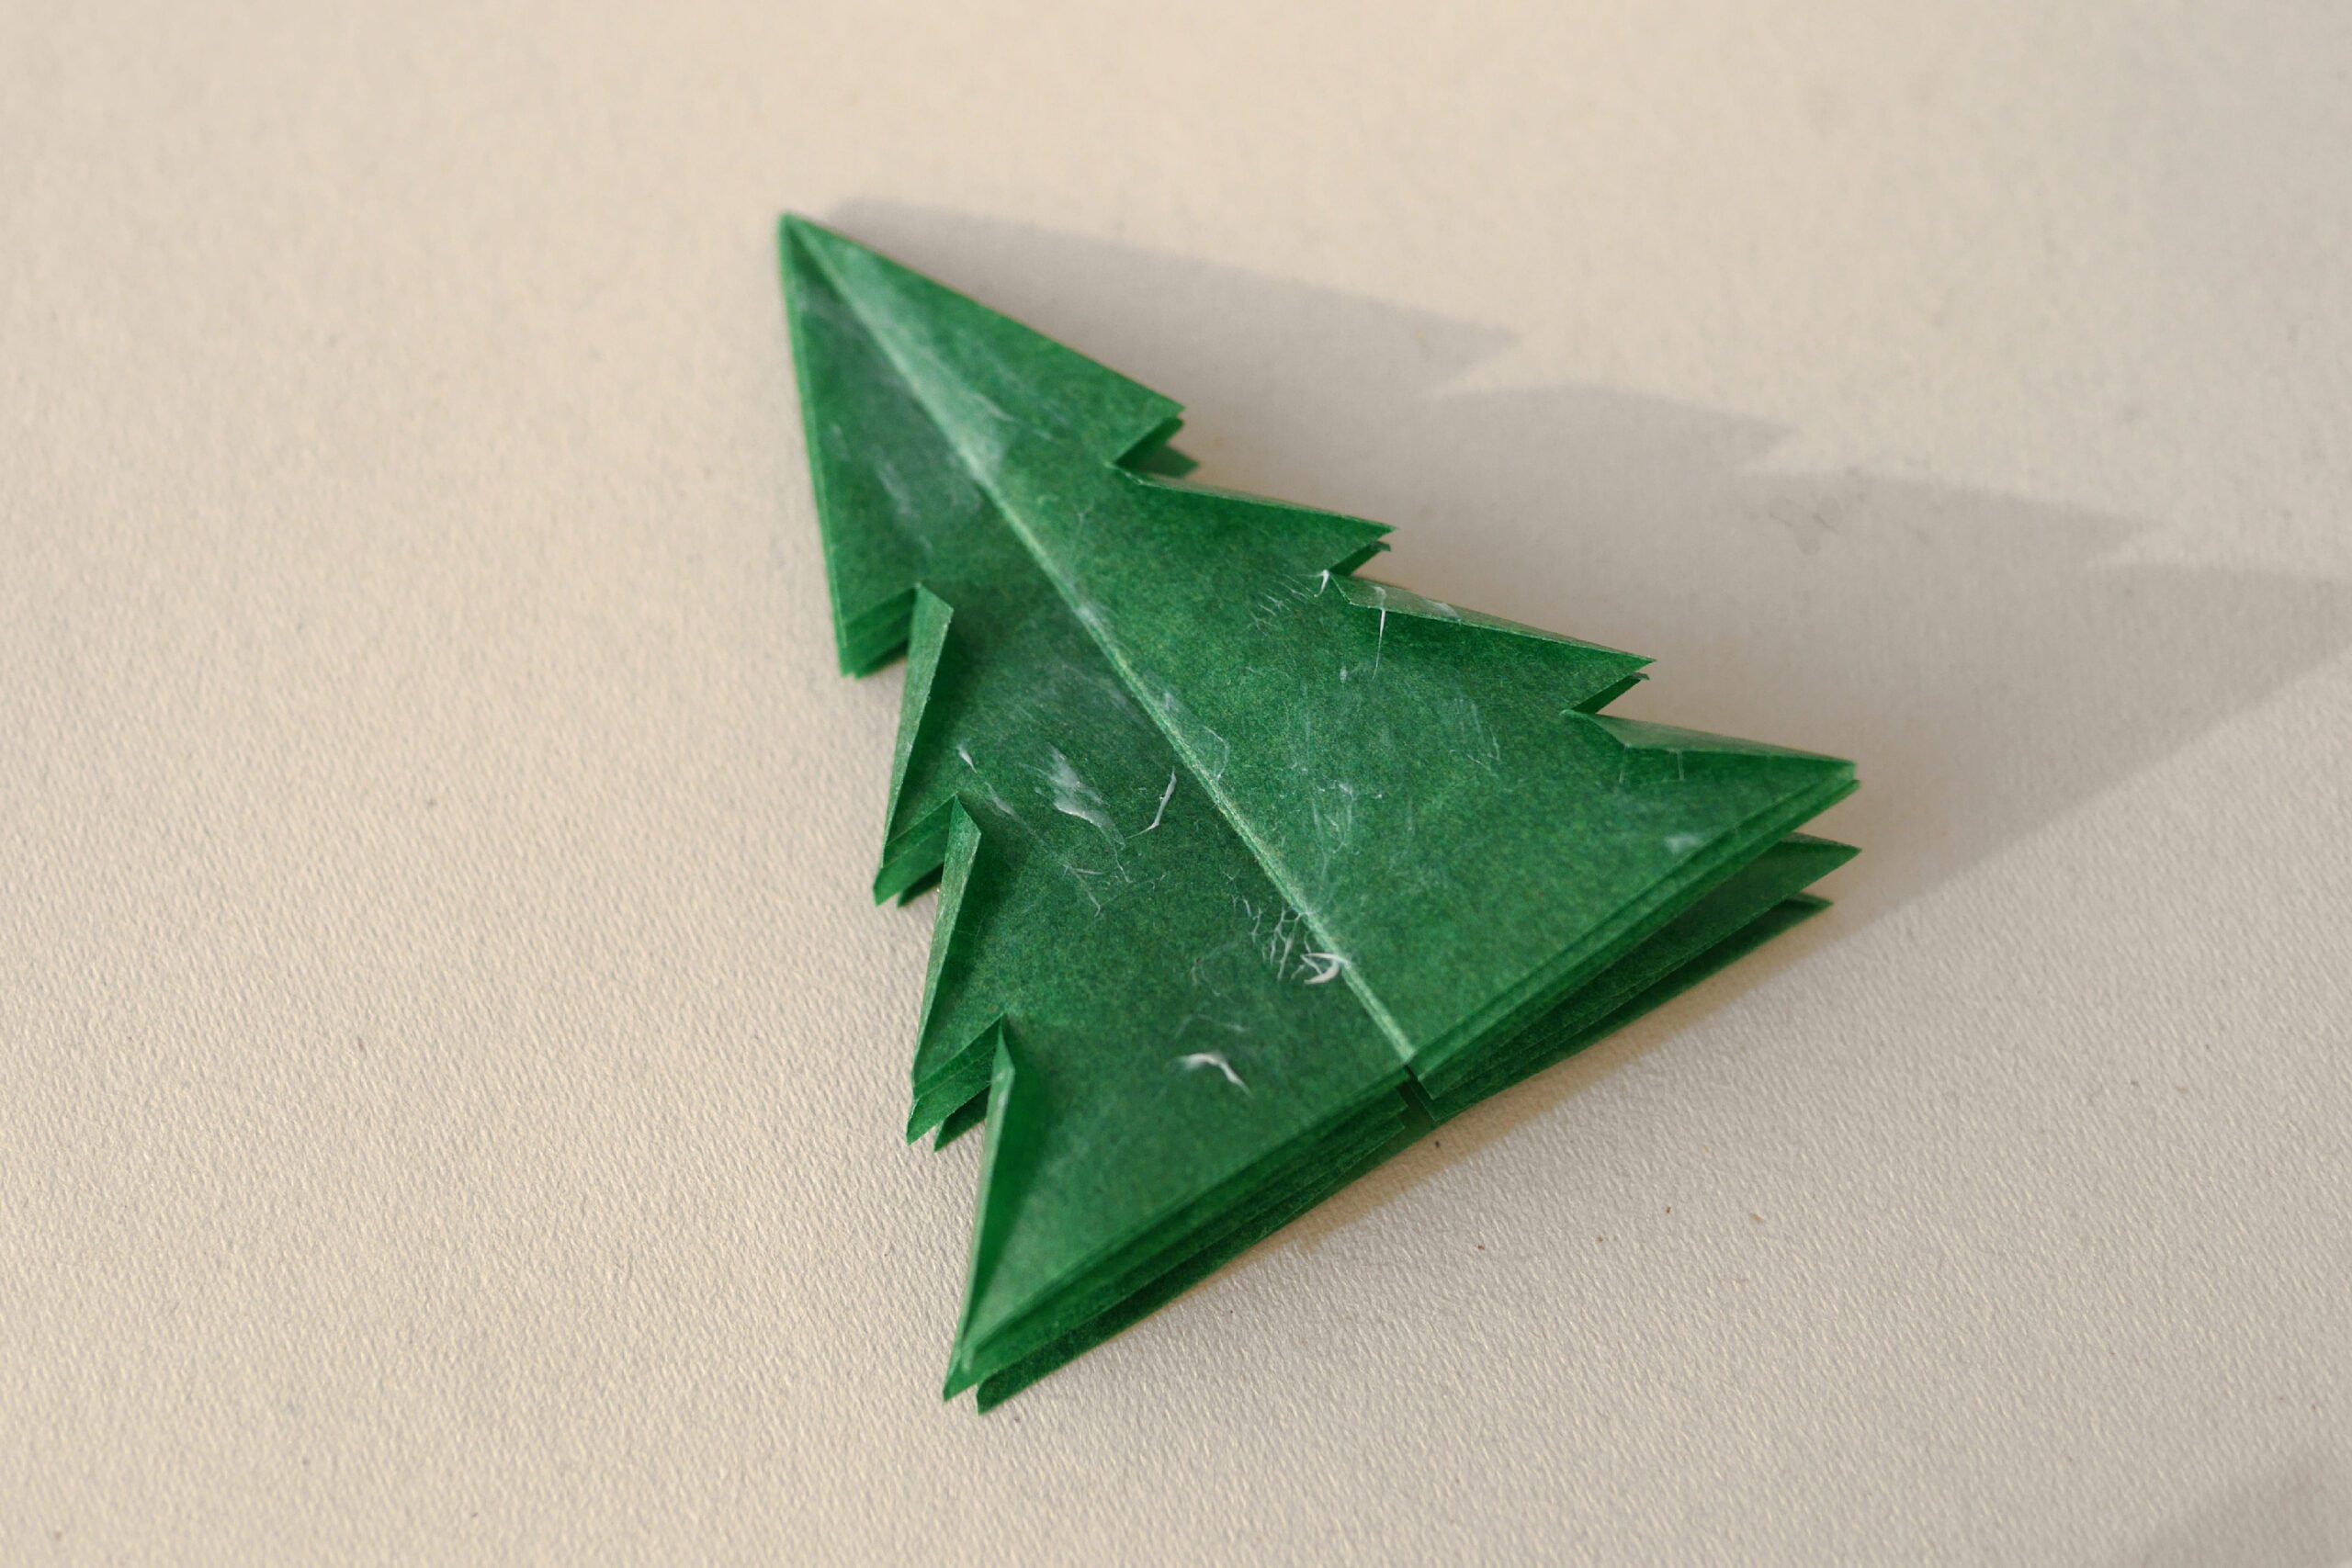
Fold it diagonally like the dotted lines in the photo. The tree was formed.
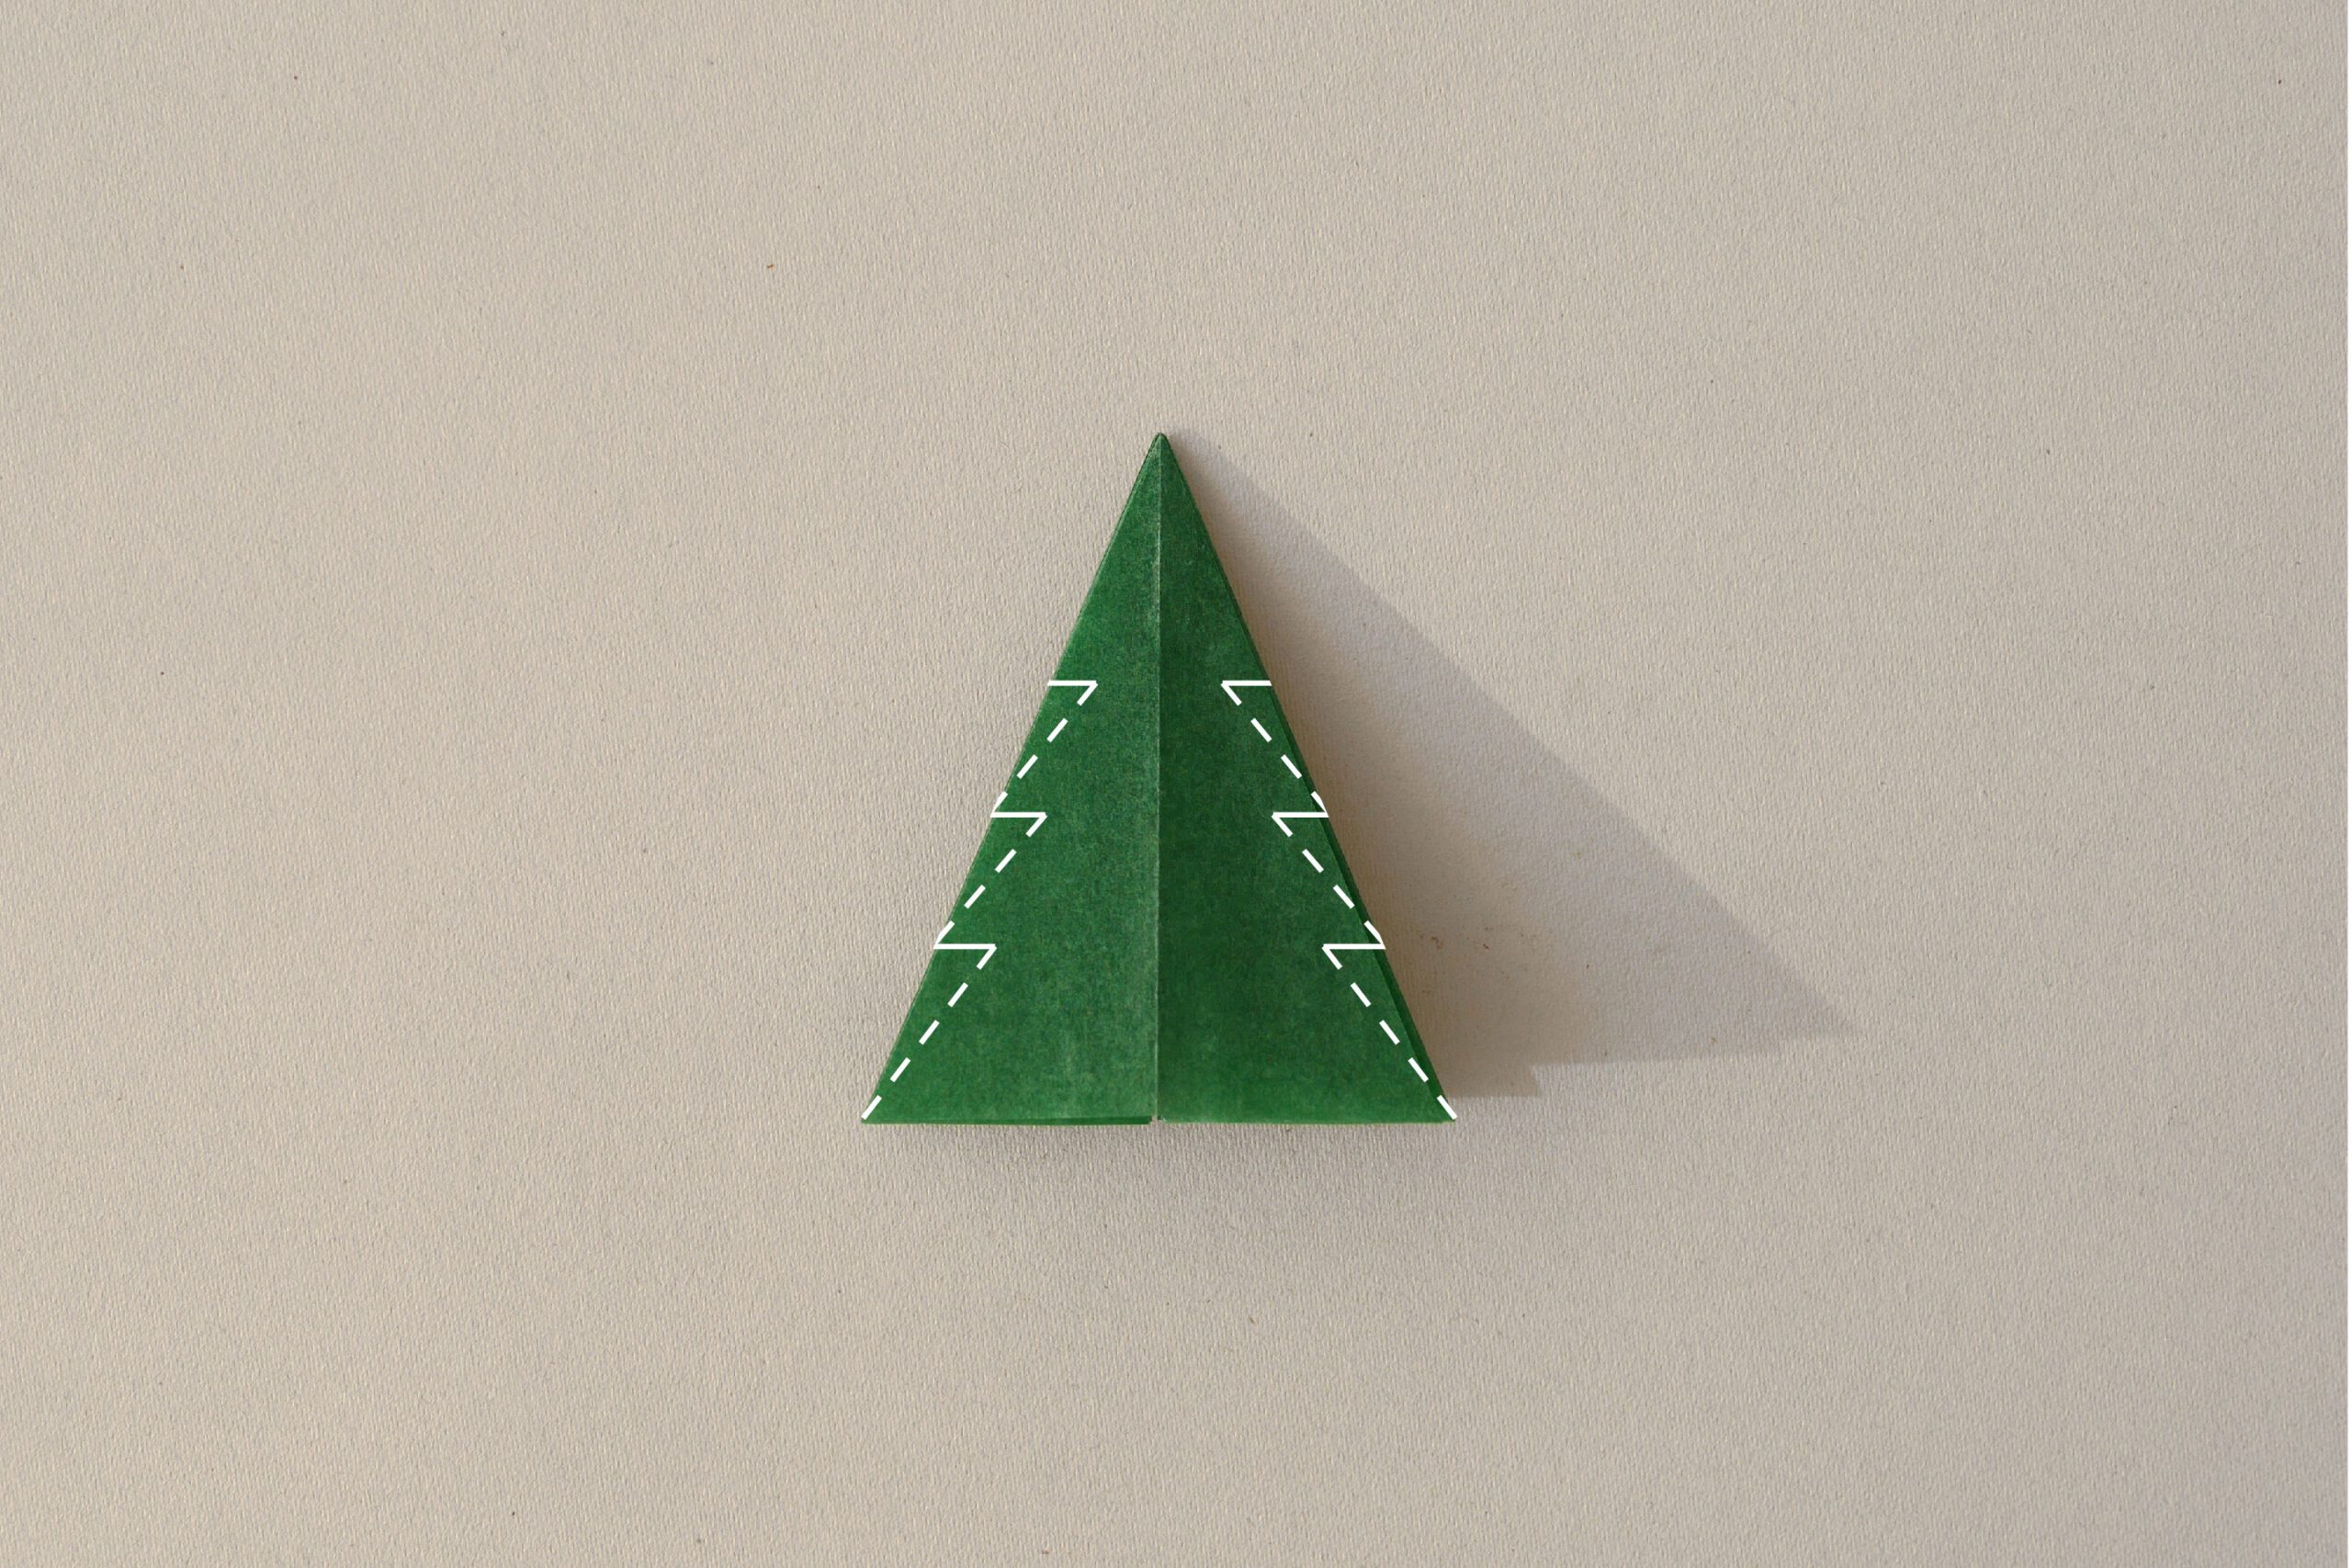
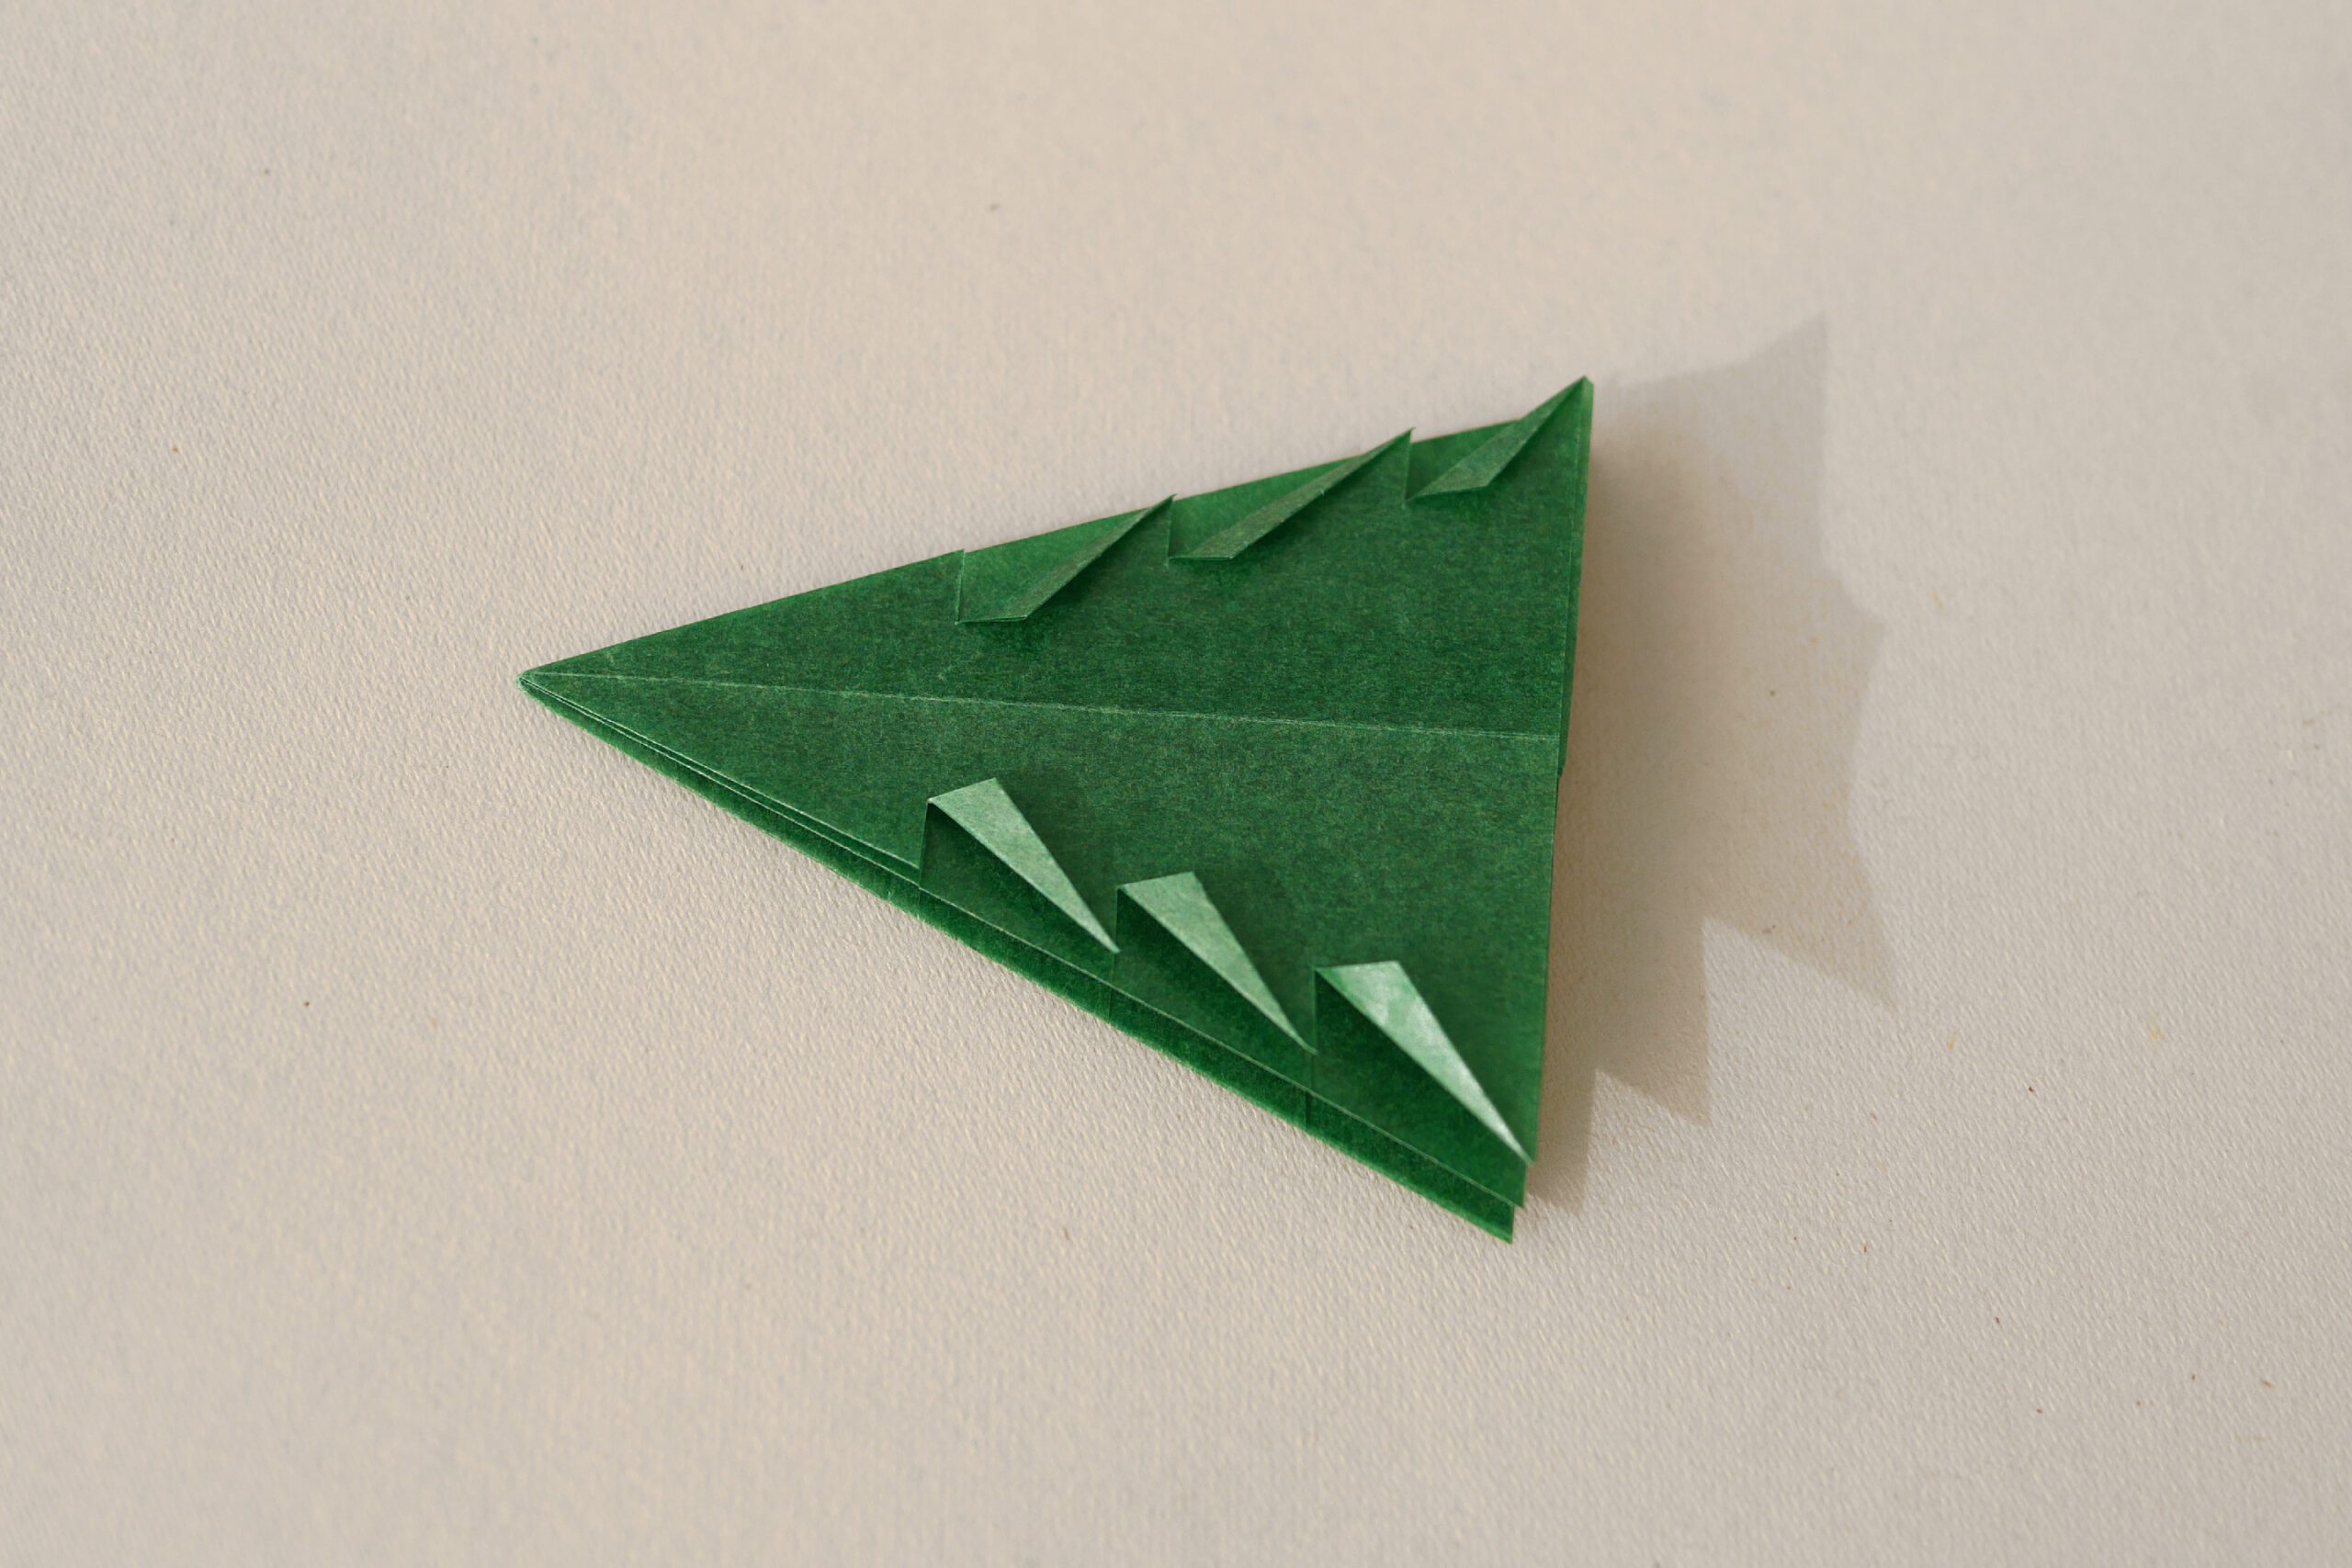
The overlapping pieces on each side are folded in the same manner, one by one.
In total, eight pieces of paper are used to make a three-dimensional tree.
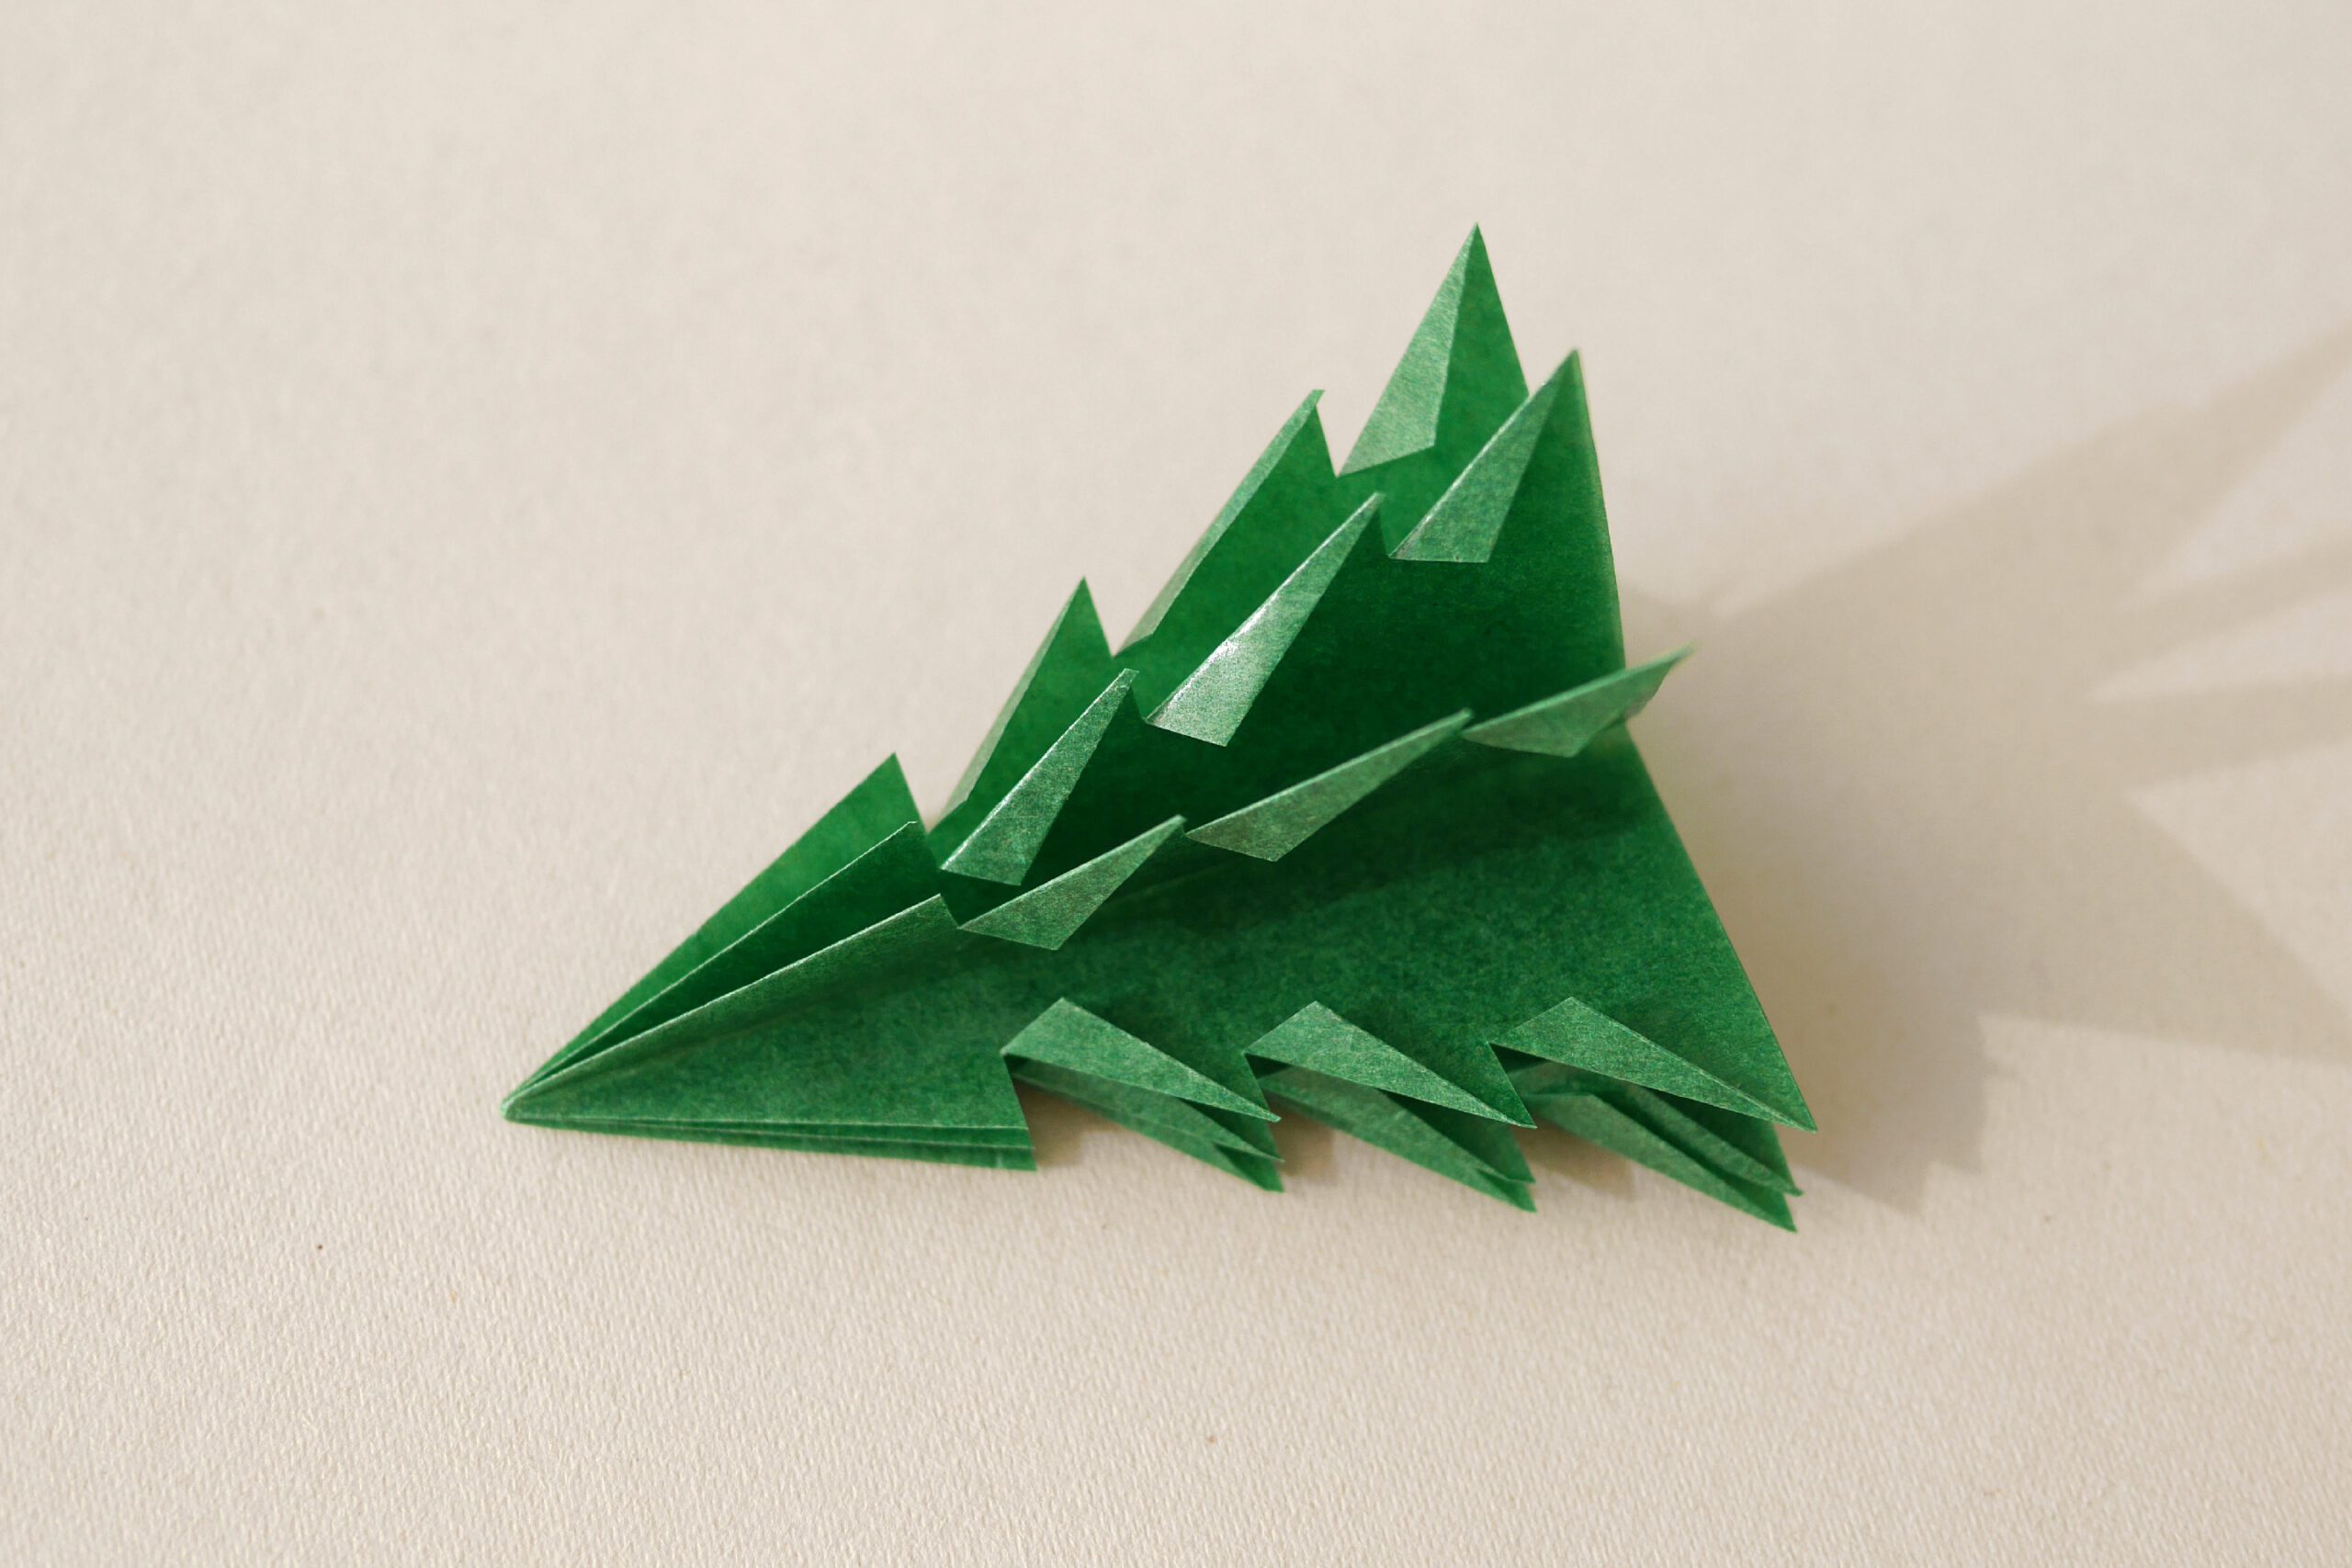

Step 4. Finish to Card
To make the tree trunk, prepare a 2x8cm piece of brown paper and fold it into 8 equal bellows.
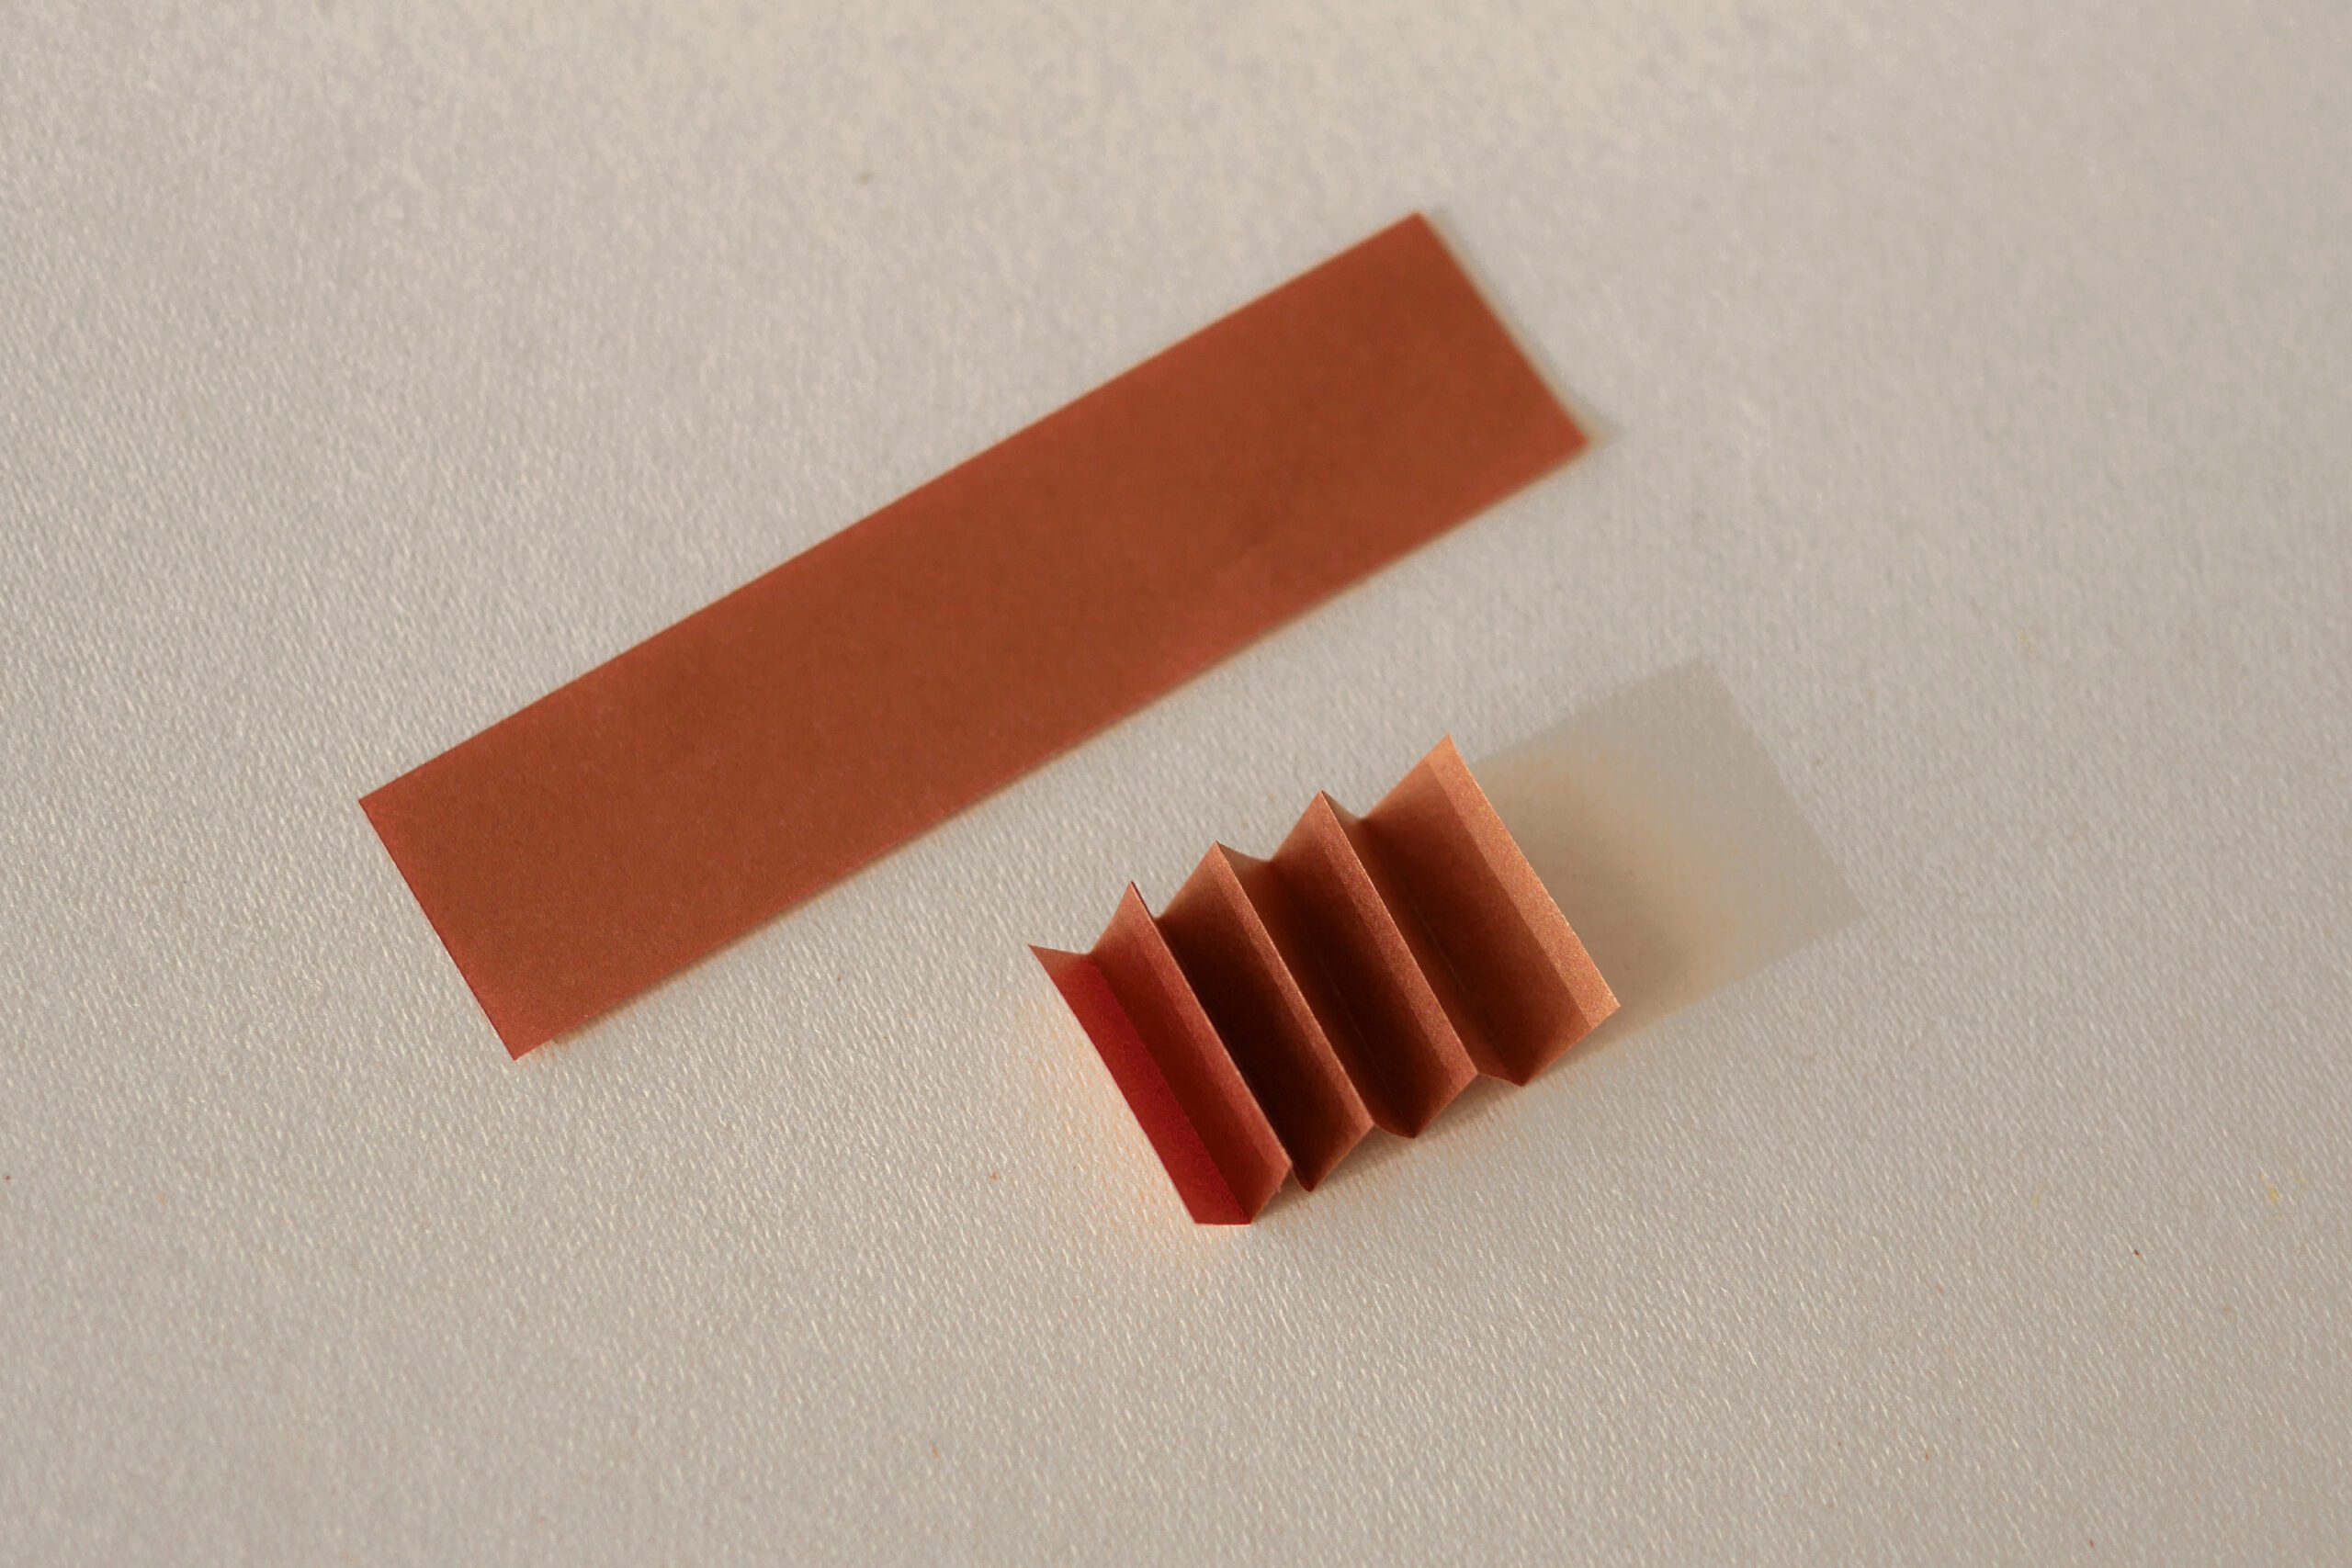
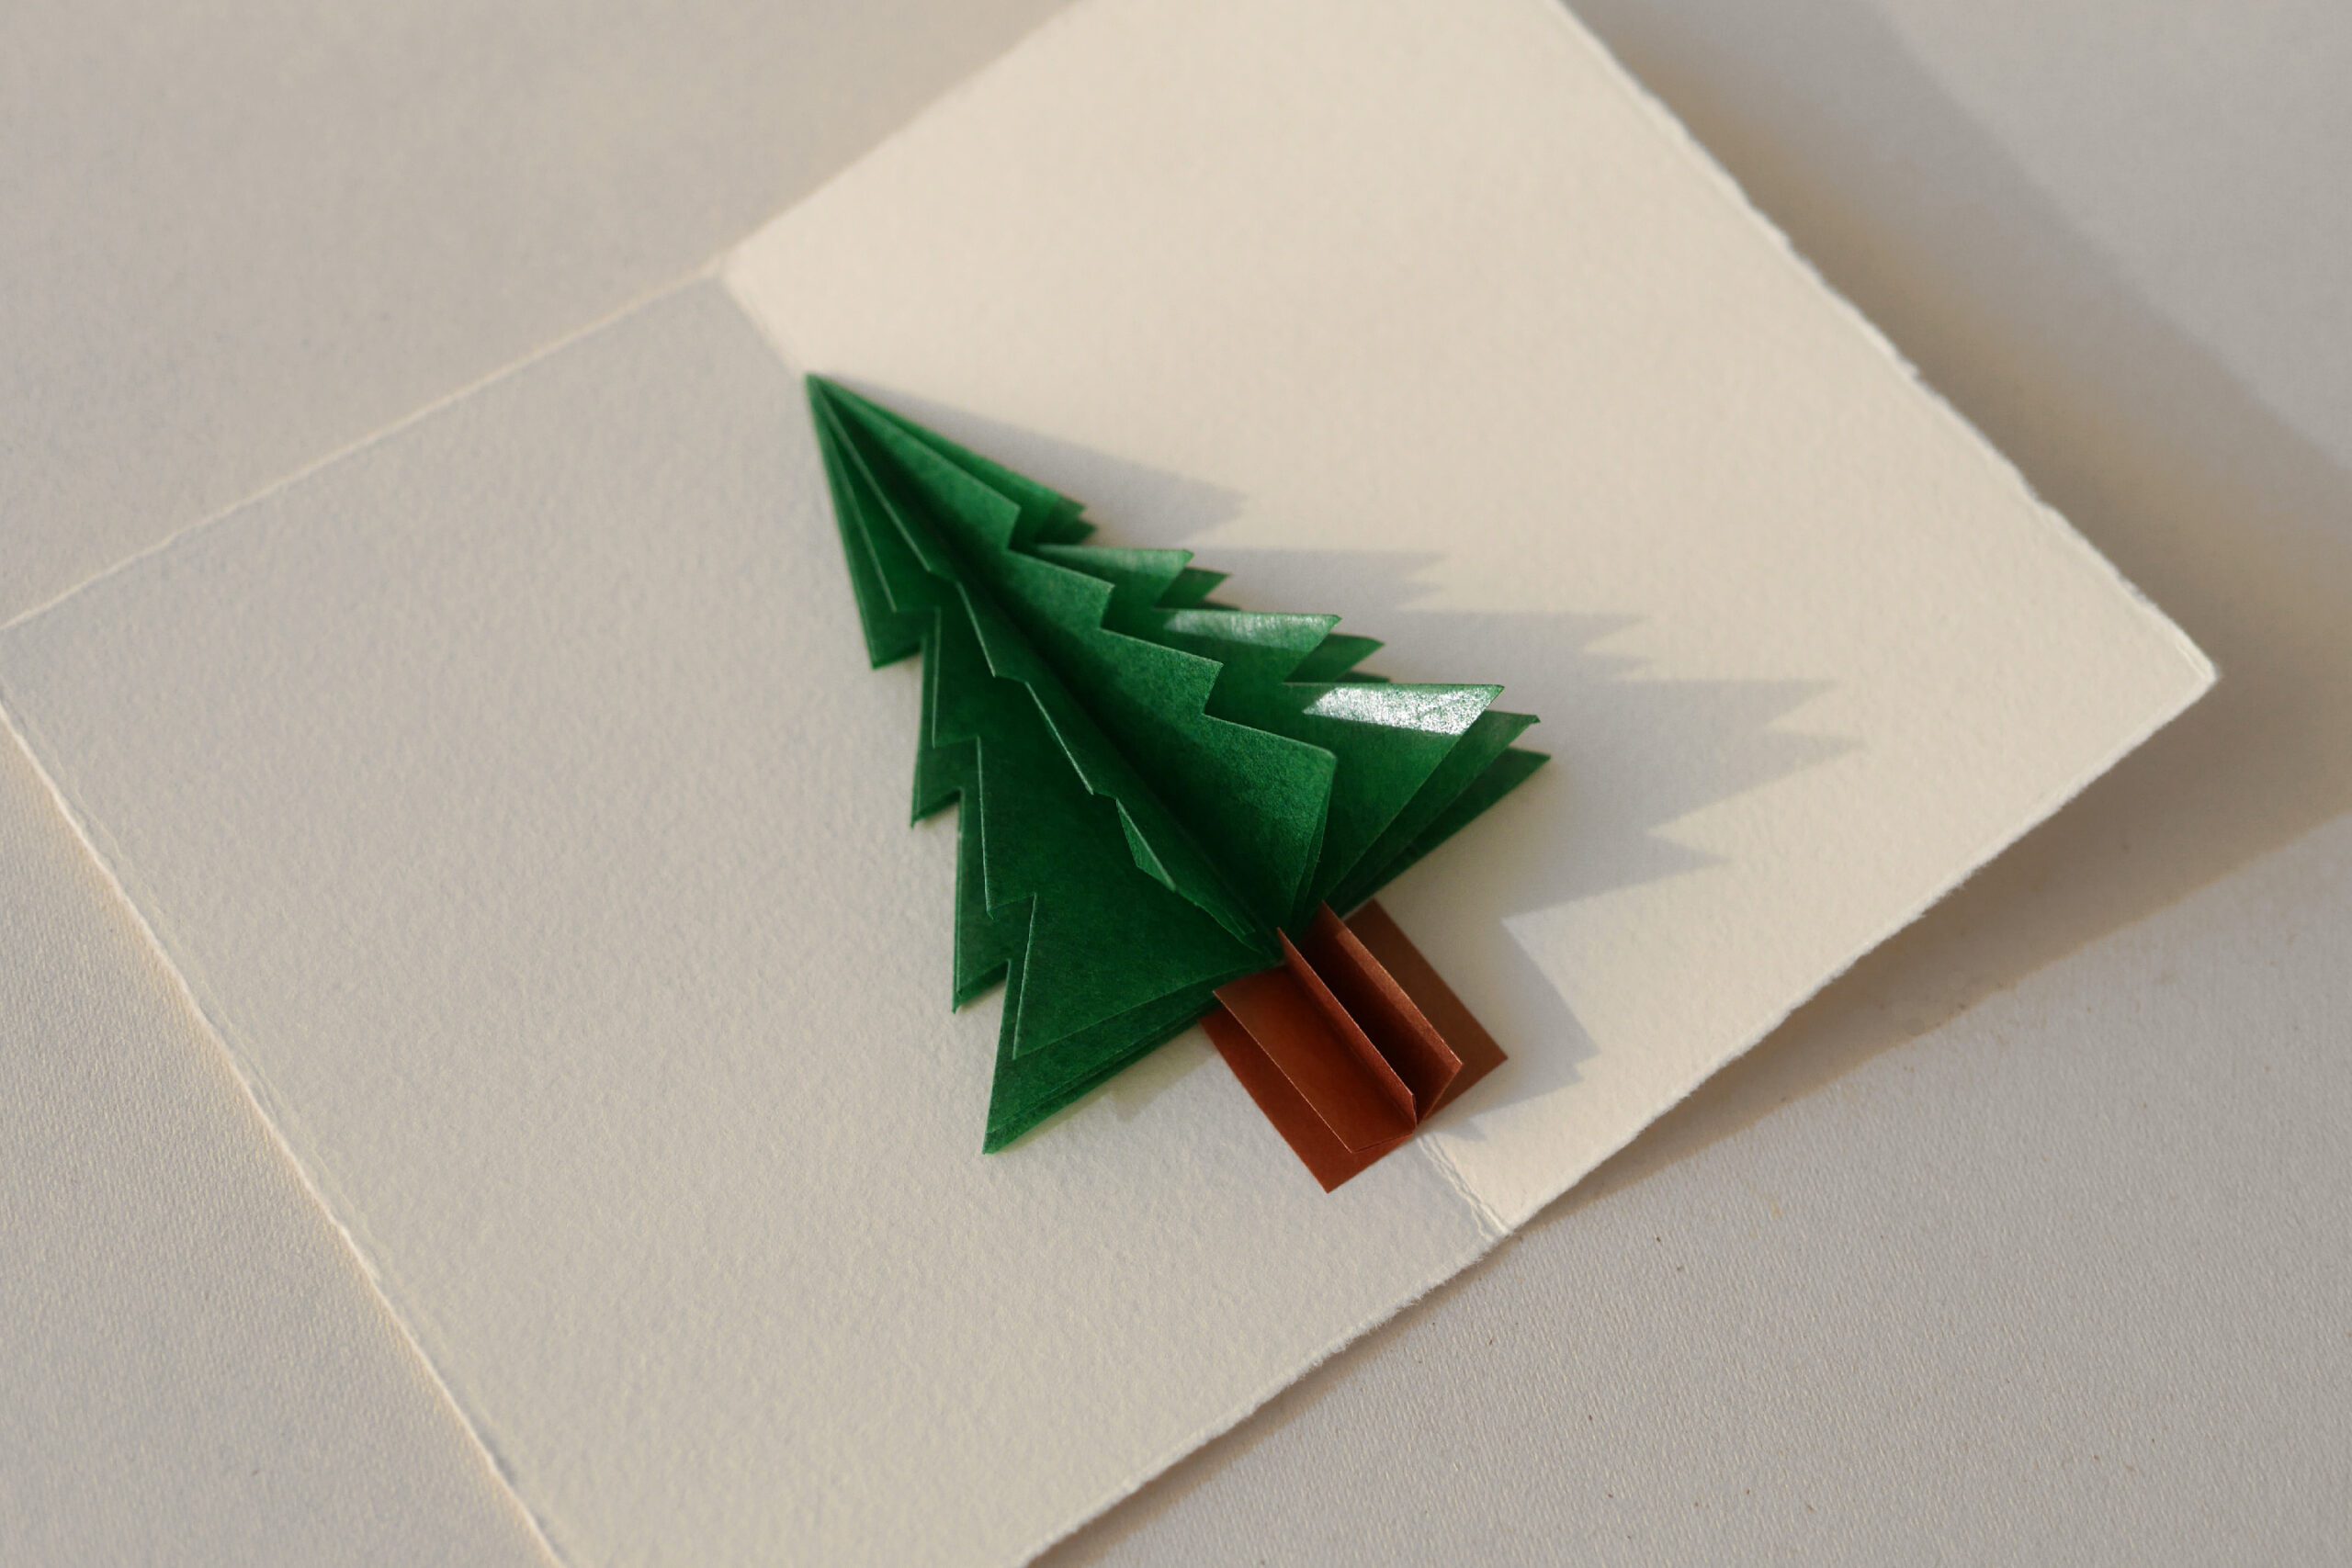
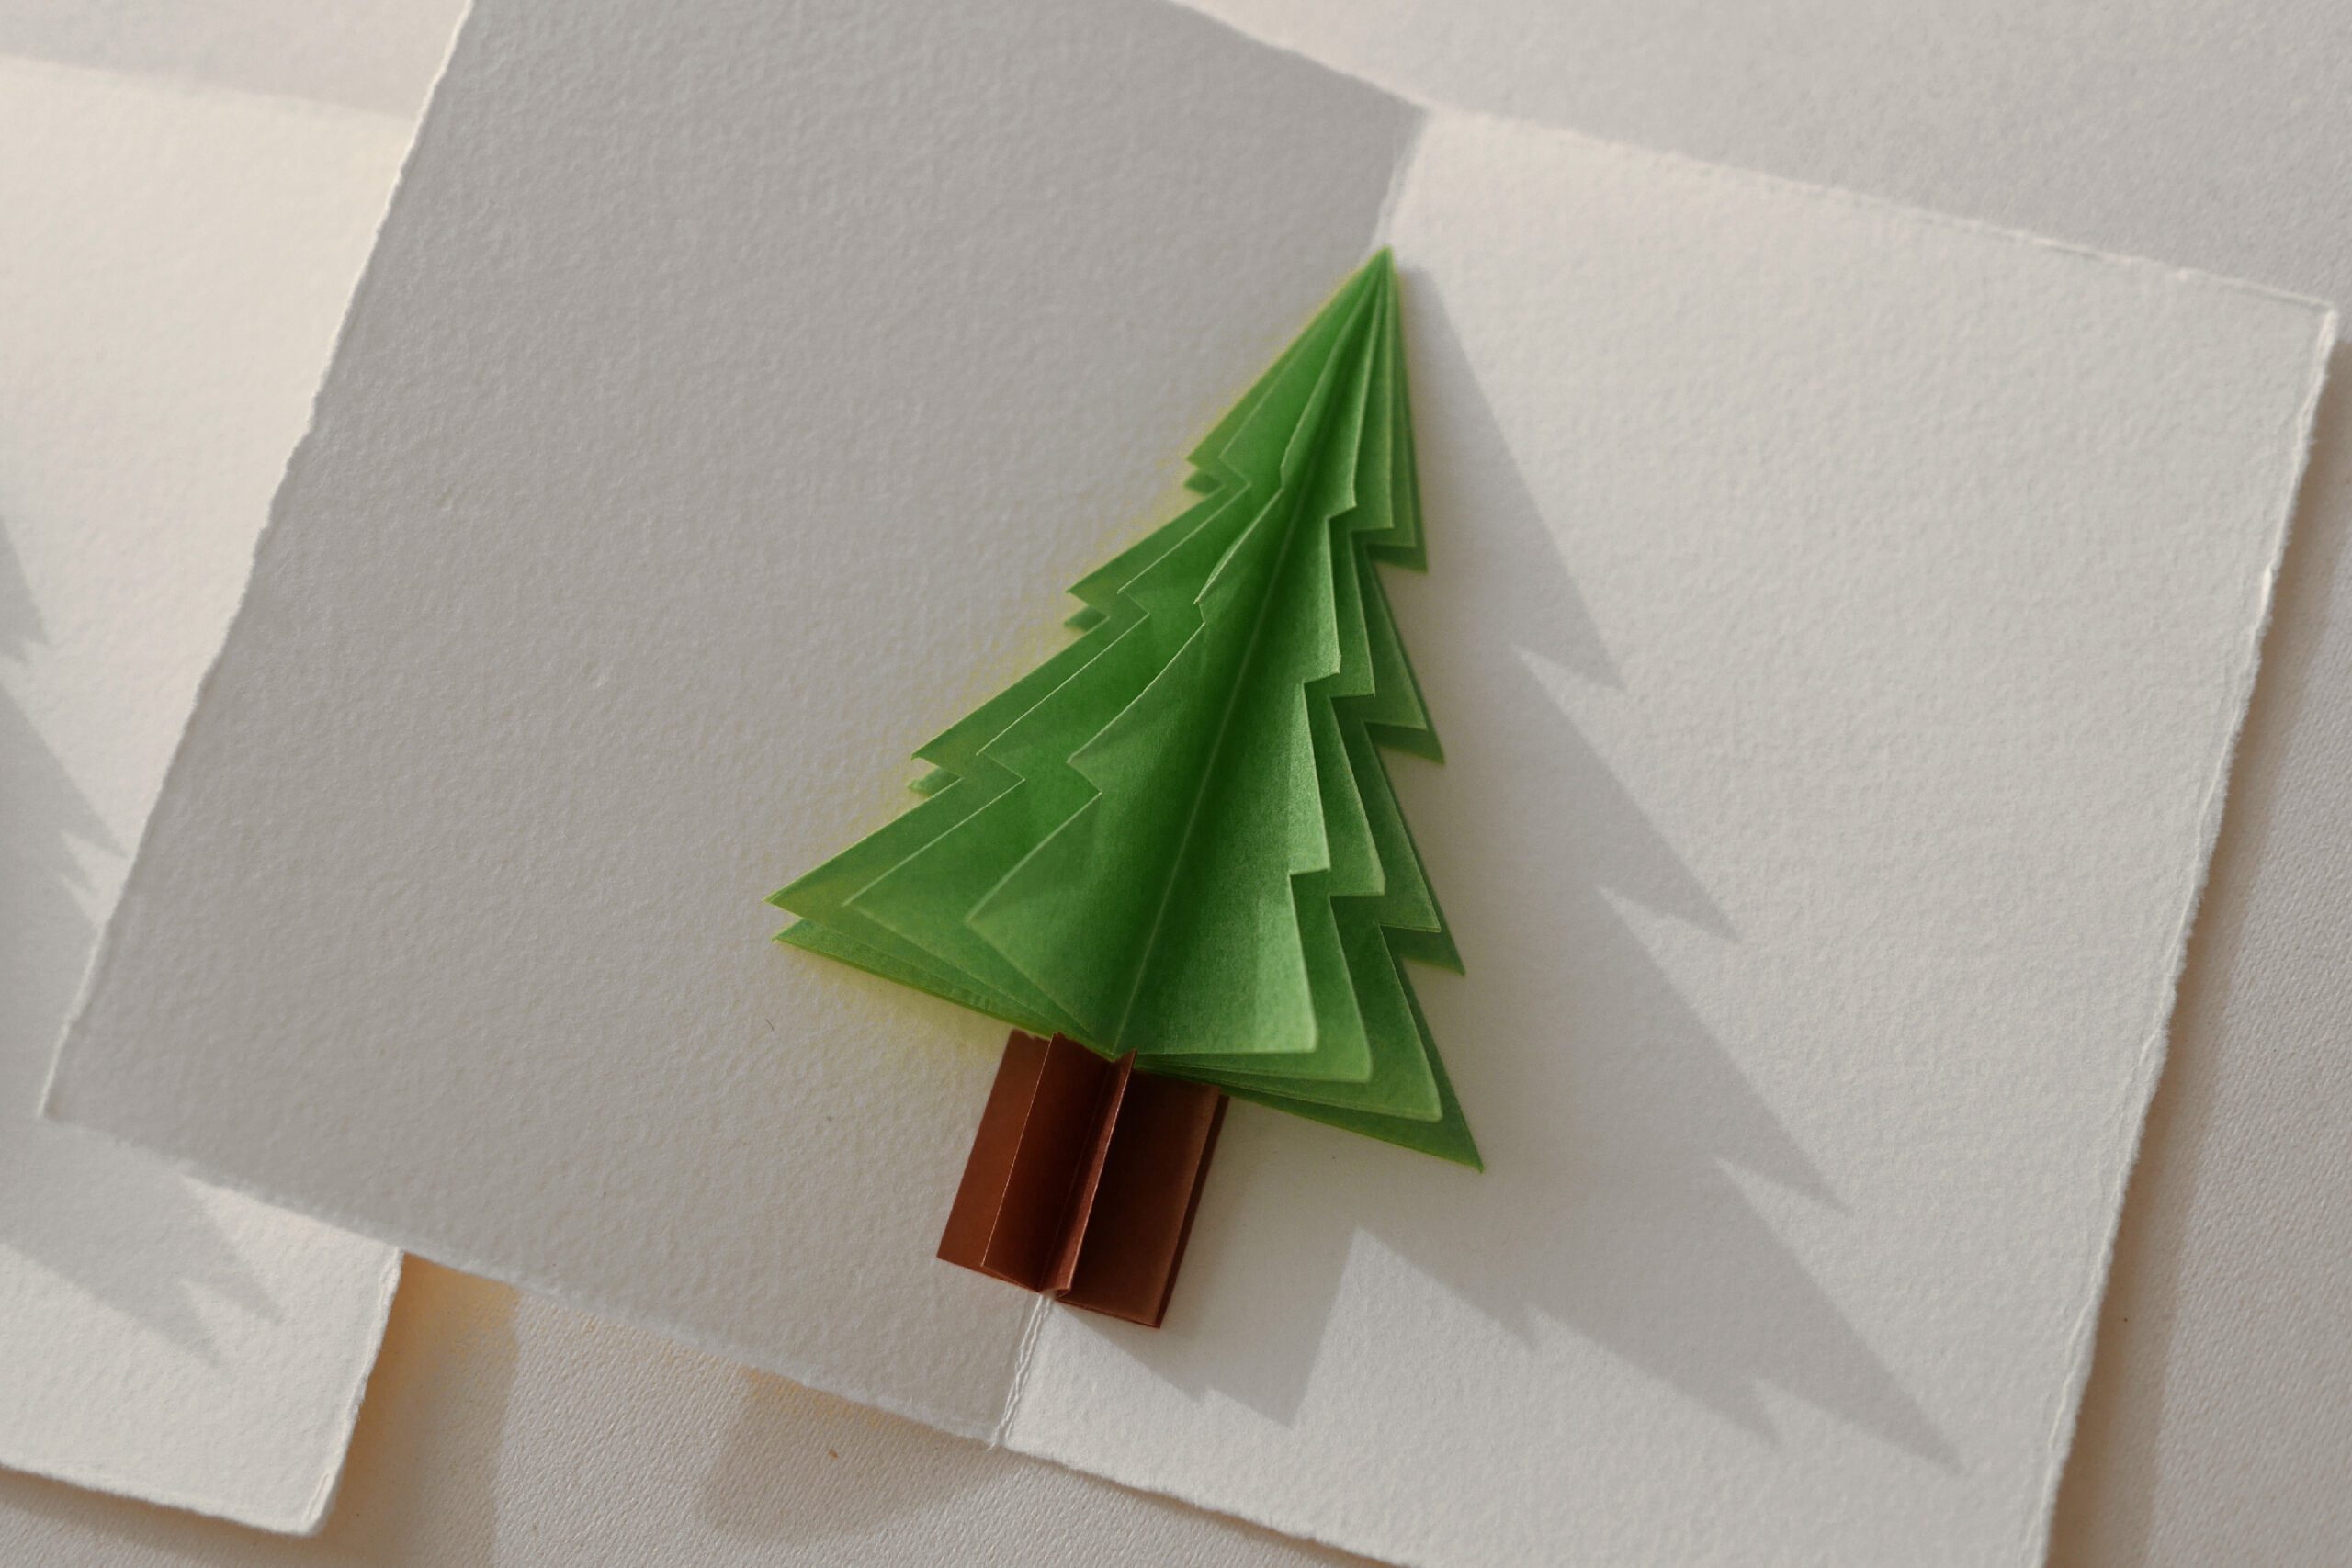
Glue the back of the tree to the card. Place the tree trunk under the tree.
The pop-up Christmas tree card is complete.
Pop-up Card with Christmas Tree
何気なくつくった立体的な折り紙のもみの木。デコレーションに使うかどうしようか考えていたら、横で見ていた娘がすかさず、カードにしたら?飛び出すカード!
素敵なアイデアをありがとう。すぐにカードに仕立てました。
私の使った紙はカイトペーパー。ウィンドウスターに使うトランスパレントな折り紙です。透ける素材が繊細な雰囲気を演出してくれます。身近にある折り紙や色紙でもつくれるでしょう。簡単な材料でできるのがいいですね。12月のクイッククラフトにぴったりです。ぜひお試しください。


用意するもの
– カイトペーパー もしくは 折り紙
– 二つ折りのカード
– はさみ
– 糊
つくりかた
Step 1. 紙を折る
折り紙を十字に折ります。

裏返して、今度は三角形になるように十字に折ります。

折り筋に沿って四角く折り畳みます。


一枚の袋を指で広げ、三角形に潰すように折りたたみます。


残りの三箇所も同じように三角形に折りたたみます。

Step 2. 紙を切る
線の部分をはさみで切り落とします


写真の線のように、左右6箇所の切り込みを入れます。


Step 3. 切ったところを折る
写真の点線のように斜めに折りたたみます。木の形ができていました。


左右それぞれ重なっている部分も、同じように一枚ずつ同じように折りたたみます。
全部で8枚の紙で立体的な木になりました。


Step 4. カードに仕上げる
木の幹の部分をつくります。2x8cmの茶色い紙を用意し、8等分に蛇腹に折りたたみます。

木の裏面に糊をつけ、カードに貼ります。木の幹は木の下に貼ります。
飛び出すツリーカードの完成です。


