A Miniature Treehouse
This is a record of a school assignment ‘Shelter Project’ my daughter worked on at the end of third grade. It was a traditional assignment at Waldorf school, and was a big project for the children to conclude their 3rd grade year.
After nine-year change, third grade is a time of developmental change in one’s sense of self.
Shelter = home is a place to nurture oneself; it is a safe place apart from the world. By building a shelter during this time of experiencing separation from the world, they can build their own sanctuary and nurture the connection between themselves and the outside world. Through this project, they fulfill their growing interest in building their own sanctuary.
The environment is an important factor in building a shelter. At the school, students learned what kind of shelters have been created by what kind of environment. Then, they would actually assemble a shelter according to the environment of their own choosing.
I felt excited just by hearing and imagining the task. It was like assembling their own ideal house. Thinking about the historical background, I imagine what it would be like if I were here.
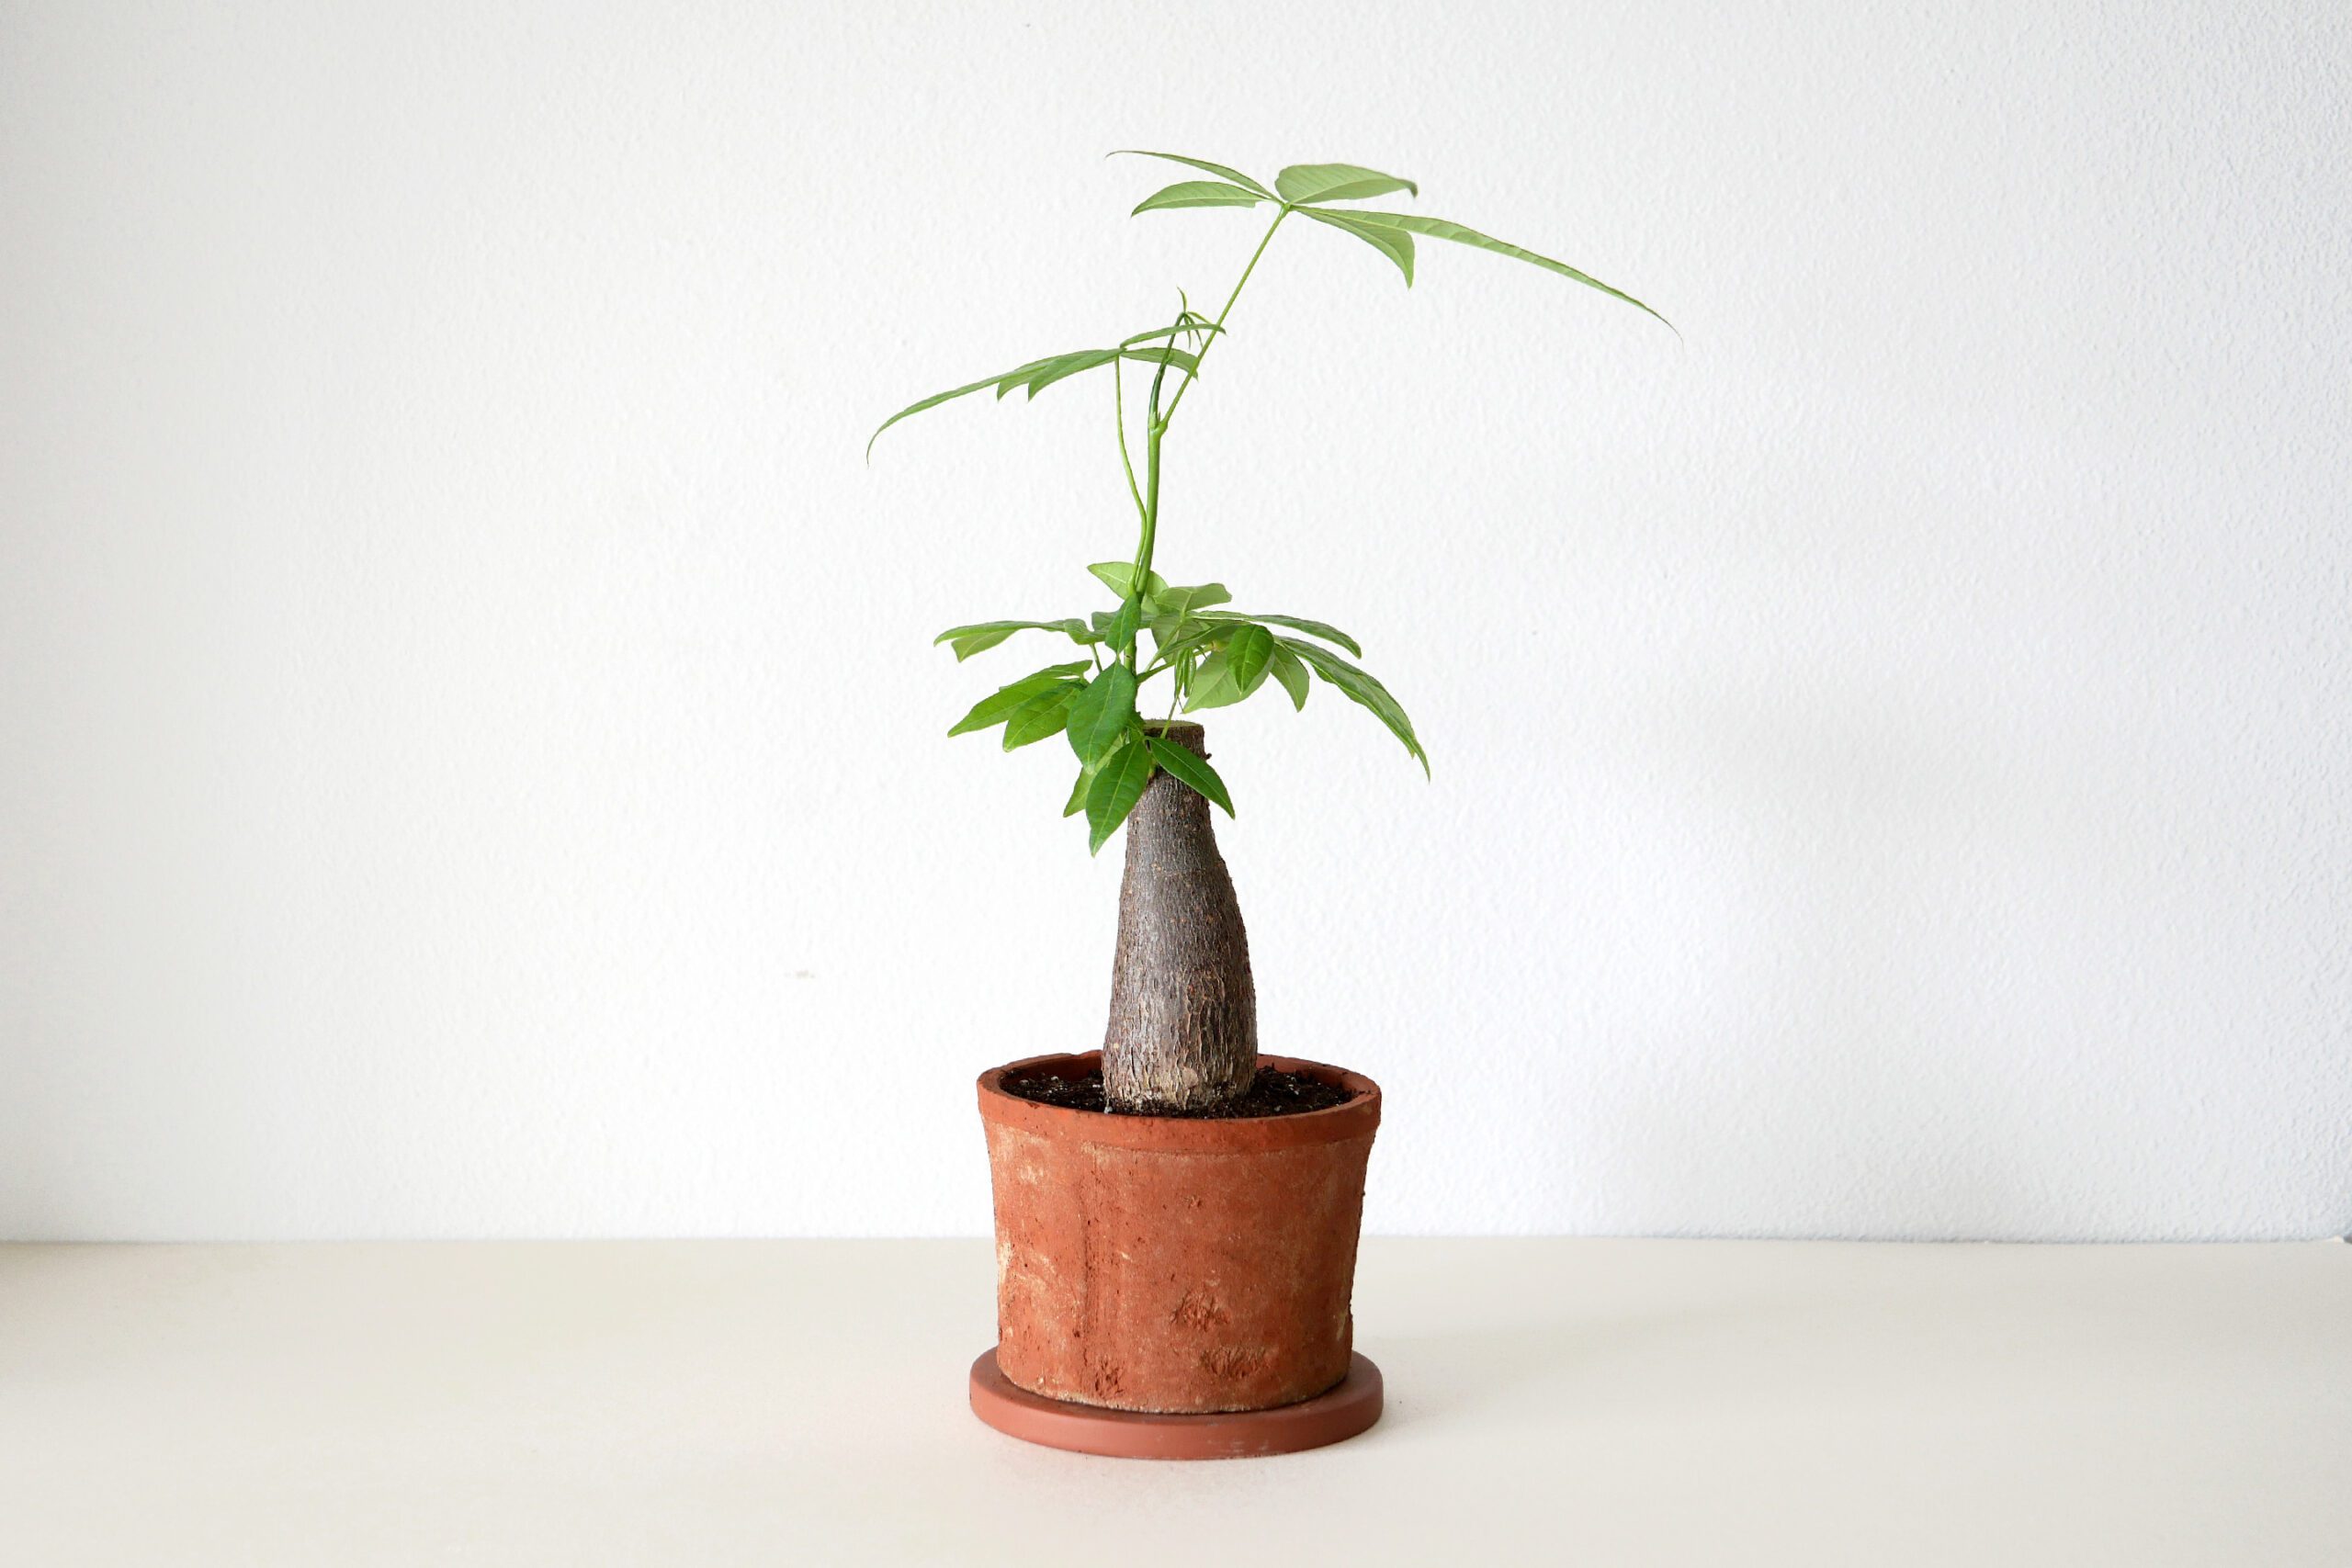
The environment my daughter chose was Rainforest. She researched subtropical rainforest environments and decided to build a treehouse suited to that environment.
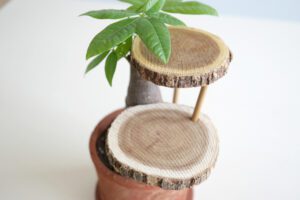
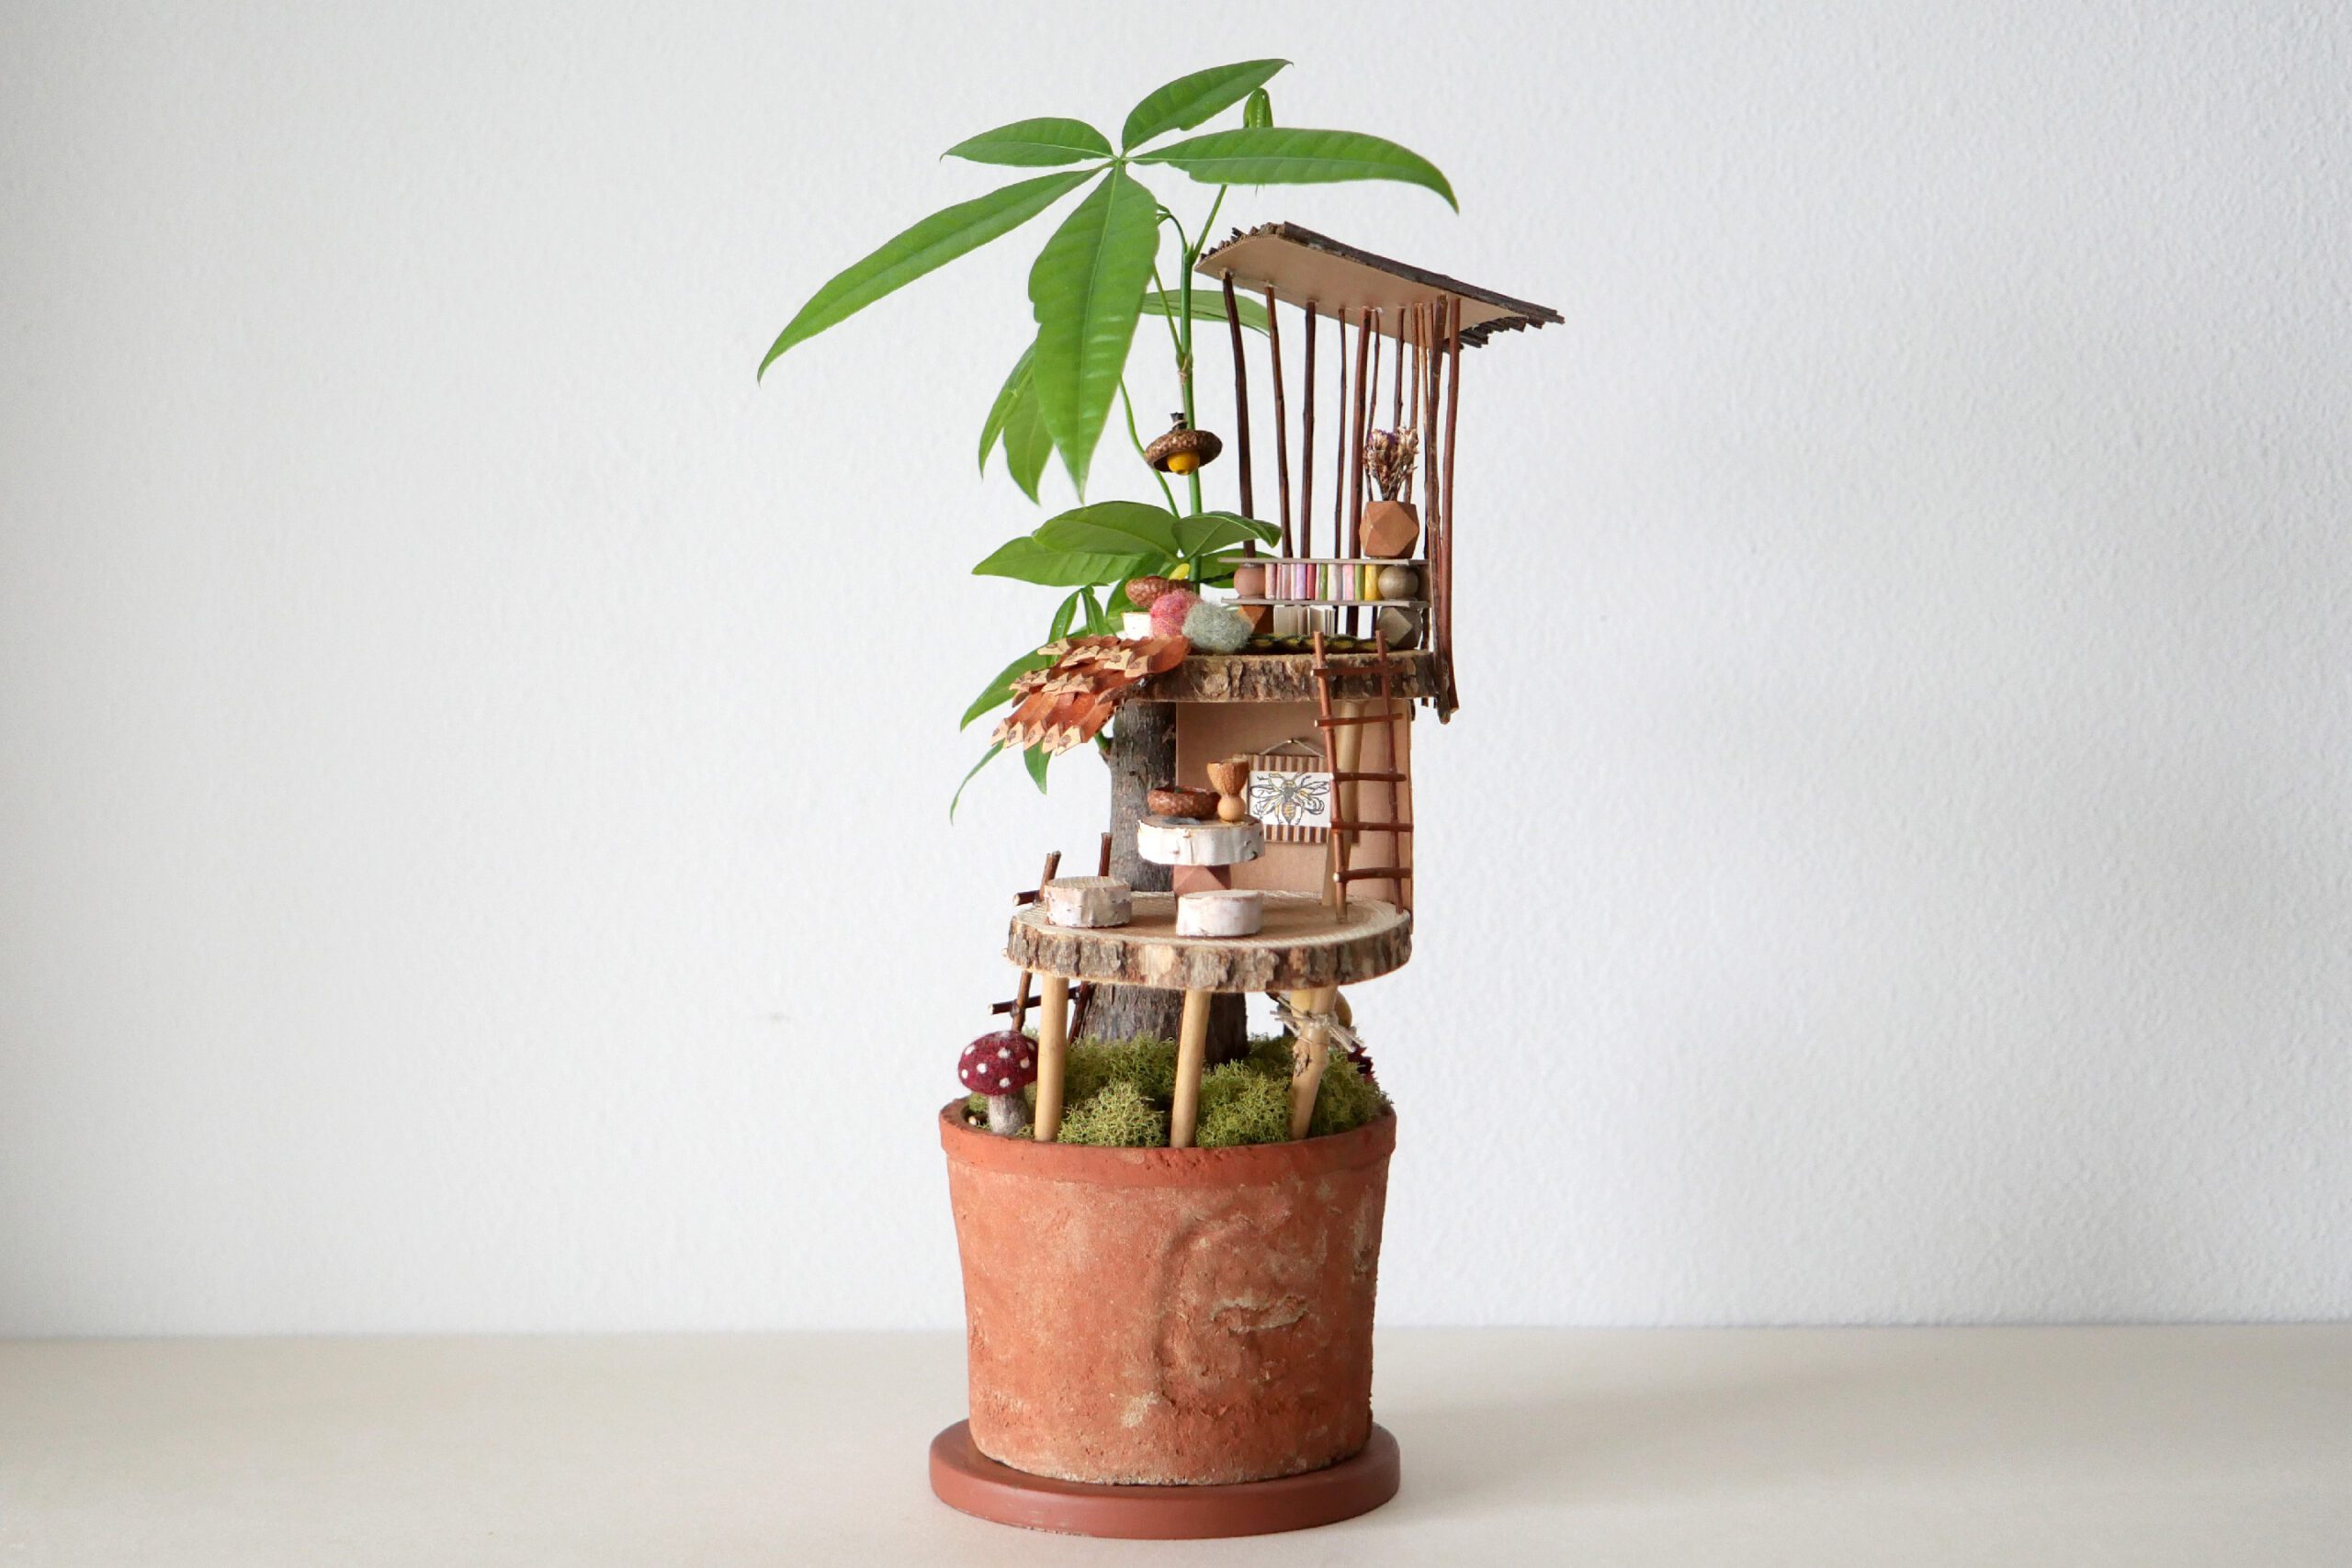
She decided to use houseplants as rainforest trees and build a house on them. First, she would make a sturdy floor as a foundation, exterior walls, and roof. Then she would make the stairs connecting each level, and make the necessary furniture. Finally, she worked on the decorations that would create a comfortable space. All materials are from nature, such as branches and nuts found during walks. The treasures of nature collected on our walks have been useful.Finally she created a treehouse that lives together with plants. The plants are growing and growing their leaves from the side where we are making it.
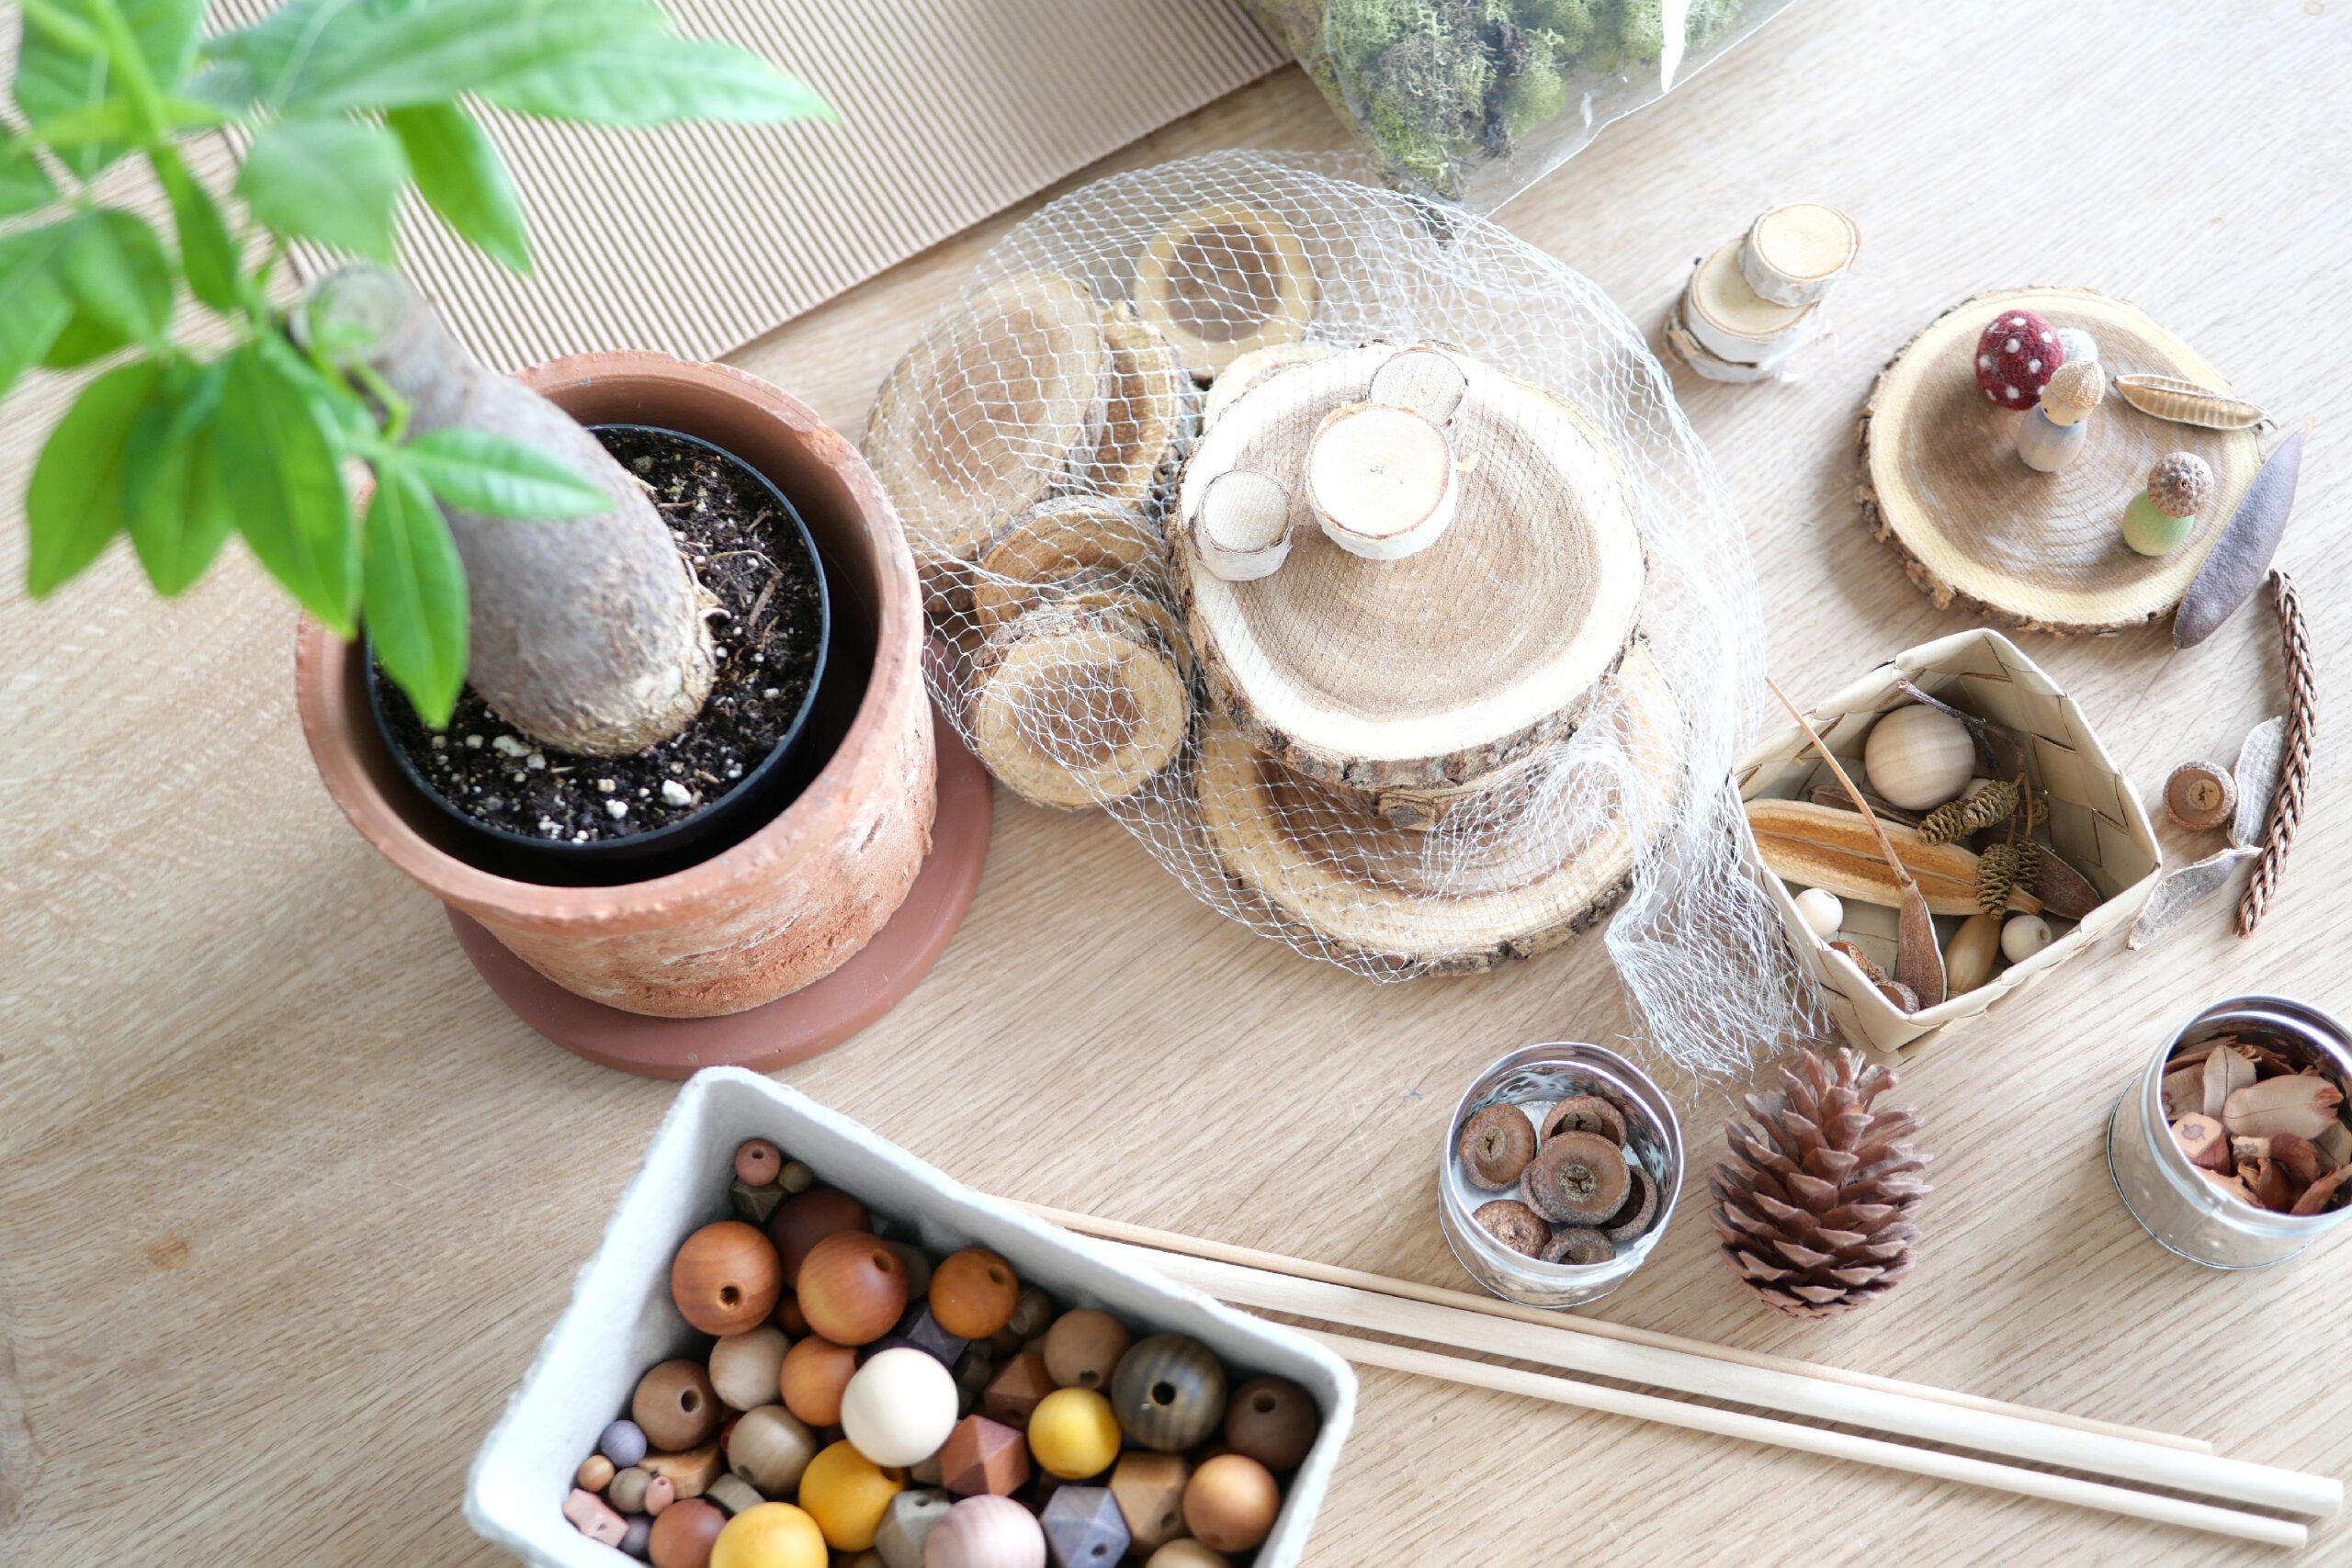
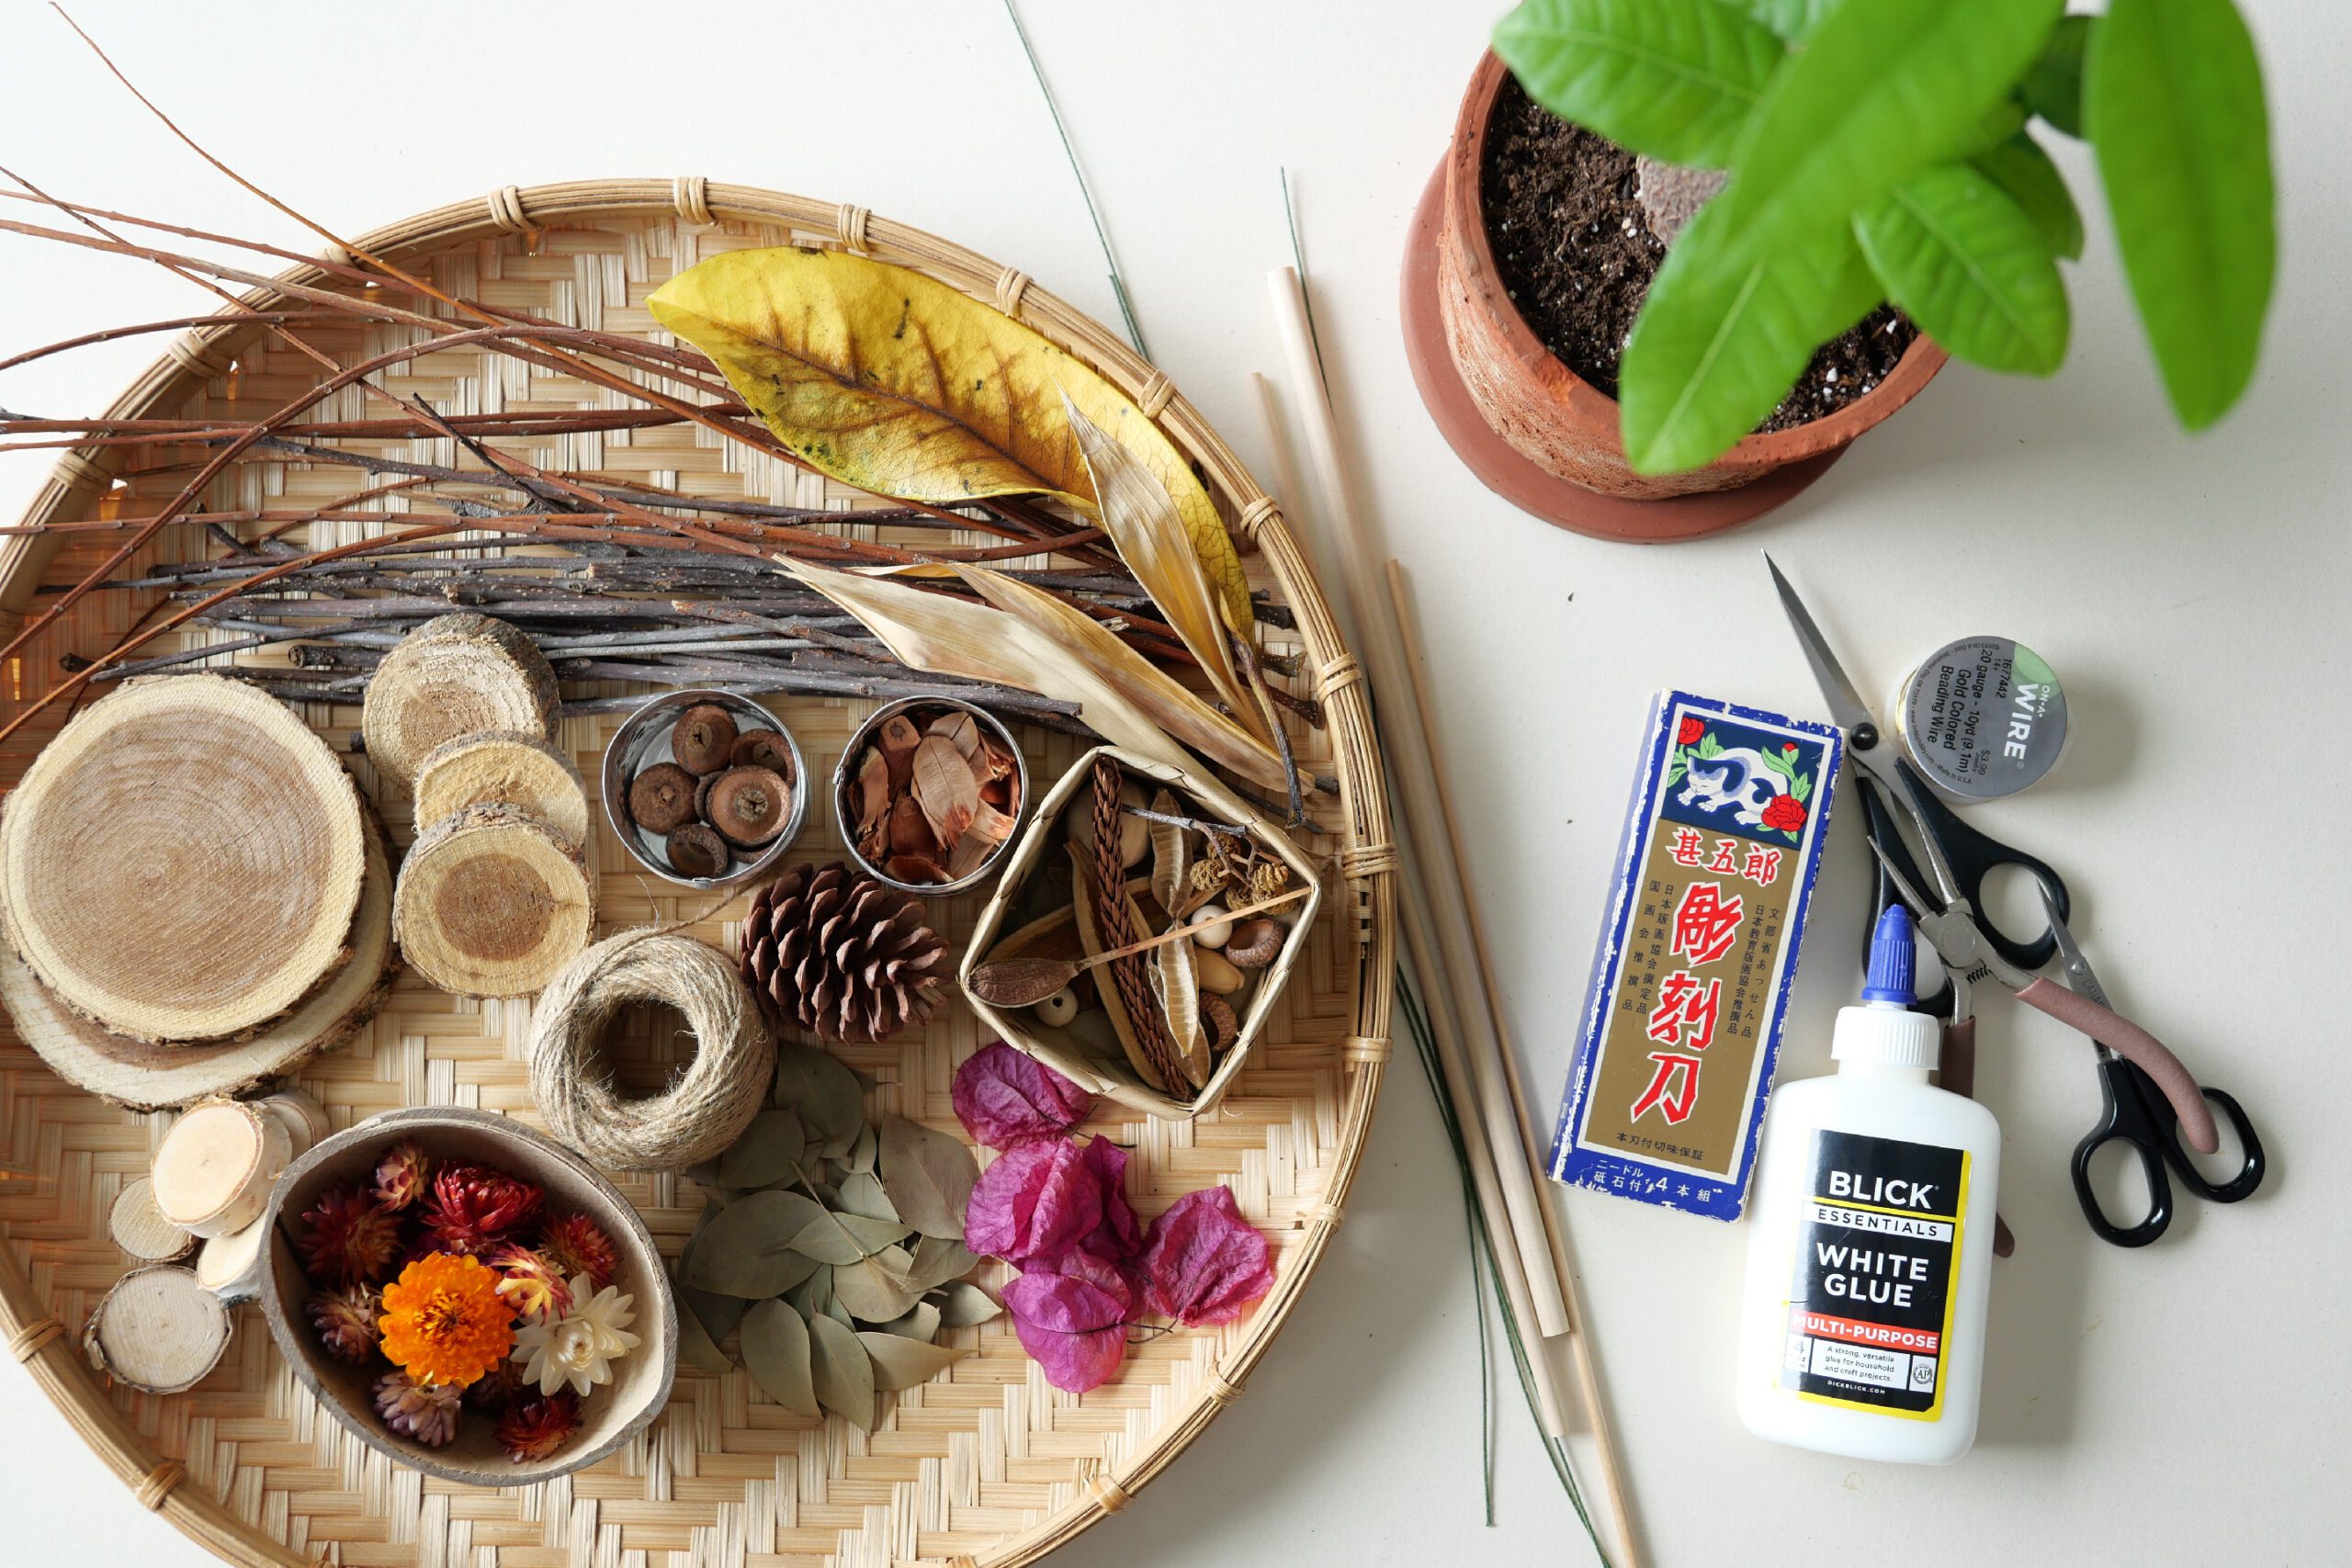
Materials
– Plant
– Natural materials *branches, pine cones, acorns, wood slices, wood beads, etc.
– Hot glue gun
– Scissors, cutters, wire, etc.
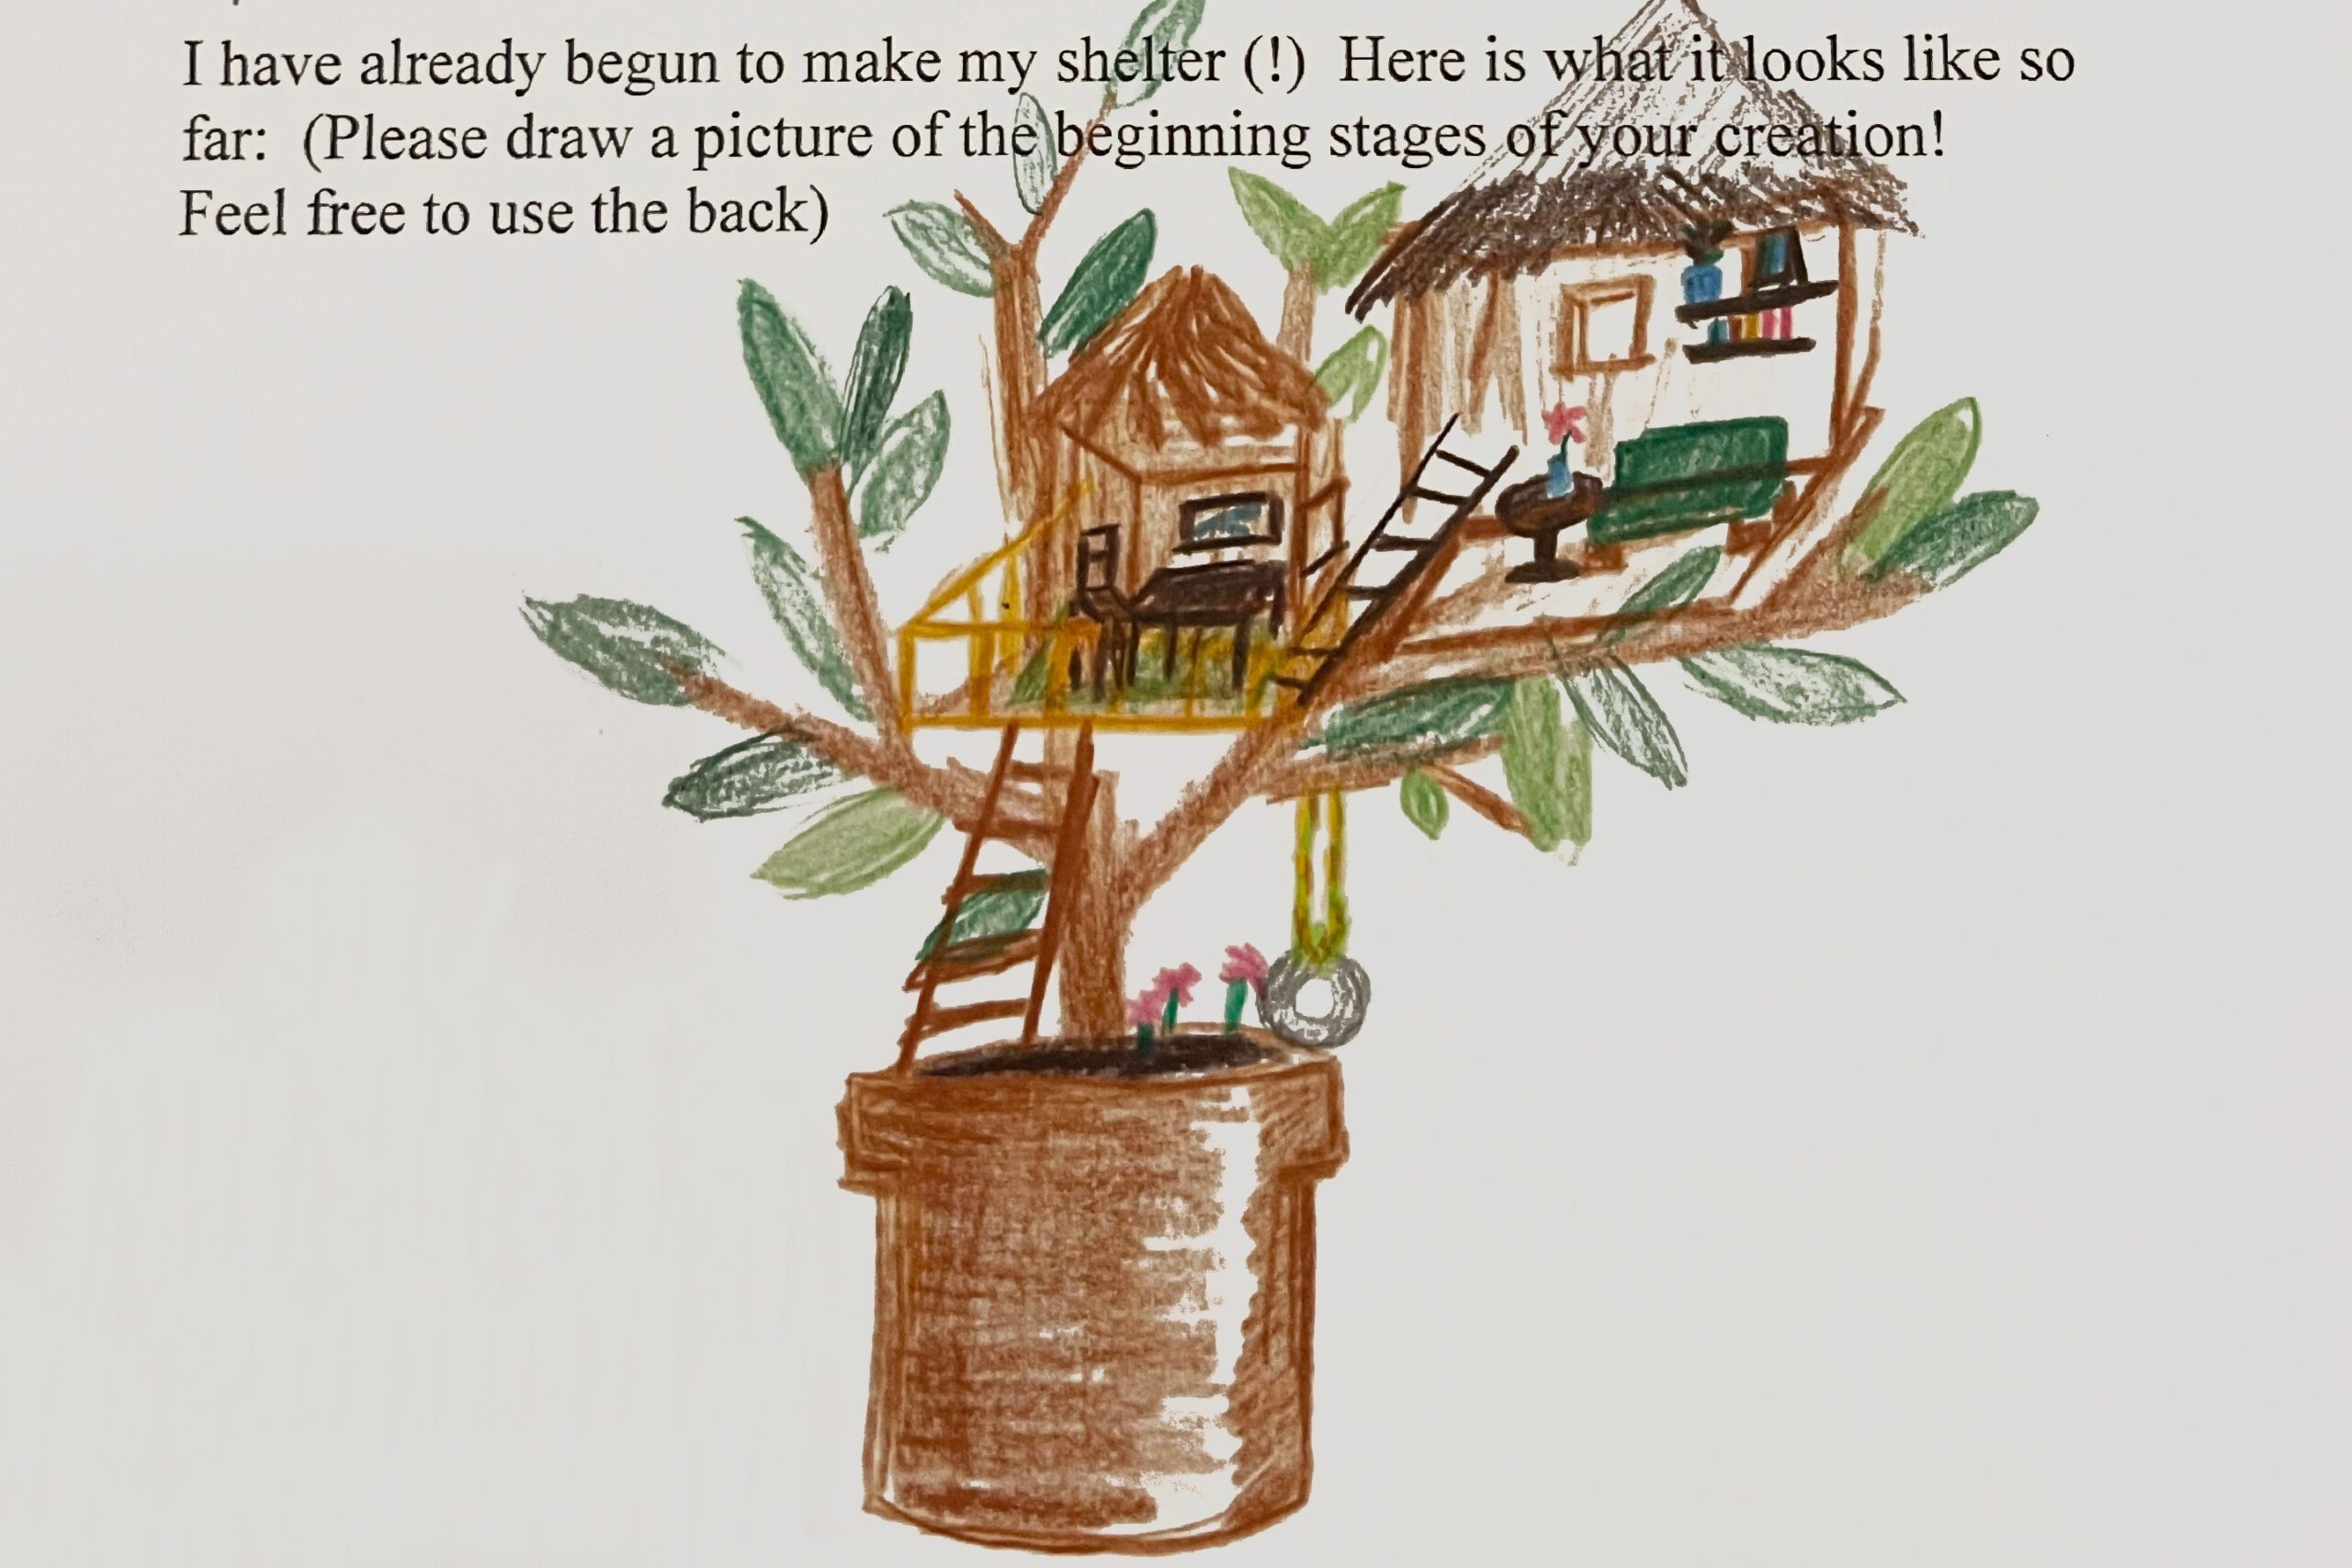
Draw a Sketch
This assignment began with drawing an image of a shelter. A treehouse built in two floors on top of the plant. Based on this sketch, she set to work.
Instructions for making
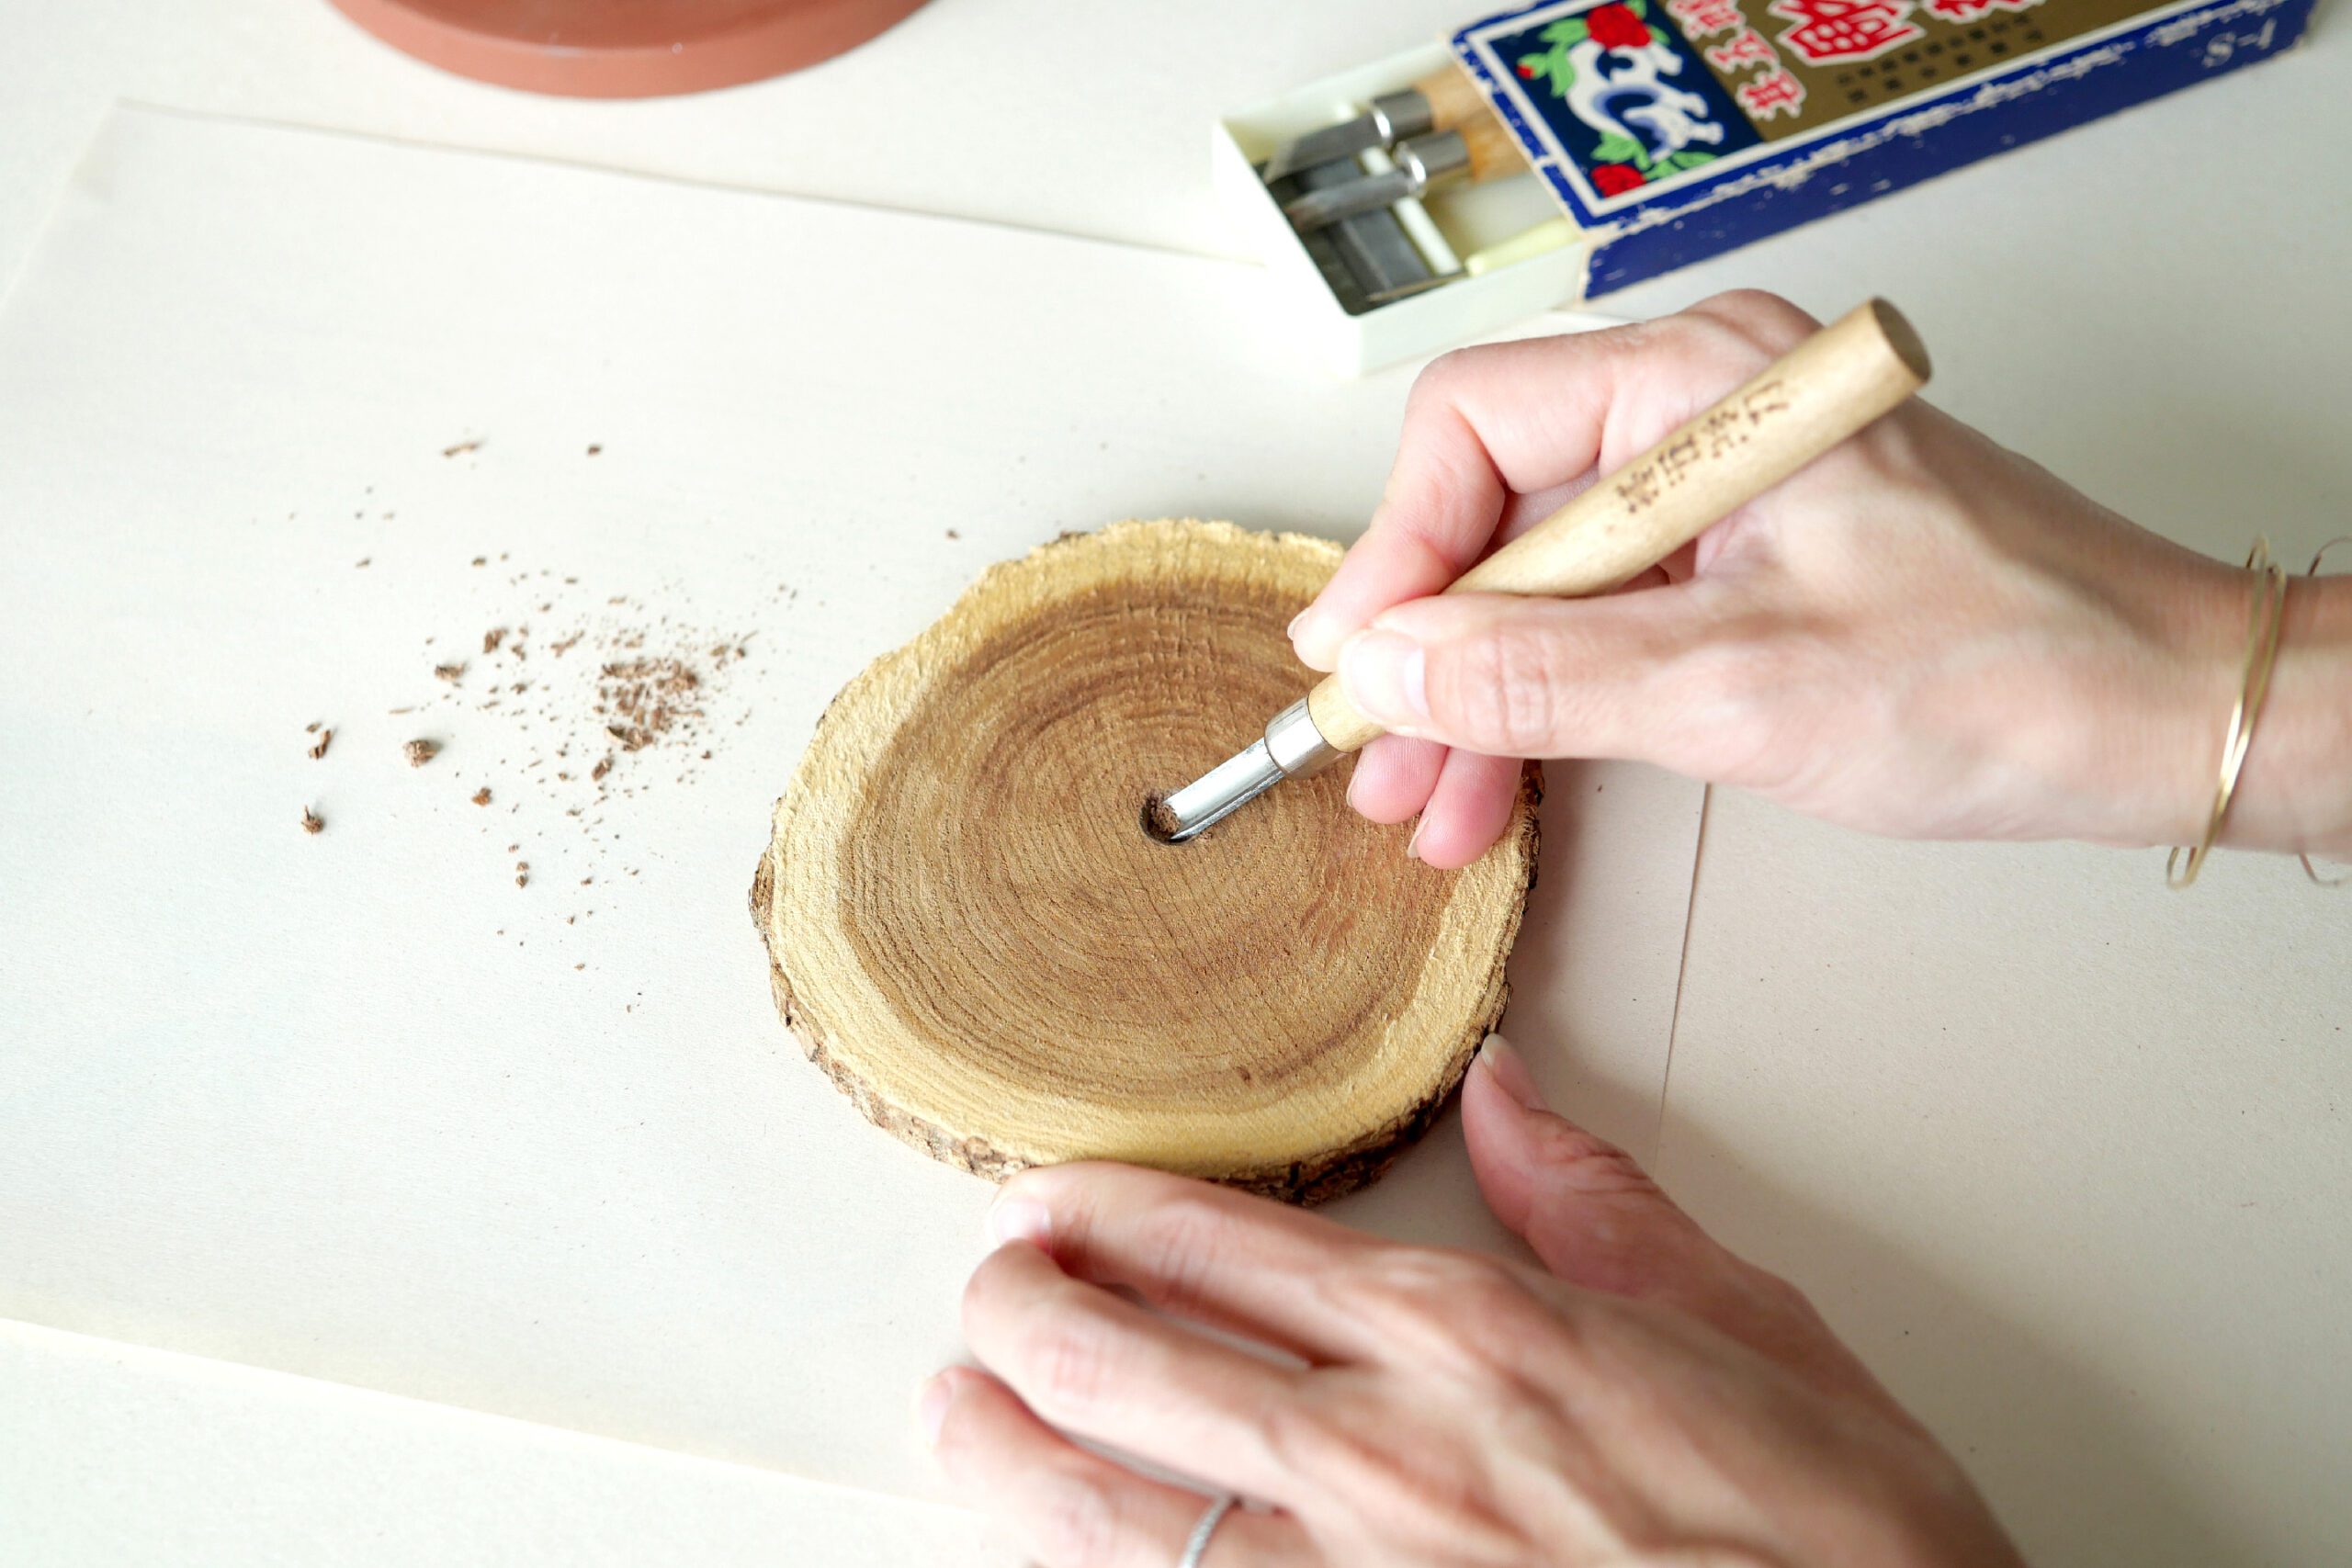
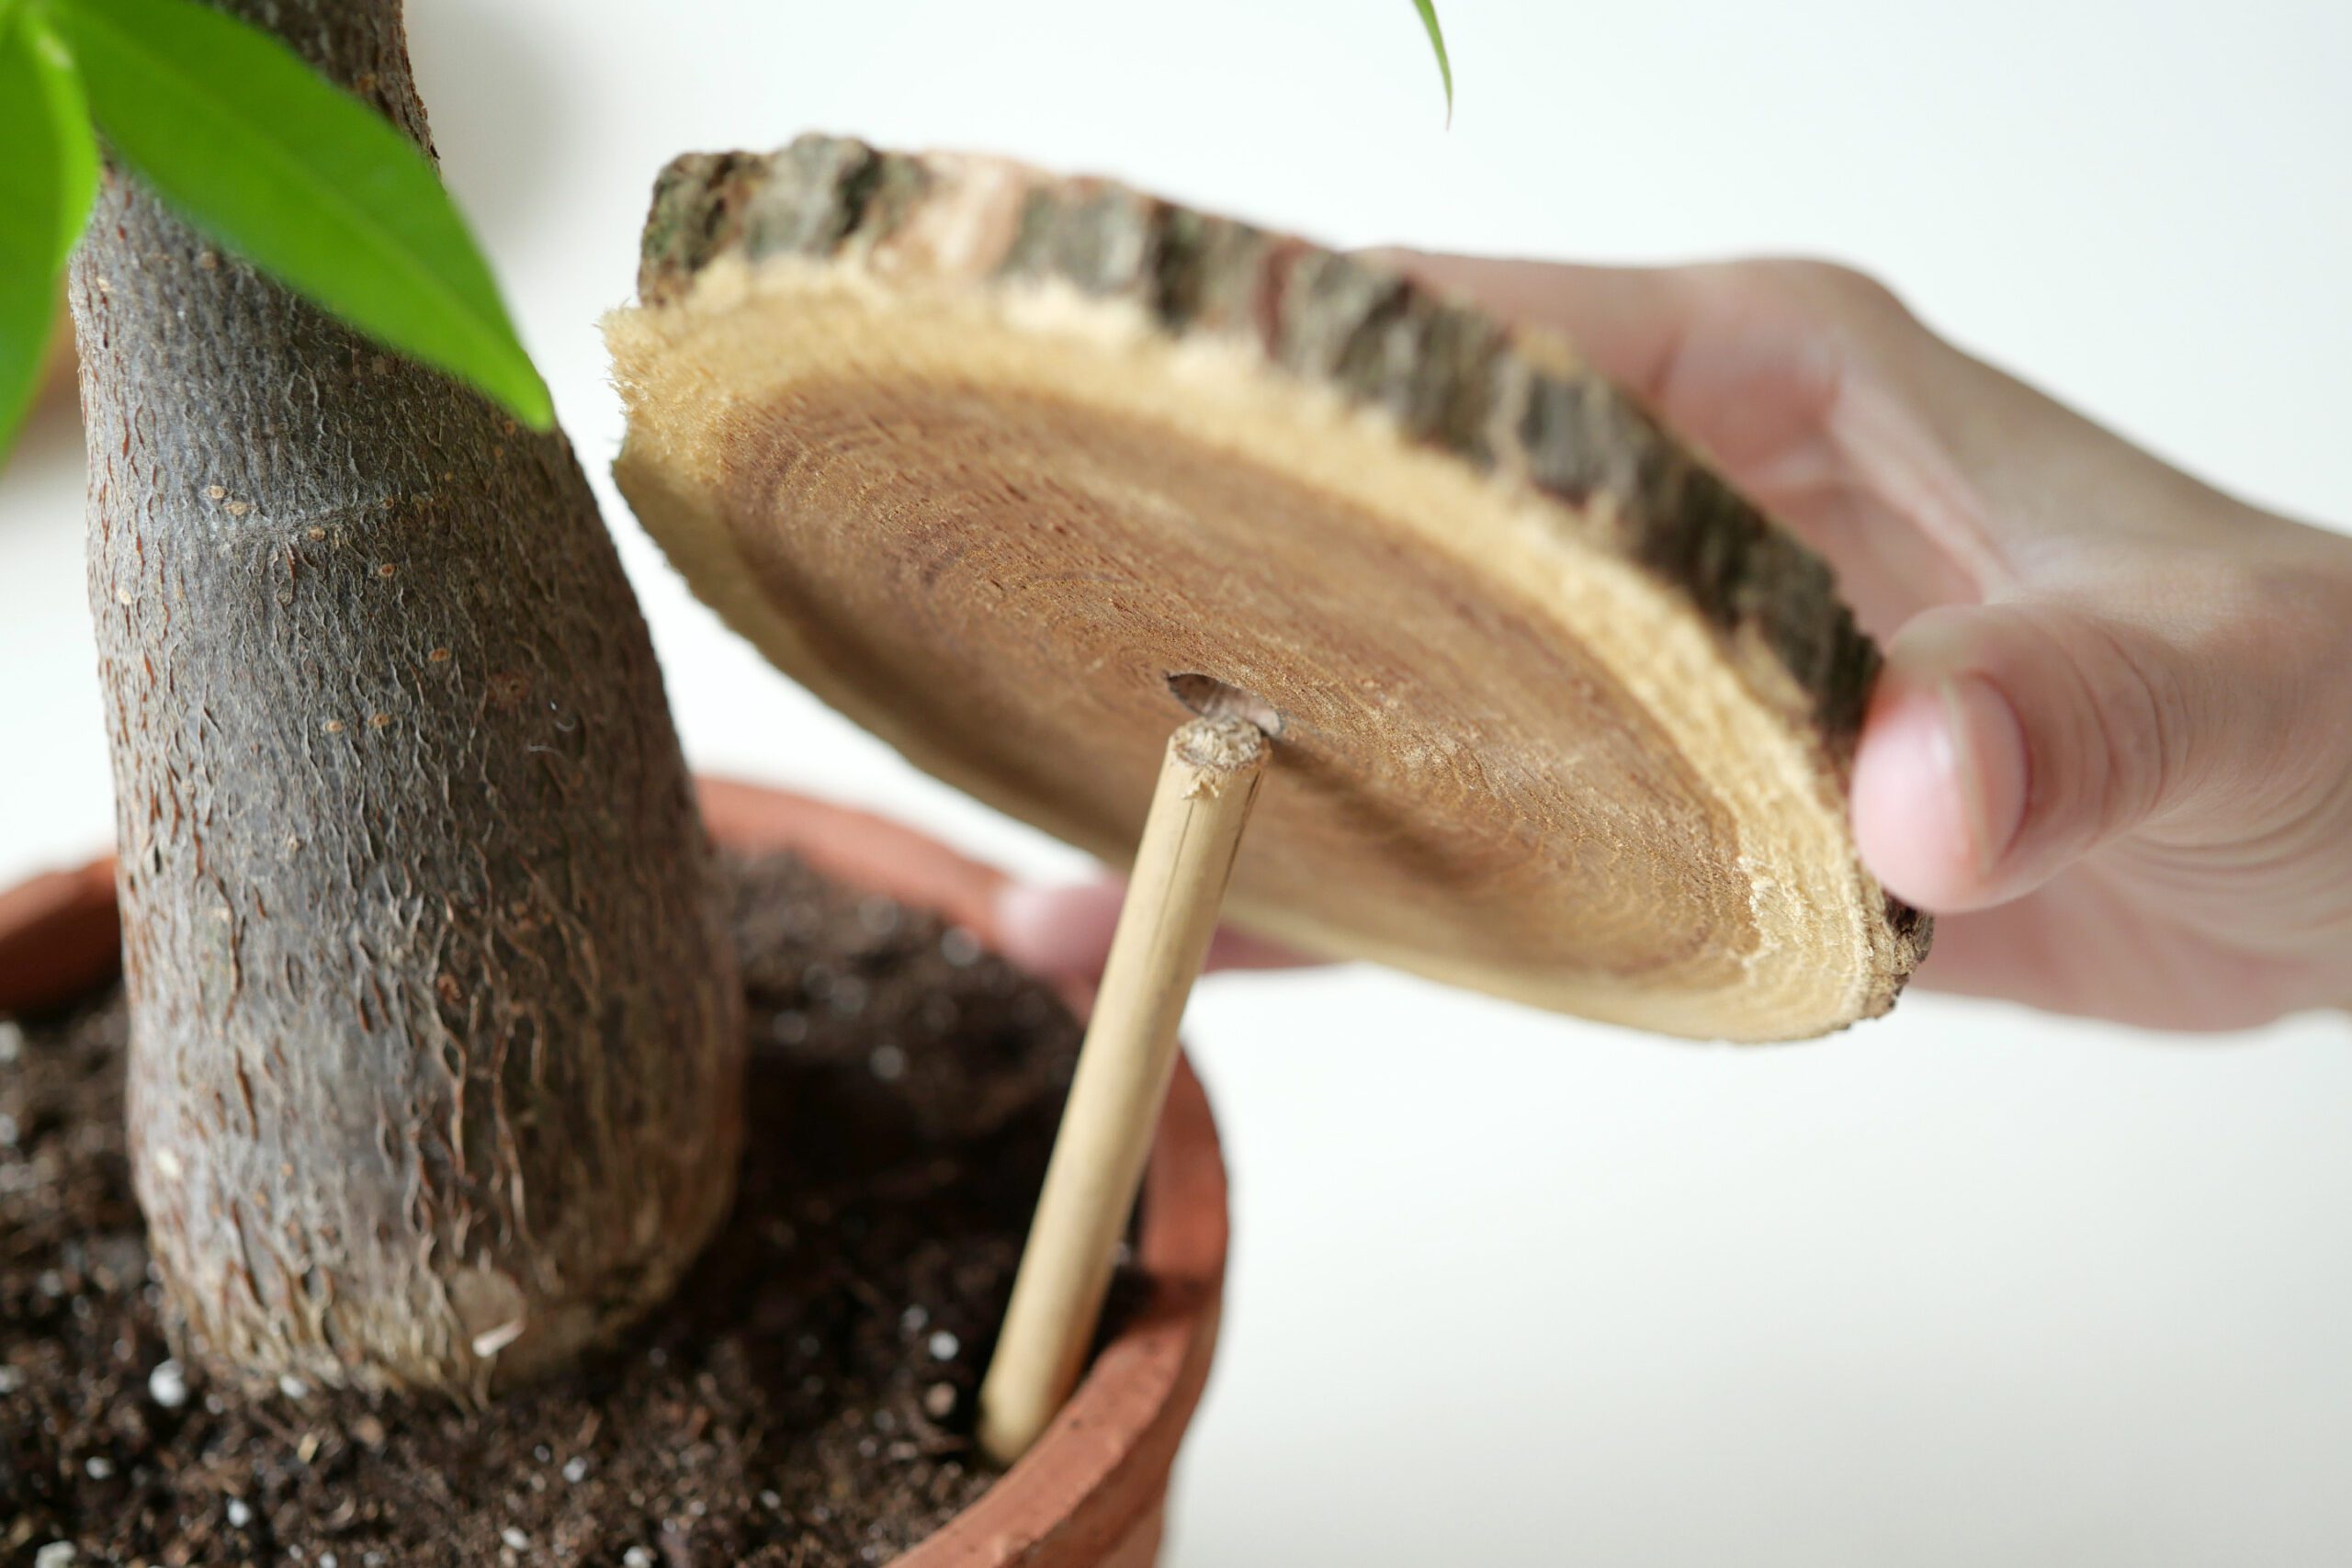
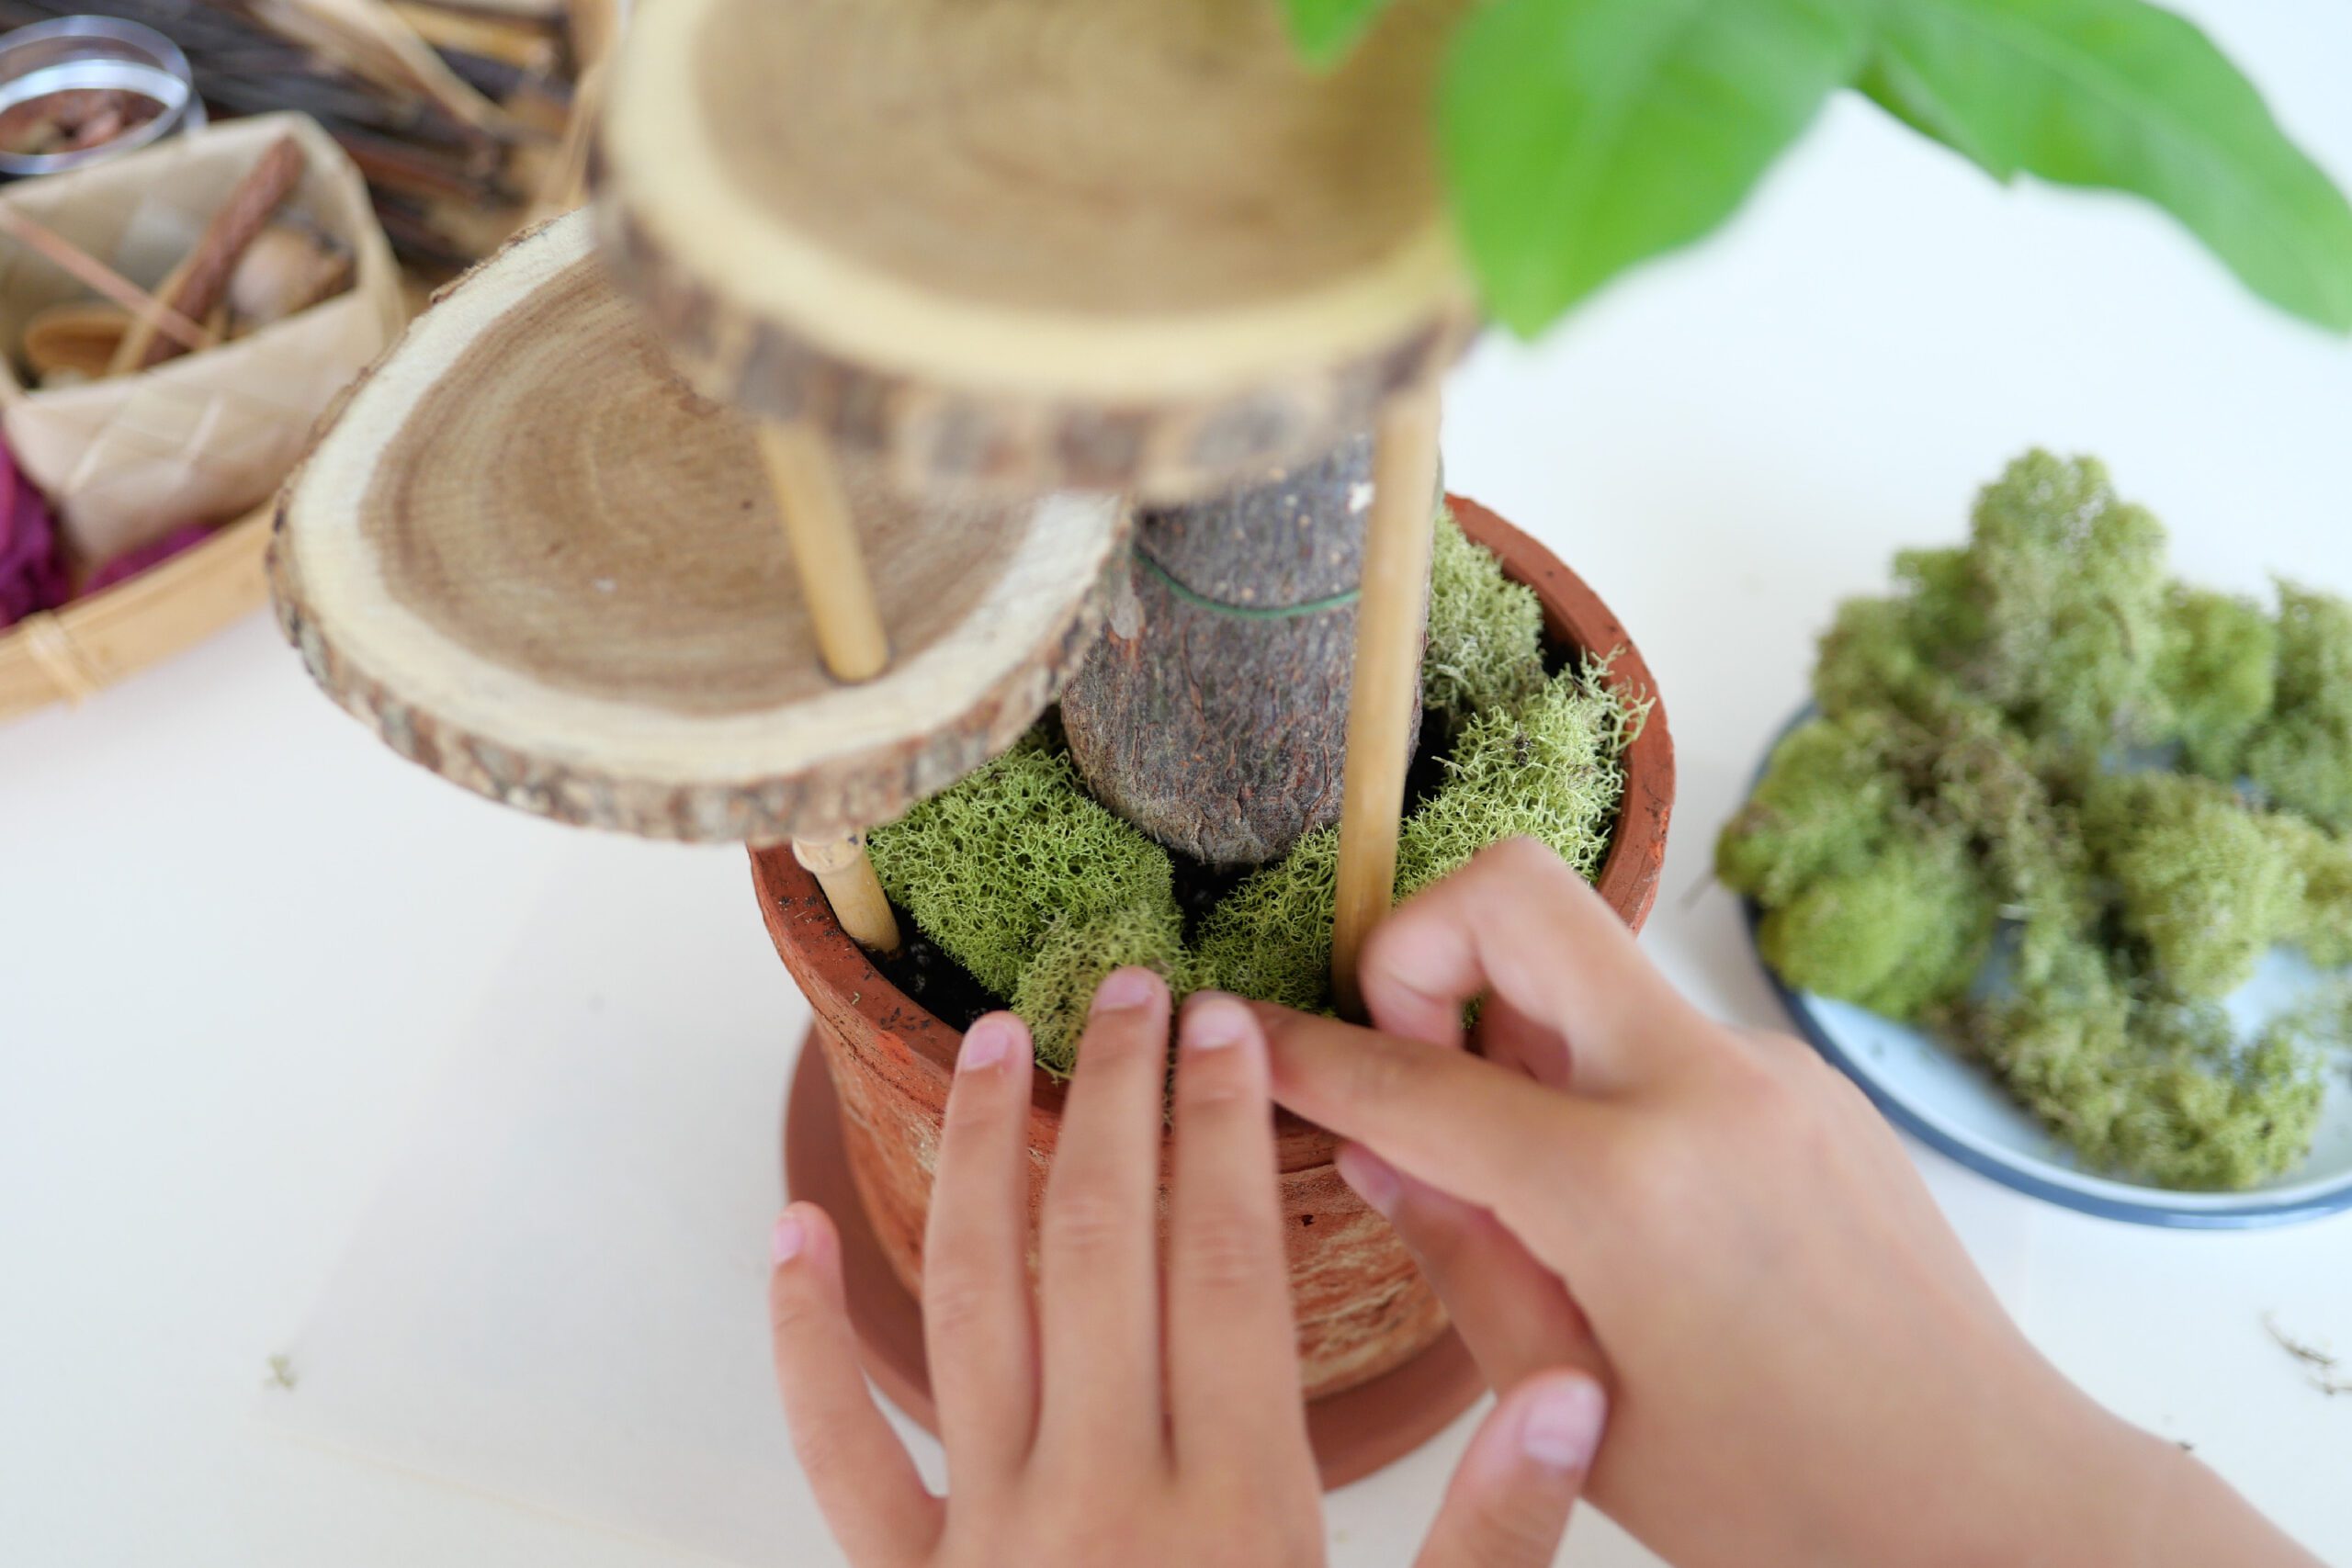
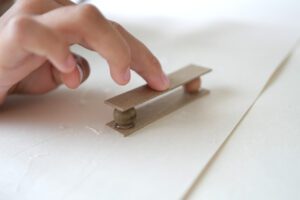
Step 1. Make the Floor
The foundation is especially important when it comes to building a house. I constructed the two-level house in her sketch using wood slices and bamboo sticks -plant support stakes. This process required adult help as I used a carving knife.
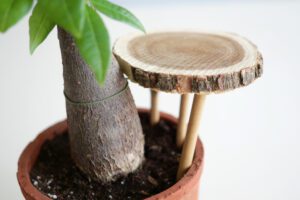
When the floor is ready, she spread moss on top of the soil so that the environment around the house would be more suitable.
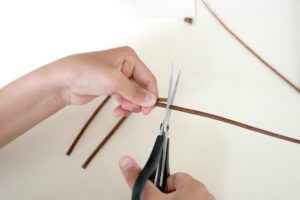
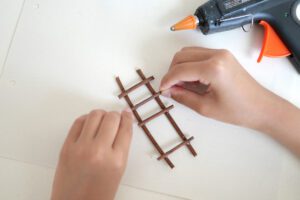
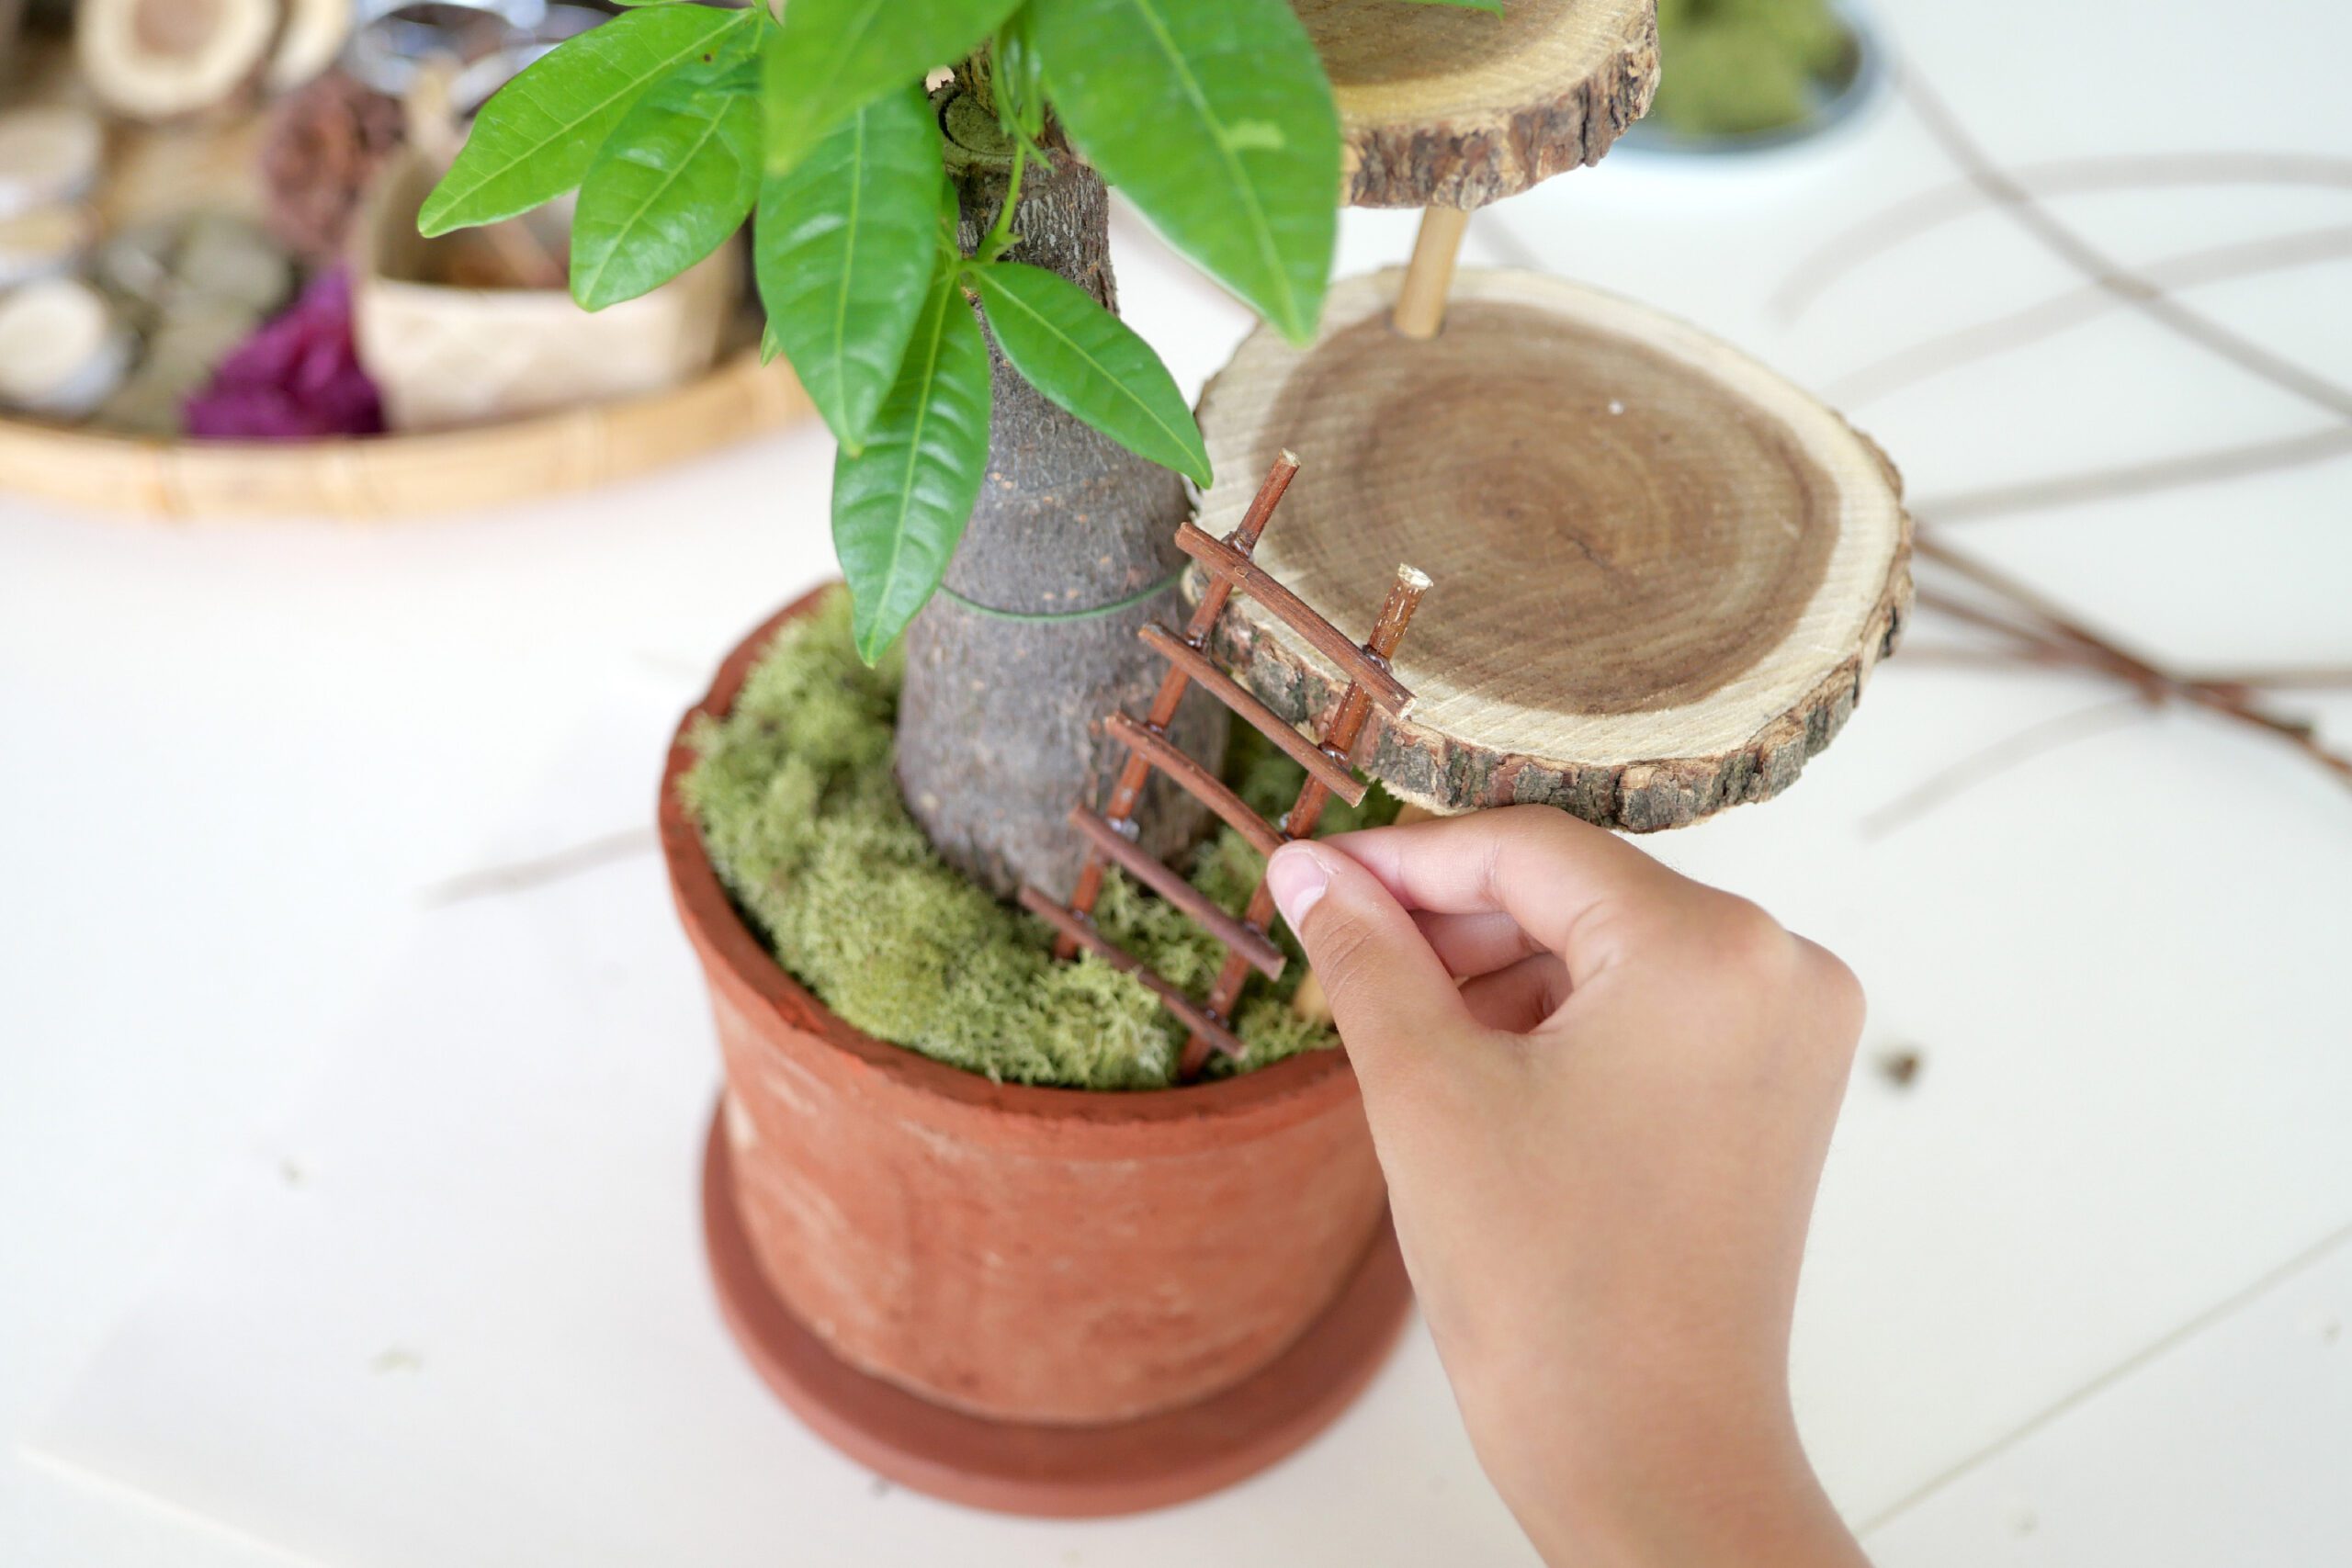
Step 2. Make the ladder
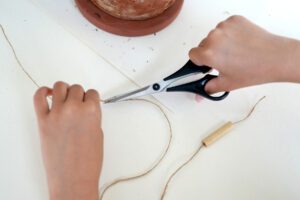
Cut a tree branch to make a ladder. A glue gun is useful for gluing. The tip of the glue gun gets hot, so be careful when children use it.
Step 3. Make the Roof
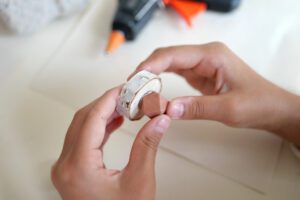
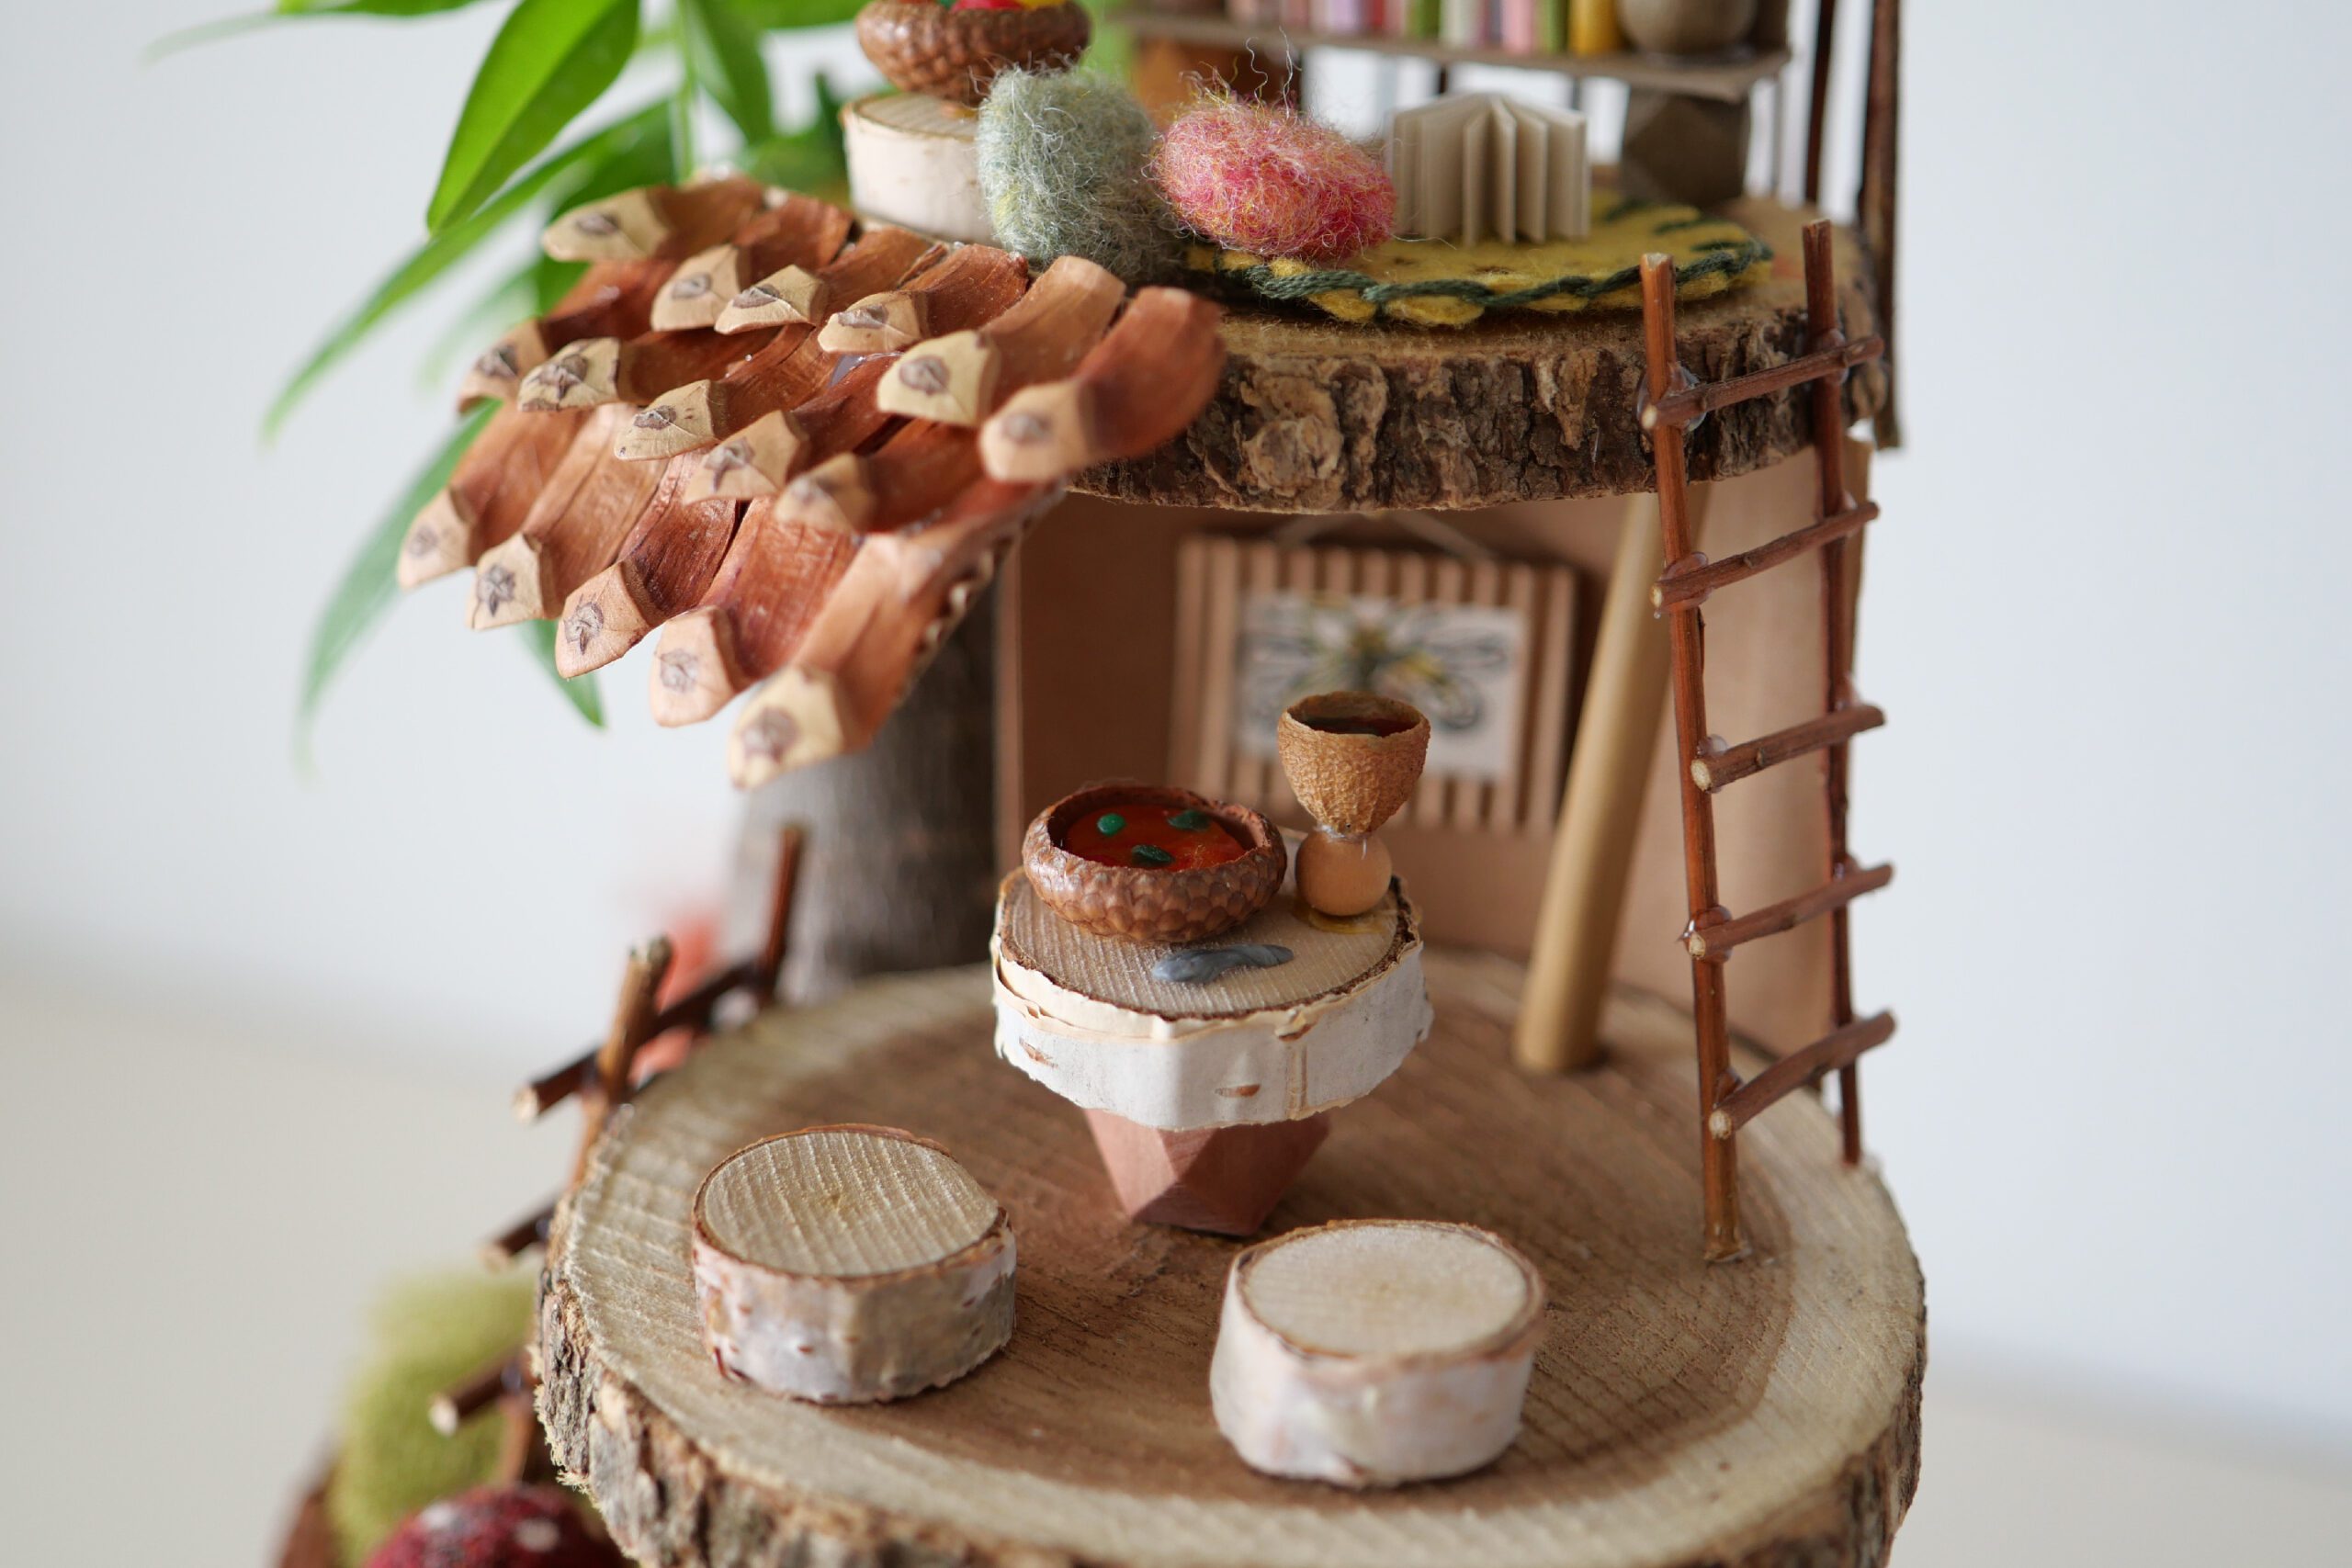
The first floor roof is made of pine cone. She took the parts apart one by one and arranged them like a tile roof.
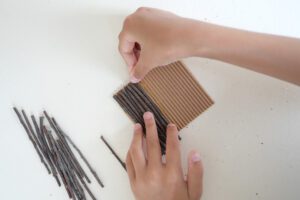
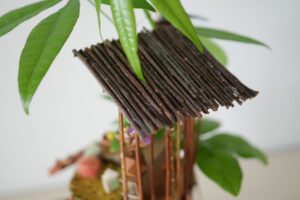
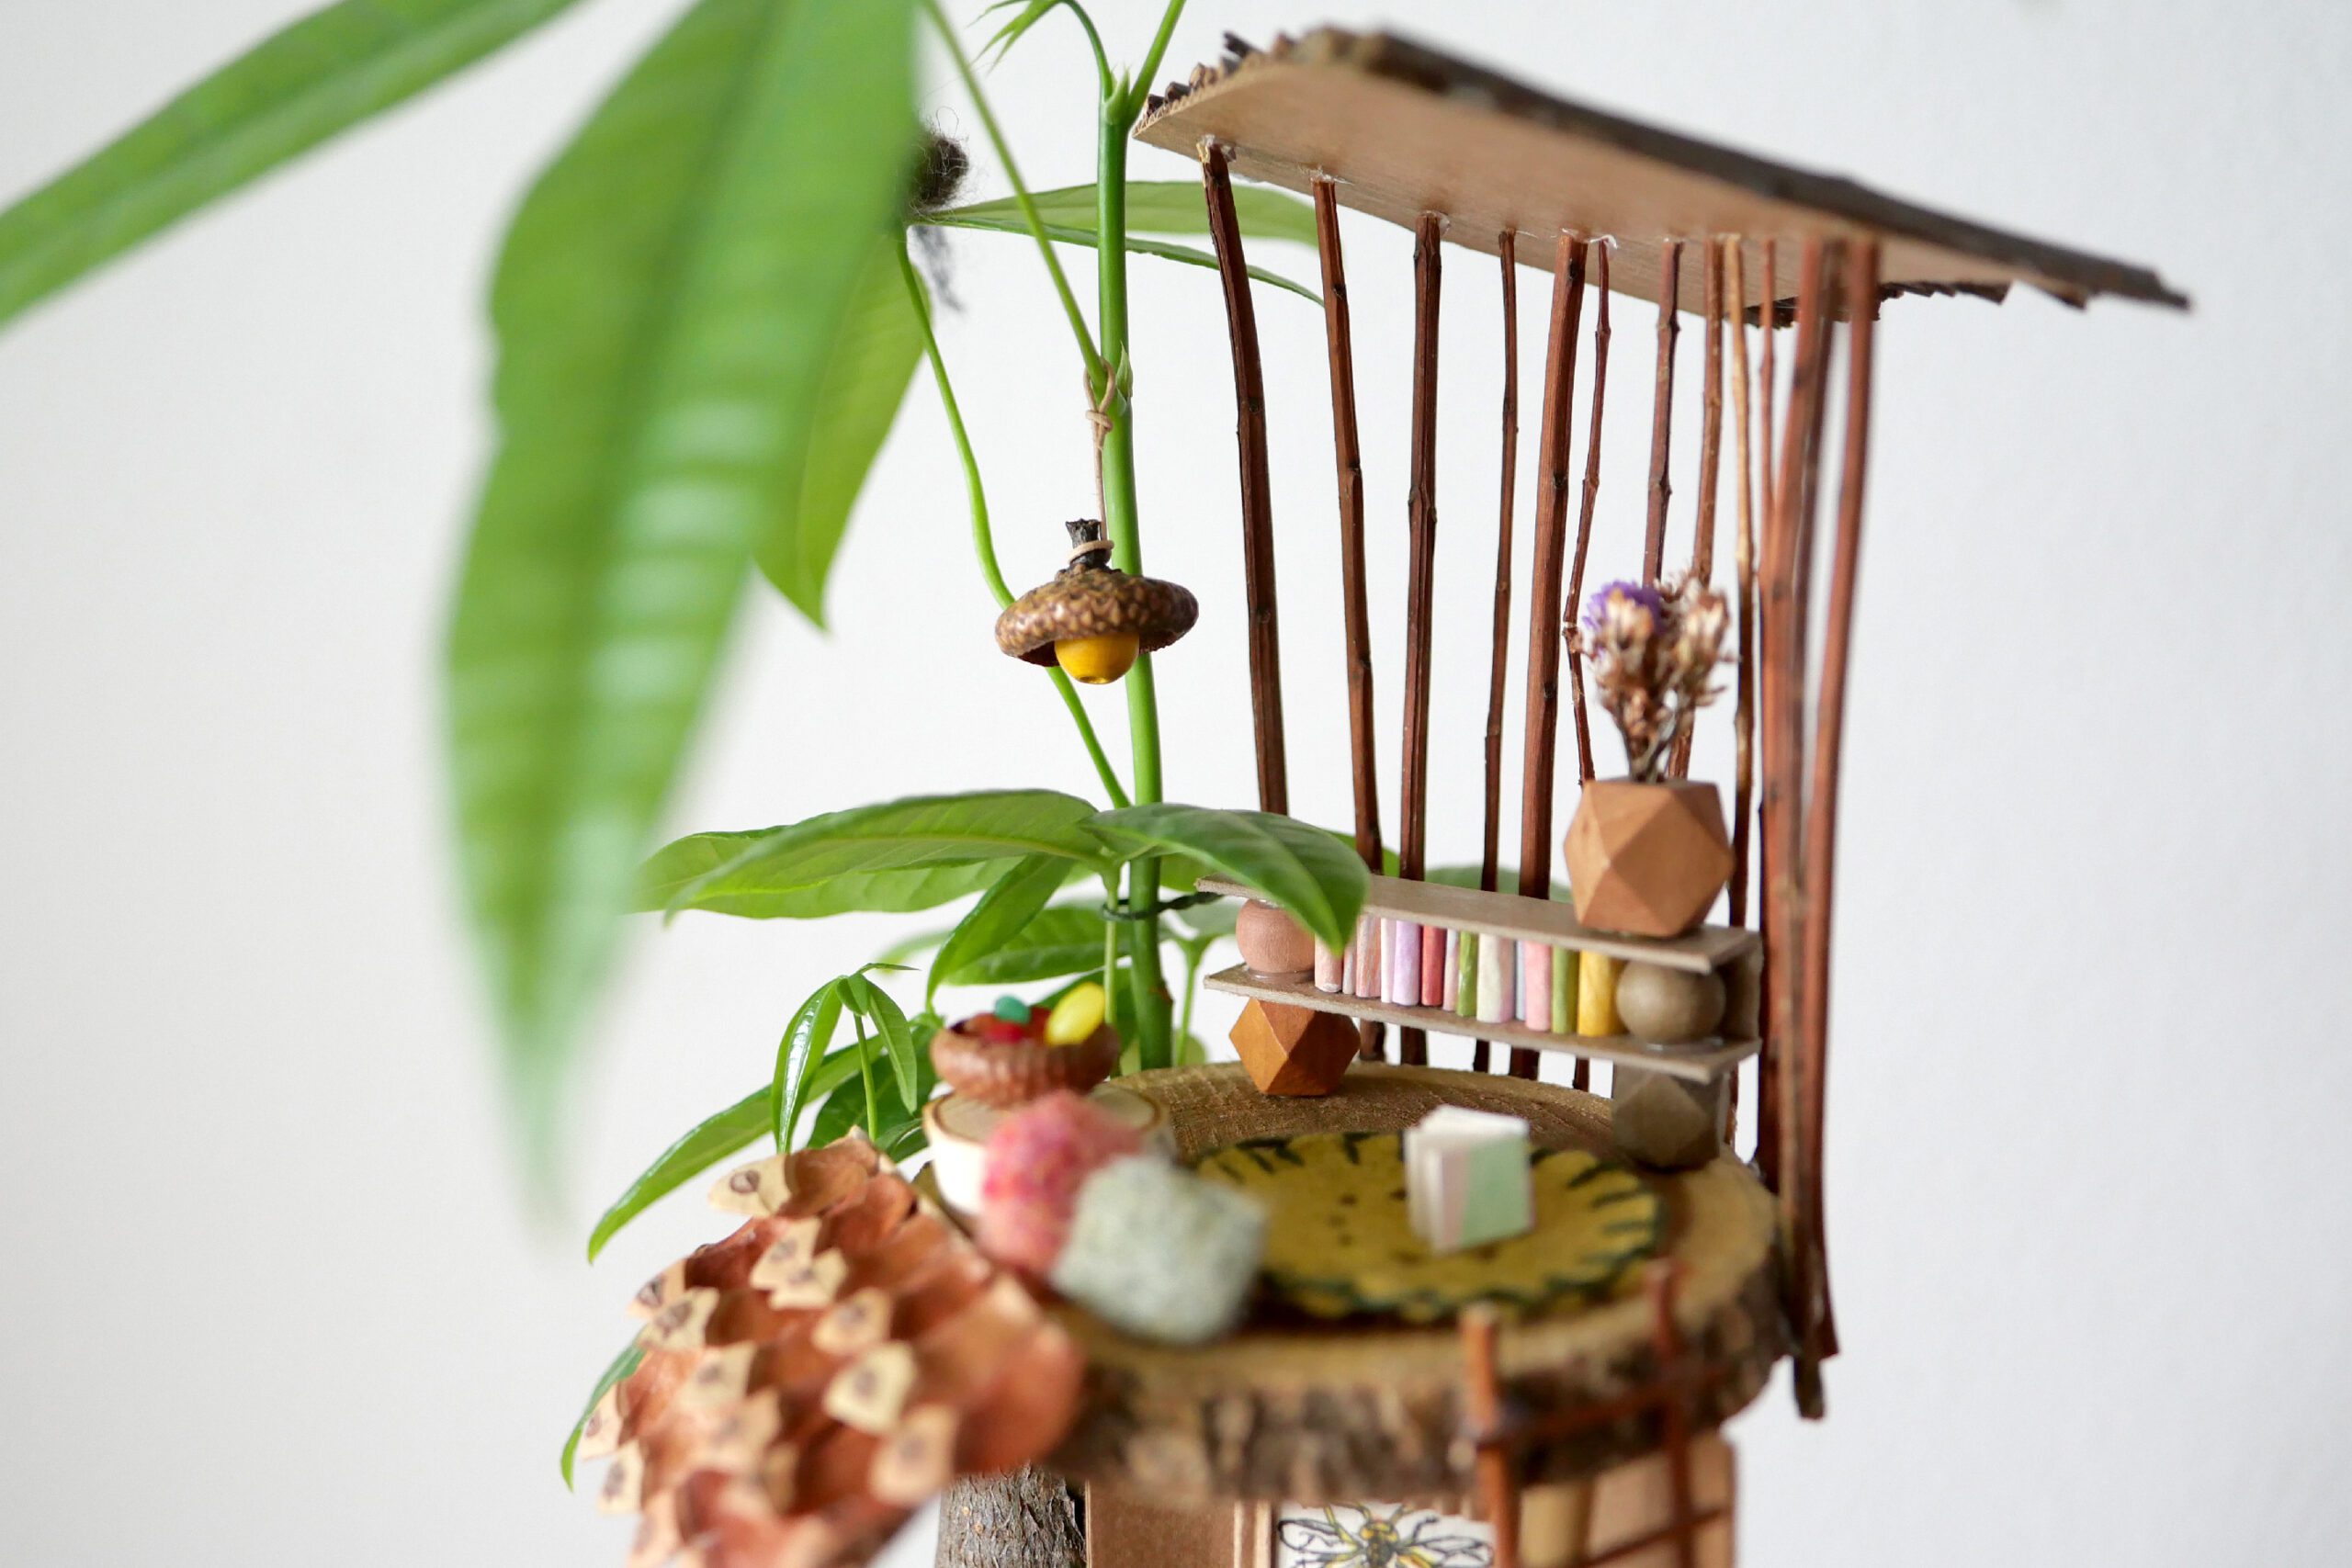
For the second roof, she cut tree branches and arranged them on cardboard.
The walls are made of cardboard and tree branches for the first and second floors.

Step 4. Make the Furnitures
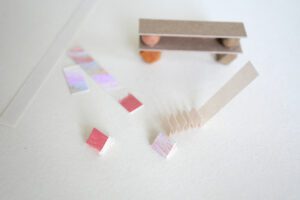
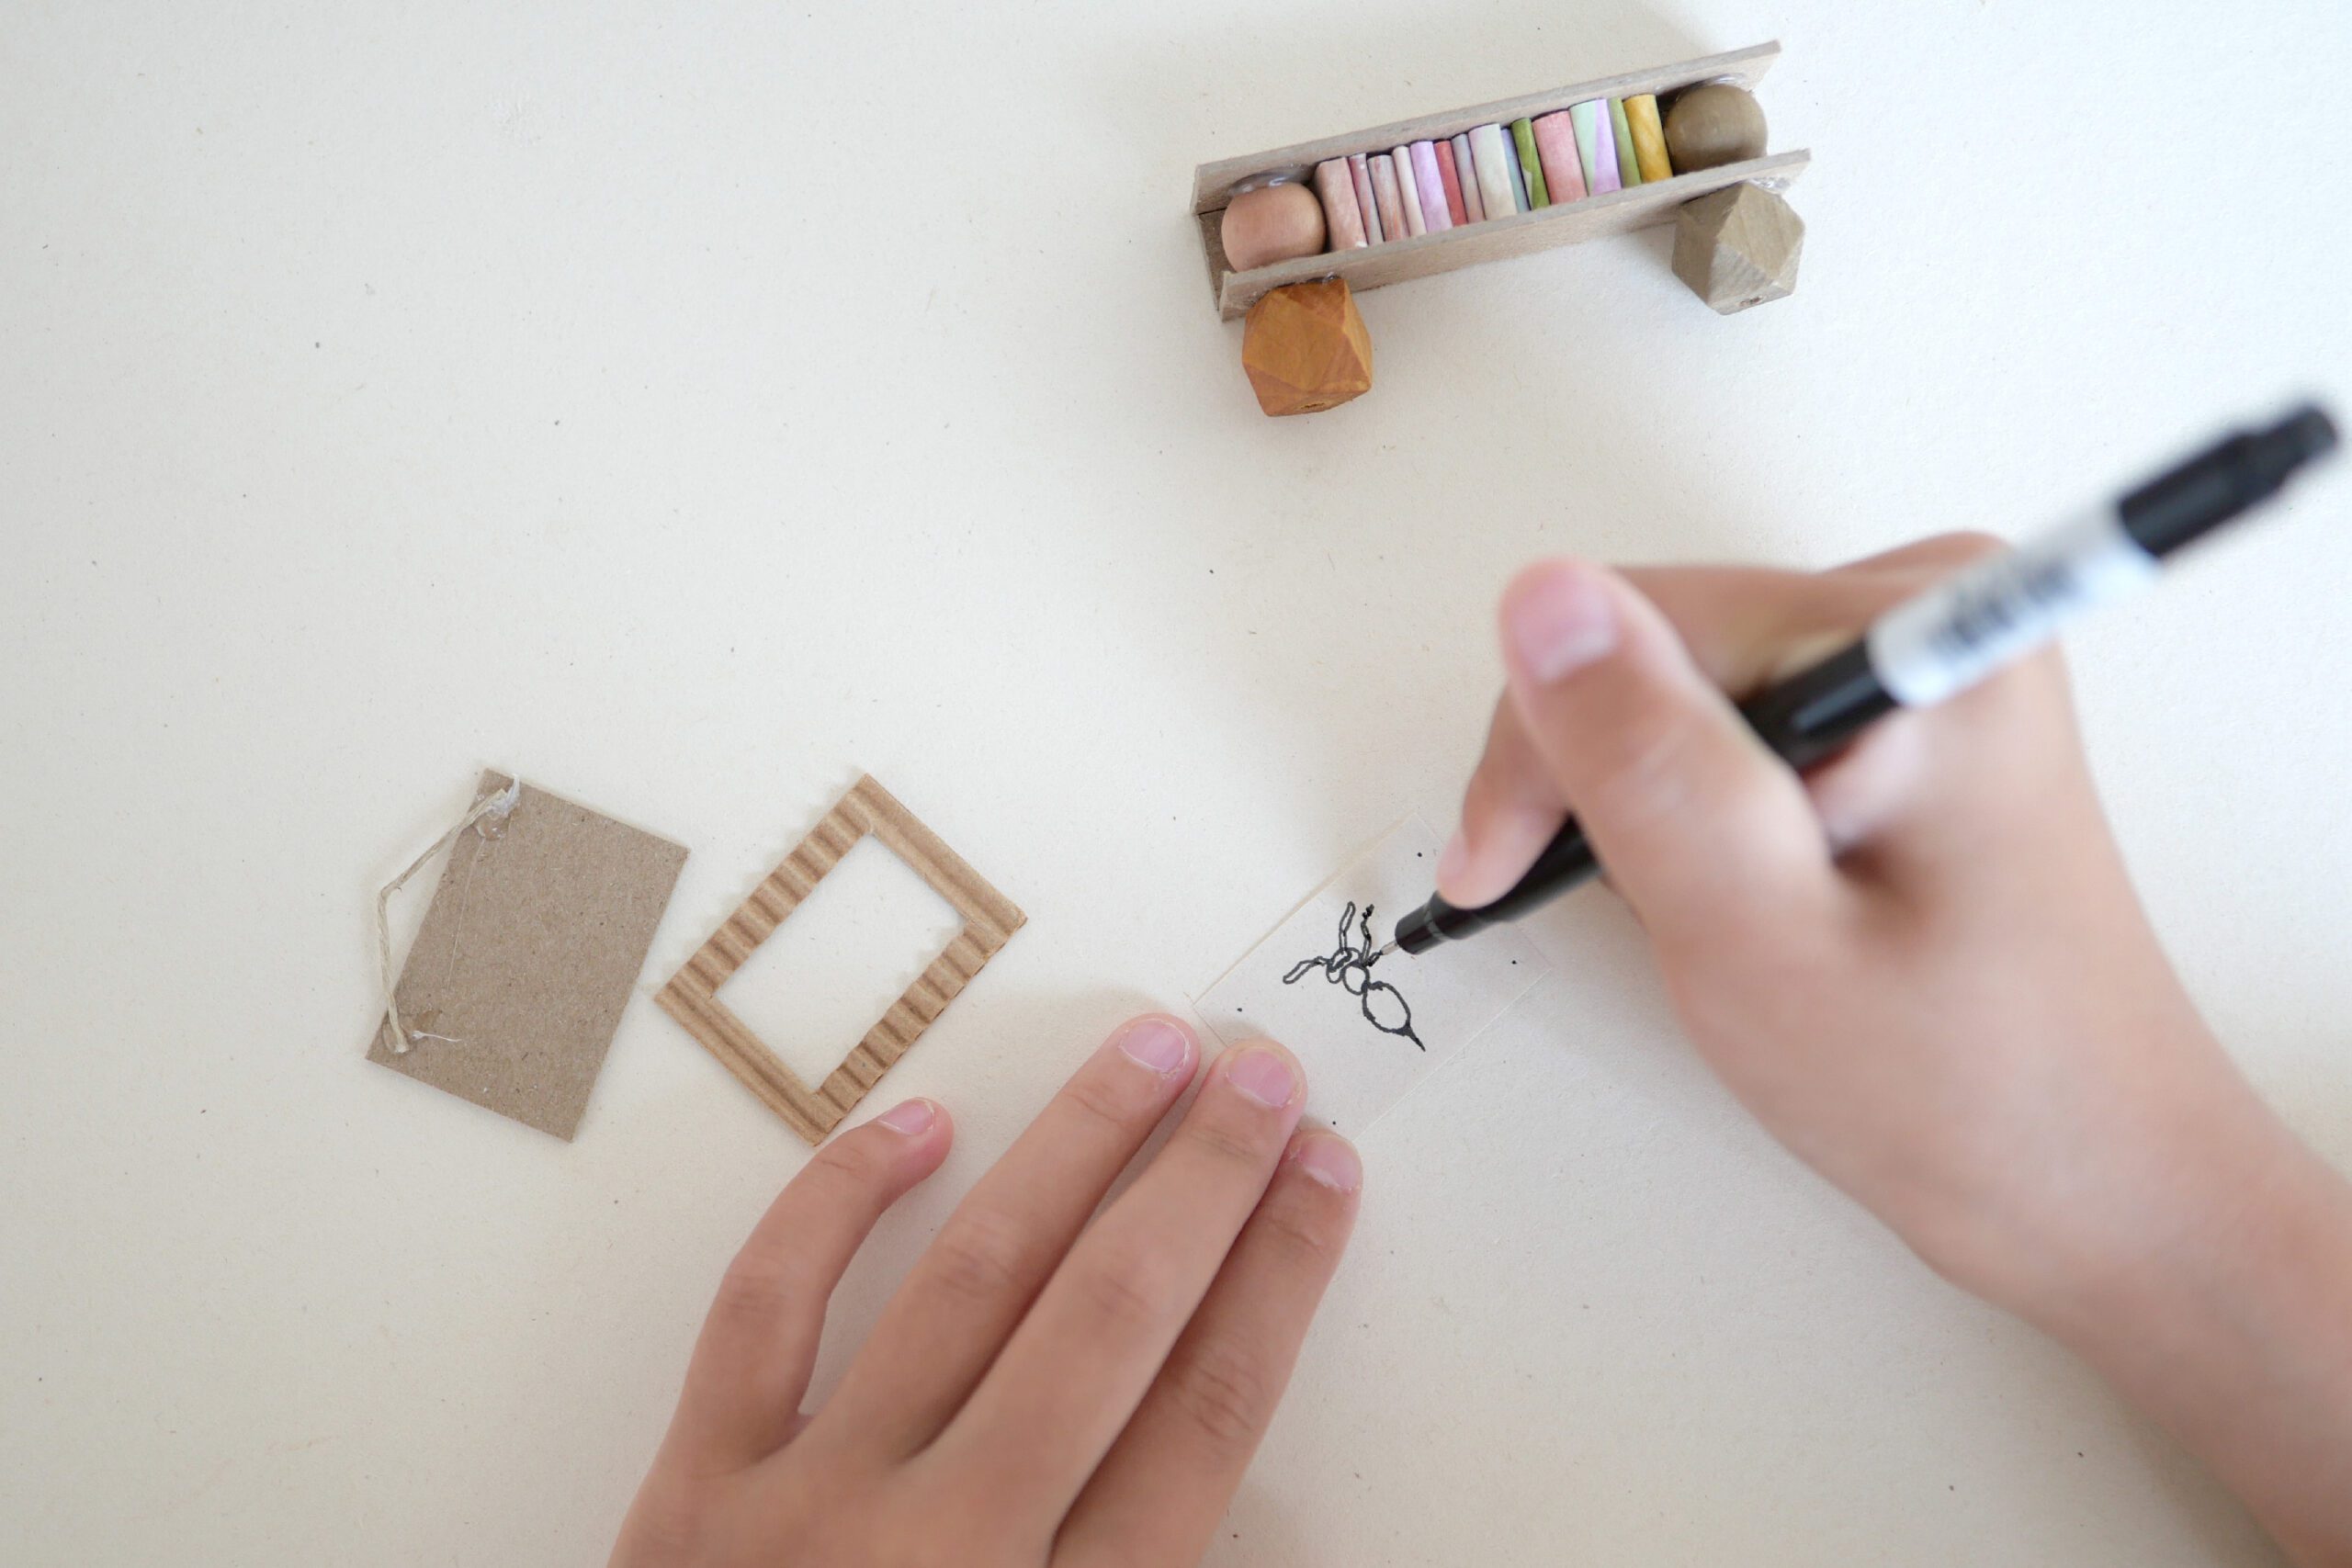
Make the necessary furniture. Glue wood slices and wood beads together to make a table. The bookshelf is made of cardboard and wood beads. The bookshelves were filled with books made of paper folded into bellows. A card board frame is decorated with a picture of a bee.
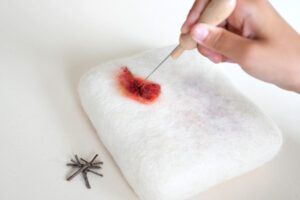
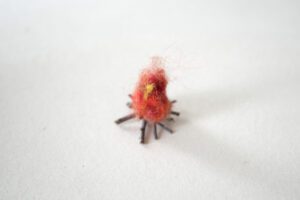
Acorn caps are used for lanterns and bowls for fruit made by beeswax as well. Felt was sewn as a rug, and made pillows out of needle felt. Also, if it put dried flowers in the wood beads, it can be used as vase.

Step 5. Exterior
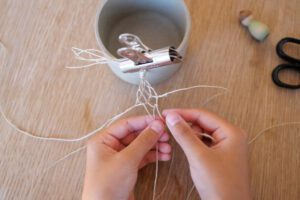
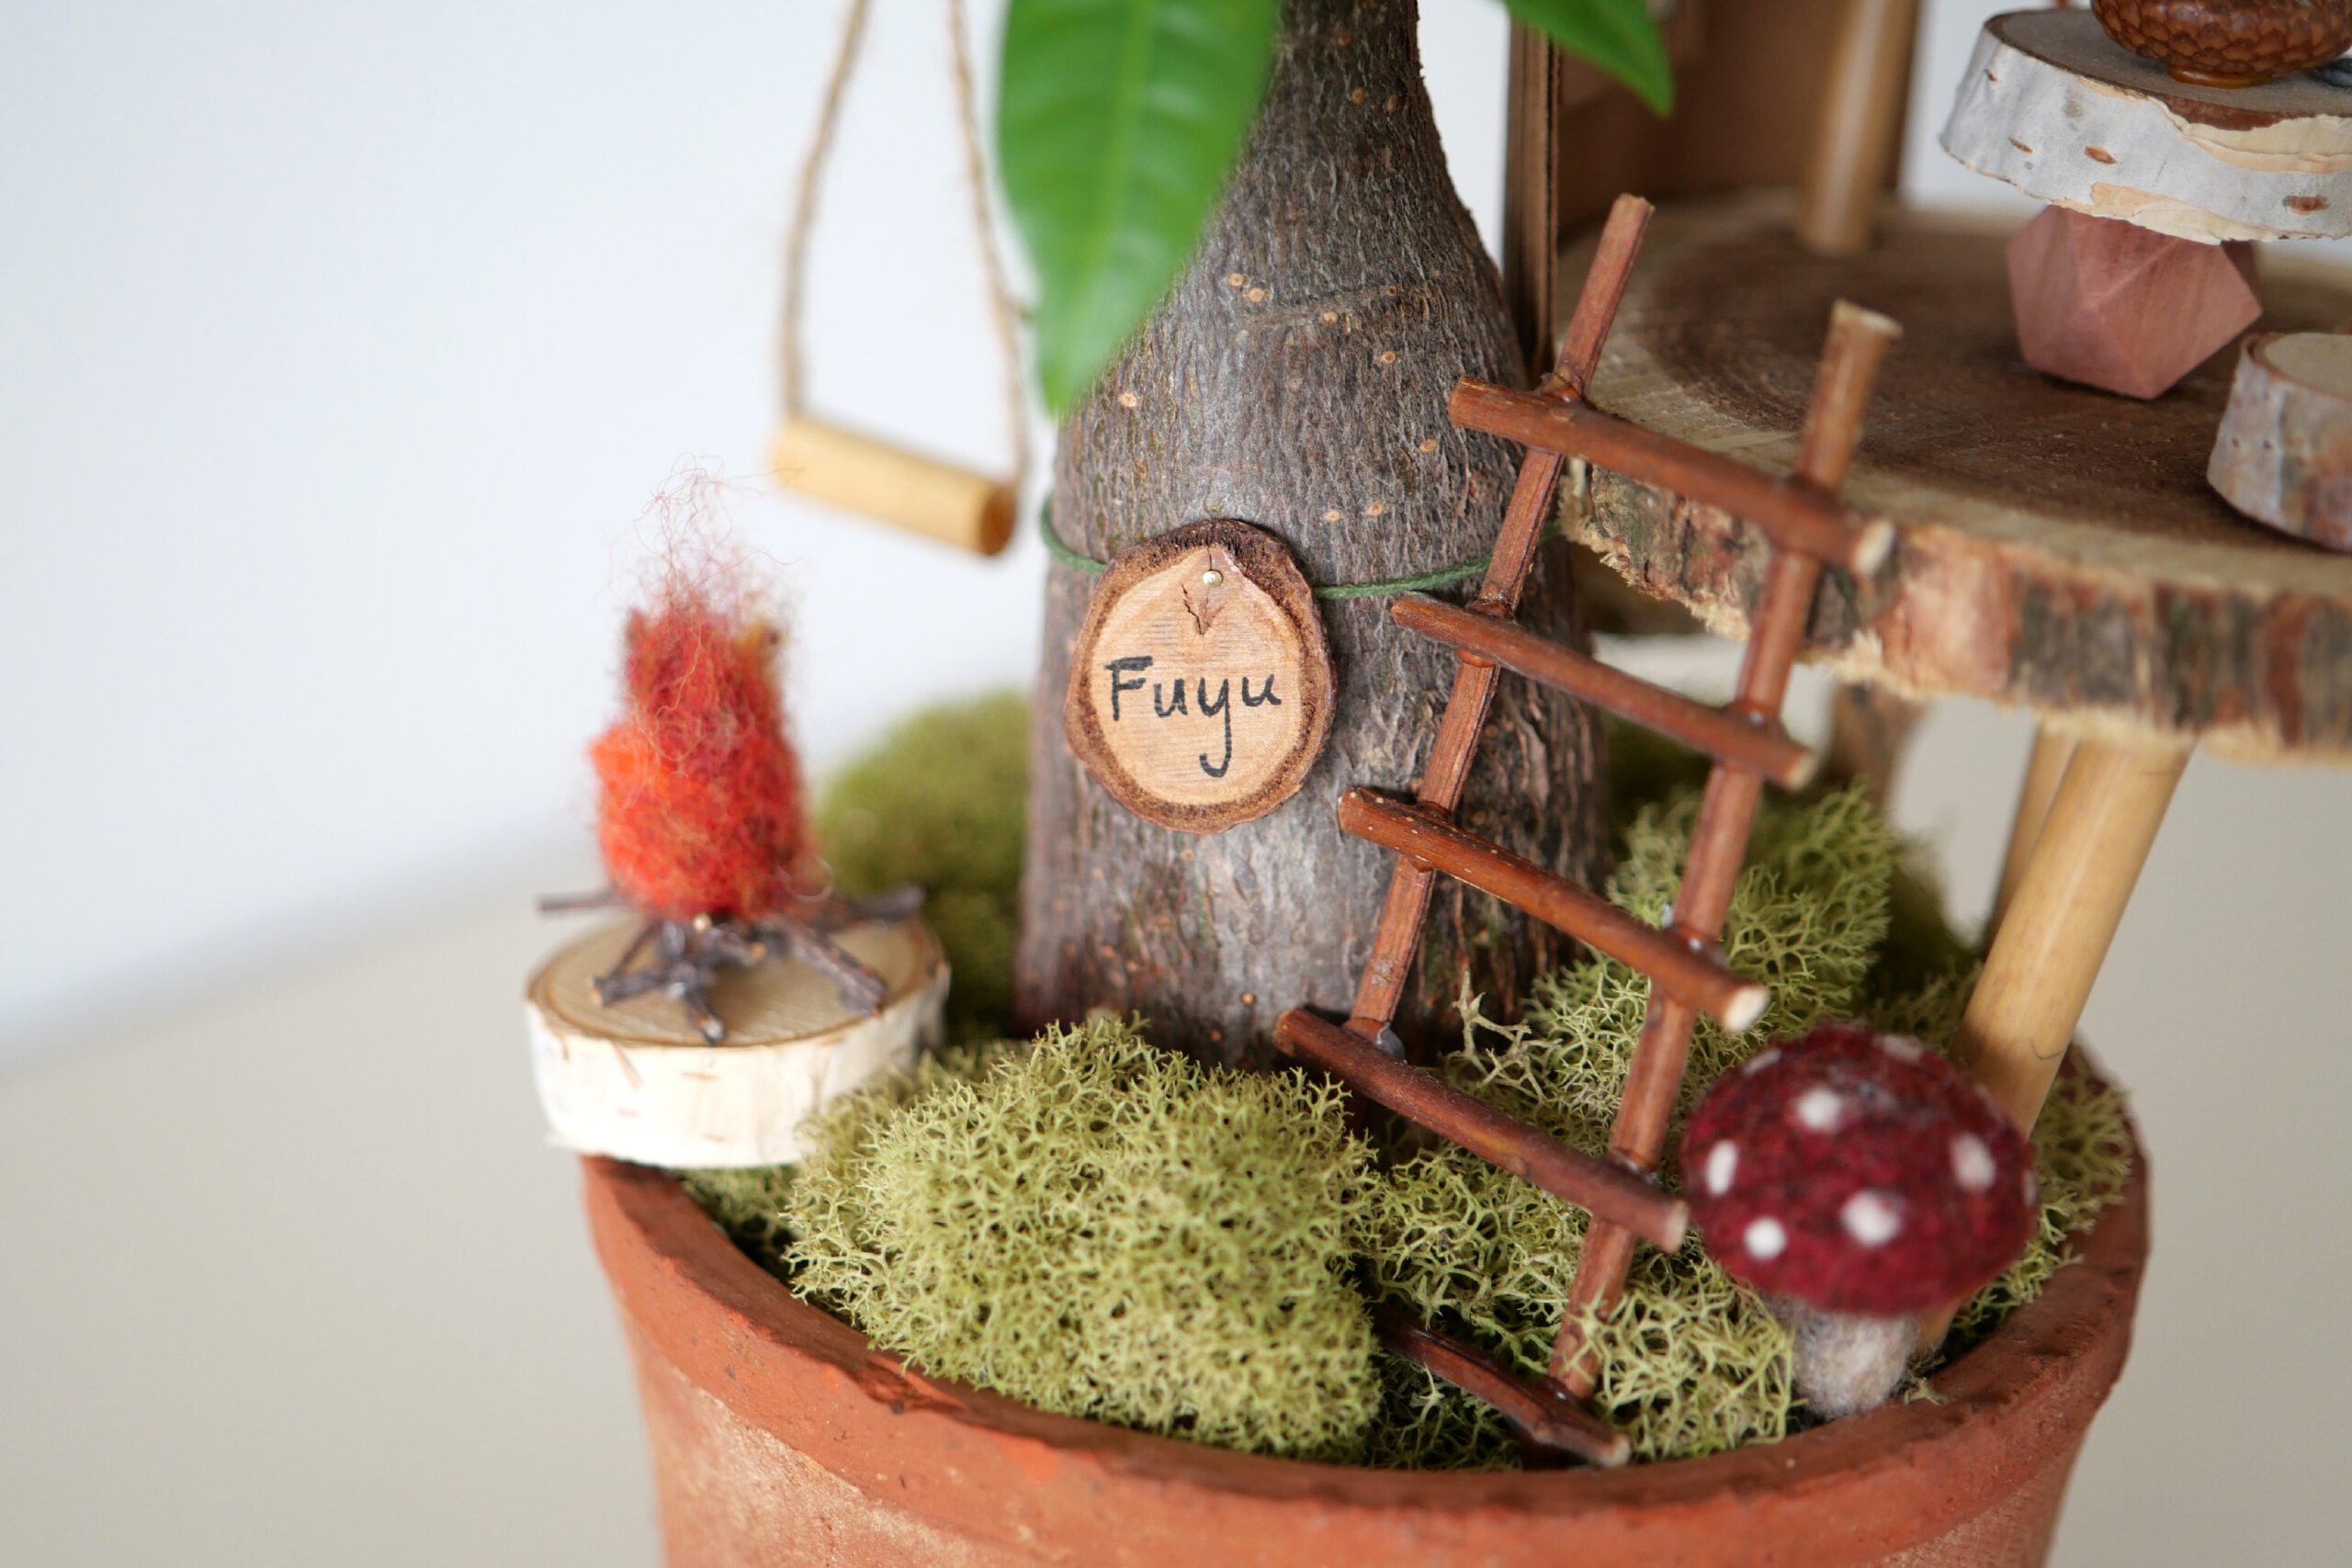
Next, she focused on the exterior. There is no electricity in the treehouse. So she prepared a fire pit. There is no bedroom, so she wove a hammock. There is also have a swing for enjoy. On the leaves, the bird is warming their eggs.
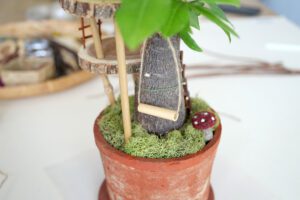
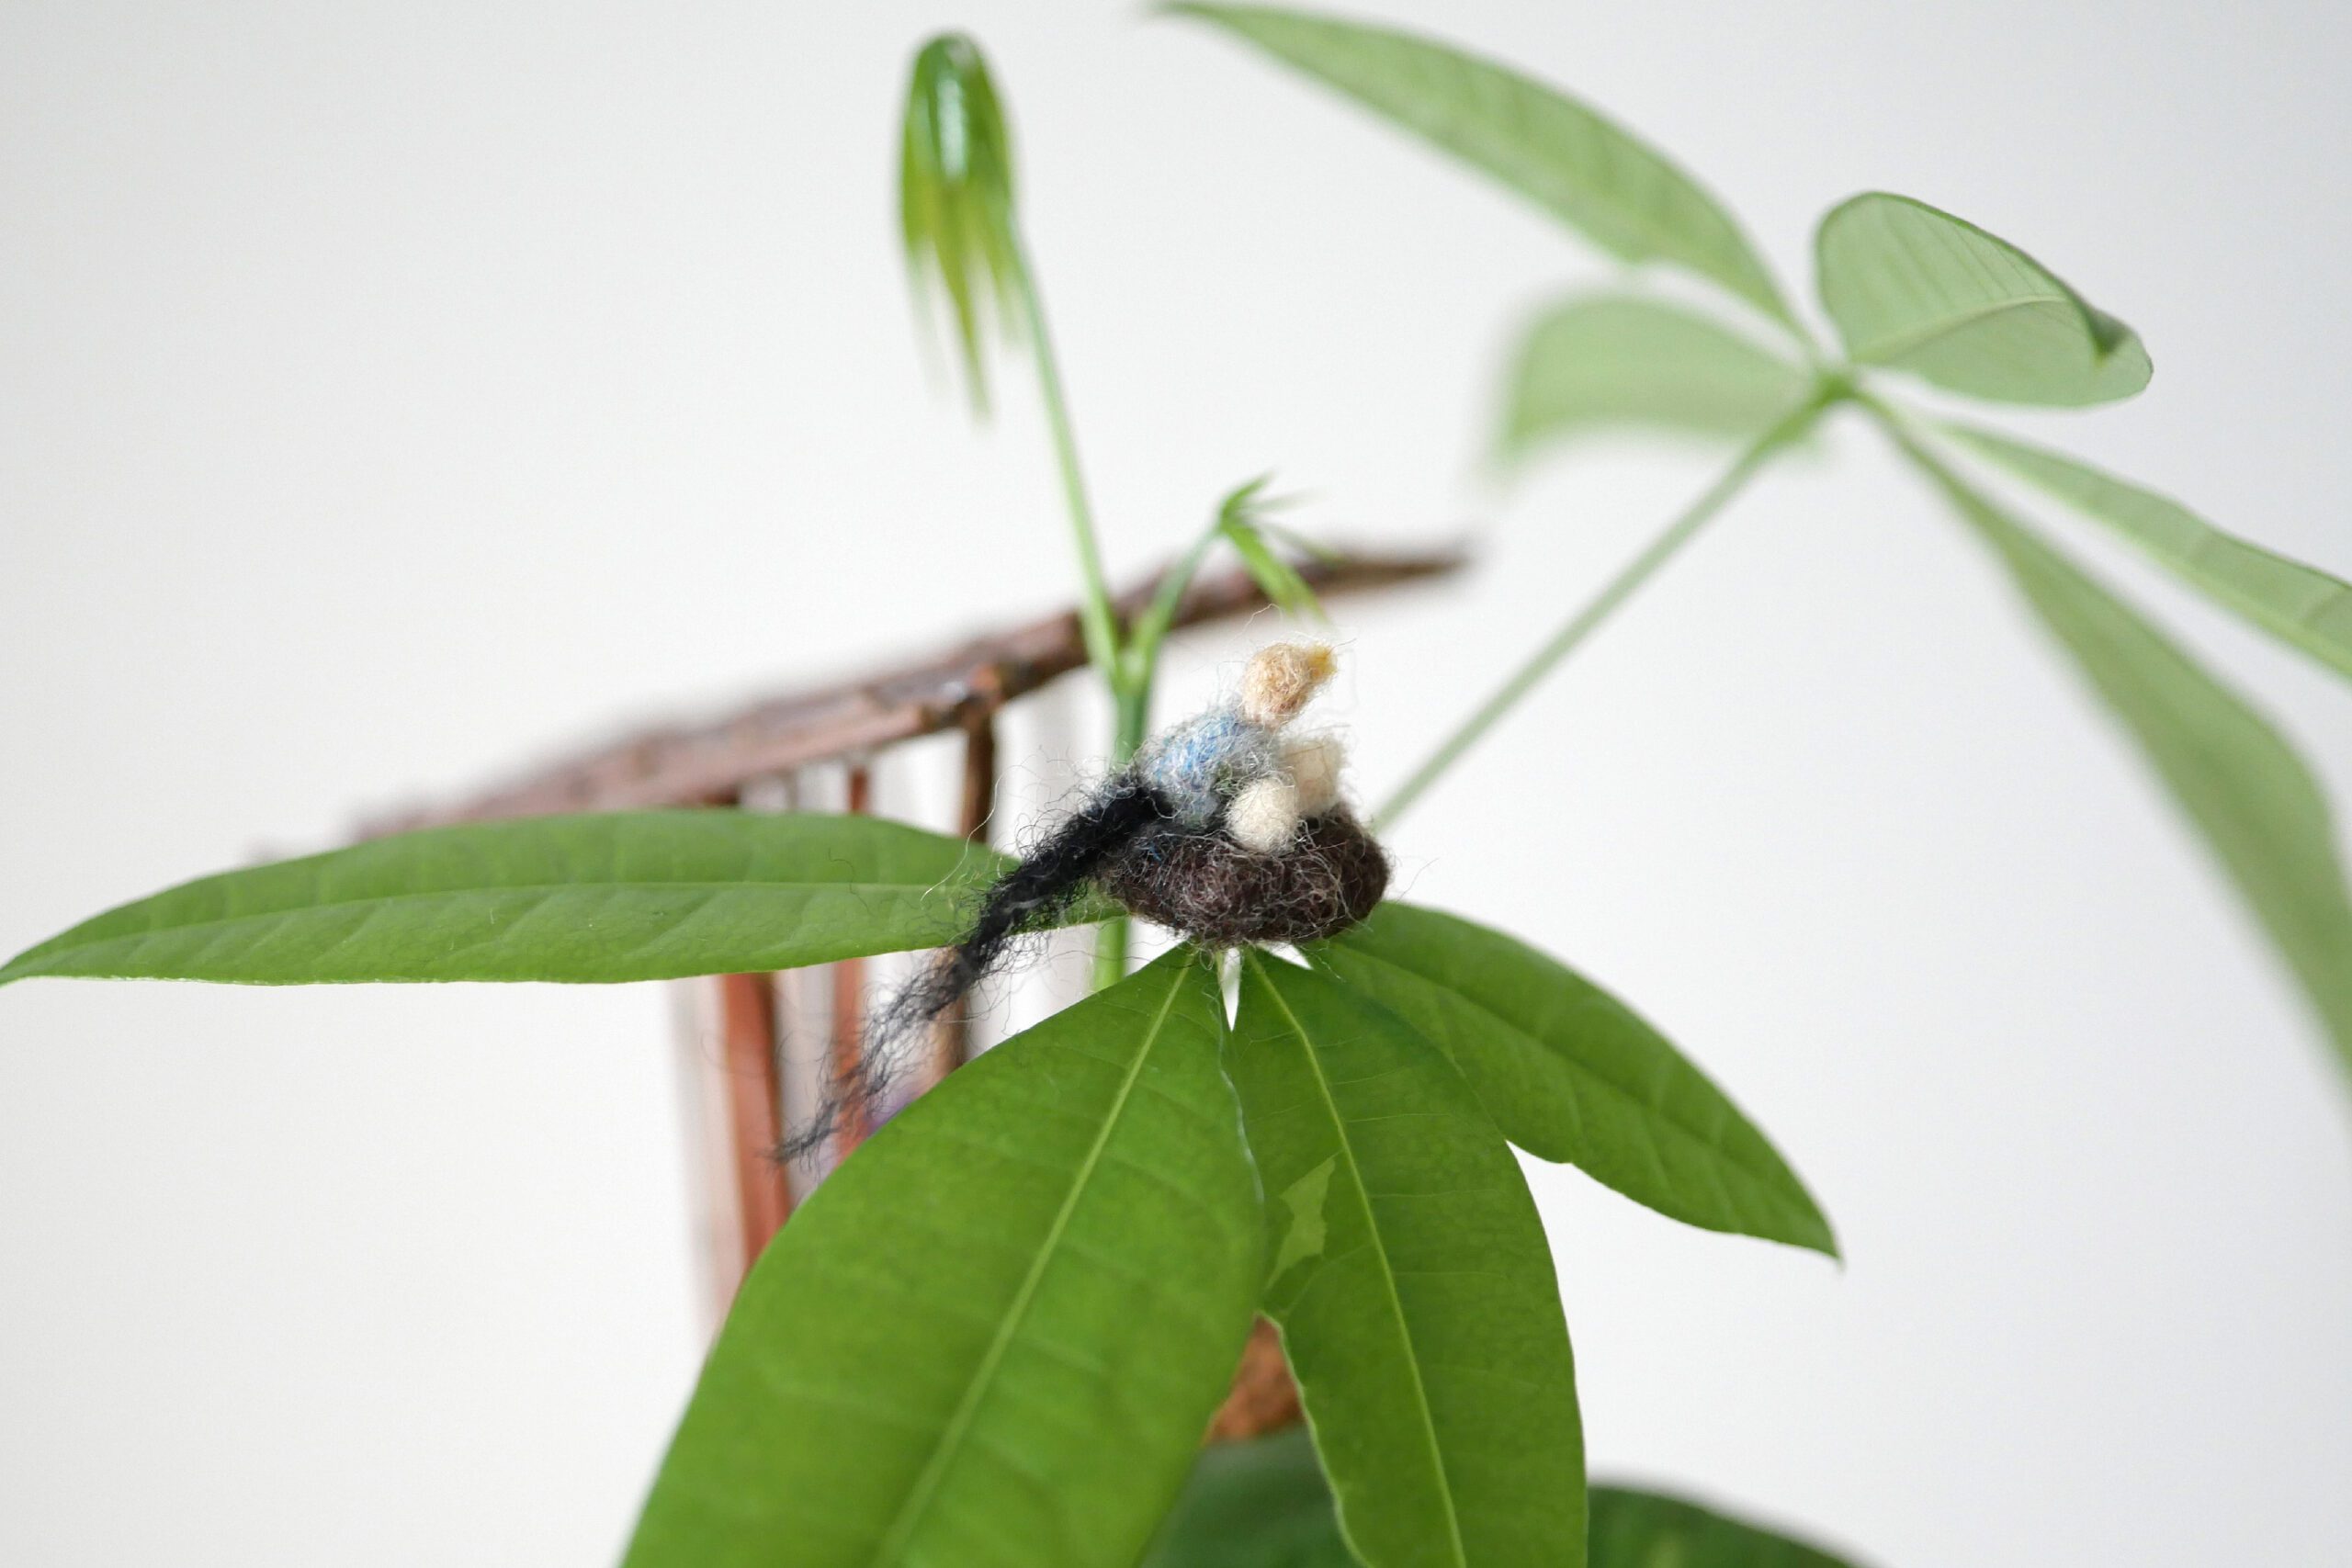
Step 6. Completed
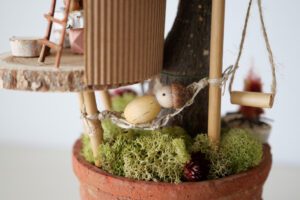
The dreamy treehouse is now complete, and can be enjoyed from each direction, 360 degrees. Here are some photos to show you the particular points of interest.

Welcome to the Tree House.
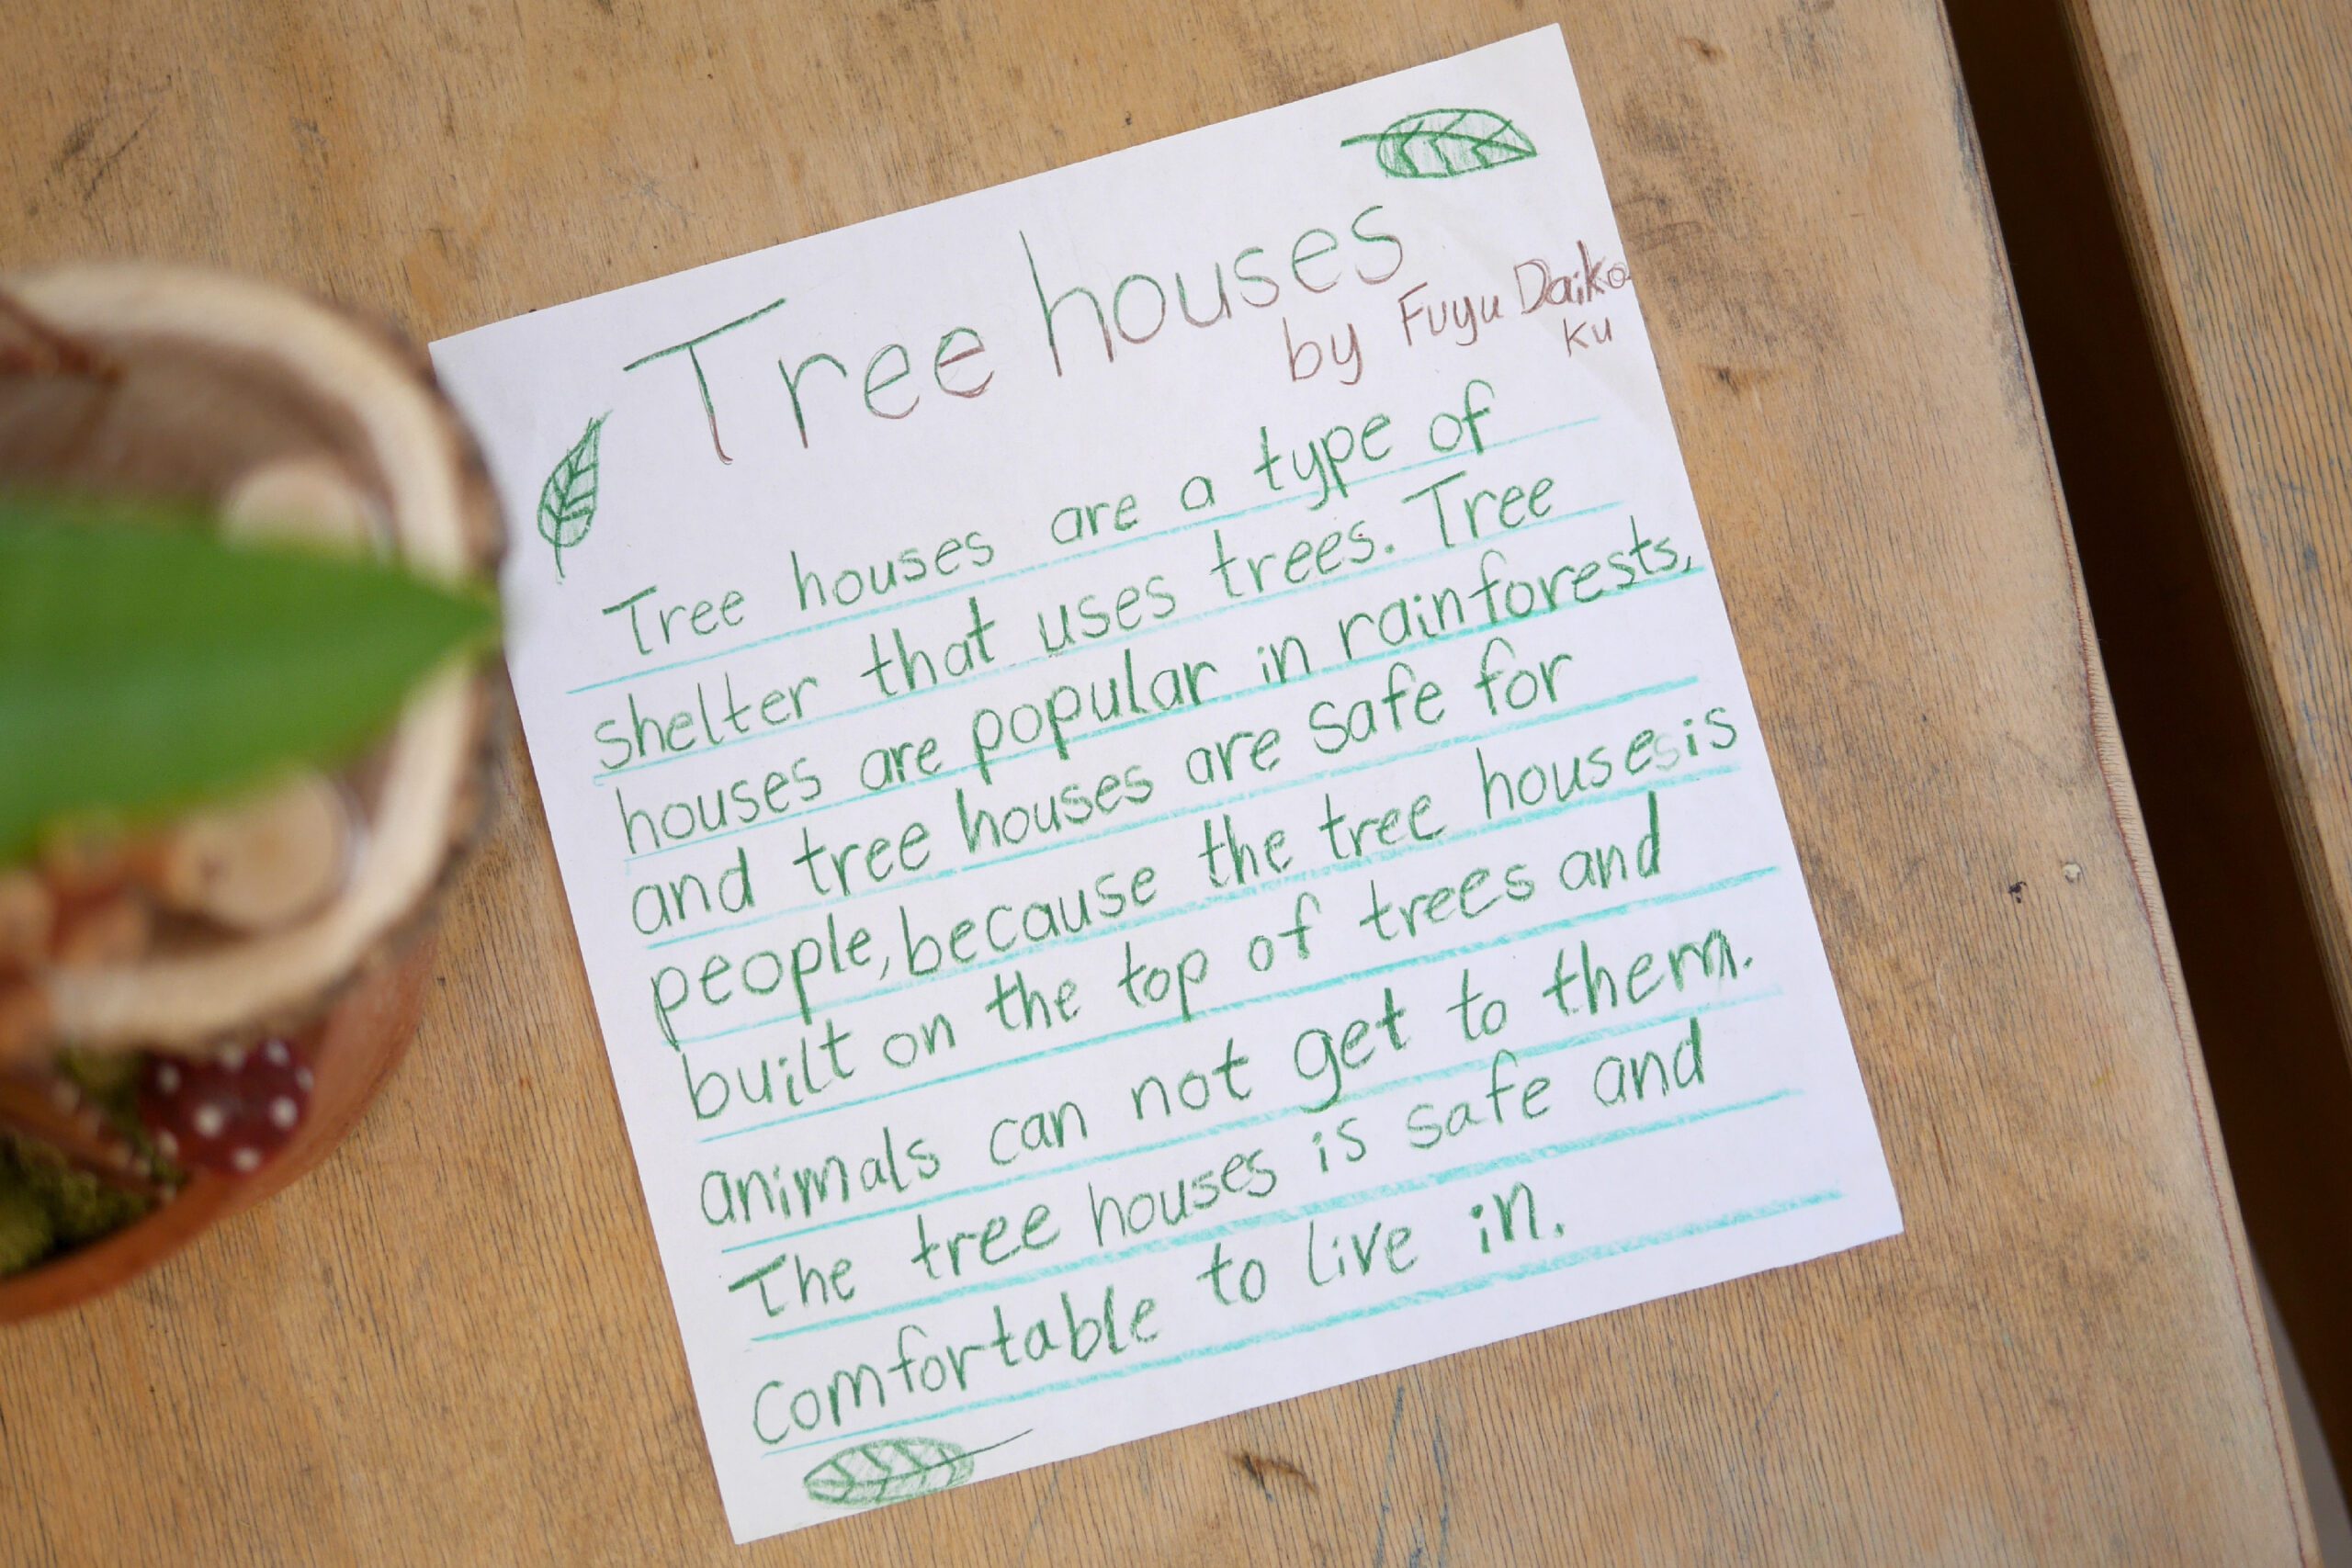
The entrance has a handwritten nameplate on a wooden plate. Behind the fire pit is a swing. Please go up the stairs to room.
First Floor
The dining room is the main space. On a wooden table there is tomato soup and red wine. There are pictures on the back wall. Please take the stairs leading to the second floor.
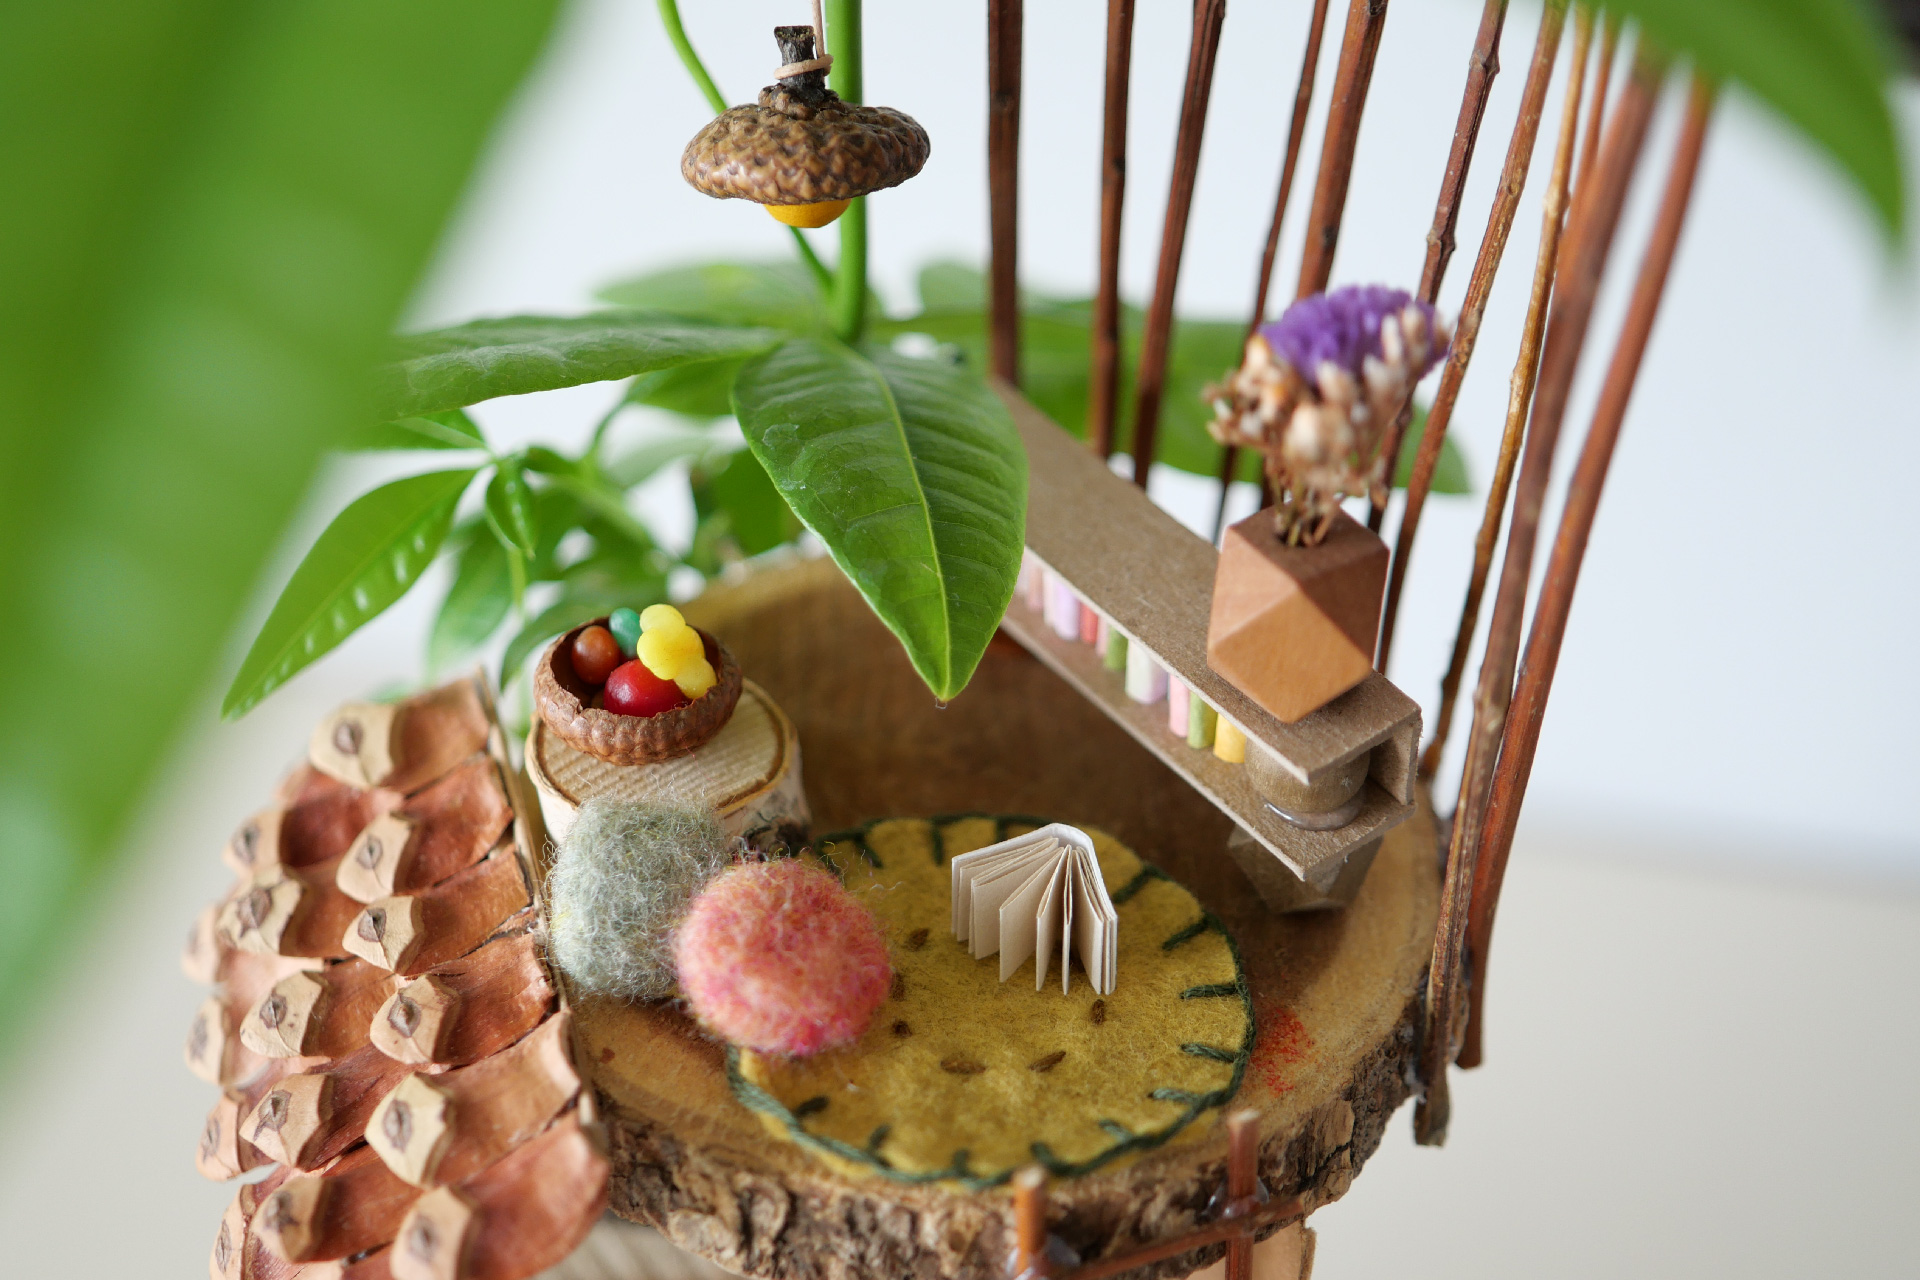
Second Floor
Upstairs is a more relaxed space. The bookshelves are filled with books and the cushions and rugs make it a relaxing space. I love the acorn cap lantern idea.
I am very proud of my daughter who had so much fun completing this project. In fact, most of the work was assigned as homework, and she worked on it at home for several days after back home.
I gave her some advice, but she did almost all of the work herself. My 9-year-old daughter loves handwork and plants more than anything else.
I hope that even in the fourth grade, she will continue to be imaginative and have fun with things.
A Miniature Treehouse
これは娘が3年生の終わりに取り組んだ学校の課題‘Shelter Project’ の記録です。娘の通うシュタイナー学校では伝統的な課題であり、子どもたちにとっては3年生を締めくくるビッグプロジェクトでした。
3年生は9年間の変化を経て、自己感覚の発達的な変化の時を迎えます。
シェルター=家は自分自身を育む場所であり、それは世界から切り離された安全な場所です。世界からの分離を経験するこの時期にシェルターを構築することで、彼ら自身の聖域を構築し、自分自身と外側の世界のつながりを育むことができるのです。そしてこのプロジェクトを経て、自分の聖域を作りたいという関心の高まりを満たすのです。
シェルターをつくる上で大切なのは環境です。学校では、これまで世界中でどの様な環境でどの様なシェルターができてきたのかを学びました。そして、自分で選んだ環境に沿って、実際にシェルターを組み立てるのです。
その課題を聞き、想像しただけでわくわくとした気持ちになりました。まるで自分の理想の家を組み立てる様です。歴史的背景を考えながら、もし自分がここにいたらと想像します。
彼女の選んだ環境はレインフォレスト。亜熱帯雨林の環境について調べ、そしてその環境に適したツリーハウスをつくることにしました。彼女は観葉植物をレインフォレストの木に見立て、そこに家を組み立てることにしました。まず頑丈な土台となる床をつくり、外壁、屋根をつくる。そしてそれぞれの階層を繋ぐ階段をつくり、必要な家具をつくる。最後に快適な空間を演出するデコレーションに取り組みました。材料はすべて散歩中に見つけた枝や木の実など自然のもの。これまで散歩のたびにコレクションしてきた自然の宝物が役立ちました。そして出来上がったのは植物とともに生きるツリーハウス。つくっている側から植物は葉を伸ばして成長しています。
用意するもの
– 植物
– 自然の素材 *木の枝、松ぼっくり、どんぐり、ウッドスライス、ウッドビーズなど
– グルーガン
– はさみ、カッター、ワイヤーなど
スケッチを描く
この課題はシェルターのイメージをスケッチすることからはじまりました。植物の上に2つの層で建てられたツリーハウス。このスケッチをもとに、作業に取り掛かりました。
つくりかた
Step 1. 土台をつくる
特に家づくりに関しては土台が大切です。彼女のスケッチにある2つの階層の家を、ウッドスライスと竹の棒(植物用の支柱)を使って組み立てました。彫刻刀を使ったので、この作業は大人の手助けが必要です。
床ができたら、周りの環境を整える様に土の上に苔を敷き詰めました。
Step 3. 梯子をつくる
木の枝を切って梯子をつくります。接着にはグルーガンを使うと便利です。グルーガンの先端が熱くなるので、子どもが使う時には注意してください。
Step 3. 屋根をつくる
一階の屋根は松ぼっくりを使います。一つ一つパーツをバラして、瓦屋根のように配置しました。
2階の屋根は木の枝を切って、段ボールに並べてました。
壁は、1階と2階それぞれ、段ボールと木の枝を使っています。
Step 4. 家具をつくる
必要な家具をつくります。ウッドスライスにウッドビーズを接着してテーブルとして。本棚は、厚紙とウッドビーズで。中には紙を蛇腹に折ってつくった本をたくさんいれました。カードボード製の額縁には蜂の絵が飾ってあります。
どんぐりのキャップはランタンとしてや蜜蝋で作った果物を入れるボウルにも使われています。
フェルトを縫ってラグに、ニードルフェルトでクッションもできました。また、ウッドビーズにドライフラワーを挿せば、花瓶になります。
Step 5. エクステリア
次は外の環境に注目しました。ツリーハウスには電気が通っていません。なので、焚き火を用意しました。ベッドルームもないので、ハンモックを編みました。楽しめる様にブランコも備えました。そして、葉の上では親鳥が卵を温めています。
Step 6. 完成
こうして夢のようなツリーハウスが完成しました。360度、それぞれの方向から見渡しても楽しめます。いくつかの写真でこだわりのポイントをご紹介します。
ツリーハウスへようこそ
エントランスには、ウッドプレートに手書きの表札があります。ファイヤーピットの奥にはブランコがあります。階段を上がってお部屋の中へどうぞ。
一階
ダイニングがメインの空間です。木のテーブルの上には、トマトスープと赤ワインがあります。奥の壁に絵が飾ってあります。二階へ続く階段をお上がりください。
二階
二階はよりリラックスした空間です。本棚にはたくさんの本があり、クッションとラグでくつろげる空間になっています。どんぐりキャップのランタンのアイデアが私は大好きです。
今回このプロジェクトをとても楽しんでやり遂げた娘を誇りに思います。実際にはほとんどの作業は宿題として出され、学校から帰宅後に数日かけて自宅で取り組みました。
私自身は少しのアドバイスをしたものの、ほぼ全ての作業を娘自ら行い完成させました。手仕事と植物を何より愛する9歳の娘。四年生になってもこの調子で想像力豊かに、楽しく物事に取り組んでくれることを願っています。