Sunprint of a Leaf with Holes
Sunprinting is a wonderful activity that lets you easily experience nature, art, and science. It’s especially great fun for kids (of course for adults as well!) during camping or outdoor activities.
The principle behind sunprinting is the same as photographic printing. When special paper with an object placed on it is exposed to sunlight, a chemical reaction occurs, transferring the exact shape of the object onto the paper. Various kits are available for purchase, making it easy to get started.
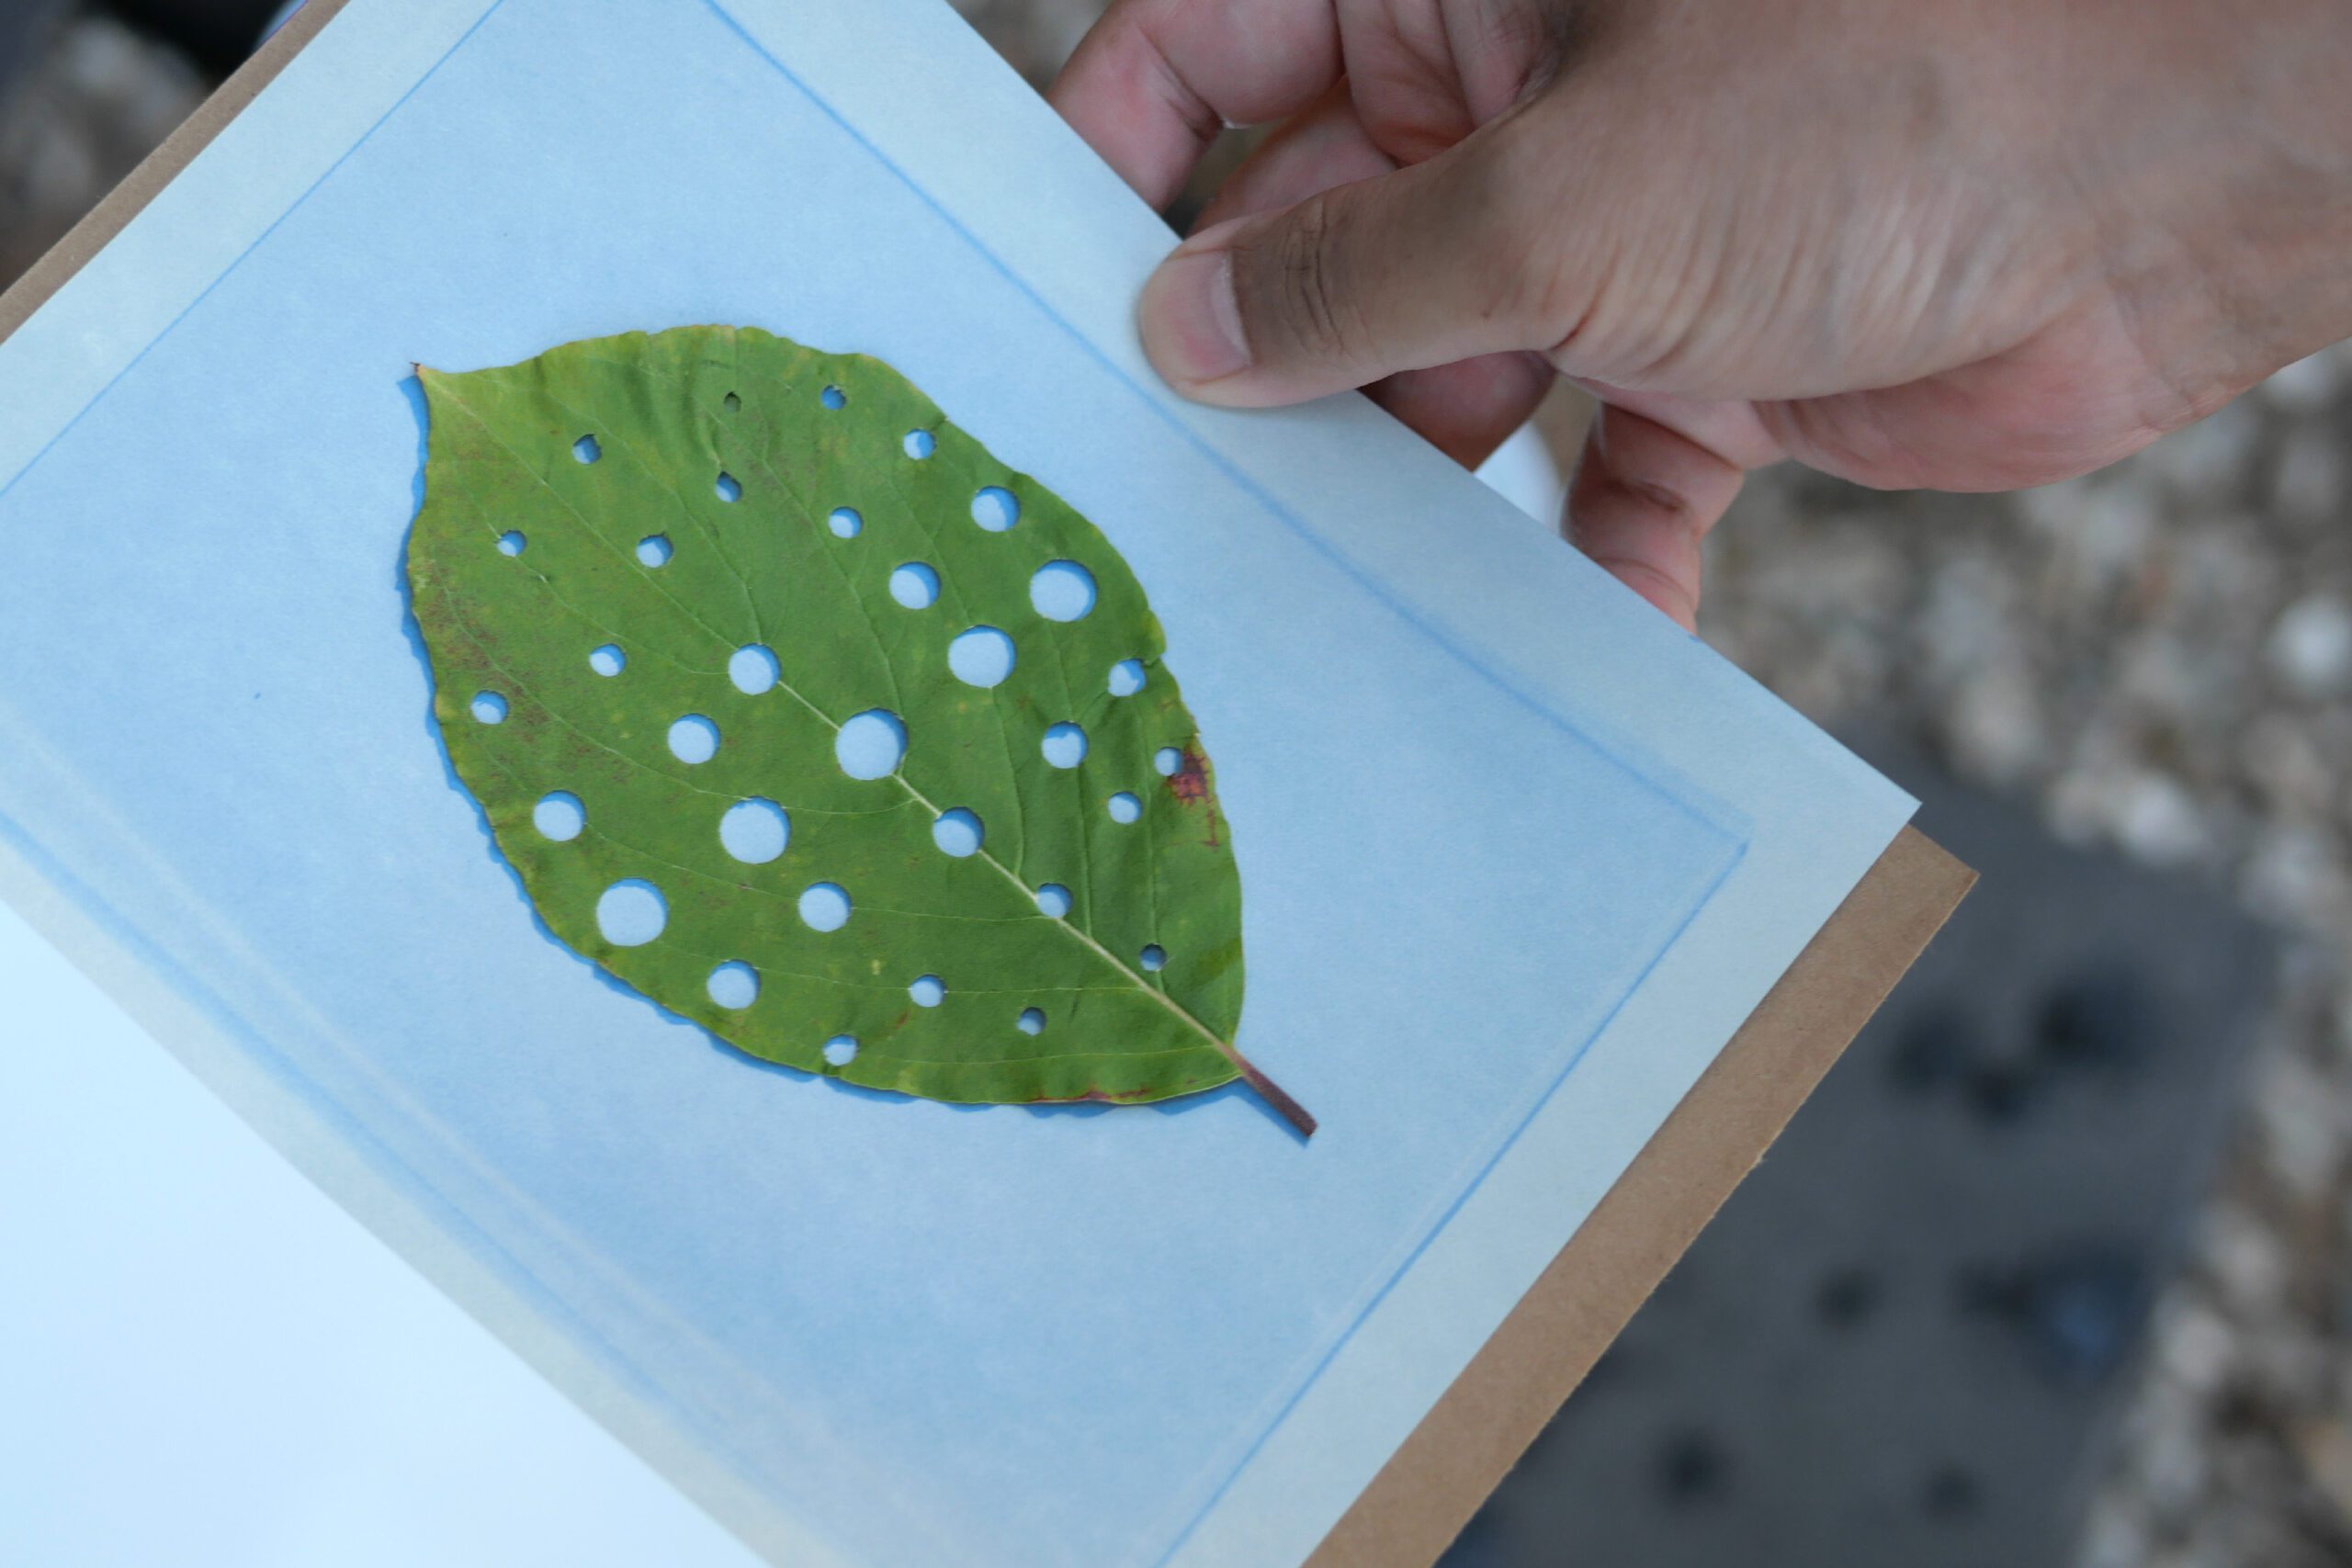
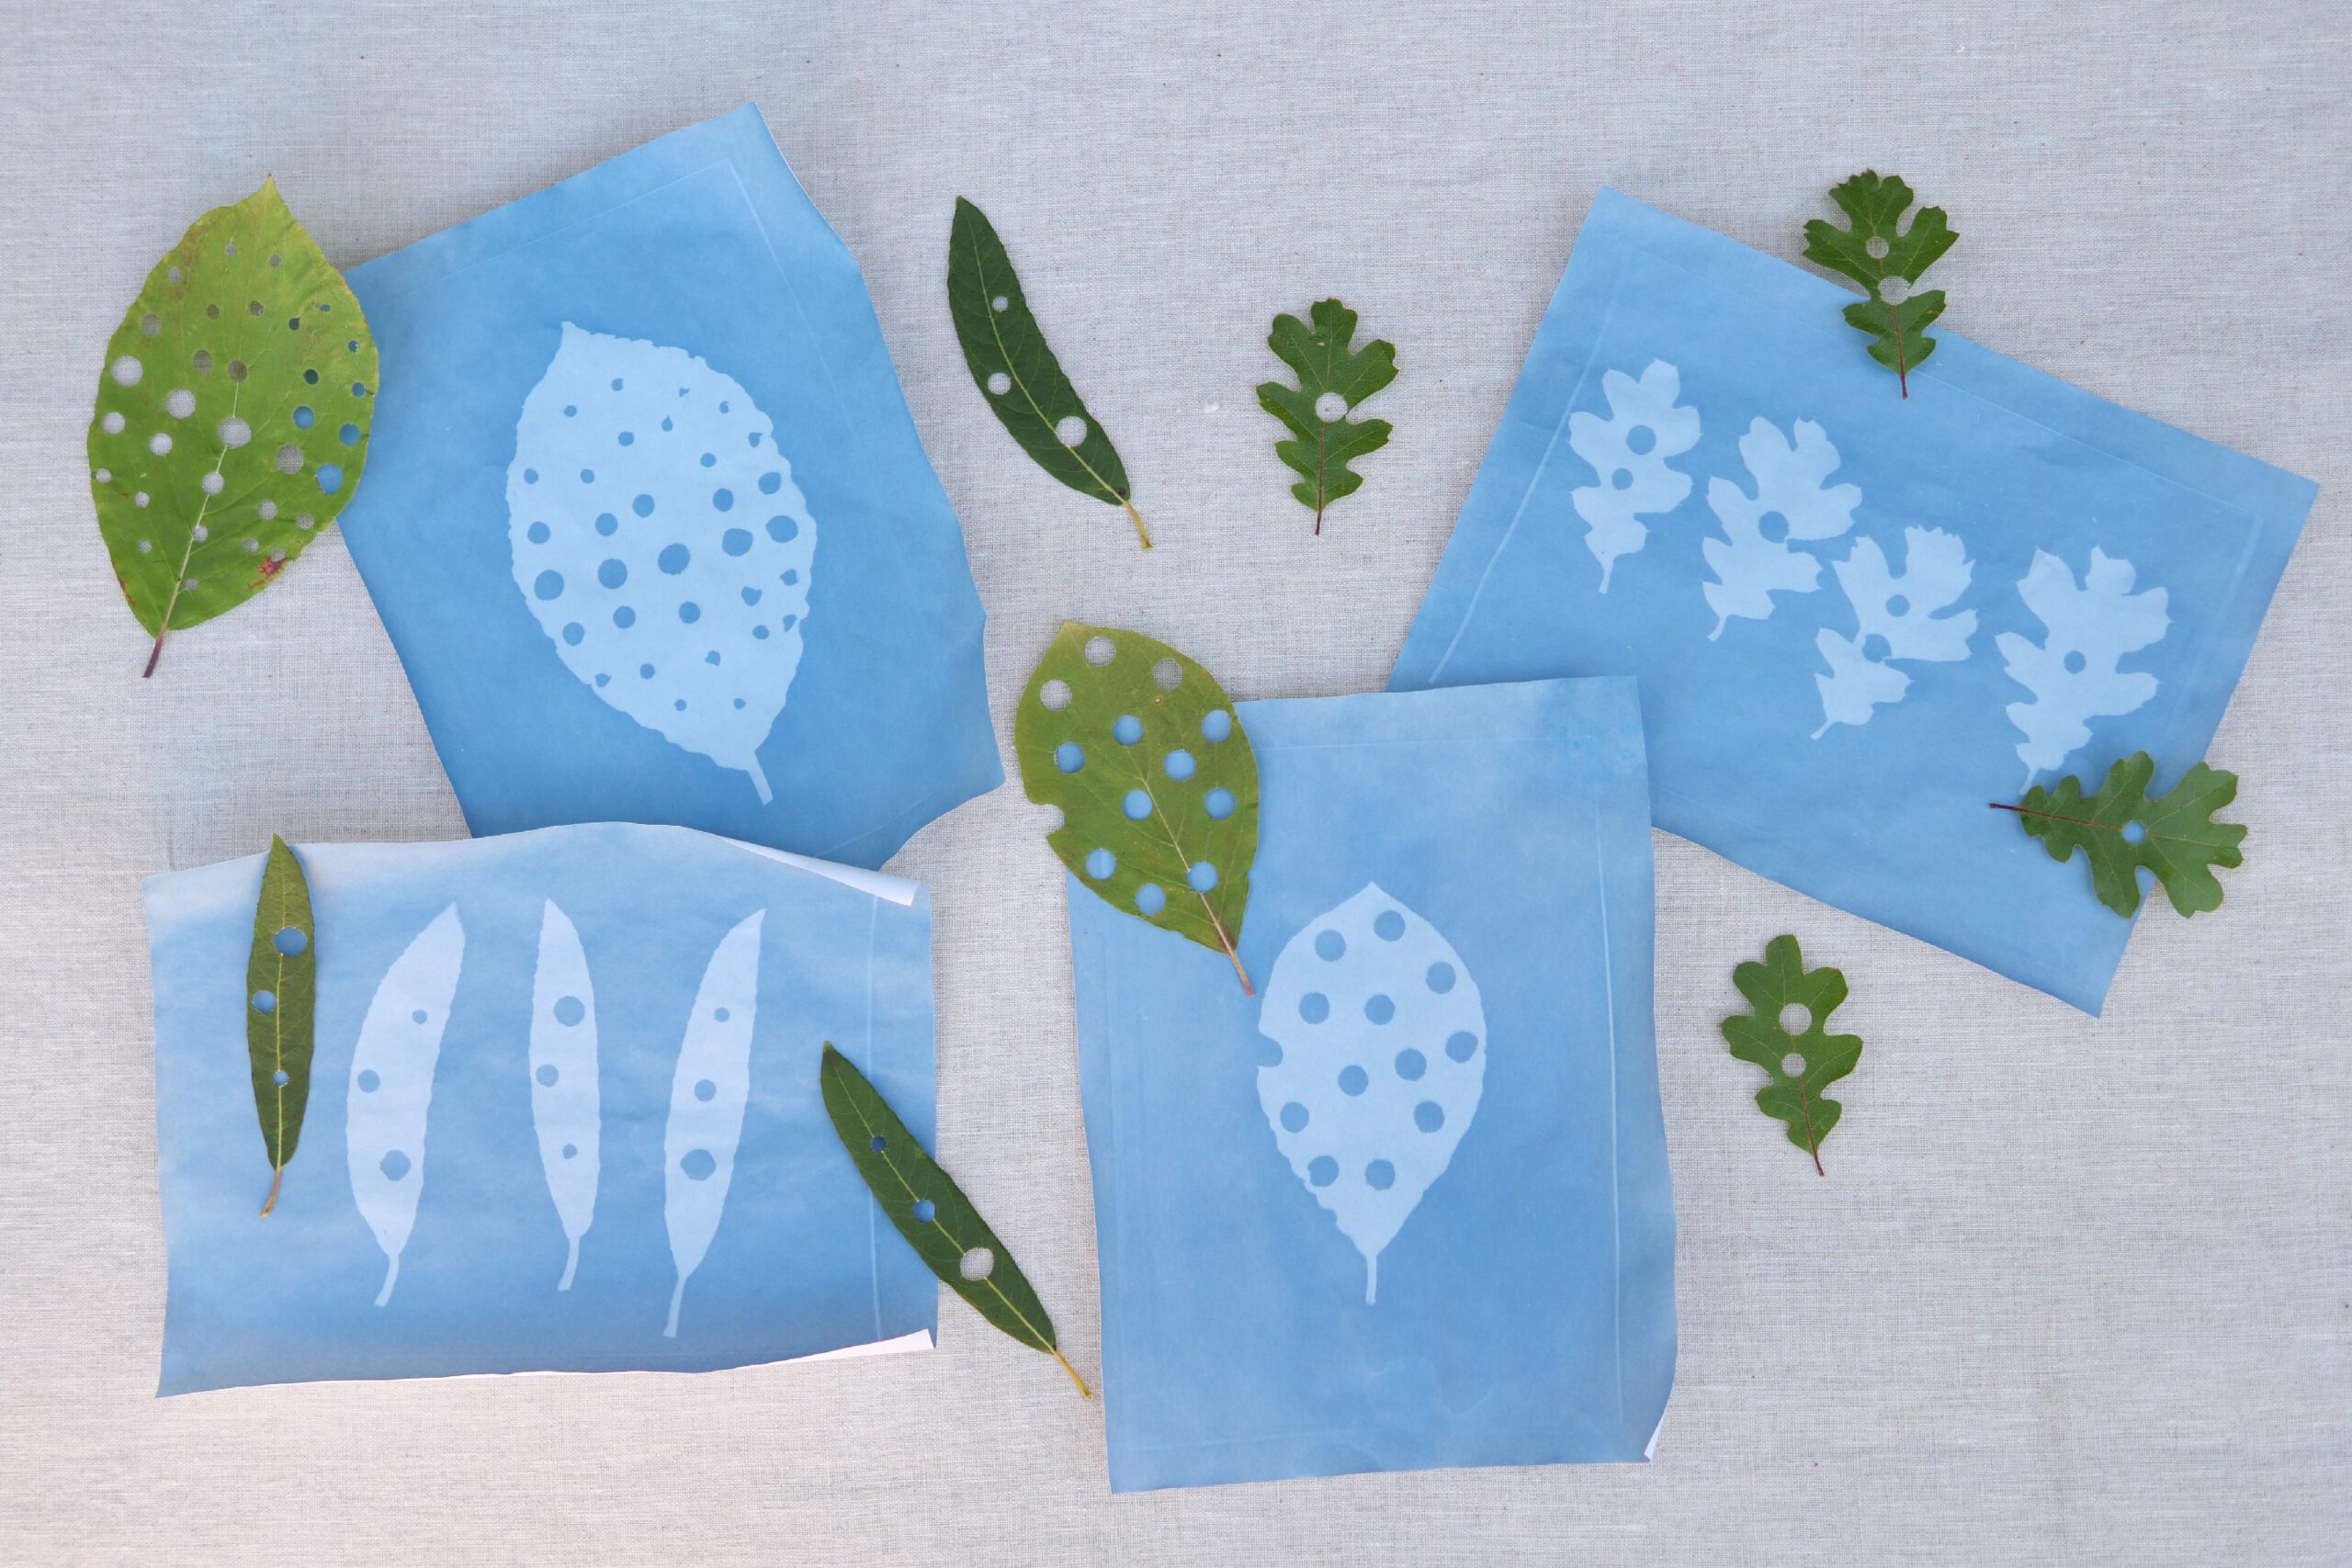
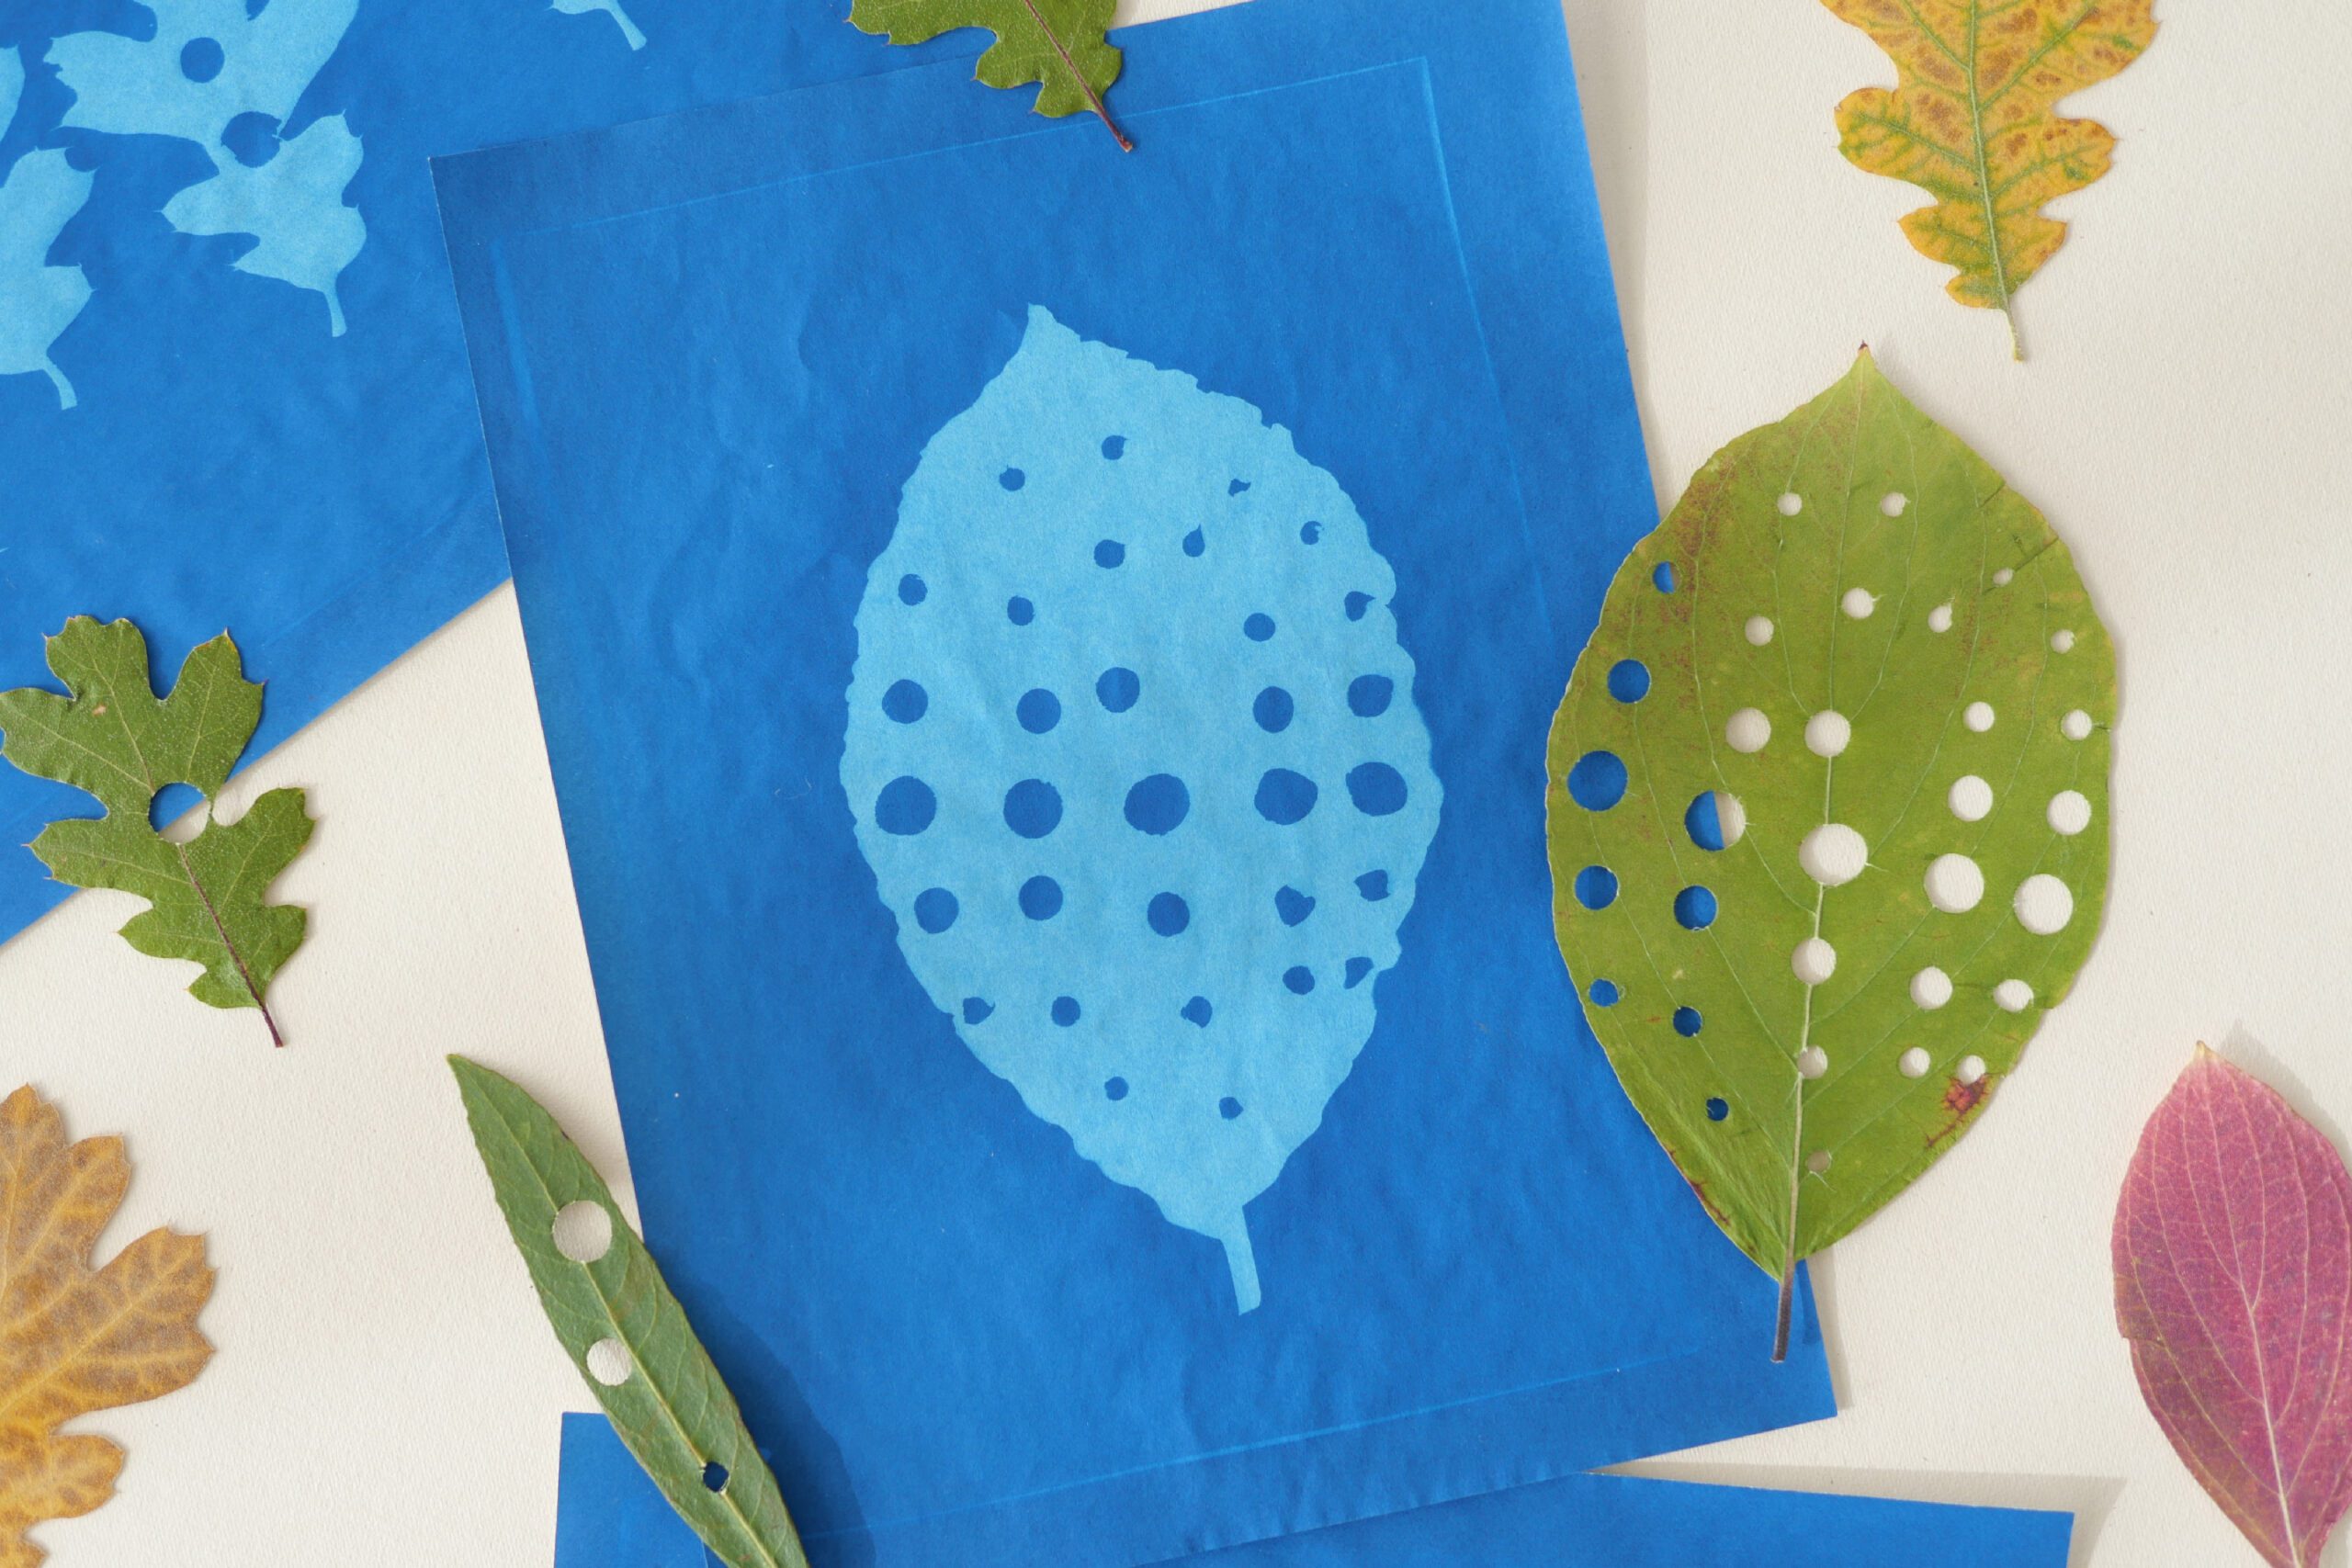
This time, my daughter did something interesting, so I decided to note it. She punched holes in the leaves she used as objects. The small holes let light pass through, leaving a clear outline of their shape on the paper. The natural shape of the leaves contrasted with the artificial round holes. I found this contrast strangely captivating.
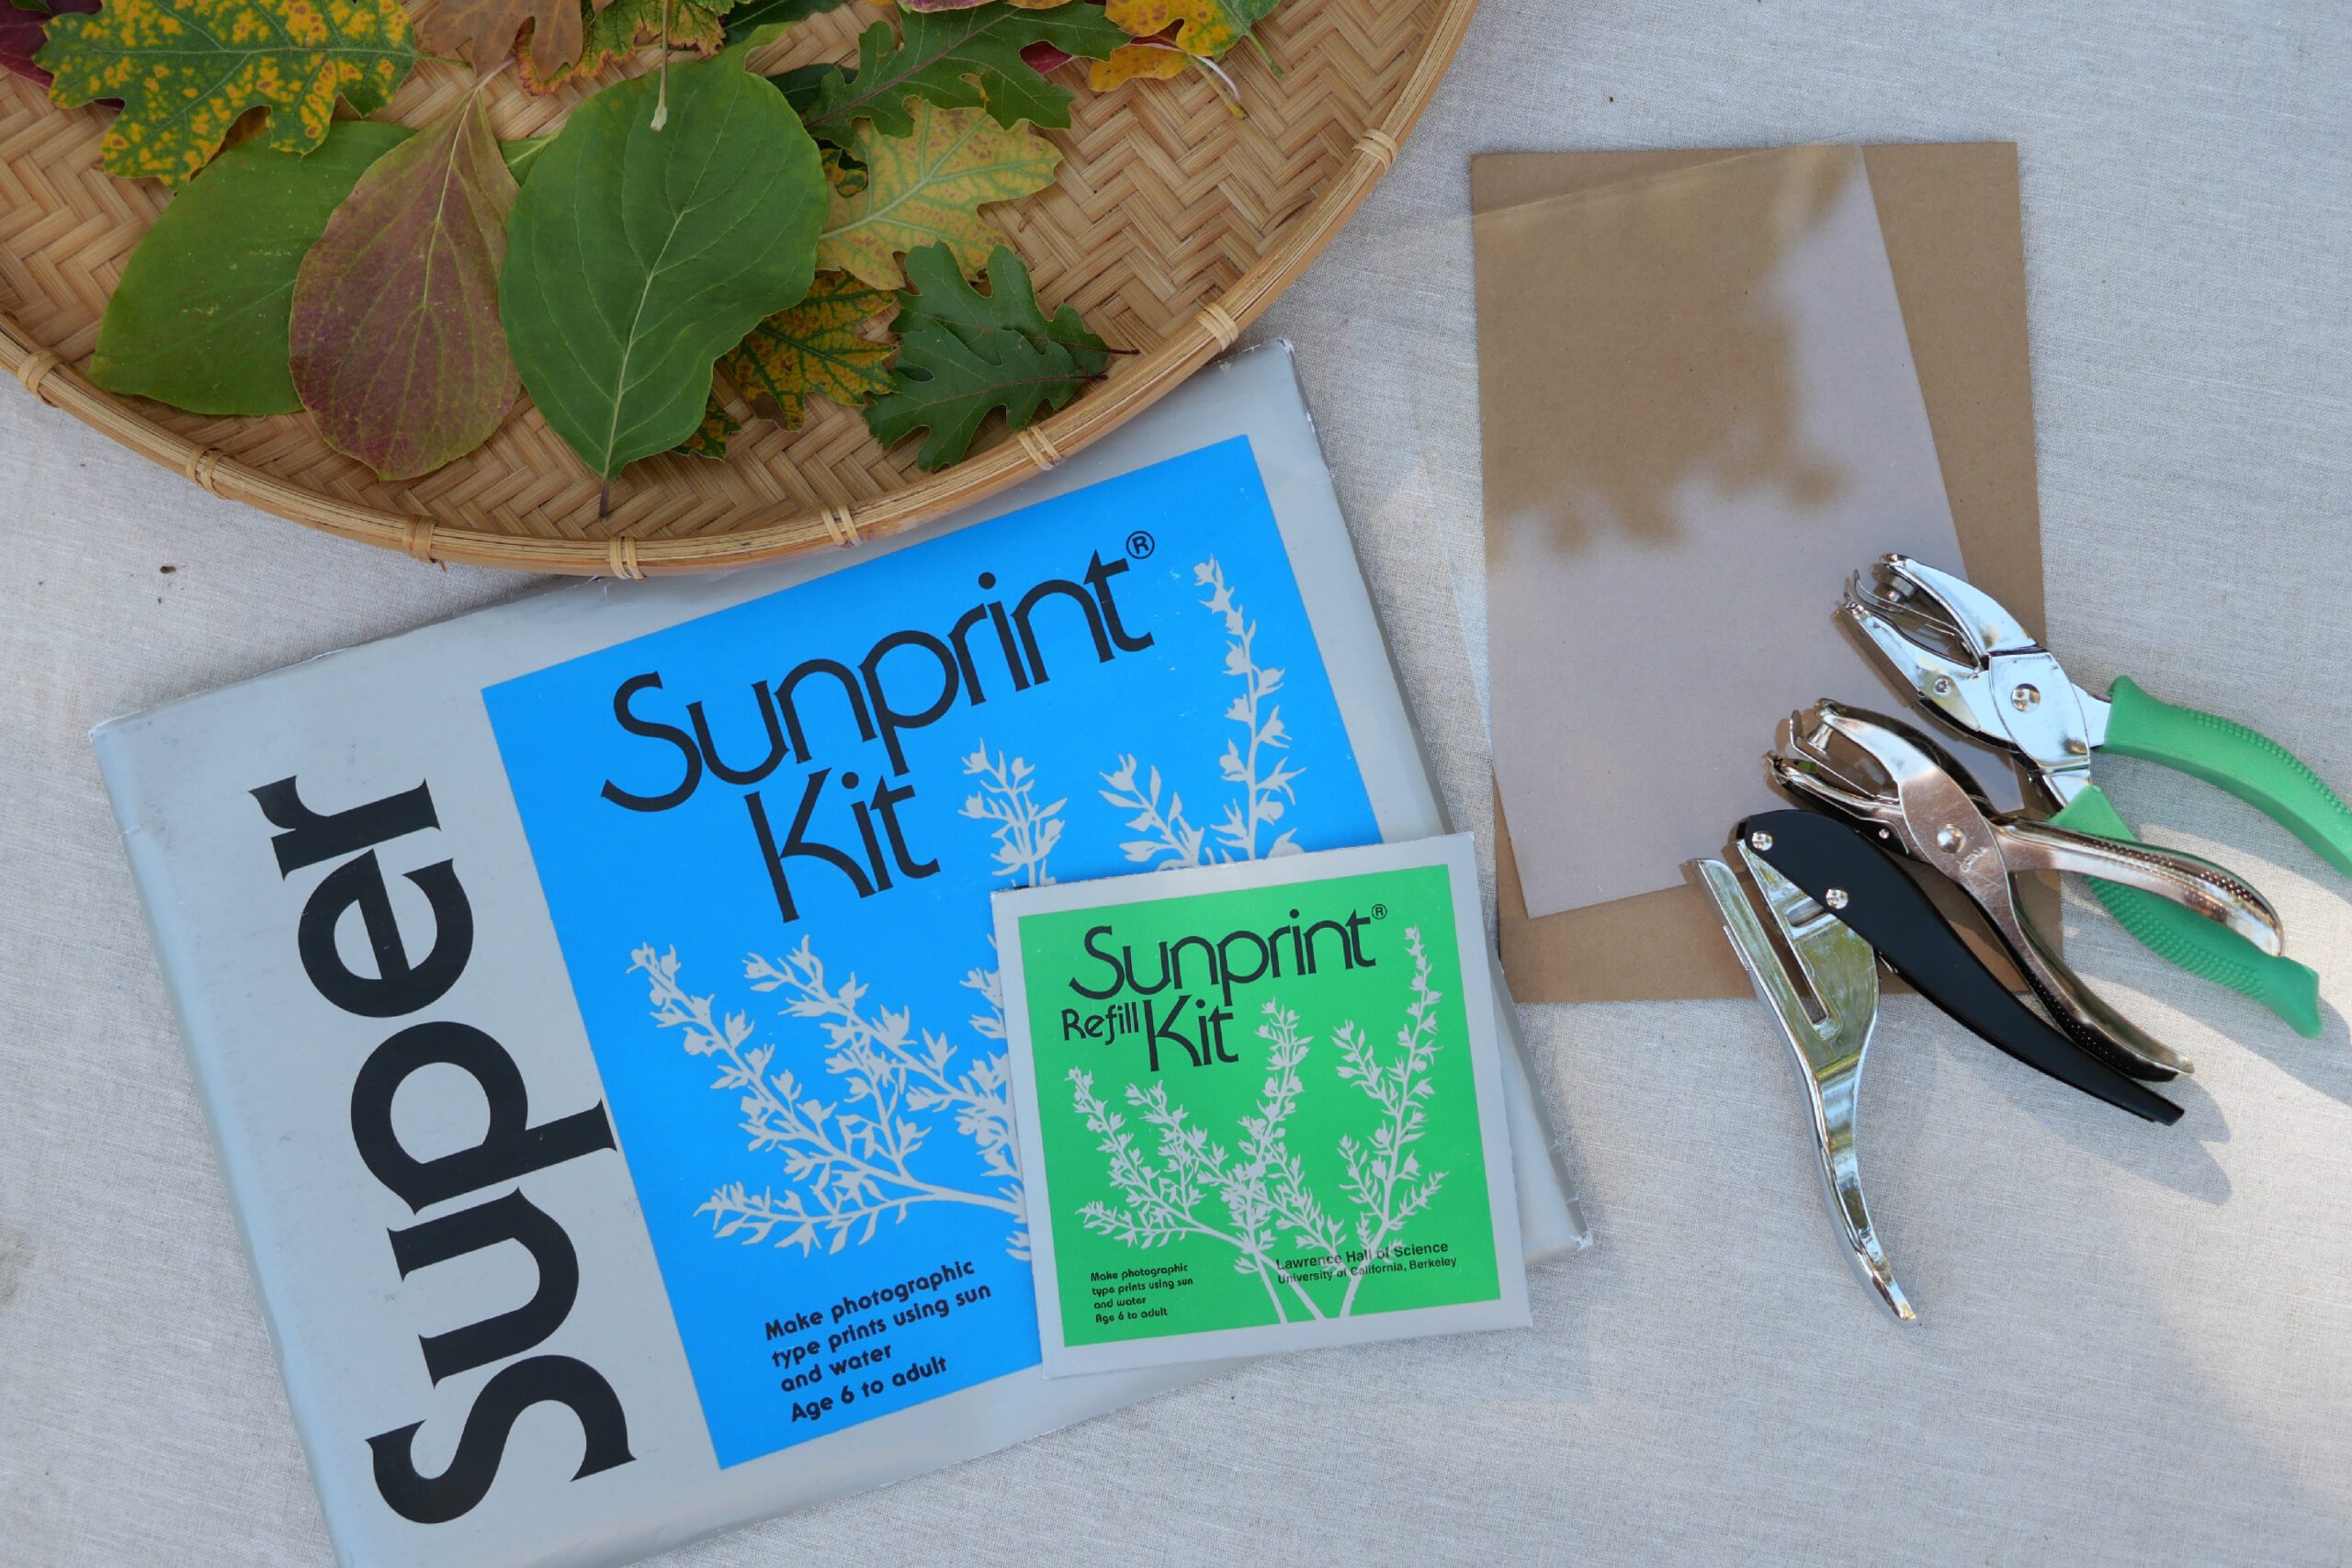
Materials
– Sunprint paper
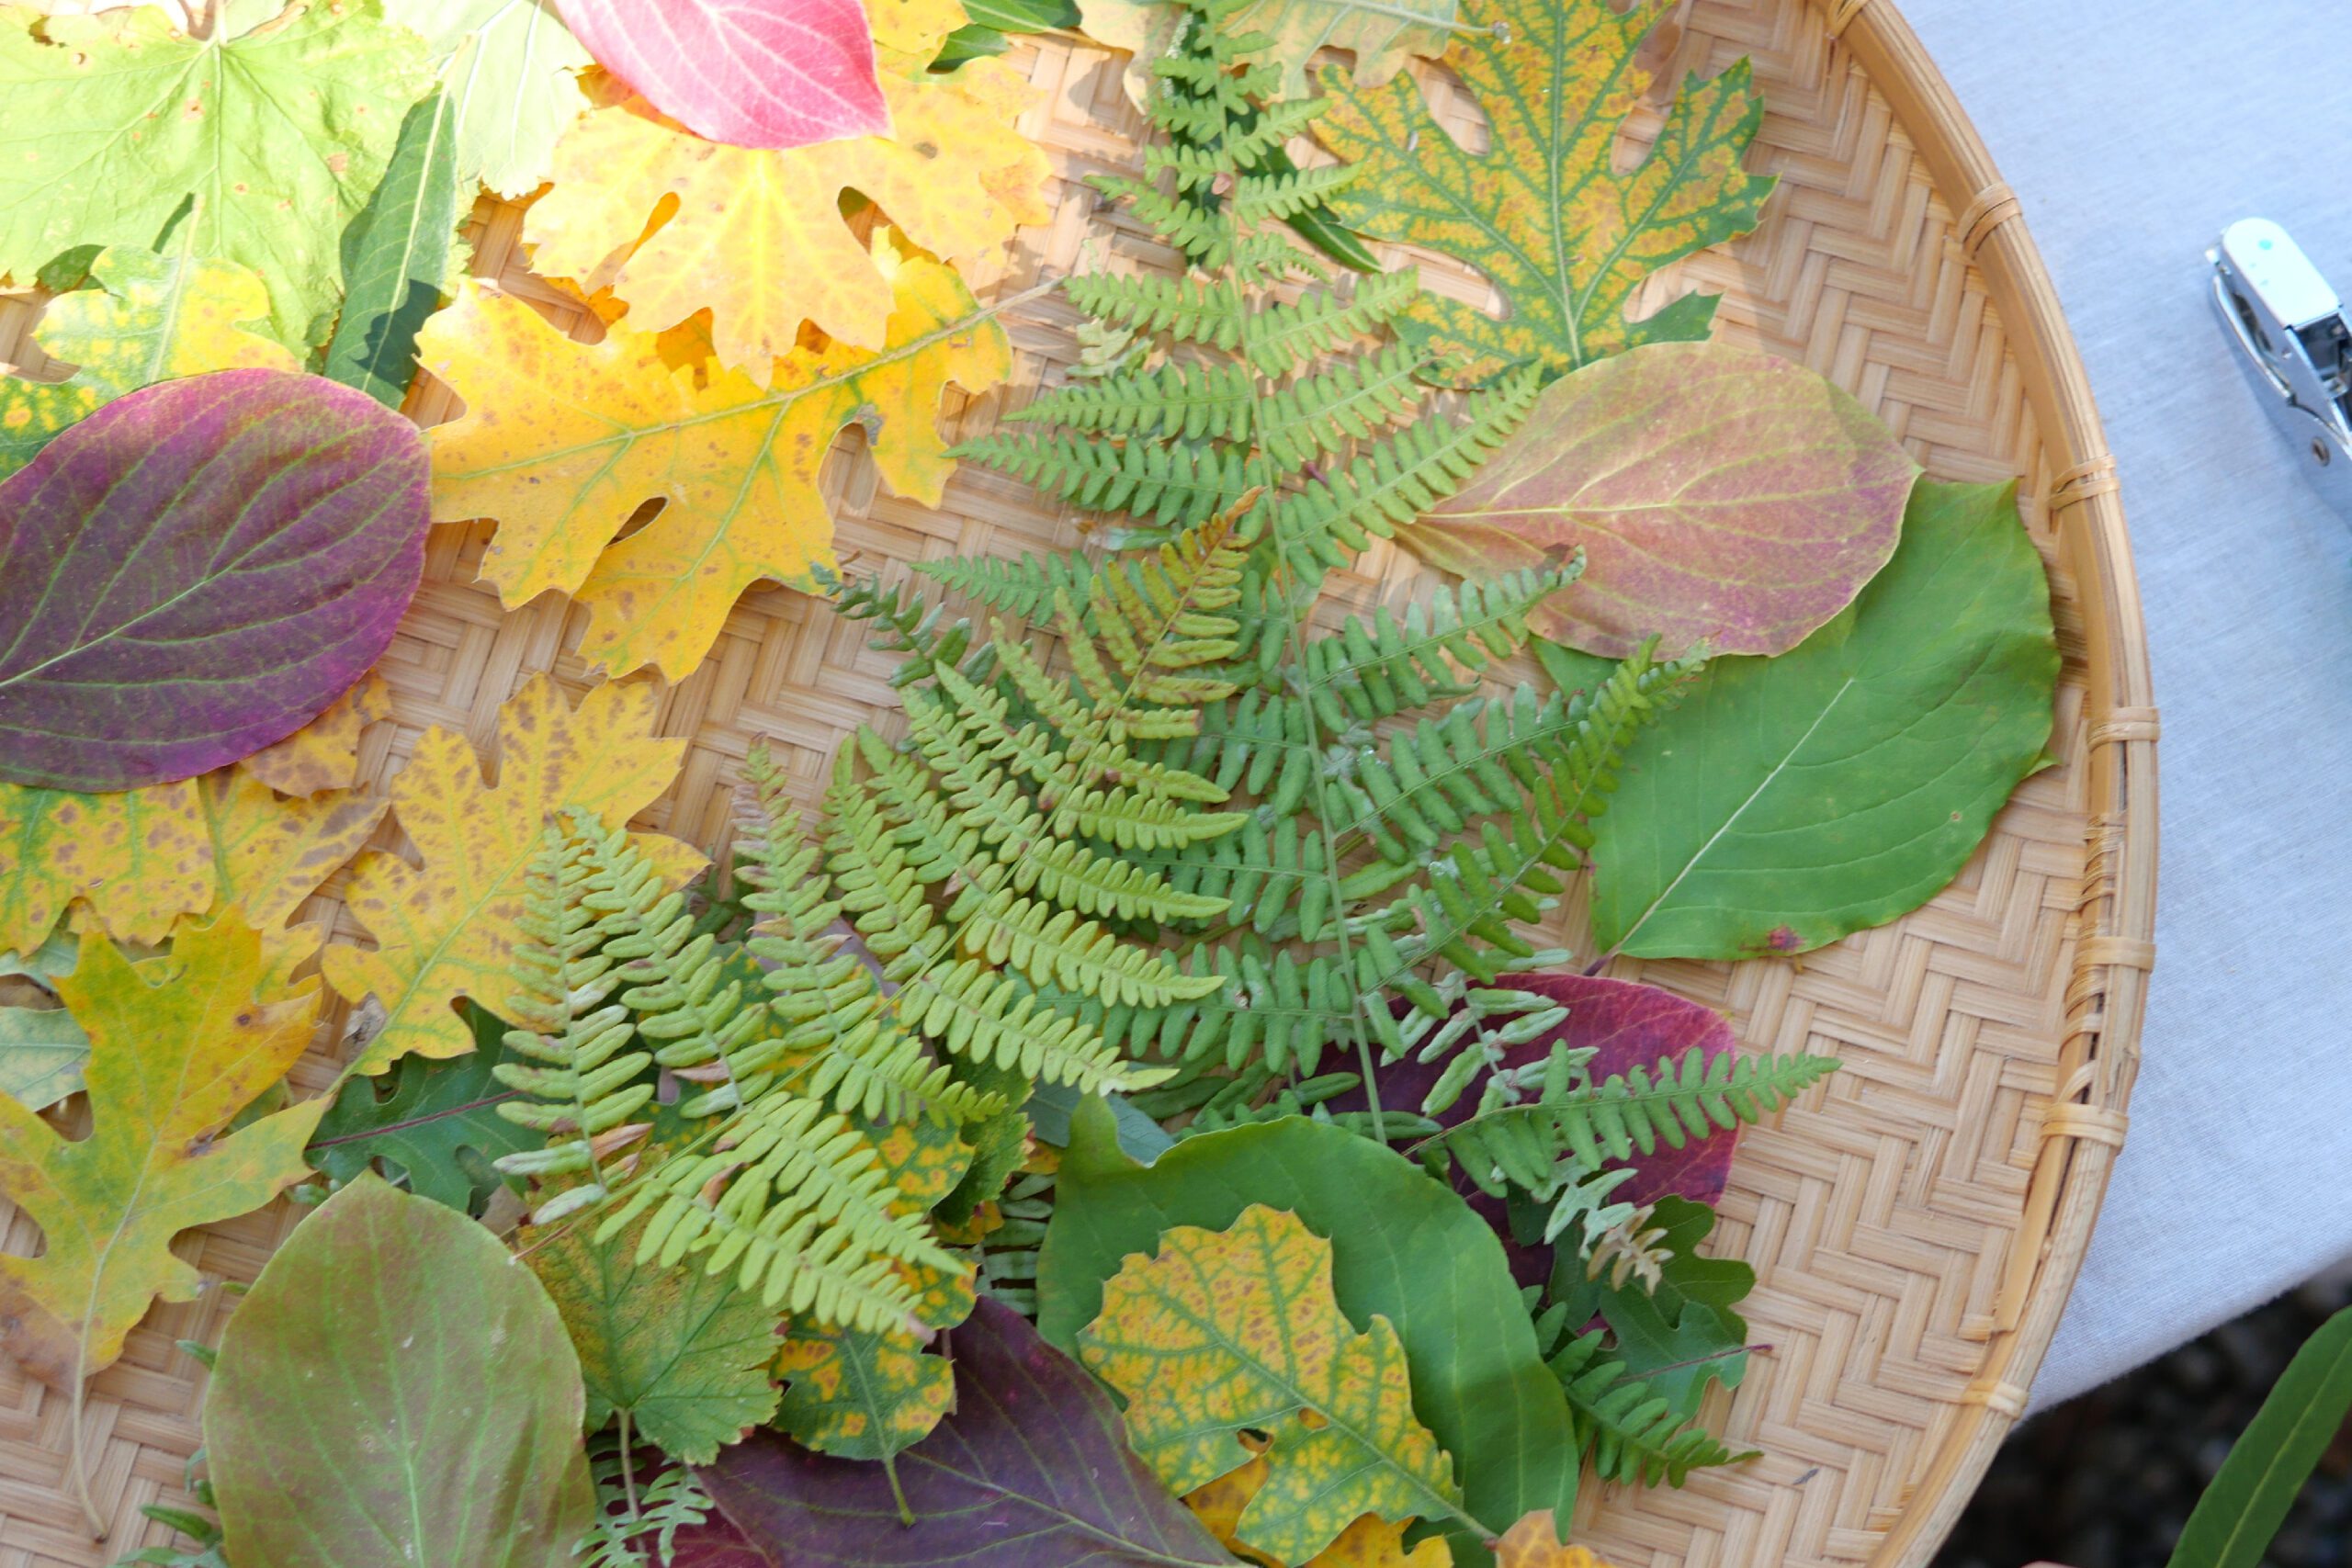
– Leaves
– Hole punch
– Cardboard for backing sheet
– Acrylic sheet *Helps secure the object
– Water tub
Instructions for making
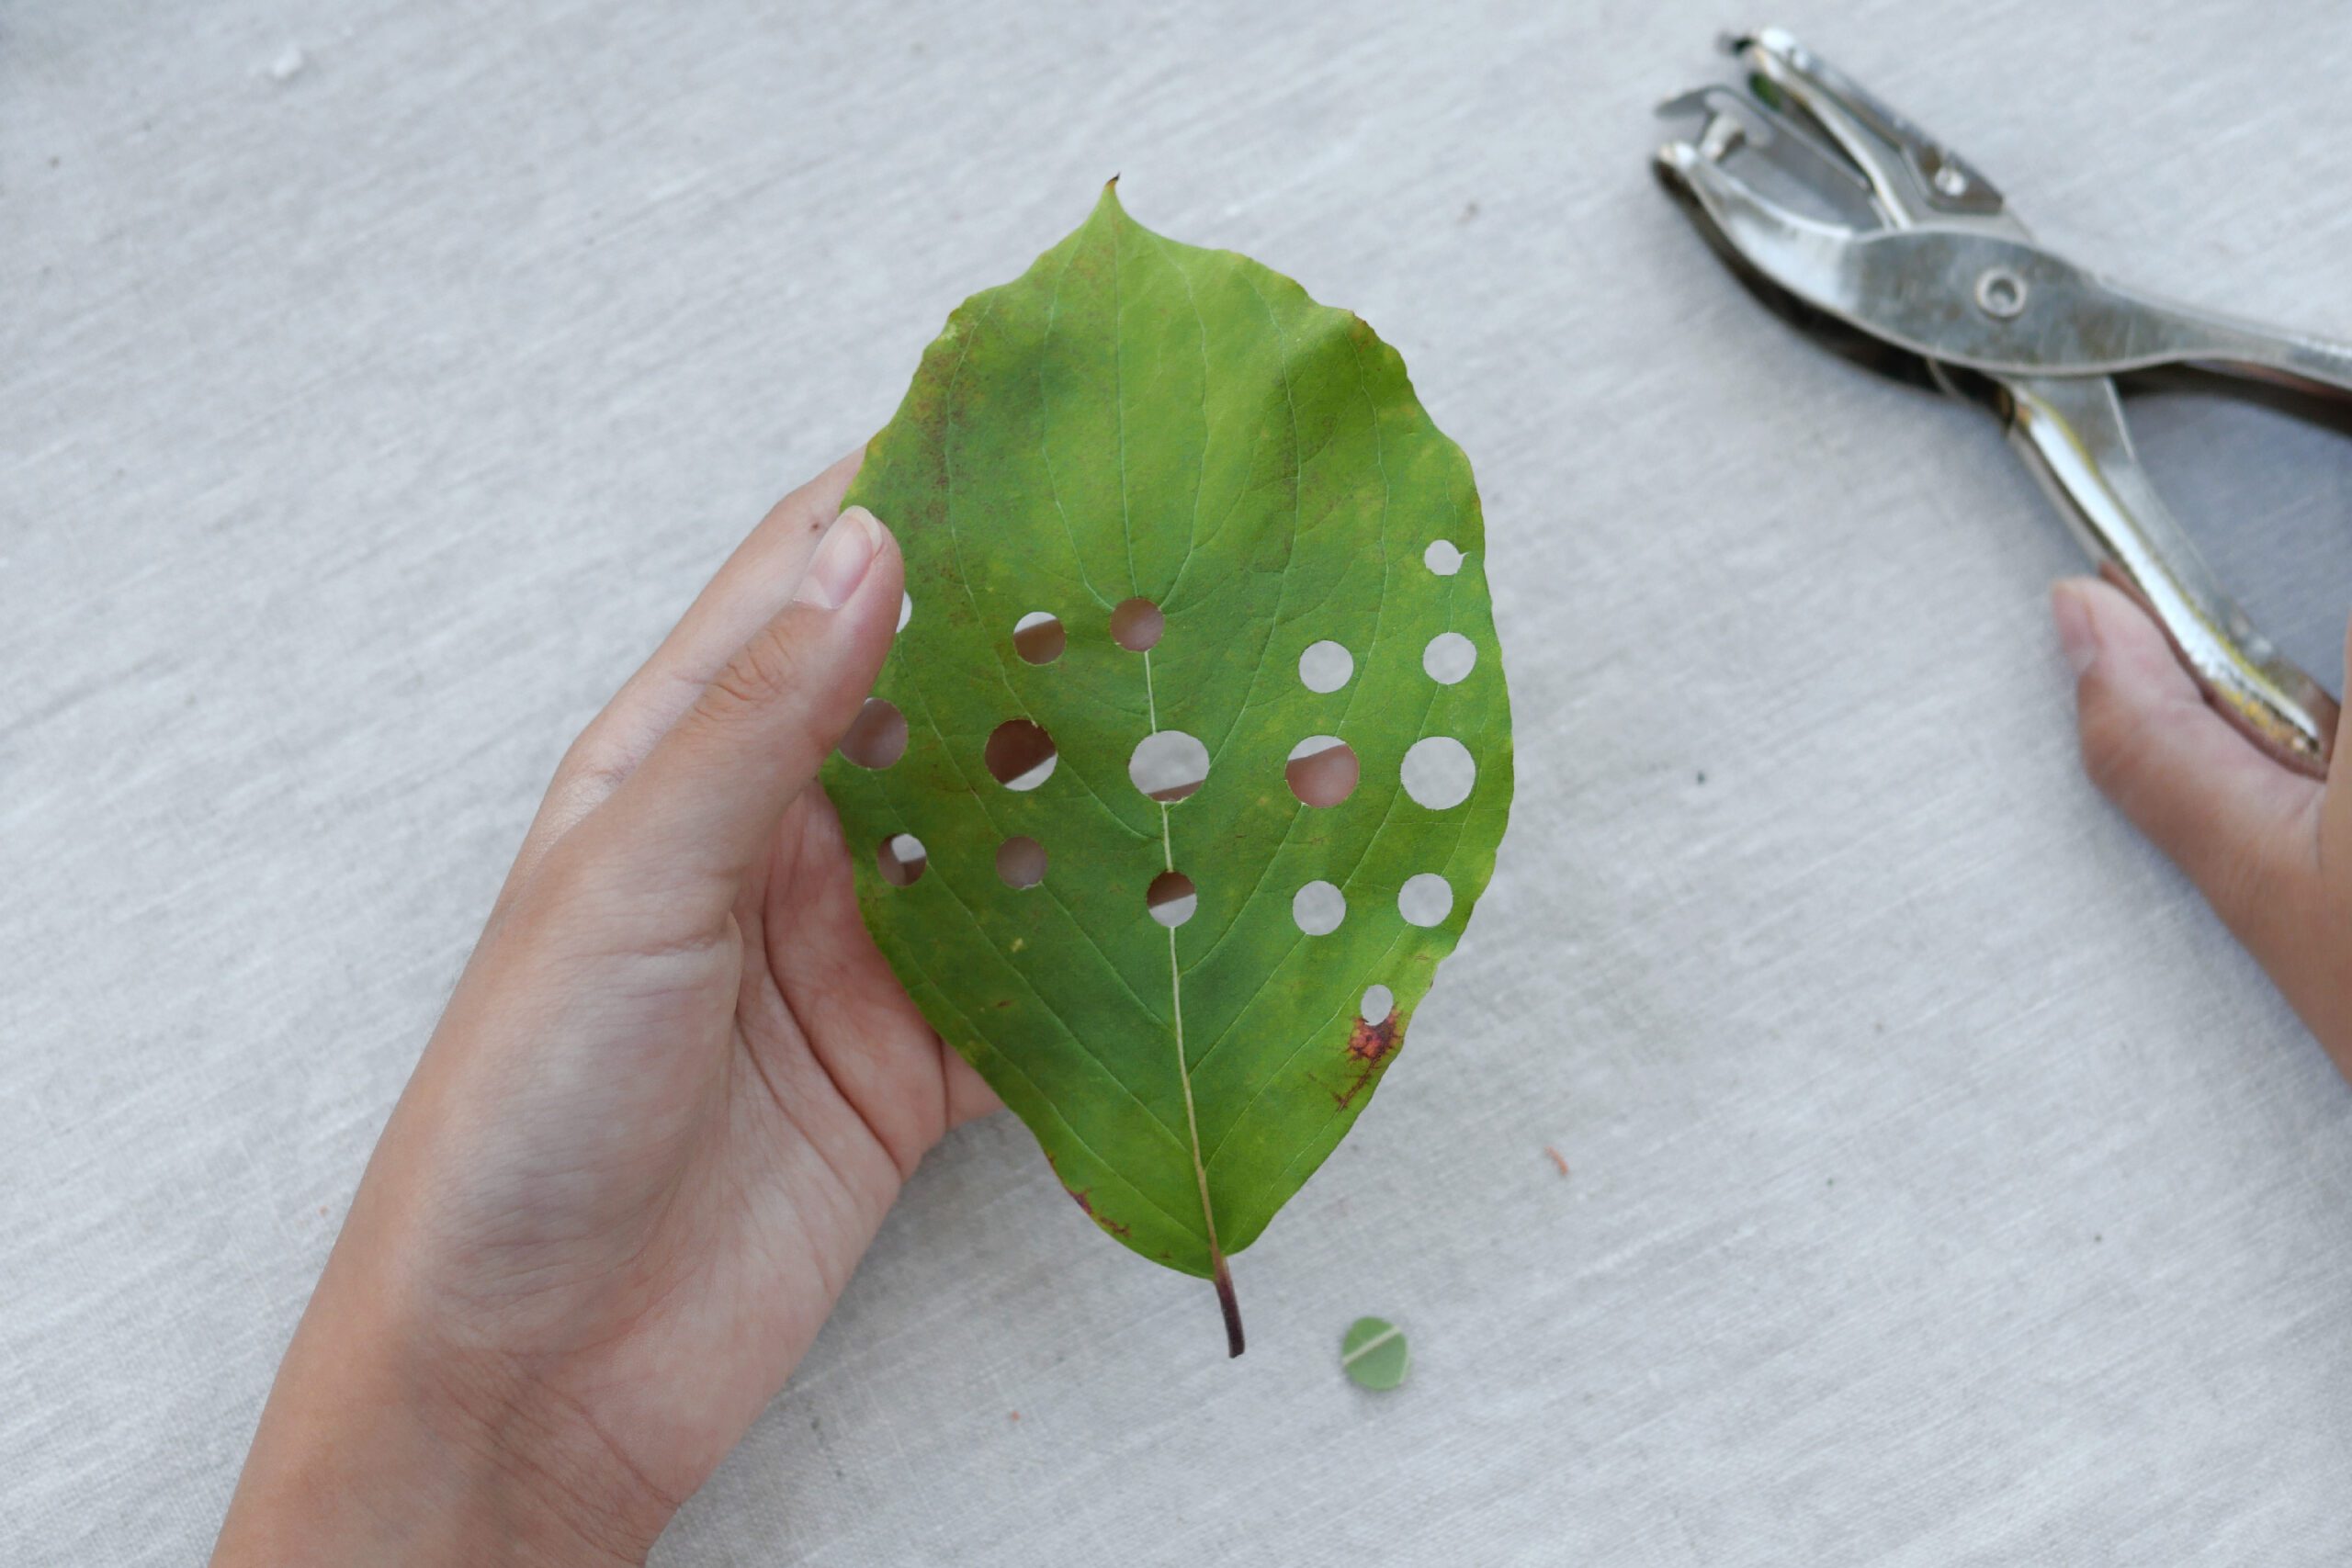
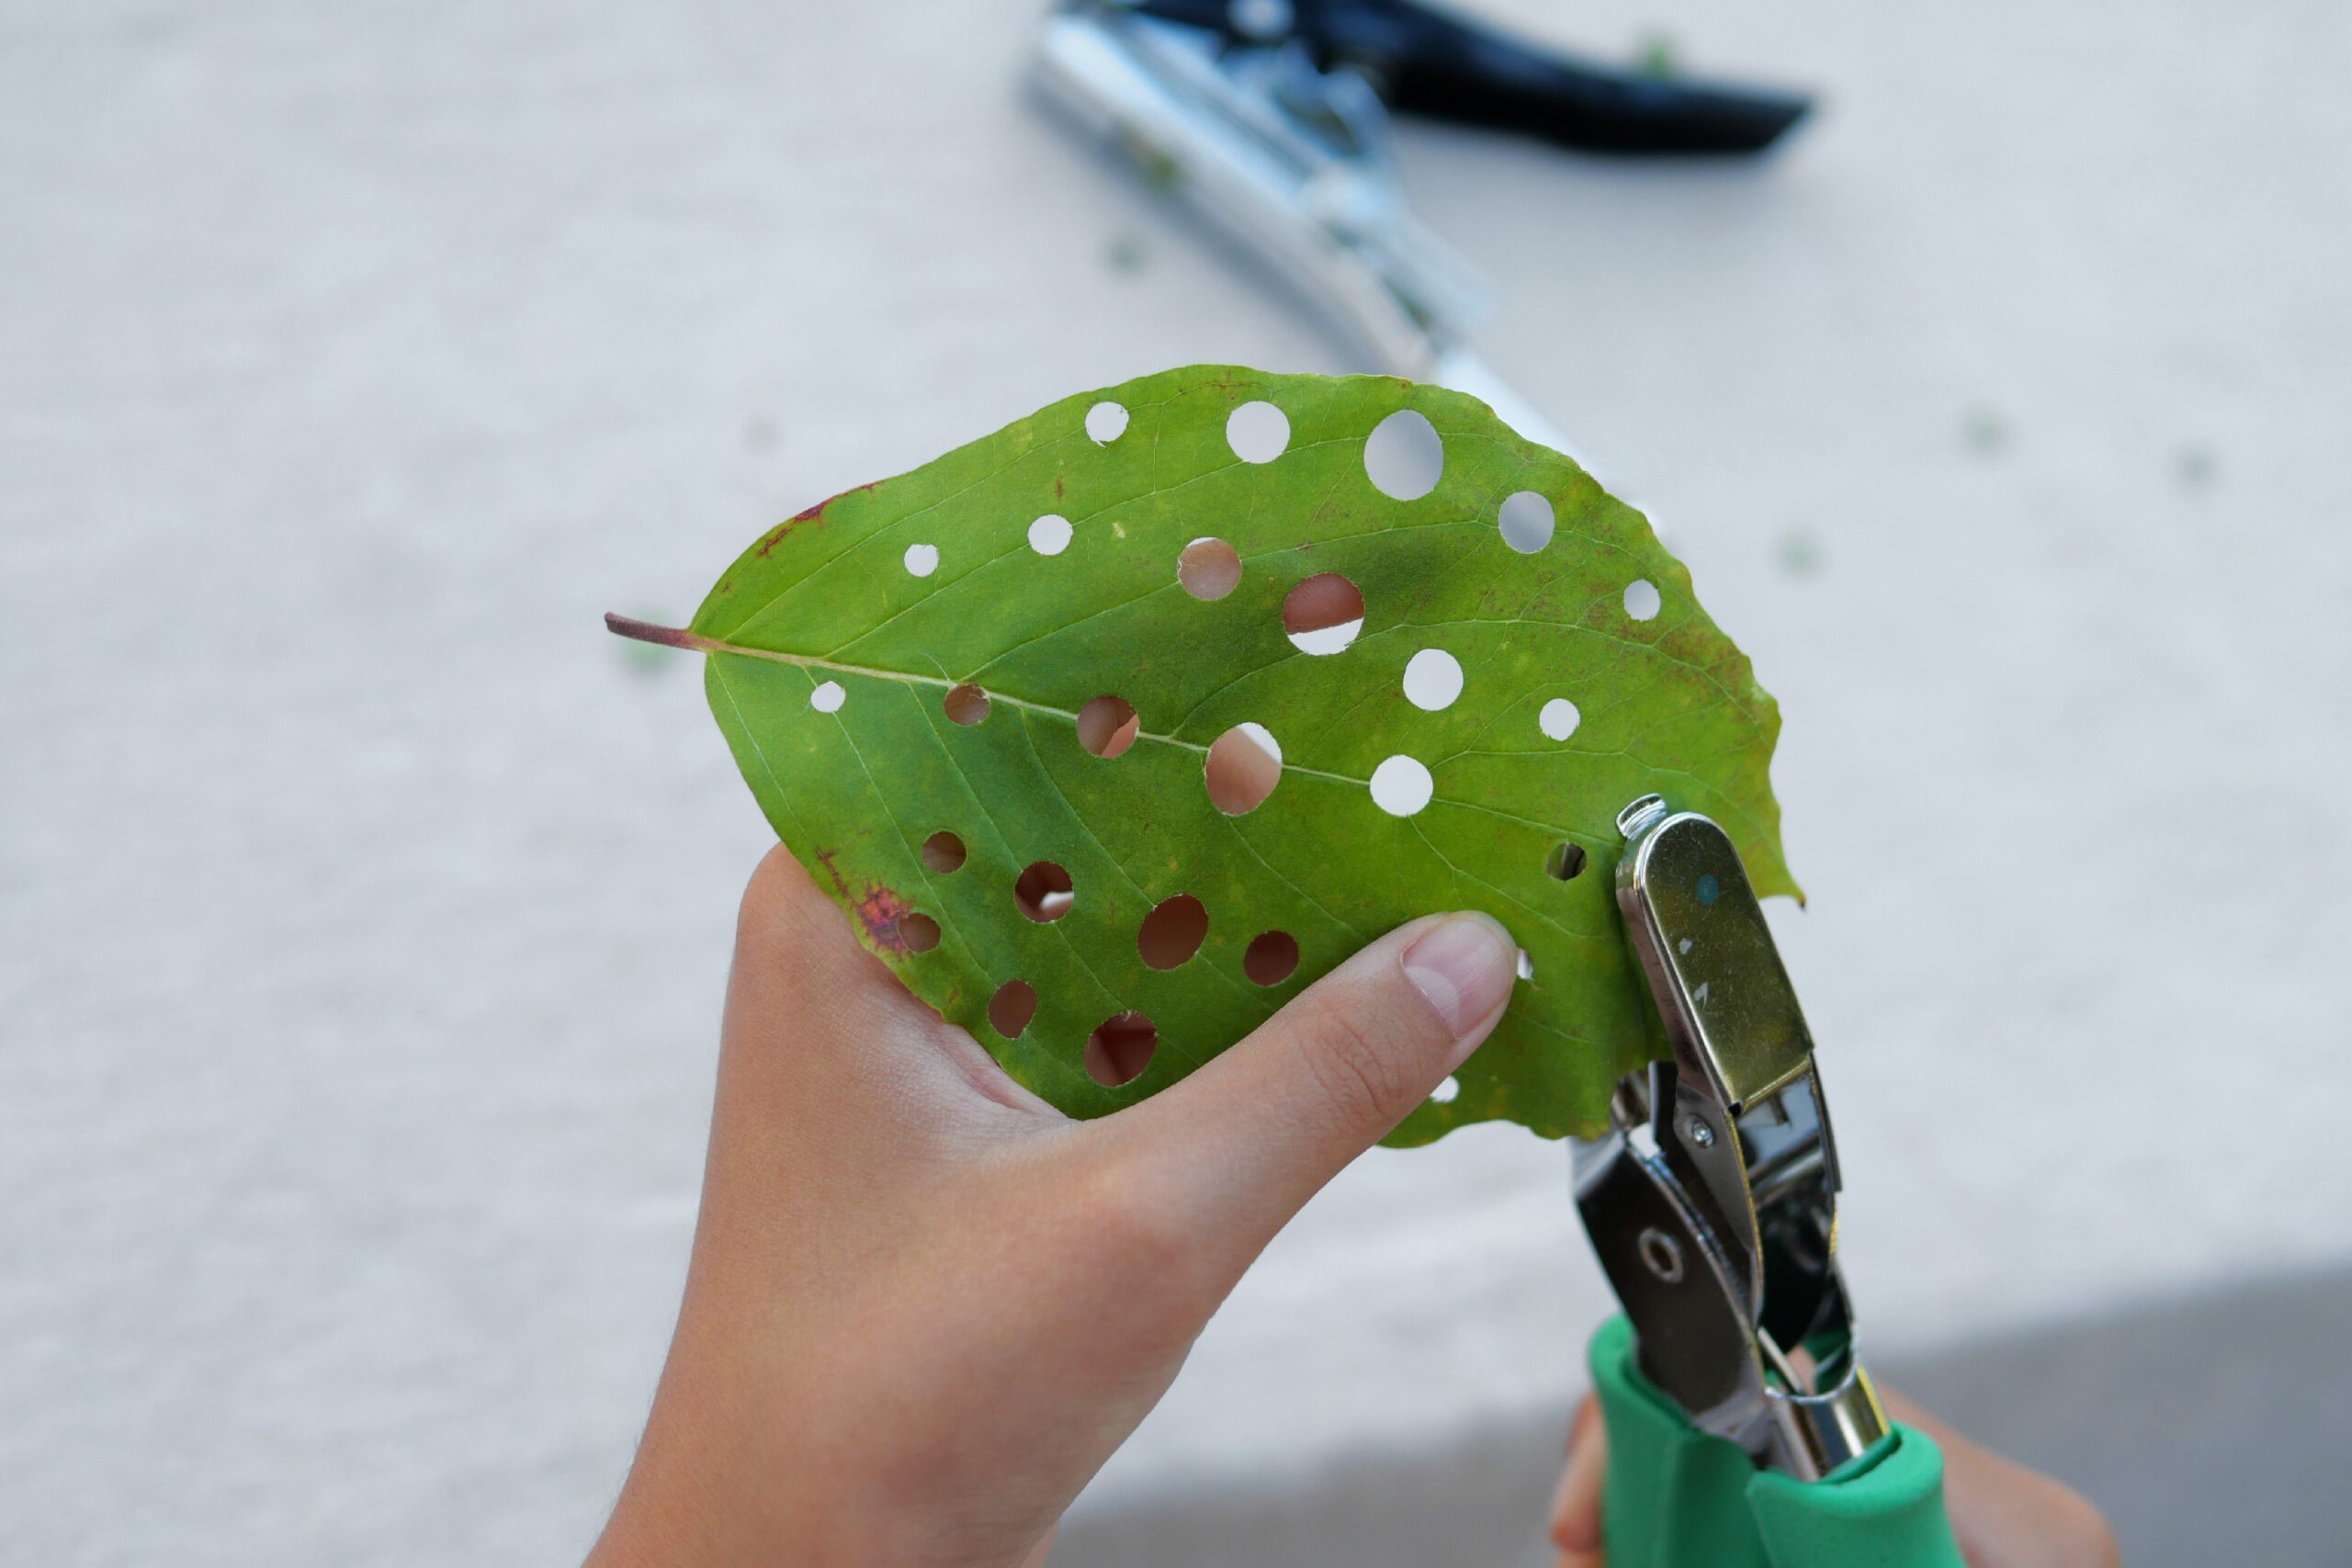
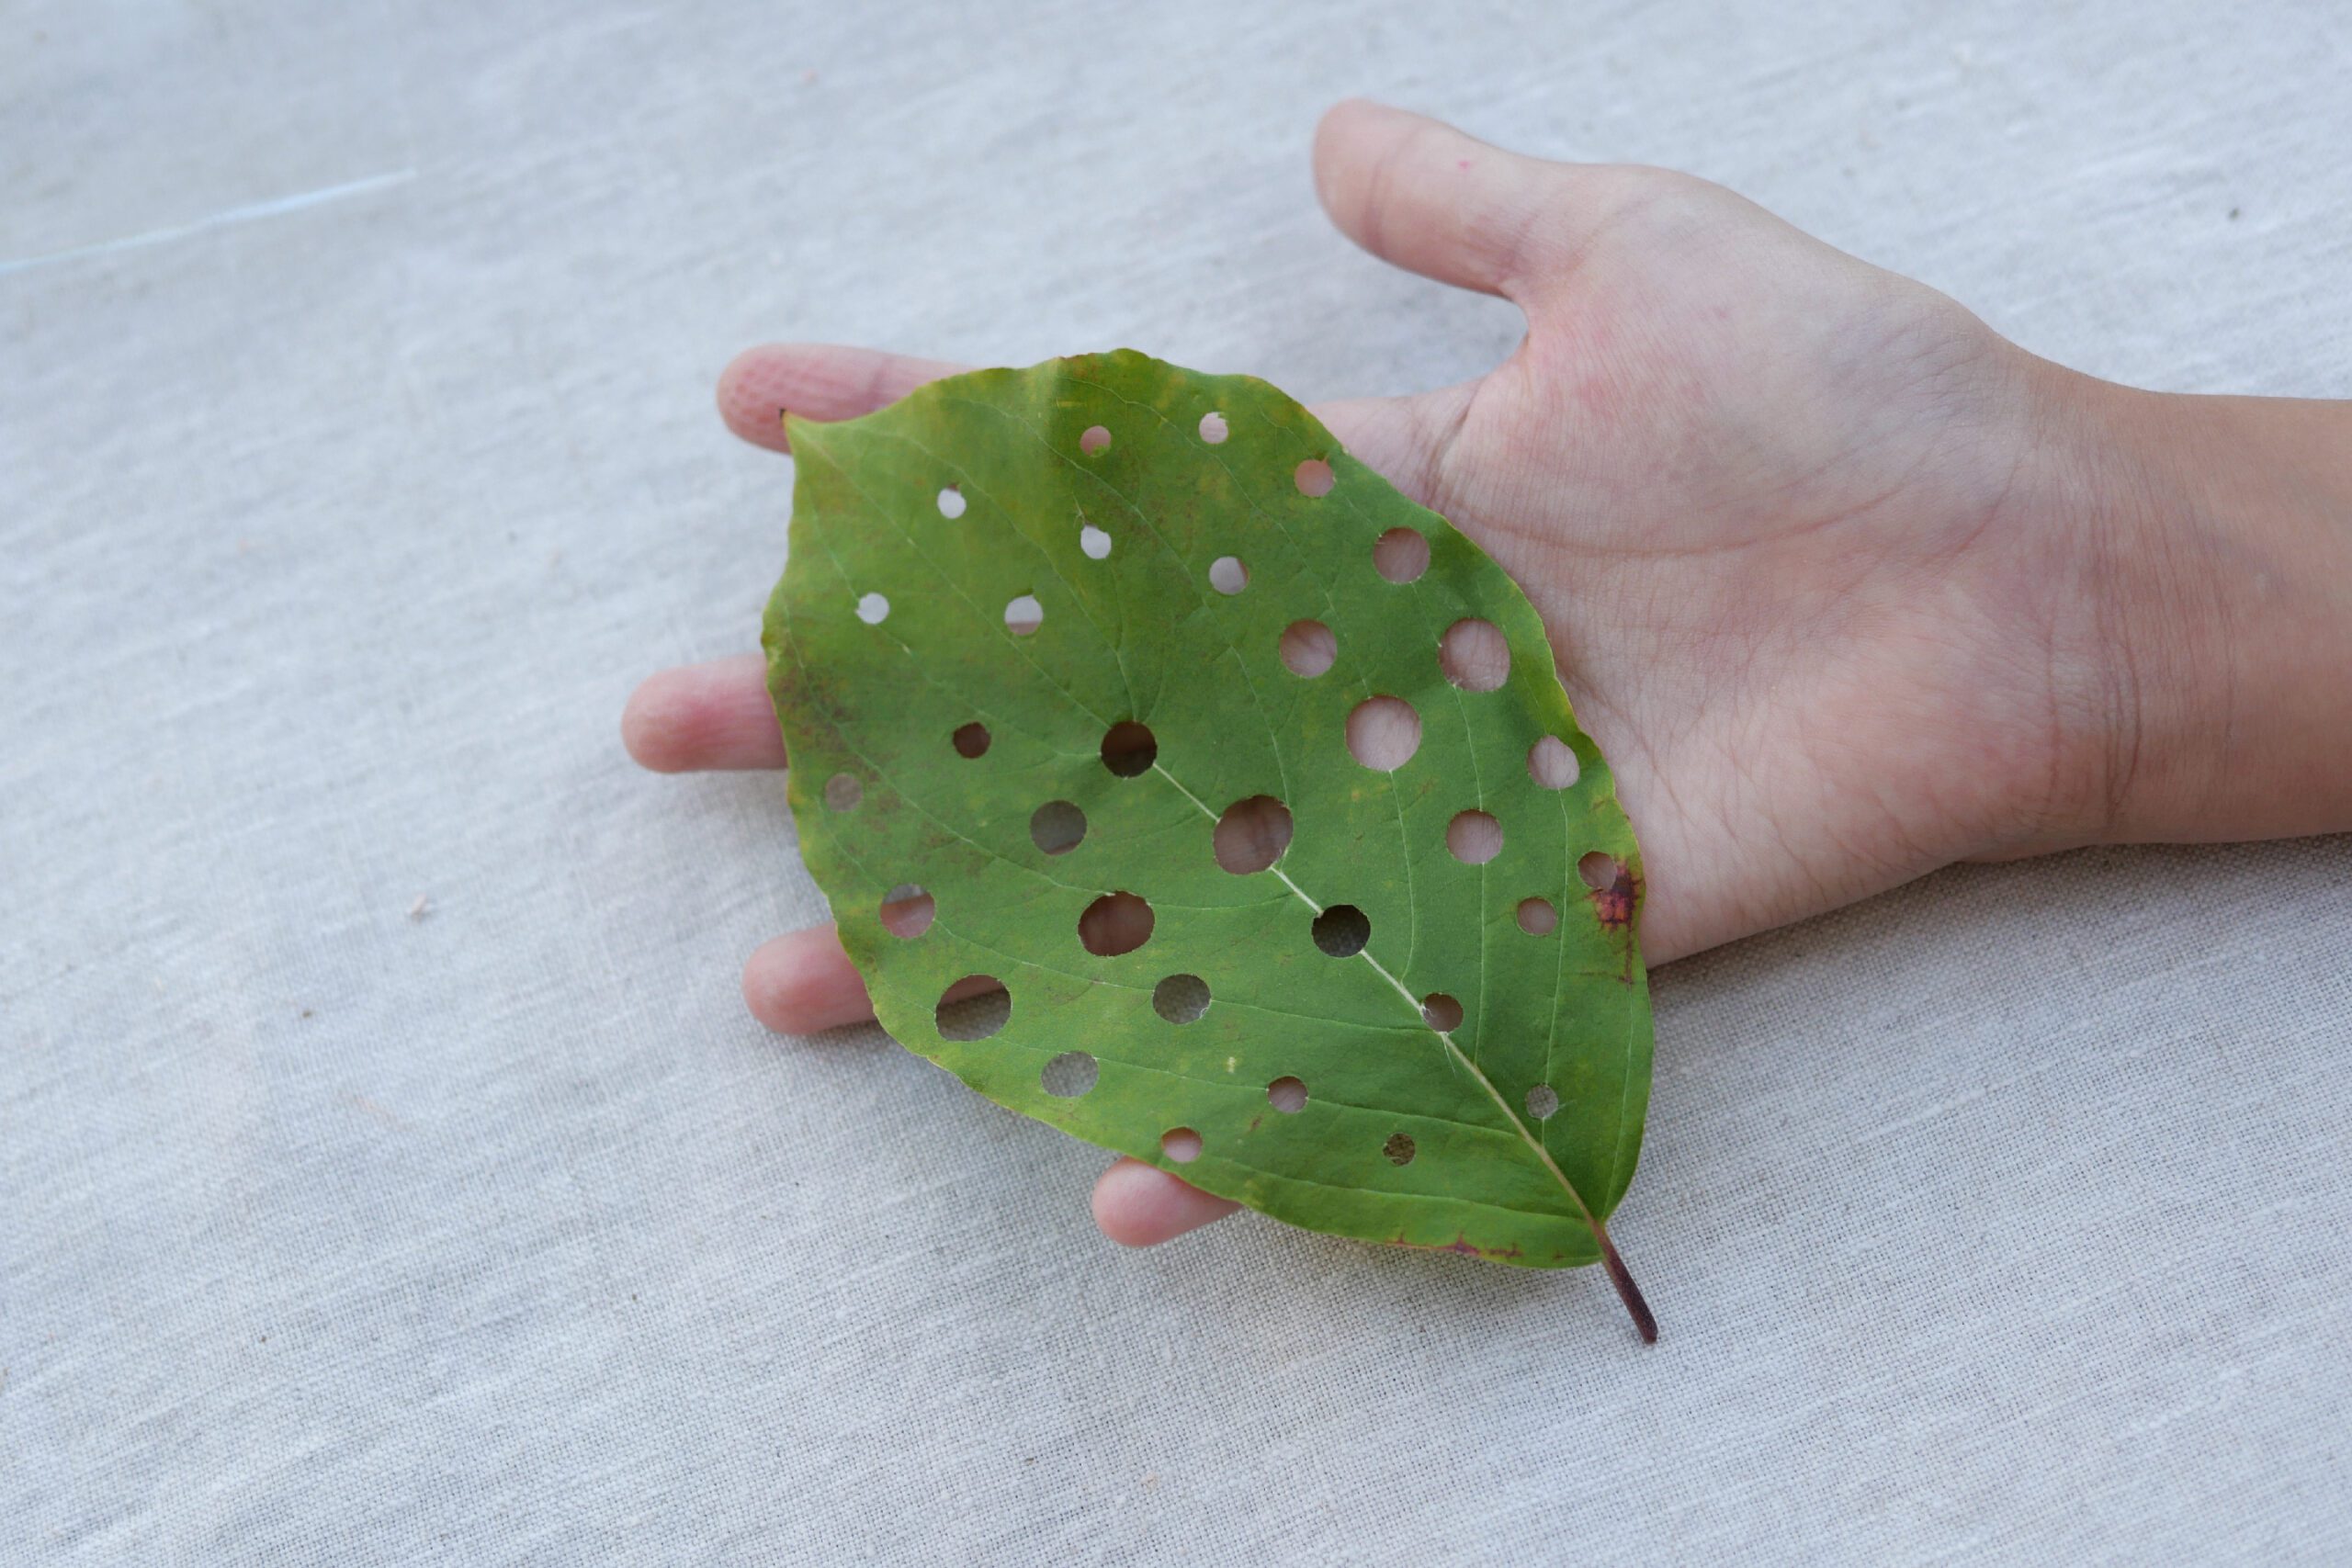
Step 1. Punch Holes in the Leaves
Punch holes in the leaves with a hole punch. Unlike natural holes made by insects, mechanical holes line the surface of the leaves. The leaves must be surprised!
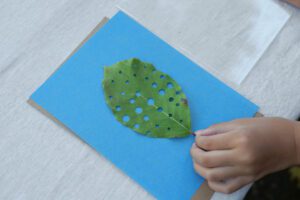
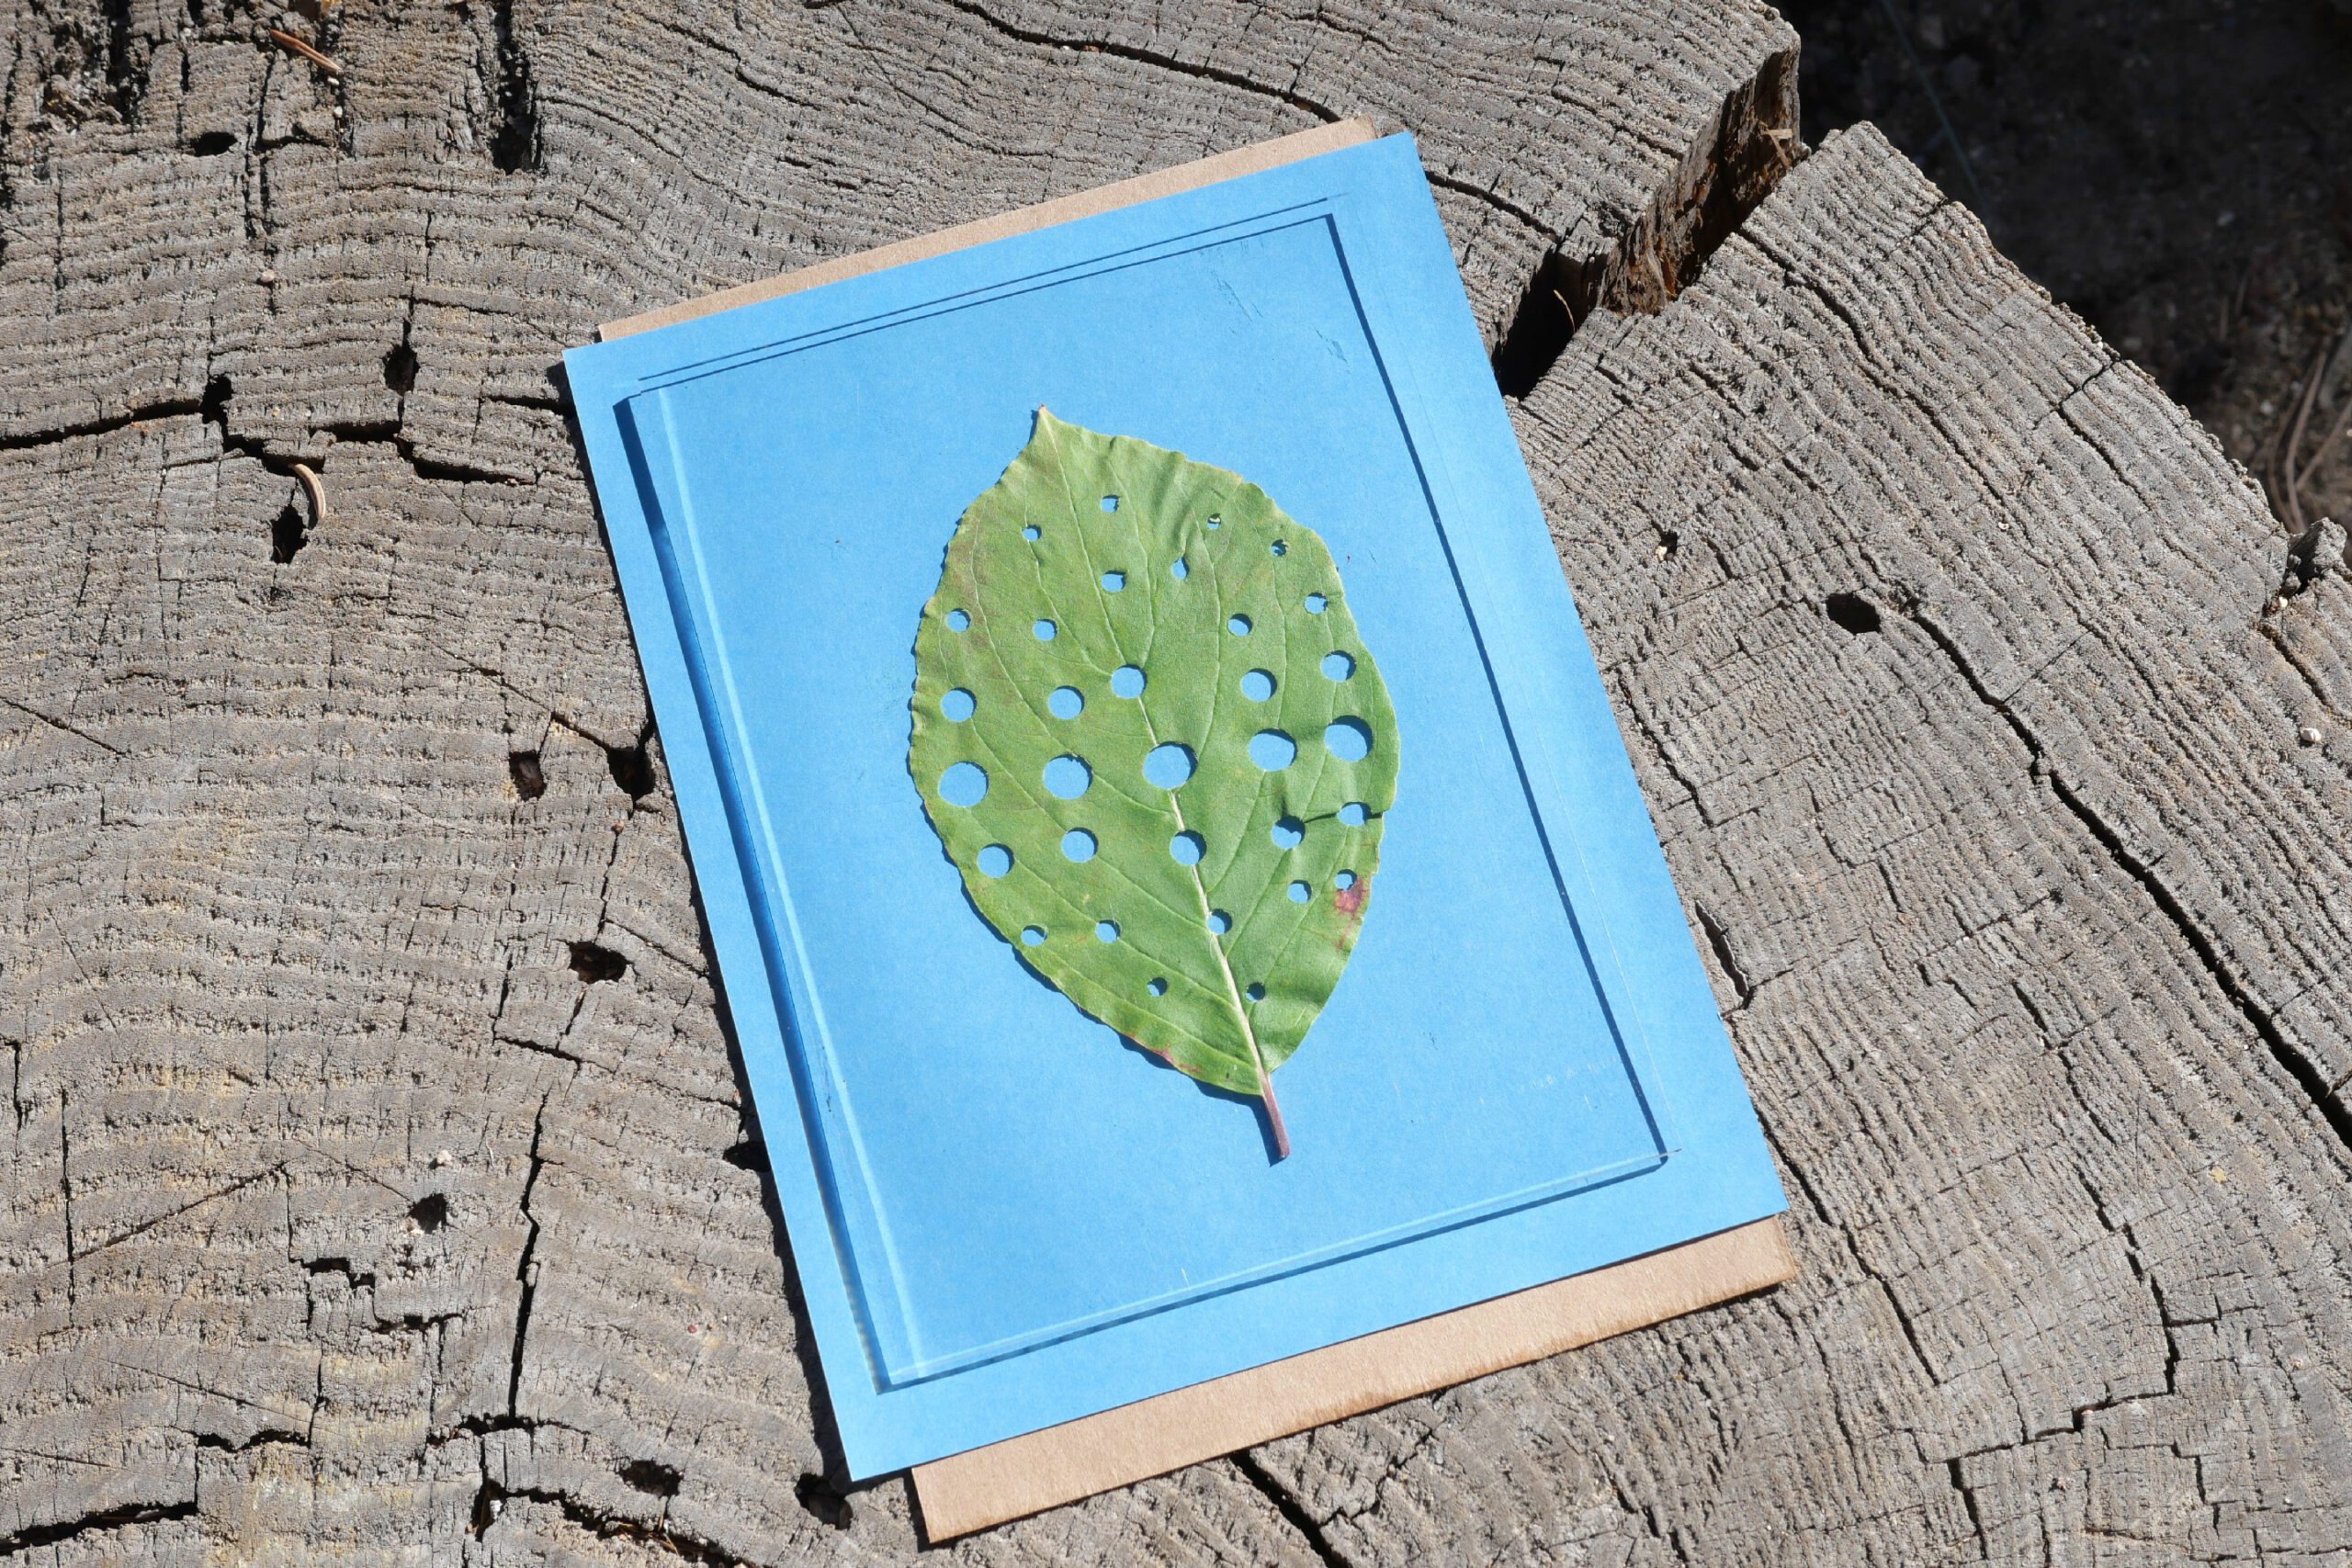
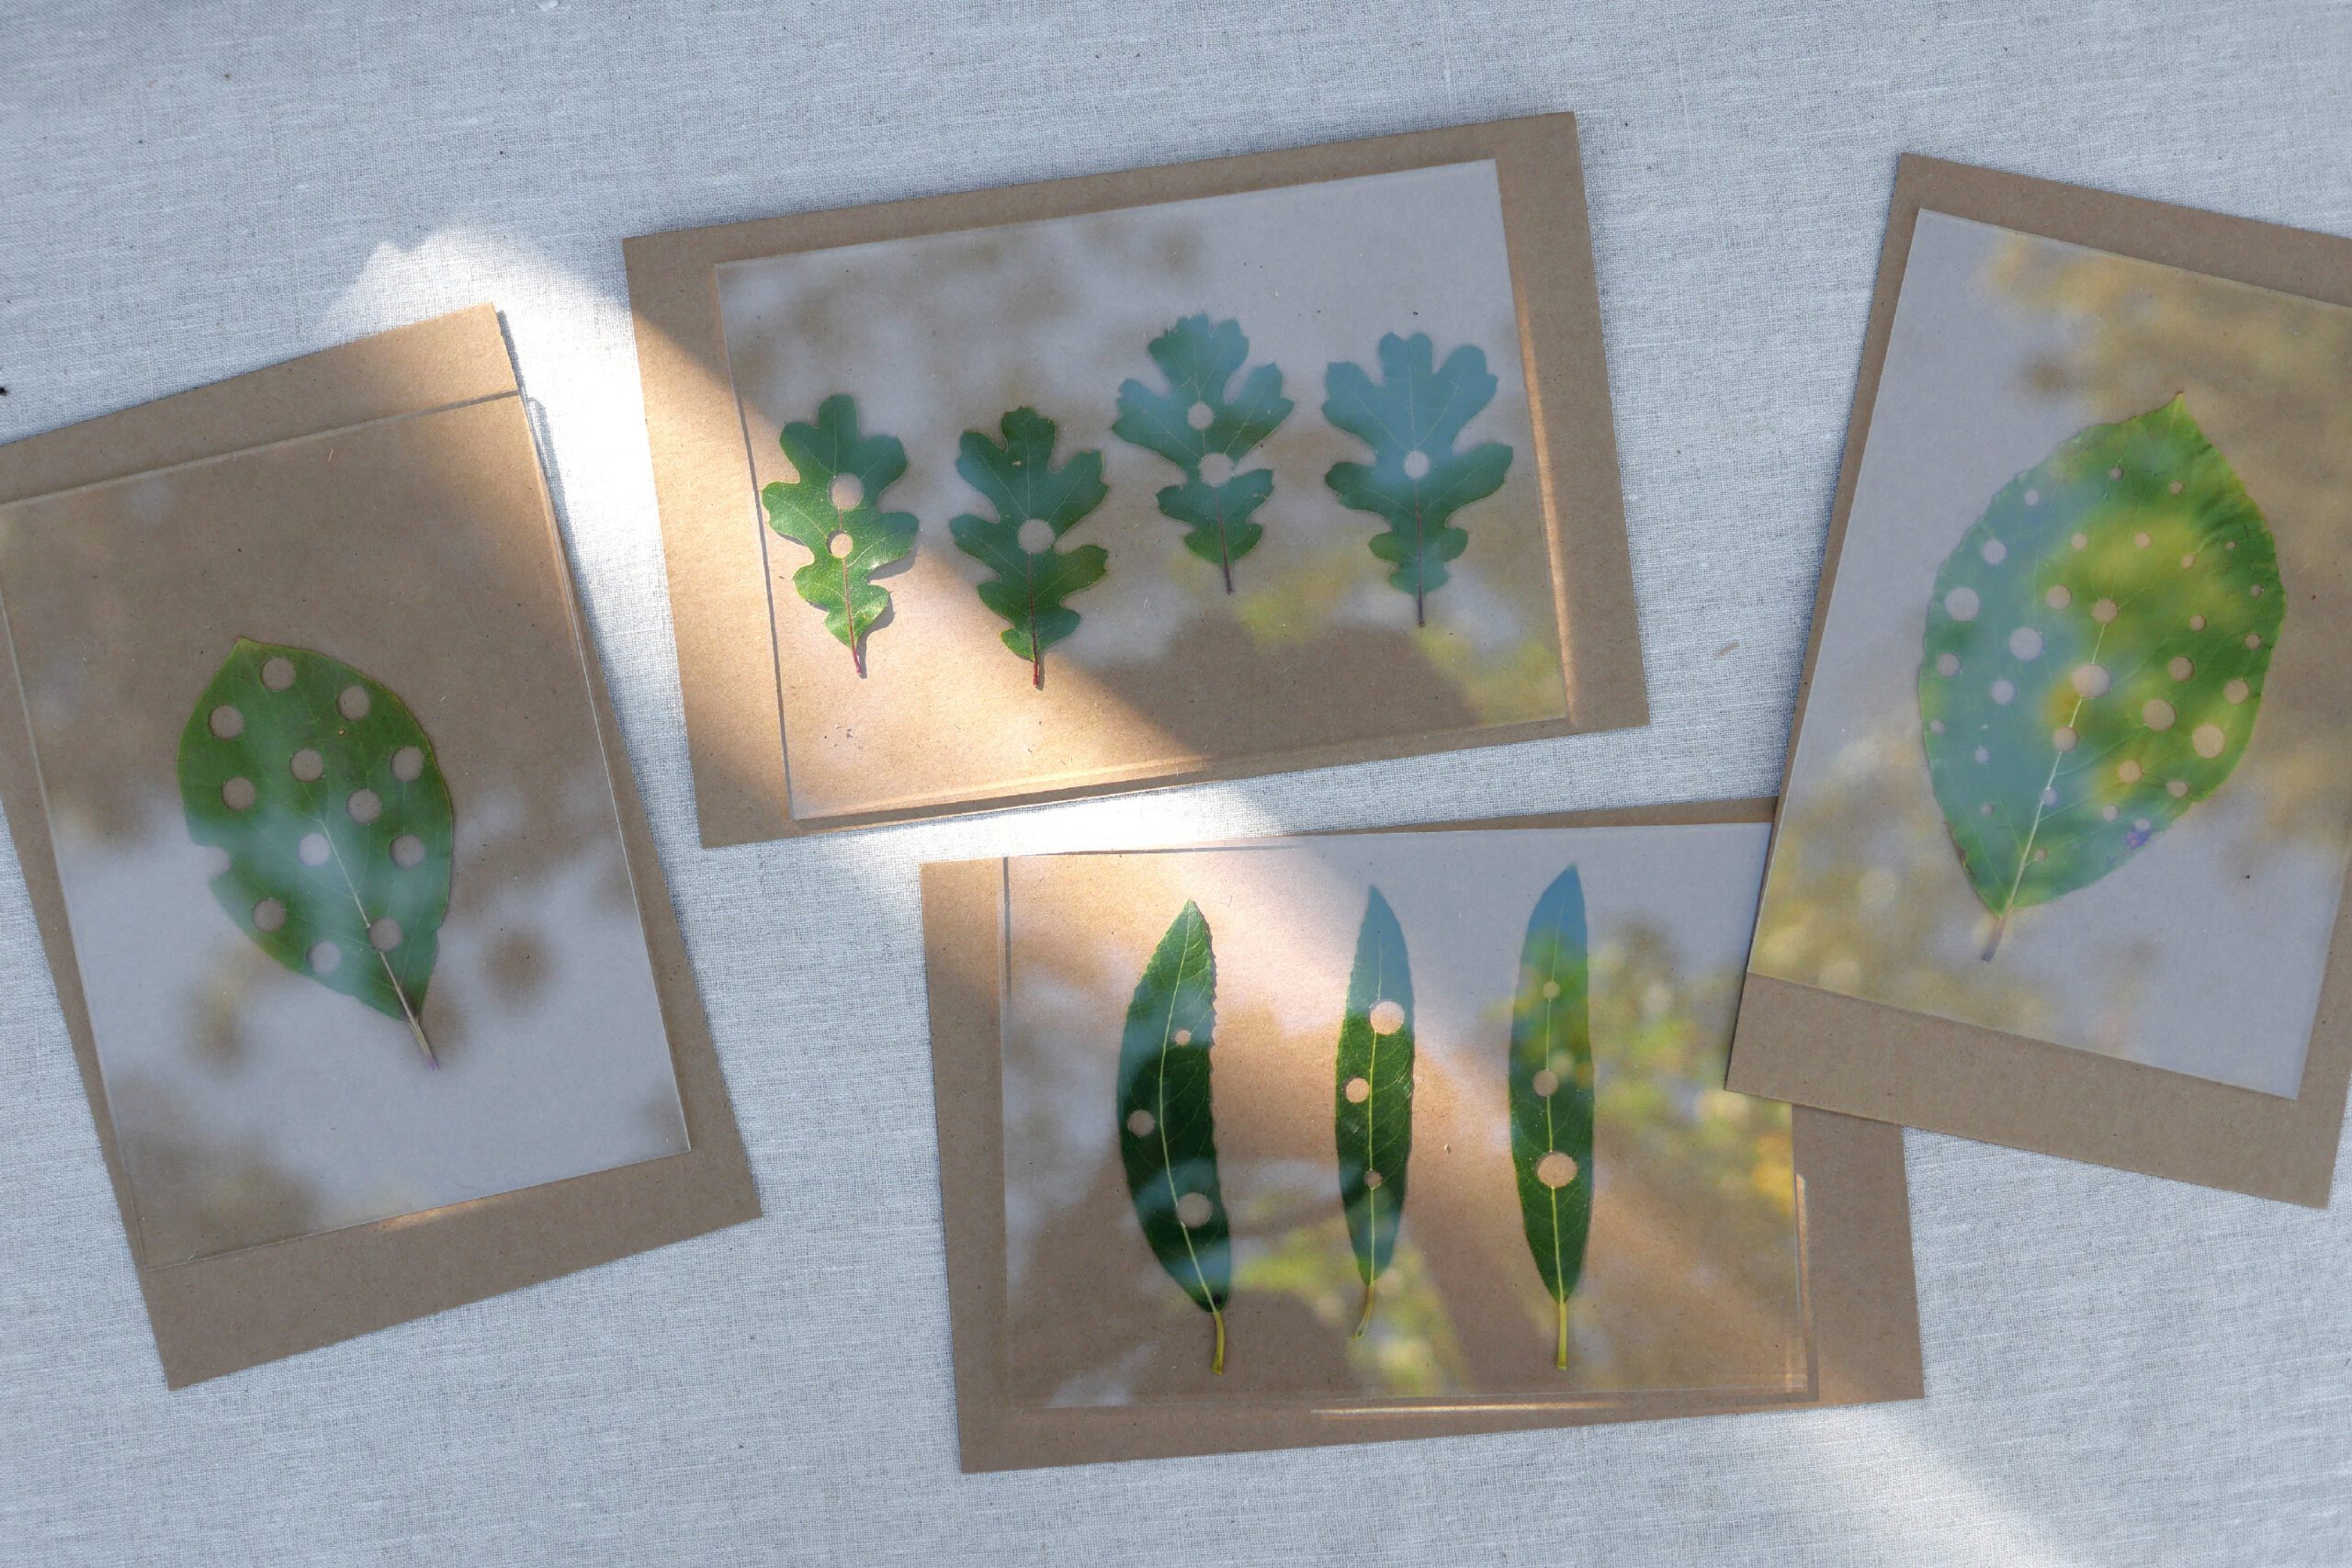
Step 2. Expose to Sunlight
Place the Sunprint paper on the cardboard, then arrange the leaves on top. Press down firmly with an acrylic sheet. Place it in a spot with plenty of sunlight. Leave it for several minutes until the blue paper fades to white.

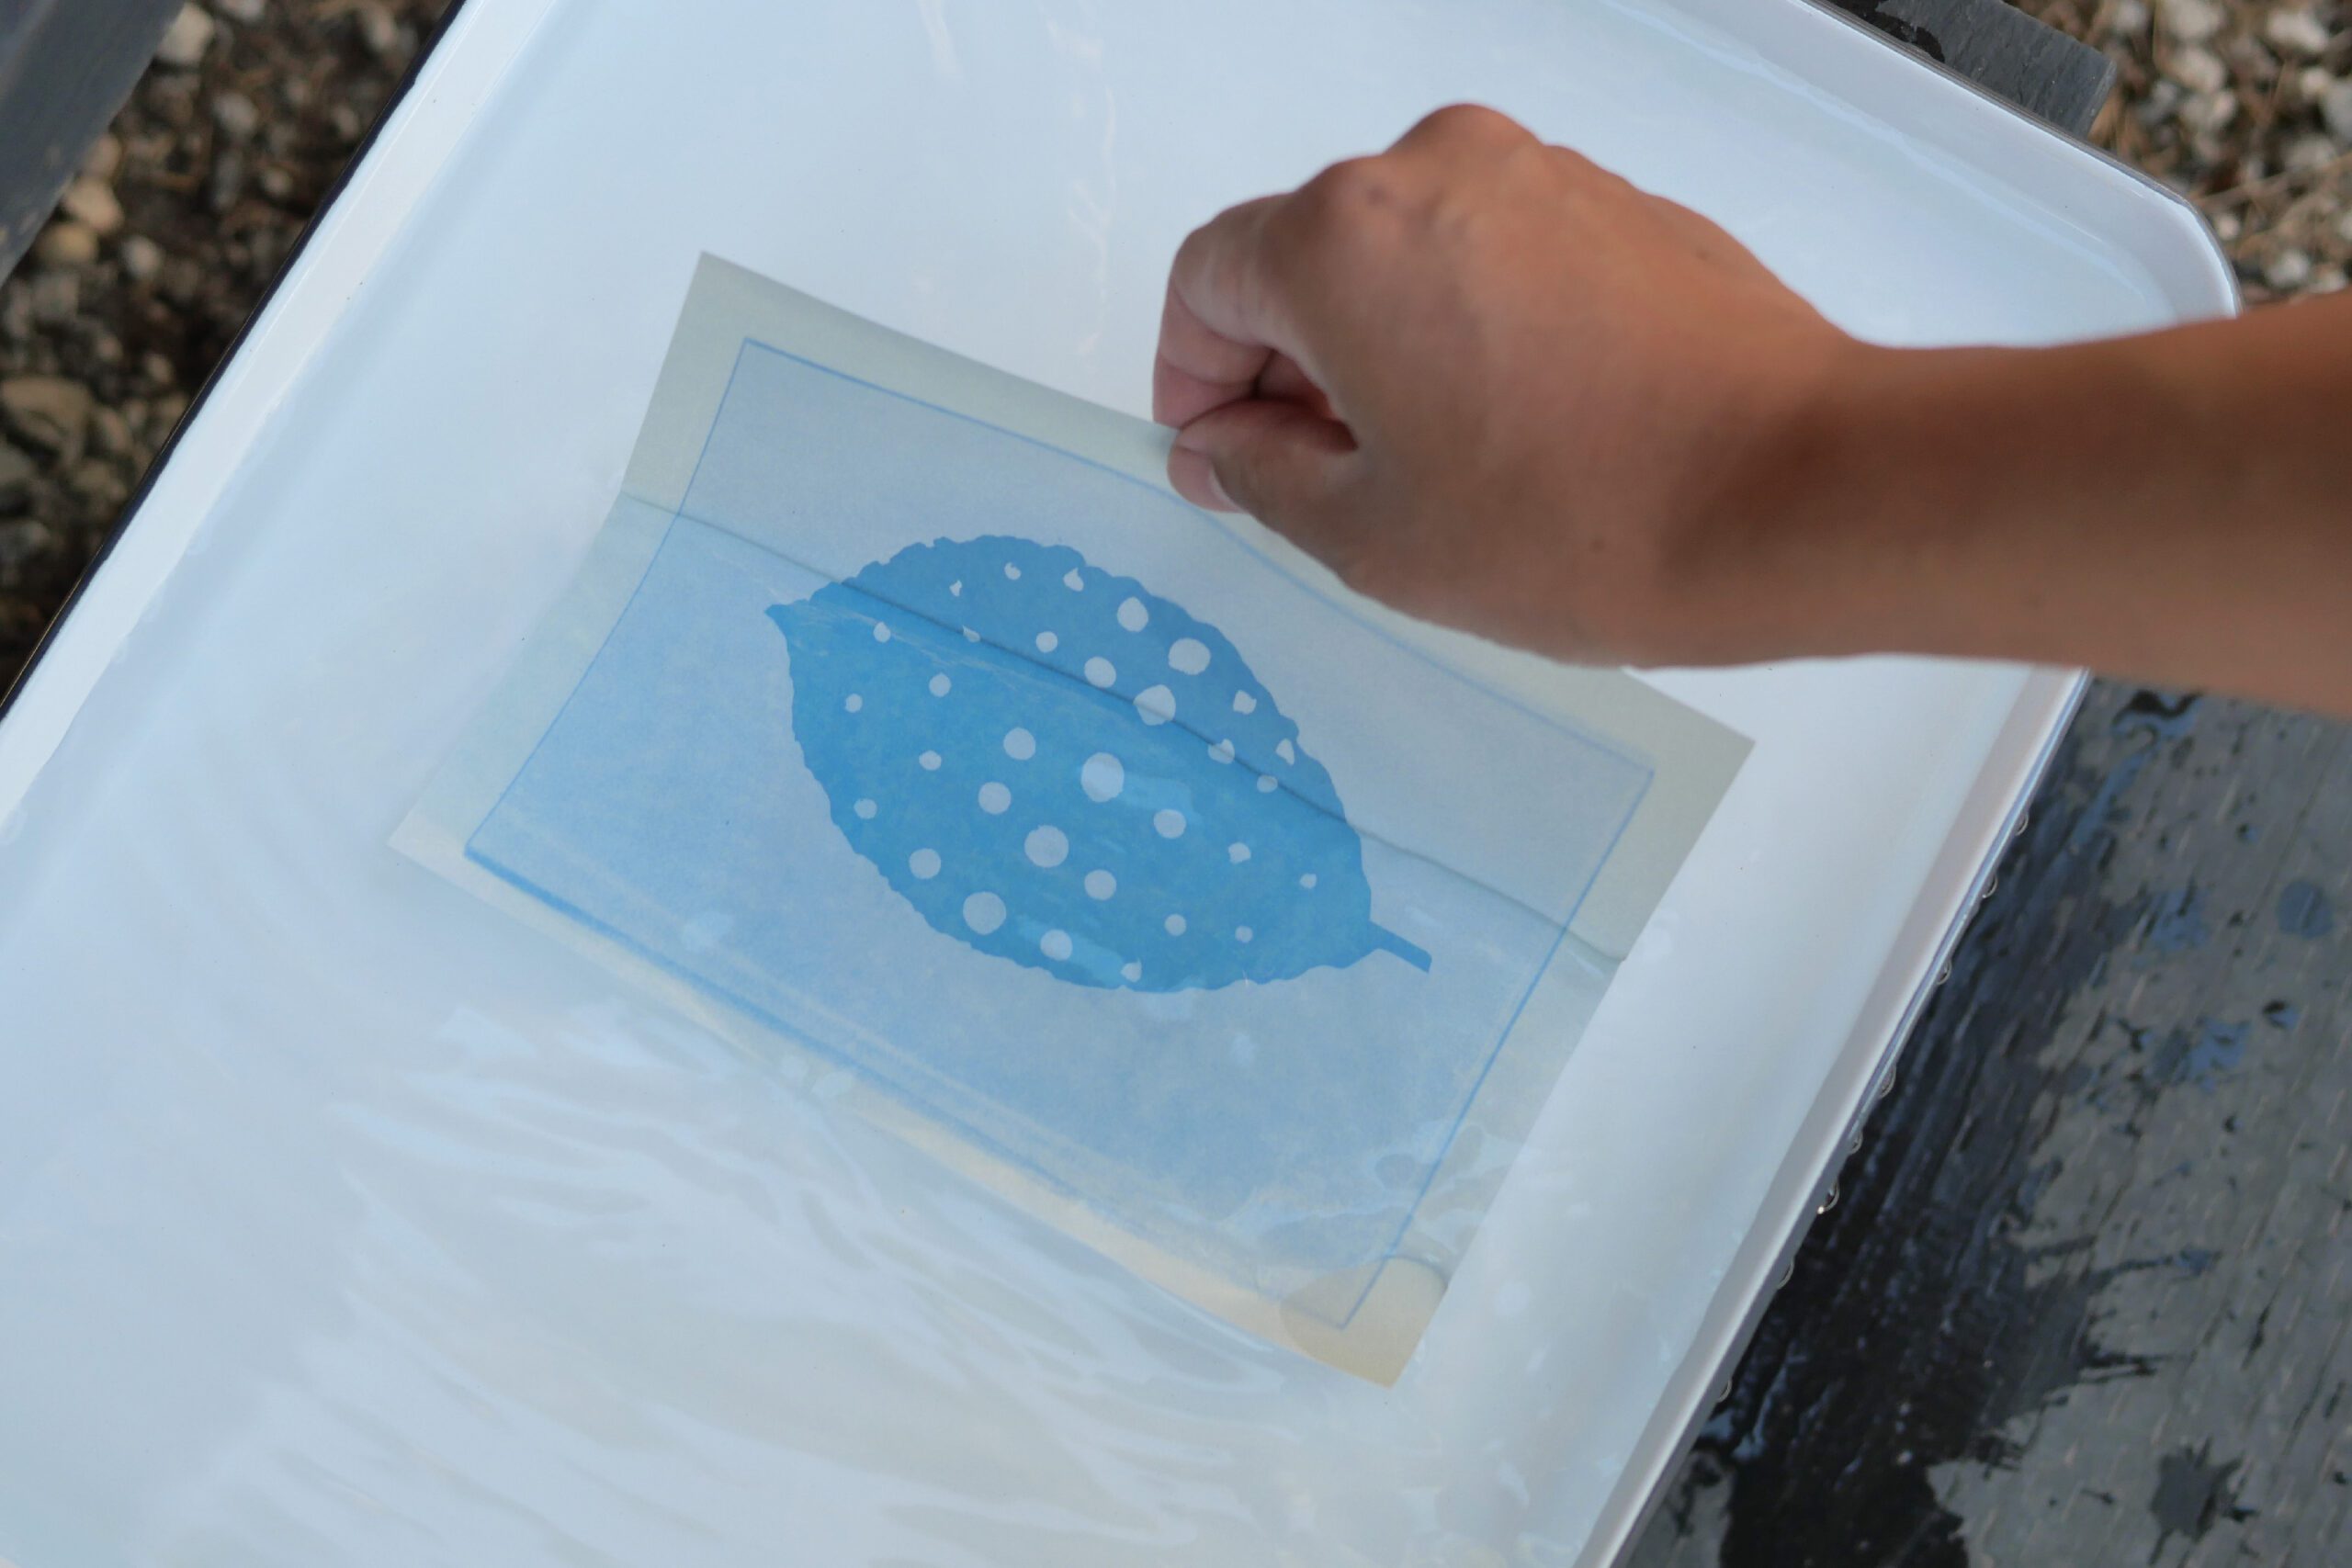
Step 3. Soak in Water
After the paper has been thoroughly exposed to sunlight, remove object and soak it in the water for 1 to 2 minutes.
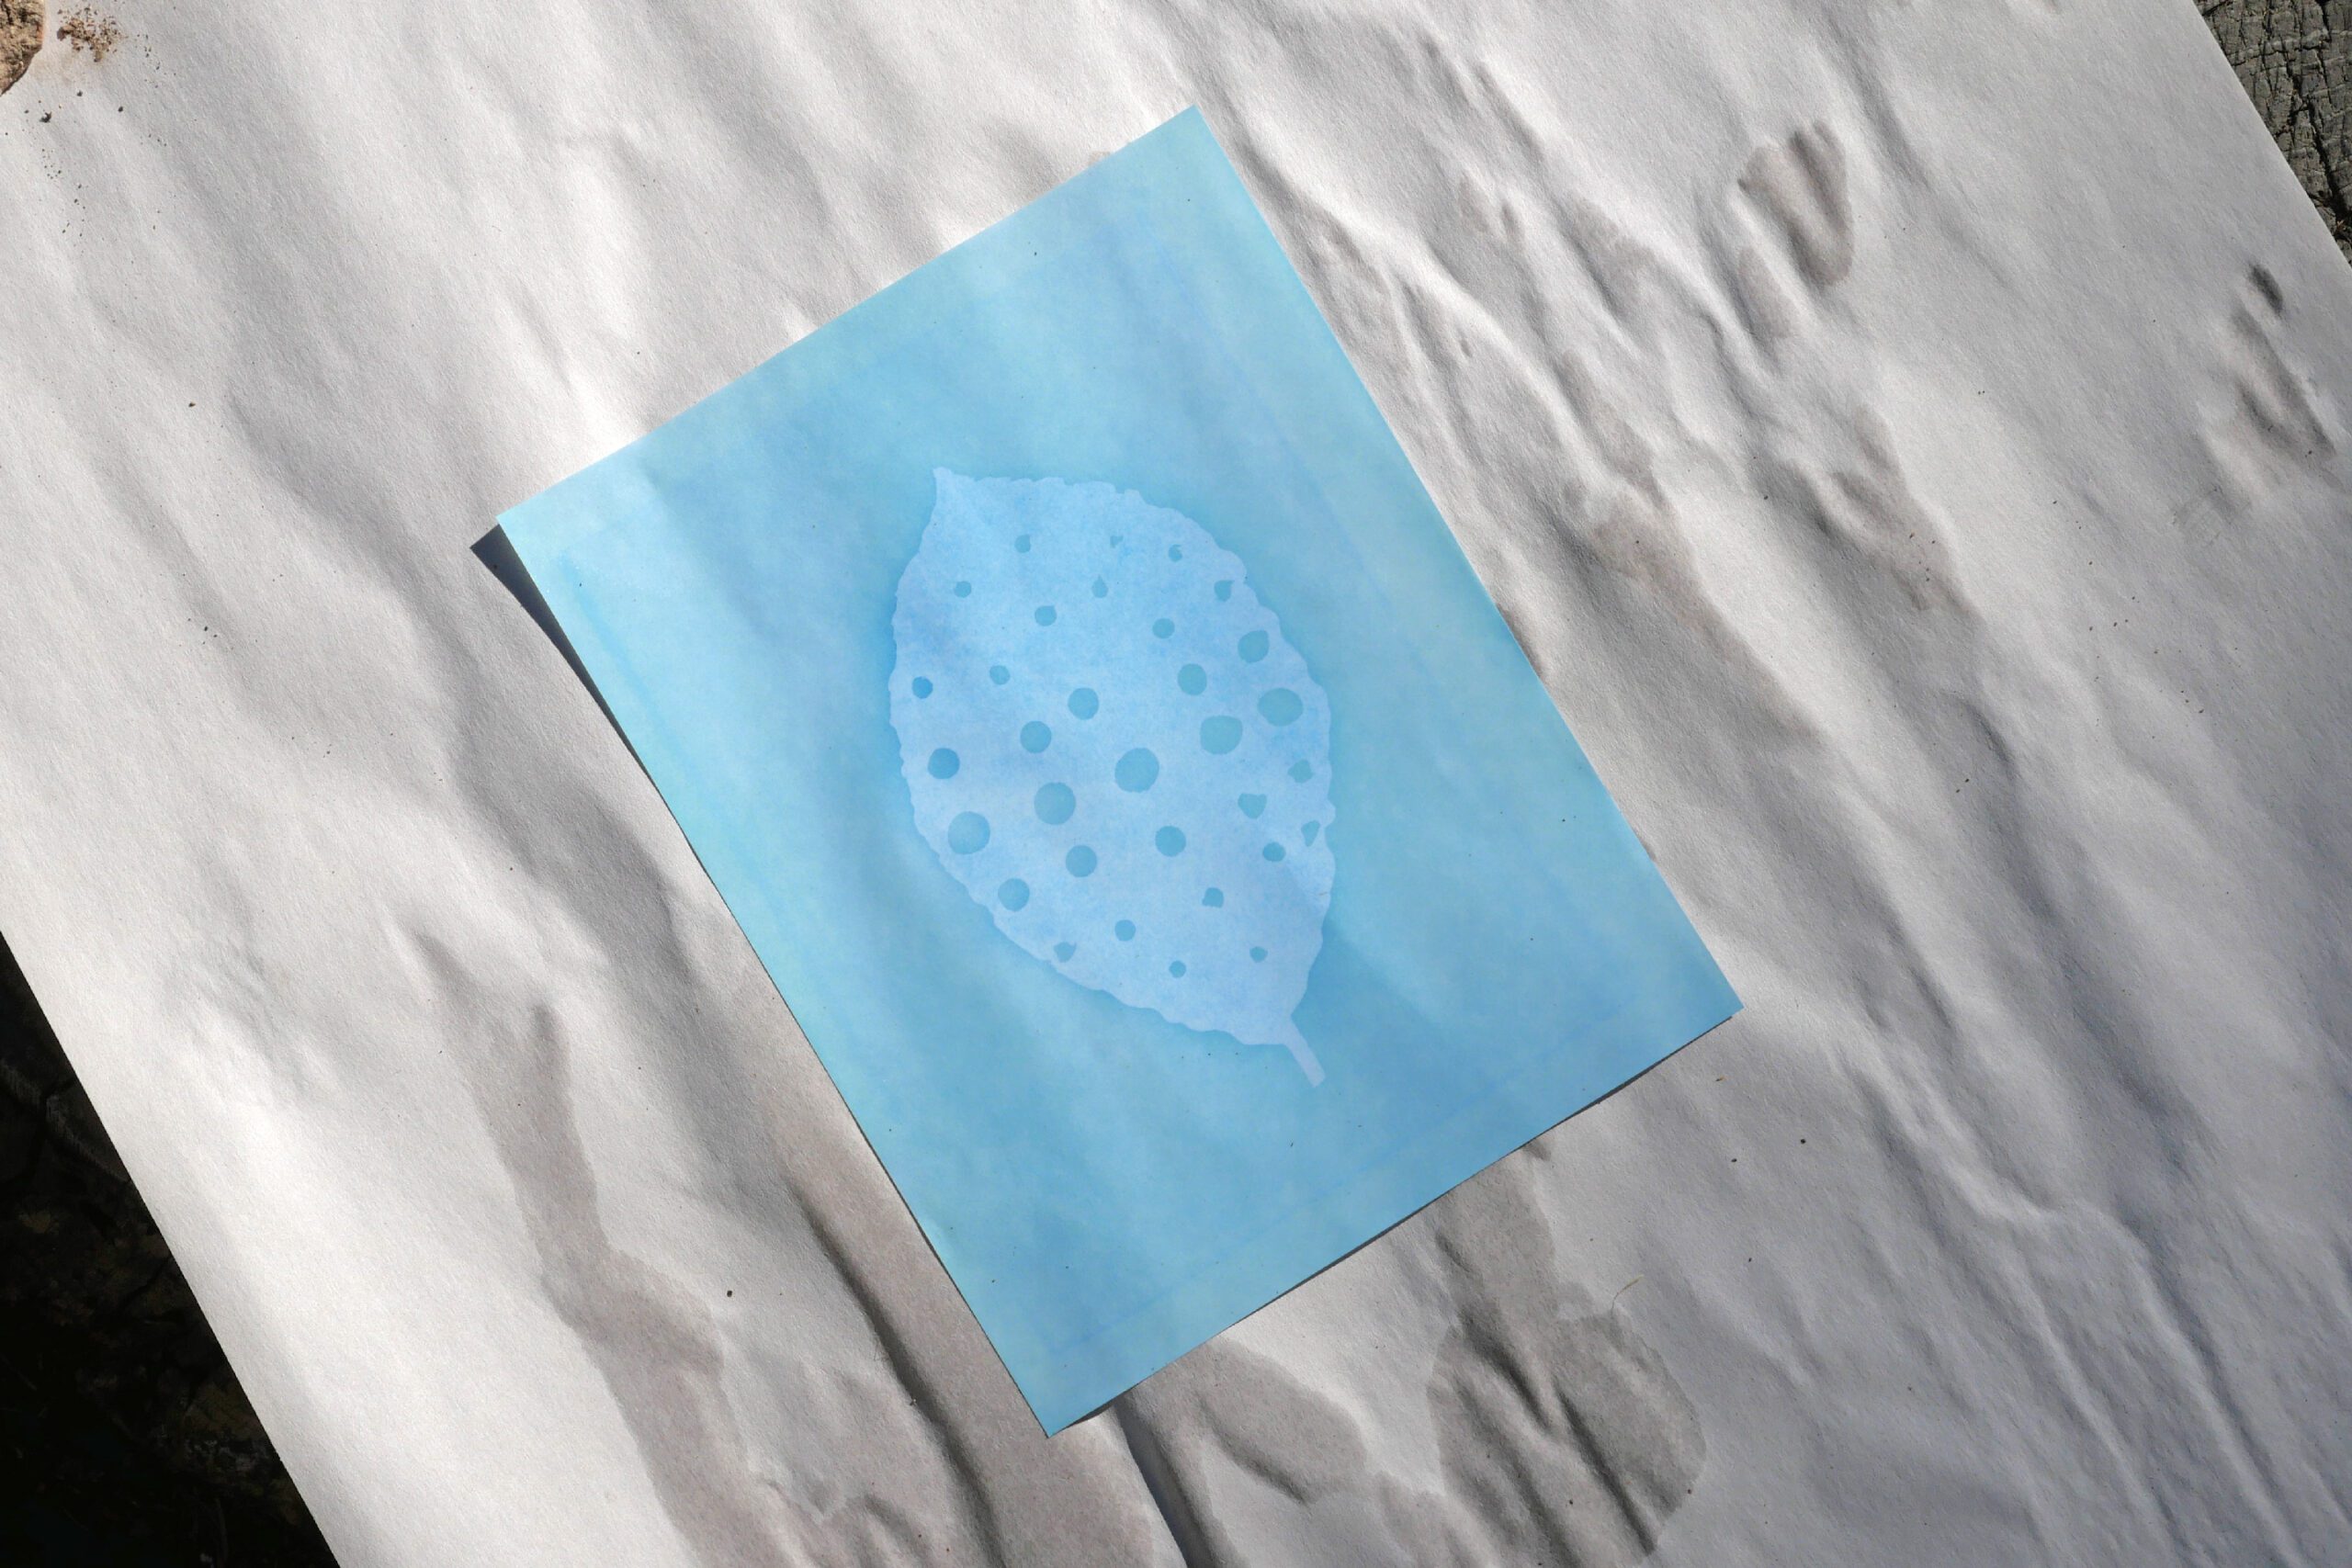
Step 4. Dry Flat
Place the sunprint paper on a flat surface to dry after removing it from the water. Once completely dry, the colors will deepen and the image outlines will become sharper. If you want to keep the finished print flat, I recommend placing a heavy book on top as a weight for a while.
Sunprint of a Leaf with Holes
サンプリントは手軽に自然とアートと科学を体感できる素晴らしい遊びです。特にキャンプや野外活動では子どもたちにとって(もちろん大人にも!)最高の遊びとなるでしょう。
サンプリントの原理は写真のプリントと同じです。オブジェクトを乗せた専用の紙を太陽光にあてると化学変化を起こし、オブジェクトの形をそのまま紙へ転写する技法なのです。キットが販売されているので、それを使えば簡単にできるのがいいですね。
今回娘が面白いことをしていたので記録に残すことにしました。彼女はオブジェクトとなる葉っぱにパンチで穴を開けたのです。小さな穴はそのまま光を通し、紙にしっかりとその形を残します。自然の葉っぱの形に、人工的な丸い穴。その対比に不思議な魅力を感じたのです。
用意するもの
– サンプリントペーパー
– 葉っぱ
– 穴あけパンチ
– ダンボールやカードボードなどの台紙
– アクリル板 *オブジェクトを固定するのに役立ちます
– 水を入れるトレイ
つくりかた
Step 1. 葉っぱに穴を開ける
葉っぱにハンチで穴を開ける。虫食いの自然な穴とは違う、機械的な穴が葉っぱの上に並んでいます。きっと葉っぱも驚いていることでしょう!
Step 2. 太陽の光に当てる
台紙の上にサンプリントペーパーを置き、その上に葉っぱを配置します。そして上からアクリル板で押さえます。そして、たっぷりの太陽の光が当たる場所へ置きます。青い紙が白く色褪せるまで数分間置いておきます。
Step 3. 水につける
十分に太陽の光を浴びたらオブジェクトを取り除いて、水を張ったバットに1~2分ほど浸けておきます。
Step 4. 乾燥させる
水から出したサンプリントペーパーを平らな場所に置き乾かします。完全に乾いたら色が濃くなり、画像の輪郭がシャープになります。出来上がったプリントをフラットにしたい場合は、しばらく厚い本を上に重しとして載せておくことをおすすめします。