Swag with Advent Calendar
December is here and the holiday season is finally coming. For children, the holiday season all starts with the advent calendar. It is one of the greatest joys of this time of year.
I wondered what new concepts I should use for this year’s calendar? Should I use the box type from last year or hang gifts in a small bag? Thinking of ideas and preparing for the event is one of the most enjoyable parts of the season for me as well.
By the way, this year I have decided not to decorate the fresh Christmas trees that we usually put up every year. Although I decided not to have a tree, I want to enhance the holiday spirit. So I thought of swags instead of a tree. The idea is to display a swag and an advent calendar together.
The result is a tree-like advent calendar filled with small gifts. With the holiday spirit filling our hearts, we began the countdown to Christmas.

Materials
– 24 small gifts
– Greens for swags
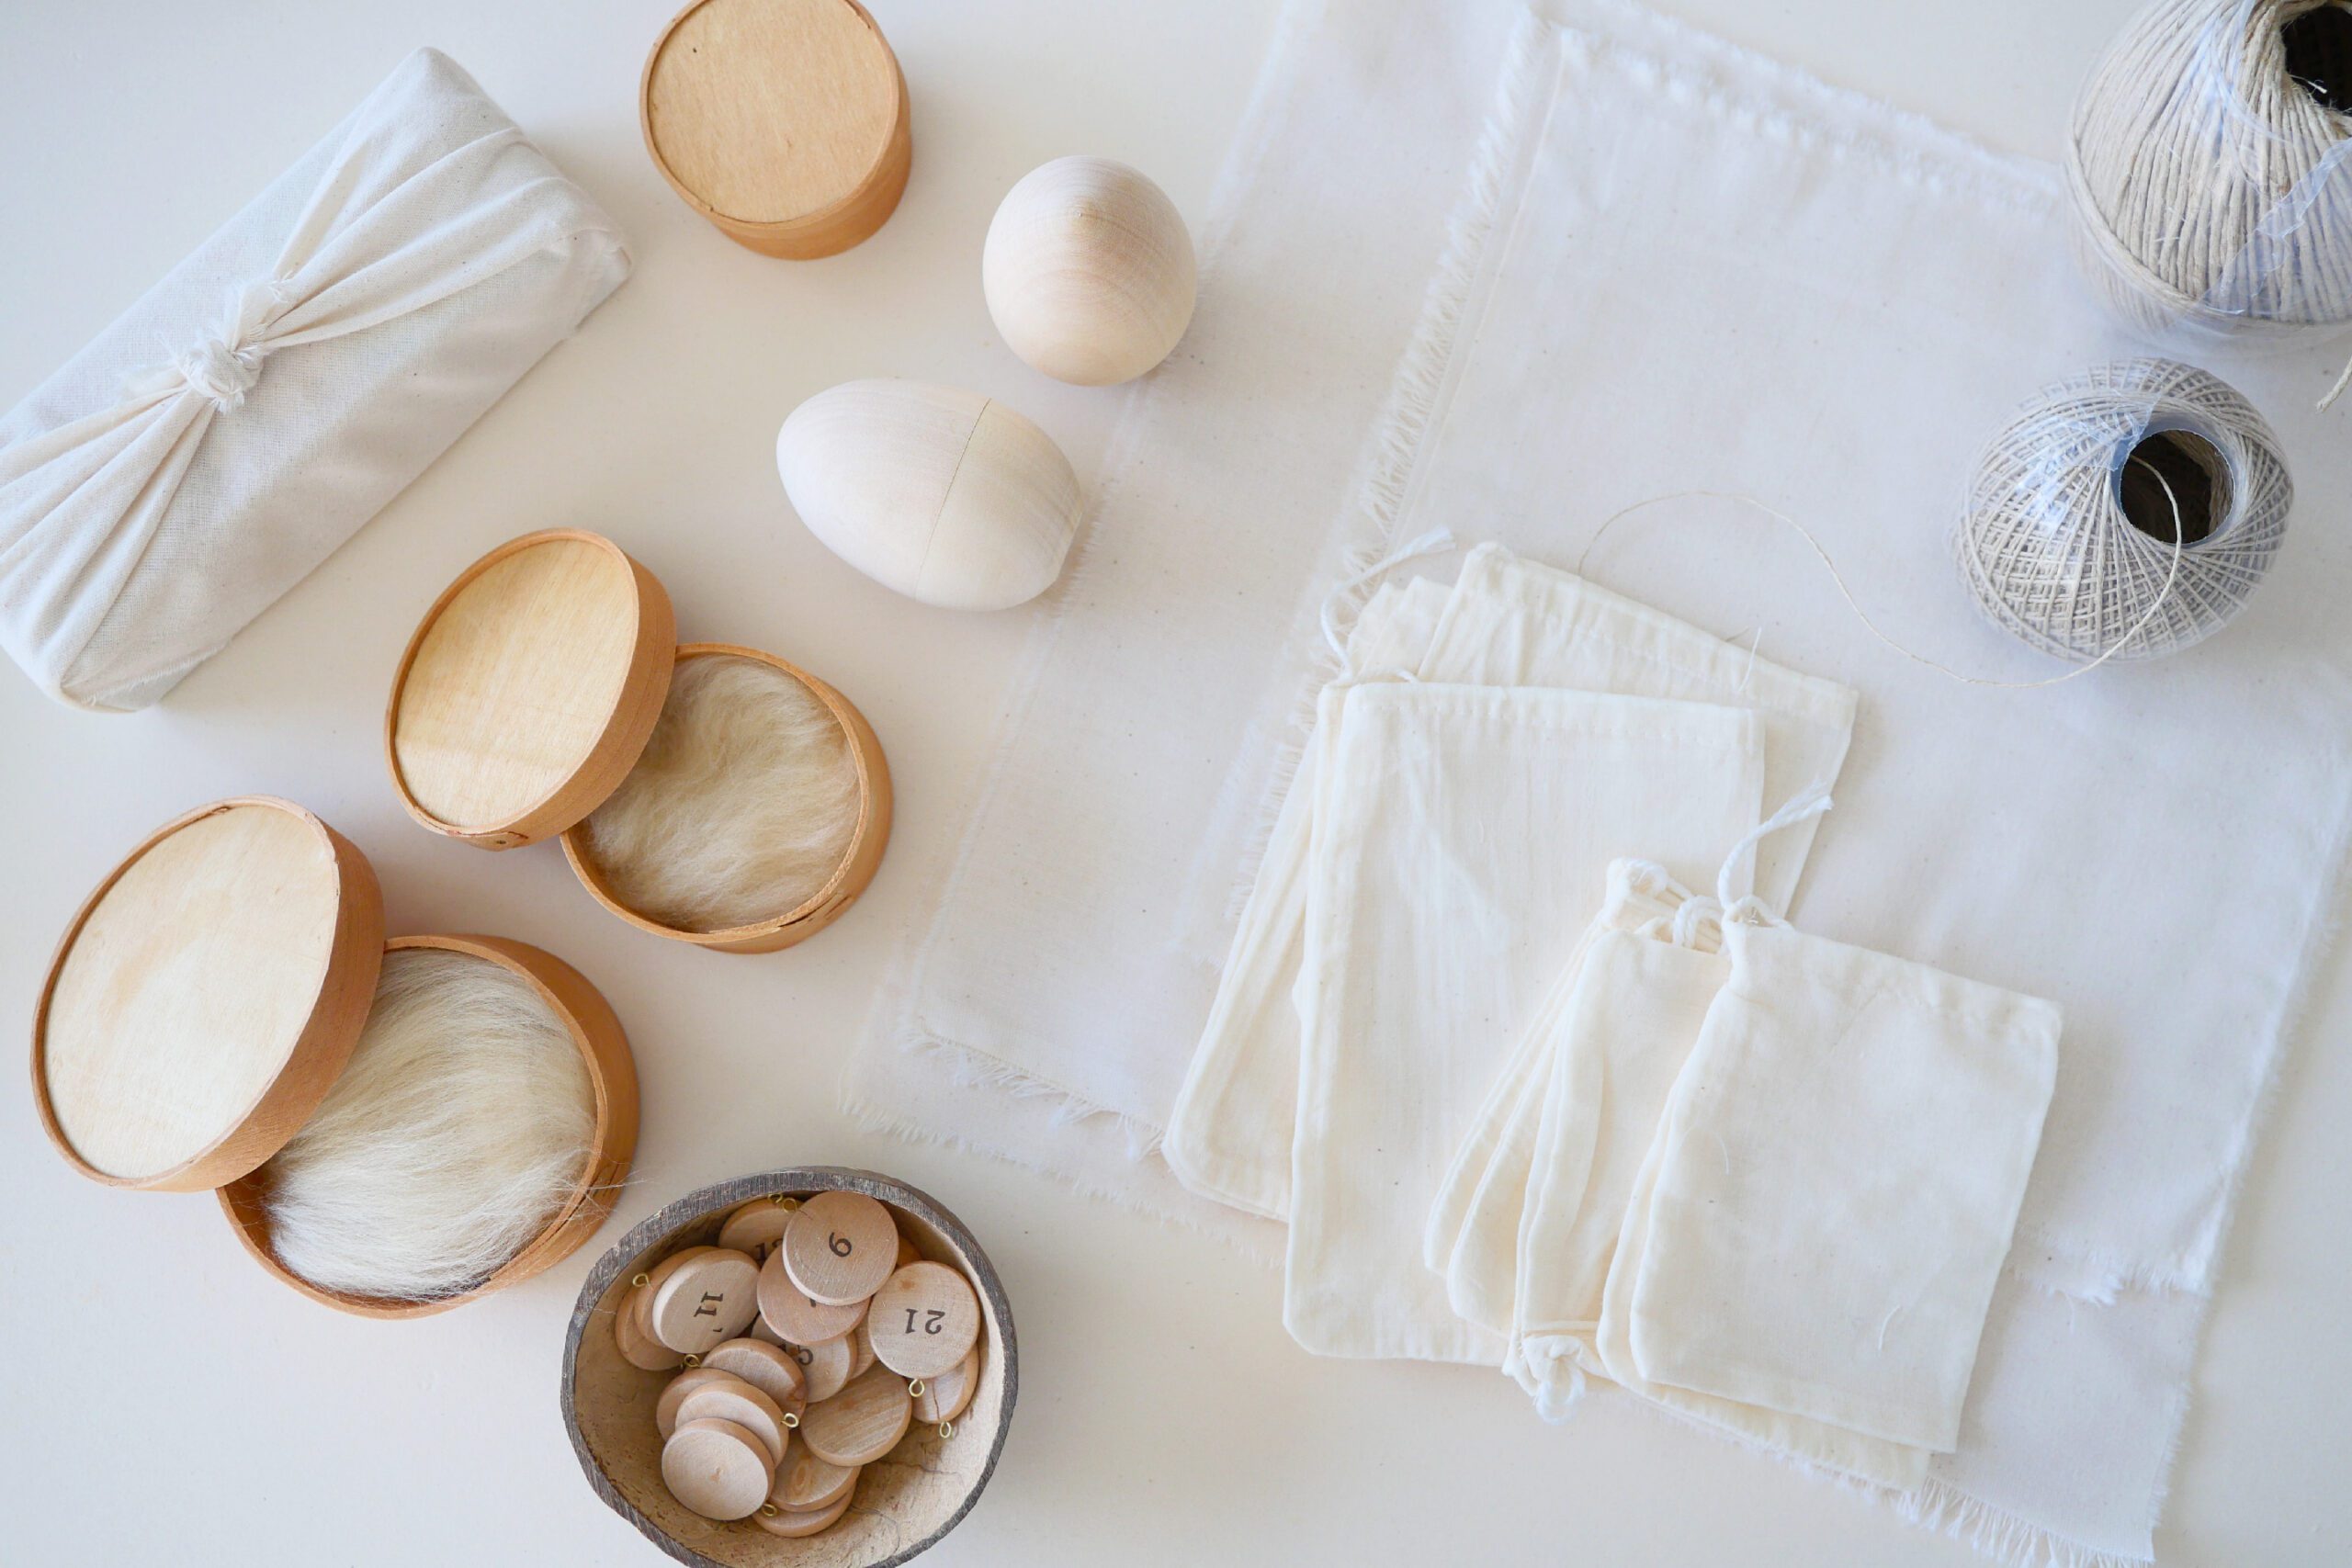
– Packaging materials / muslin bags, cotton fabric, wrapping paper, etc.
– Tags for date numbering
Instructions for making
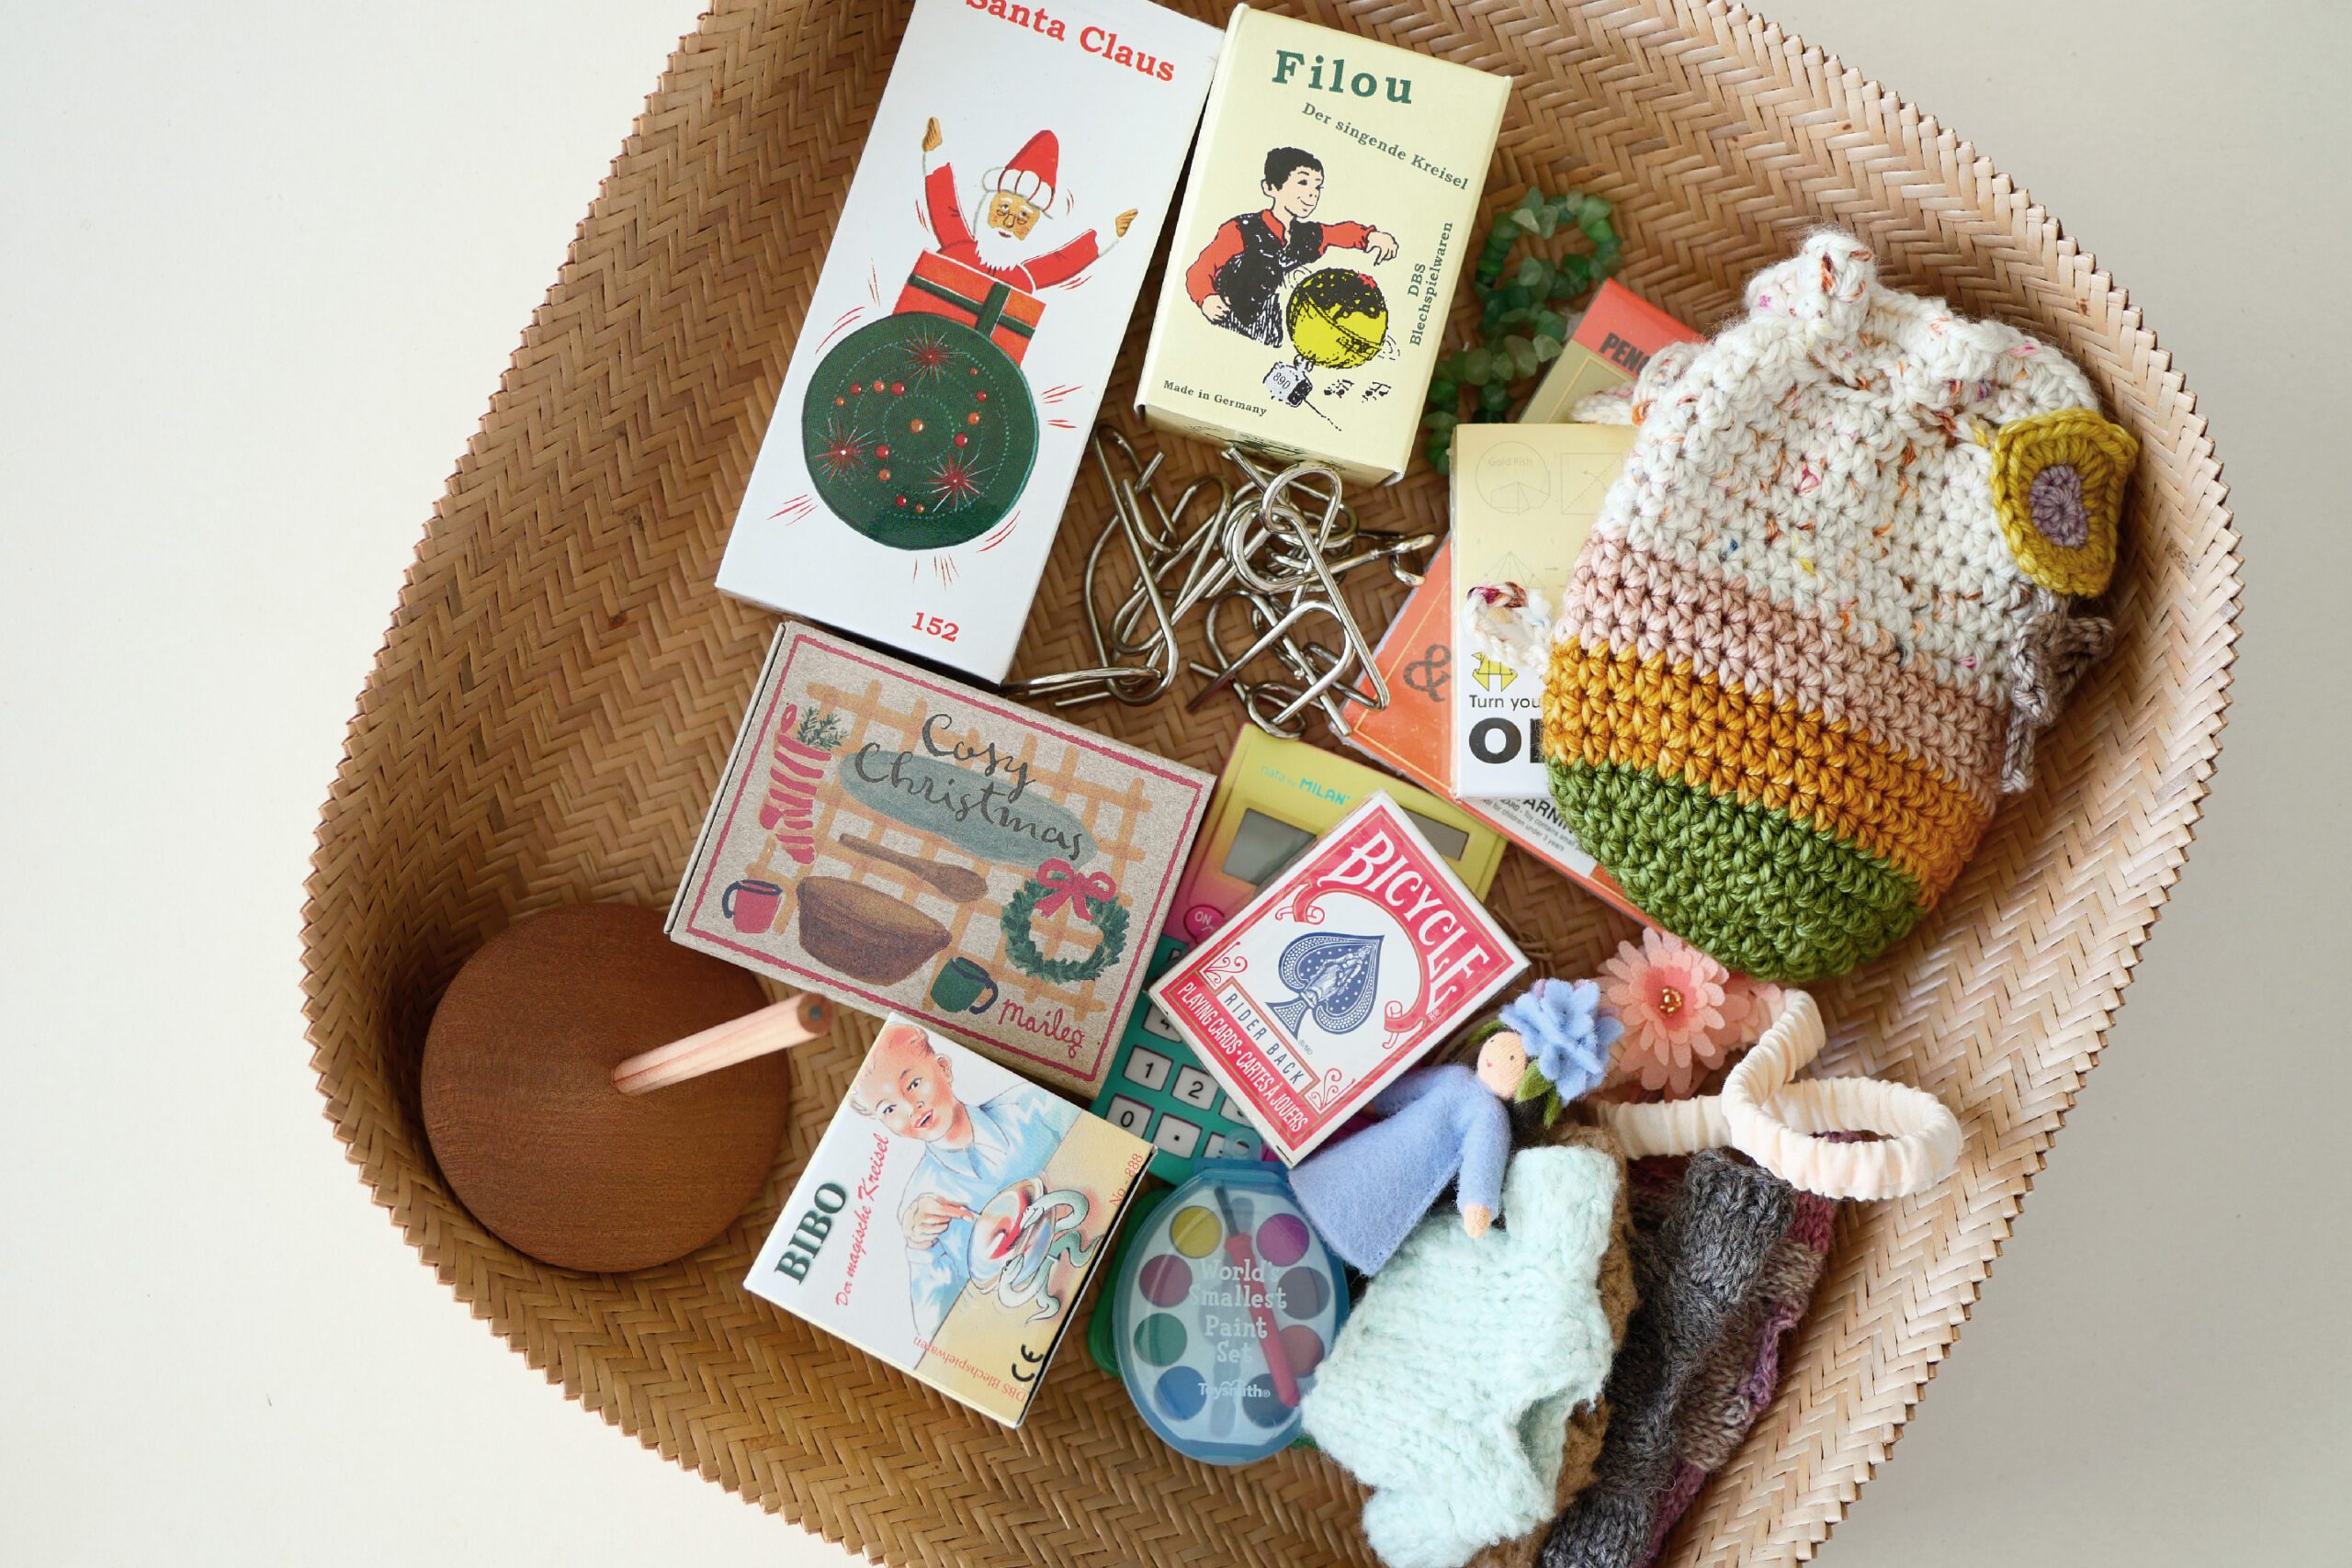
Step 1. Prepare 24 Gifts
Prepare 24 small gifts, such as something the child likes or is currently interested in. This time I prepare a wire puzzle, small stationery, a hand-knitted pouch, a hand-knitted sweater for a doll, a tin toy, a calculator, and more. All of them are small, the size of the palm of your hand.
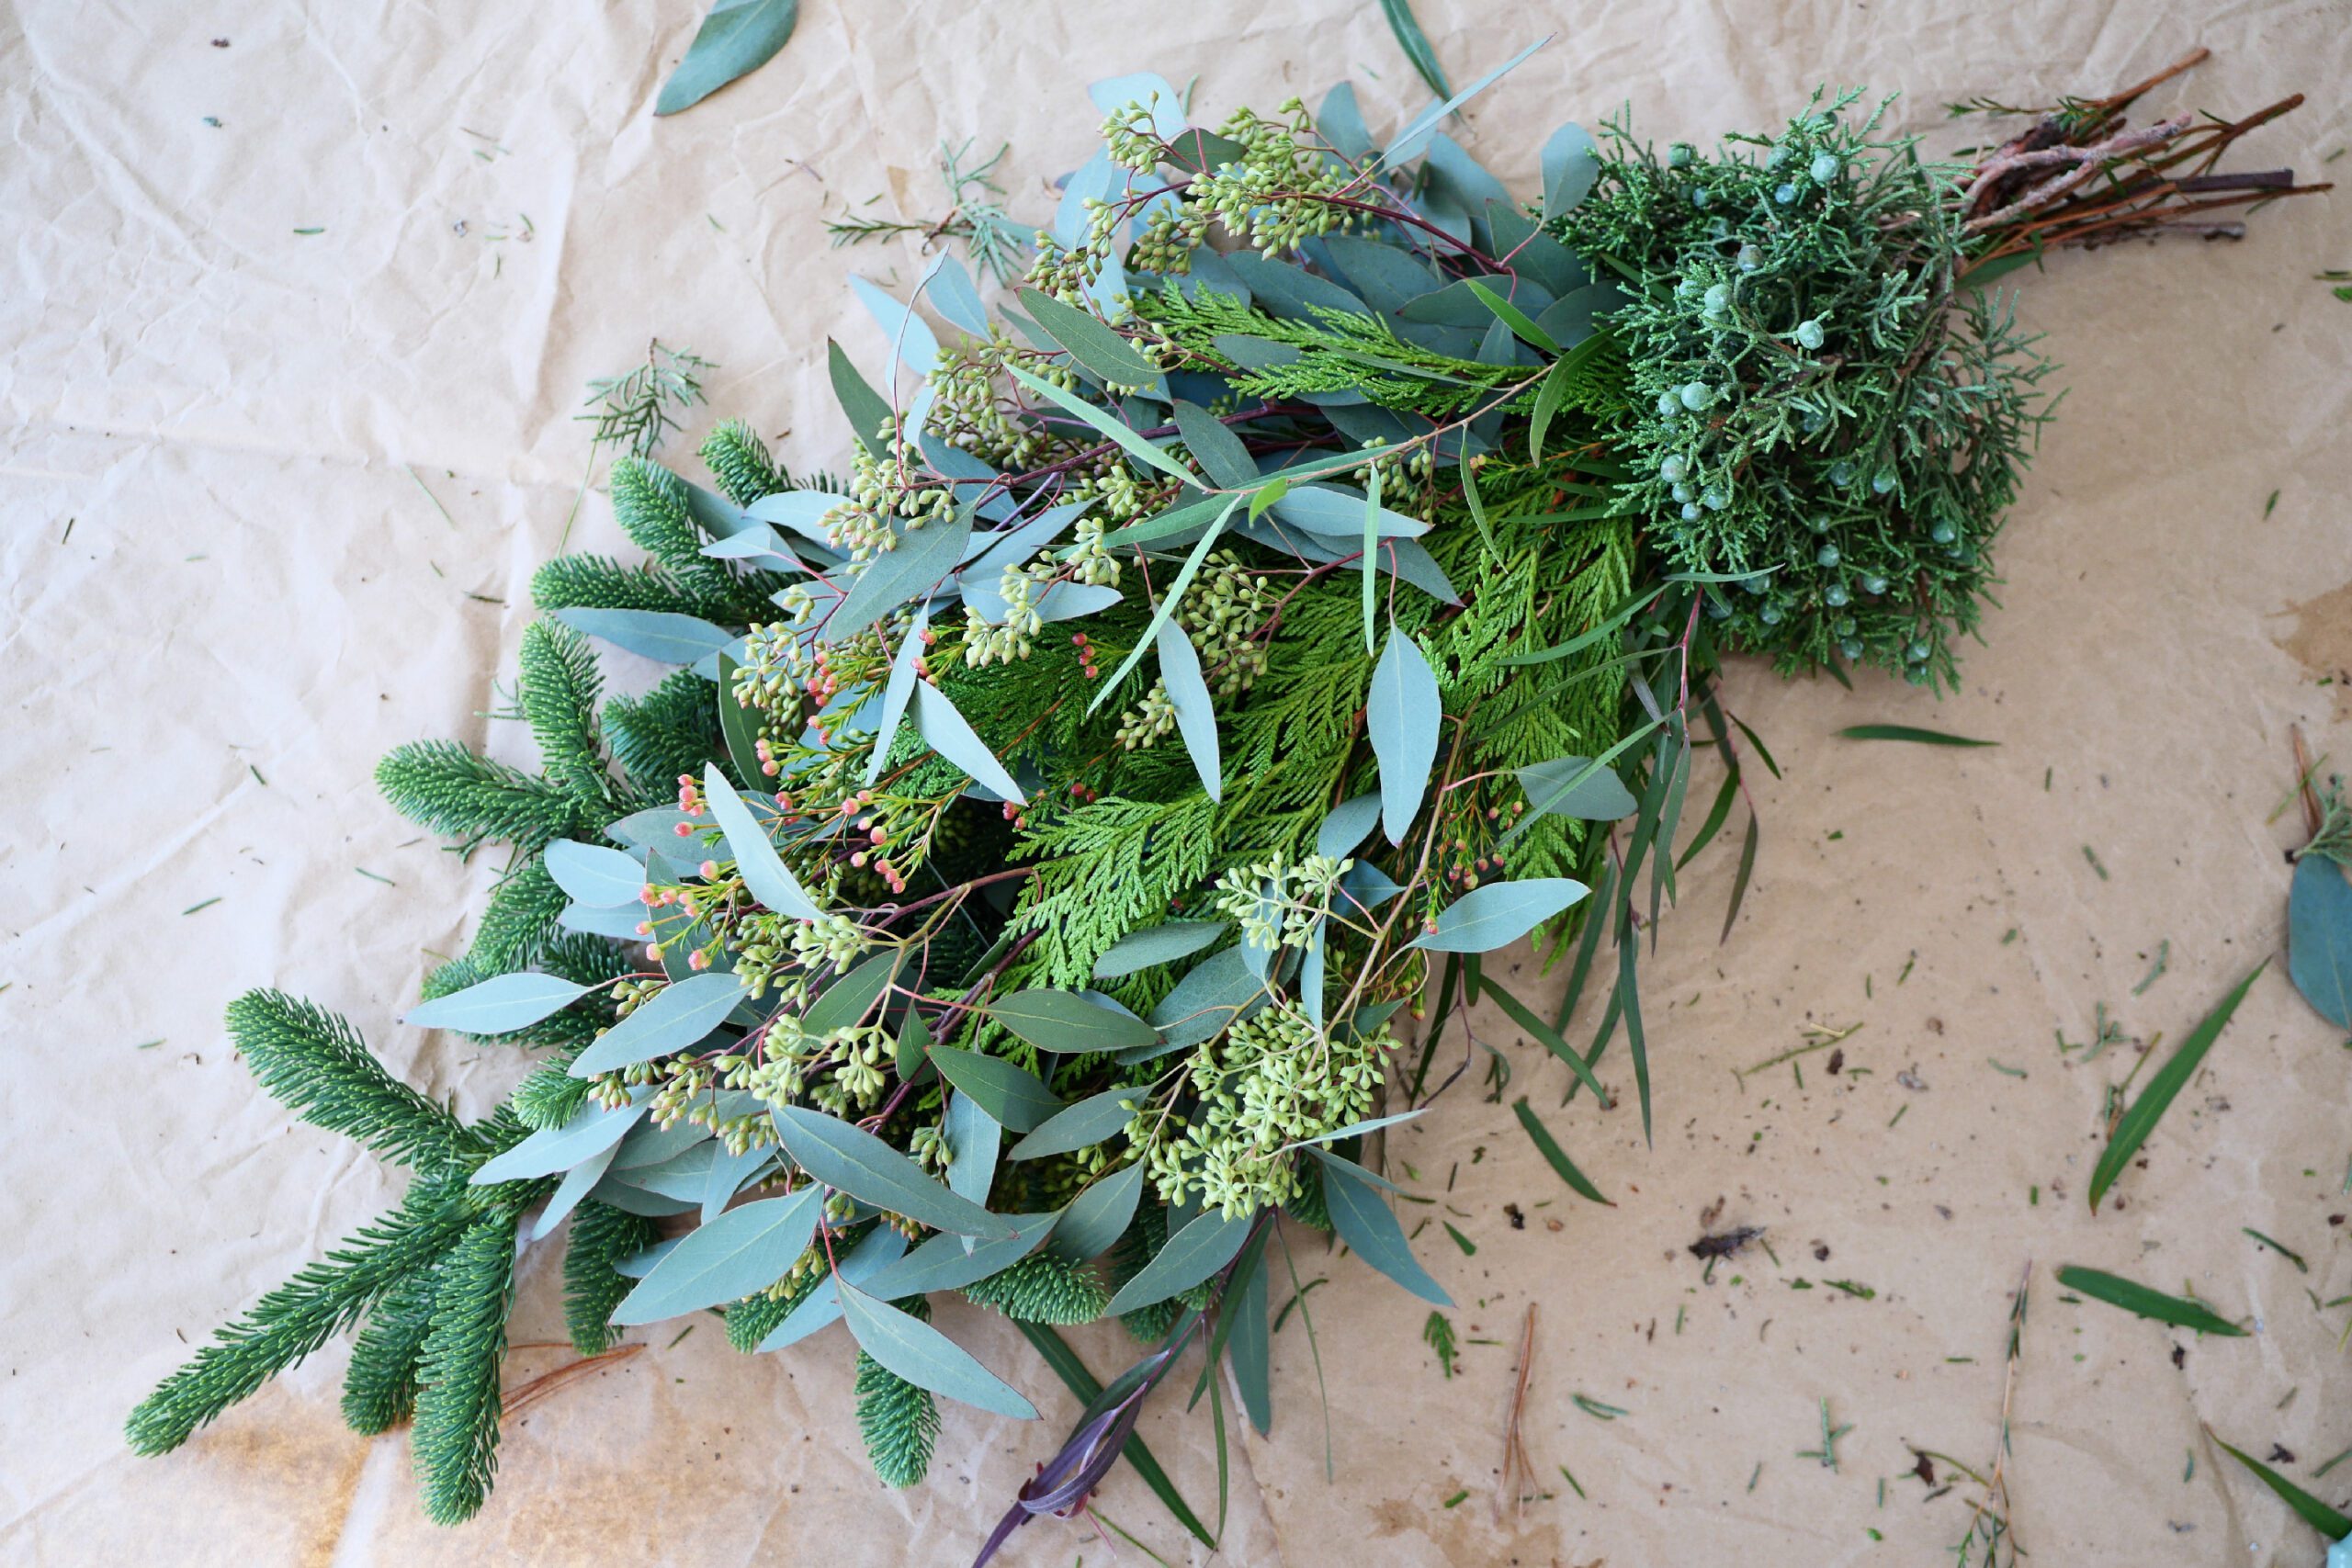
Step 2. Making Swag
The greens are bundled together to make a swag, which requires a certain amount of volume since there will be 24 gifts hanging from it. Bundle several different types of greenery and wire the branches tightly so that it will not fall apart.
Step 3. Consider the Order of Gifts
Consider the order of what gifts to include on which days. I often put something appropriate for a predetermined event day. For example, on weekends, I put an accessory that can be worn that day, and on the last day, the gift is something with a Santa Claus motif.
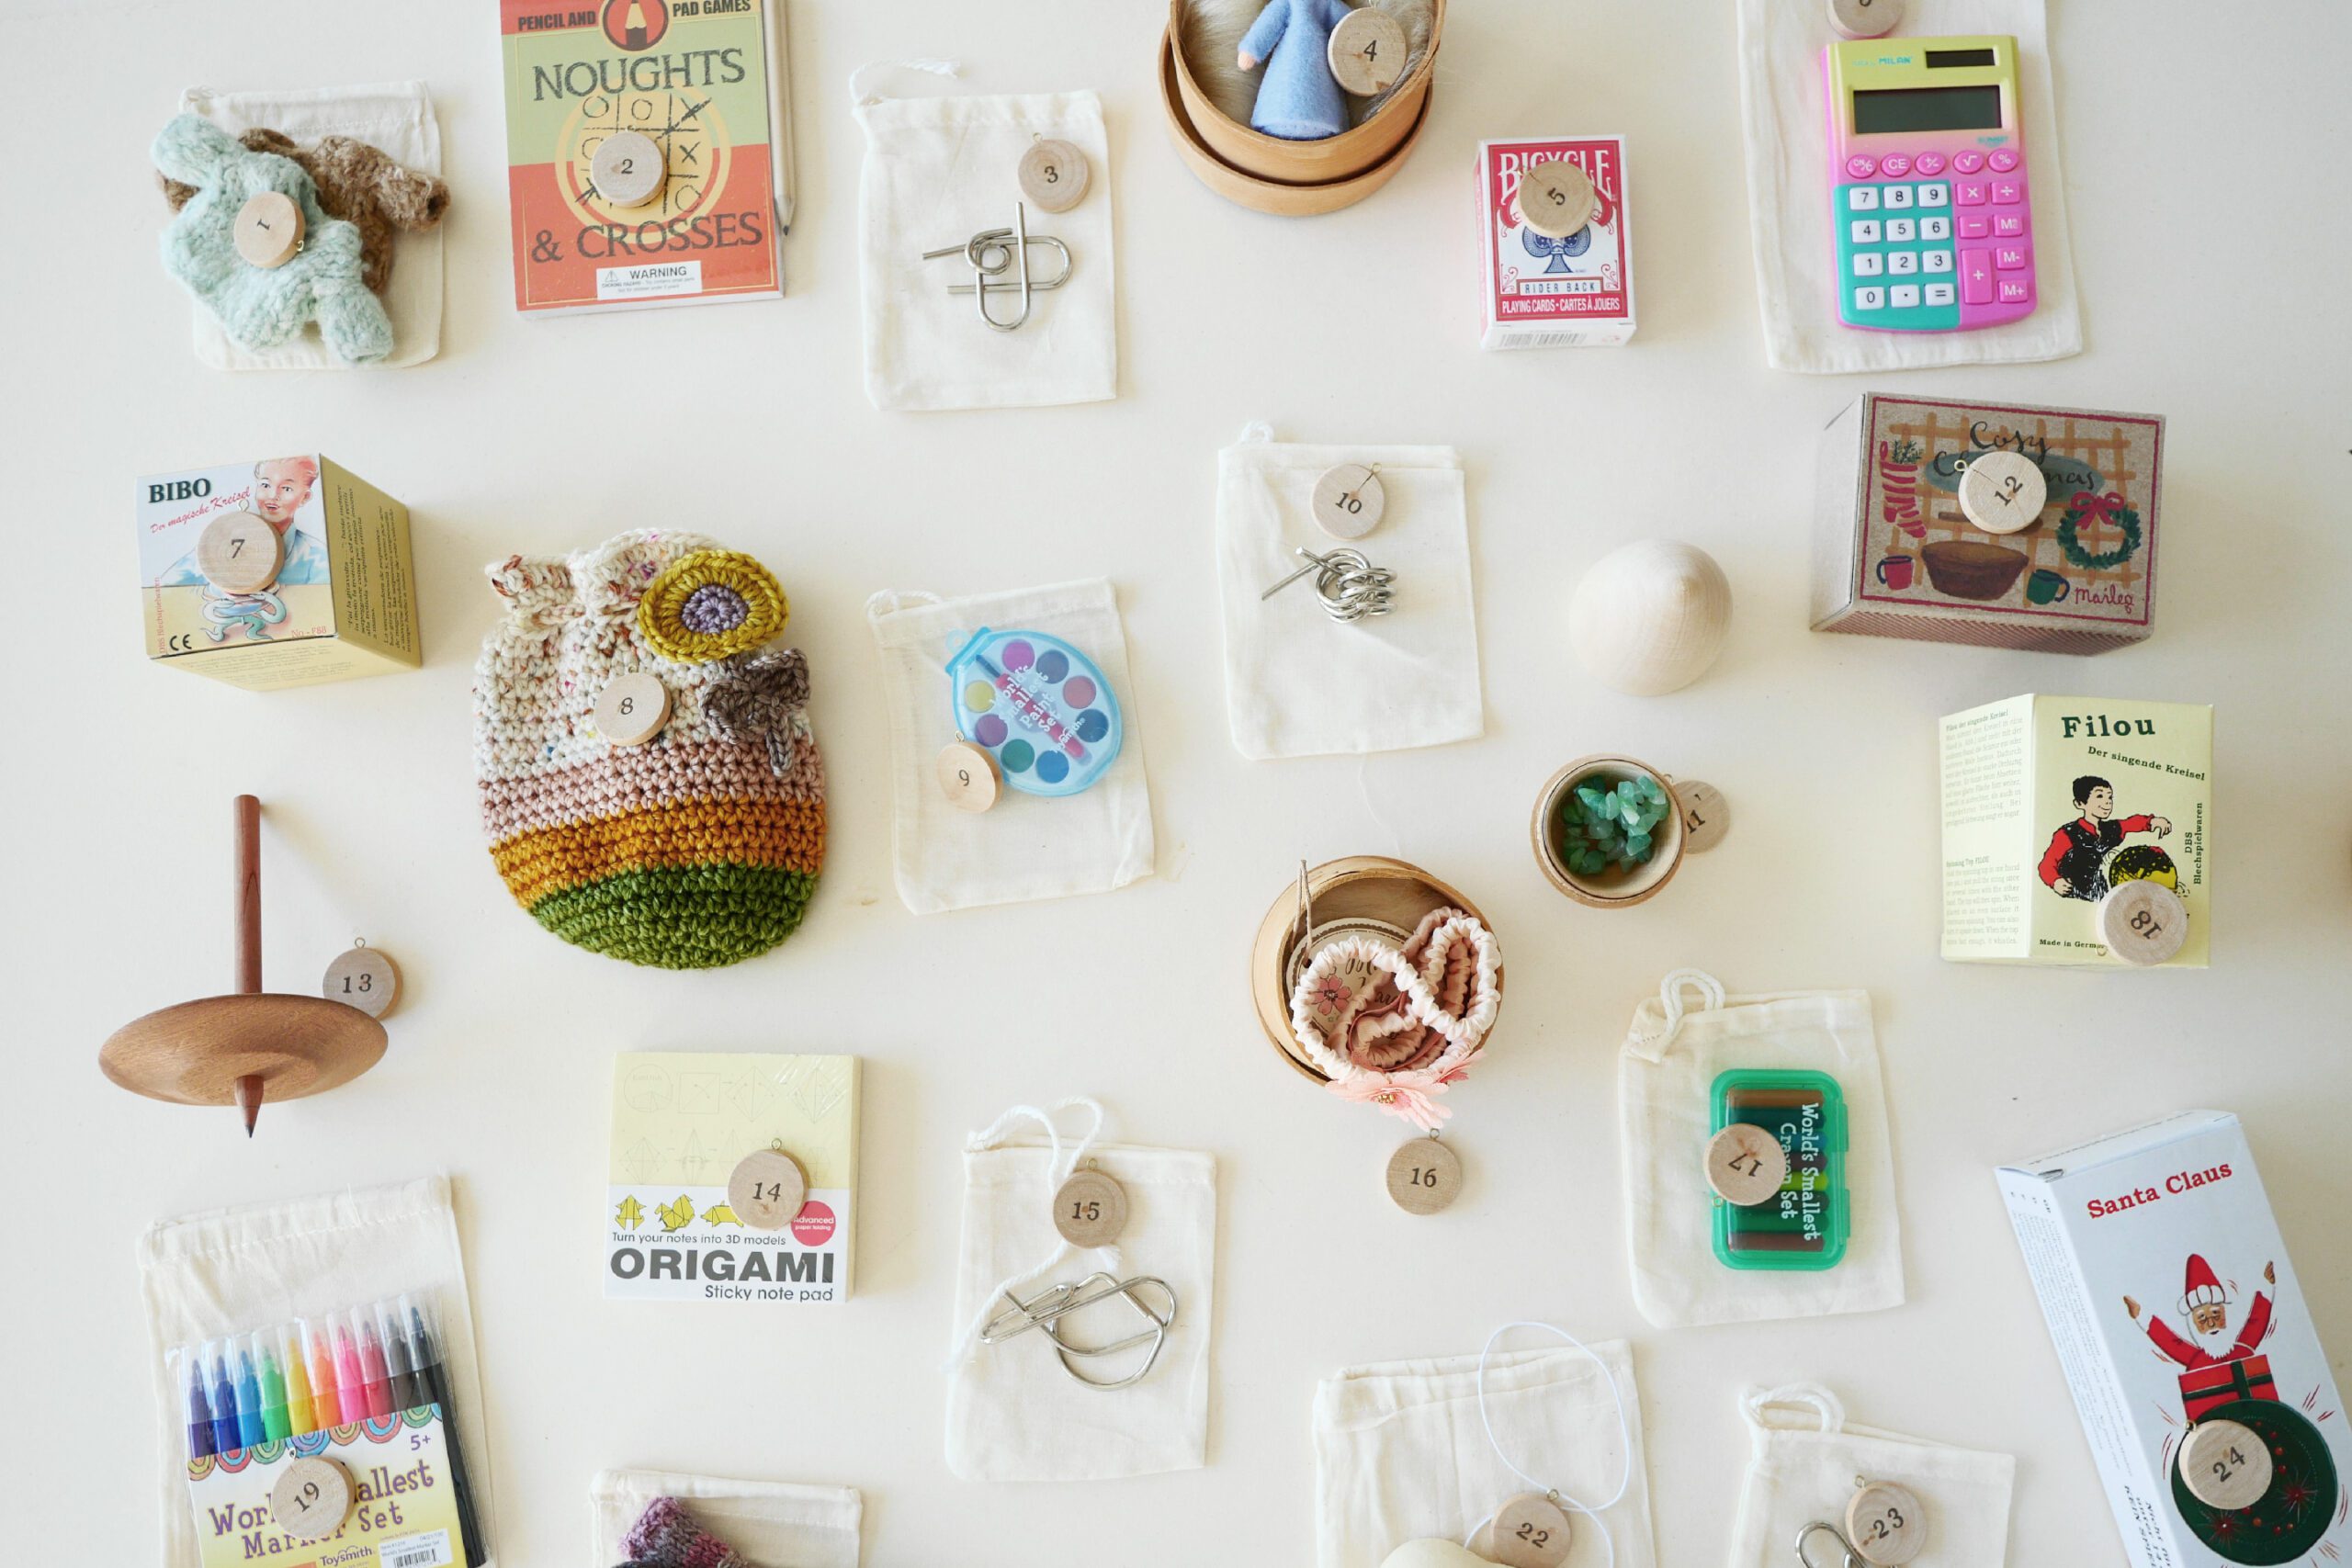
Step 4. Wrapping a Gifts
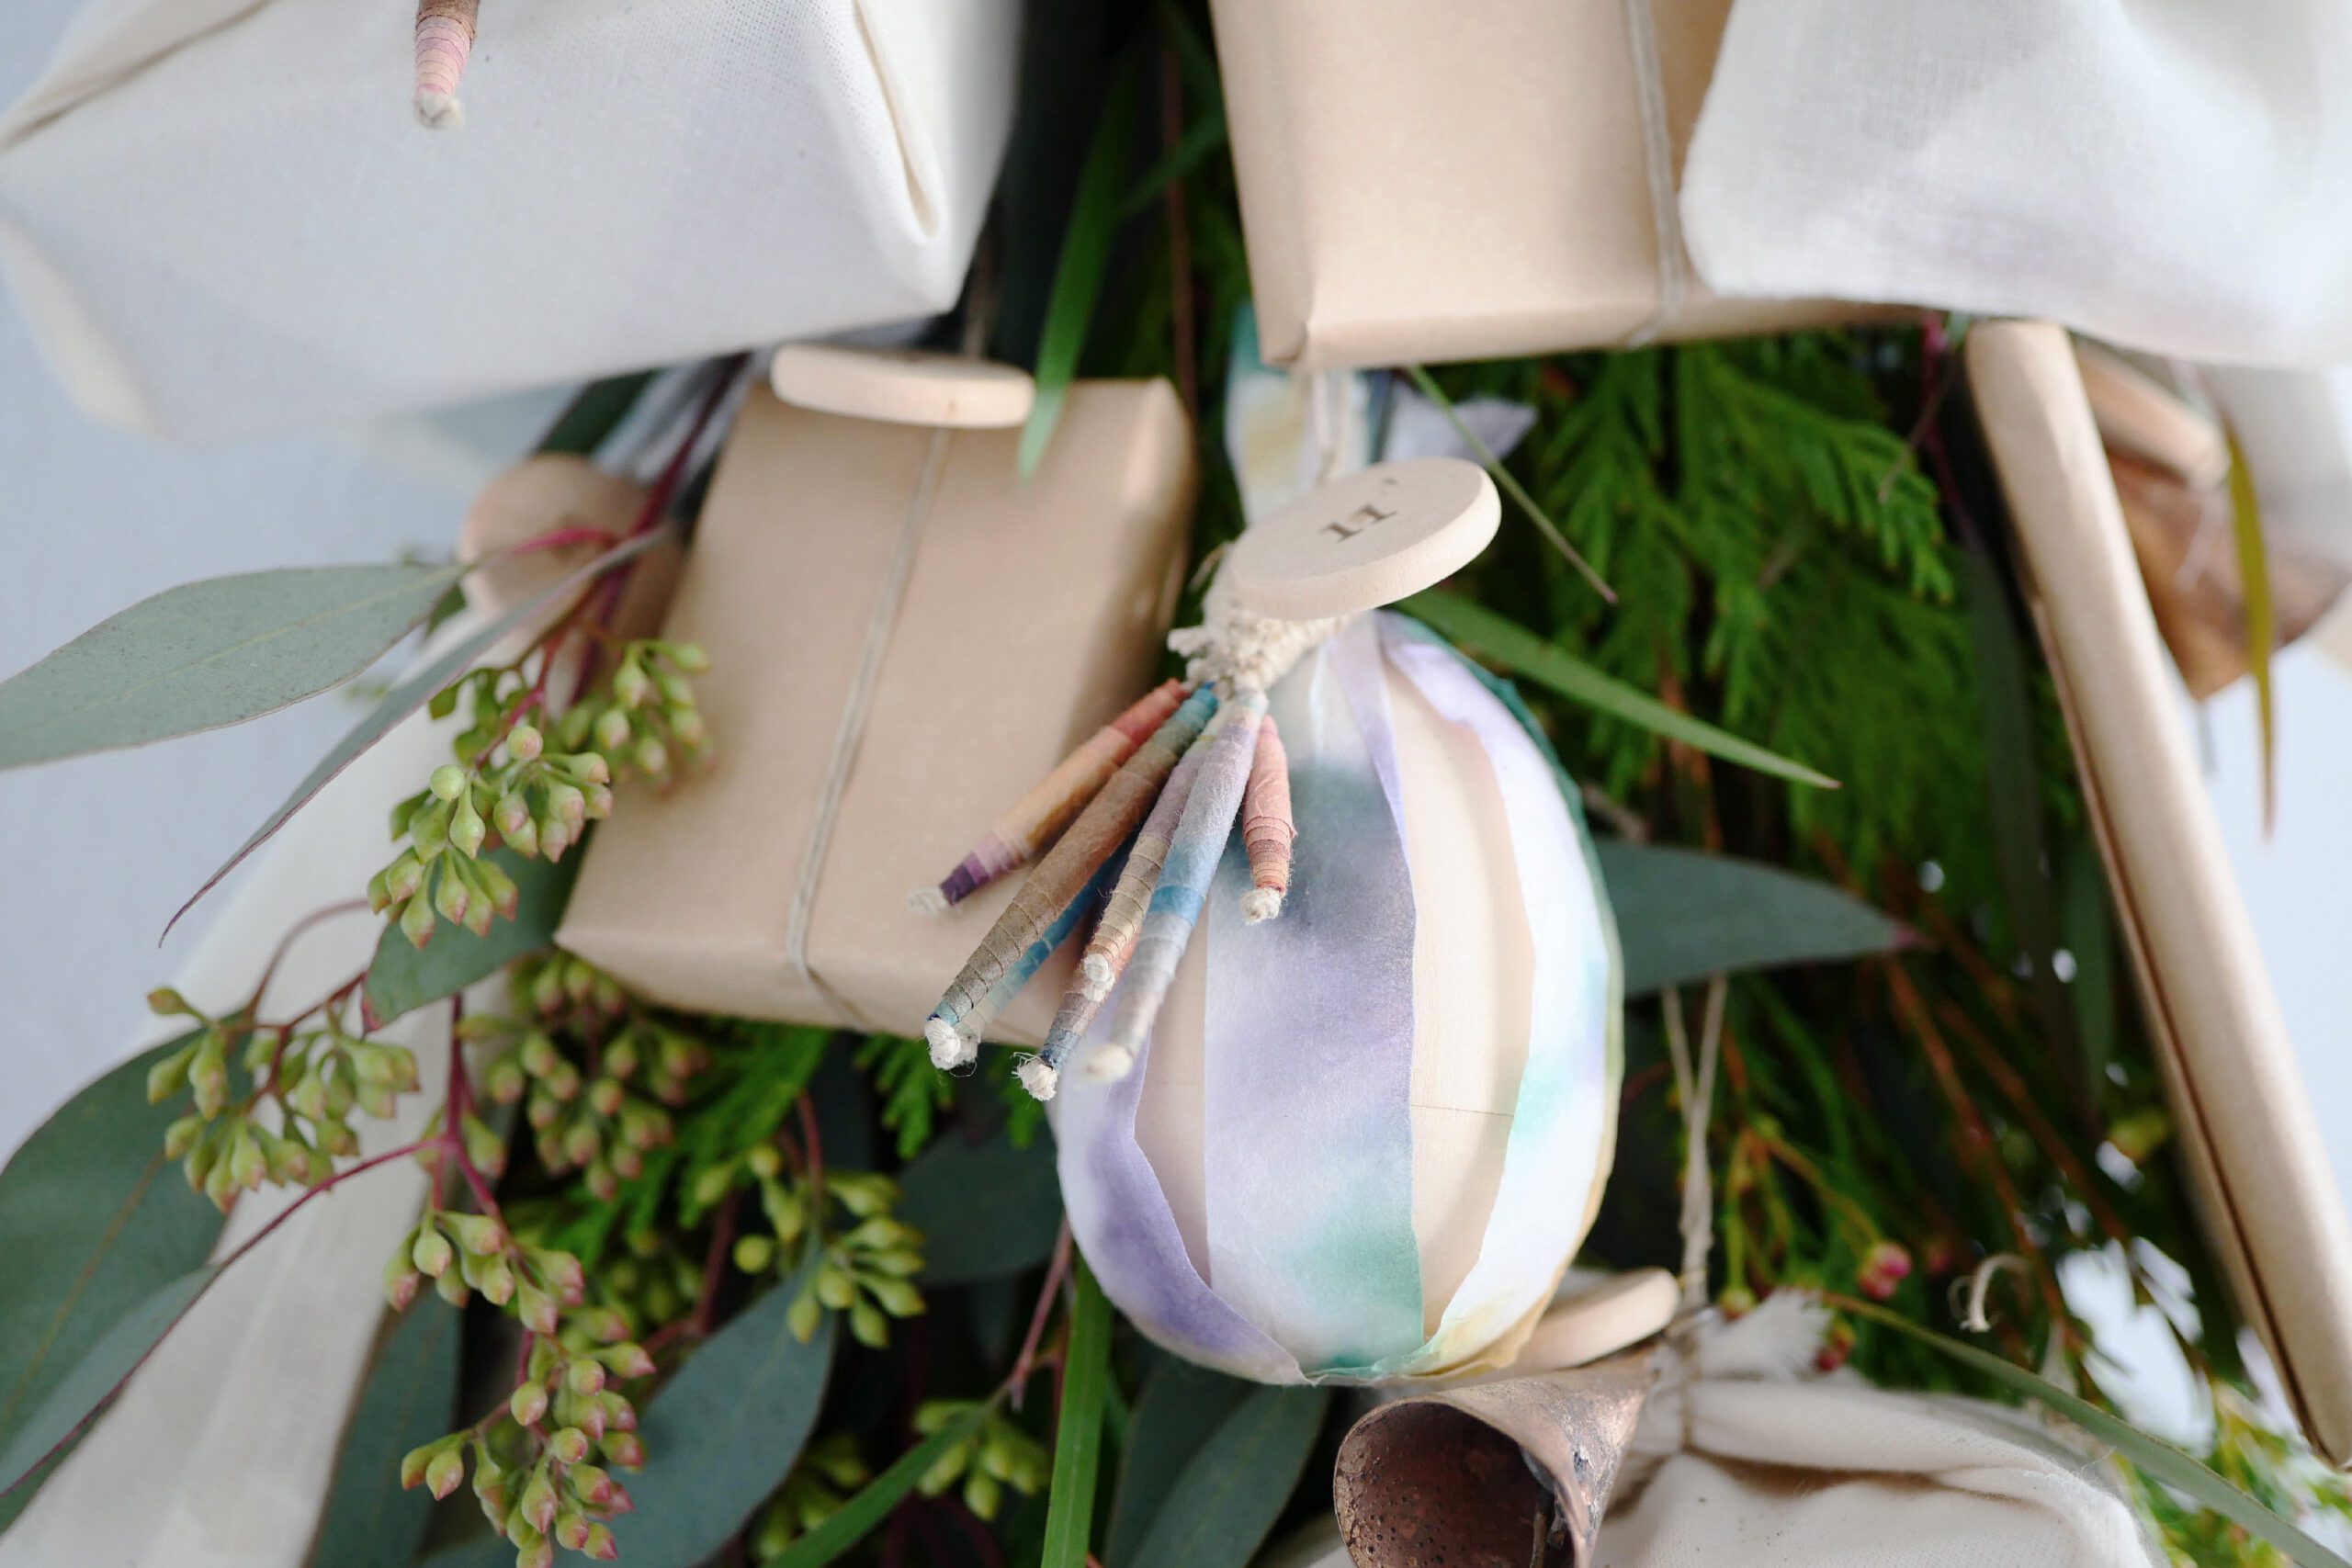
Wrap each of the 24 gifts. Prepare muslin bags, cloth, small boxes, and craft paper and paper string. Attach a date number tag to each.
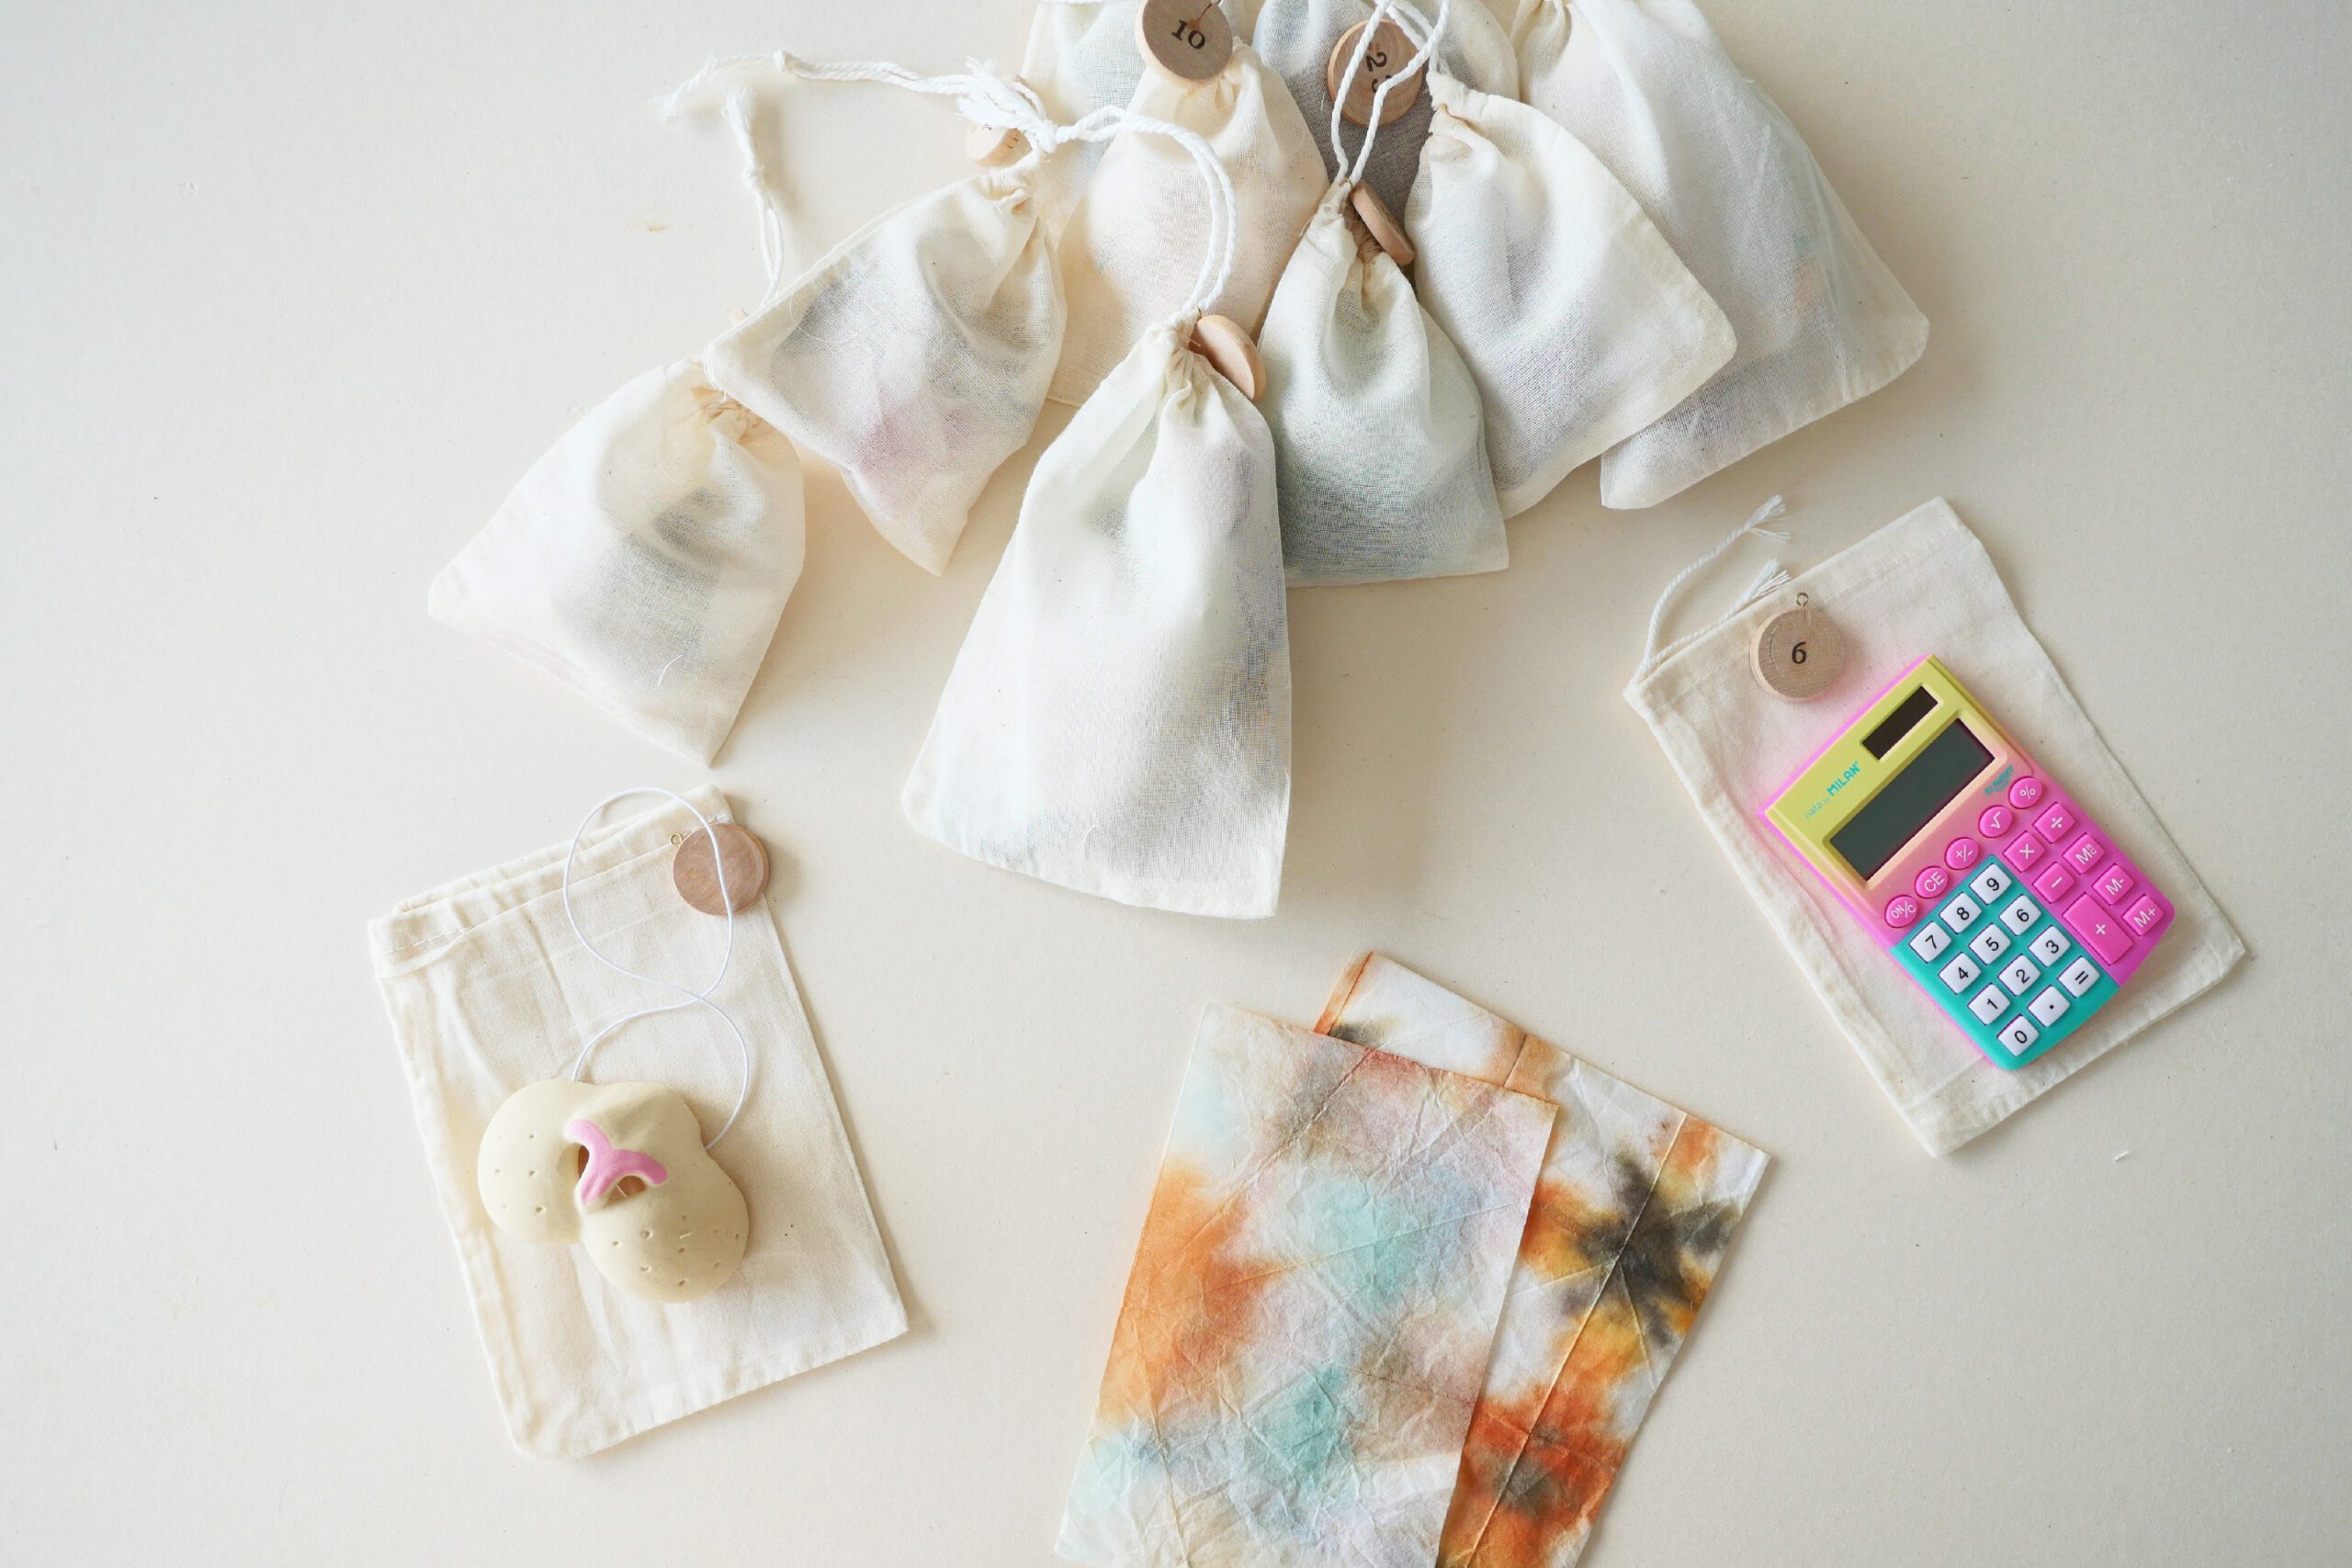
When placing the gifts in the muslin bags, I wrap the gifts in paper before placing them in the bags so that the inside is not visible.


Decorate the finished small gift boxes with charms or bells to make each gift look even more adorable.
All of the packing materials and charms are recyclable, and I keep and use the same ones every year.

Step 4. Hanging on Swag
Hang the gifts on the swag while well balanced and you’re done.


Swag with Advent Calendar
12月に入り、いよいよホリデーシーズンの到来です。子どもたちにとってのその始まりはなんといってもアドヴェントカレンダー。この時期最大の楽しみの一つです。
さて、今年はどんなアイデアにしよう。去年のボックスタイプにしようか、それともギフトを小さな袋に入れて吊るそうか。アイデアを考え準備する時間は私にとっても楽しみの一つです。
ところで、今年は例年飾っているフレッシュなモミの木のツリーをある事情で飾らないことに決めた我が家。ツリーはないと決めたものの、ホリデー気分を高めたい。そこで考えたのは、ツリーの代わりにスワッグ。そして、スワッグとアドベントカレンダーを二つ一緒に飾ってみようというものでした。
できたのは、小さなギフトをいっぱいぶら下げたツリーのようなアドベントカレンダー。ホリデー気分を胸いっぱいに抱きながら、クリスマスまでのカウントダウンの始まりです。
用意するもの
– 24の小さなギフト
– スワッグ用のグリーン
– 袋、布、ラッピングペーパーなどの梱包材
– ナンバリング用のタグ
つくりかた
Step 1. 24個のギフトを用意する
子どもの好きなもの、いま興味のあるものなど小さなギフトを24個用意します。今回私が用意したのは、知恵の輪、小さな文具、手編みのポーチや人形用のセーター、ブリキのおもちゃ、電卓など。どれも手のひらサイズの小さなものばかりです。
Step 2. スワッグをつくる
グリーンを束ねて、スワッグを作ります。24個のギフトがぶら下がる訳ですから、ある程度のボリュームが必要になります。いくつかの種類のグリーンを束ねて、崩れないように枝をしっかりとワイヤーで固定しました。
Step 3. 順番を決める
どの日にどんなギフトを入れるかの順番を考えます。私がよくやるのは、あらかじめ決まっているイベントの日にはそれにふさわしいものを入れること。例えば、週末にはその日身に着けられるものを入れたり、最終日にはサンタクロースモチーフのものを入れたり。
Step 4. ギフトを包装する
24のギフトをそれぞれ包みます。私が用意したのは、モスリンの袋、布、小箱、クラフトペーパー、それに紙紐。それぞれに日付のナンバータグを付けます。
モスリンの袋に入れるときは、中が見えないように、ギフトを紙でくるんから袋に入れます。
出来上がった小さなギフトボックスにチャームや鈴などでデコレーションすると、一つ一つのギフトがより一層愛らしく見えますよ。
梱包材やチャームはどれもリサイクル可能なもので、私は保管して毎年同じものを使っています。
Step 2. スワッグにぶら下げる
バランスを見ながら、ギフトをスワッグにぶら下げたら完成です。