TJ’s Fearless Flyer Paper Bag
A very eco-friendly and organic paper bag made only with newspaper and glue.
This idea originated from SHIMANTO NEWSPAPER BAG. This activity was born in a small village by the Shimanto River in Kochi Prefecture. For the past 20 years, they had been working to up-cycle used newspapers into eco-friendly and artistic bags instead of throwing them away. This project has expanded led by Mr. Makoto Umebara, a graphic designer whom I respect so much, and now they are conducting workshops all over the world. I have always been interested in this project and deeply sympathized with the way of thinking. Above all, it is a great opportunity for us to transform a very familiar newspaper that we would have otherwise thrown away into a bag.
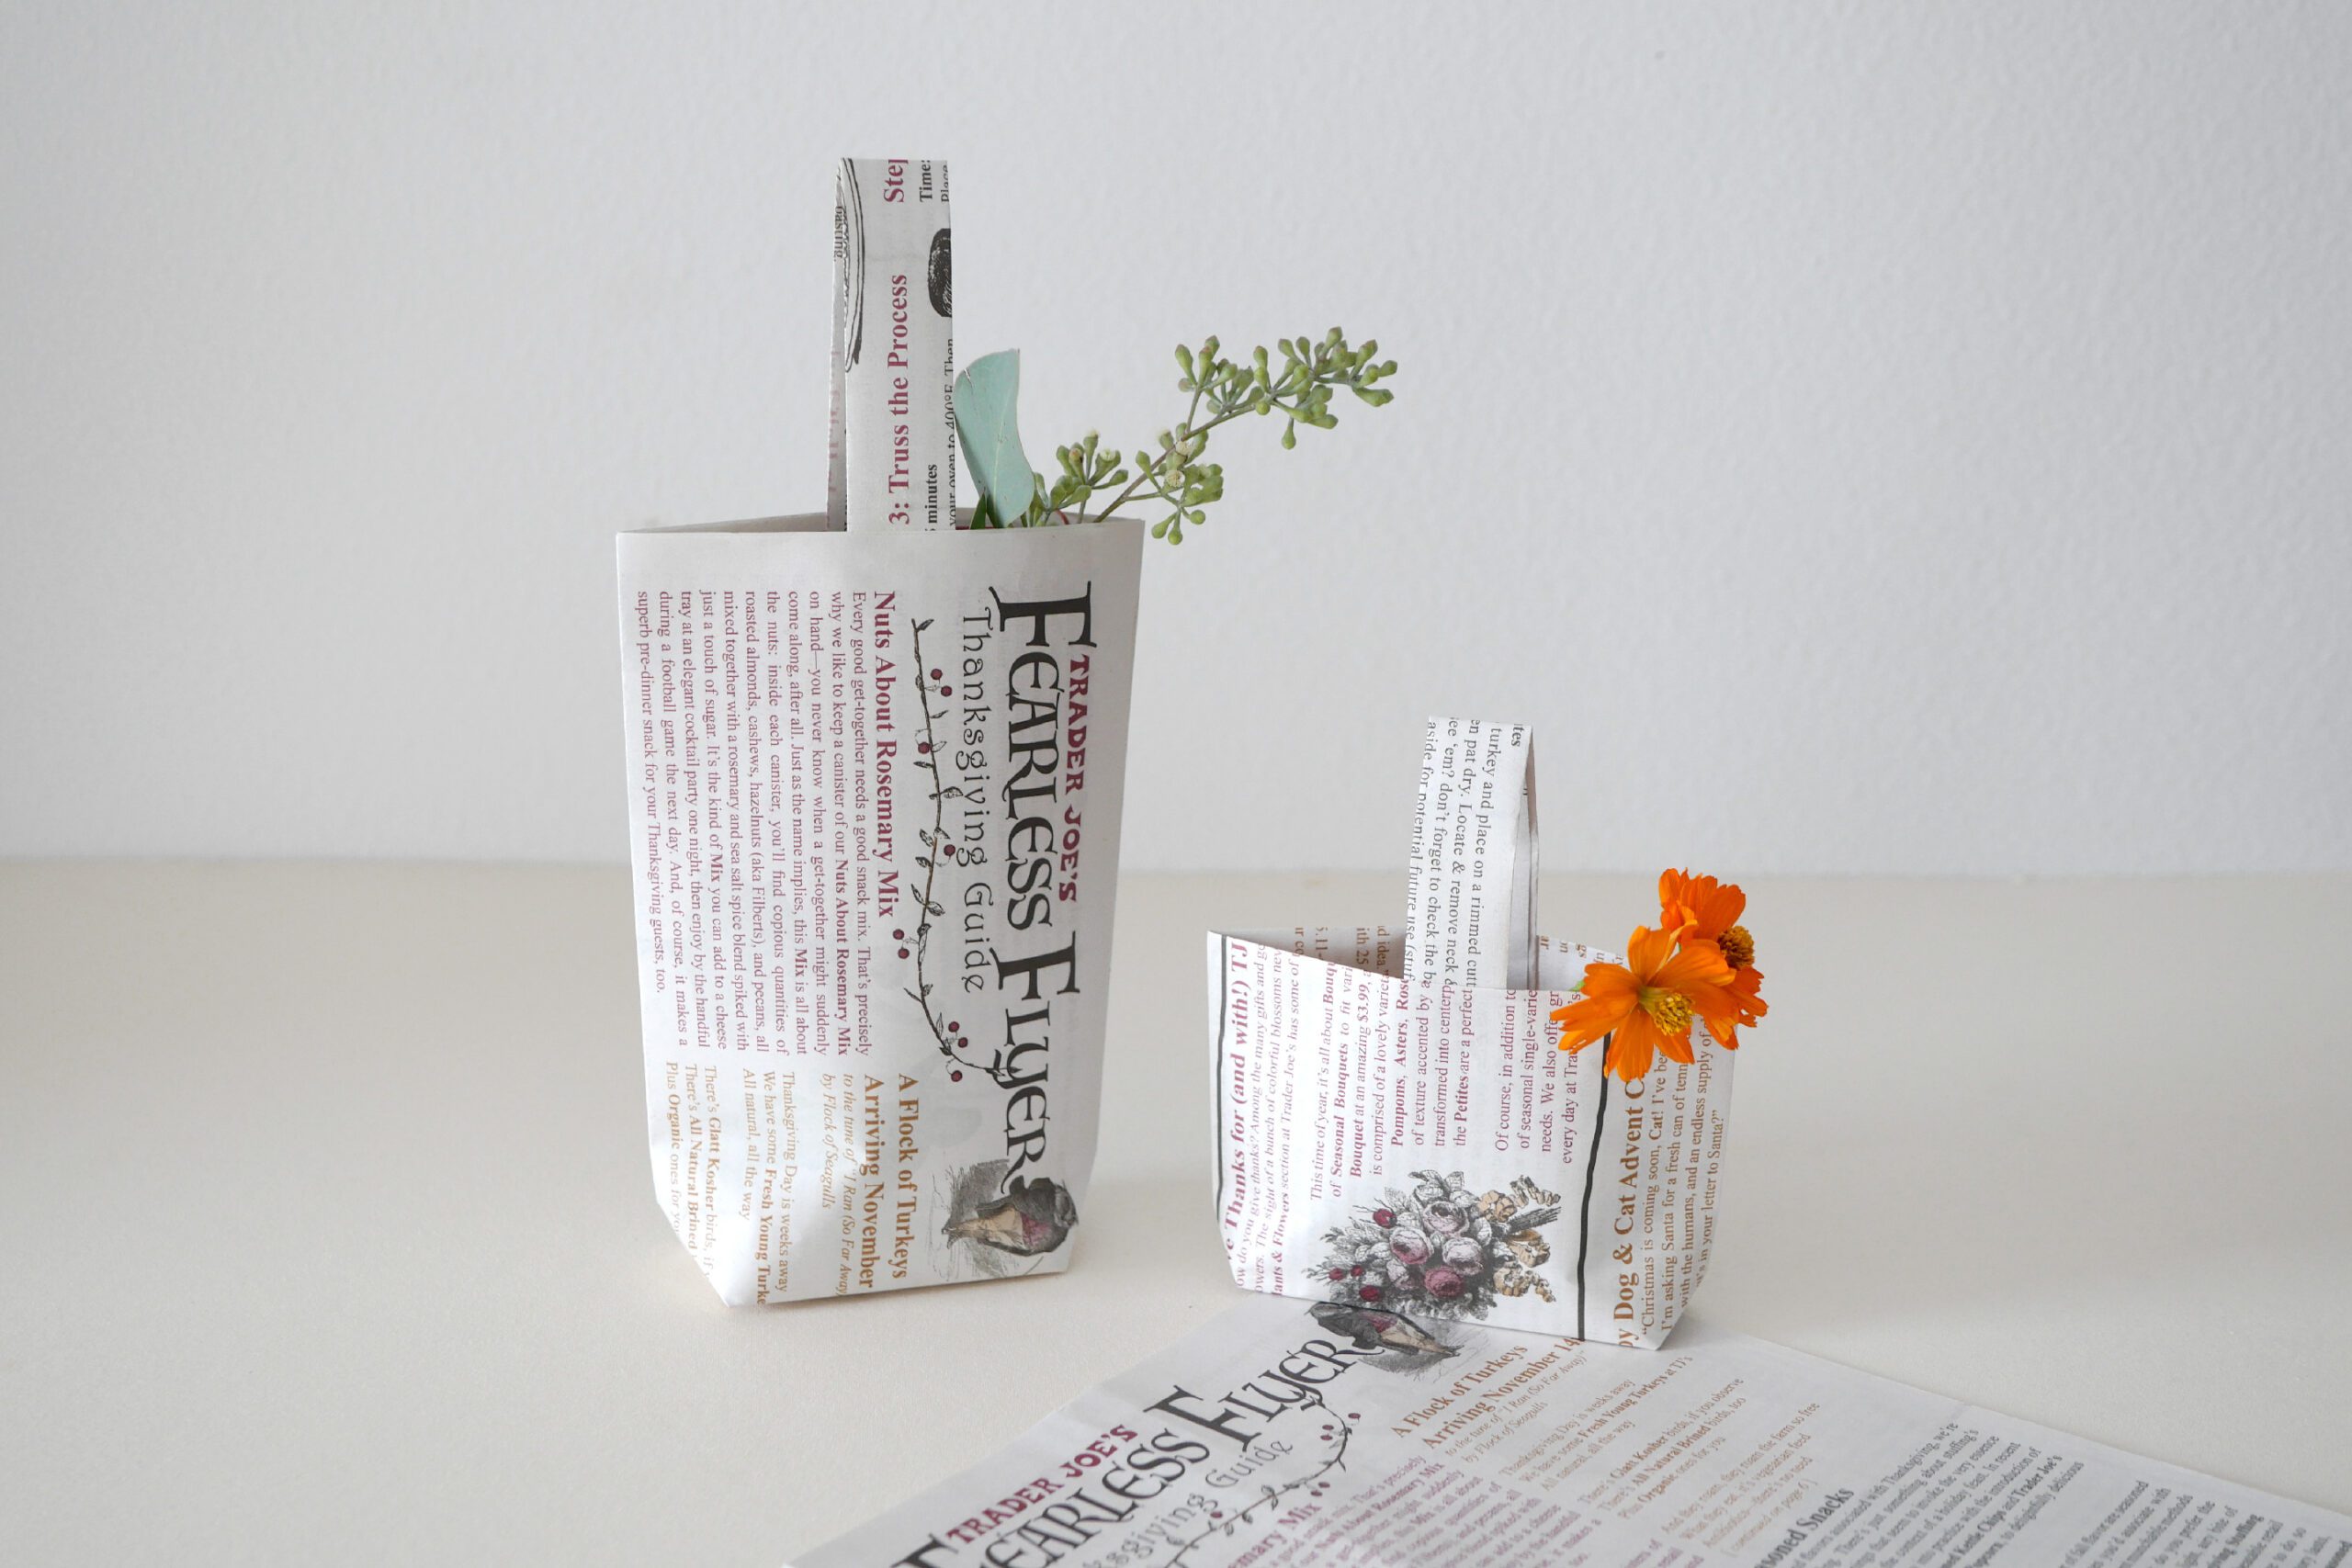
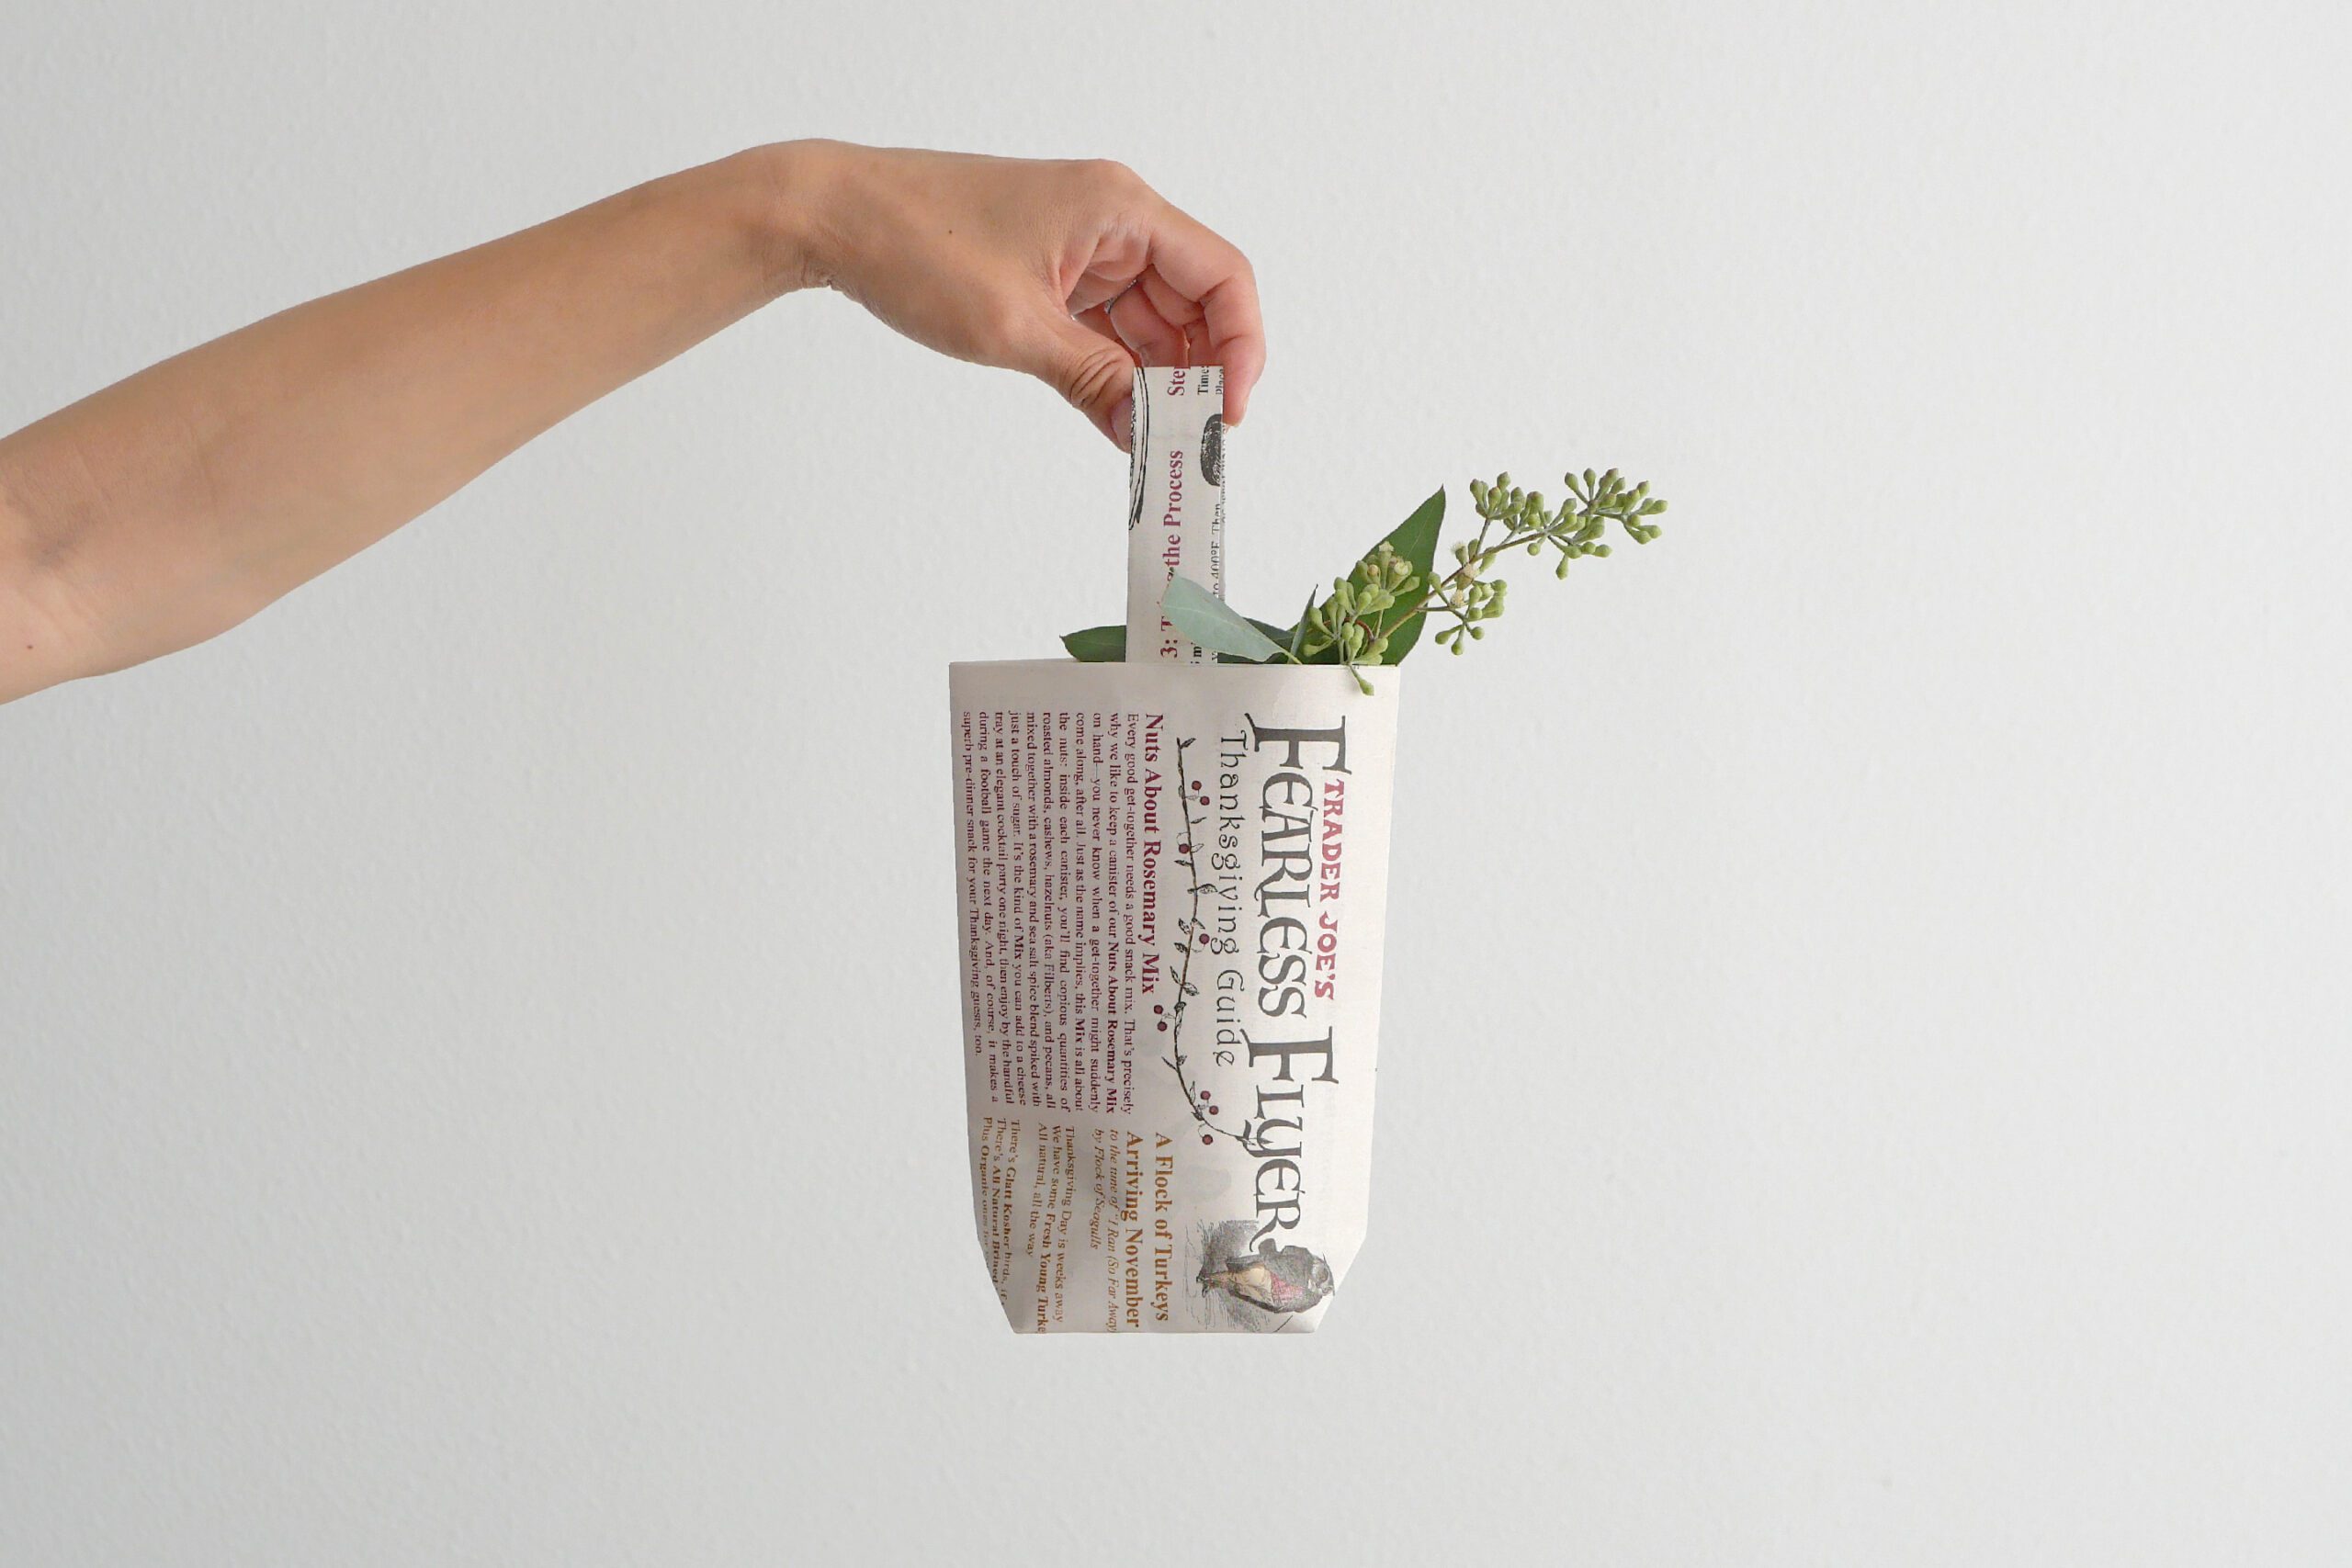
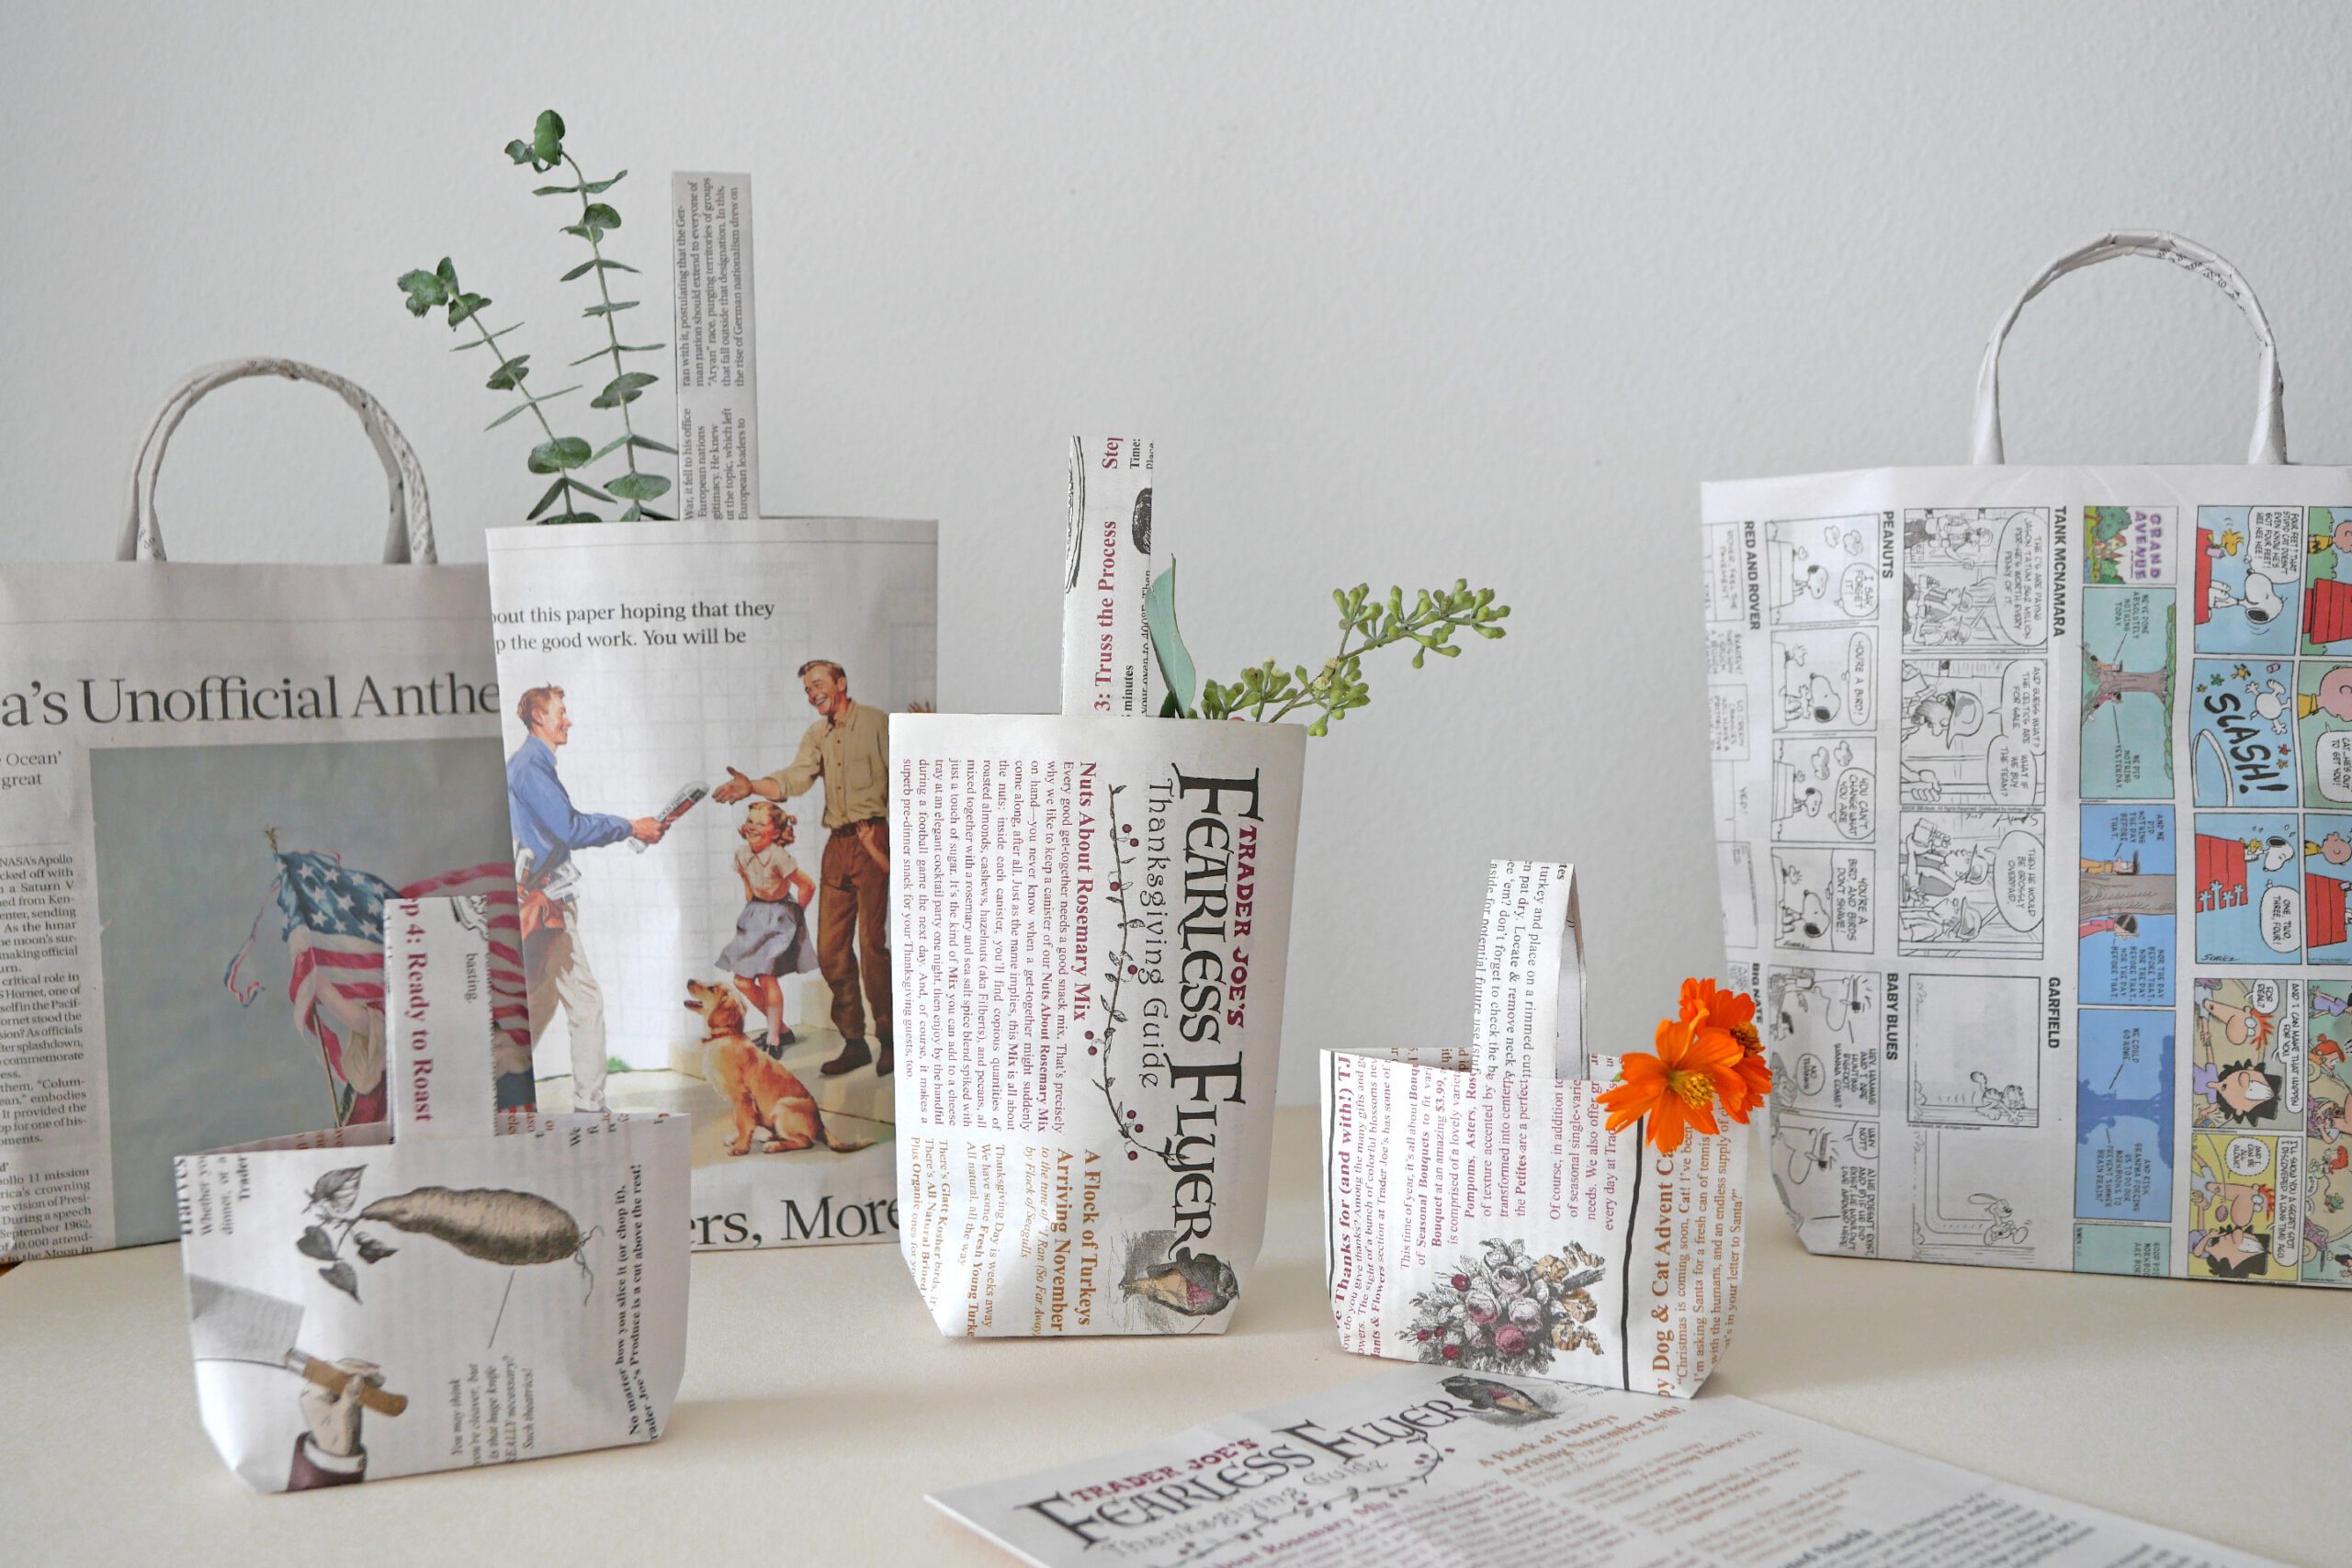
Now, Trader Joe’s Fearless Flyer season has come. I love this unique flyer, and look forward to it every time. The flyer is beautifully printed with classical illustrations typical of TJ’s and three-color ink. After reading I always making small bags with this paper. This small bag can be used to hold sweets or give to share small items. One of the fun parts of making the bags is thinking about which pattern to bring to the front. This is a unique craft that is rooted in my daily life, as I have always had a want to create something.
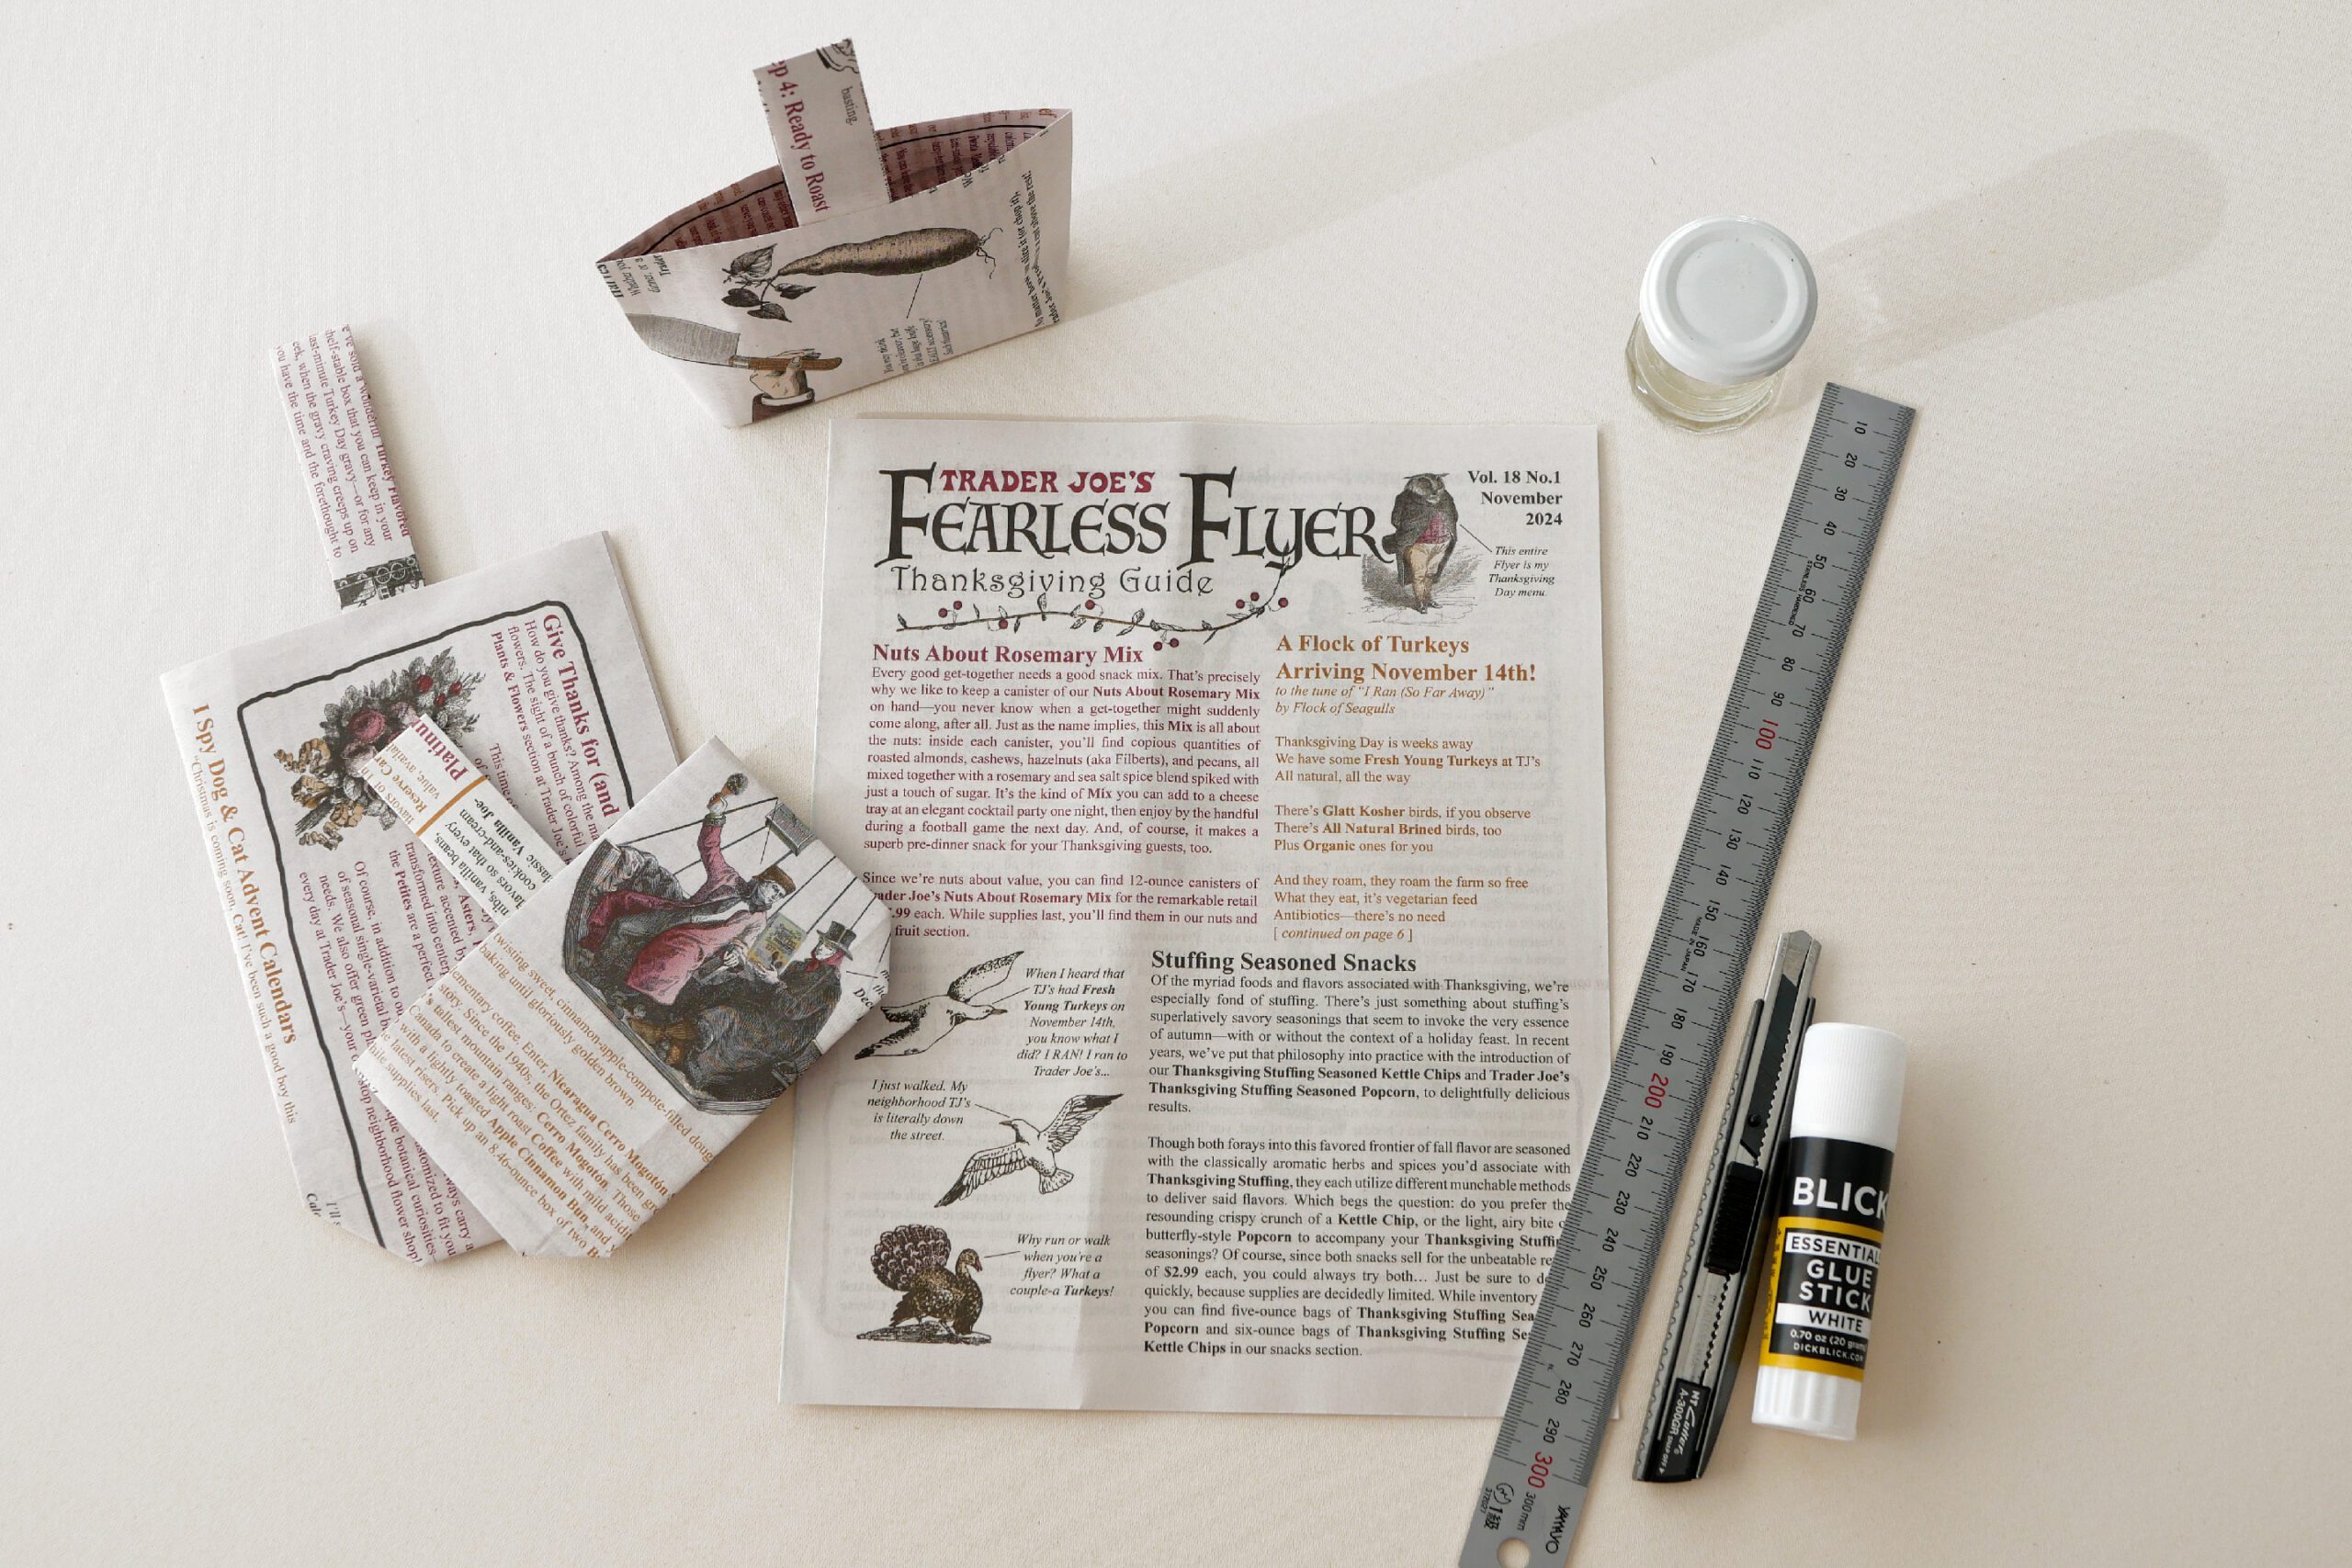
Materials
– TJ’s flyer or newspaper, other unnecessary paper
– Glue
– Cutter or scissors
Instructions for making
Introduction
Fold the paper like origami and glue the edges. Then, make a bottom and attach a handle. This is the only basic procedure. The size can be arranged as you like. There are a few tips at key points, so for reference, here are the steps for a vertical bag and a horizontal bag.
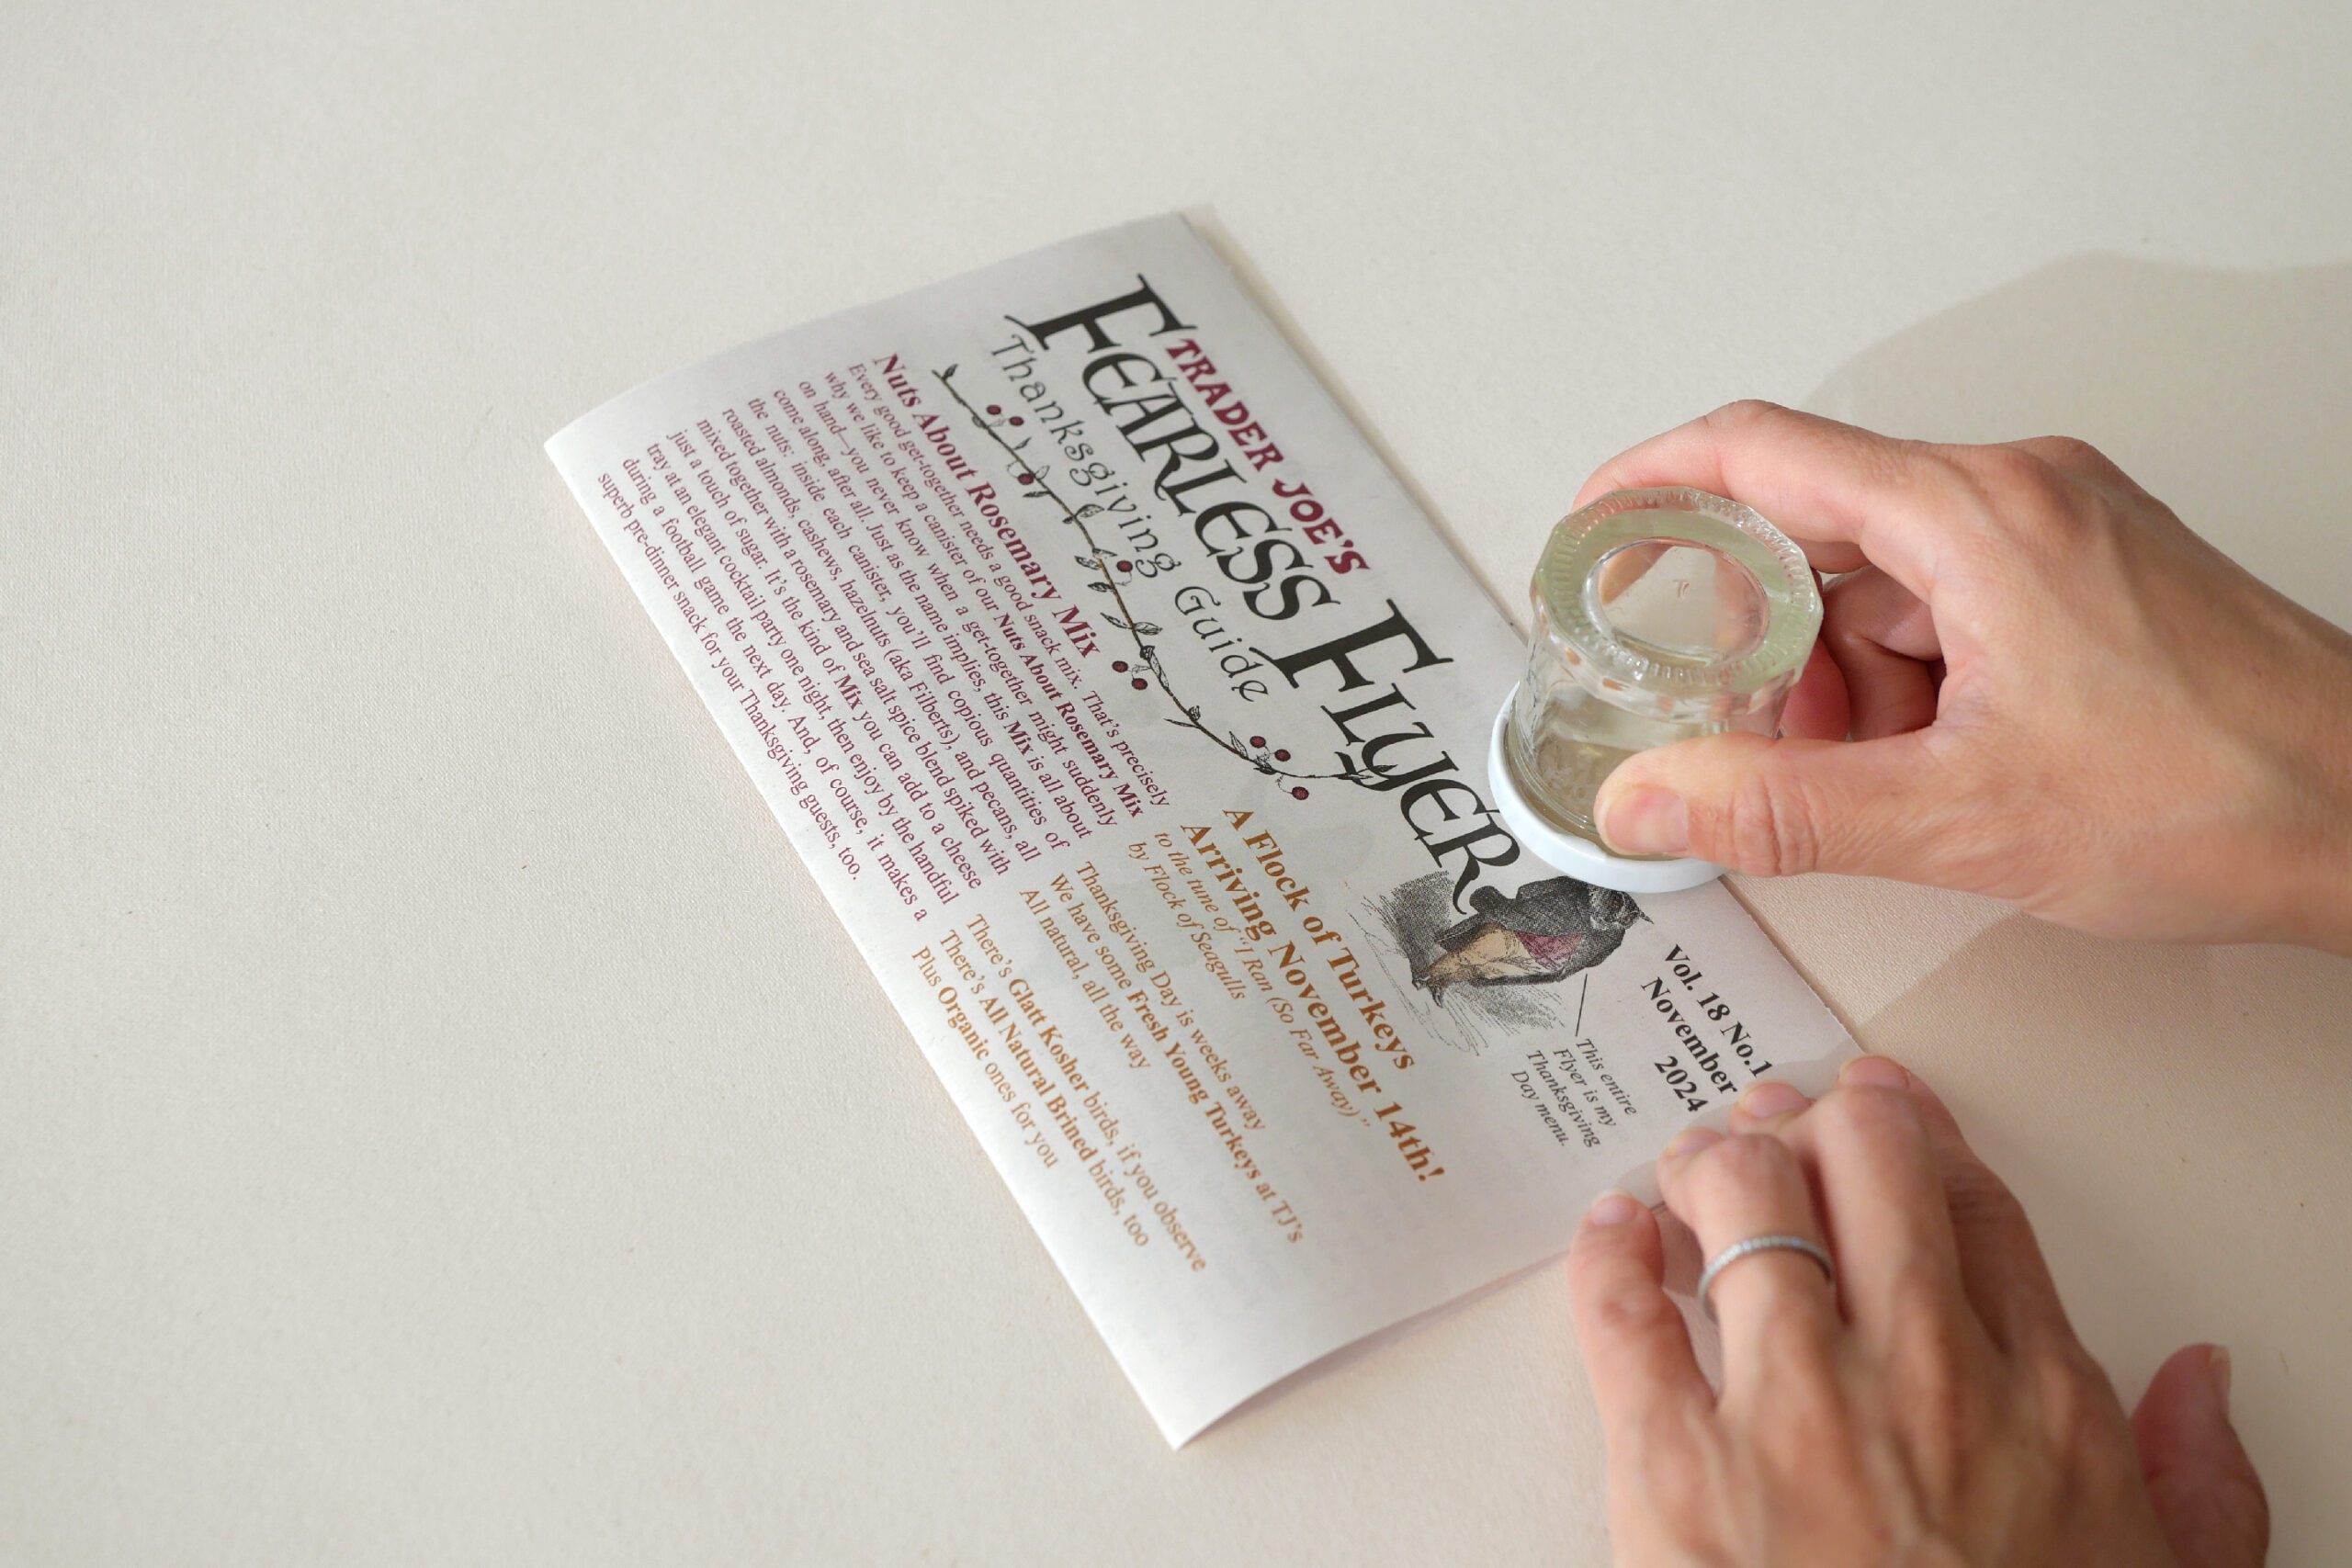
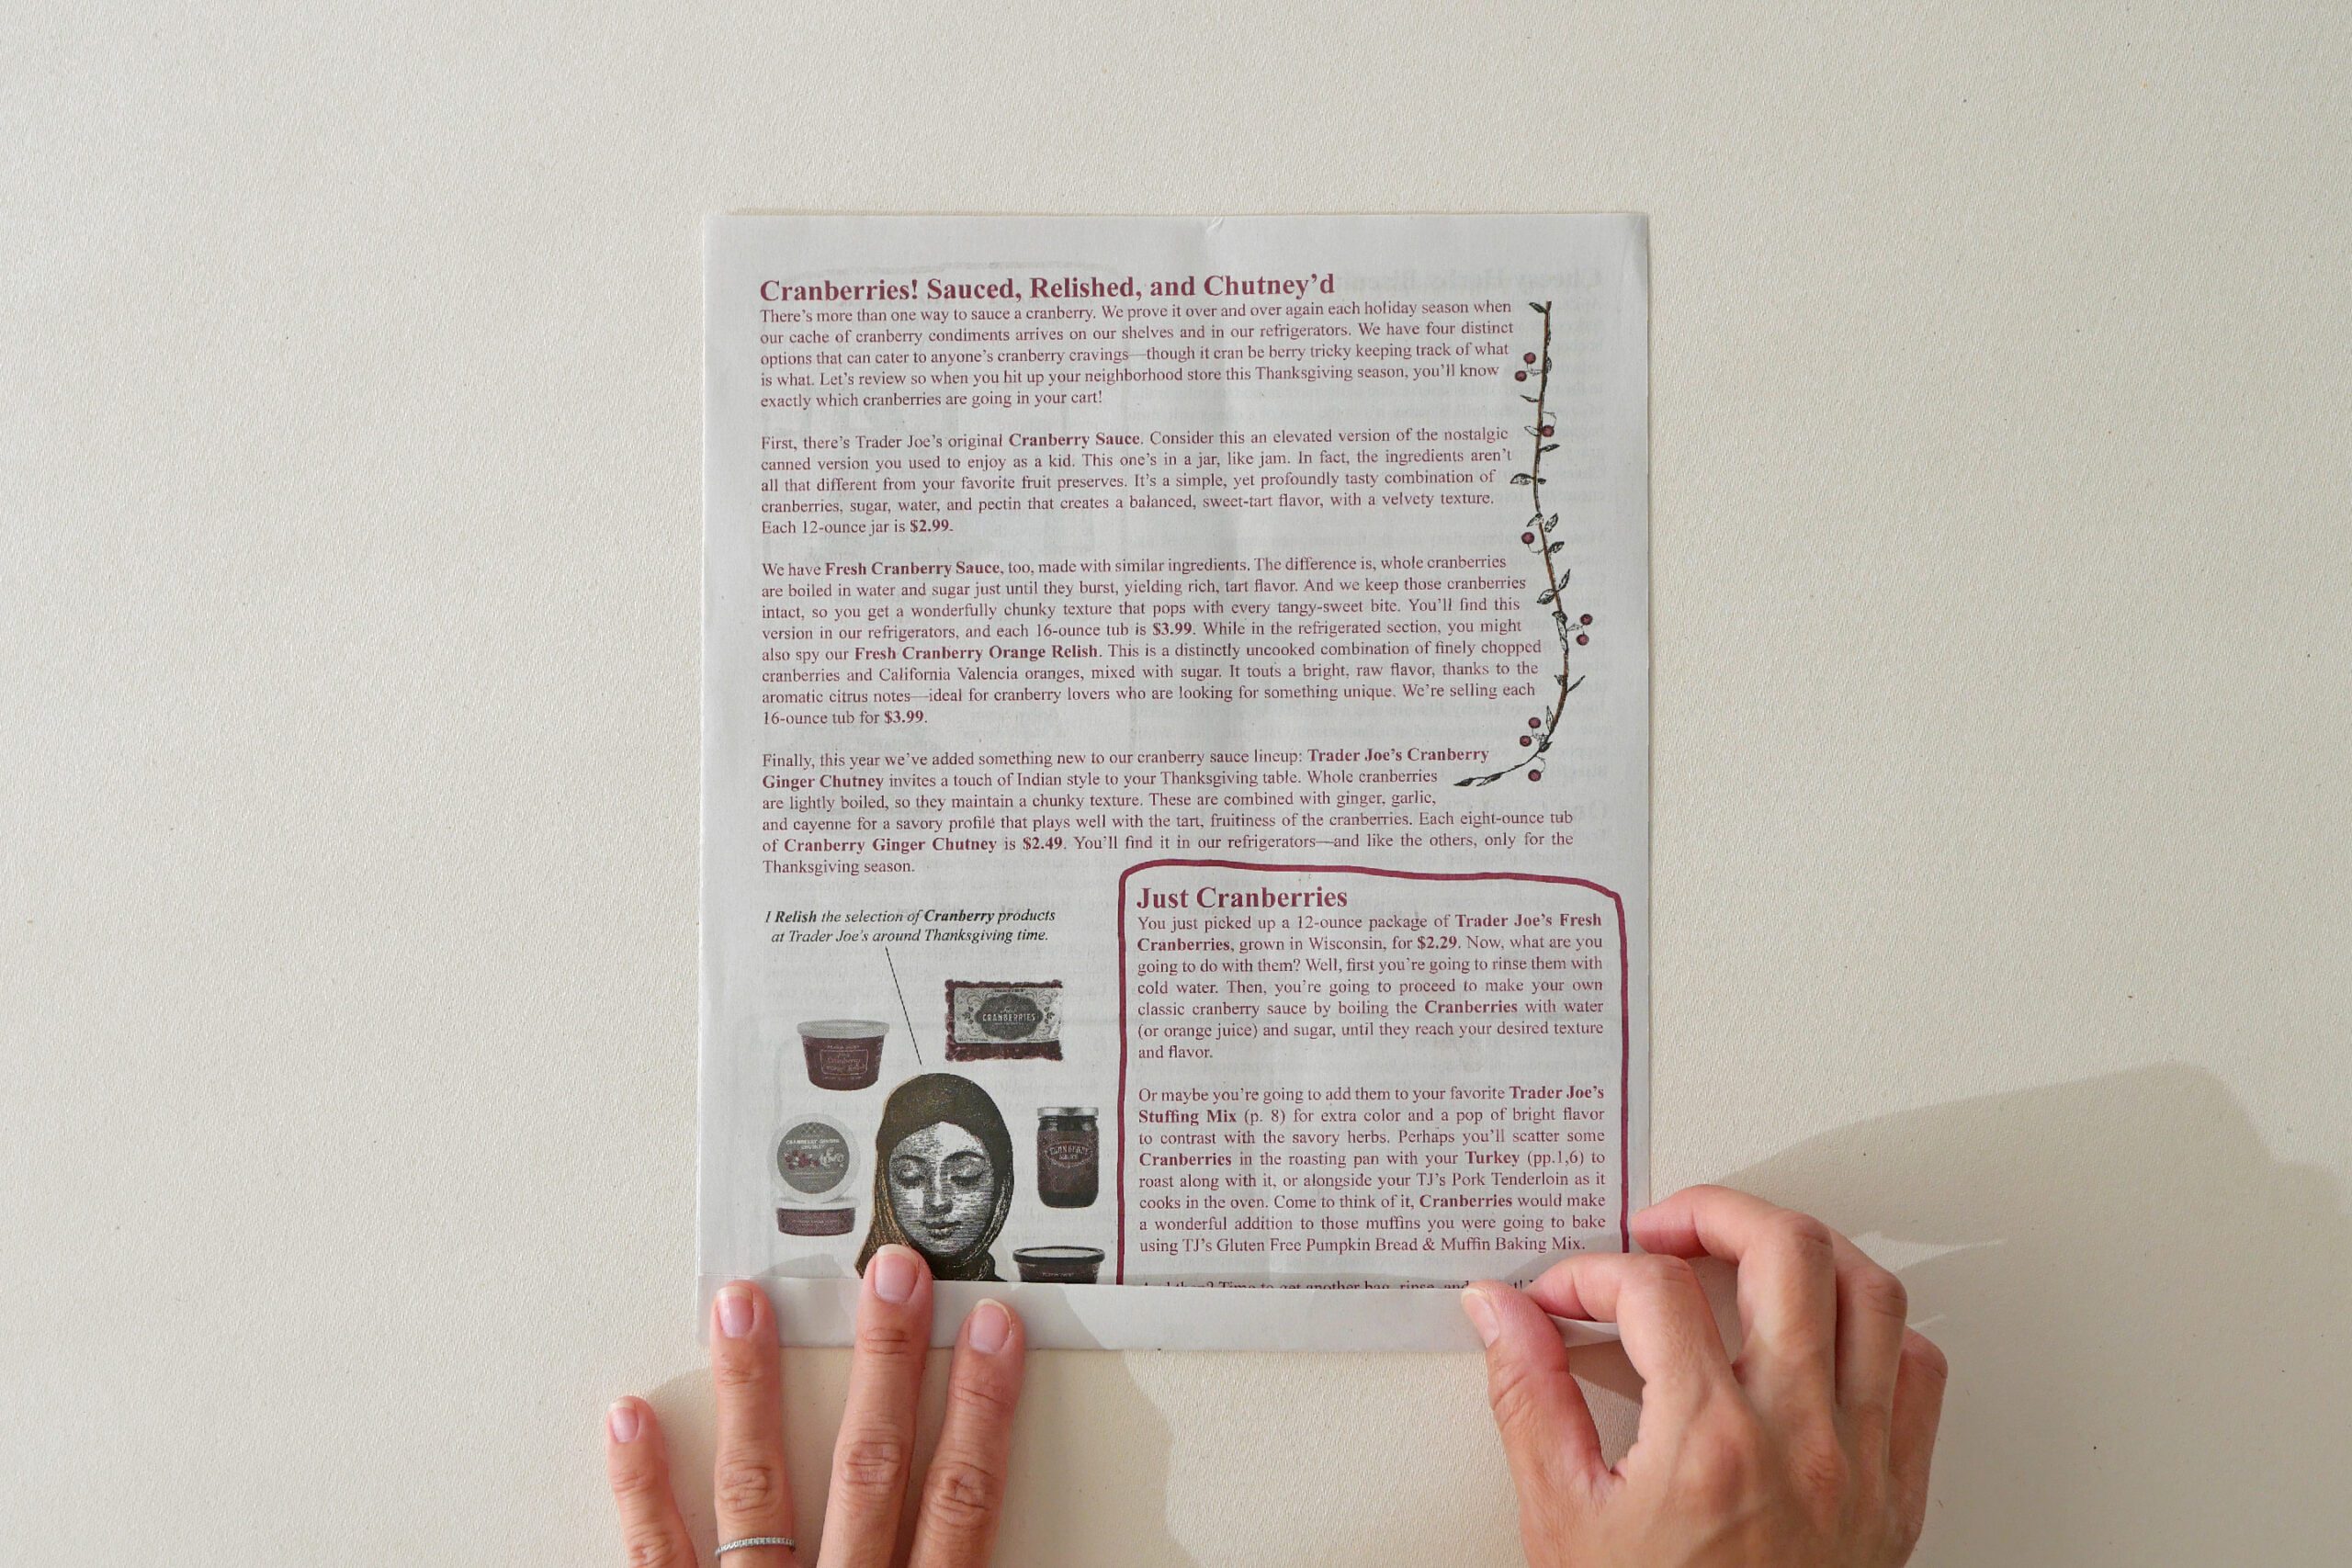
The folded part can be pressed while sliding with a small bottle to it will be more firmly folded. The flat lid is easy to slide on, and if you slide it along the folds as shown in the photo, you can work very well. There is no need to worry about getting your hands dirty with ink from the fryer or newspaper. Please try it.
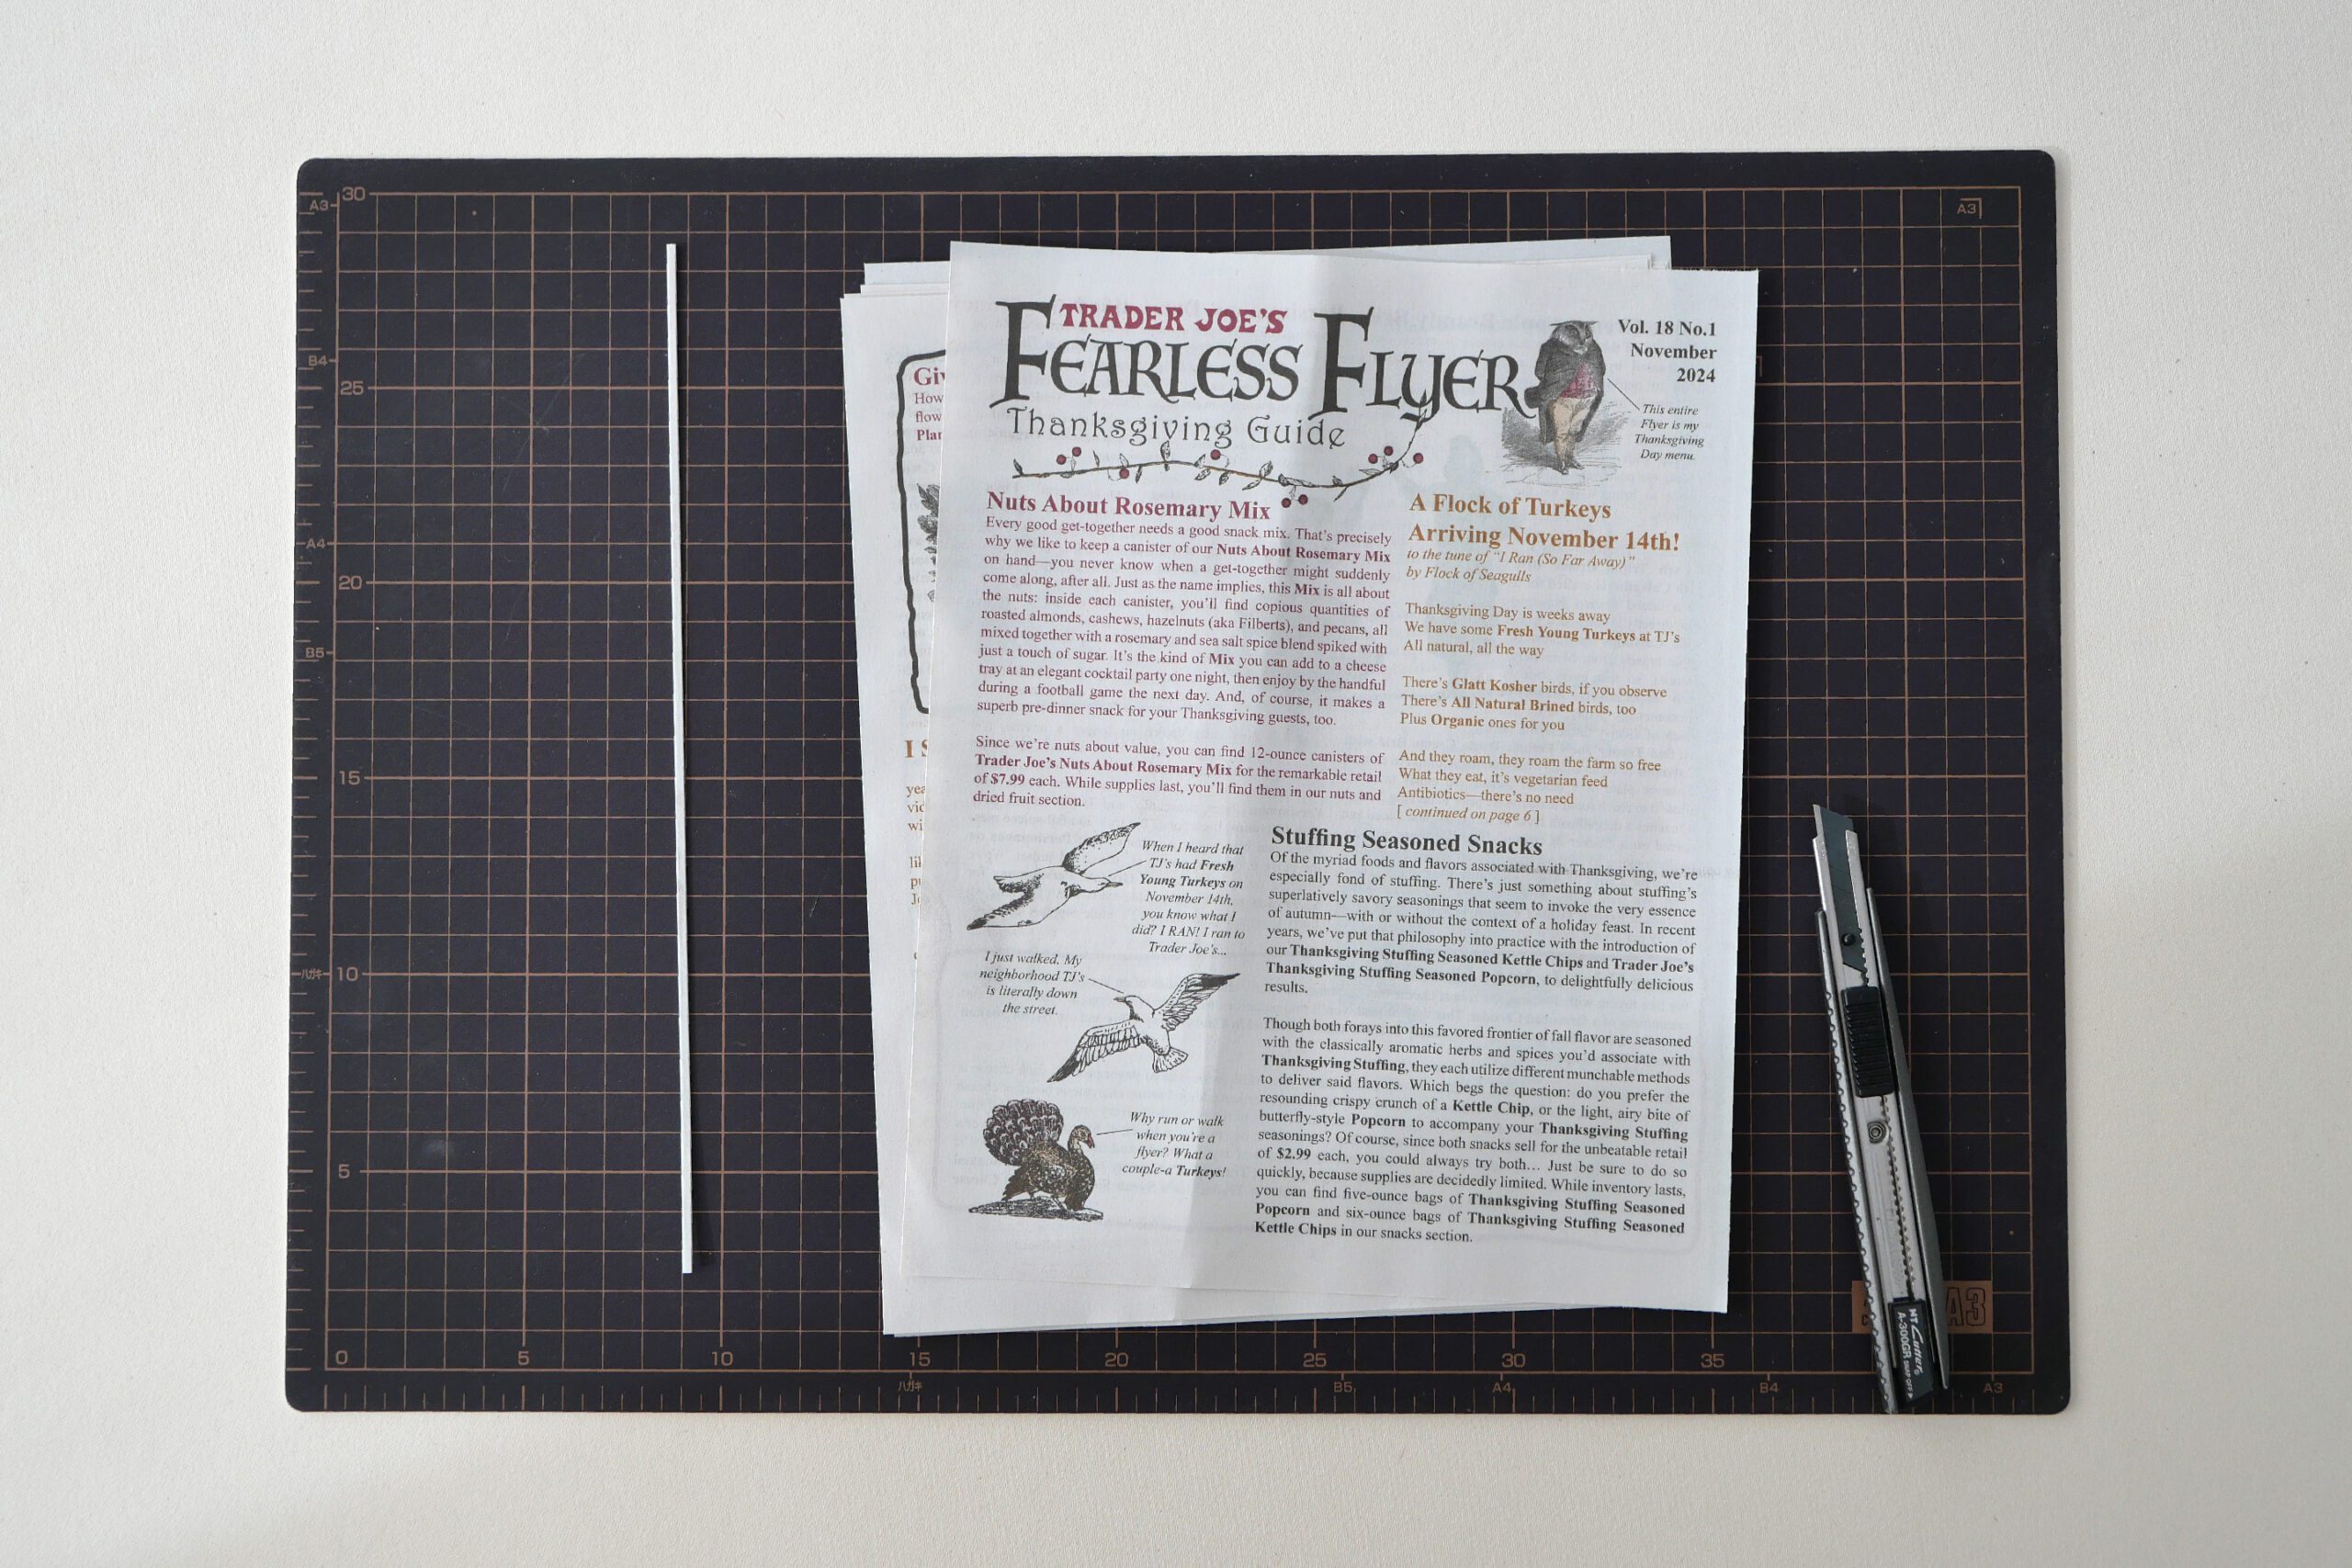
Type1. Vertical Bag
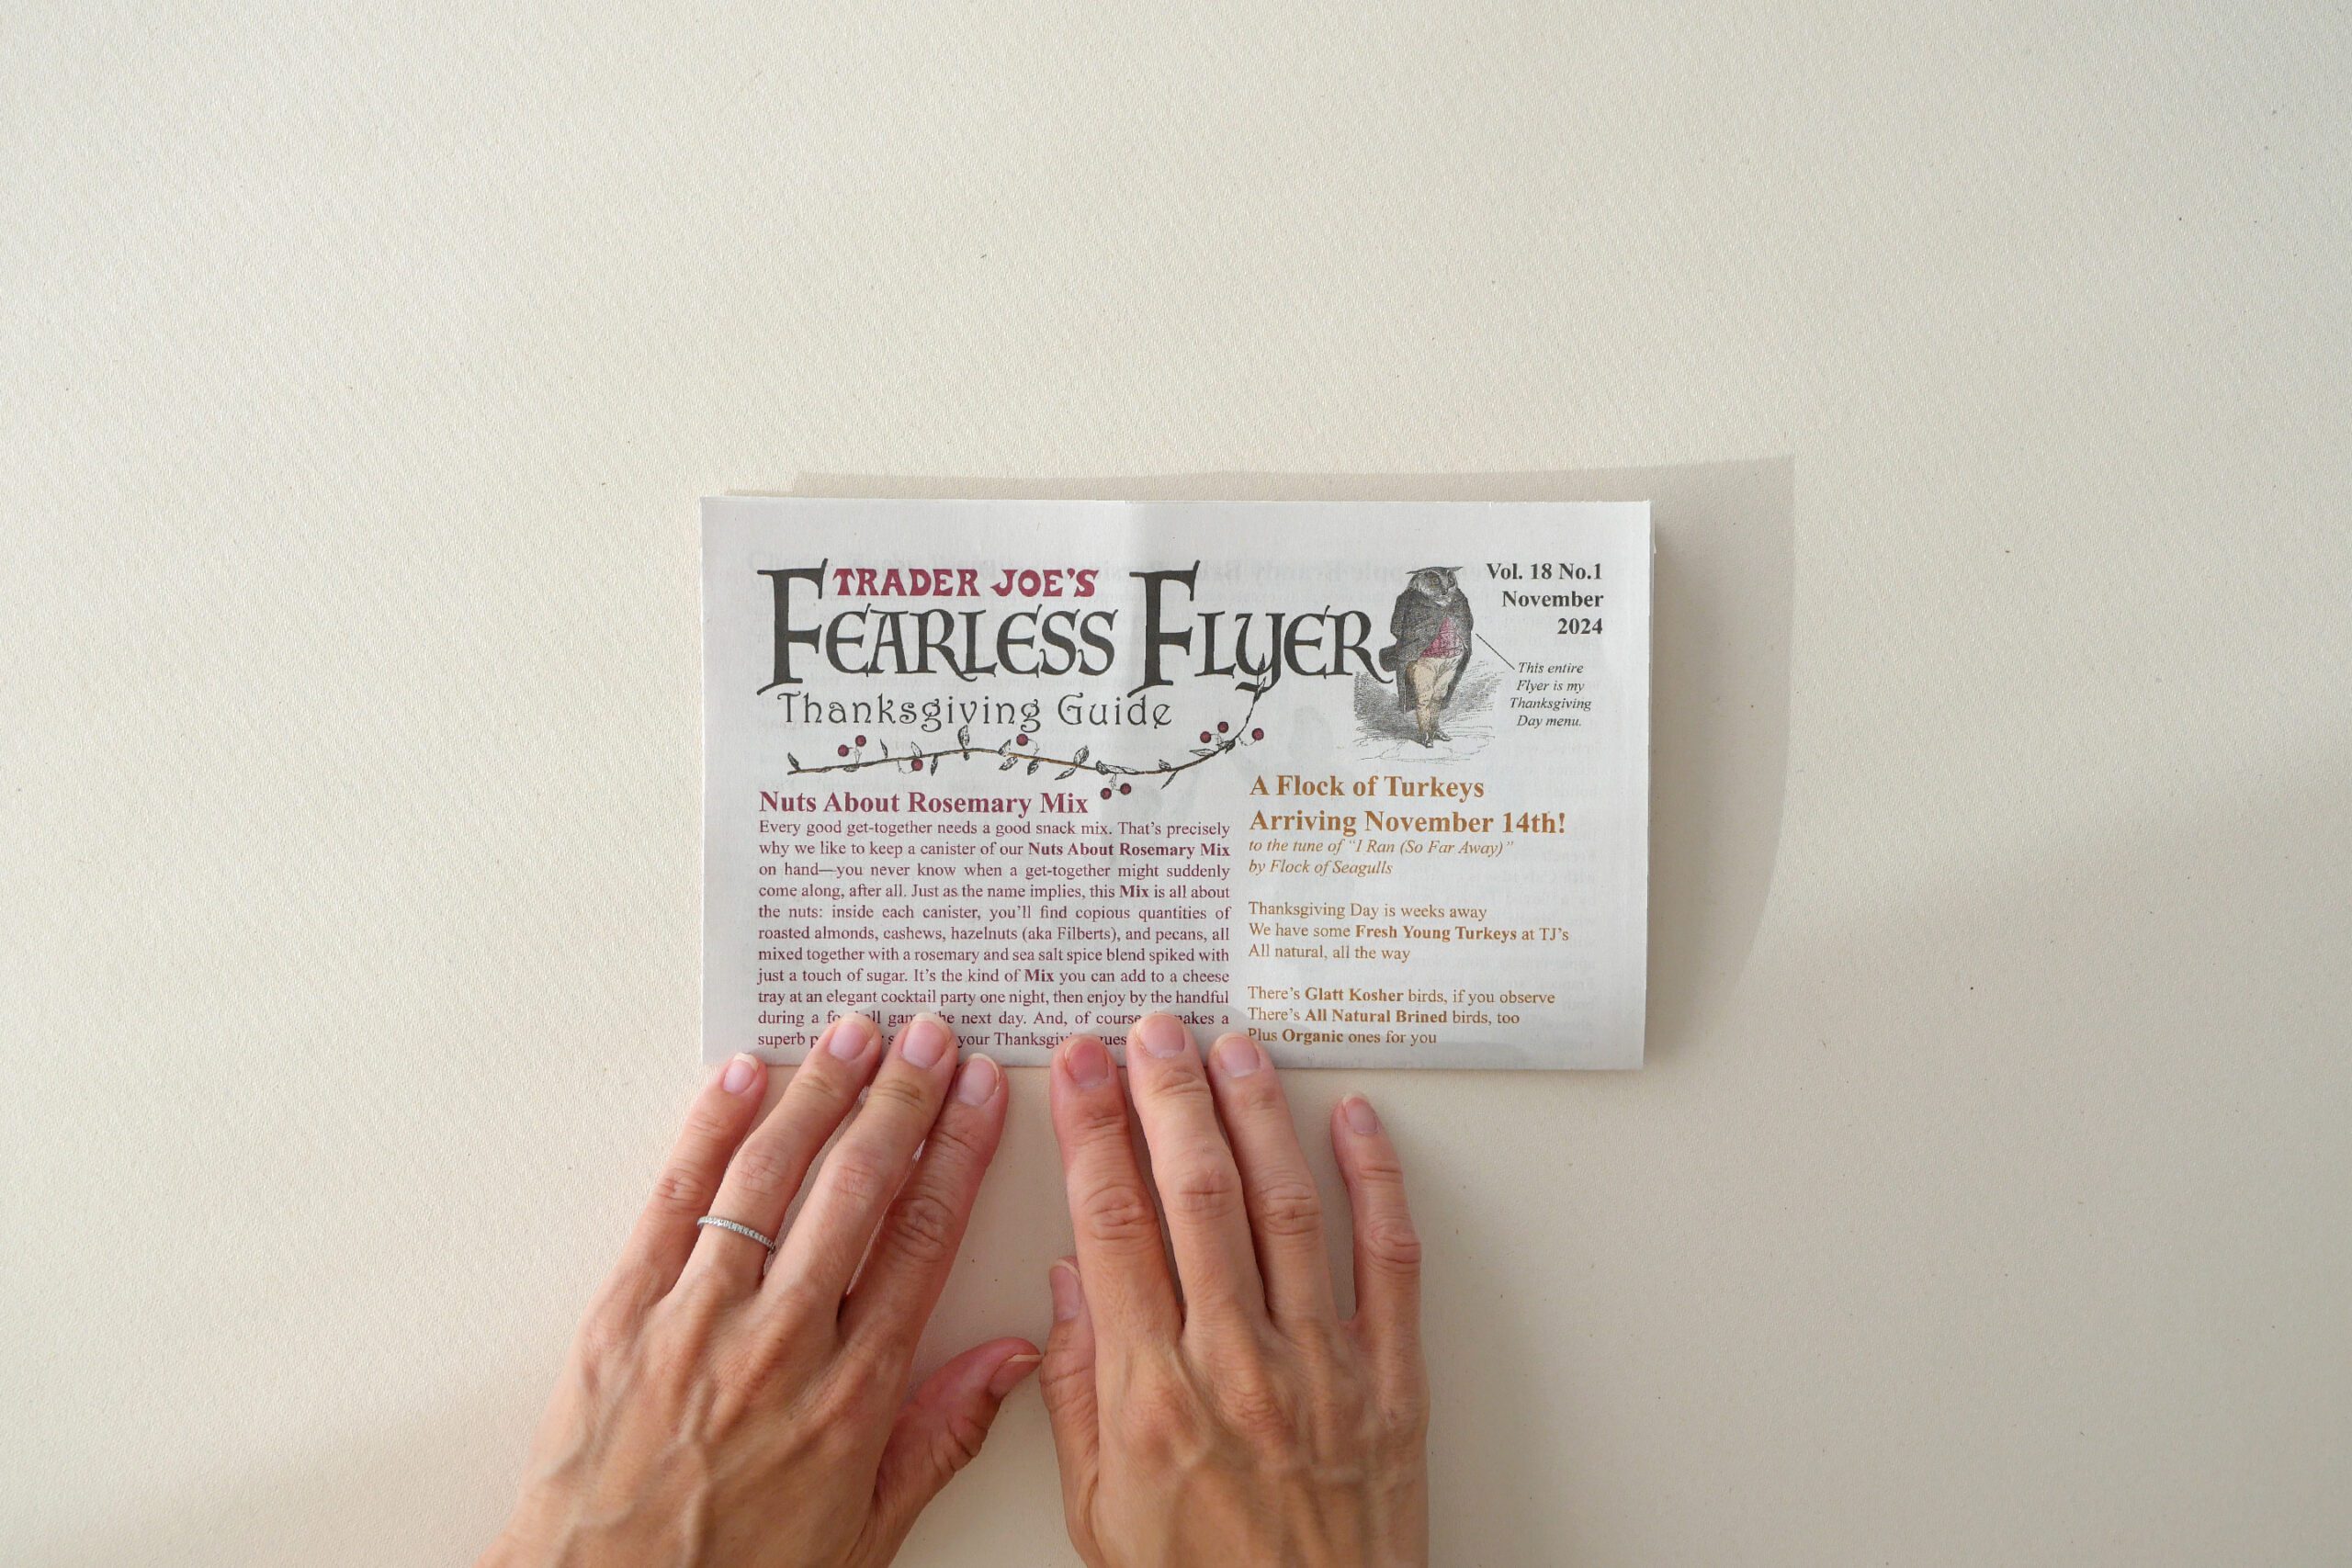
Cut the edges of the flyer and take apart one sheet at a time. Fold the two sheets of stacked paper about 1/2” from the edges. This part will be the glue allowance. Fold the remaining space in half along the crease, apply glue to the 1/2” fold, and sandwich it between the two pieces of paper. The glue between the two sheets of paper will give a beautiful finish, and the two sheets of paper will be stronger than the one.
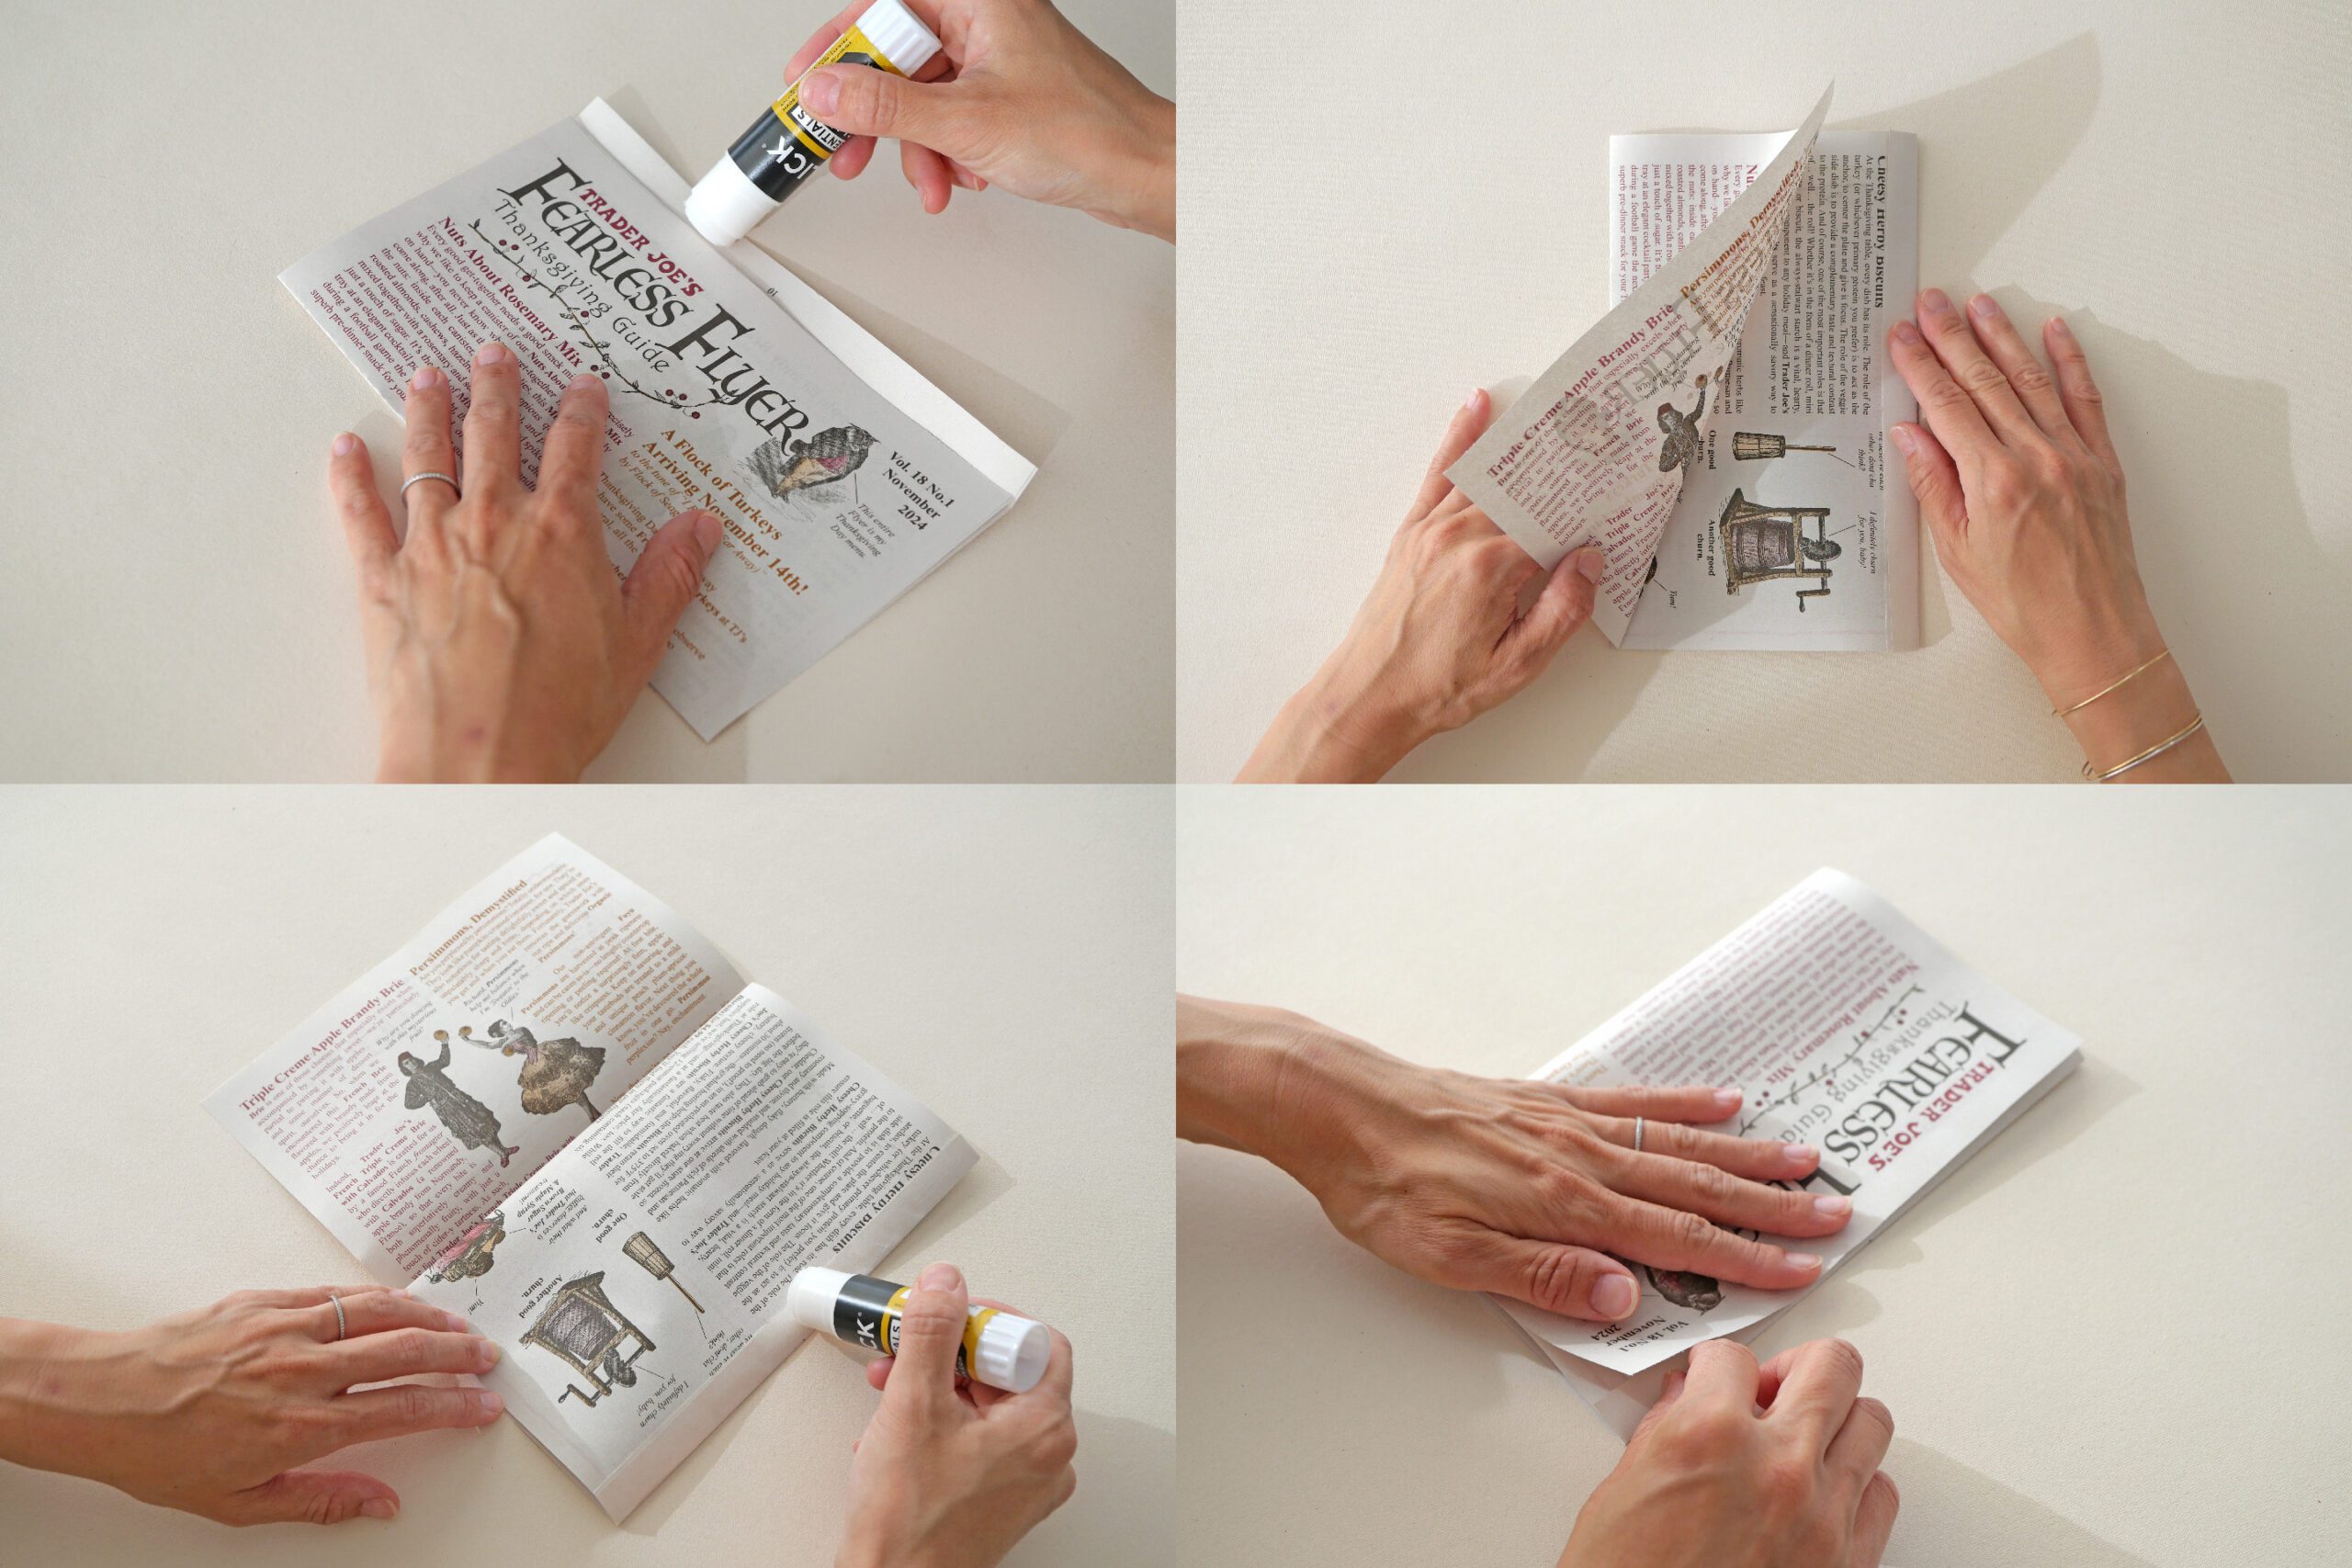
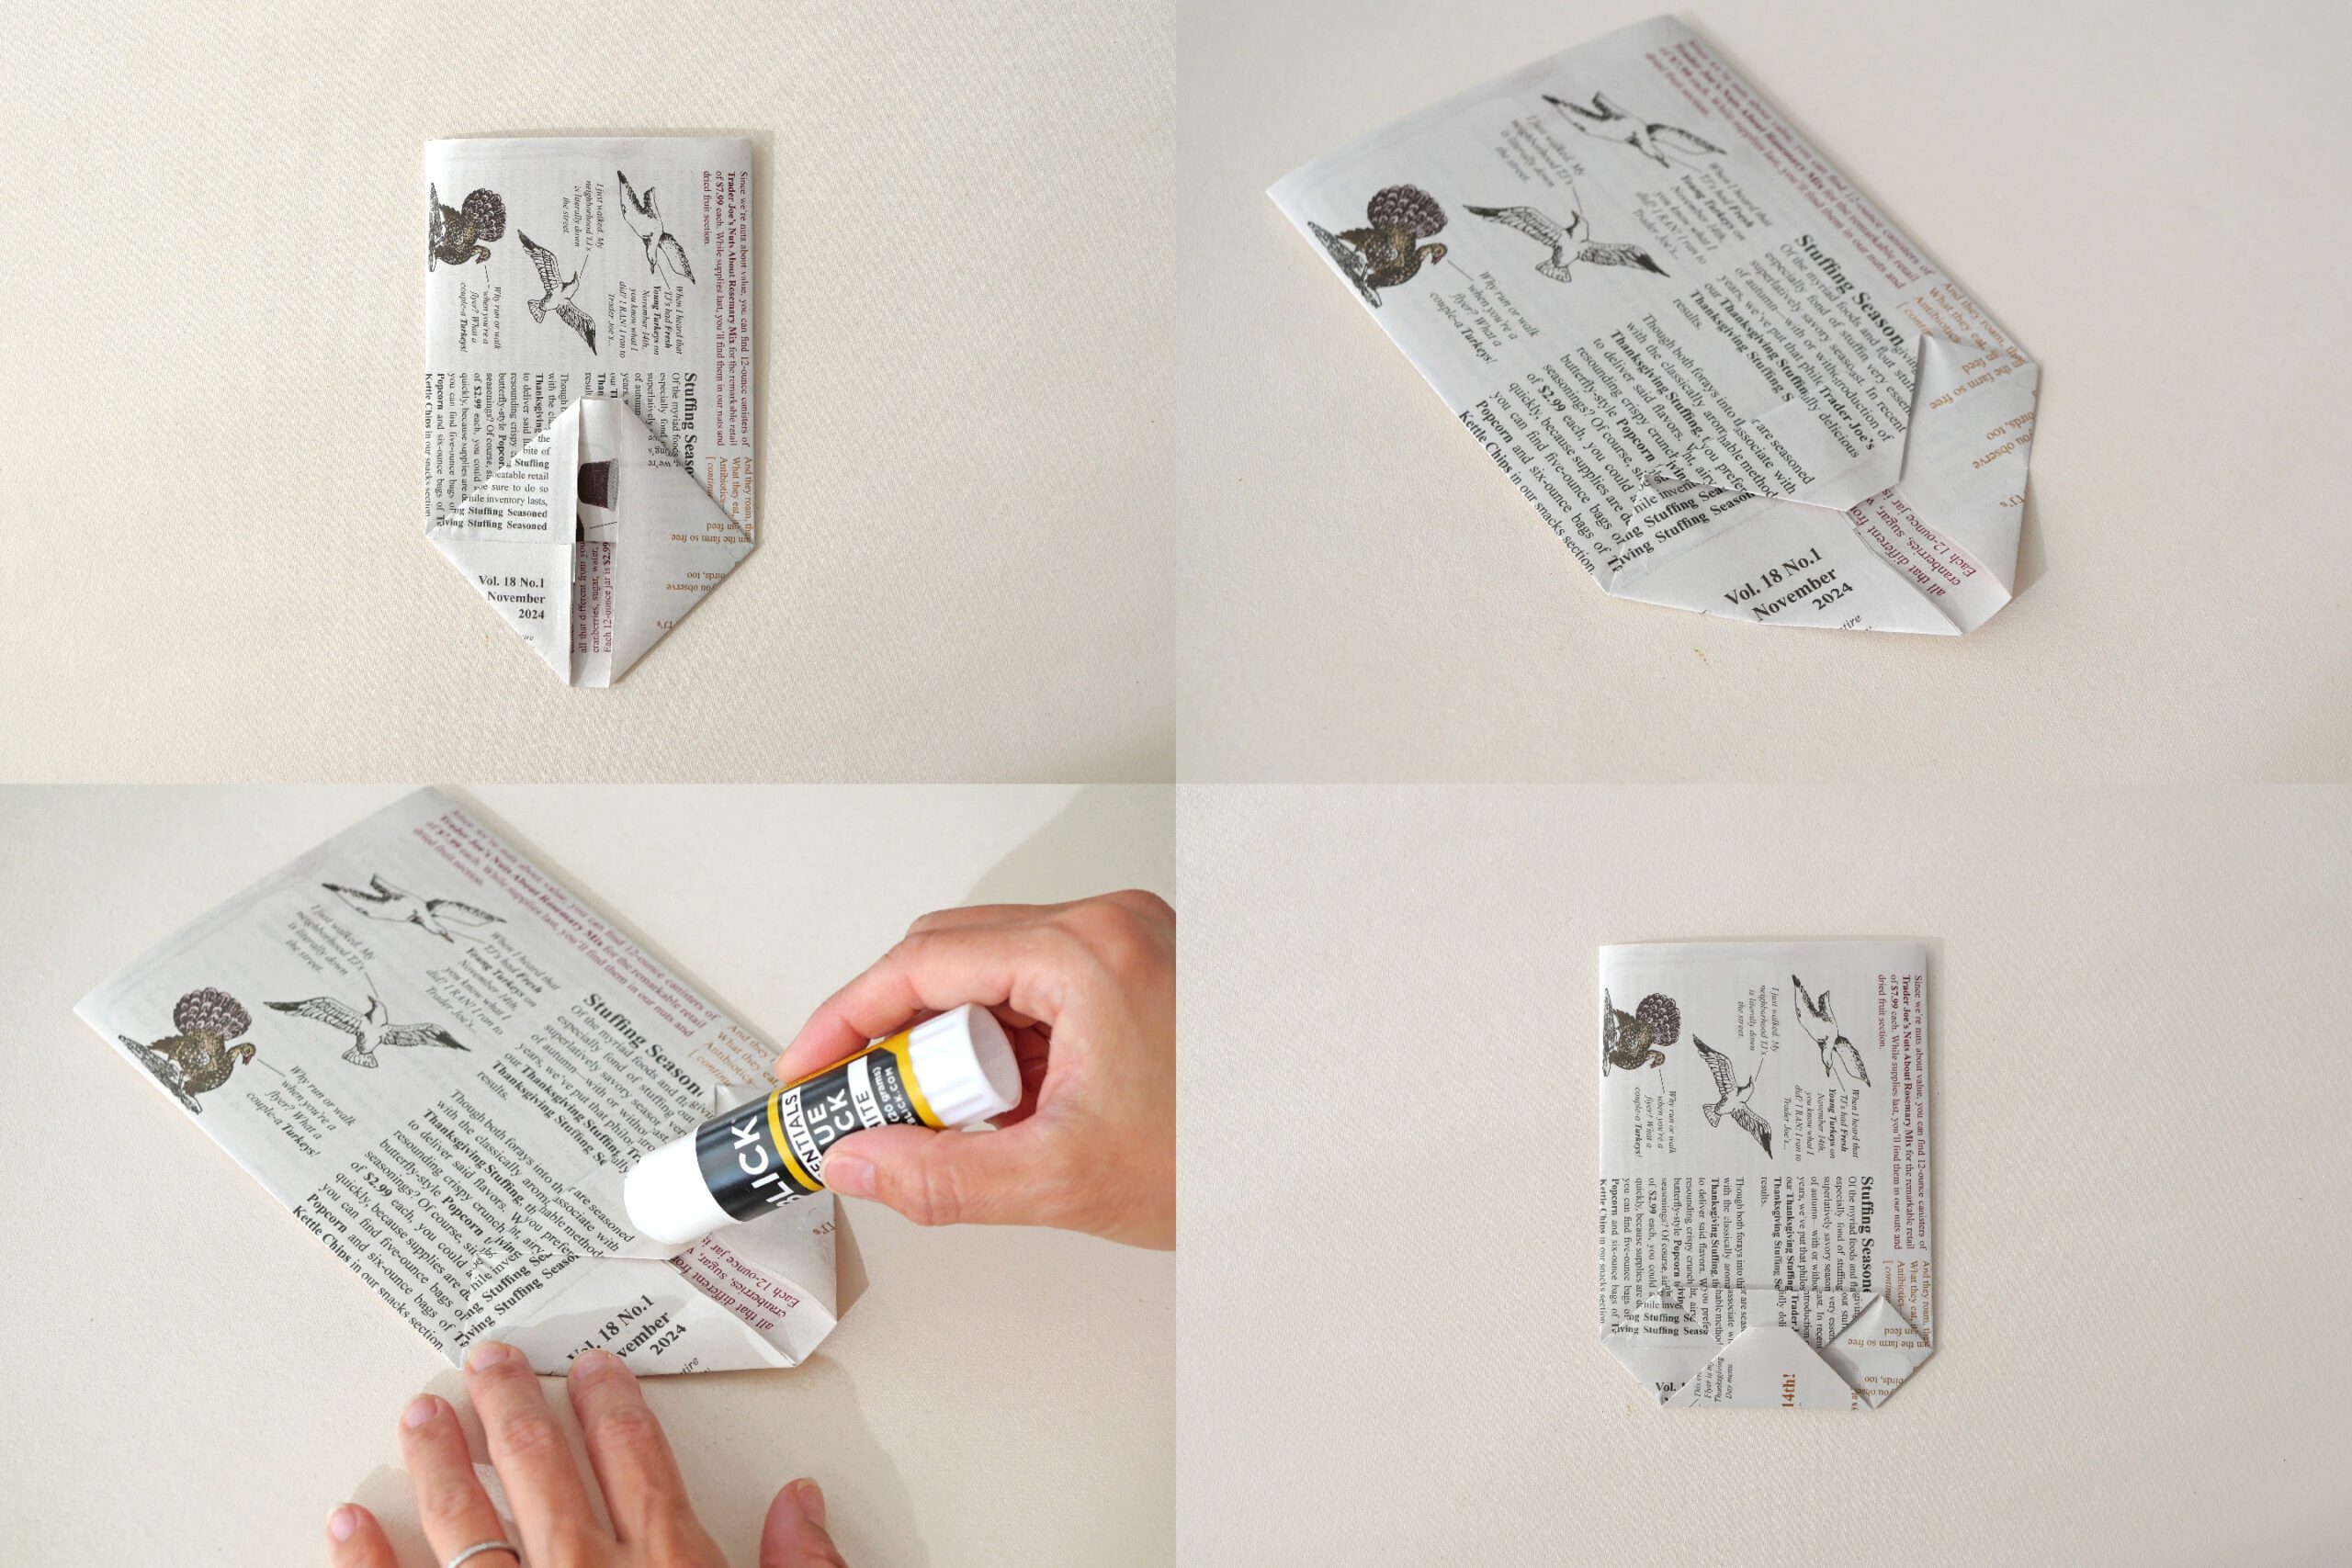
Make the bottom of the bag. Turn the bag for back side and fold 2.5 inches from the bottom. Unfold and fold the sides into a triangle.
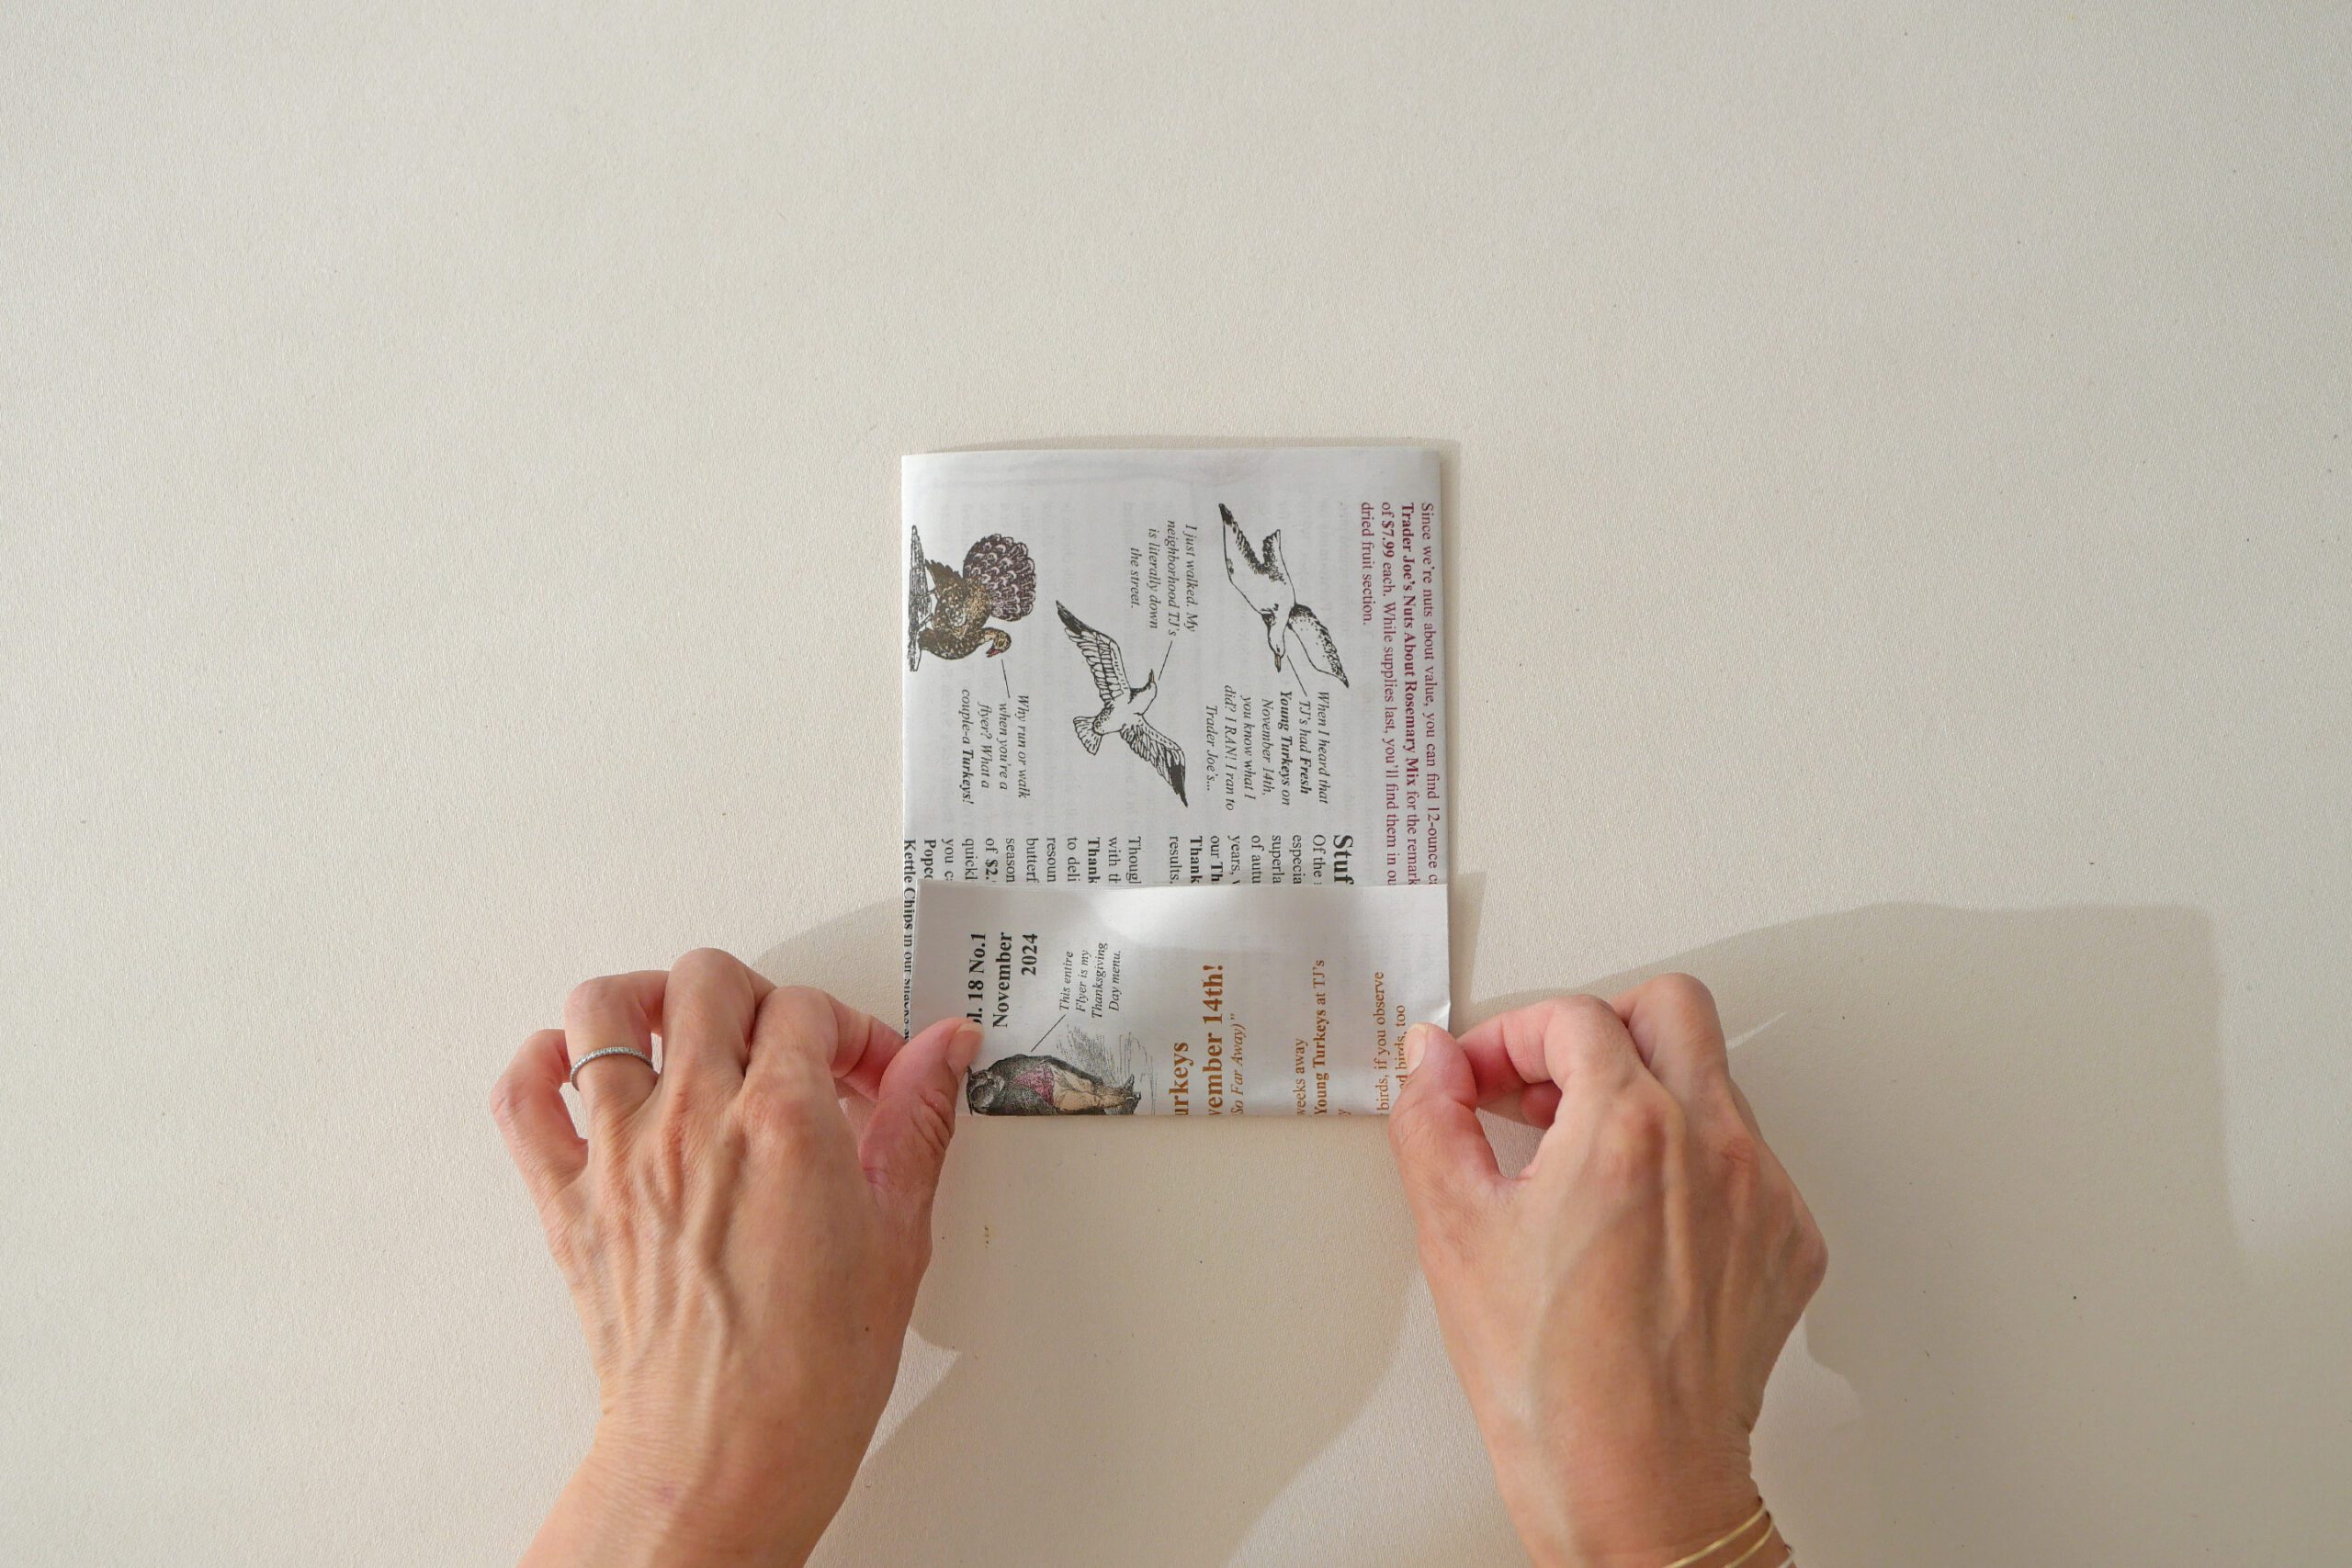
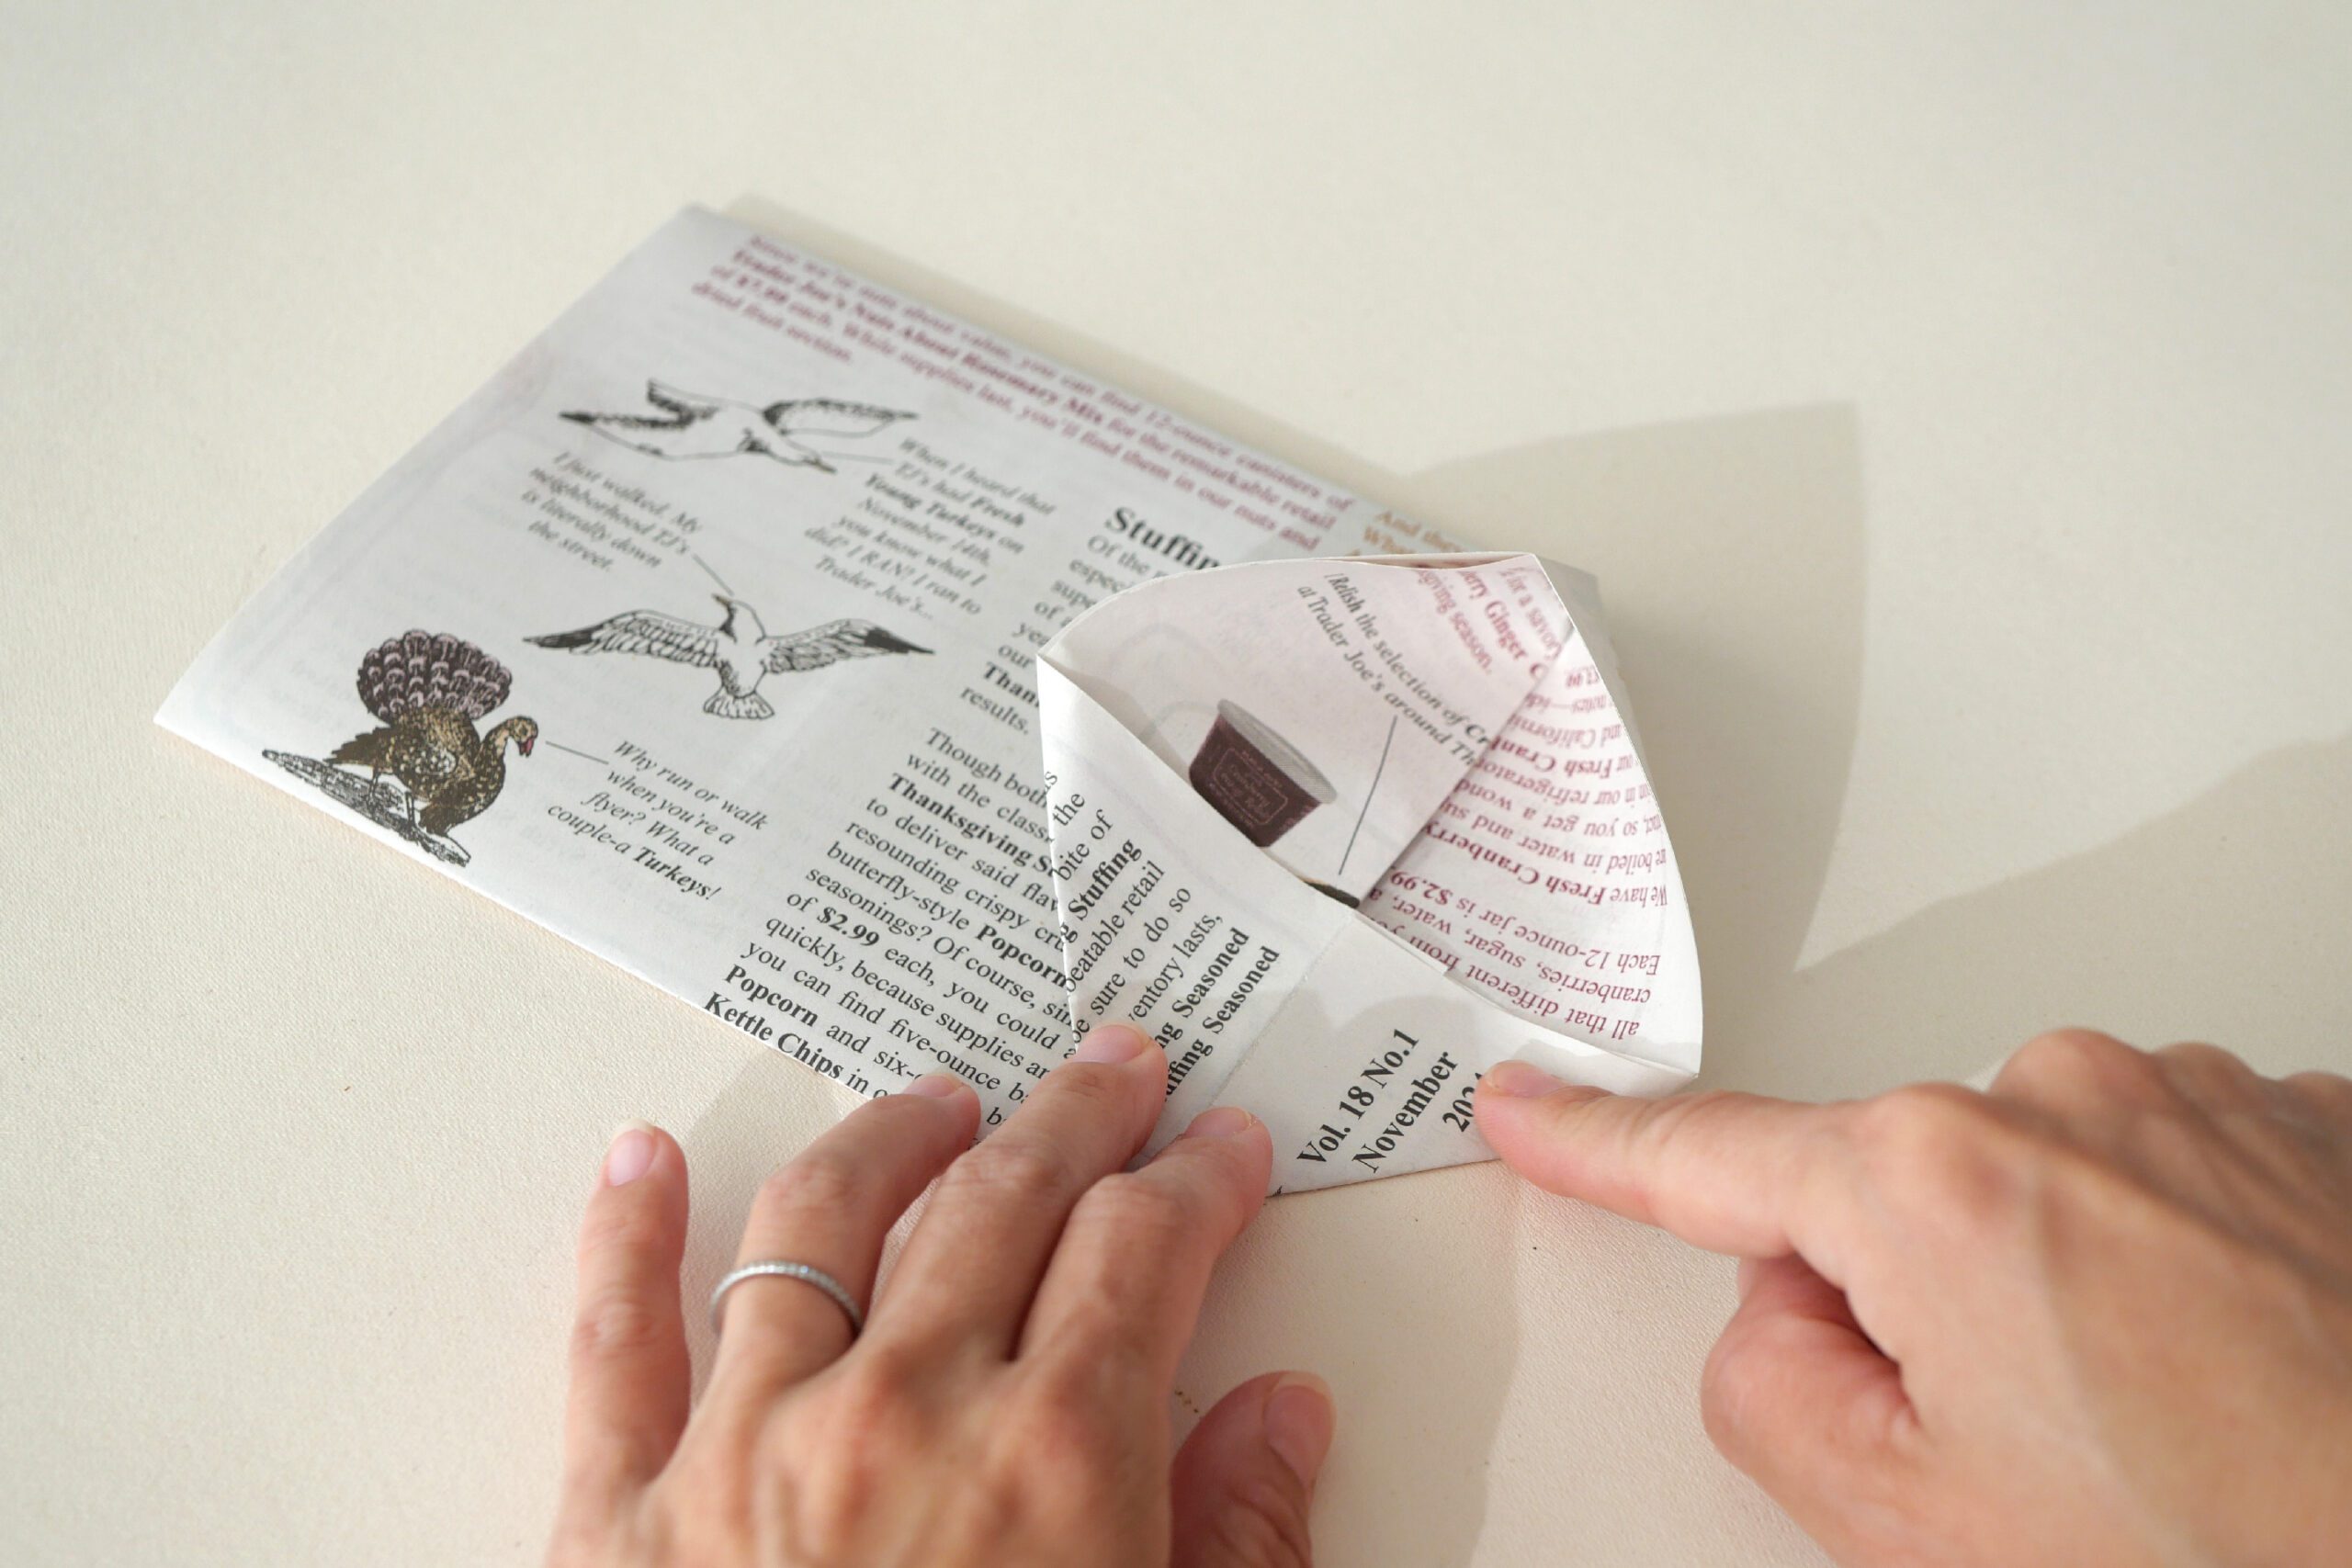
Fold the paper together so that the paper overlaps about 1/2 inch toward the center. Apply glue to the folded area. At this point, be careful where you apply the glue.
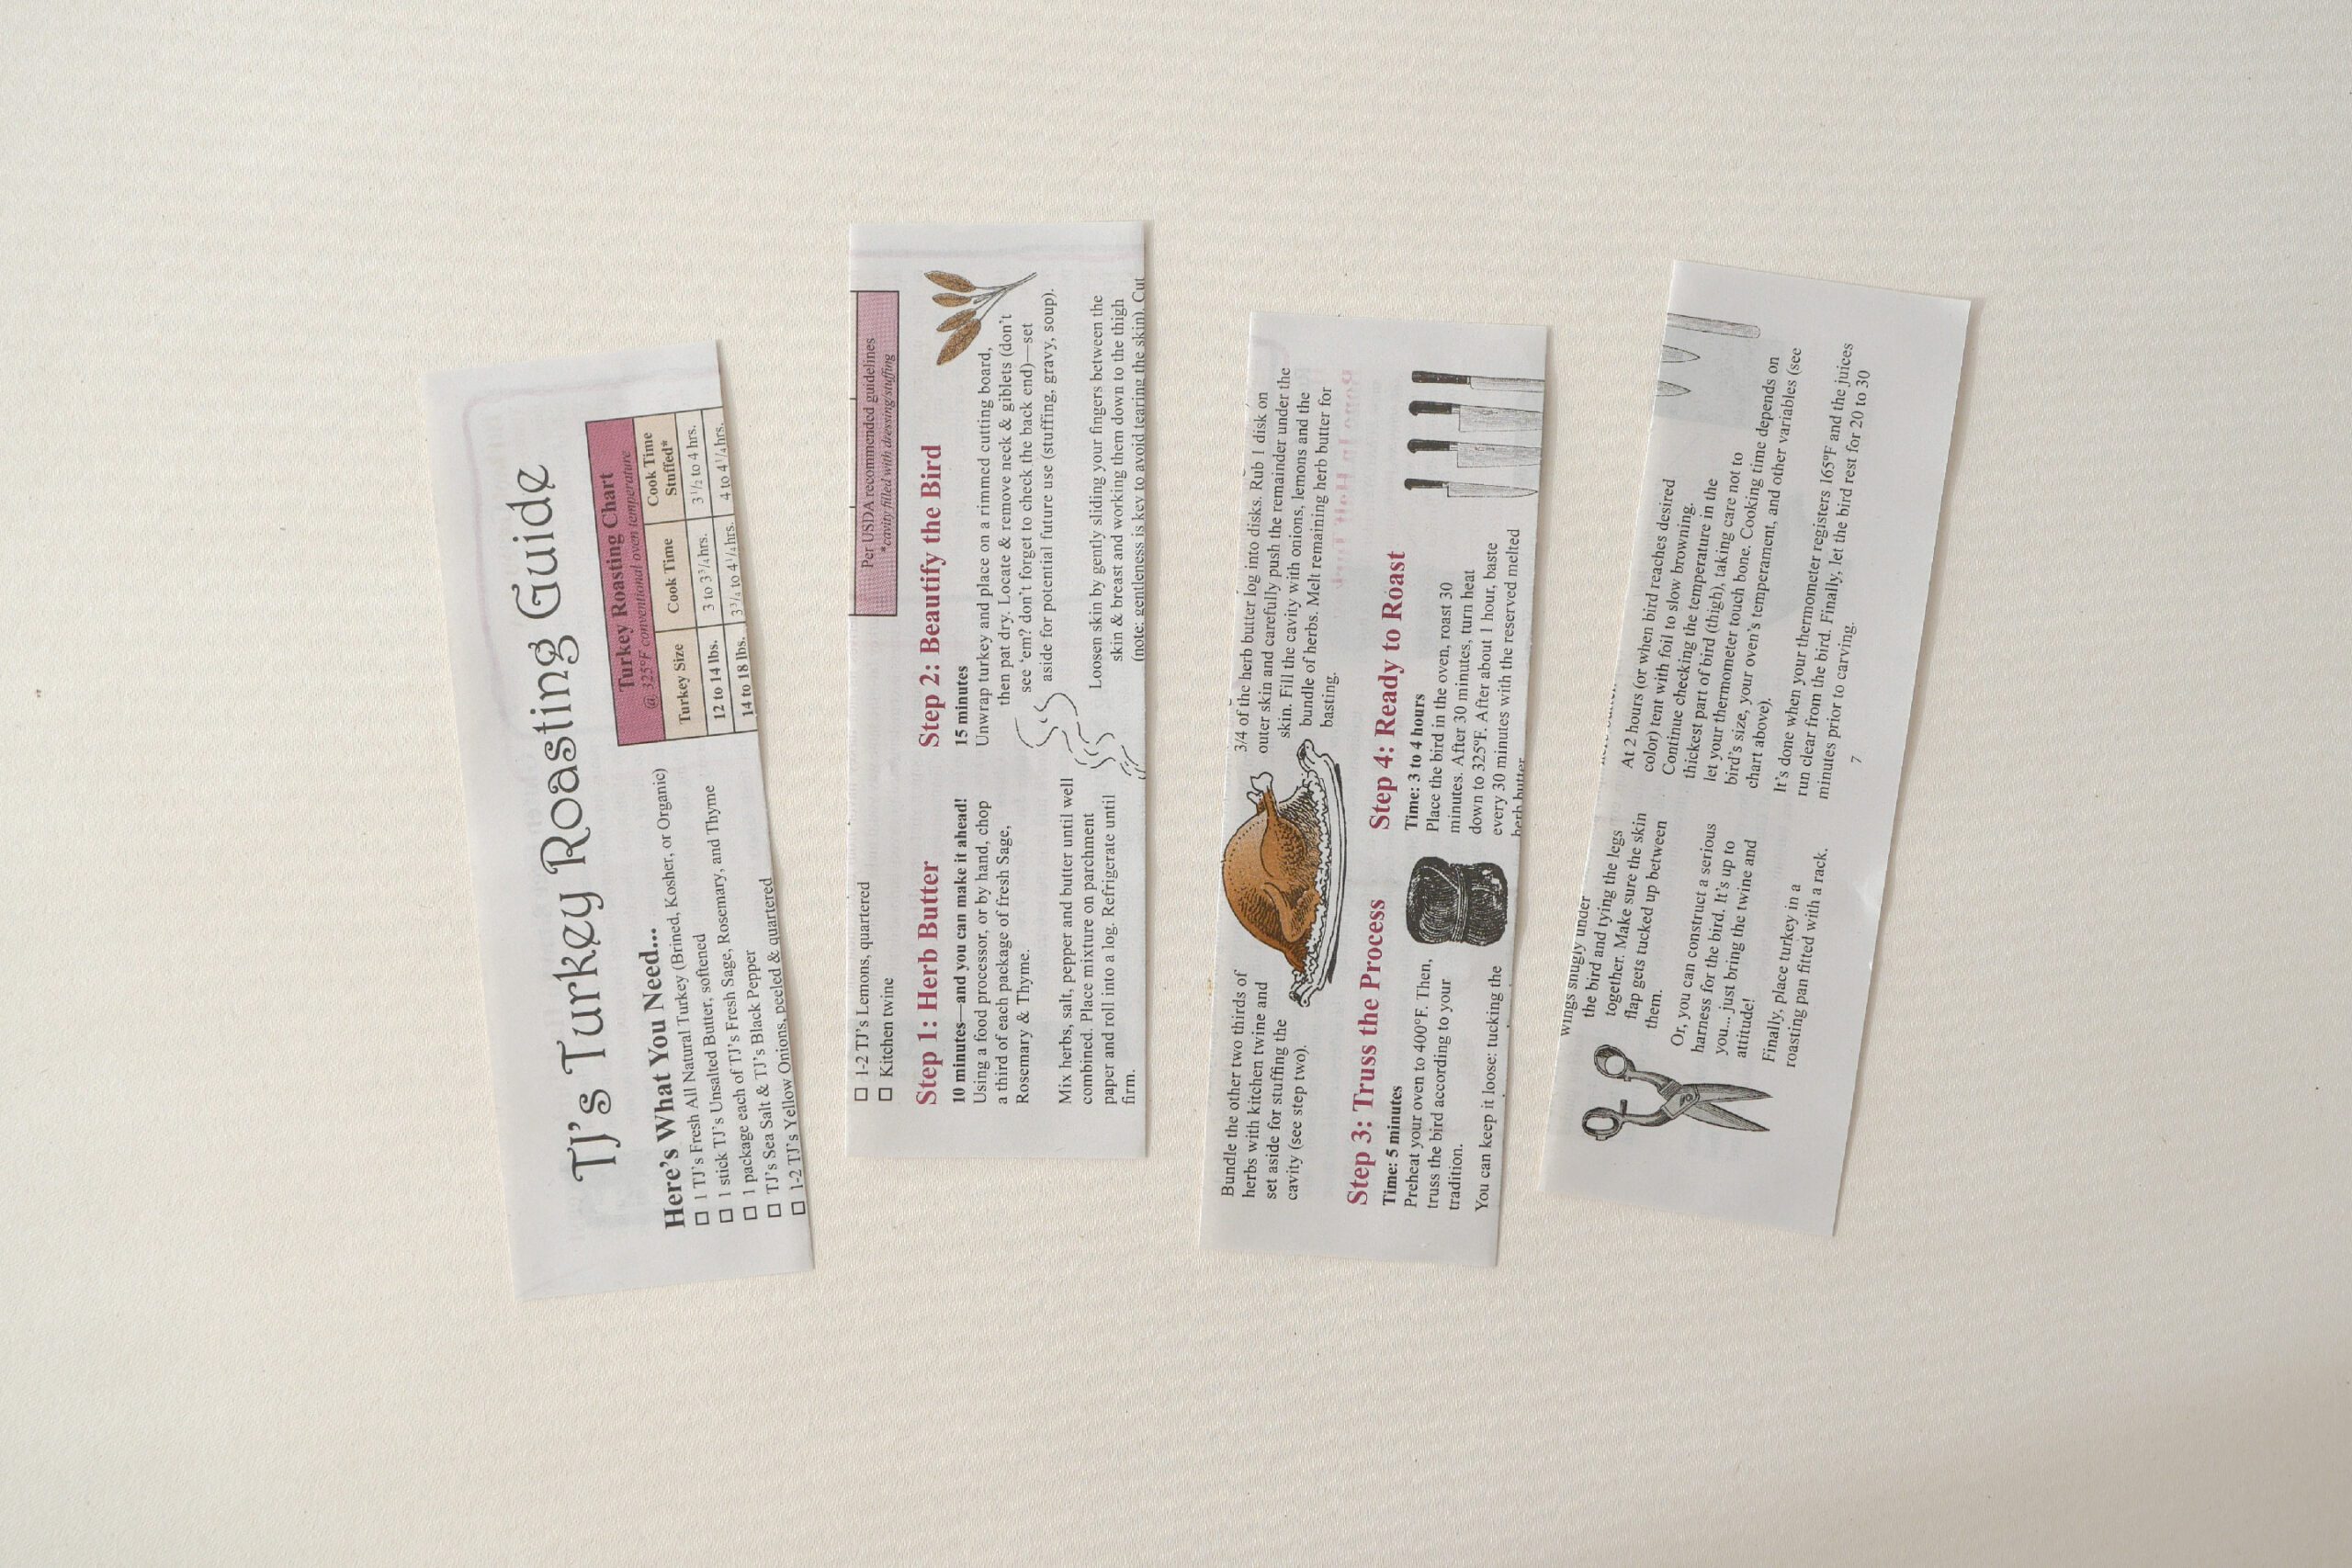
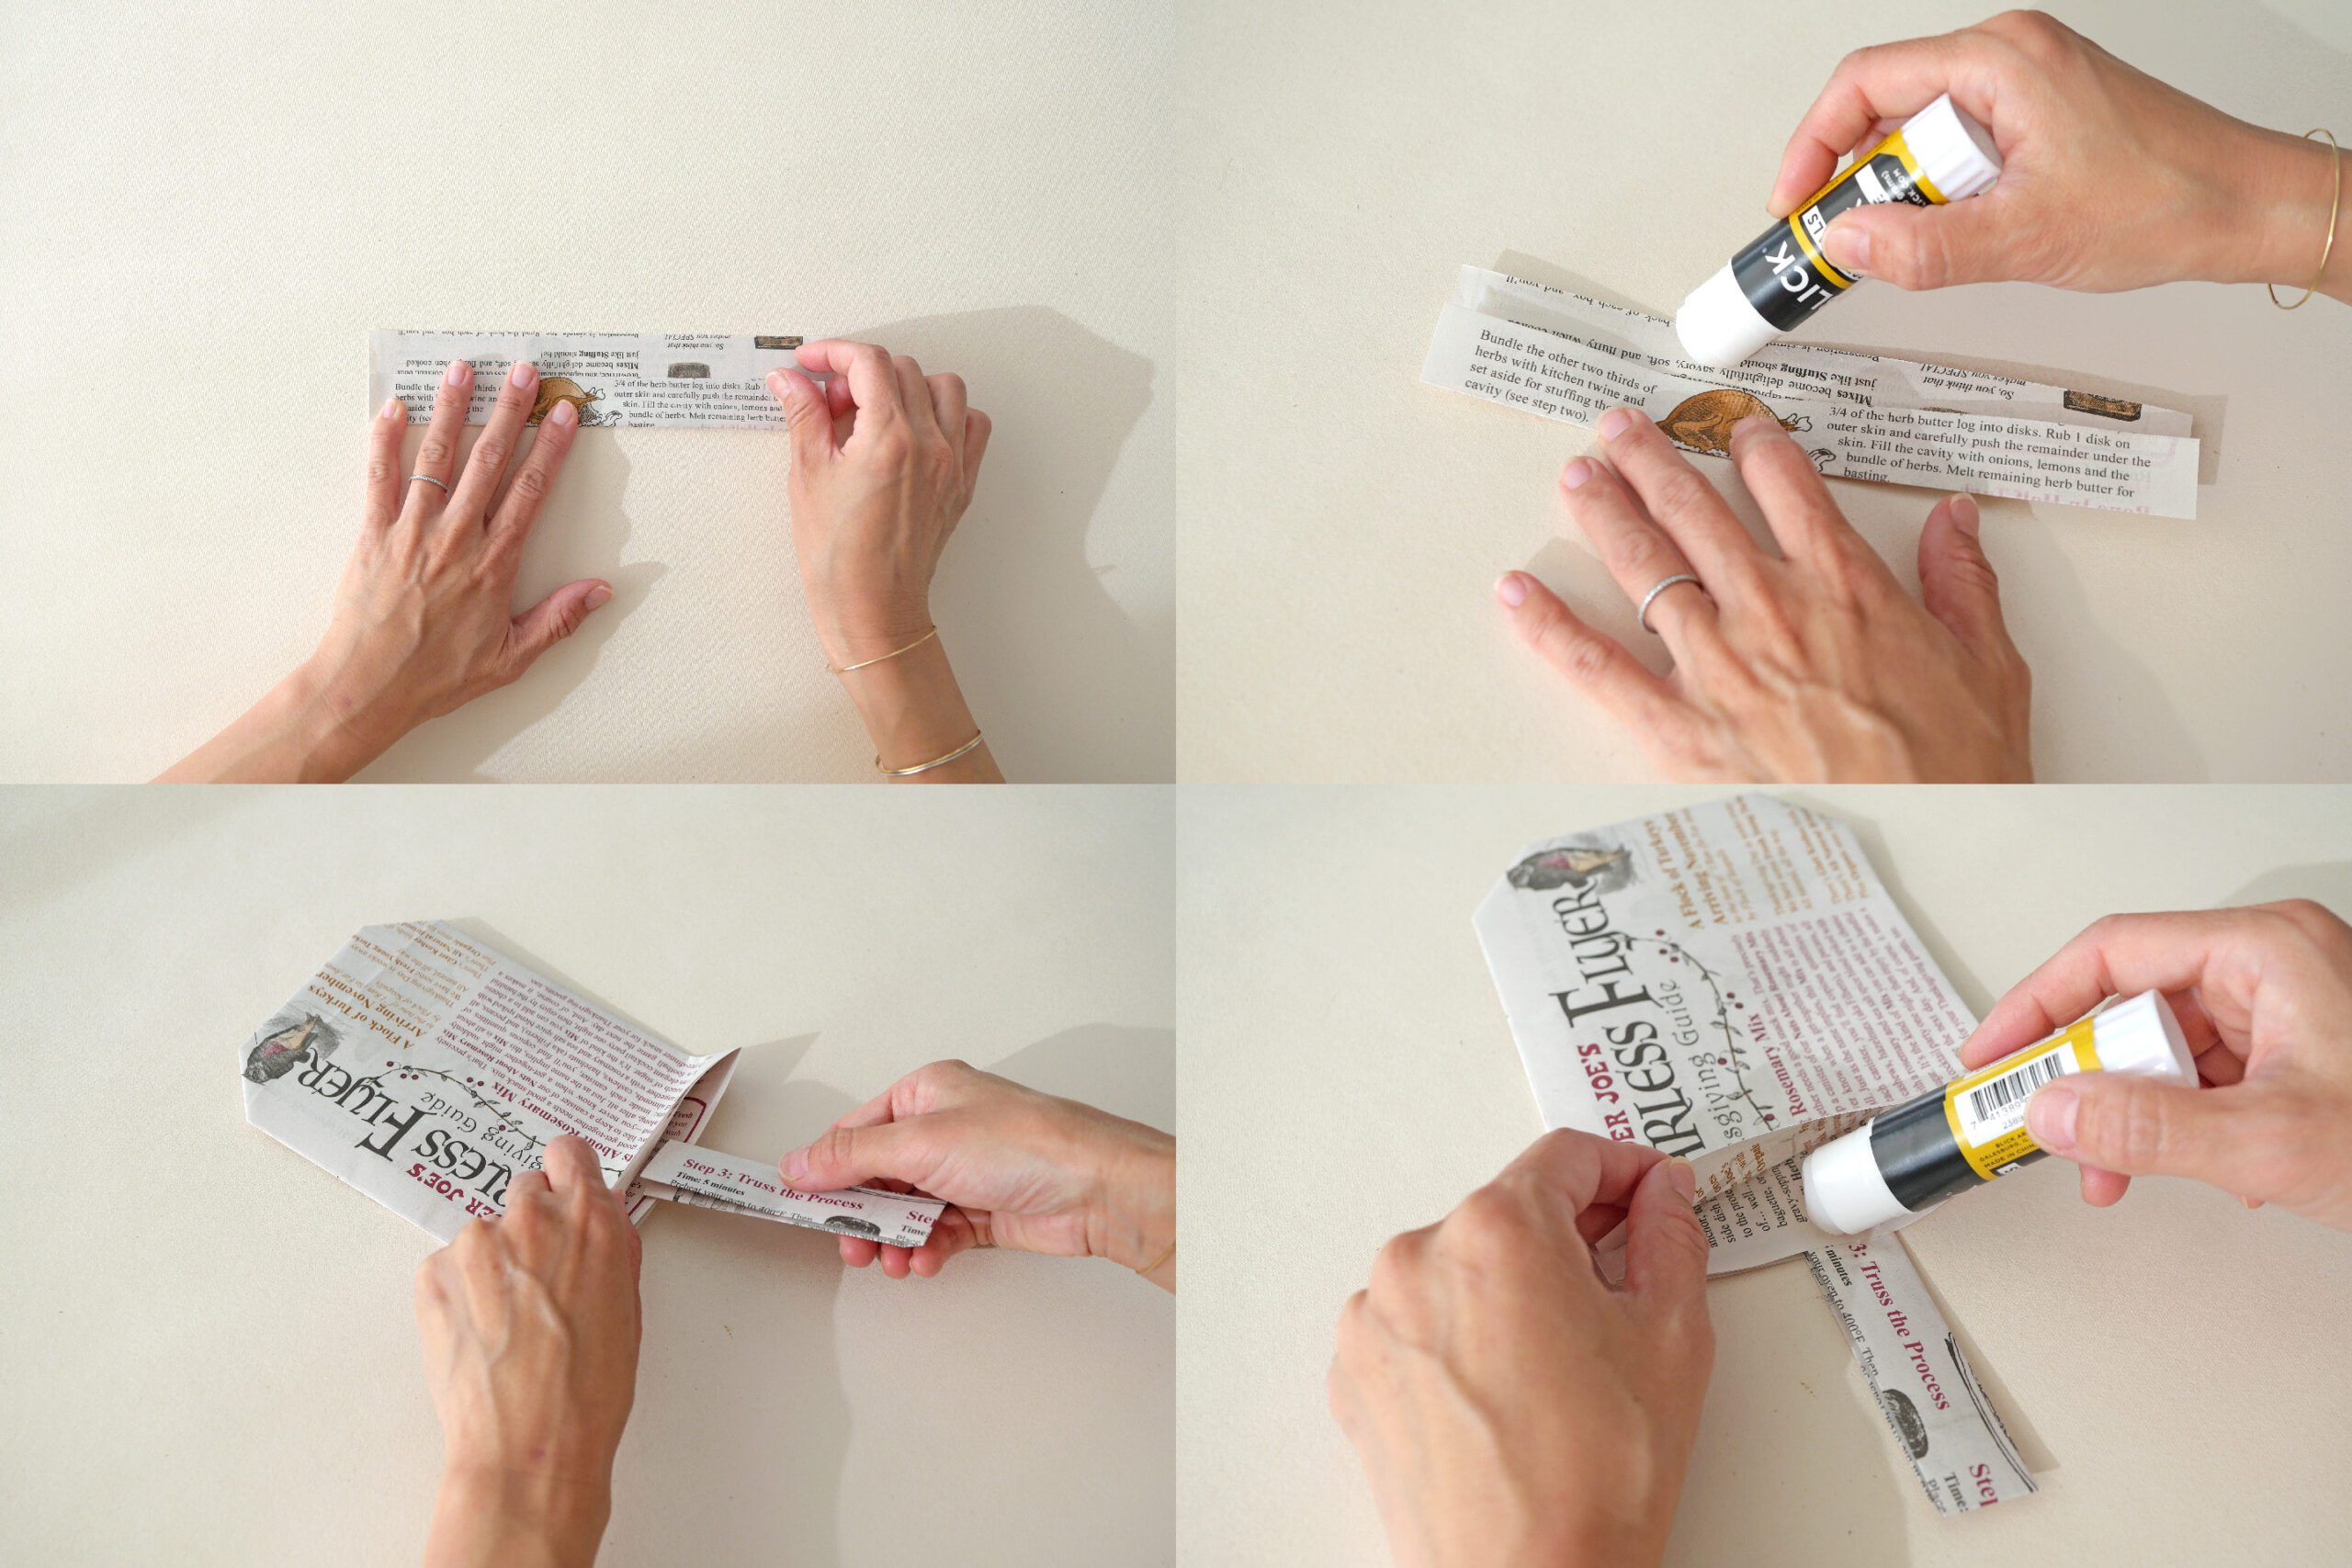
Make a handle. Cut the paper into quarters. Fold into thirds and glue. Fold in half and attach to the bag.
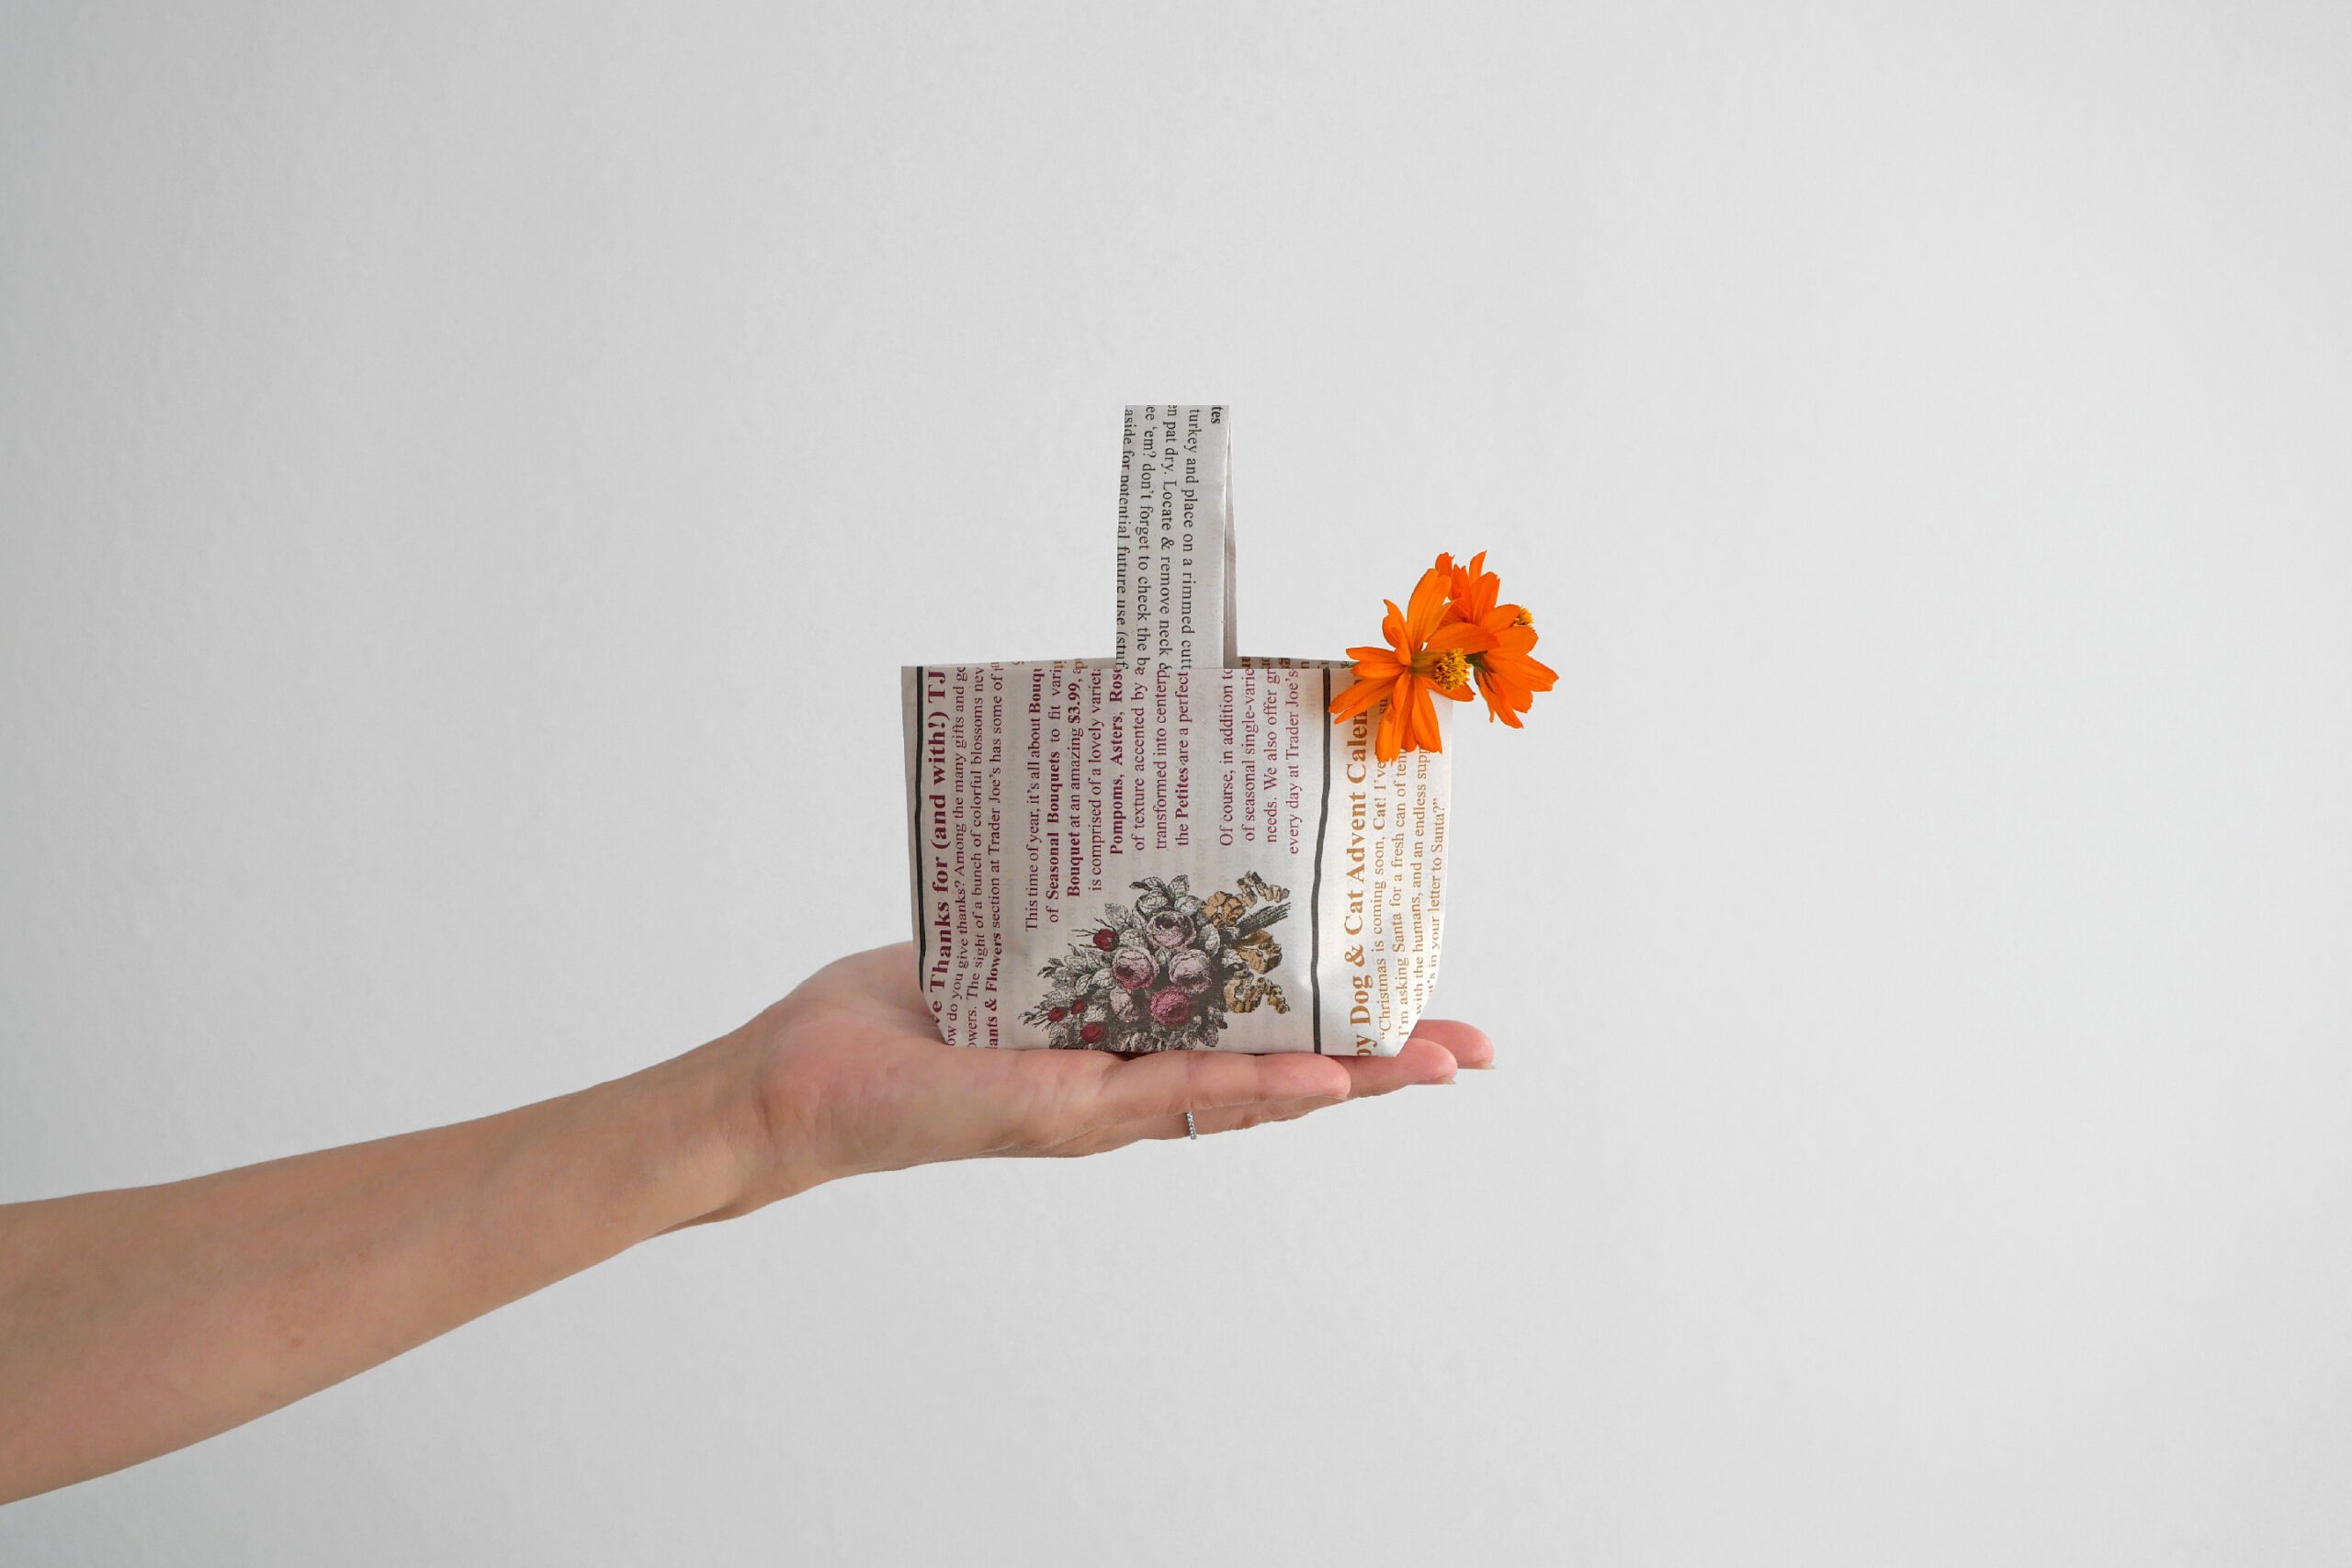
Type2. Horizontal Bag
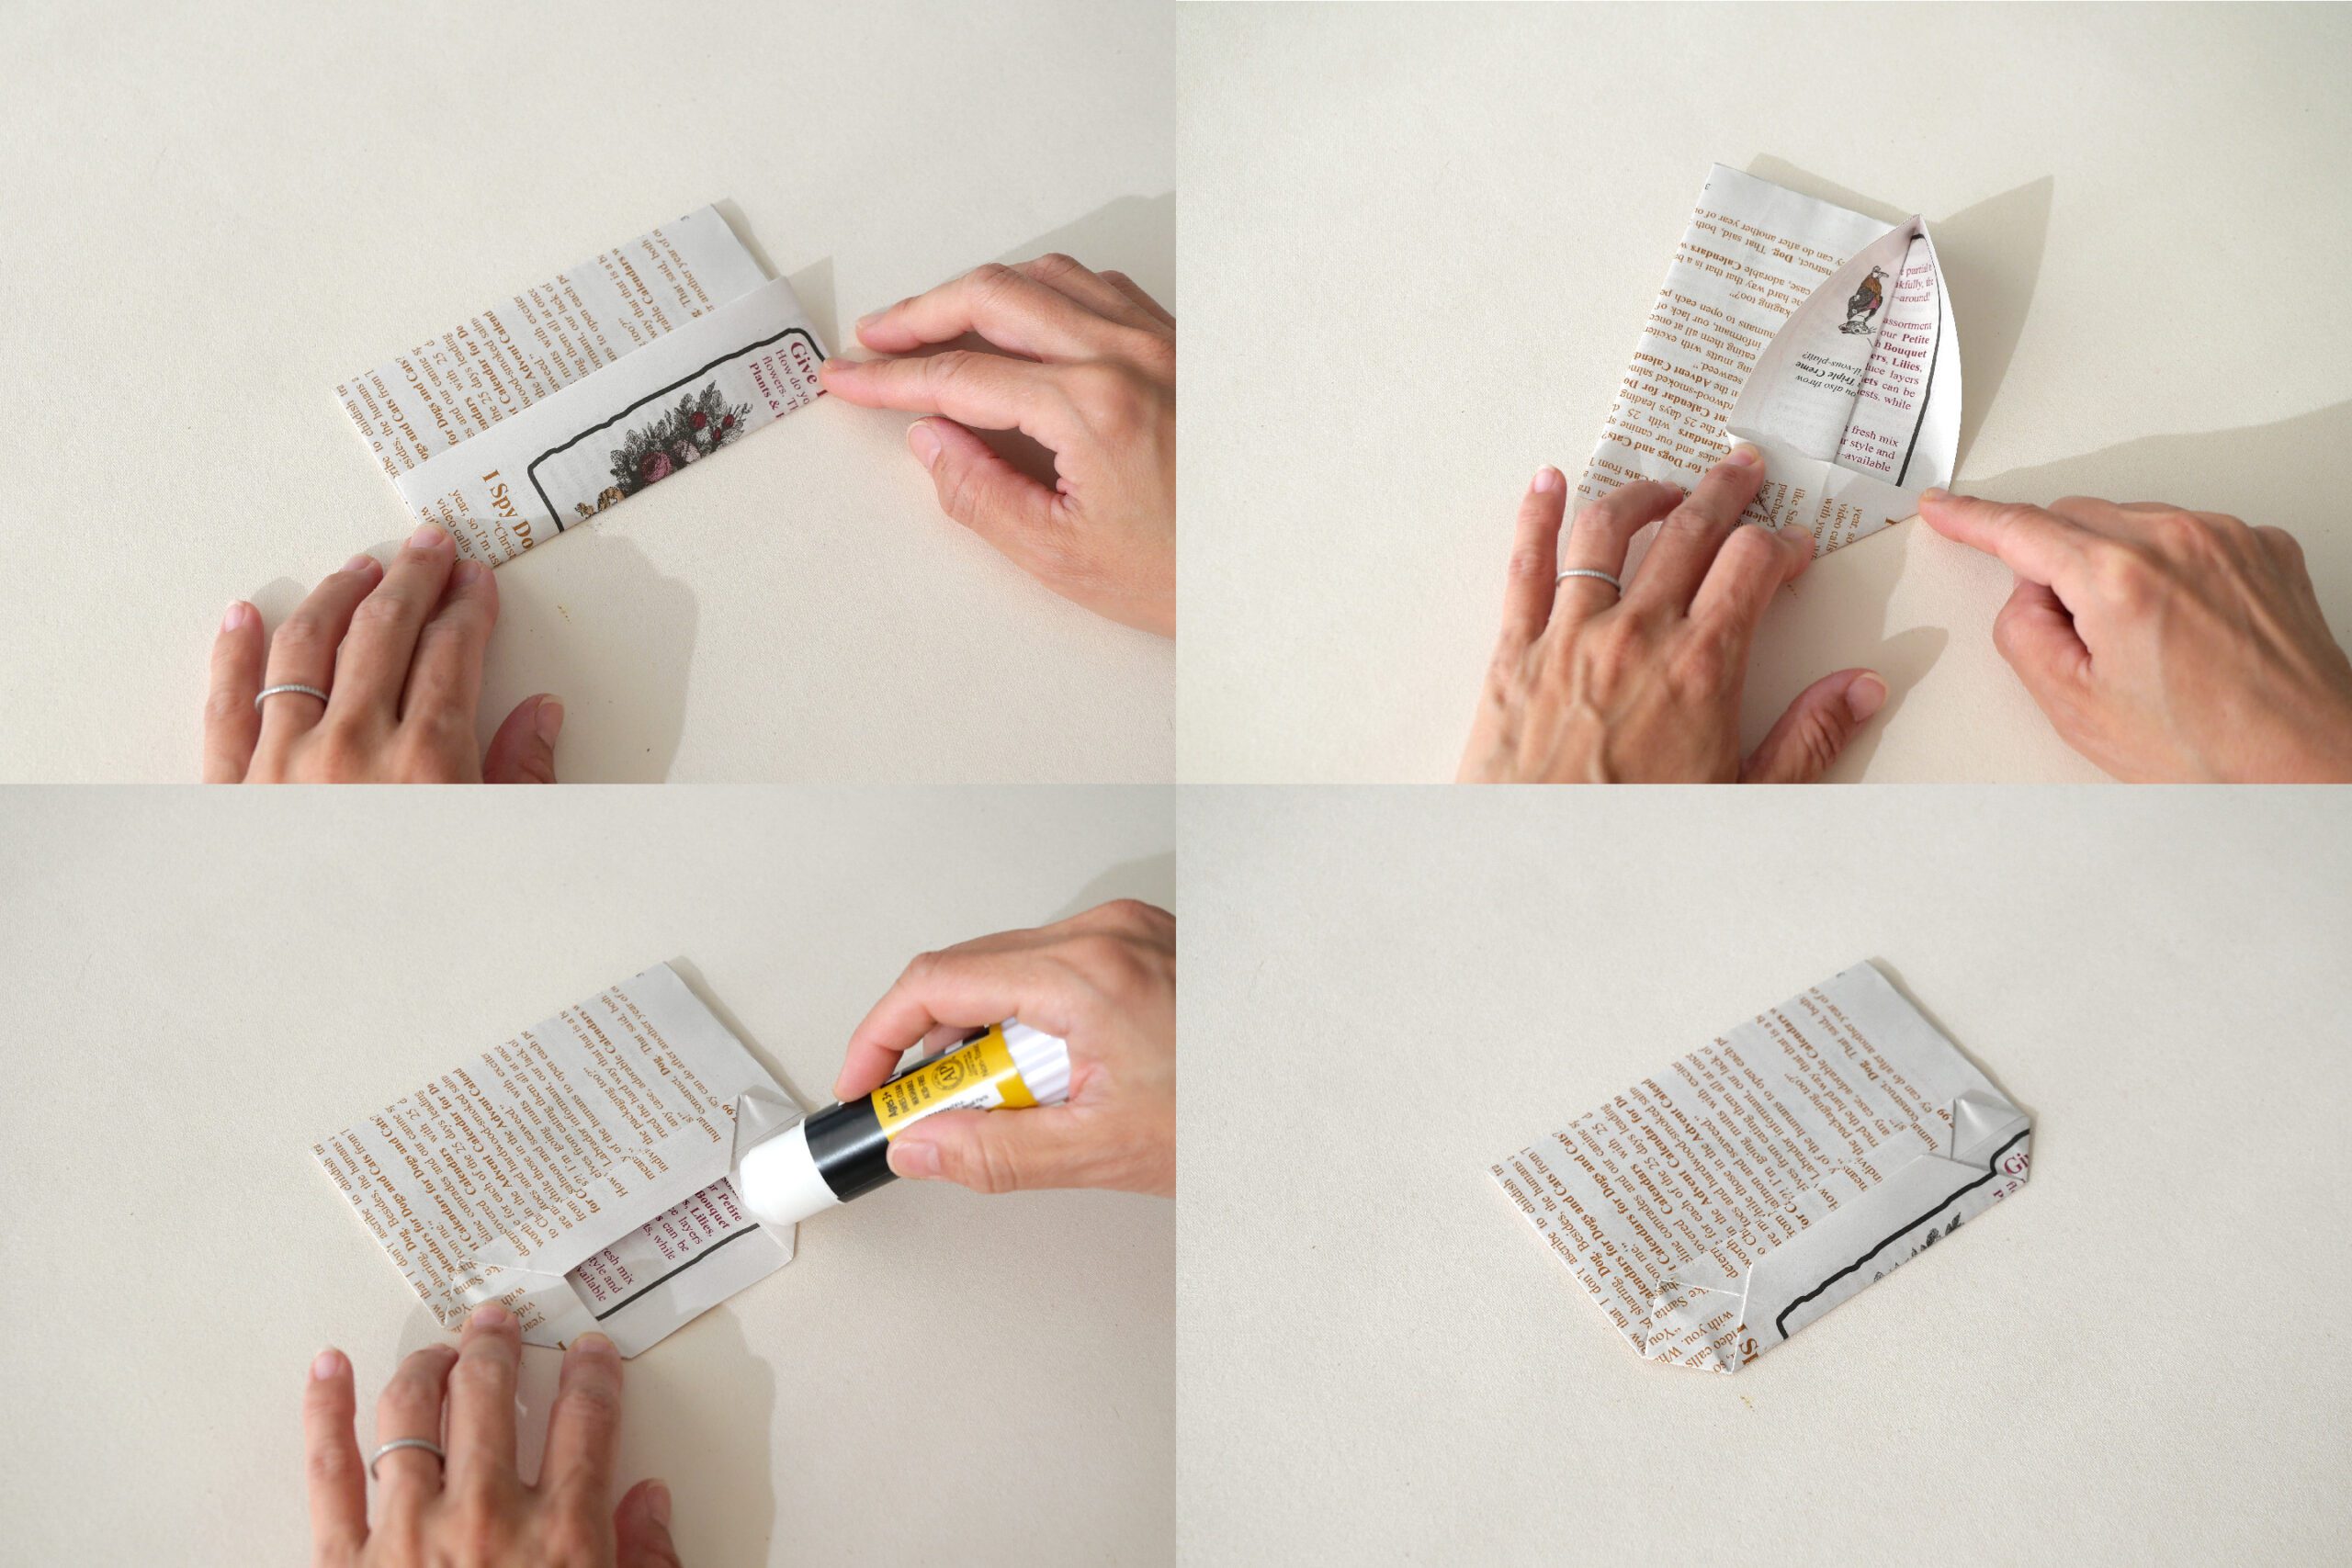
Use one sheet of paper. Fold it in half horizontally. The rest of the procedure is the same as for the vertical bag. Fold the edges in 1/2 inch and fold the remaining paper in half along the crease. Glue them together between two paper.
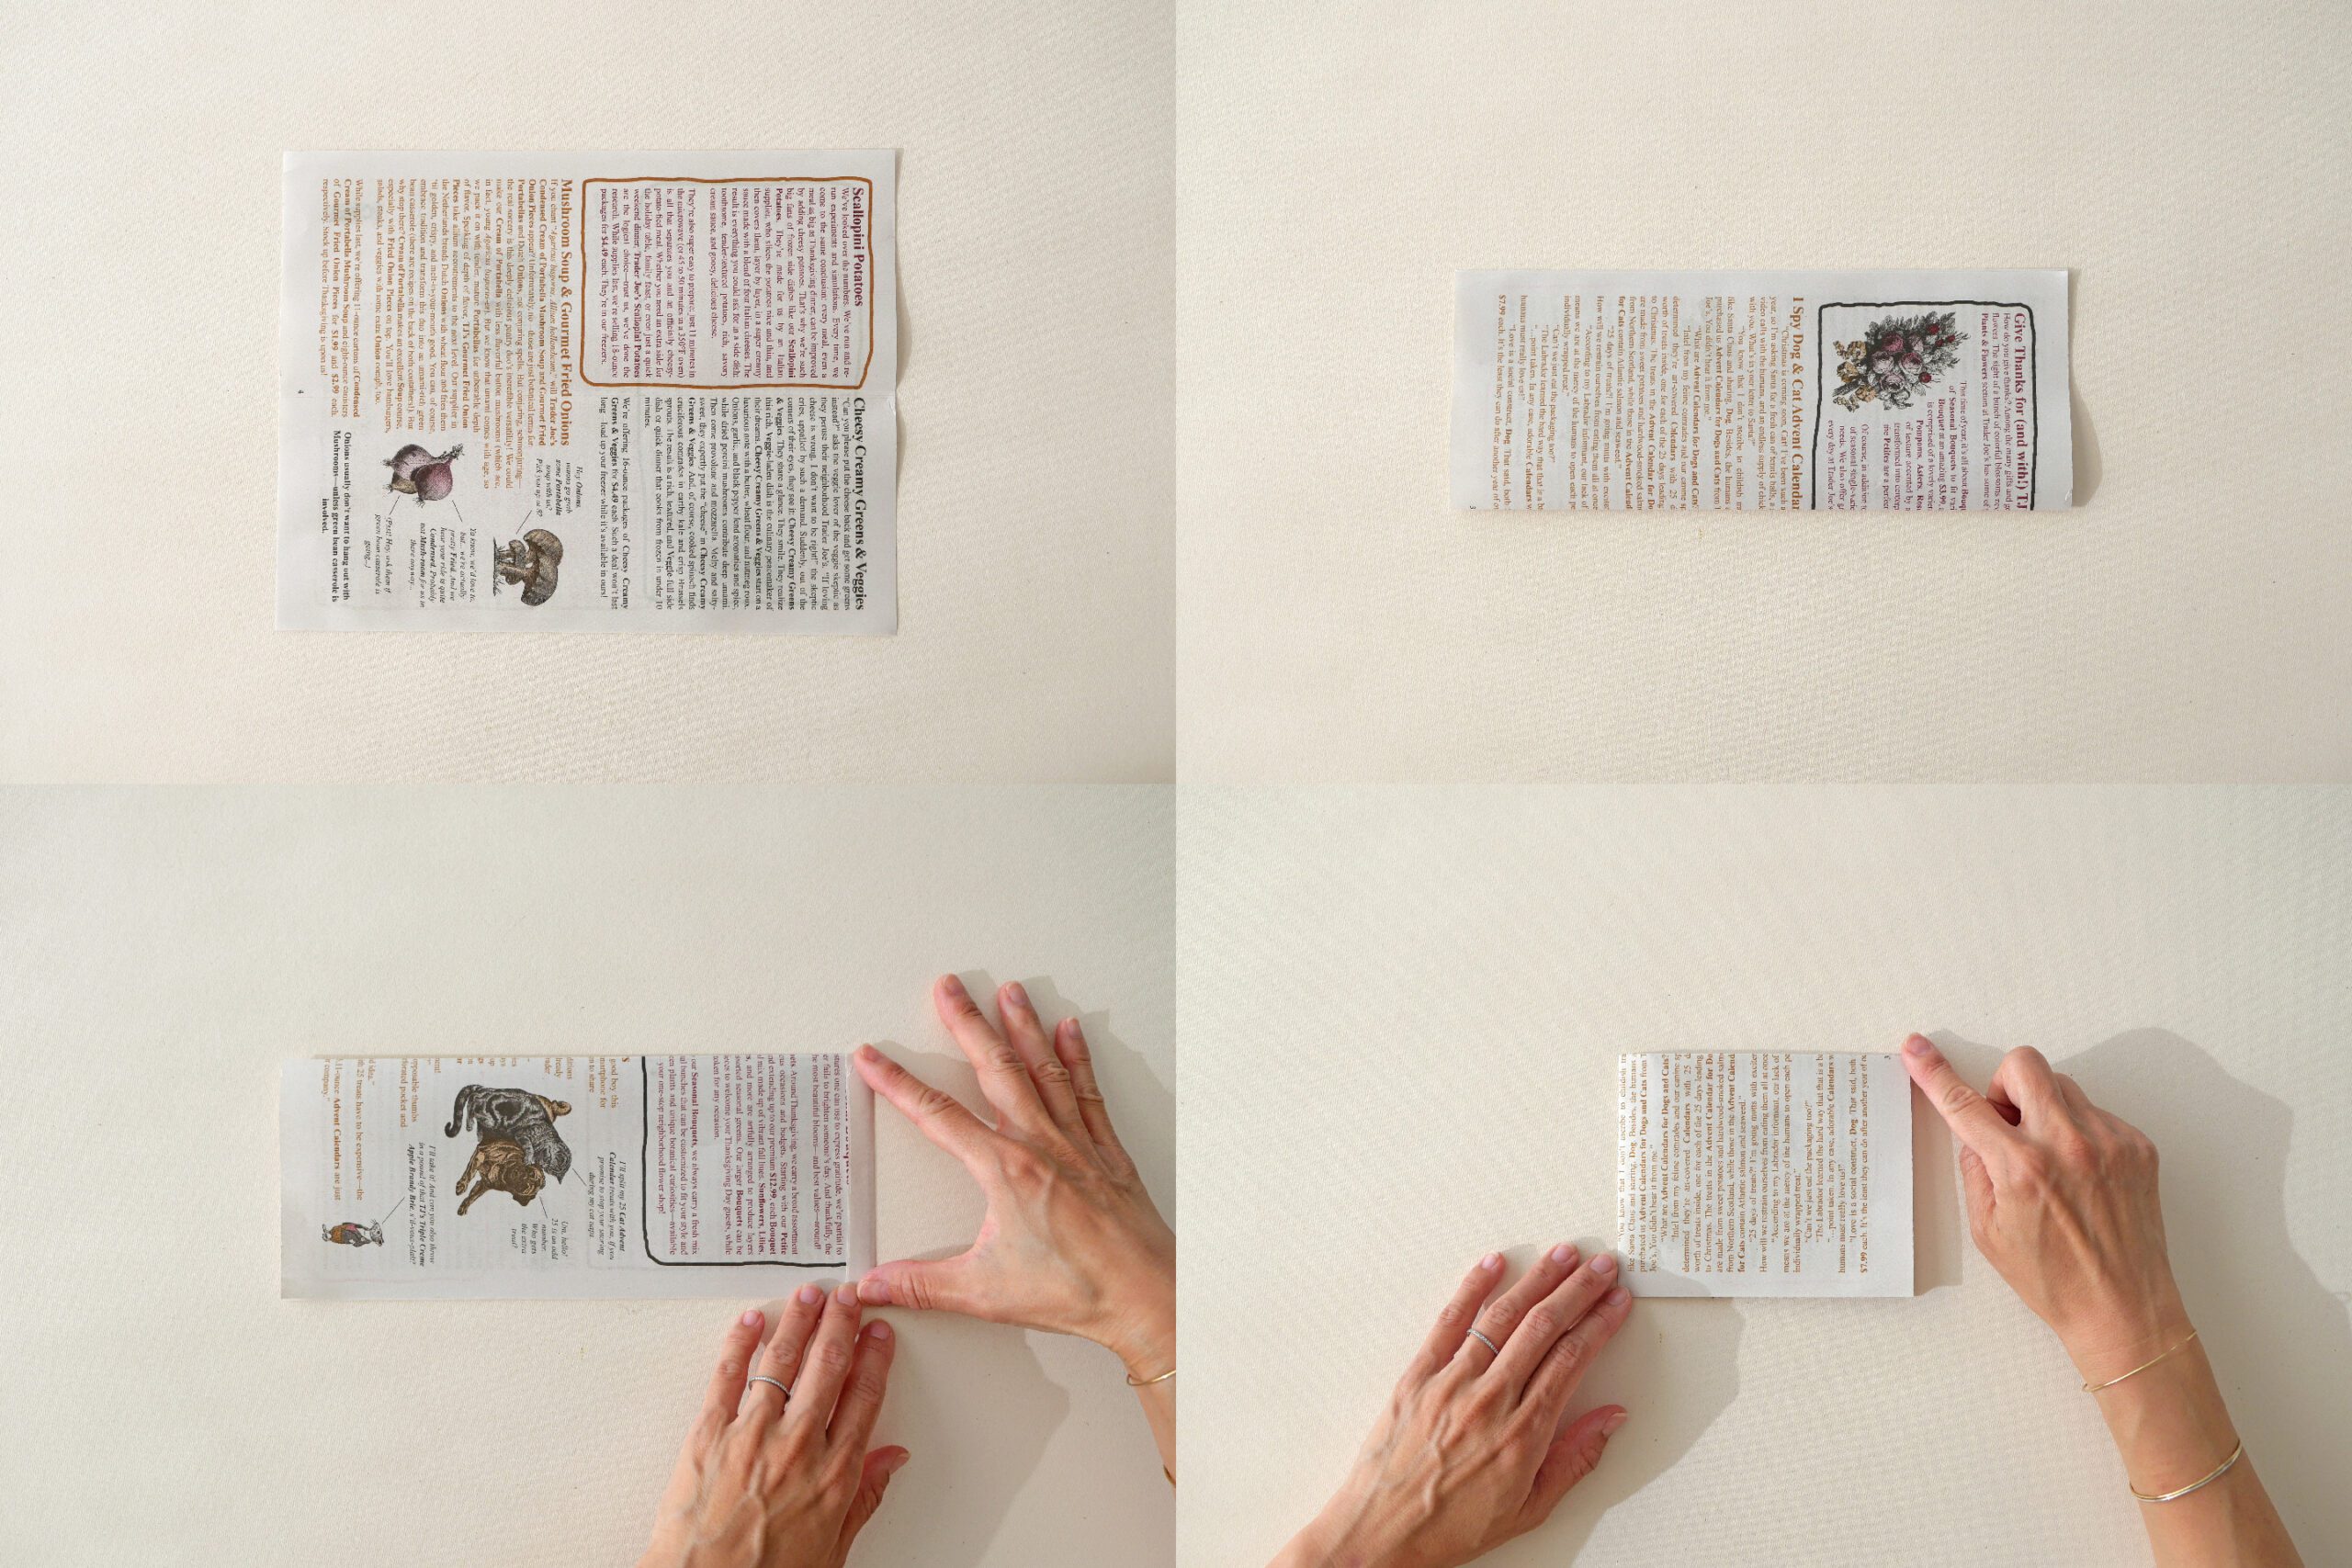
Turn over and fold 1/3 of the way from the bottom. Spread out and fold the sides into a triangle to form the bottom, then glue them together. Attaching the handle, it is completed.
Bag Made from Newspaper
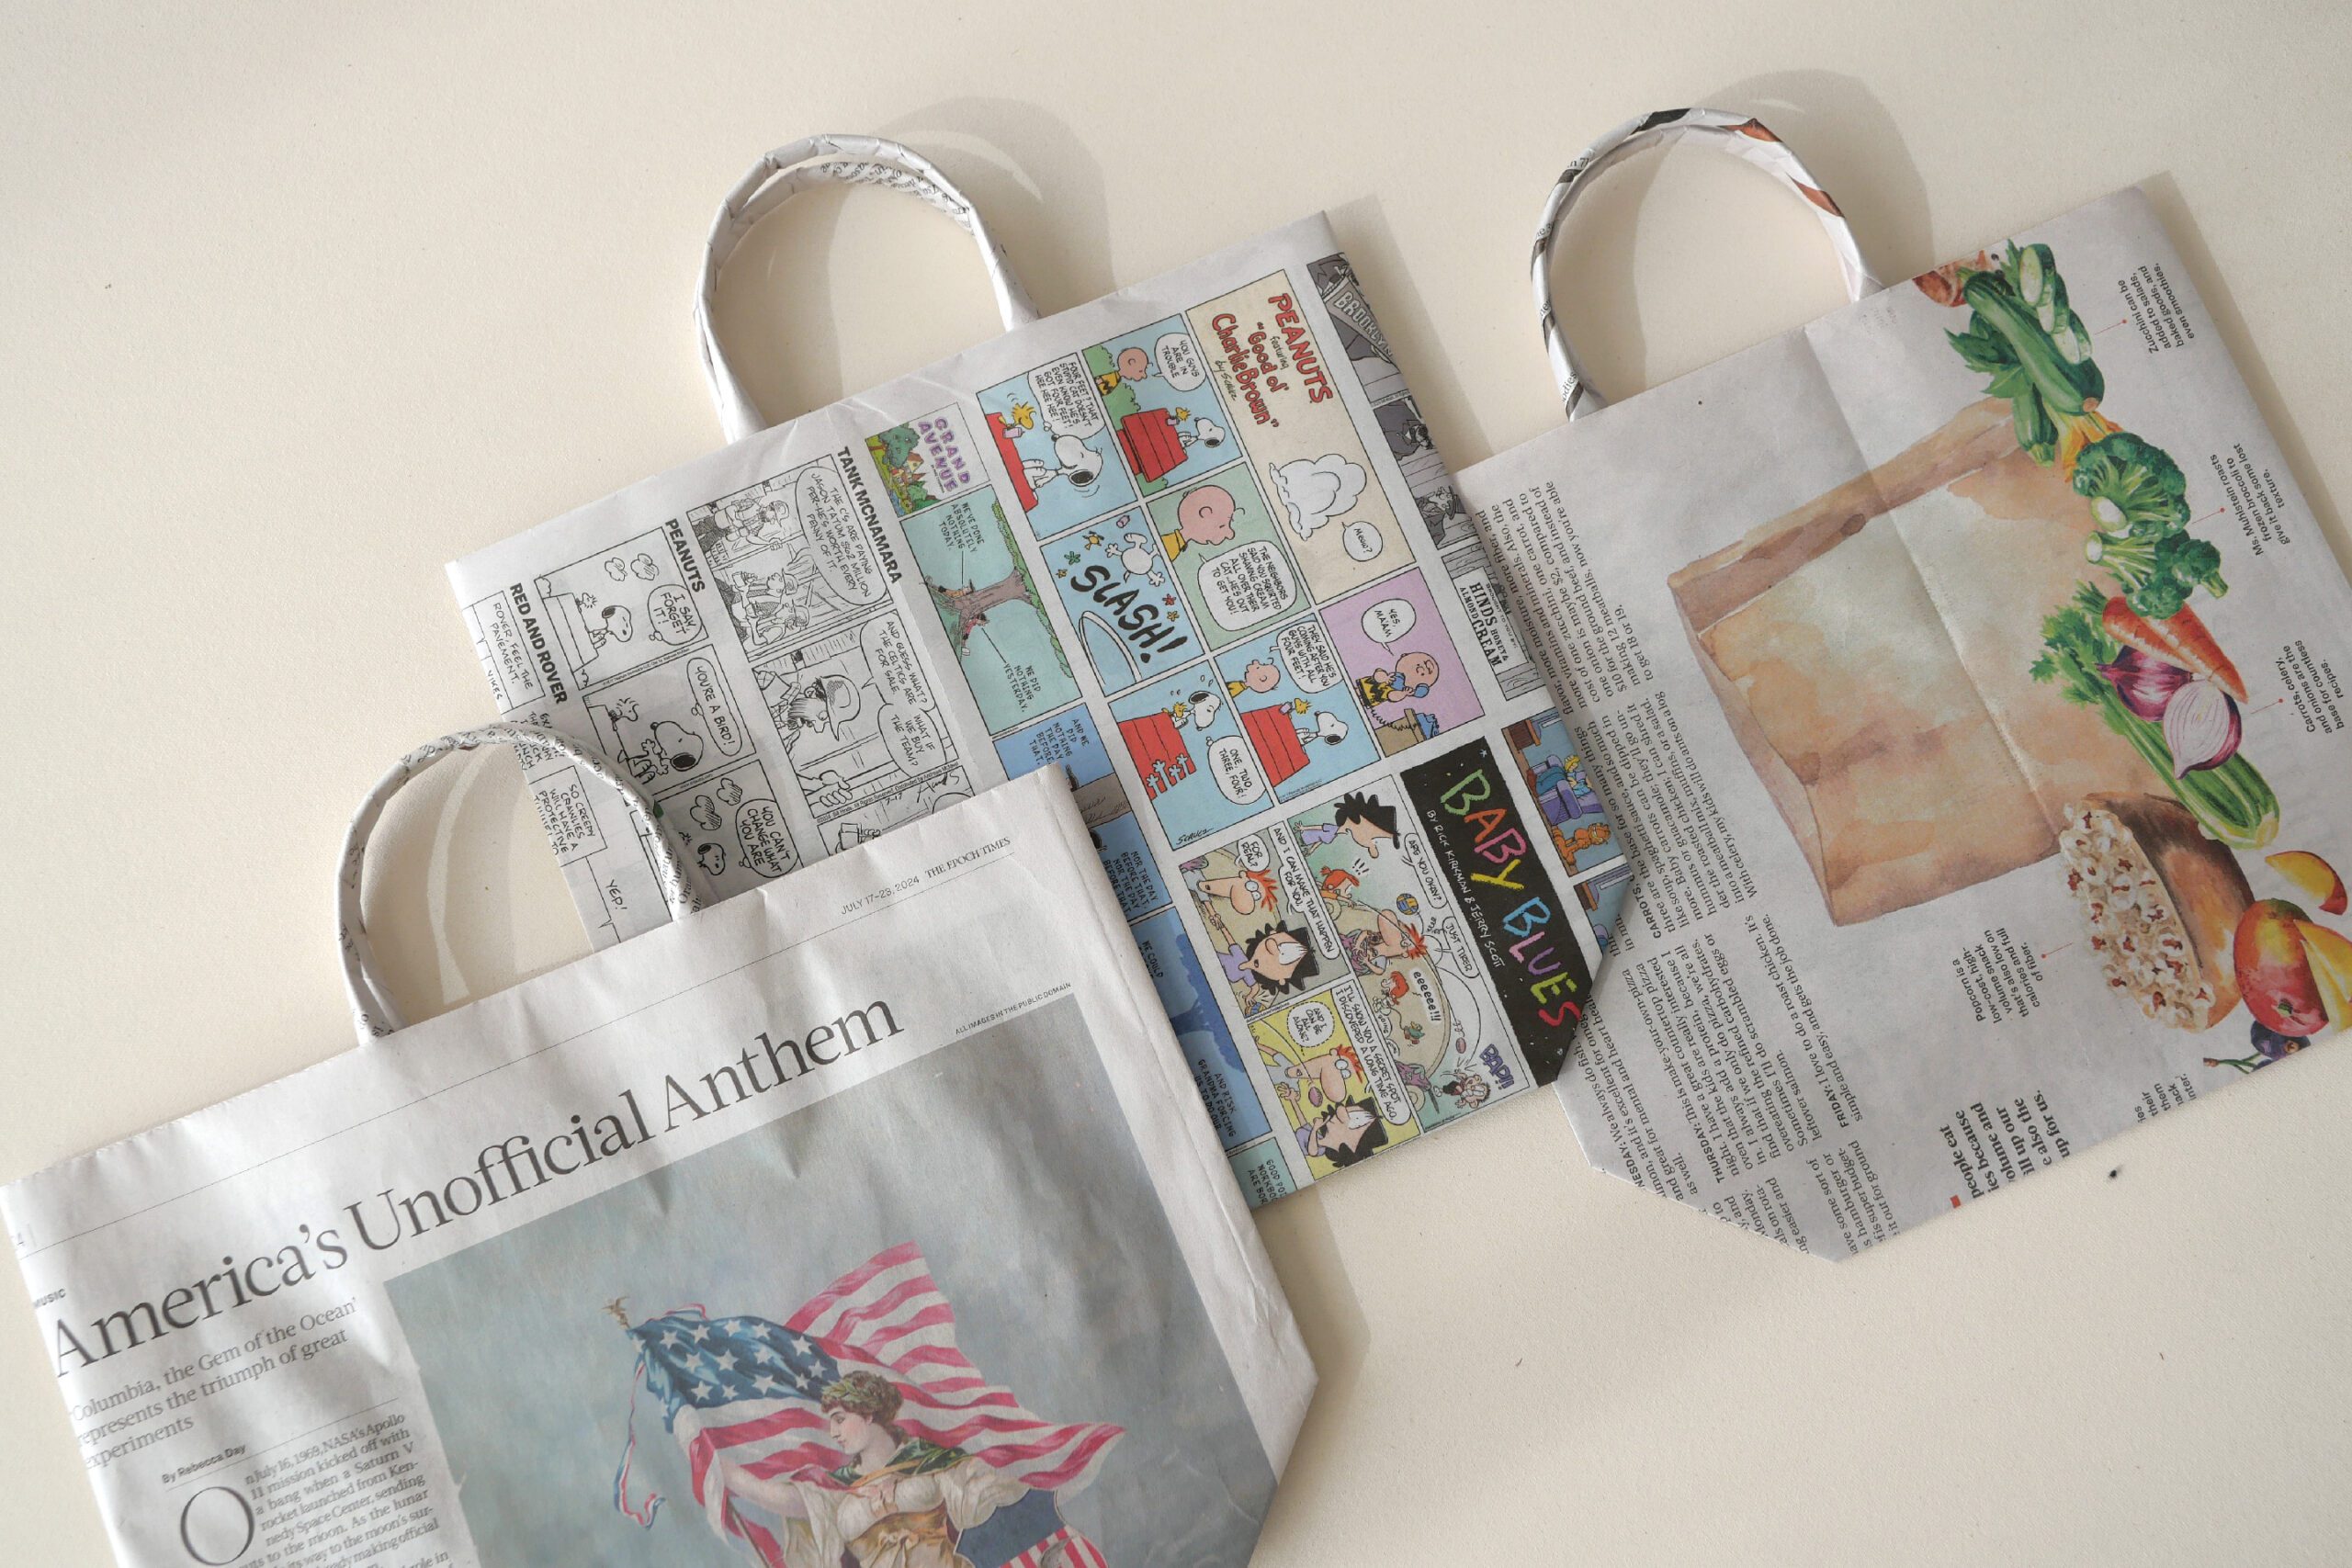
Using large sheets of newspaper allows for a wider variety of sizes. Large bags can be made by layering 2~4 sheets of newspaper for strength. How to make strong handles for large newspaper bags is described in another post in future.
TJ’s Fearless Flyer Paper Bag
新聞紙と糊だけでできるとてもエコでオーガニックな紙袋。
このアイデアの発端は、四万十しんぶんばっぐ。高知県の四万十川のほとりの小さな村で生まれた活動です。読み終わった新聞紙を捨てずに、エコでアートなBAGにアップサイクルするという取り組みを、20年も前から行なっています。私の尊敬するデザイナーの梅原真さんが中心となりその活動は広がり、いまは世界中でワークショップを行っています。私も常々関心を寄せていて、考え方に深く共感してきました。なにより、捨ててしまうはずのとても身近な新聞紙がバッグに変身するのです。
さて、Trader Joe’sのホリデーフライヤーの季節がやってきました。私はこのユニークなフライヤーが大好きで、毎回楽しみにしています。TJ’sらしいクラシカルなイラストと、3色のインクで刷られた美しいフライヤー。読んだ後にはいつも小さなバッグに仕立てます。スイーツを入れてプレゼントしたり、小さなもののお裾分けに使えます。どの絵柄を表に持ってこようか、そんなことも考えながらバッグをつくるのも楽しみの一つ。これは常に何かつくりたい私にとって、生活に根付いたまたとないクラフトなのです。

用意するもの
– TJ’sのフライヤー もしくは新聞紙など不要な紙
– 糊
– カッター もしくは はさみ
つくりかた
はじめに
折り紙のように紙を折って、端を糊で止める。そして底をつくり持ち手をつける。基本的な手順はこれだけです。サイズは好きなようにアレンジ可能です。要所で少しのコツがあるので、つくり方の参考に、縦型のバッグと、横型のバッグの手順をご紹介します。

折った部分は小瓶でスライドさせながら押すと、よりしっかりとした折り目になります。フラットな蓋が滑りやすく、写真のように折り目に沿って当てると作業がとても捗ります。フライヤーや新聞紙のインクで手が汚れる心配もありません。ぜひお試しください。

Type1. 縦型のバッグ
フライヤーの端を切って、一枚ずつバラします。2枚重ねた紙を端を1/2インチほど折ります。この部分が糊しろになります。残りの紙を折り目に合わせて半分に折ります。1/2インチ折ったところに糊をつけ、2枚の紙に挟むように貼り合わせます。挟んで糊を貼ることで仕上がりが美しくなります。また紙は2枚重ねることにより強度が増します。


バッグの底をつくります。バッグを裏側にし下から2.5インチ折ります。広げてサイドを三角形に折ります。


中心に向かって1/2インチほど紙が重なるように折り合わせます。折った部分に糊をつけます。このとき、糊を貼る位置に注意してください。

持ち手をつくります。紙を1/4に切って使います。三等分に折り、糊付けします。半分に折りバッグに貼ります。


Type2. 横型のバッグ
使う紙は1枚。横方向に半分に折ります。あとは縦型バッグと同じ手順です。端を1/2インチほど折り、残りの紙を折り目に合わせて半分に折ります。糊をつけ、2枚の紙に挟むように貼り合わせます。

バッグを裏側にし下から1/3ほど折ります。広げてサイドを三角形に折って底をつくり、貼り合わせます。取手をつけたら完成です。


新聞紙でつくったバッグ
大きな新聞紙でつくれば、サイズのバリエーションが広がります。大きいバッグは強度を持たせるために、2~4枚の新聞を重ねてつくることができます。大きな新聞バッグに合わせた強度のある取手のつくり方は別の記事でご紹介します。


