Weaving Hazelnuts Star
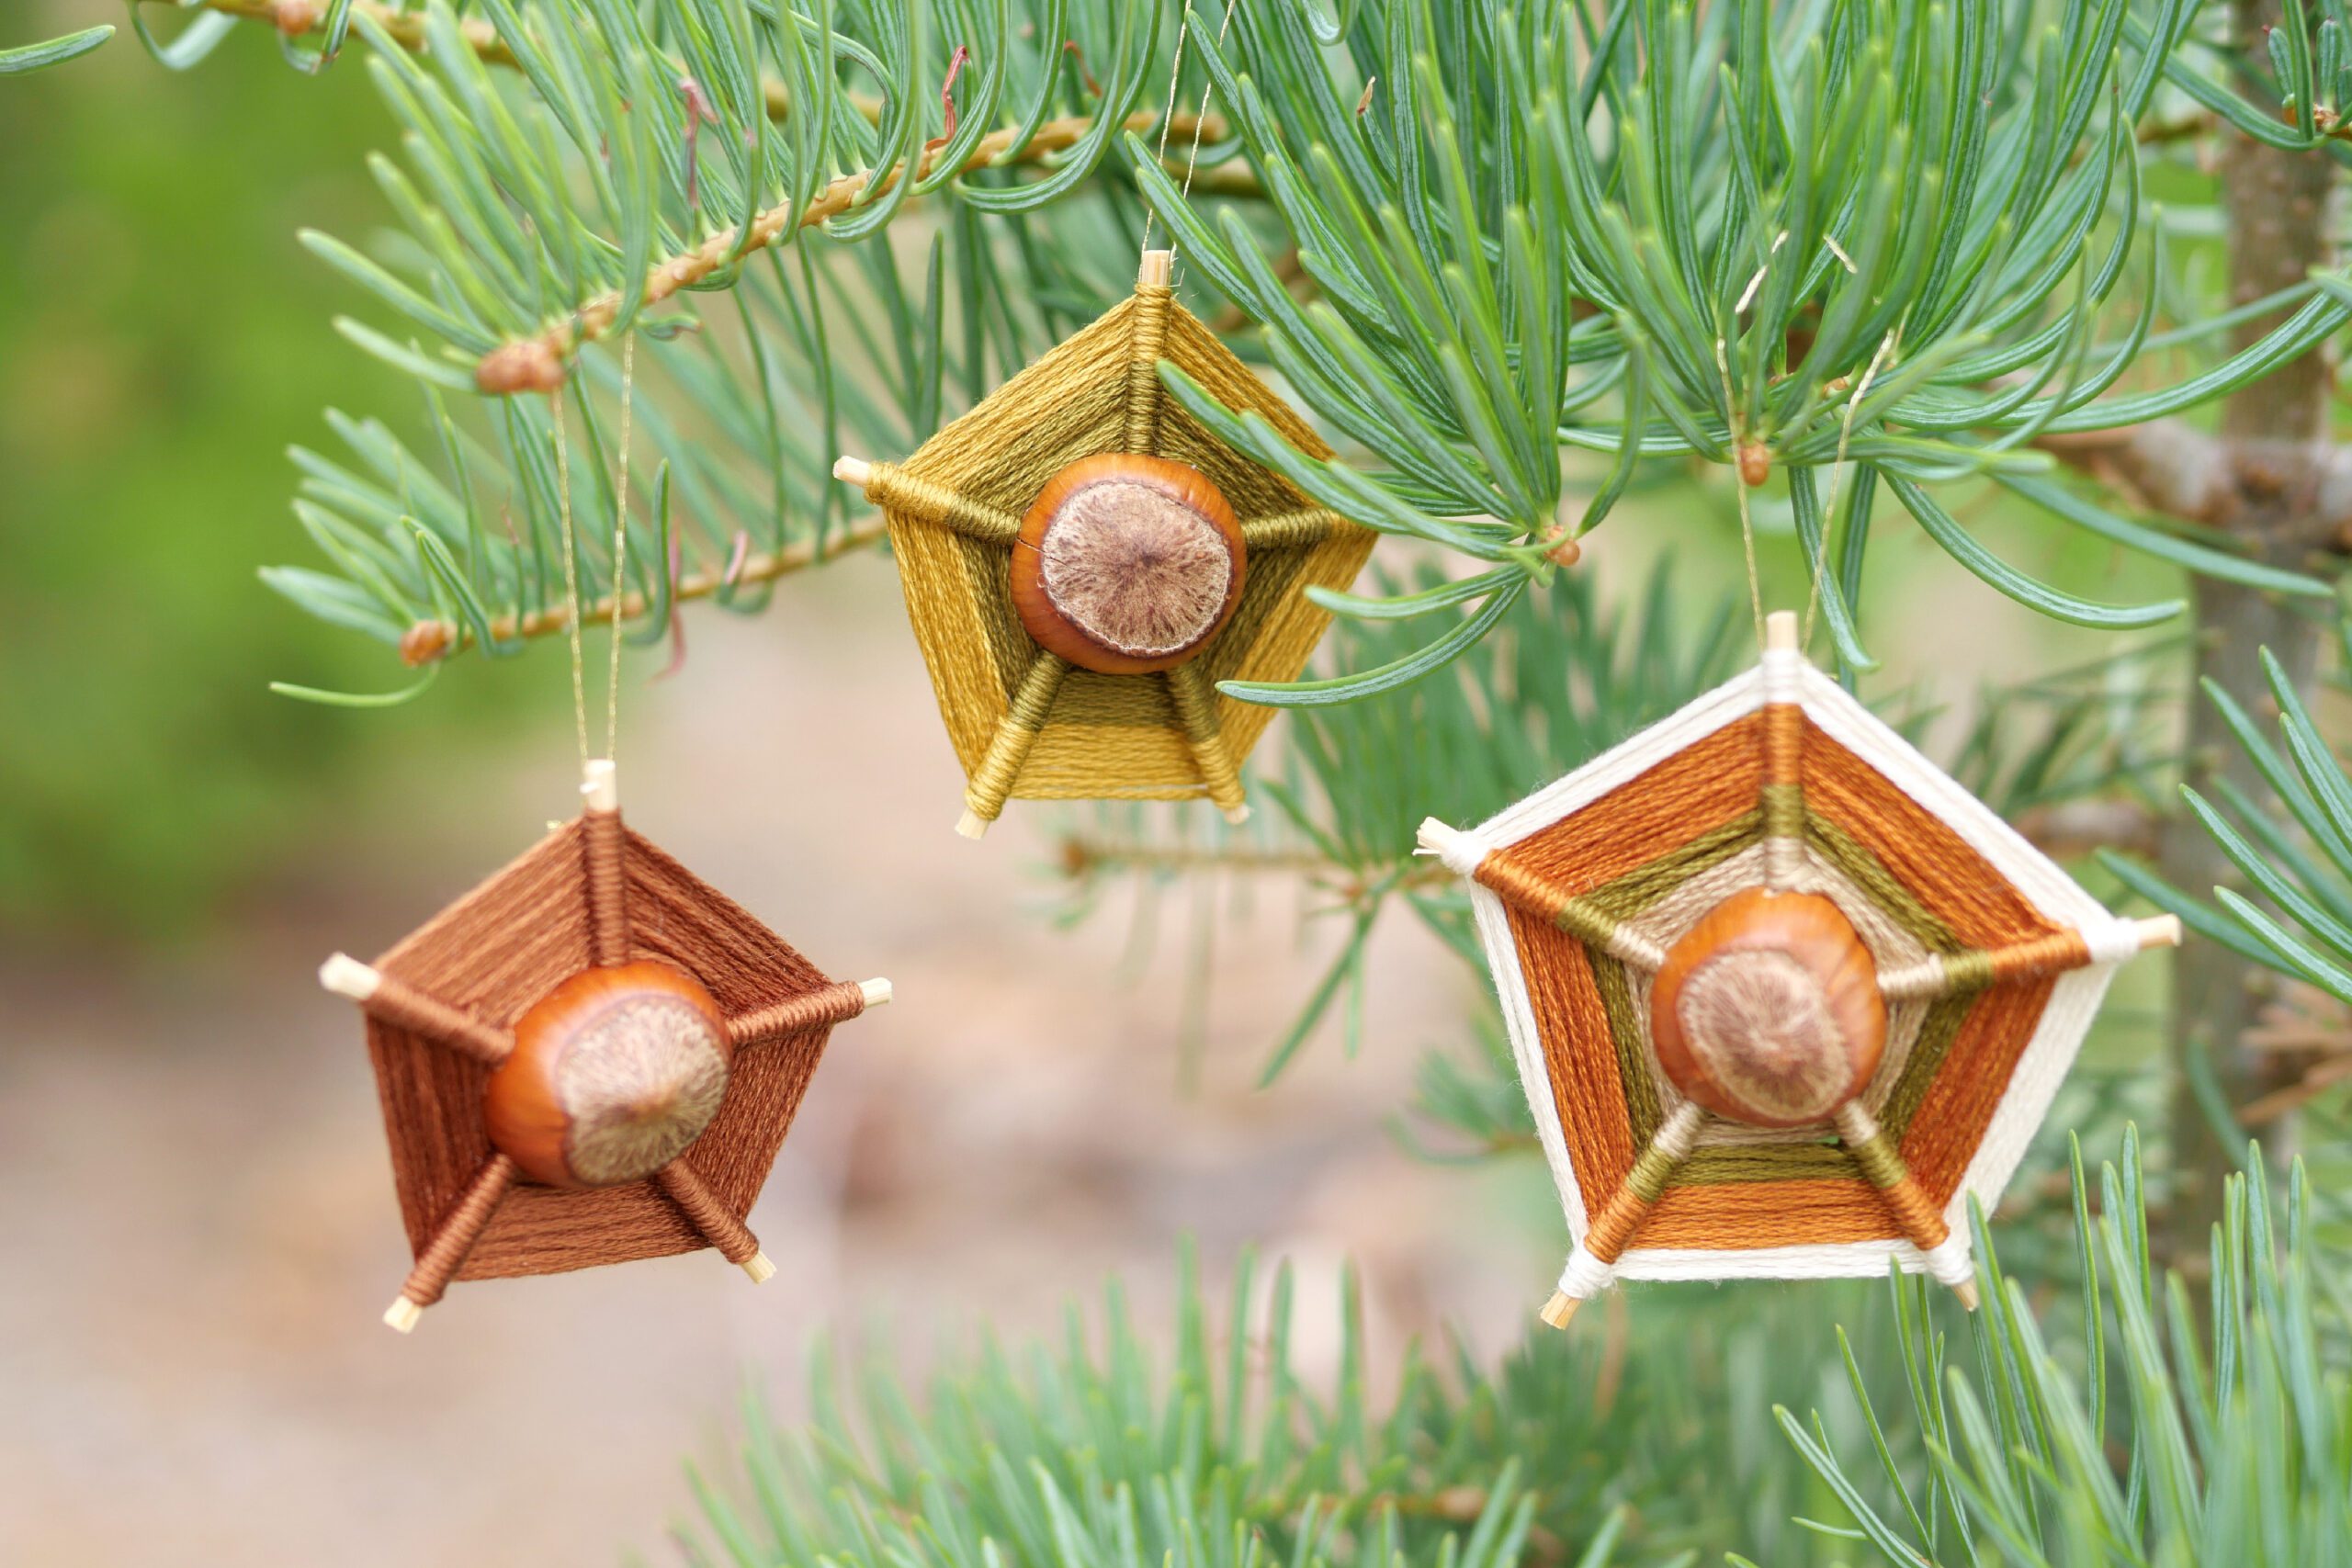
The holiday season is just around the corner, and it is the time has come to decorate the tree.
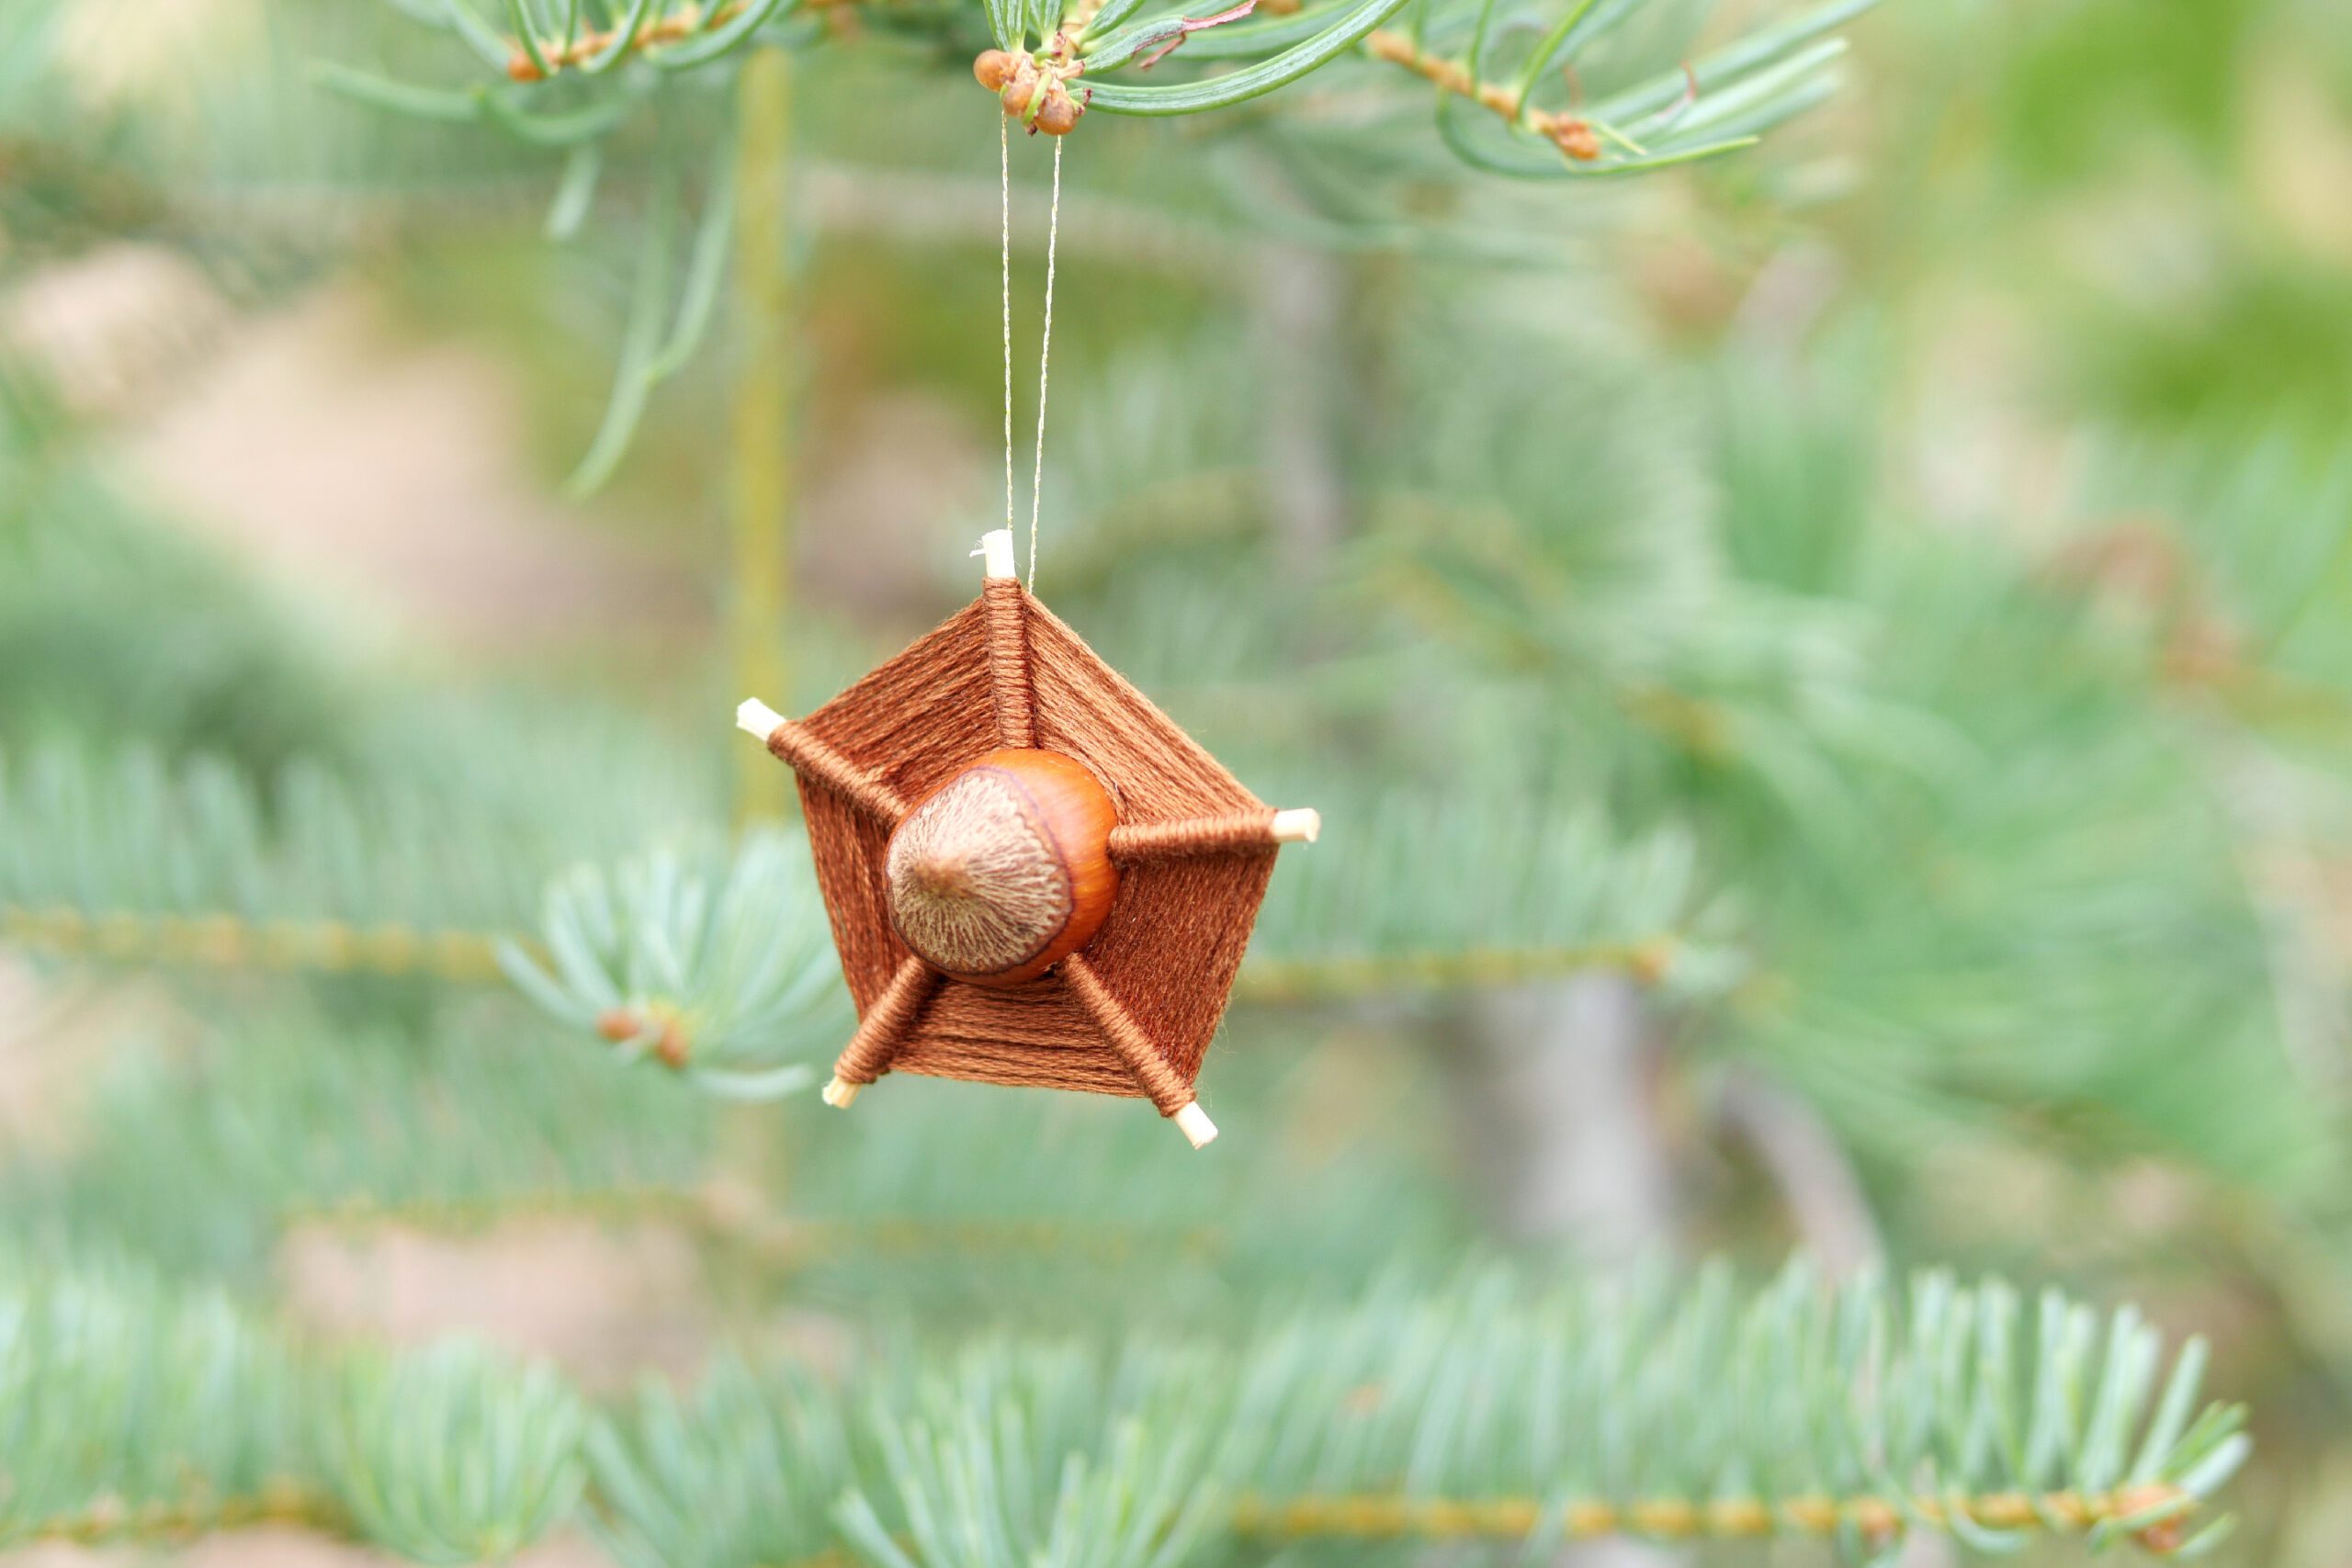
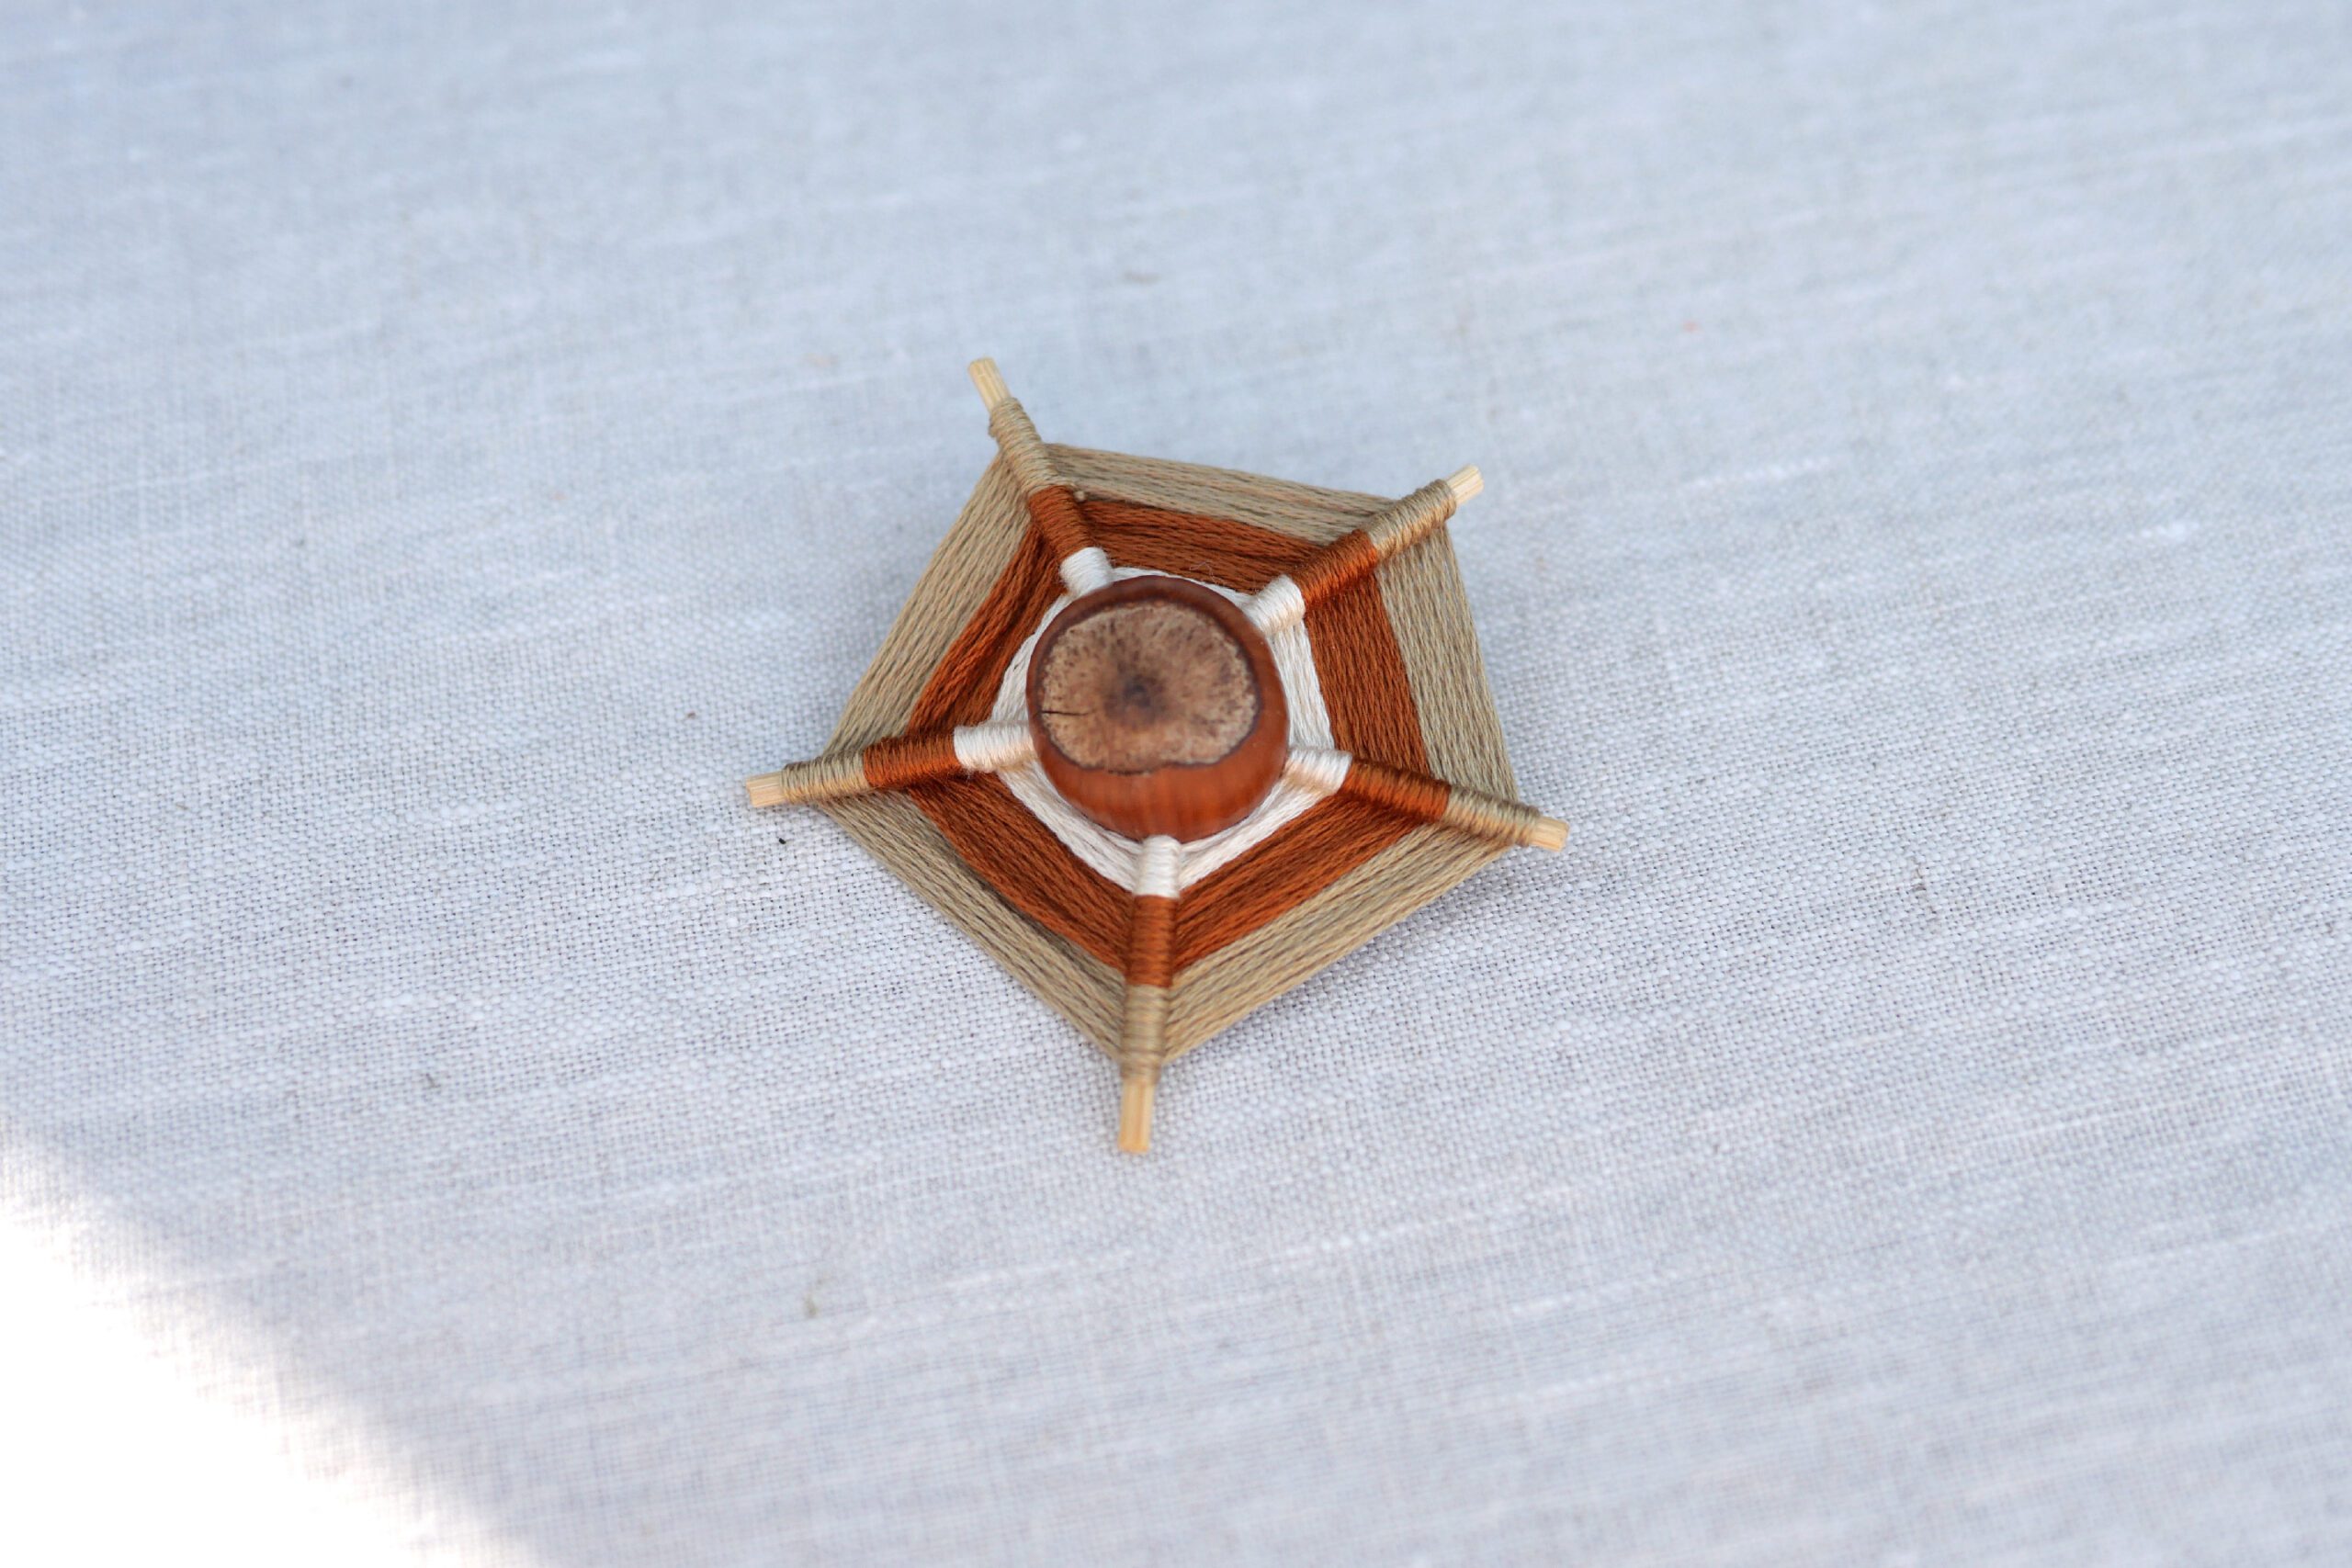
The other day, my daughter and I made ornaments using the hazelnuts. By inserting sticks into nuts and weaving them round and round, it create beautiful decorations that resemble spider webs. The inspiration came from crafts using the familiar European conker (horse chestnut). Conkers are chestnut-like nuts, perfect for play and craft materials. During this season, from autumn to winter, one comes across various craft ideas. Where we live, unfortunately, conkers aren’t readily available. For me, the conker remain a dream nuts – something I long to gather one day and use for crafting.
This Weaving Hazelnuts Star uses hazelnuts for those coveted conkers. Acorns, chestnuts, or other nuts might work just as well. This ornament captures the essence of nature, crafted from small nuts. For little ones, it offers a wonderful first encounter with weaving. It also aids in developing fine motor skills in the fingers. Highly recommended for holiday season crafts.
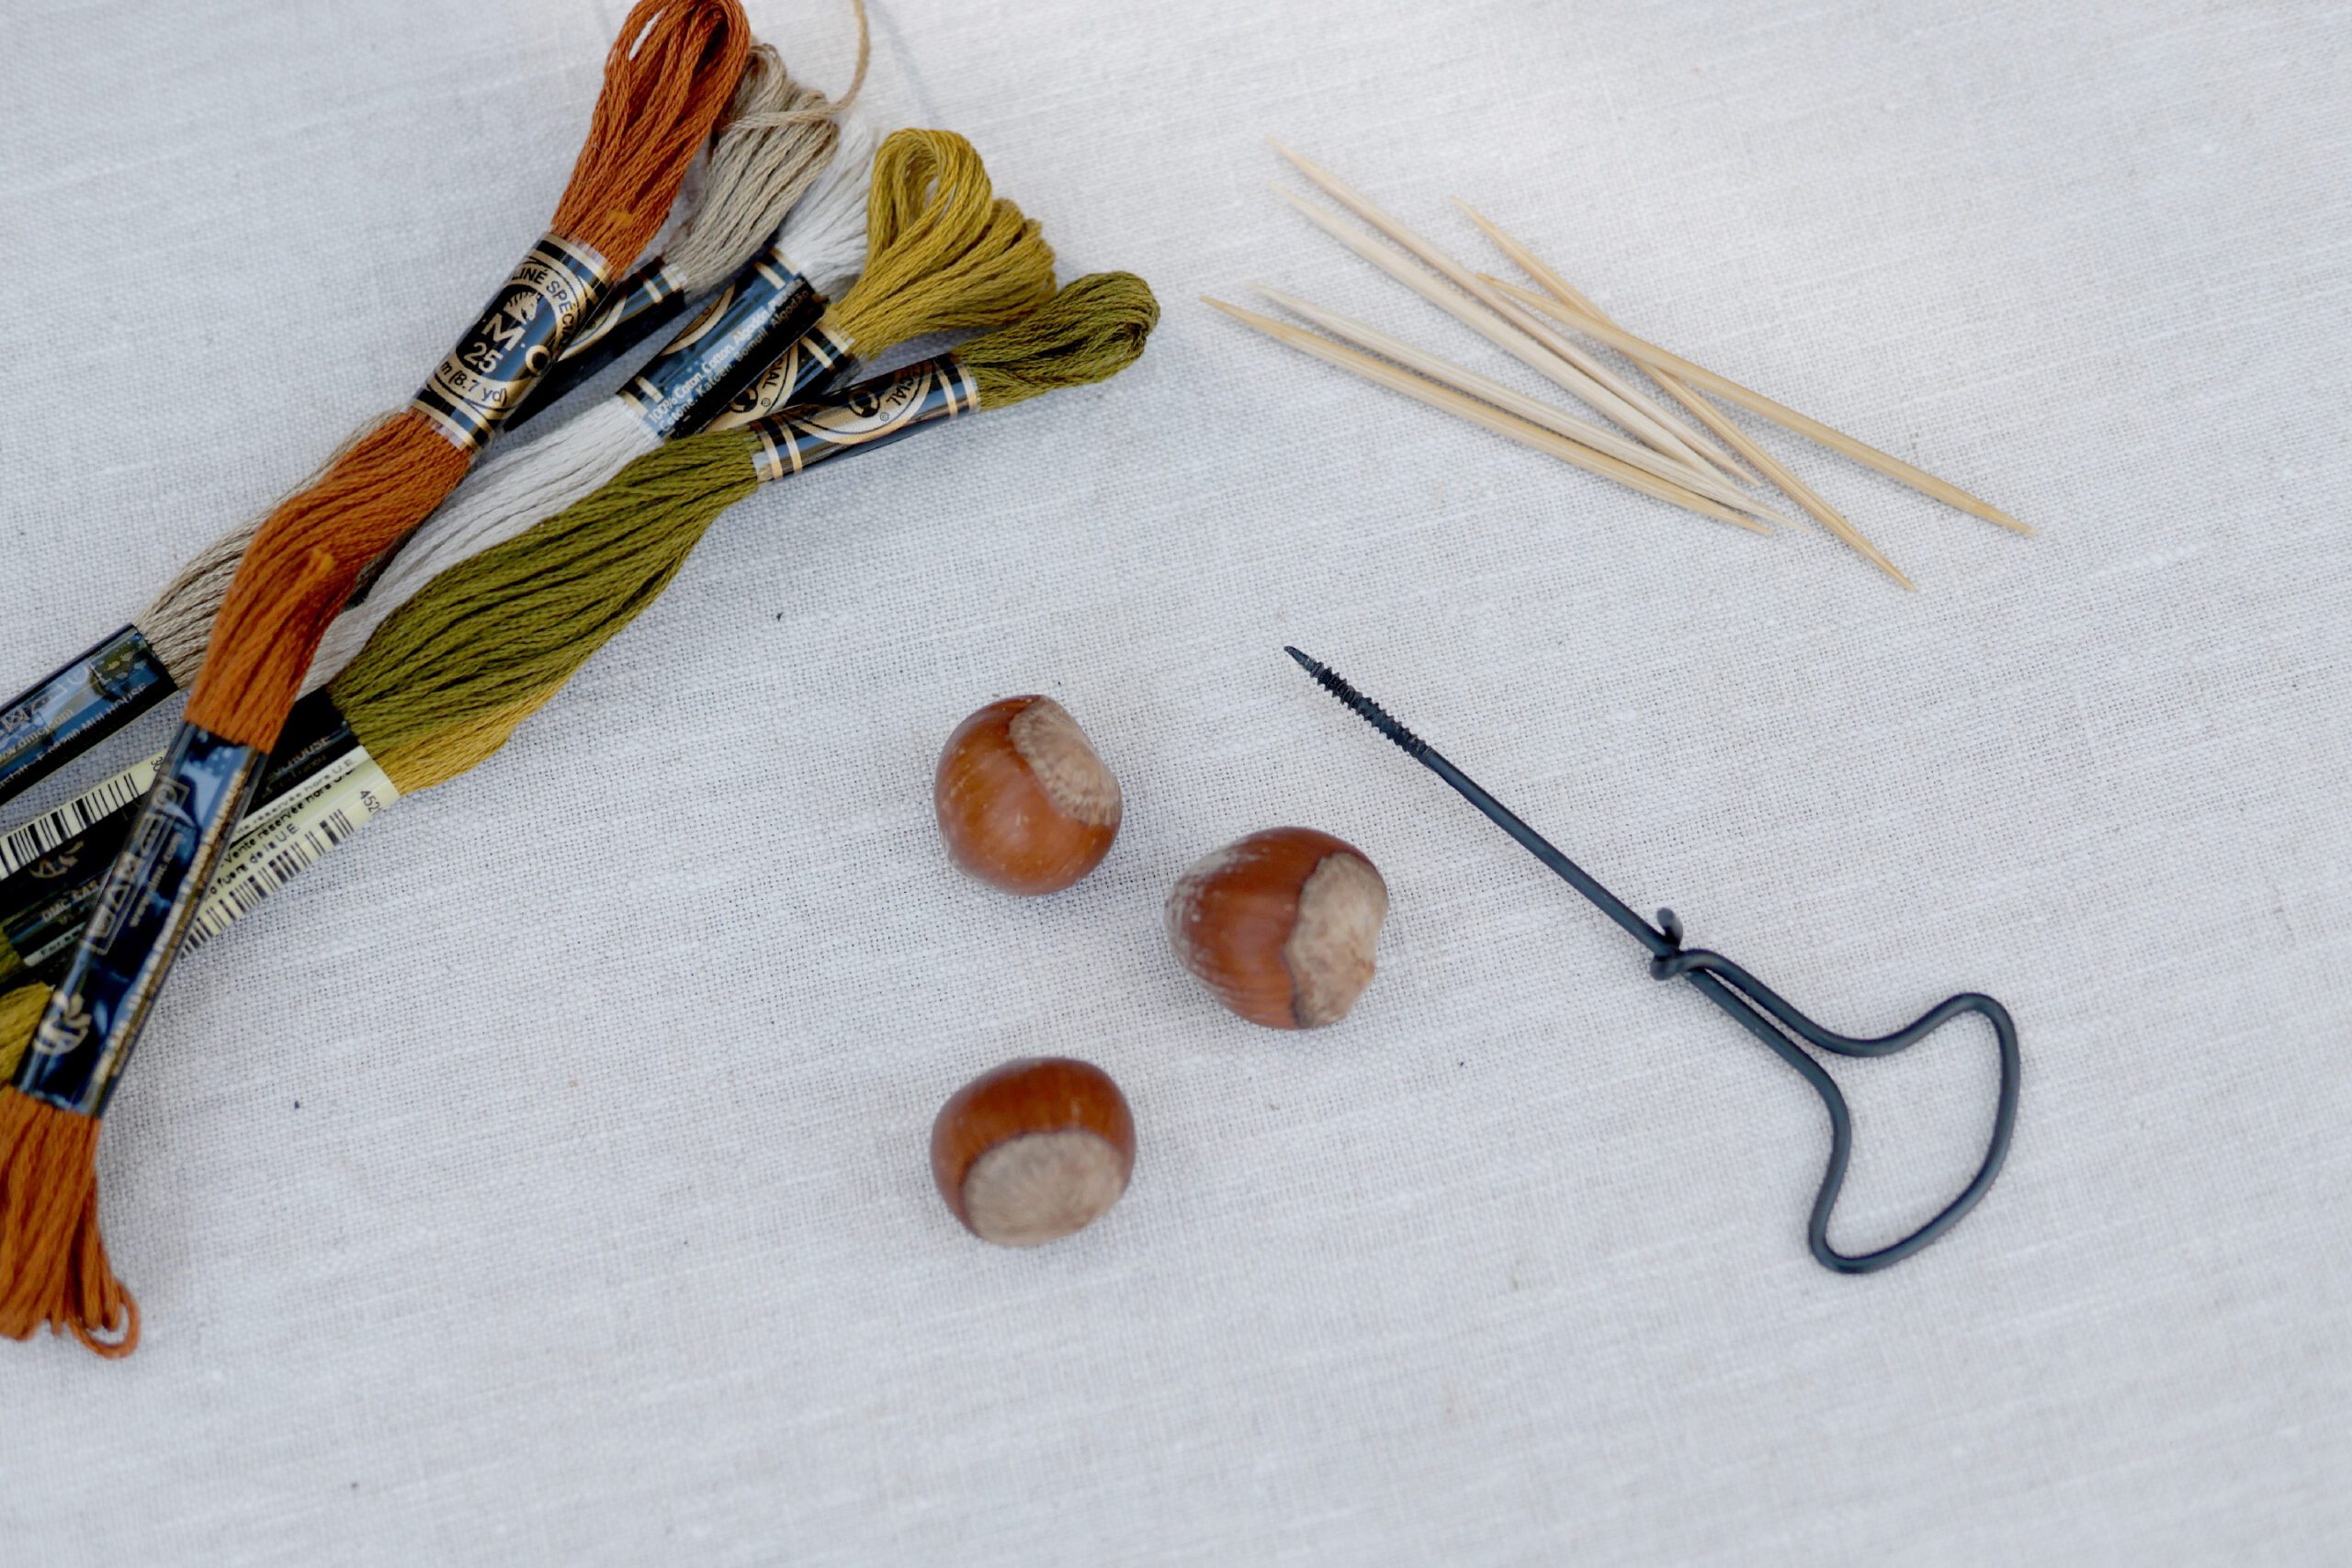
Materials
– Nuts *Hazelnuts, acorns, chestnuts…
– Boring tools *Gimlet tool or hand drill
– Toothpicks
– Embroidery thread
Instructions for making
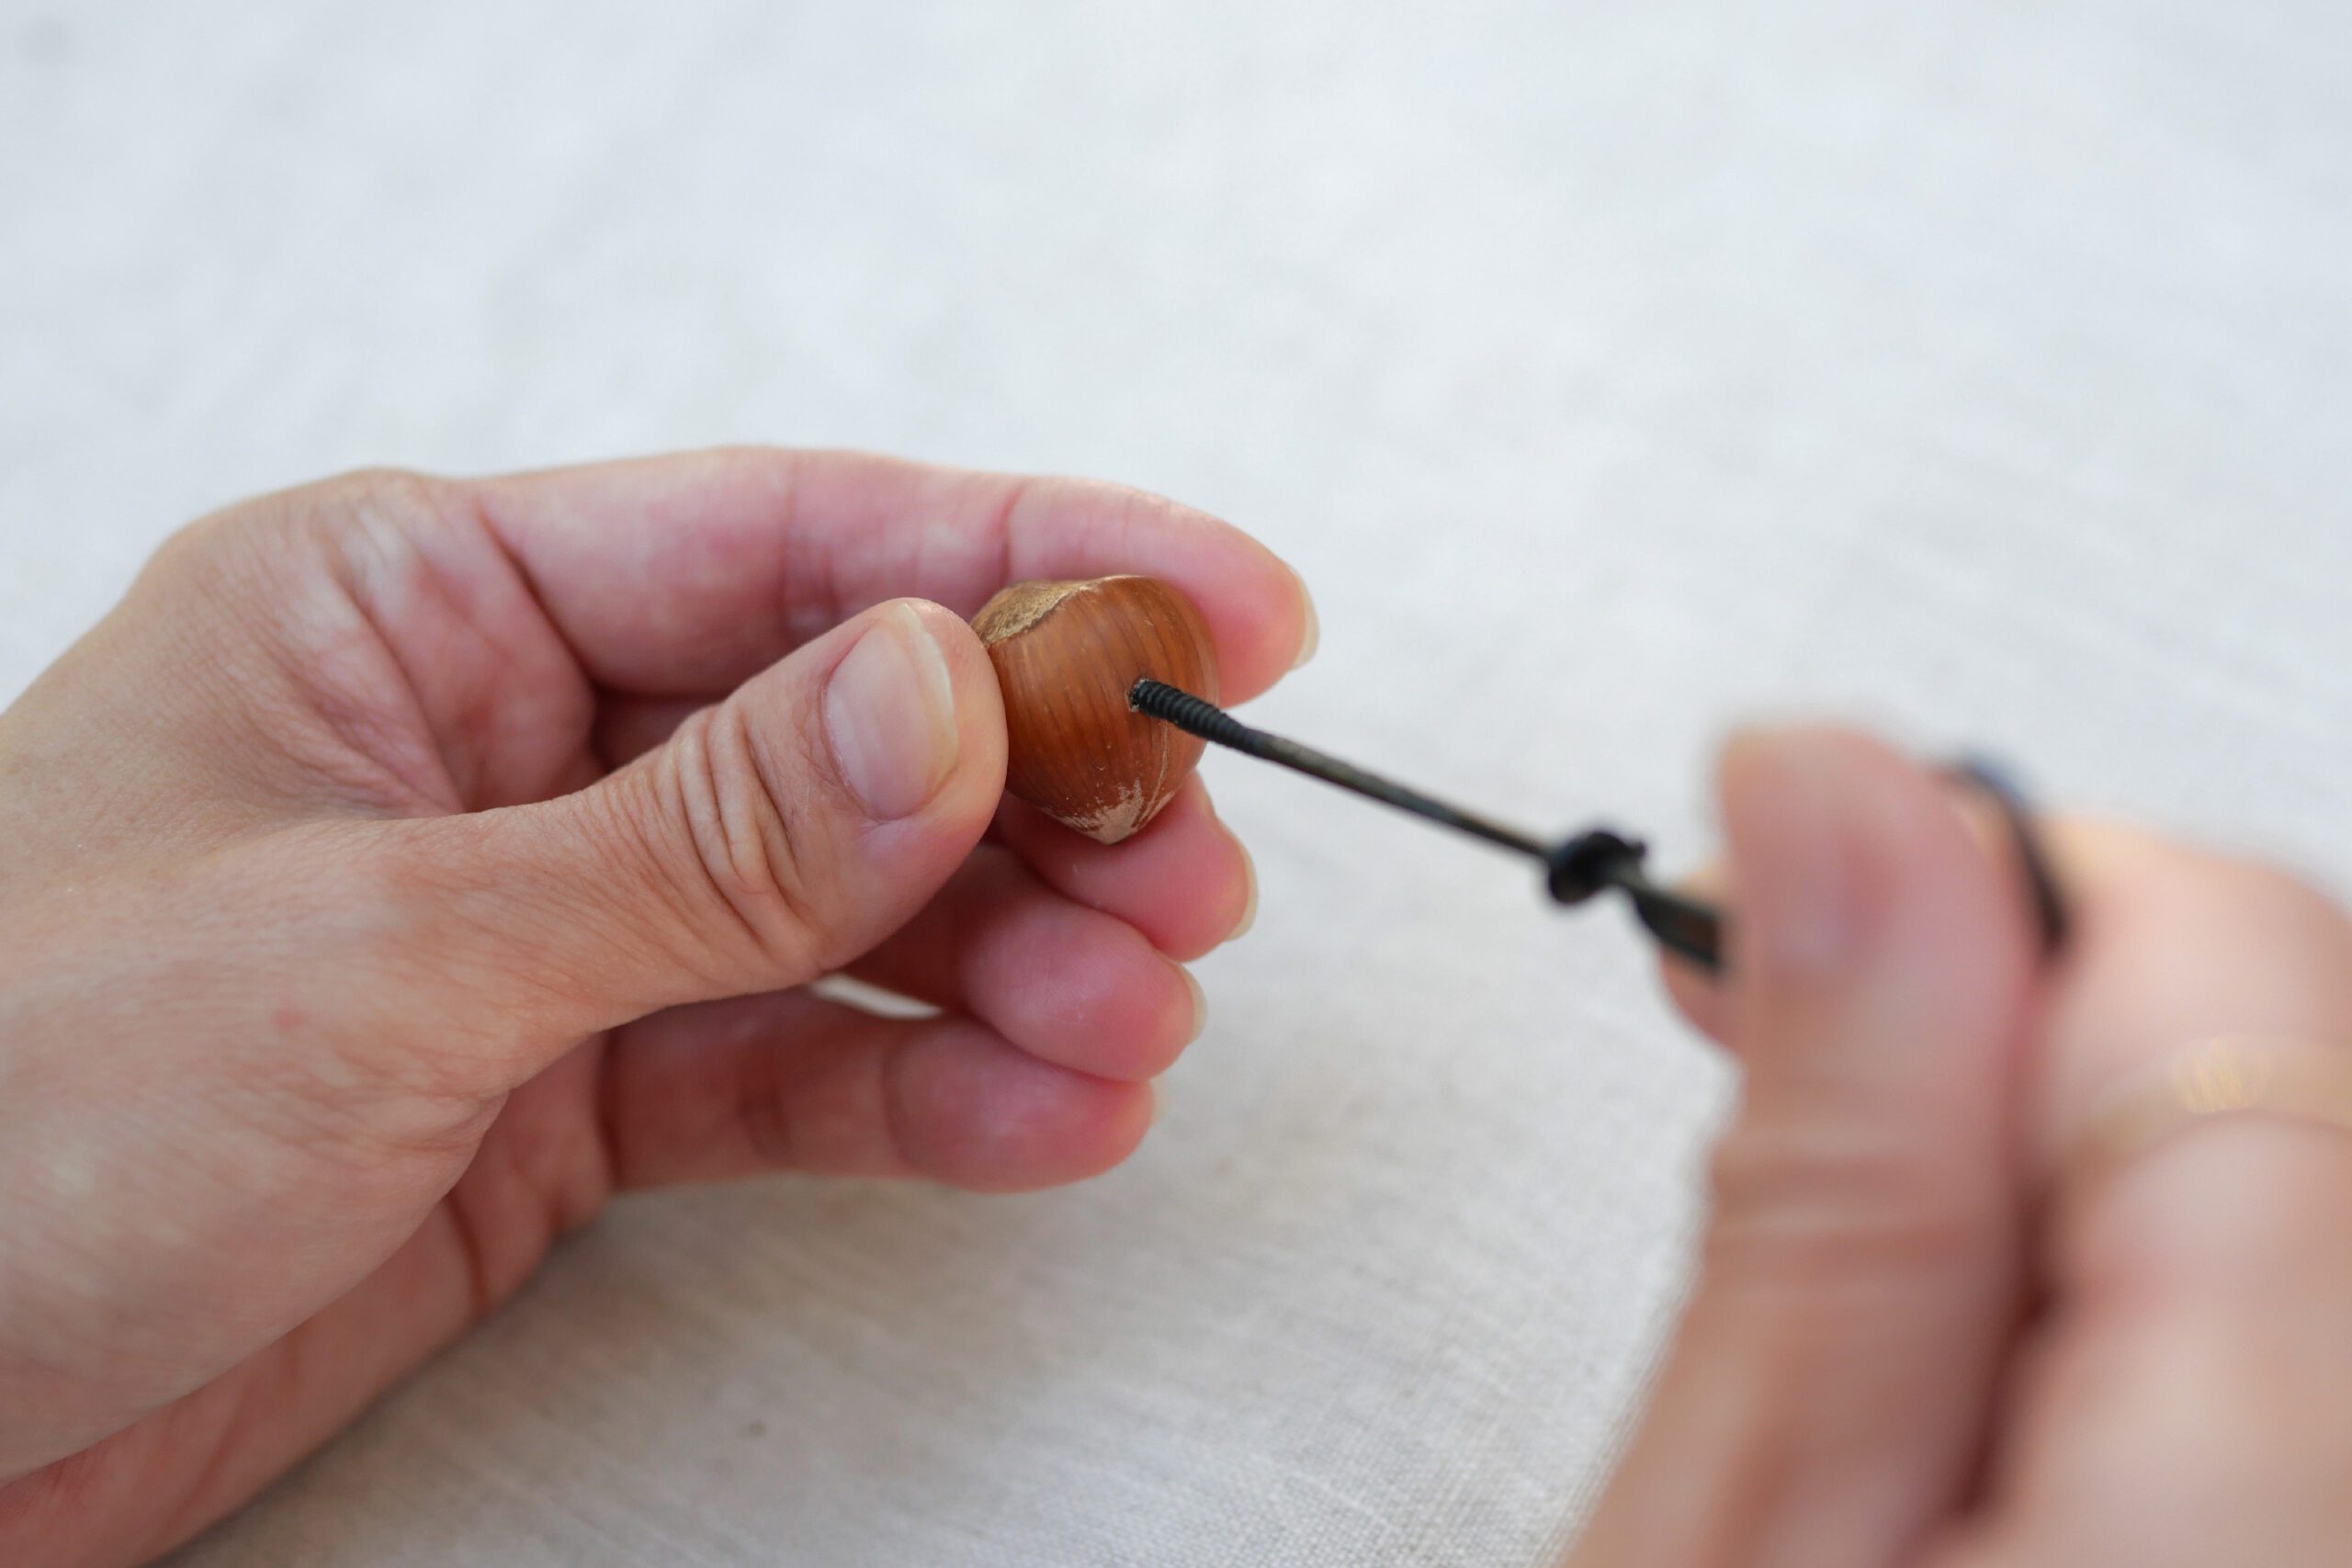
Step 1. Drill Holes in Nuts
Using a hand drill, make holes in the hazelnuts. To ensure they are as equal position as possible, I marked five spots beforehand with a pen. Freshly fallen nuts are soft, so drilling holes should be easier. However, the shells of dried nuts are hard, requiring a little care when making holes. It is safer for an adult to carry out this task.
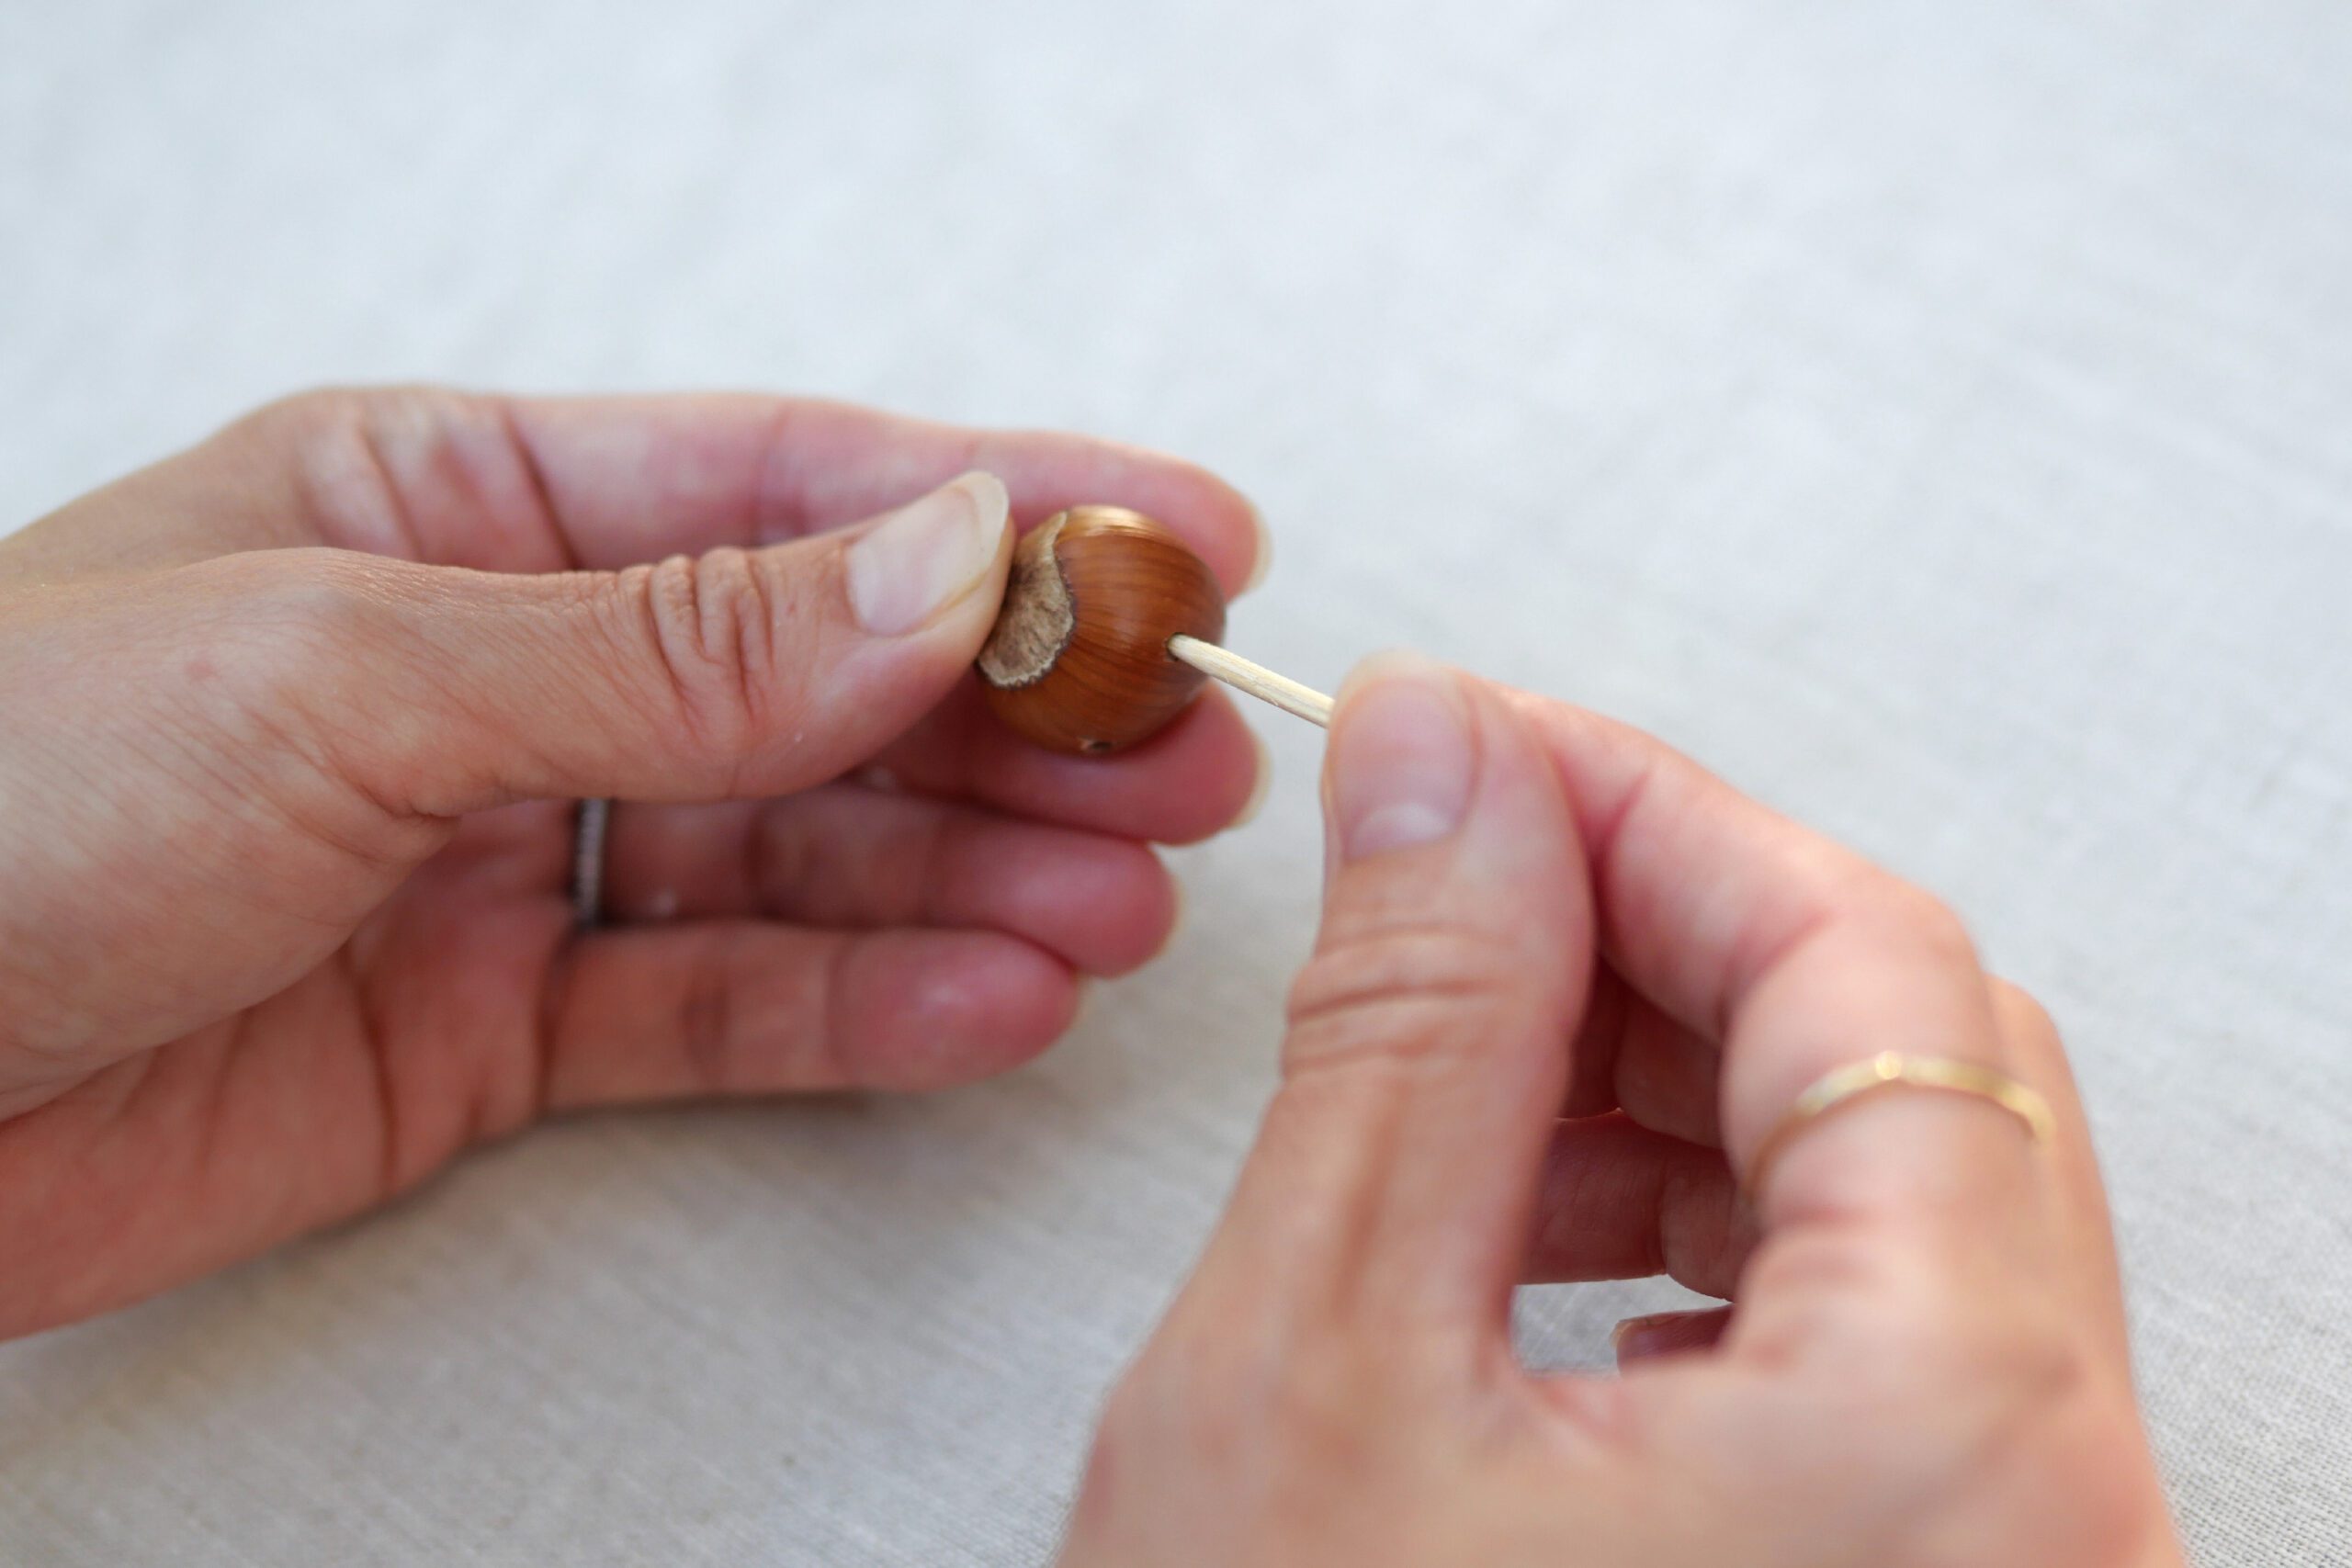
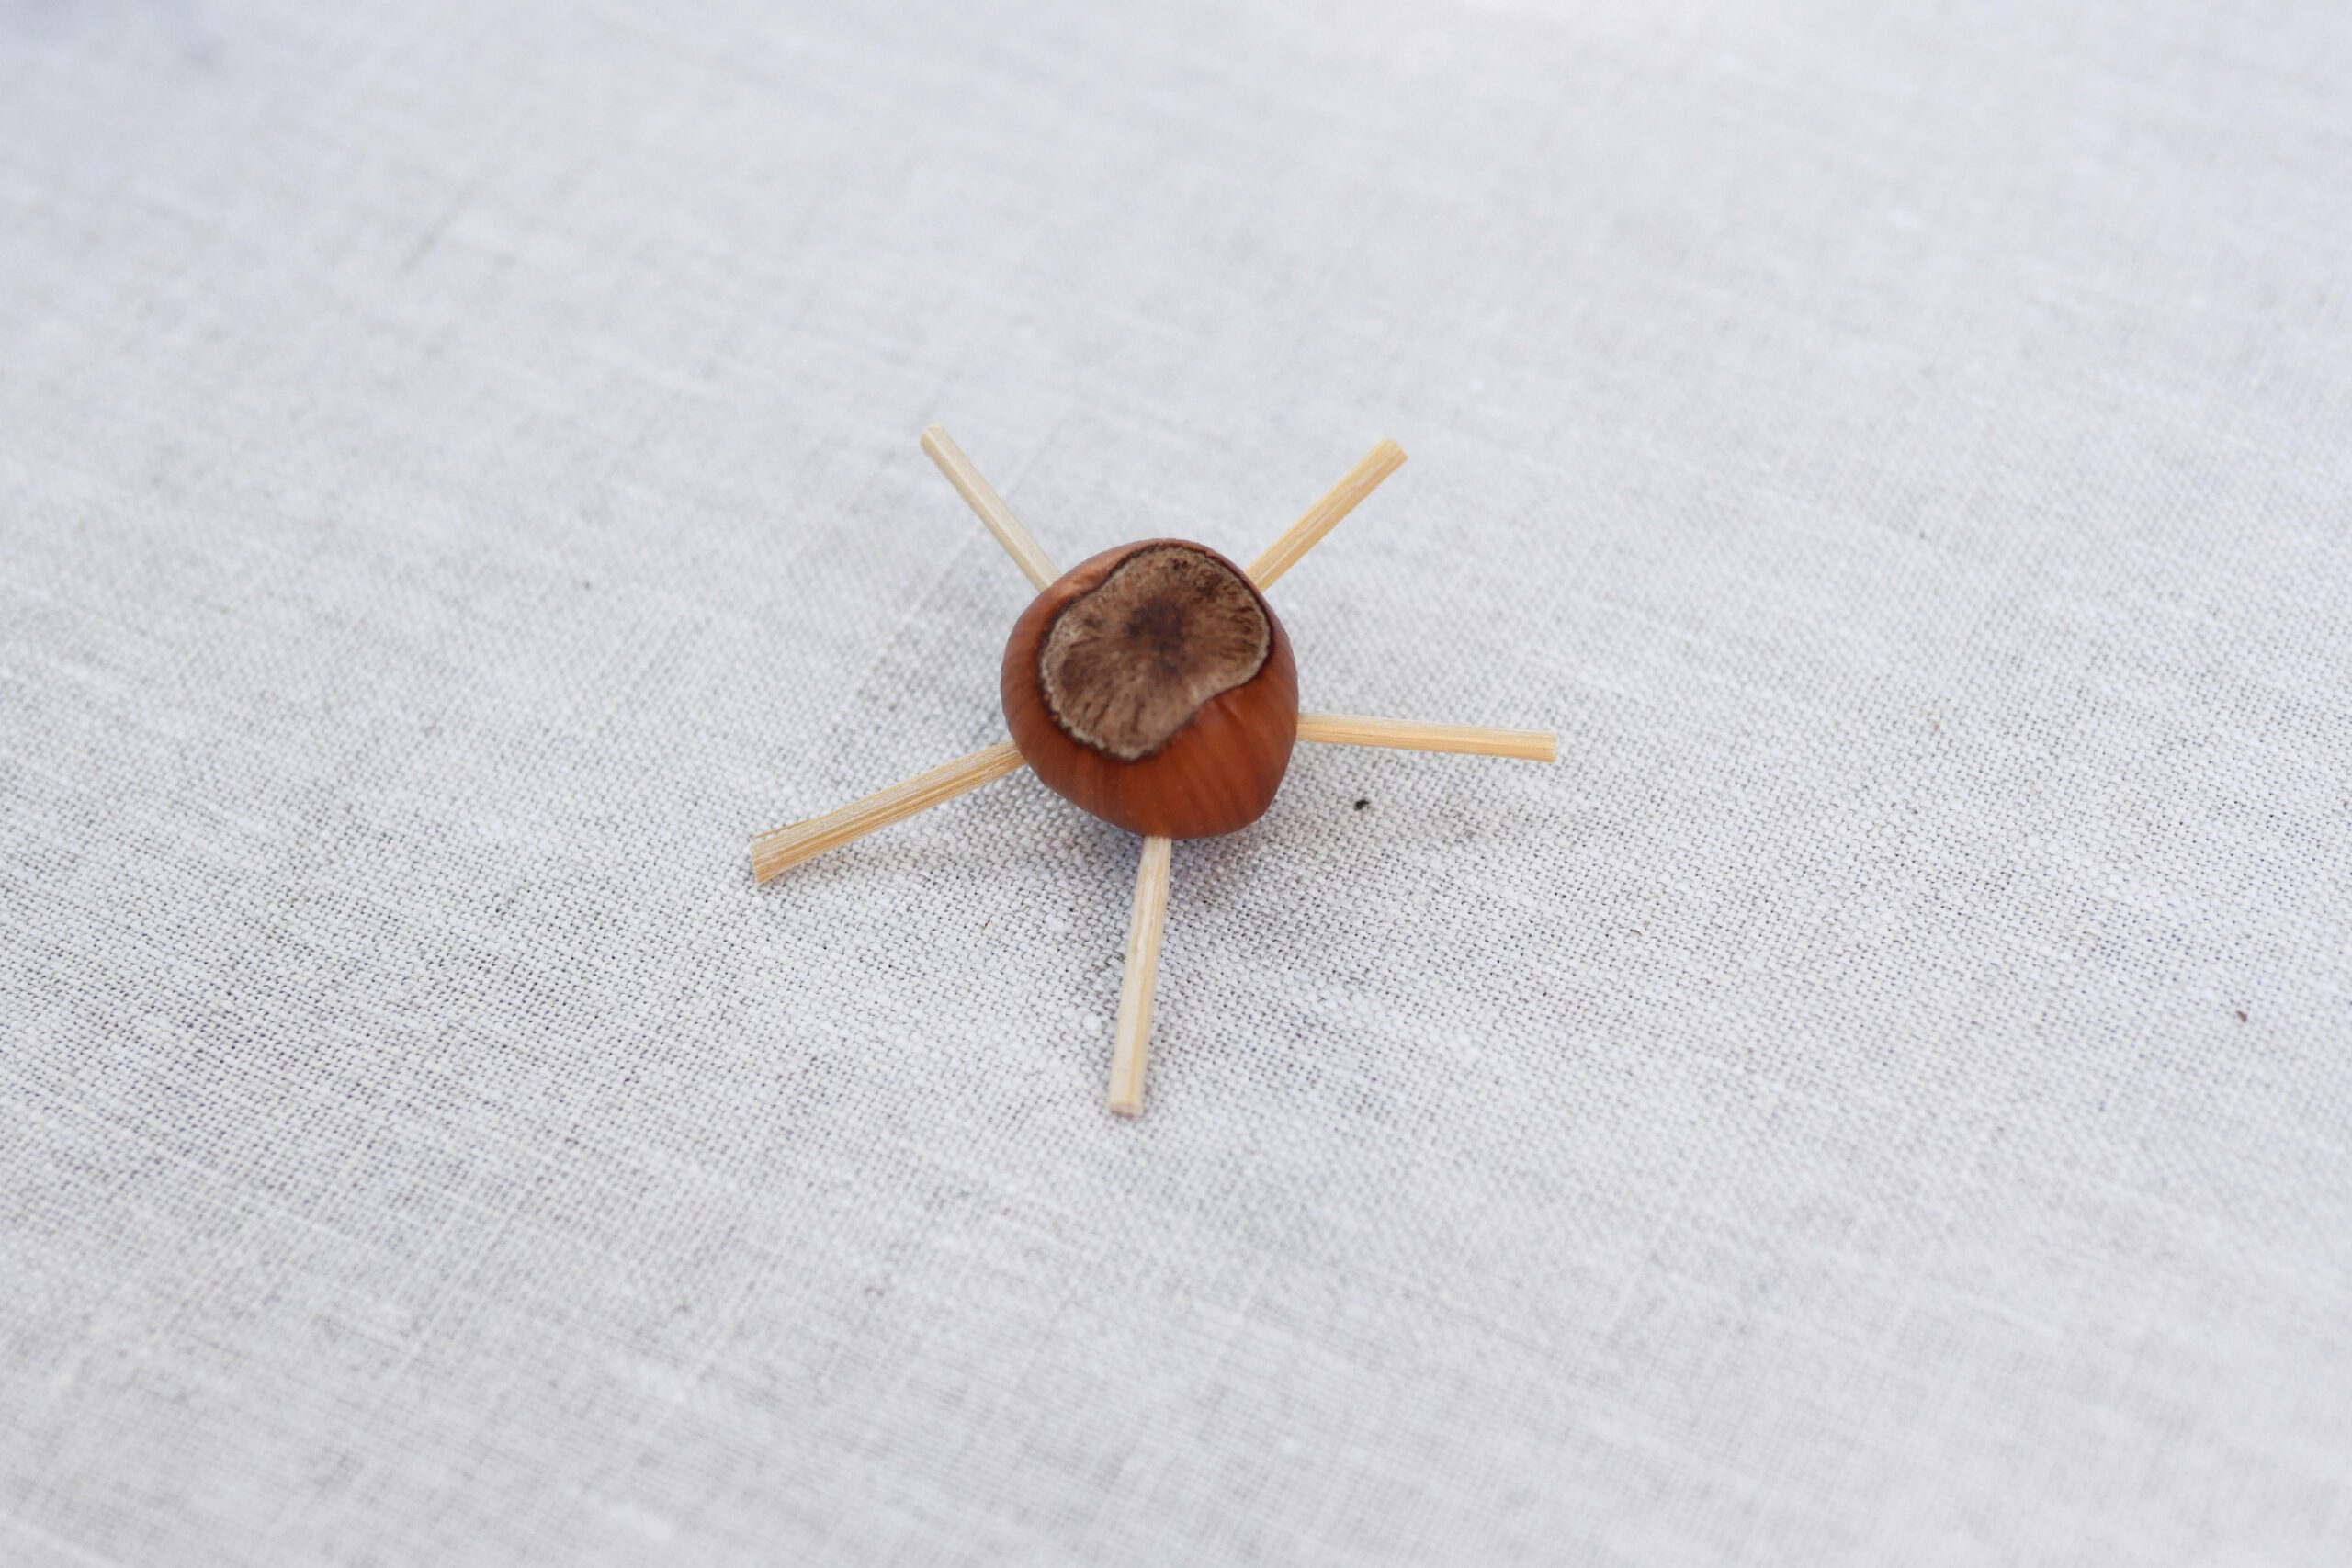
Step 2. Stick a Toothpick Into
Insert a toothpick into the hole you have made. As the inside of the shell is soft, push it in deeply. Once inserted, cut it to a length of about 2–3 cm.
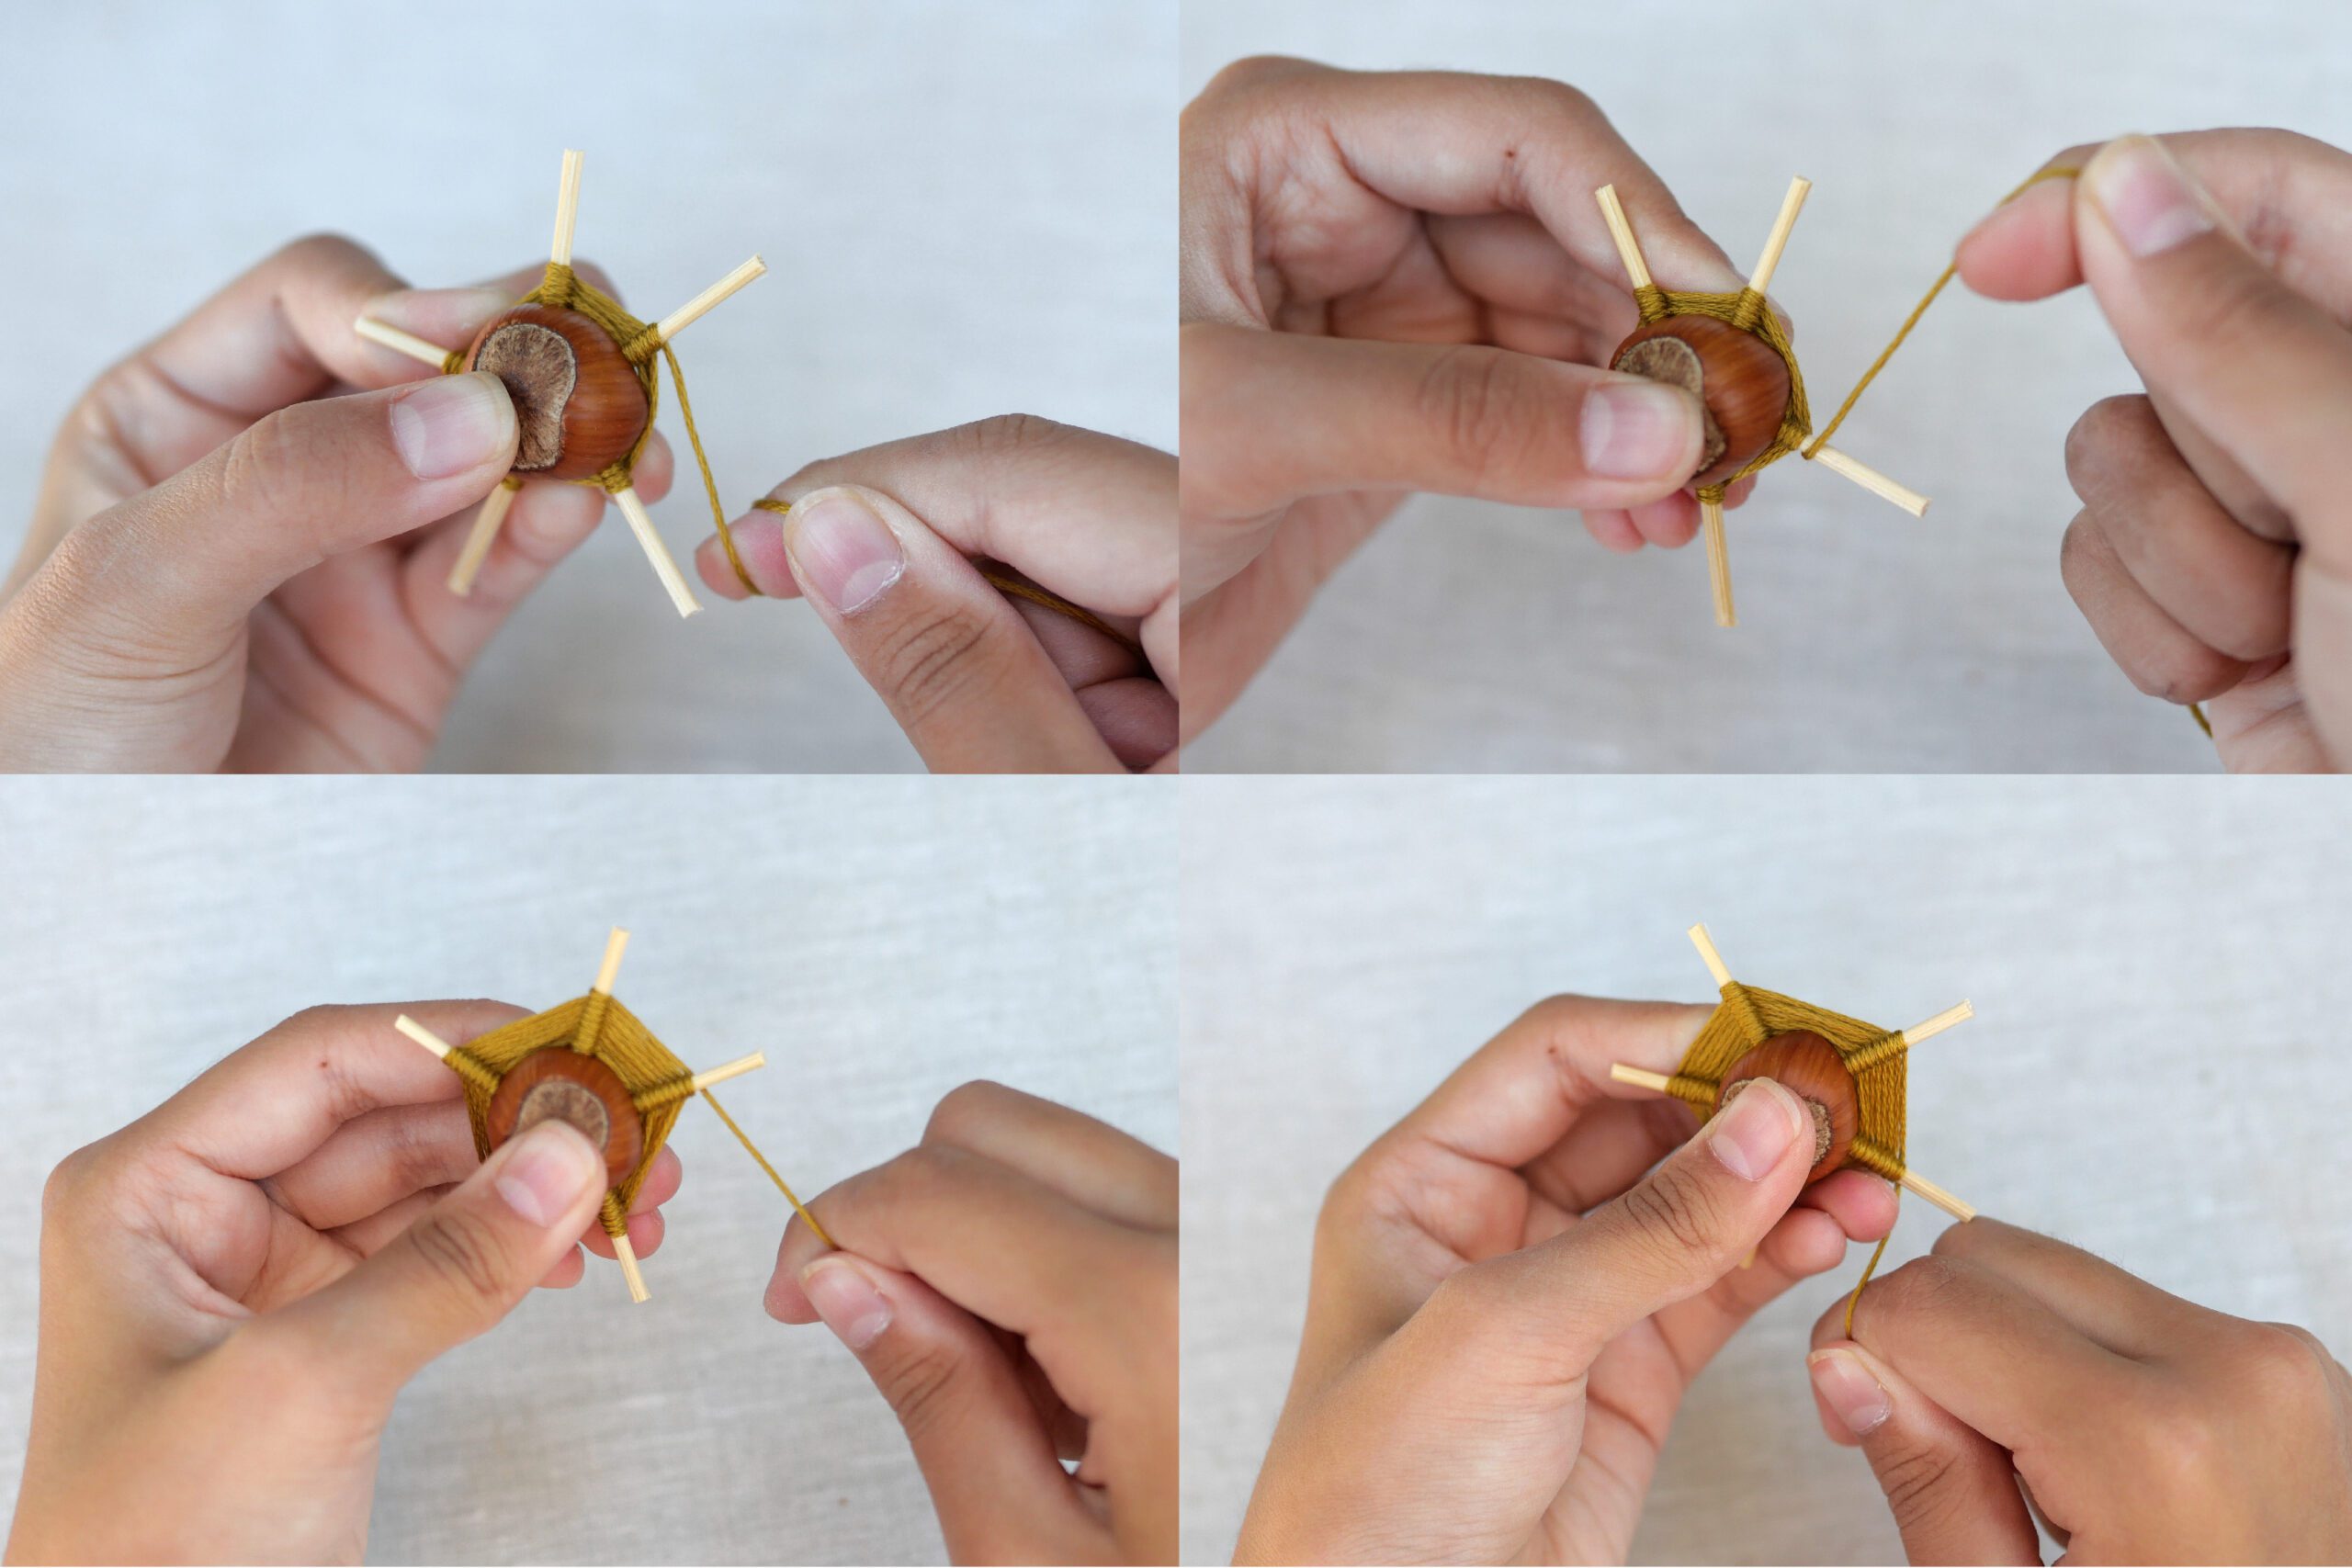
Step 3. Weave with Thread
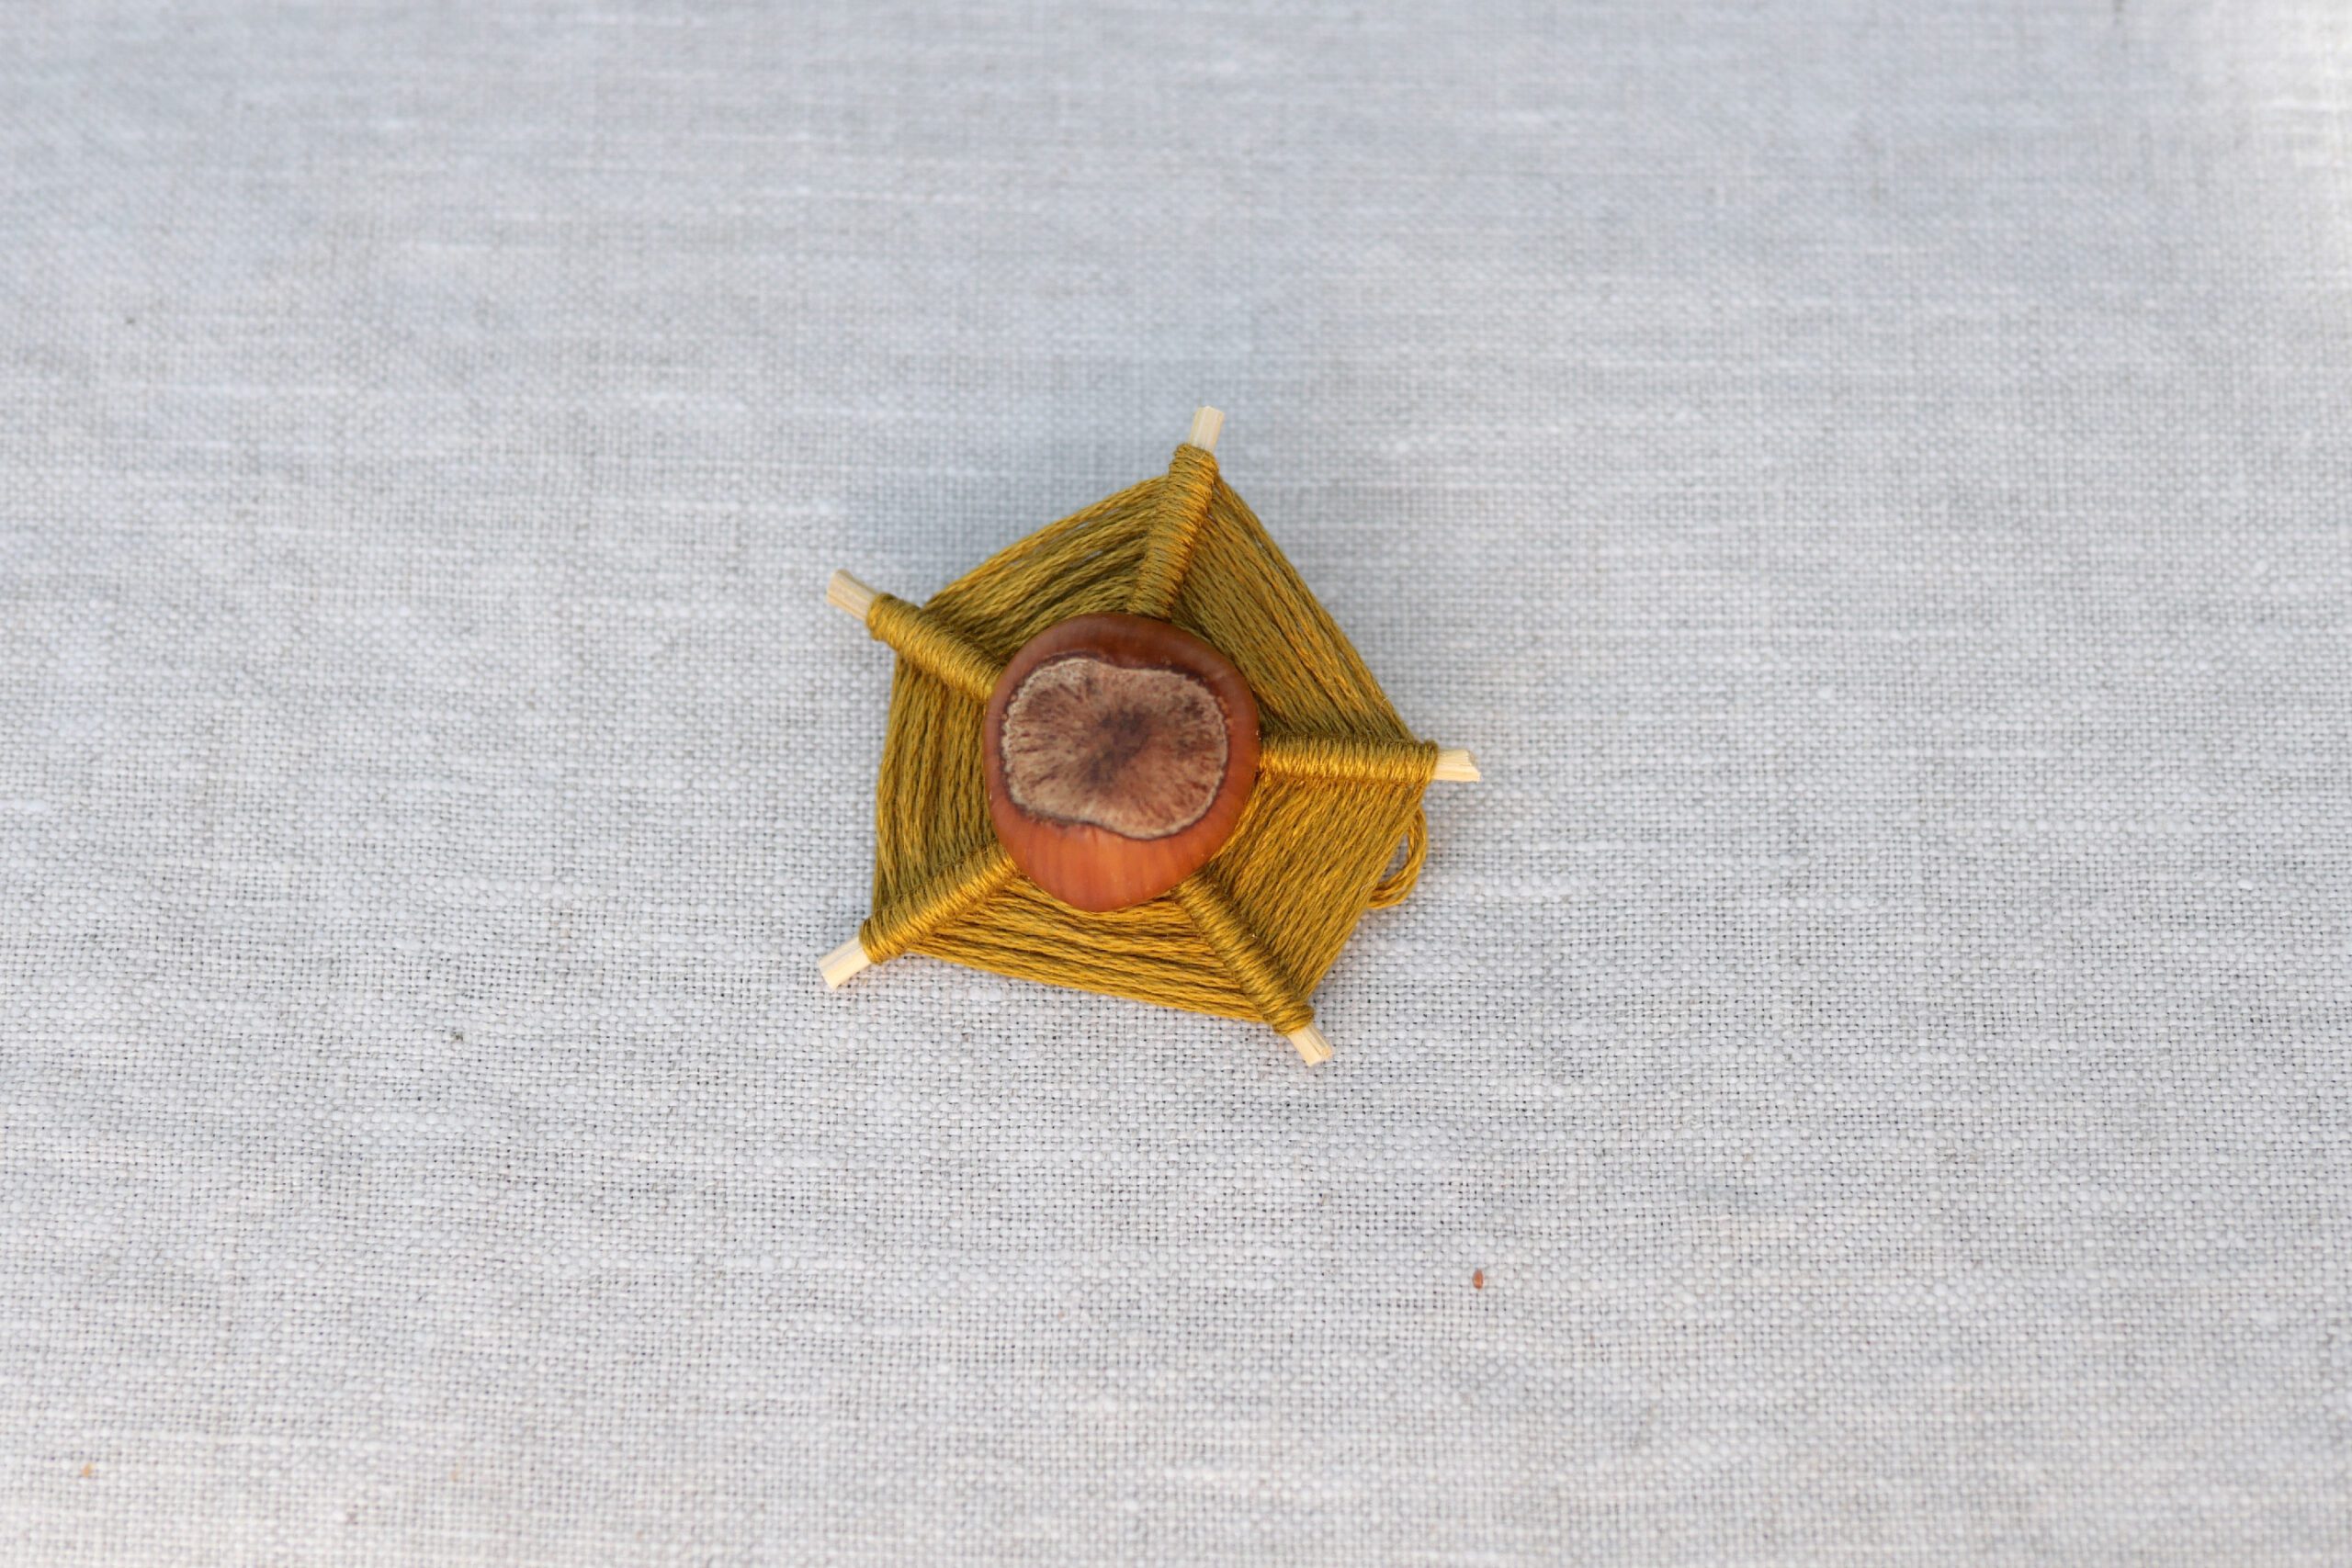
Tie the embroidery thread to one stick. Pass the thread under the next stick and wrap it around the stick. Then pass the same way to the next stick and wrap it around again. Continue wrapping the thread around each stick in turn. Weave as taut as possible to ensure the stitches remain firm and neat. Once you have reached your desired size, tie the thread to the final stick, cut it, and you’re done.
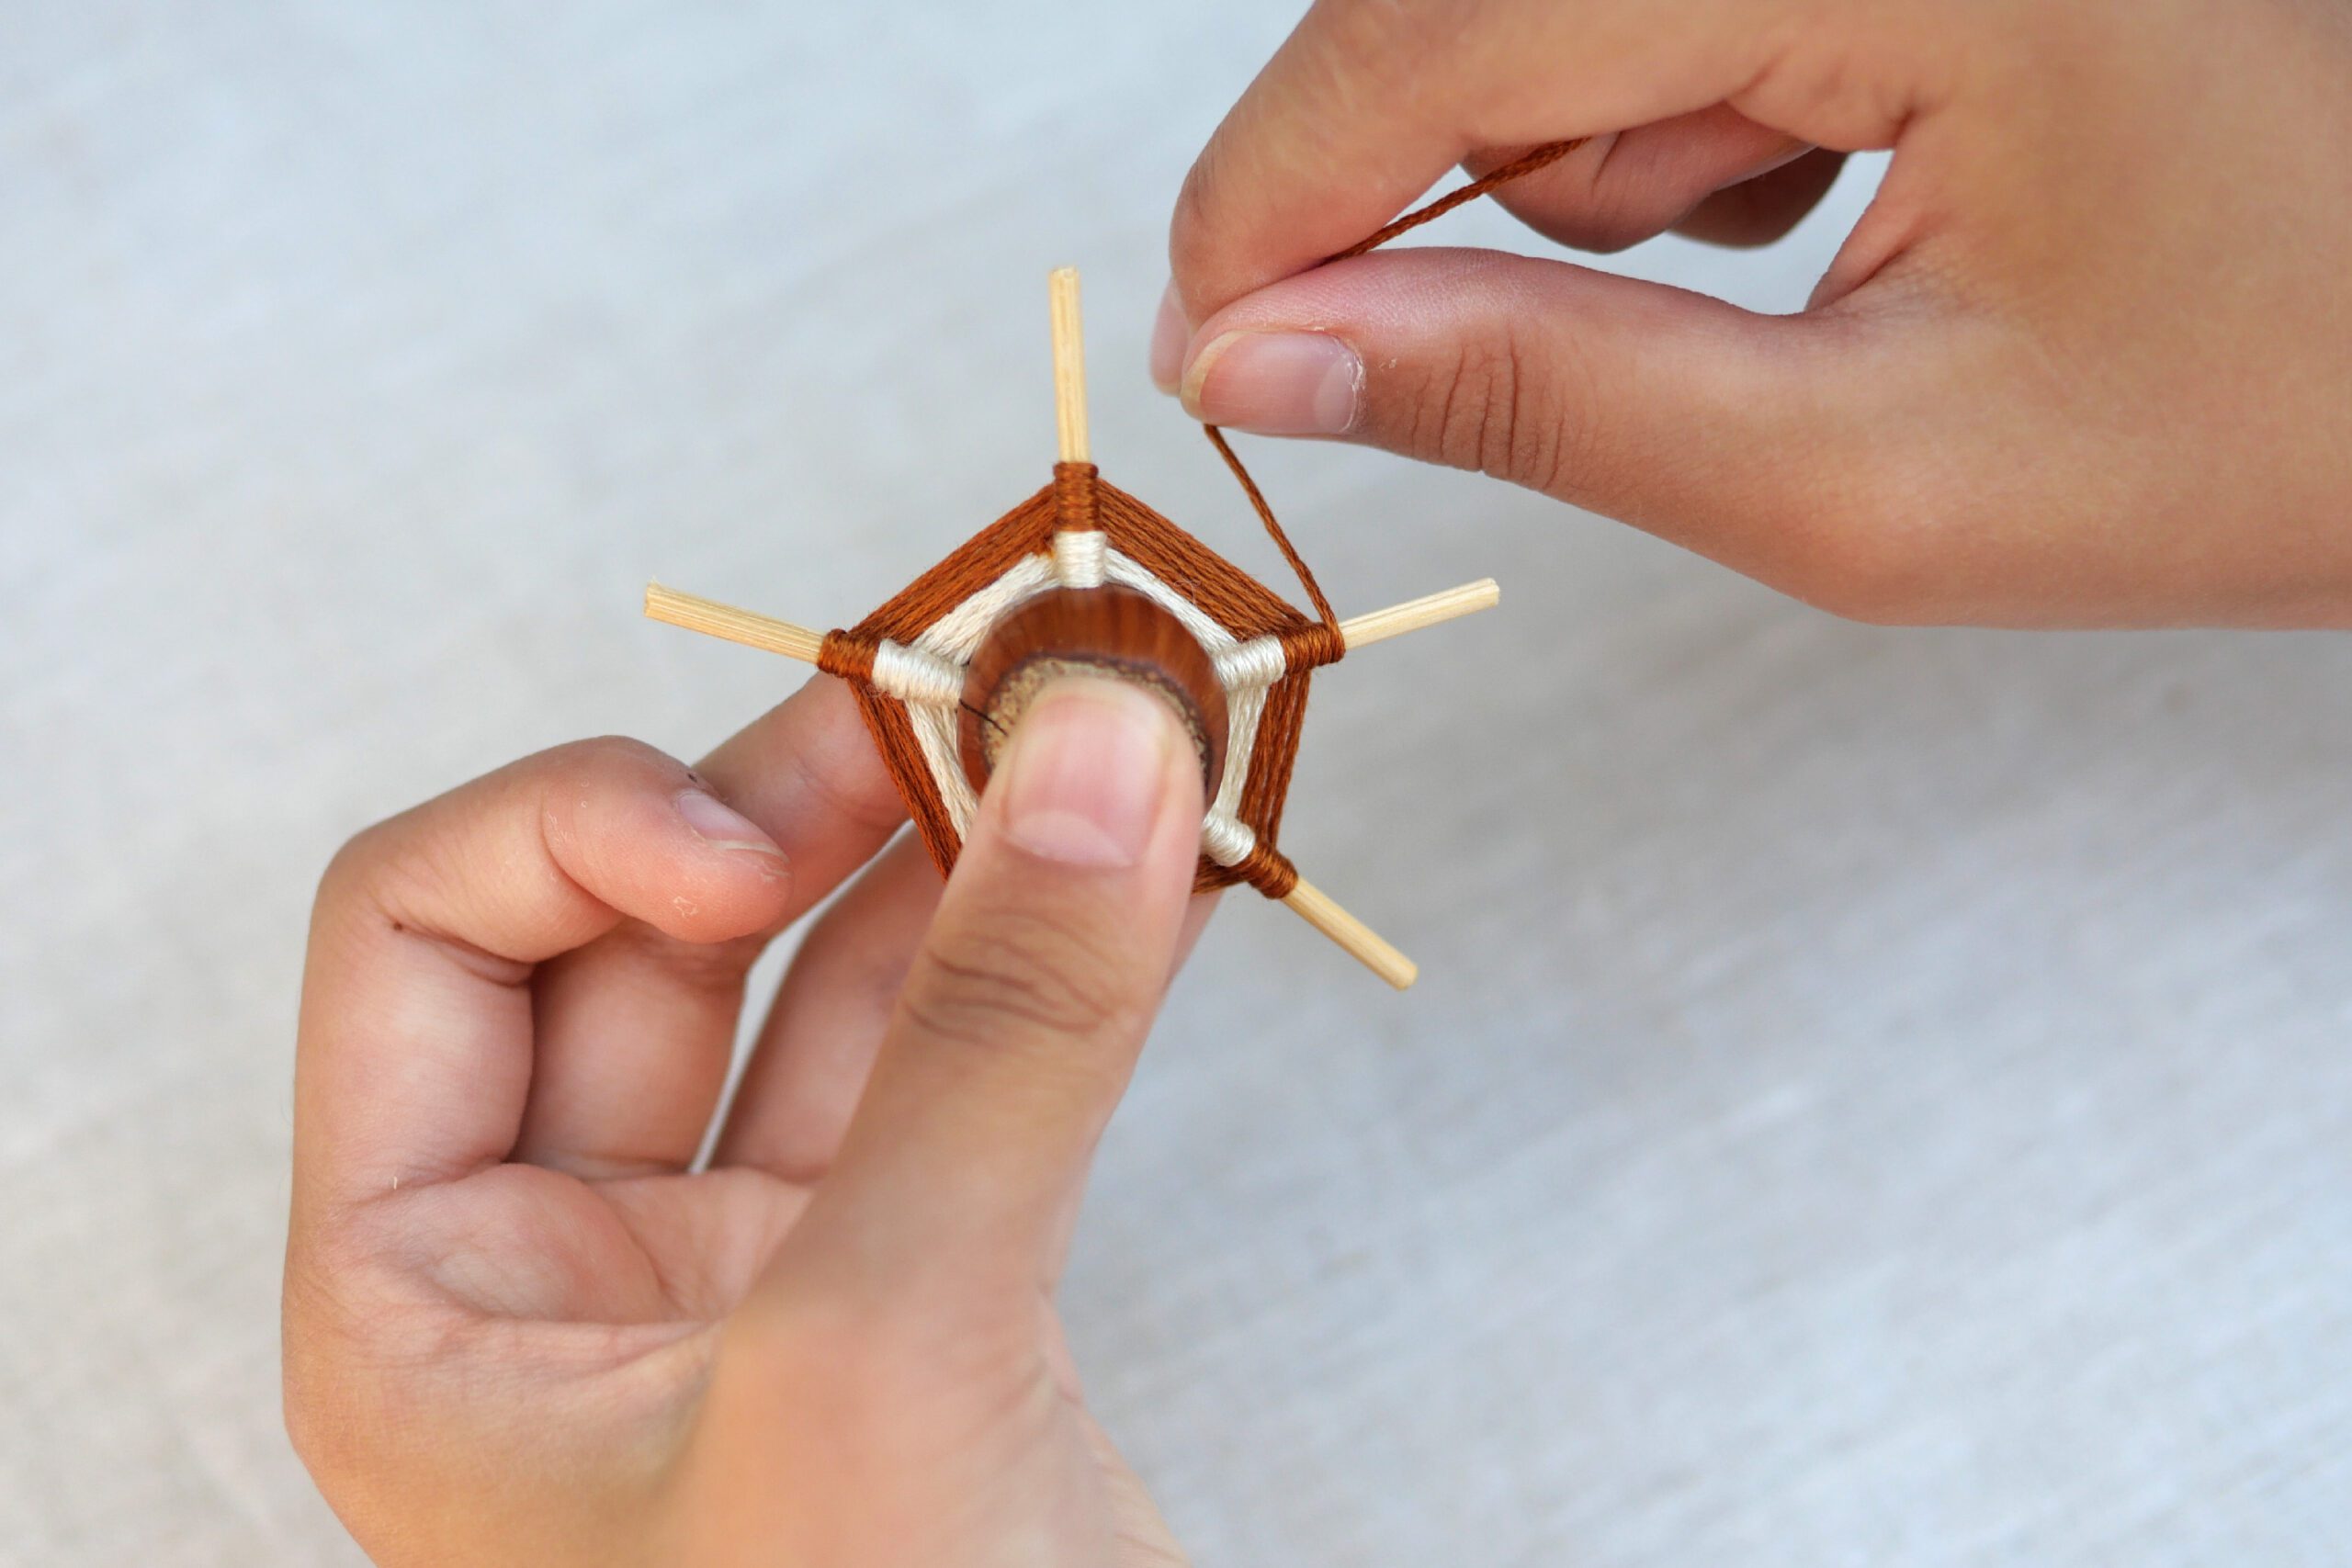
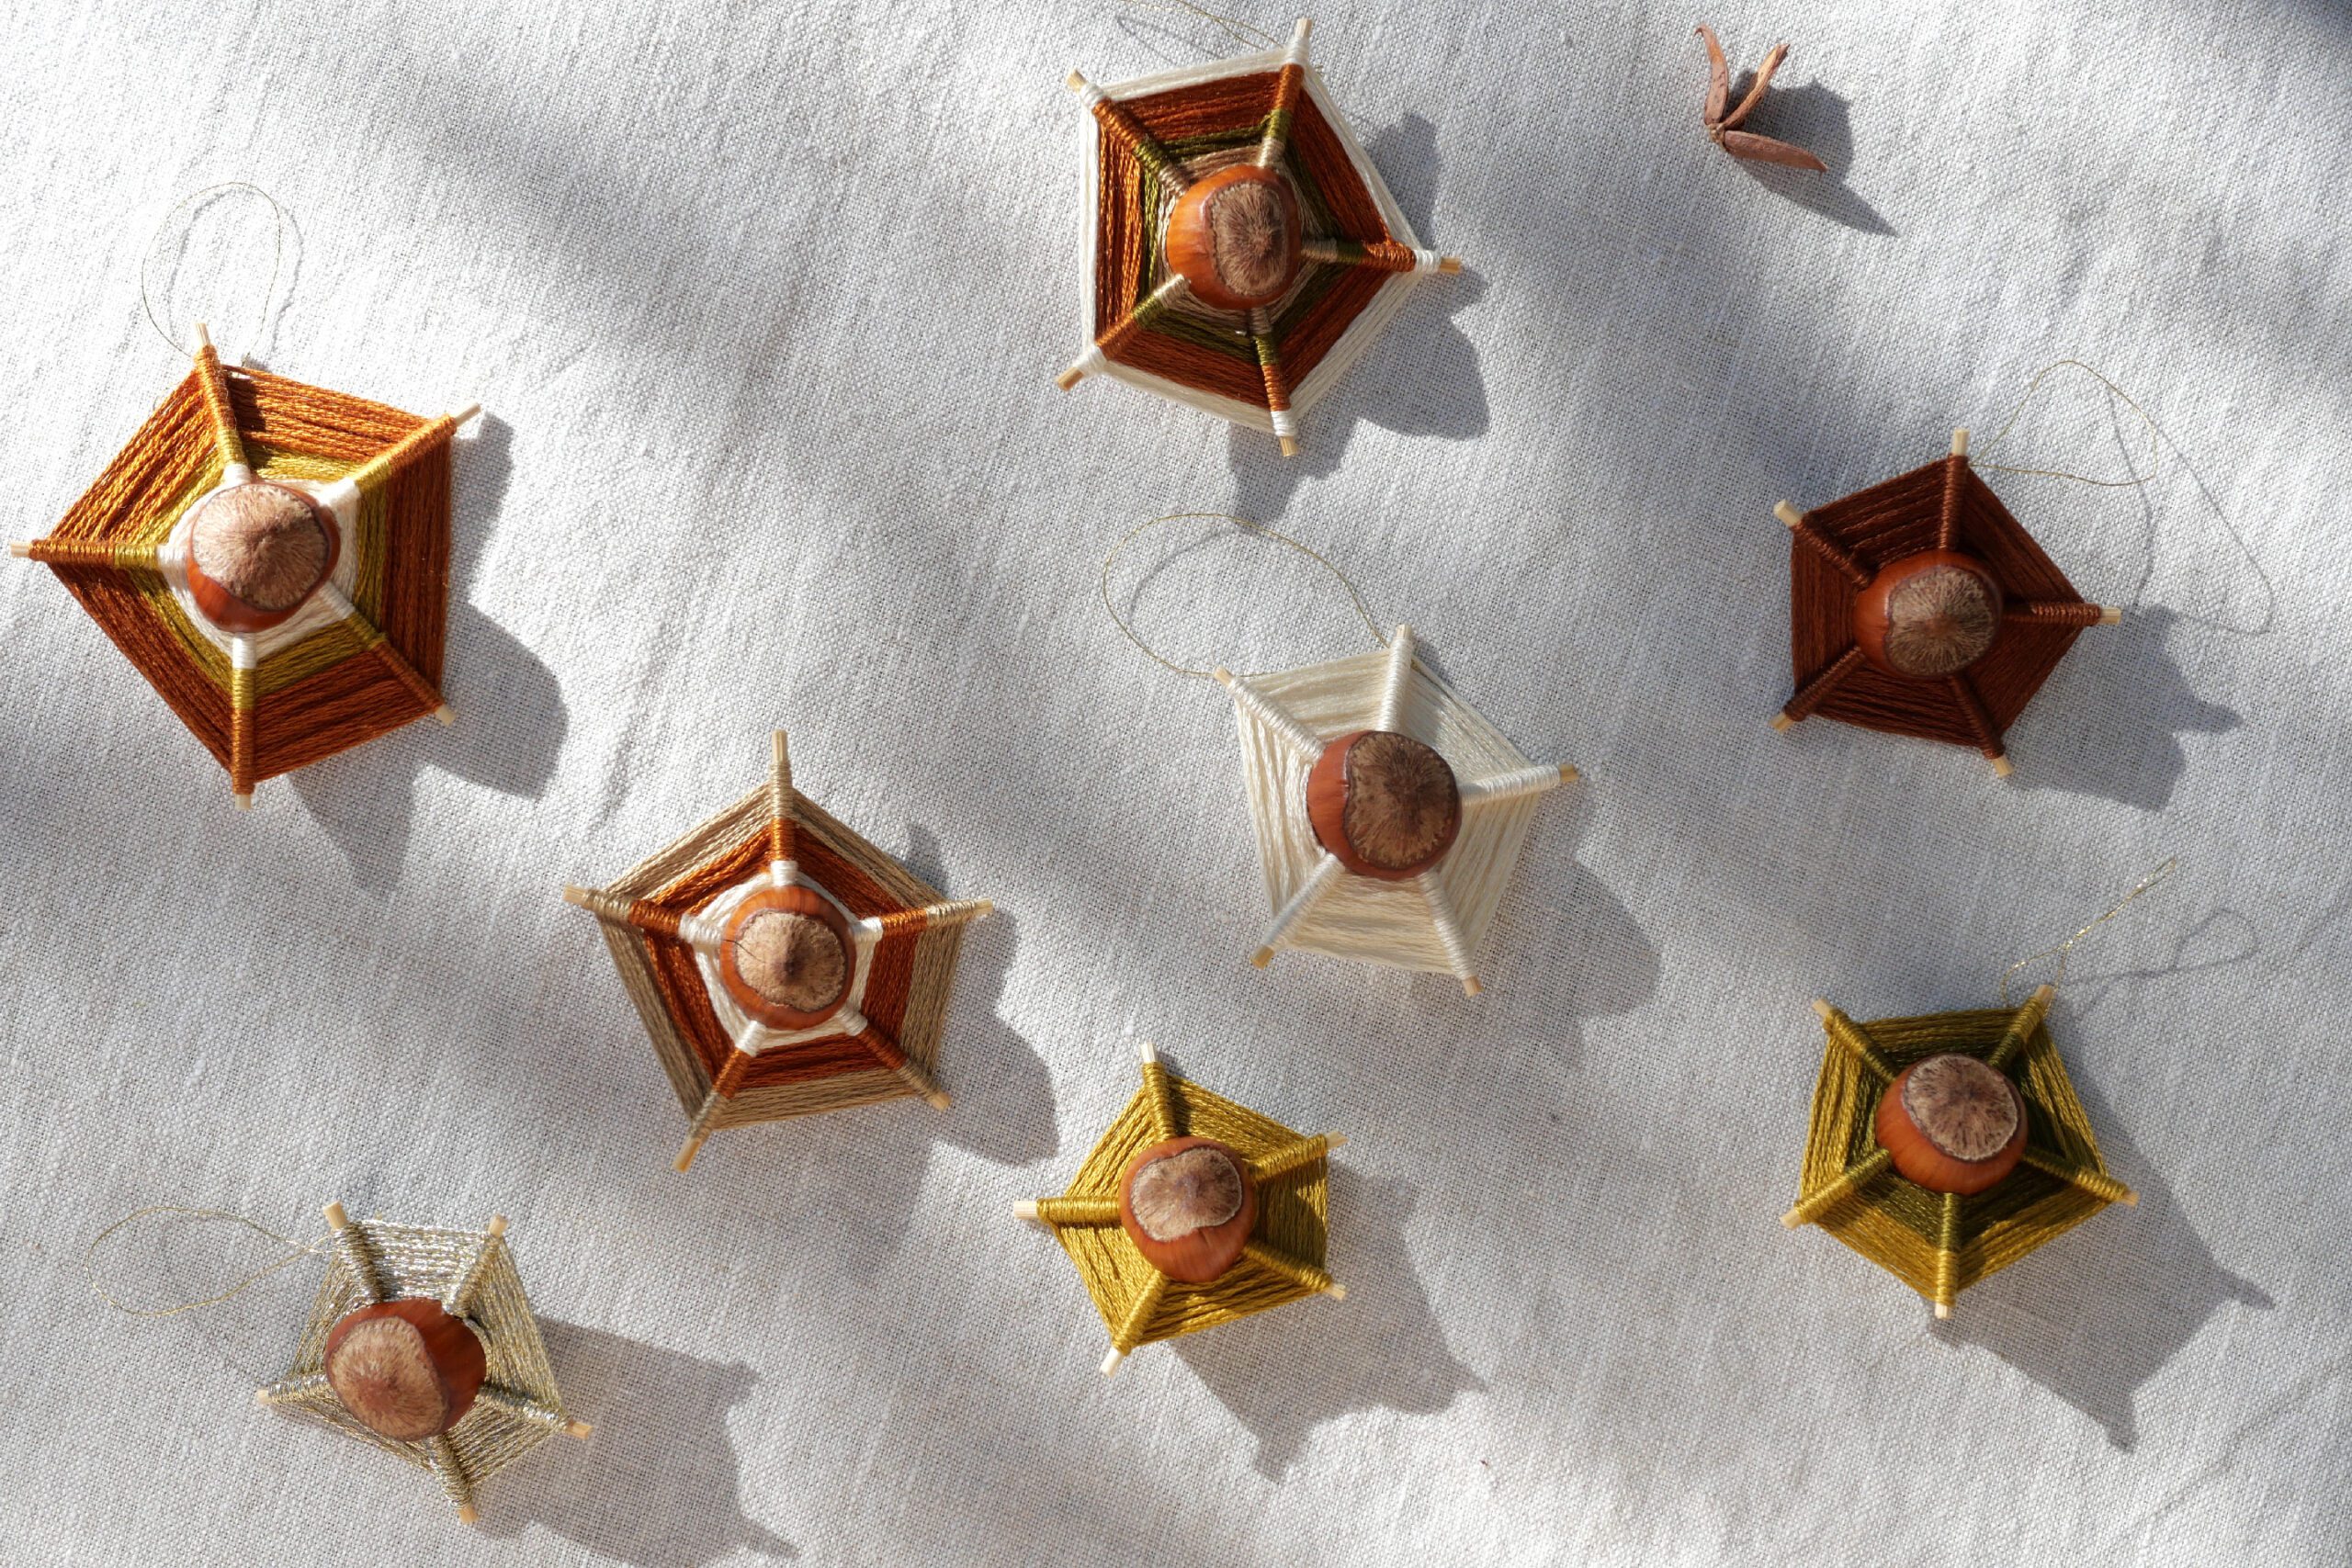
Change the Color Scheme
You may complete it in a single color, or use as many colors as you wish. When changing colors, follow the same procedure to attach the beginning and ending thread ends to the stick. You are free to create it entirely to your own specifications, including size and color.
Weaving Hazelnuts Star
今年もホリデーシーズンが近づき、ツリーを飾る時期がやってきました。
先日娘と一緒につくったヘーゼルナッツを使ったオーナメント。木の実に棒を刺し、くるくると編んでいくとまるで蜘蛛の巣のような美しい装飾品になります。アイデアの元は、ヨーロッパで親しみのあるConker(マロニエ)の実を使ったもの。Conkerは栗のような実で遊びやクラフトの材料にぴたりだそう。秋から冬にかけたこの時期に、様々なクラフトのアイデアを目にします。私たちの住む場所では残念ながらConkerは身近ではなく、いつか拾ってみたいな、そしてクラフトの材料として使ってみたい、と私にとっては憧れの実です。
このWeaving Hazelnuts Starは、そんな憧れのConkerの代わりに、ヘーゼルナッツを使ったもの。どんぐりや、栗など他の実でも同じように役に立つかもしれません。小さな実からつくる自然のエッセンスを取り入れたこのオーナメント。小さなお子さまにははじめての編み物に触れる素晴らしい機会となるでしょう。指先の細かい運動能力の発達にも役立ちます。ホリデーシーズンのクラフトにおすすめします。
用意するもの
– 木の実 *ヘーゼルナッツ、どんぐり、栗
– 穴を開ける工具 *キリや ハンドドリルなど
– つまようじ
– 刺繍糸
つくりかた
Step 1. 木の実に穴を開ける
ハンドドリルを使って、ヘーゼルナッツに穴を開けます。なるべく均等な位置になるように、あらかじめ5ヶ所にペンで印をつけました。木から落ちたての実はやわらかく、穴を開ける作業もスムーズでしょう。しかし乾燥した実の殻は硬く、穴を開けるのに少しの注意が必要です。この作業は大人の方が行ったほうが安心です。
Step 2. つまようじを刺す
開けた穴につまようじを差し込みます。殻の内部はやわらかいので、深く差し込んでください。差し込んだら、棒を2~3cmほどの長さに切ります。
Step 3. 糸を編む
一本の棒に刺繍糸を結びつけます。そこから隣の棒の下に糸を渡して棒にくるりと巻き付けます。そしてまた隣の棒へと糸を渡してくるり。同じようにつぎつぎに糸を巻きつけていきます。なるべく糸を張って編むようにすれば、弛まず綺麗な編み目があらわれます。好みの大きさになったら、最後の棒に糸を結んで完成です。
色の配色を変える
一色で完成させてもいいですし、好きな色を好きなだけ使っても構いません。色を変える場合は、同じ手順で編み始めと編み終わりの糸を串に結びつけます。大きさや色などすべてあなたの自由につくることができます。